Common Issues with Valley Bathroom Faucets
Having a functional and well-maintained bathroom faucet is essential for a smooth and hassle-free daily routine. However, like any other fixture, Valley bathroom faucets can encounter problems over time. We will discuss some of the common issues that may arise with Valley bathroom faucets and offer solutions to help you troubleshoot and fix them.
- Leaky Faucets: One of the most common issues with Valley bathroom faucets is leaks. Leaky faucets not only waste water but also cause annoying dripping sounds. The main culprit behind a leaky faucet is usually a worn-out or faulty cartridge or O-ring. To fix this issue, start by turning off the water supply to the faucet. Next, disassemble the faucet handle and replace the worn-out cartridge or O-ring. Reassemble the faucet and turn on the water supply to check if the leak has been resolved.
- Low Water Pressure: If you notice a decrease in water pressure from your Valley bathroom faucet, the aerator may be clogged with mineral deposits or debris. To fix this issue, unscrew the aerator from the faucet spout and soak it in vinegar overnight to dissolve the deposits. Rinse the aerator thoroughly and screw it back onto the faucet. This should restore the water pressure to its normal level.
- Constant Dripping: A constant dripping from the faucet can be frustrating and wasteful. The most common cause of constant dripping is a faulty valve seat or a worn-out washer. To fix this issue, turn off the water supply and disassemble the faucet handle. Replace the faulty valve seat or washer with a new one. Reassemble the faucet and turn on the water supply to check if the dripping has stopped.
- Handle Difficulties: If you’re having trouble turning the handle of your Valley bathroom faucet, it could indicate a loose or damaged handle mechanism. To fix this issue, start by turning off the water supply. Disassemble the faucet handle and inspect the handle mechanism for any signs of damage or looseness. Tighten any loose screws or replace any damaged parts. Reassemble the faucet and turn on the water supply to test if the handle operates smoothly.
- Rust or Corrosion: Over time, Valley bathroom faucets may develop rust or corrosion, especially in areas with hard water. To remove rust or corrosion, start by turning off the water supply and disassembling the faucet. Use a rust remover or a mixture of vinegar and baking soda to clean the affected parts. Scrub gently with a soft brush or cloth. Rinse the parts thoroughly and reassemble the faucet. Turn on the water supply to check if the rust or corrosion has been eliminated.
Step-by-Step Guide to Repairing a Leaky Valley Faucet
Dealing with a leaky Valley faucet can be a frustrating experience. Not only does it waste water, but it can also lead to higher water bills and potential damage to your bathroom fixtures. Fortunately, repairing a leaky Valley faucet is a task that you can tackle on your own with some basic tools and a little know-how. Follow this step-by-step guide to help you repair a leaky Valley faucet and restore its functionality.
Gather the Necessary Tools: Before you begin the repair process, gather the tools you will need. These may include an adjustable wrench, a screwdriver (Phillips or flathead, depending on your faucet), a replacement cartridge or O-ring (specific to your Valley faucet model), plumber’s tape, and a cloth or towel to protect the surface of your sink.
Turn Off the Water Supply: Locate the water shut-off valves under the sink and turn them off to cut off the water supply to the faucet. If you can’t find individual shut-off valves, you may need to shut off the main water supply to your home temporarily.
Disassemble the Faucet: Start by removing the handle of the faucet. This may involve unscrewing a set screw or removing a decorative cap and then unscrewing the handle itself. Once the handle is removed, you should see the cartridge or O-ring that needs to be replaced.
Replace the Cartridge or O-ring: Carefully remove the old cartridge or O-ring, taking note of how it is positioned. Install the new cartridge or O-ring in the same orientation as the old one. Make sure it fits securely and snugly in place. If you are unsure about the correct replacement part, consult the manufacturer’s instructions or seek guidance from a plumbing professional.
Reassemble and Test the Faucet: Once the new cartridge or O-ring is in place, reassemble the faucet in the reverse order of how you disassembled it. Make sure all the components are properly aligned and tightened. Turn the water supply back on and test the faucet for leaks. If you notice any leaks, double-check the cartridge or O-ring installation and tighten any loose connections.
Check for Proper Functionality: After repairing the leak, check the faucet for proper functionality. Ensure that the hot and cold water handles turn smoothly and that the water flow is consistent. If you notice any issues, double-check the installation and make any necessary adjustments.

Troubleshooting Valley Faucet Drips and Water Flow Problems
Dealing with faucet drips and water flow problems can be frustrating and inconvenient. When it comes to Valley faucets, several common issues can lead to these problems. We will explore some troubleshooting steps to help you identify and resolve faucet drips and water flow issues with your Valley faucet.
Check for Sediment Buildup: One common cause of water flow problems in Valley faucets is sediment buildup. Over time, minerals and debris can accumulate in the faucet aerator, causing reduced water flow or uneven water distribution. To troubleshoot this issue, start by removing the aerator from the faucet spout and cleaning it thoroughly. Soak the aerator in vinegar or a descaling solution to dissolve any sediment. Rinse it thoroughly and reattach it to the faucet. This should improve the water flow.
Inspect the Supply Lines: Another potential cause of water flow problems is a blockage or kink in the supply lines leading to the faucet. Check the supply lines for any visible obstructions or kinks. If you find any, straighten out the kinks or replace the supply lines if necessary. Clearing the blockages should restore proper water flow to the faucet.
Check the Shut-Off Valves: Sometimes, water flow problems can be traced back to the shut-off valves. Ensure that the shut-off valves supplying water to the faucet are fully open. If they are partially closed, it can restrict water flow. Turn the valves clockwise to fully open them and test the faucet again to see if the water flow improves.
Examine the Cartridge or Valve: If you have checked for sediment buildup, inspected the supply lines, and ensured the shut-off valves are fully open, but still experience water flow problems, the issue may lie with the cartridge or valve assembly. In this case, you may need to disassemble the faucet and examine the cartridge or valve for any signs of damage or debris. If necessary, replace the faulty cartridge or valve assembly with a new one. Reassemble the faucet and test the water flow again.
Seek Professional Help: If you have attempted the troubleshooting steps mentioned above and are still experiencing problems with faucet drips or water flow, it may be time to seek professional help. A licensed plumber or a Valley faucet expert will have the expertise and specialized tools to diagnose and resolve more complex issues. They can ensure that your Valley faucet is functioning optimally and provide any necessary repairs or replacements.

Tools and Materials Needed for Valley Faucet Repair
When it comes to repairing your Valley faucet, having the right tools and materials is essential. Whether you’re fixing a leak, replacing a cartridge, or troubleshooting water flow issues, having the necessary tools at hand will make the process much smoother. We will discuss the tools and materials you’ll need for Valley faucet repair.
Adjustable Wrench: An adjustable wrench is a versatile tool that will come in handy for various tasks, such as removing and tightening nuts and bolts. It allows you to adjust the jaw size to fit different sizes of fasteners, making it an essential tool for faucet repair.
Screwdrivers: You’ll need both a Phillips and a flathead screwdriver for different types of screws commonly found in Valley faucets. These screwdrivers will be used to remove handles, trim plates, and other components during the repair process.
Plumber’s Tape: Plumber’s tape, also known as Teflon tape, is a thin, white tape that helps create a watertight seal between threaded connections. It is commonly used to seal pipe threads and prevent leaks. Plumber’s tape is essential when reassembling your Valley faucet to ensure a secure and leak-free connection.
Replacement Parts: Depending on the specific repair you’re undertaking, you may need to have replacement parts on hand. This could include cartridges, O-rings, washers, or valve assemblies specific to your Valley faucet model. It’s always a good idea to consult the manufacturer’s instructions or seek expert advice to determine the exact replacement parts you’ll need.
Cleaning Supplies: Cleaning supplies such as vinegar or a descaling solution will be necessary for removing sediment buildup from the faucet aerator or other components. They help restore proper water flow and prevent future issues. Additionally, having a cloth or towel to protect the sink surface and wipe away any spills or excess water is important during the repair process.
Flashlight: A flashlight can be a useful tool when working in tight or poorly lit spaces under the sink. It will help you see clearly and navigate the various components of your Valley faucet, making the repair process easier.
Signs You Need Expert Assistance for Valley Faucet Repair
While many Valley faucet repairs can be done on your own, there are instances when it’s best to call a professional. Plumbing issues can be complex and require specialized knowledge and tools to fix properly. Here are some signs that indicate you need expert assistance for Valley faucet repair.
Persistent Leaks: If you’ve attempted to repair a leaky Valley faucet multiple times and it continues to leak, it may be time to call a professional. Persistent leaks can indicate underlying issues that require the expertise of a licensed plumber. A professional will be able to diagnose the problem accurately and provide a long-lasting solution.
Low Water Pressure Throughout the House: If you’re experiencing low water pressure not only in your Valley faucet but throughout your entire house, it could be a sign of a more significant plumbing issue. Low water pressure can be caused by various factors, such as clogged pipes, a faulty pressure regulator, or a main water line problem. A professional plumber will have the necessary tools and knowledge to identify and address the root cause of the low water pressure.
Complex Valve or Cartridge Replacement: Valley faucets, like any other brand, may have complex valve or cartridge systems that require specialized tools and expertise for replacement. If you’re unsure about how to proceed with these repairs or lack the necessary tools, it’s best to leave it to a professional. They will have the experience and knowledge to handle the intricate components of your Valley faucet.
Multiple Faucet Issues: If you’re experiencing problems with multiple faucets in your home, it could indicate a larger plumbing issue. Issues such as inconsistent water flow, leaks, or strange noises in multiple faucets may be a sign of a systemic plumbing problem. In such cases, it’s advisable to call a professional plumber who can assess the situation and provide a comprehensive solution.
Lack of Plumbing Experience: If you have limited or no experience with plumbing repairs, it’s best to call a professional for any faucet repair. Plumbing systems can be complex, and attempting repairs without the necessary knowledge and expertise can lead to further damage or even injury. A professional plumber will ensure that the repair is done correctly and safely.

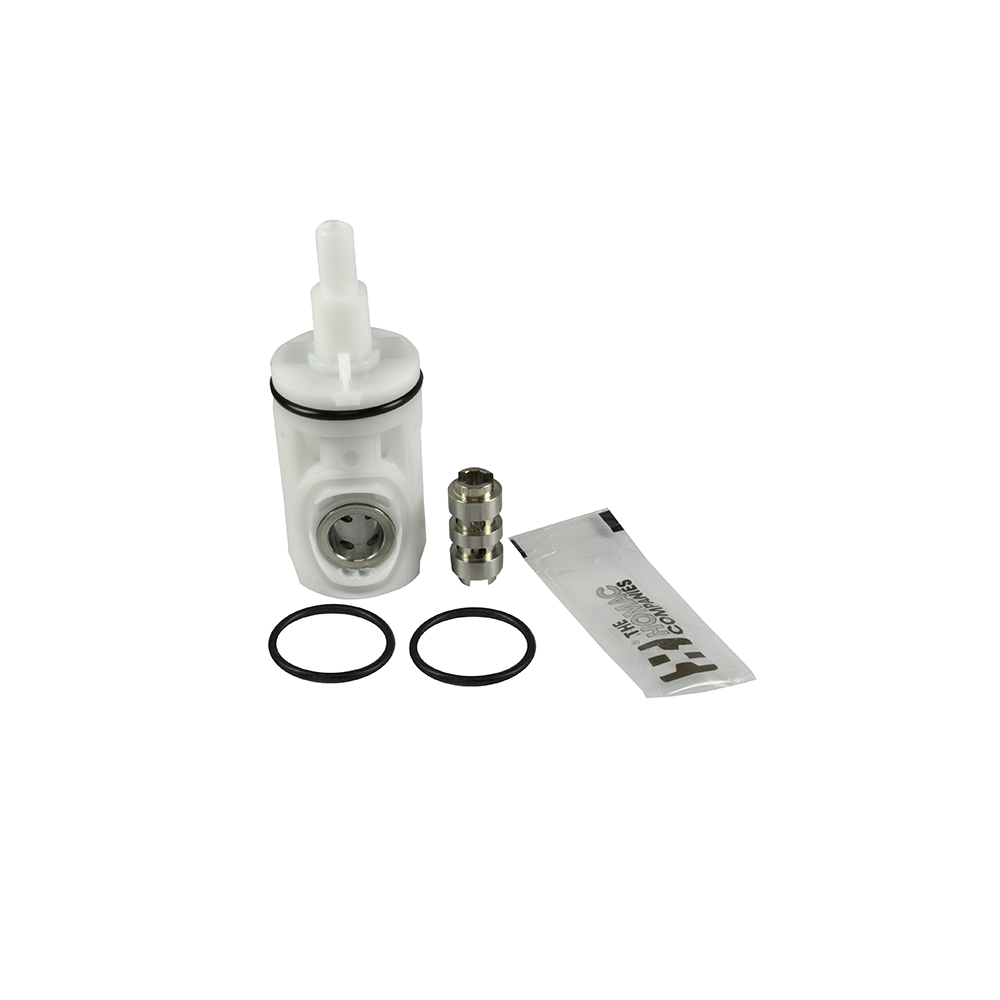
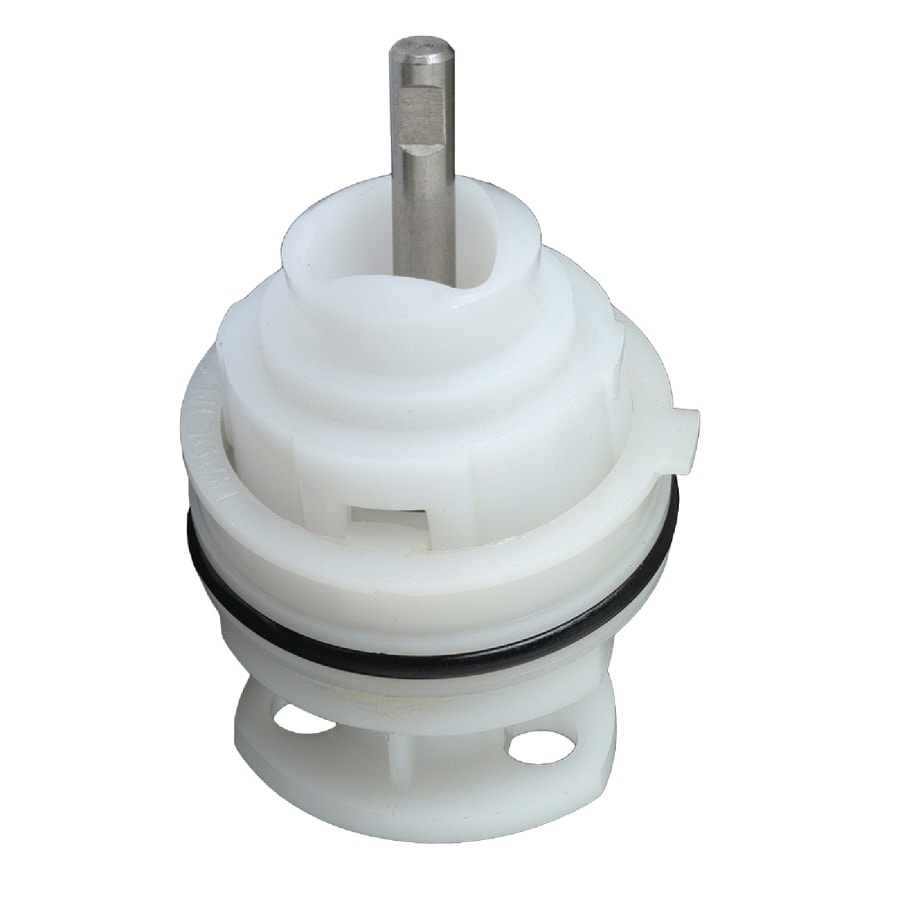
VA-5 Cartridge for Valley Single-Handle Faucets with Diverter
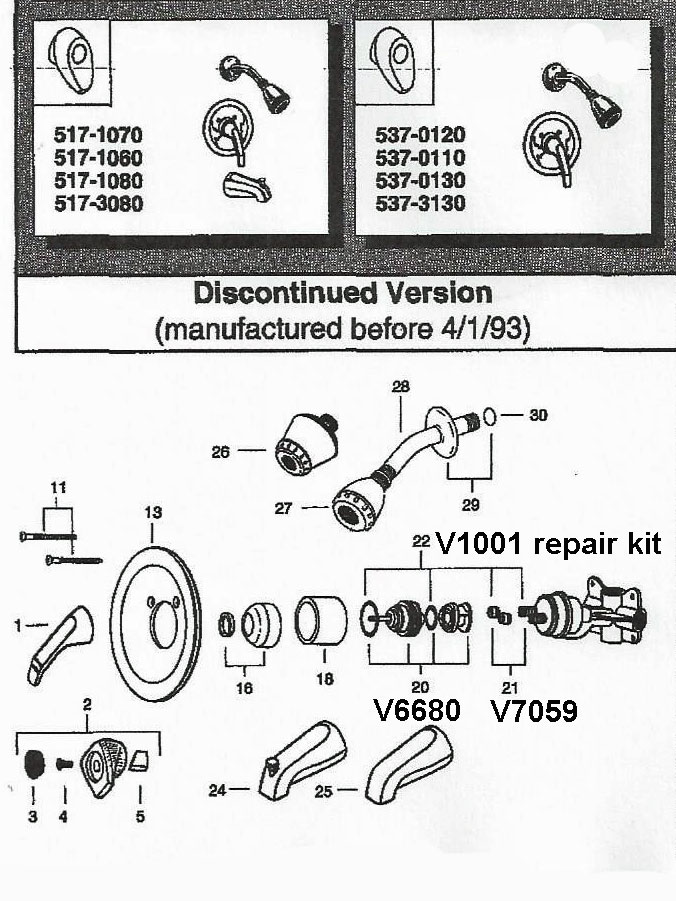
Valley replacement parts for old single handle tub/shower faucet
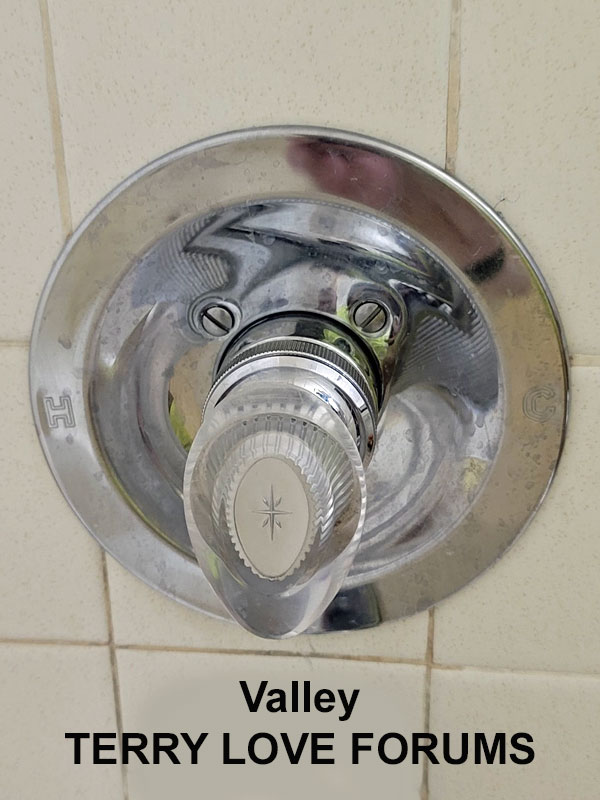
Valley replacement parts for old single handle tub/shower faucet
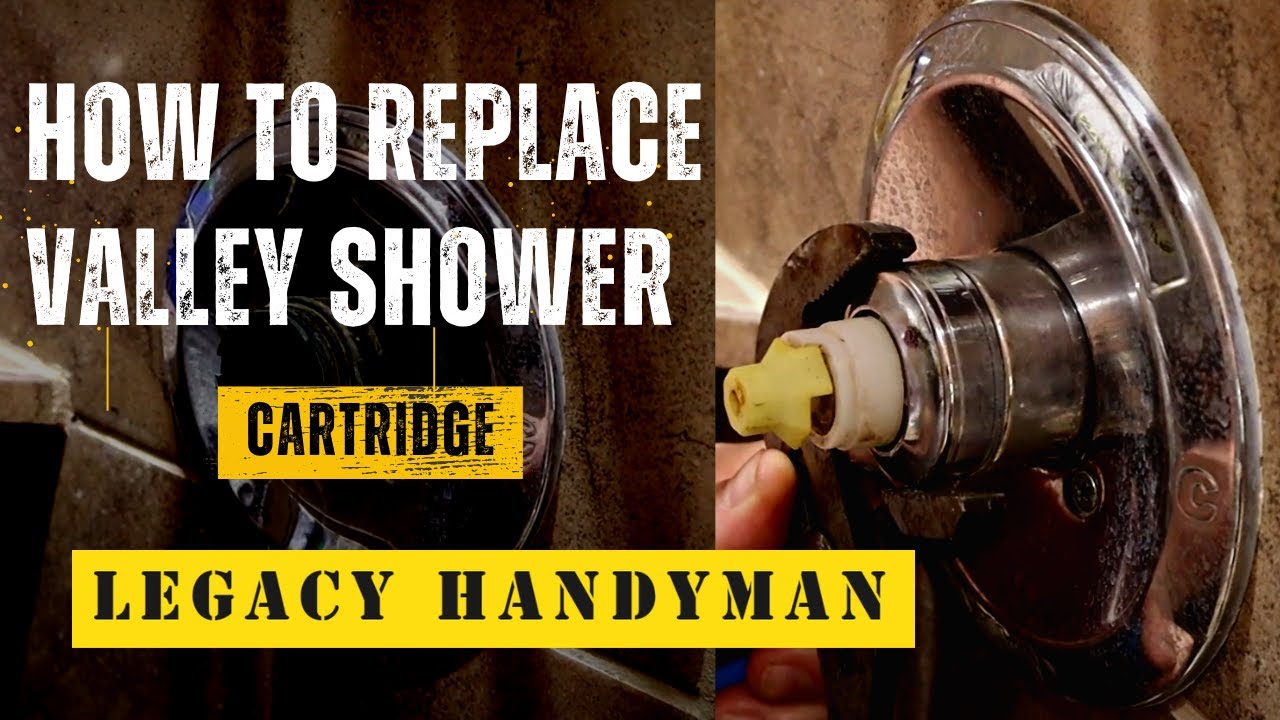
BrassCraft Metal Faucet or Tub/Shower Valley in the Faucet Repair
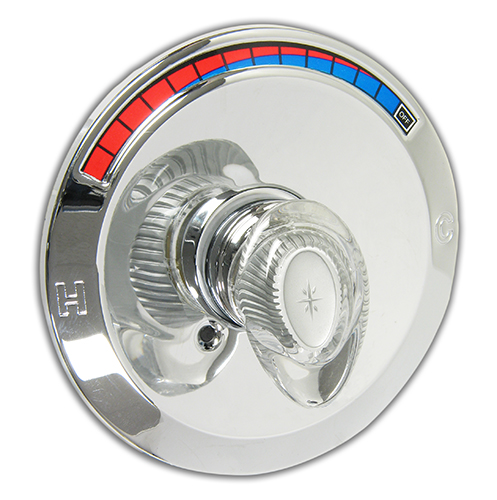
Chrome Plated Single Handle Shower Trim Kit for Valley Faucets
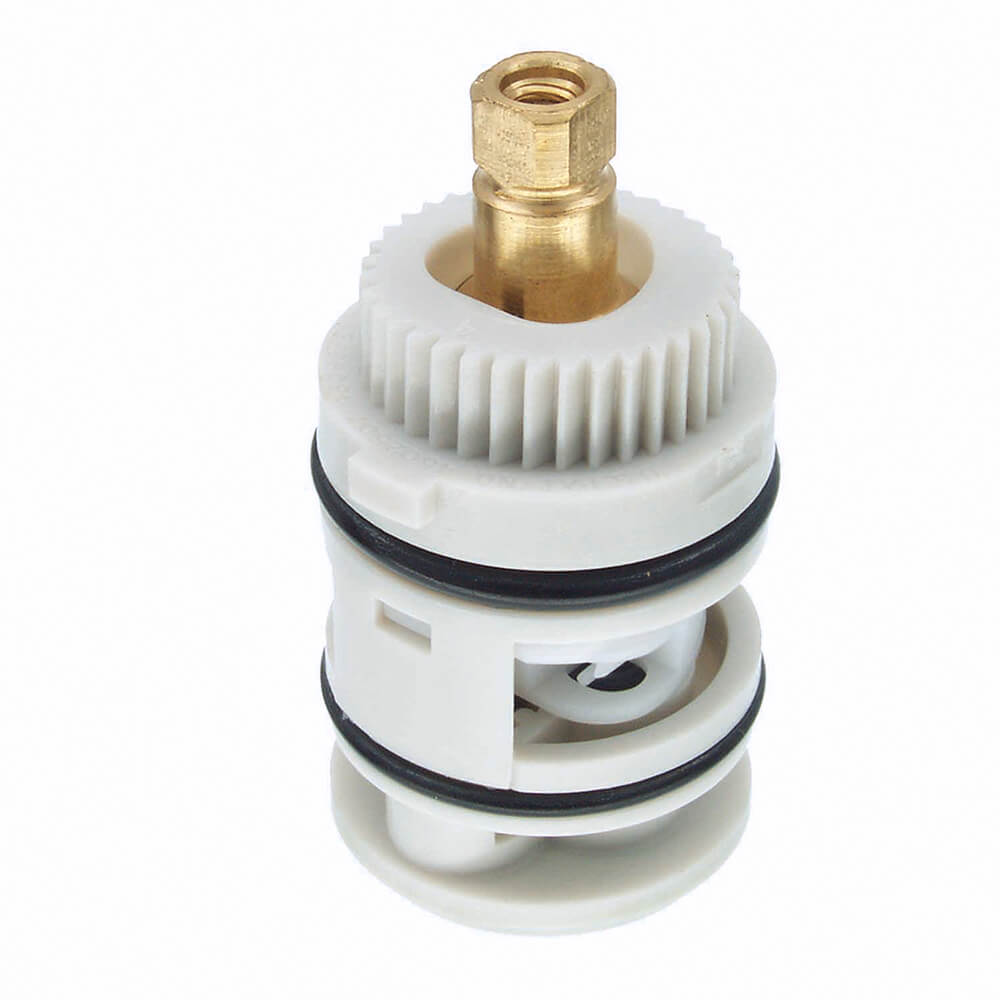
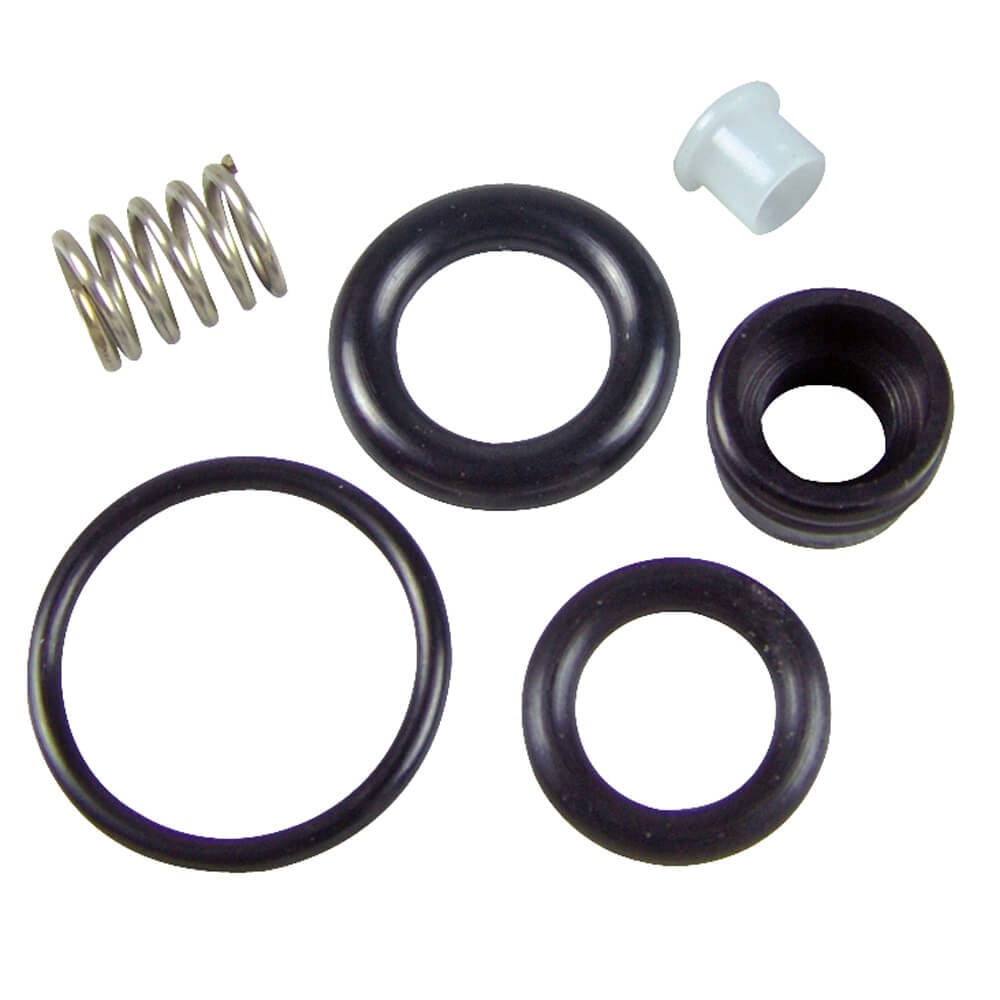
Stem Repair Kit for Valley II Faucets – Plumbing Parts by Danco
Valley replacement parts for old single handle tub/shower faucet

Related Posts:
- Bathroom Faucets Memphis Tn
- Kohler 8 Widespread Bathroom Faucet
- Kingston Brass Bathroom Faucets Reviews
- White Bathroom Faucet Moen
- Delta Single Lever Bathroom Faucet Repair
- Bathroom Faucets And Accessories
- Solutions By Peerless Bathroom Faucet
- Bathroom Faucet Colors
- How To Fix A Leaking Bathroom Faucet Handle
- Design Bathroom Faucets

