If you’re looking to replace your bathroom faucet or need to fix a plumbing issue, removing a Price Pfister bathroom faucet is a straightforward process that you can do yourself. With a few basic tools and patience, you’ll have your old faucet removed in no time. In this article, I will guide you through removing a Price Pfister bathroom faucet.
Step 1: Gather the necessary tools:
Before starting, ensure you have the following tools handy:
- Adjustable wrench
- Screwdriver (both flathead and Phillips)
- Plumber’s tape (Teflon tape)
Step 2: Turn off the water supply:
Locate the shut-off valves under the sink and turn them clockwise to shut off the water supply. If you can’t find individual shut-off valves, consider turning off the main water supply to your home as a precaution.
Step 3: Prepare a workspace:
Clear out any items under the sink to create a comfortable working area. Place a towel or bucket underneath the sink to catch water in the pipes.
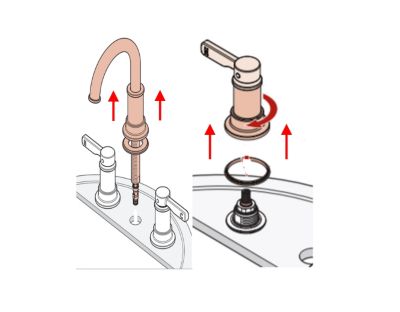
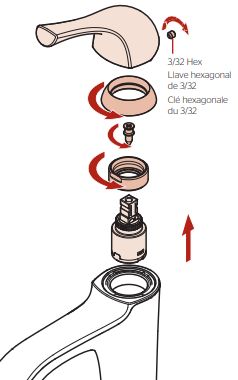
Step 4: Remove the handle and decorative parts:
Start by removing the handle. Depending on the specific Price Pfister model, you might need to locate a small screw hidden beneath a cap or handle cover. Use a screwdriver to remove this screw and lift off the handle. Next, look for any decorative parts, such as trim rings or escutcheon plates, and carefully unscrew or pry them off.
Step 5: Loosen and remove the mounting nuts:
Locate the mounting nuts that hold the faucet in place. Using an adjustable wrench, turn these nuts counterclockwise to loosen them. Once loose, you should be able to remove them by hand or with the help of pliers.
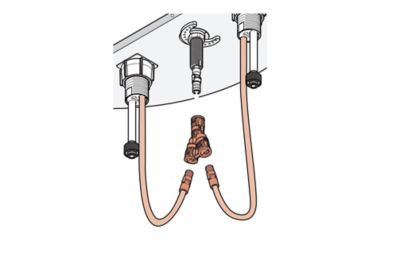
Step 6: Disconnect the water supply lines:
The water supply lines connect the faucet to the shut-off valves. Use an adjustable wrench to disconnect these lines from the faucet. Having a bucket or towel handy is a good practice to catch any residual water.
Step 7: Remove the faucet:
You can now remove the old faucet with the mounting nuts and water supply lines detached. Gently lift the faucet upward and out of the sink. If it feels stuck, you may need to wiggle it slightly or use small force.
Step 8: Clean and prepare for installation:
Before installing a new faucet, clean the sink surface and remove any leftover debris. Apply the plumber’s tape (Teflon tape) to the threads of the water supply lines for a secure and leak-free connection.
Removing a Price Pfister bathroom faucet is a manageable task that you can easily accomplish. You can successfully remove your old faucet by following these steps and having the necessary tools on hand.
Remember to turn off the water supply, remove the handle and decorative parts, loosen and remove the mounting nuts, disconnect the water supply lines, and finally, remove the faucet from the sink. With the old faucet removed, you’re ready to proceed with your plumbing project or install a new faucet of your choice.
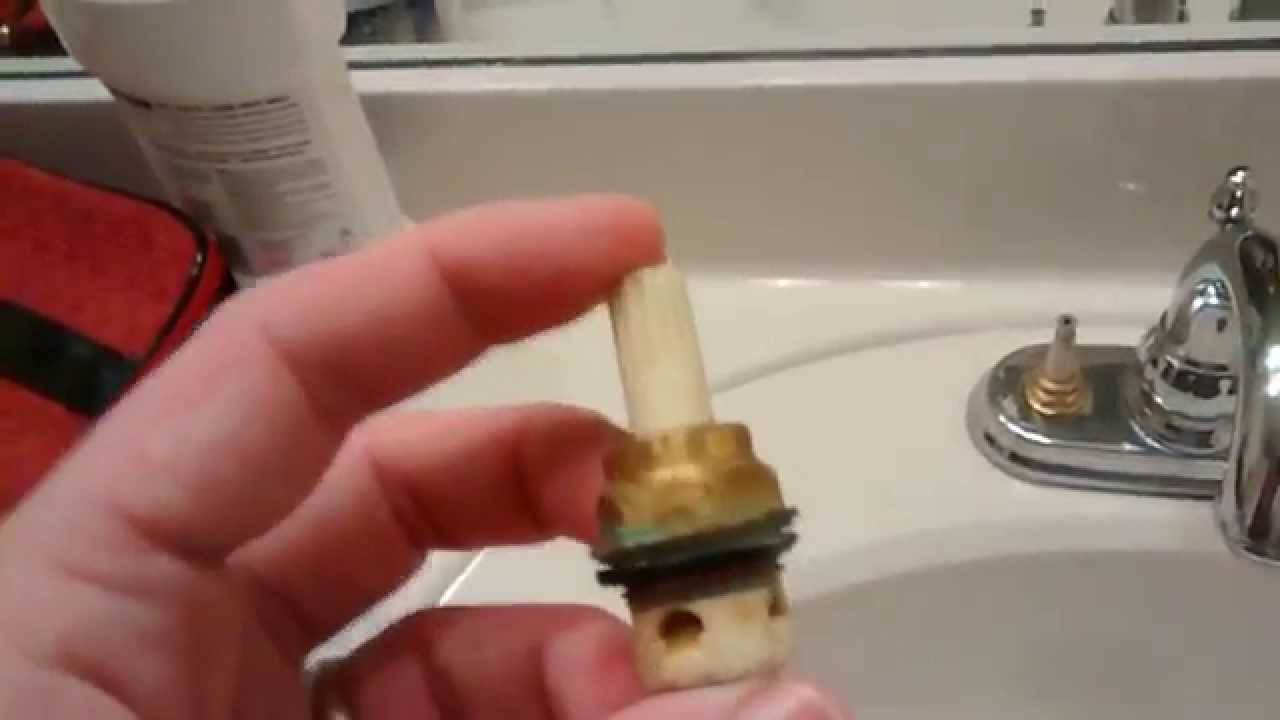
Price Pfister Bathroom Faucet Leaking Handle Cartridge Repair

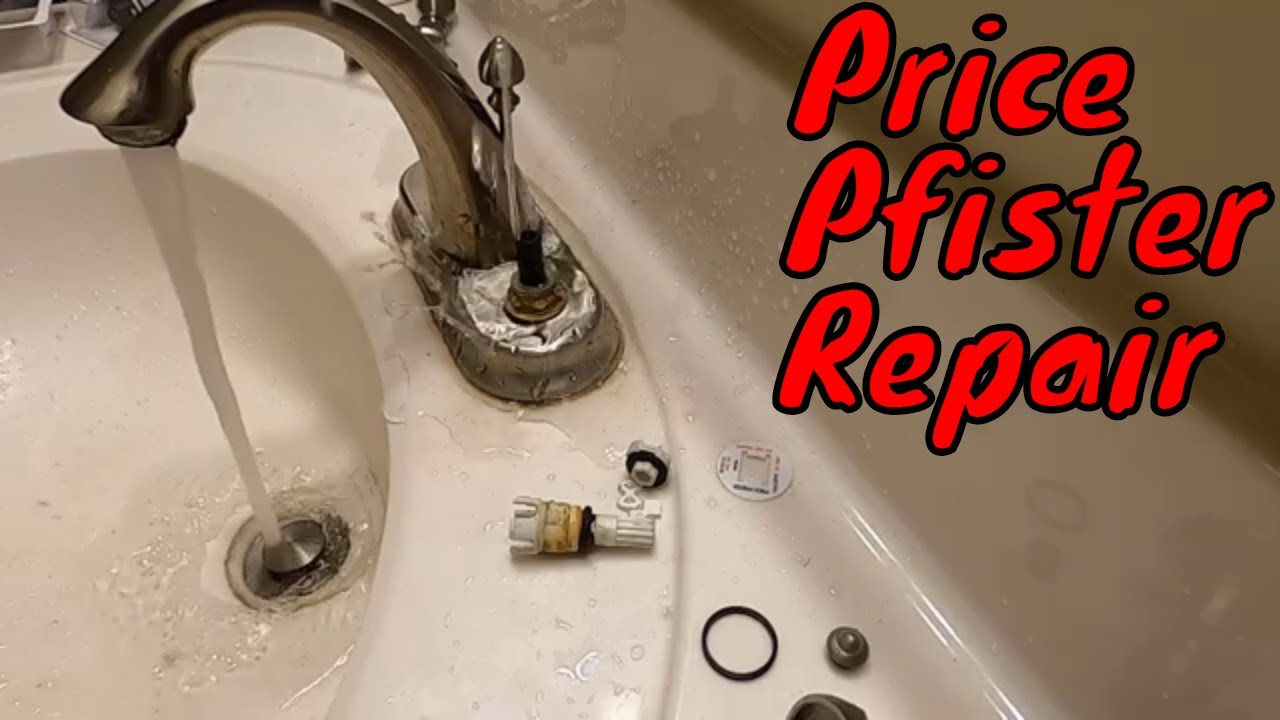
Price Pfister Bathroom Sink Faucet Repair

Bathroom – Uninstall Faucet or Removing Quick Connector
What is a Faucet Cartridge? Dripping Price Pfister Faucet, Cartridge Replacement in 15min How to.

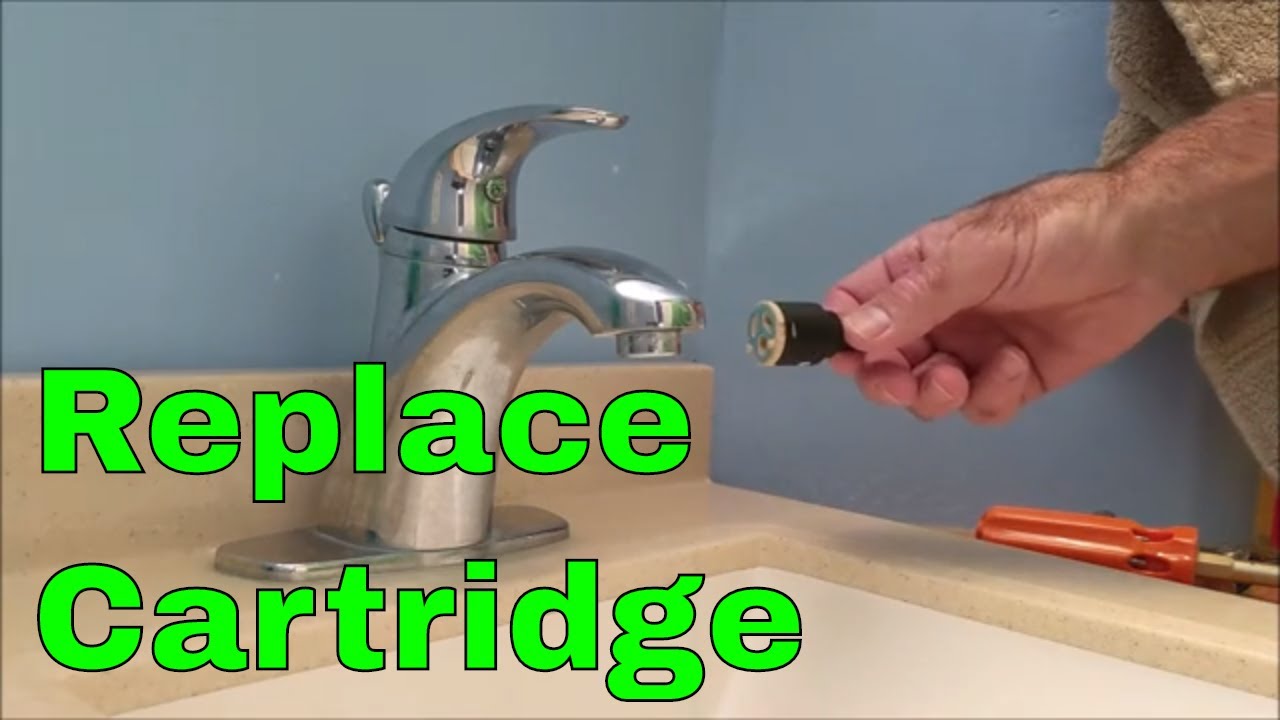
Replace Cartridge on a Single Handle Price Pfister Bathroom Faucet, Free Replacement
How To Disassemble A Price Pfister Bathroom Faucet – Bargain Bathroom

Bathroom – Uninstall Faucet or Removing Quick Connector
Bathroom – My Single Handle Bathroom Faucet is Leaking or Dripping
Dripping or Leaking Price Pfister Bathroom Faucet Repair.
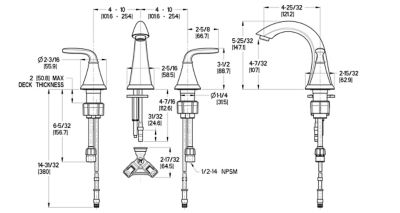
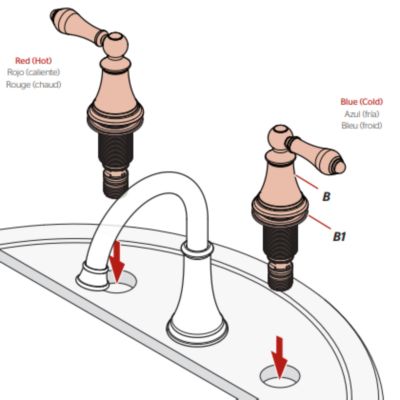
Slate Pasadena LF-049-PDSL 2-Handle 8″ Widespread Bathroom Faucet
Bathroom Faucet Replacement Parts – Pfister 48 Series Treviso

Bathroom – Faucet is Leaking or Dripping
Related Posts:
- Moen Zarina Chrome Bathroom Faucet
- Kohler Forte Bathroom Faucet Parts
- Bathroom Faucets With Handheld Shower
- Bathroom Faucet Ottawa
- Grohe Allure Bathroom Faucet
- Bathroom Faucet Extension
- How To Fix Moen Bathroom Faucet
- Moen Victorian Bathroom Faucet
- Moen Bathroom Faucet Installation Video
- Huntington Brass Bathroom Faucets


