Installing a Pfister bathroom faucet is a straightforward and rewarding DIY project that can instantly upgrade the look and functionality of your bathroom. Pfister is a reputable brand known for its quality and innovative designs in plumbing fixtures, and their bathroom faucets are no exception. Before you start the installation process, it’s crucial to gather the necessary tools and materials. You’ll typically need an adjustable wrench, pliers, a screwdriver, plumber’s tape, and a bucket or towels to catch any excess water. Additionally, it’s essential to shut off the water supply to your bathroom before you begin. Most bathroom faucets, including Pfister ones, come with detailed installation instructions, so be sure to follow those closely.
Images about Pfister Bathroom Faucet Installation
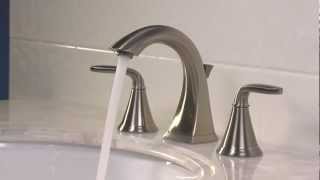
Pfister Bathroom Faucet Installation
The first step in Pfister bathroom faucet installation is removing the old faucet if you’re replacing one. Use your wrench and pliers to disconnect the water supply lines and remove the old faucet from the sink or countertop. Once the old faucet is removed, clean the area thoroughly to prepare it for the new installation. Now, you can start assembling the new Pfister faucet according to the manufacturer’s instructions. This typically involves attaching the handles, spout, and any other components to the faucet body. Before you secure the faucet to the sink or countertop, apply plumber’s tape to the threaded connections to prevent leaks.
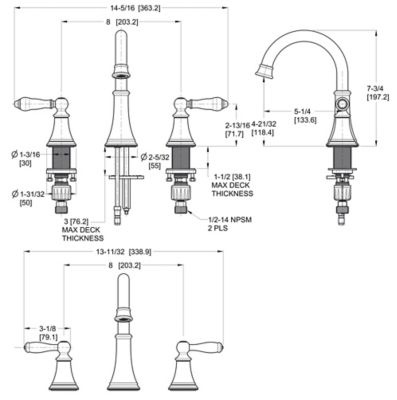
Slate Pasadena LF-049-PDSL 2-Handle 8″ Widespread Bathroom Faucet
Next, position the Pfister faucet in its designated location and secure it from underneath using the provided hardware. Tighten the nuts and bolts until the faucet is stable and doesn’t wobble. Once the faucet is securely in place, you can connect the water supply lines. Typically, these will be color-coded with blue for cold water and red for hot water. Use your wrench to tighten these connections, but be careful not to overtighten, as this can damage the faucet or cause leaks. After the water supply lines are connected, turn on the water supply to your bathroom slowly and check for any leaks. If you spot any, tighten the connections slightly until the leaks stop. Finally, test the faucet’s handles and spout to ensure they function correctly and that water flows smoothly.
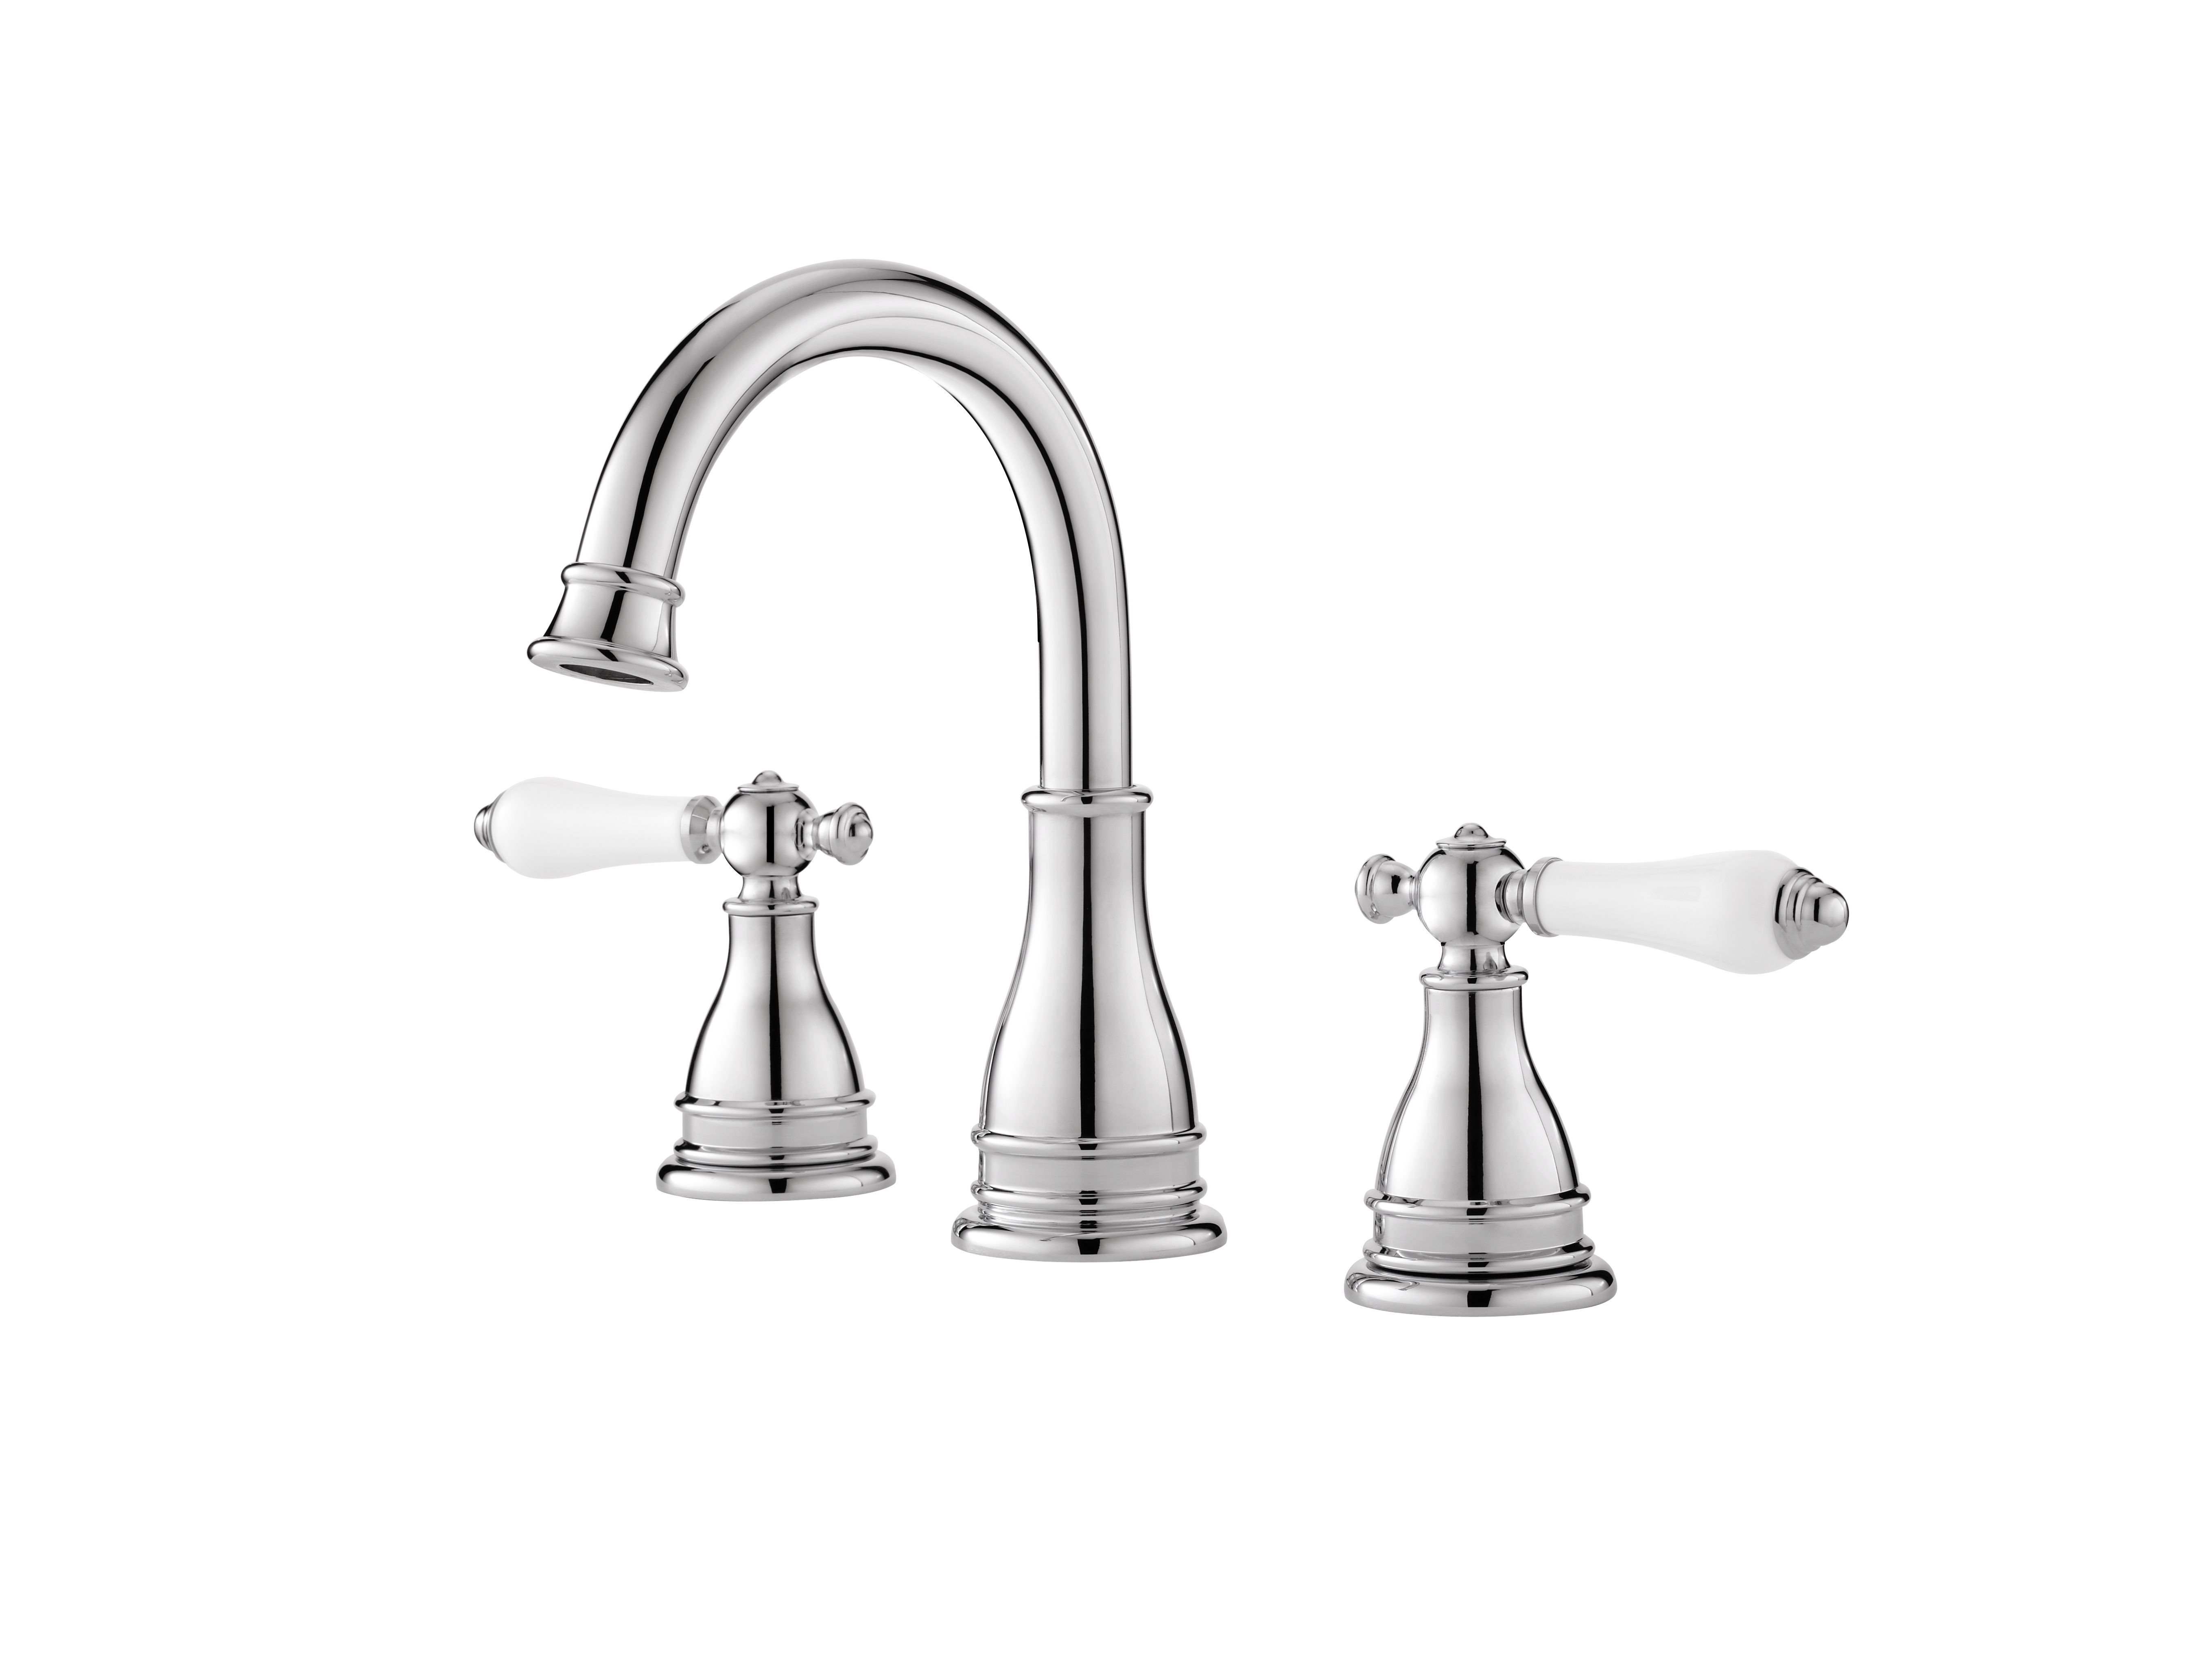
Polished Chrome Savannah 8H9-8CPC 2-Handle 8″ Widespread Bathroom
Pfister bathroom faucet installation is a manageable DIY project that can enhance the appearance and functionality of your bathroom. By following the manufacturer’s instructions and gathering the necessary tools and materials, you can successfully install a Pfister faucet and enjoy its quality and style for years to come. Remember to turn off the water supply before starting and to take your time to ensure proper assembly and connection. With a new Pfister faucet in place, you’ll not only have an attractive and functional bathroom fixture but also the satisfaction of having completed a DIY project that adds value to your home.
Spot Defense Brushed Nickel Ladera LF-049-LRGS 2-Handle 8
Installing a 8″ – 15″ Widespread Bathroom Faucet with a Push u0026 Seal Drain – Pasadena Collection
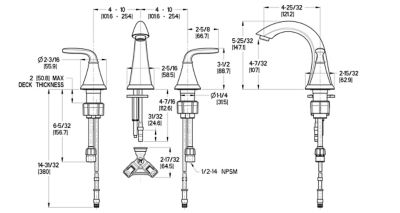
Installing a Pfister 4″ Centerset Bathroom Faucet with a Push u0026 Seal Drain – Selia Collection

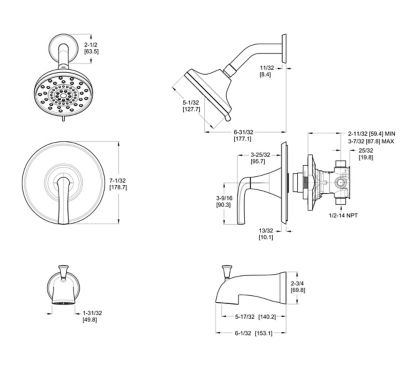
Spot Defense Brushed Nickel Ladera 8P8-WS2-LRSGS 1-Handle Tub
Slate Pasadena LF-049-PDSL 2-Handle 8″ Widespread Bathroom Faucet
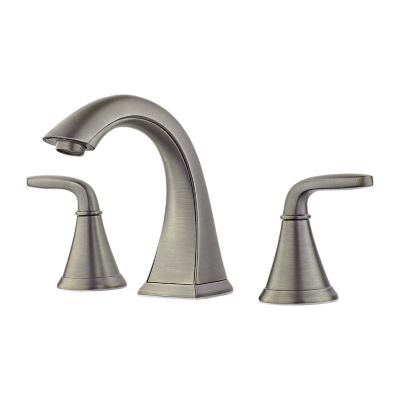
Pfister Rancho Spot Defense Brushed Nickel 2-Handle 8-in Widespread WaterSense Bathroom Sink Faucet with Drain

Pfister LF-WL8-SNP
Brushed Nickel Brea LF-042-BRKK Single Control Bathroom Faucet
Pfister LF049PDKK Pasadena 2-Handle 8 Inch Widespread Bathroom Faucet in Brushed Nickel

Related Posts:
- Bathroom Faucets Vancouver
- Price Pfister Catalina Bathroom Faucet Parts
- Delta Single Handle Bathroom Faucet Cartridge
- Bathroom Faucet Drain Installation
- High End Contemporary Bathroom Faucets
- Price Pfister Bathroom Faucet Repair Kit
- Repair Moen Bathroom Faucet Cartridge
- What Is The Best Bathroom Faucets To Buy
- Fix Delta Bathroom Faucet
- Kitchen And Bathroom Faucets Plus


