Replacing a bathroom faucet cartridge can be a straightforward DIY task if approached with the right tools and knowledge. This guide will walk you through the process, from identifying the need for replacement to completing the installation.
Understanding Faucet Cartridges
- What is a Faucet Cartridge? A faucet cartridge is a crucial component inside the faucet, responsible for controlling water flow and temperature. Unlike traditional washers that require frequent replacement, cartridges offer a more durable and efficient solution. They come in various types and designs, tailored to specific faucet models and brands.
- Types of Faucet Cartridges: There are several types of faucet cartridges, including ceramic disc cartridges, ball-type cartridges, and compression cartridges. Ceramic disc cartridges are the most common in modern faucets due to their durability and smooth operation. Ball-type cartridges are typically found in single-handle faucets, while compression cartridges are used in older, double-handle faucets.
- Signs of a Faulty Cartridge: Common signs indicating a faulty cartridge include dripping or leaking from the faucet, difficulty in adjusting water temperature, and reduced water flow. If you notice water leaking from the base of the faucet handle or inconsistent water pressure, it’s likely time to replace the cartridge. Ignoring these signs can lead to increased water bills and potential water damage.
- Causes of Cartridge Wear and Tear: Faucet cartridges can wear out due to several factors, including mineral buildup from hard water, constant use, and poor-quality materials. Hard water deposits can cause the cartridge to become stiff or clogged, affecting its functionality. Regular maintenance and using water softeners can help prolong the life of your faucet cartridge.
- Benefits of Timely Replacement: Replacing a faulty cartridge promptly can prevent further damage to your faucet and plumbing system. It restores proper water flow and temperature control, ensuring a comfortable and efficient bathroom experience. Additionally, it helps conserve water by stopping leaks, contributing to environmental sustainability.
- When to Seek Professional Help: While replacing a faucet cartridge is a manageable DIY task, there are situations where professional help may be necessary. If you’re unsure about the type of cartridge needed, encounter difficulties during the process, or notice additional plumbing issues, it’s best to consult a licensed plumber. They can provide expert advice and ensure the job is done correctly.

Tools and Materials Needed
Essential Tools
To replace a bathroom faucet cartridge, you’ll need several basic tools. These include an adjustable wrench, a screwdriver (Phillips or flathead, depending on your faucet), a pair of pliers, and a utility knife. Having these tools on hand ensures a smooth and efficient replacement process.
Specialized Tools
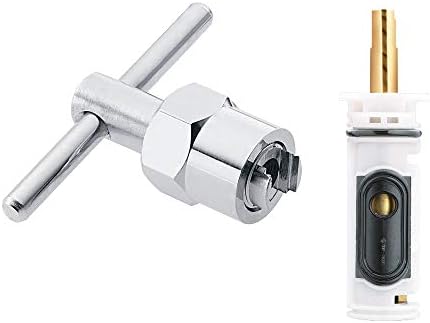
In addition to basic tools, some specialized tools may be required, such as an Allen wrench or hex key for faucets with set screws, and a cartridge puller for removing stubborn cartridges. A cartridge puller can make the removal process easier and prevent damage to the faucet body. Check your faucet’s manual for specific tool requirements.
Replacement Cartridge
Ensure you have the correct replacement cartridge for your faucet model. Cartridges come in various shapes and sizes, so it’s crucial to match the new cartridge with the old one. You can find replacement cartridges at hardware stores or online, often with detailed specifications to help you choose the right one.
Plumber’s Grease
Plumber’s grease is a useful material for lubricating the O-rings and seals on the new cartridge. It ensures smooth operation and helps prevent leaks. Apply a small amount of plumber’s grease to the O-rings before installing the new cartridge for optimal performance.
Cleaning Supplies
Having cleaning supplies on hand, such as a cloth or sponge, is essential for wiping down the faucet components during the replacement process. Removing any dirt, grime, or mineral deposits ensures a clean and secure installation of the new cartridge.
Safety Equipment
While replacing a faucet cartridge is generally safe, wearing safety glasses can protect your eyes from any debris or splashes. Additionally, if you’re working with older plumbing, gloves can protect your hands from sharp edges or rough surfaces. Prioritizing safety ensures a hassle-free replacement process.

Step-by-Step Guide to Replacing a Faucet Cartridge
Step 1: Turn Off the Water Supply
Before starting, turn off the water supply to the faucet. Locate the shut-off valves under the sink and turn them clockwise to close. If your sink doesn’t have individual shut-off valves, you may need to turn off the main water supply to your home. This step prevents water from flowing while you work, avoiding potential flooding.
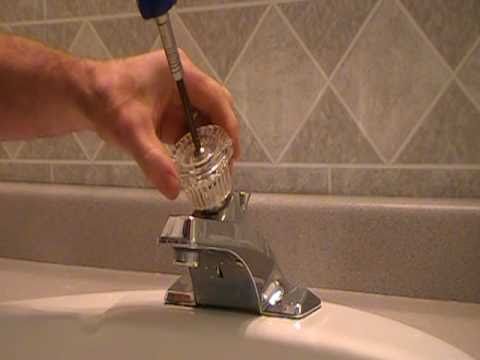
Step 2: Remove the Faucet Handle
Next, remove the faucet handle to access the cartridge. Use a screwdriver or Allen wrench to loosen the set screw securing the handle. Once the screw is removed, gently pull the handle off. If the handle is stuck, wiggle it back and forth while pulling to loosen it. Set the handle and screw aside.
Step 3: Access the Cartridge
With the handle removed, you’ll need to remove any decorative caps or retaining clips that cover the cartridge. Use a utility knife or flathead screwdriver to carefully pry off the cap. If there is a retaining clip, use pliers to remove it. This exposes the top of the cartridge, making it accessible for removal.
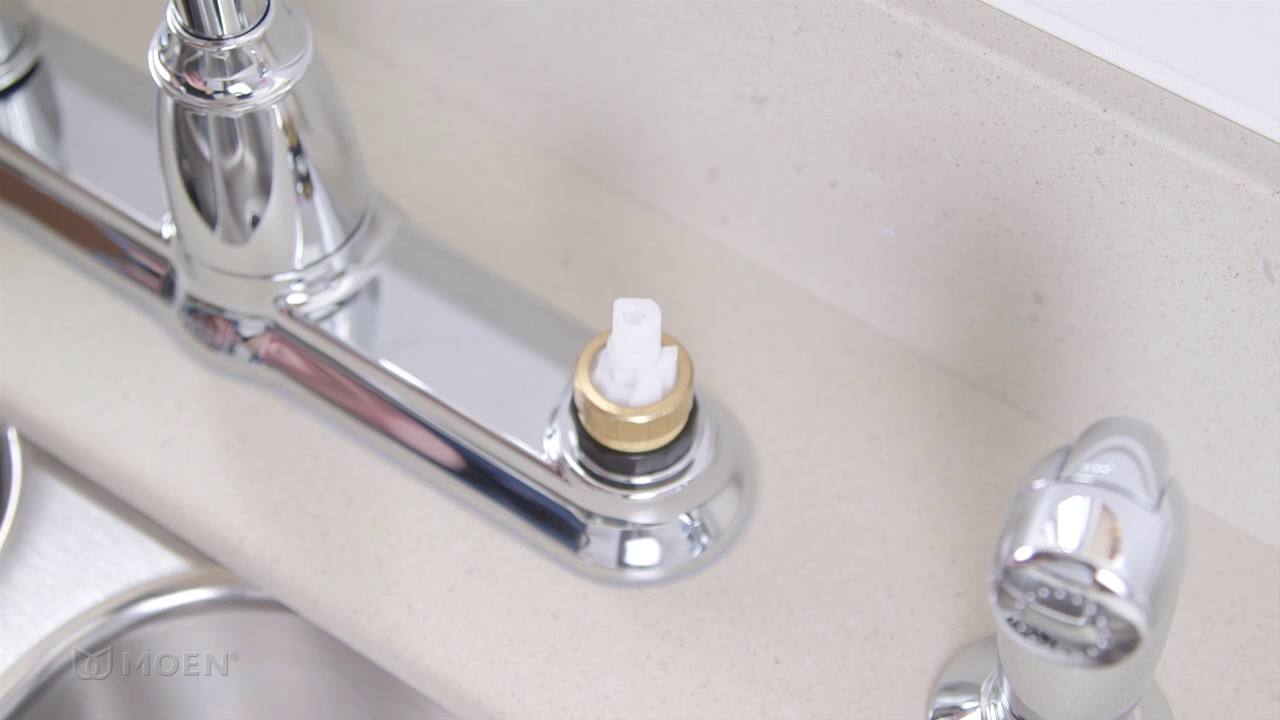
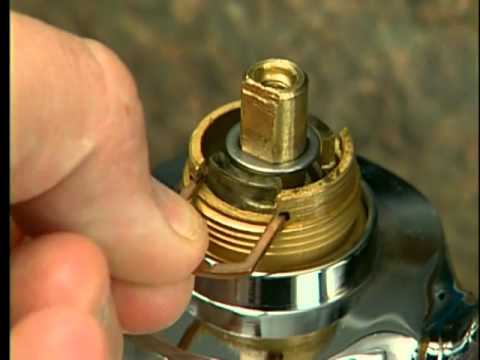
Step 4: Remove the Old Cartridge
Use an adjustable wrench or cartridge puller to loosen and remove the old cartridge. If using a cartridge puller, follow the manufacturer’s instructions for proper use. Gently wiggle the cartridge back and forth while pulling it out. Be careful not to damage the faucet body during this process. Once removed, inspect the old cartridge for any visible damage or wear.
Step 5: Install the New Cartridge
Apply the plumber’s grease to the O-rings and seals on the new cartridge. Insert the new cartridge into the faucet body, aligning it properly with the slots. Press down firmly to ensure it’s seated correctly. Reinstall any retaining clips or caps that were removed earlier. Make sure the cartridge is securely in place before proceeding.
Step 6: Reassemble the Faucet
Reattach the faucet handle by sliding it back onto the cartridge stem and securing it with the set screw. Tighten the screw with a screwdriver or Allen wrench. Turn on the water supply and check for leaks. If everything is secure and there are no leaks, your faucet cartridge replacement is complete. Test the faucet to ensure smooth operation and proper water flow.

Troubleshooting Common Issues
Leaks After Replacement
If you notice leaks after replacing the cartridge, check that the cartridge is seated properly and that the retaining clip or cap is securely in place. Ensure the O-rings and seals are intact and properly greased. If leaks persist, the cartridge may be defective or incompatible with your faucet model. Consider rechecking the cartridge specifications or consulting a professional.
Difficulty Removing the Old Cartridge
Removing an old cartridge can be challenging, especially if it’s stuck due to mineral buildup or corrosion. Using a cartridge puller can make the process easier. Apply penetrating oil around the cartridge to loosen it, and allow it to sit for a few minutes before attempting removal. If the cartridge is still difficult to remove, consider seeking professional assistance to avoid damaging the faucet.
Water Flow Issues
If the water flow is weak or inconsistent after replacing the cartridge, check for debris or mineral buildup in the faucet aerator. Remove the aerator and clean it thoroughly. Ensure the new cartridge is installed correctly and that there are no blockages in the water supply lines. If water flow issues persist, there may be a problem with the cartridge itself.
Handle Operation Problems
If the faucet handle is stiff or difficult to operate after installation, ensure the cartridge is properly lubricated with plumber’s grease. Check that the handle is securely attached and that the set screw is tightened appropriately. If the handle continues to be problematic, the cartridge may not be seated correctly or may be defective.
Noise or Vibration
Unusual noise or vibration from the faucet after replacing the cartridge can indicate a loose cartridge or improper installation. Ensure all components are tightly secured and the cartridge is correctly positioned. If the noise persists, check for air in the water lines and bleed the lines if necessary. Persistent issues may require further inspection by a professional.
Inconsistent Water Temperature
If you experience inconsistent water temperature control after replacing the cartridge, ensure the cartridge is the correct type and model for your faucet. Check that it’s properly installed and aligned. In some cases, adjusting the cartridge position can resolve temperature control issues. If problems continue, consider consulting the faucet manufacturer or a plumber for further guidance.
Preventive Maintenance for Faucet Cartridges
Regular Cleaning
Regular cleaning of your faucet and its components helps prevent mineral buildup and prolongs the life of the cartridge. Wipe down the faucet with a soft cloth and mild cleaner to remove dirt and grime. Periodically clean the aerator to maintain optimal water flow and pressure.
Using Water Softeners
Installing a water softener can significantly reduce mineral buildup from hard water, protecting your faucet cartridge and other plumbing fixtures. Water softeners remove calcium and magnesium ions, preventing scale formation. This extends the lifespan of your cartridge and ensures smooth operation.
Annual Inspections
Conduct annual inspections of your faucet and cartridge to identify any signs of wear or damage. Look for leaks, reduced water flow, or difficulty in handle operation. Early detection of issues allows for timely replacement, preventing more significant problems and maintaining efficient water flow.
Lubrication
Apply plumber’s grease to the cartridge O-rings and seals during regular maintenance to ensure smooth operation and prevent leaks. Proper lubrication reduces friction and wear, extending the cartridge’s lifespan. This simple step can prevent many common issues associated with cartridge wear.
Replacing Worn Parts
If you notice any worn or damaged parts during inspections, replace them promptly. This includes O-rings, seals, and the cartridge itself. Keeping your faucet components in good condition ensures reliable performance and prevents unexpected failures.
Consulting Professionals
For complex maintenance tasks or if you encounter persistent issues, consult a licensed plumber. They can provide expert advice, perform thorough inspections, and address any underlying problems. Professional maintenance ensures your faucet operates efficiently and extends the life of your cartridge.
Common Mistakes to Avoid
Using the Wrong Cartridge
One of the most common mistakes is using the wrong replacement cartridge for your faucet. Ensure you identify the exact make and model of your faucet and purchase the compatible cartridge. Using an incorrect cartridge can result in leaks, improper fit, and poor performance.
Skipping Water Supply Shut-off
Failing to shut off the water supply before starting the replacement process can lead to water damage and flooding. Always turn off the water supply valves under the sink or the main water supply to your home to prevent any water flow while working on the faucet.
Not Lubricating the Cartridge
Neglecting to lubricate the O-rings and seals on the new cartridge can lead to stiff operation and potential leaks. Apply a small amount of plumber’s grease to ensure smooth movement and a secure seal. This step is crucial for maintaining the cartridge’s performance and longevity.
Improper Cartridge Installation
Incorrectly installing the cartridge, such as not seating it properly or misaligning it, can cause leaks and operational issues. Follow the manufacturer’s instructions carefully and ensure the cartridge is firmly in place. Proper installation is key to preventing future problems.
Overtightening Components
Overtightening screws, nuts, or the faucet handle can damage the components and lead to leaks or operational issues. Tighten components just enough to secure them, avoiding excessive force. Using the right tools and being gentle ensures the integrity of the faucet.
Neglecting Regular Maintenance
Skipping regular maintenance, such as cleaning and inspections, can result in mineral buildup, wear, and unexpected failures. Incorporate routine maintenance into your schedule to keep your faucet and cartridge in optimal condition. Preventive care helps avoid costly repairs and replacements.
How do I know if my faucet cartridge needs to be replaced?
Signs that your faucet cartridge needs replacement include dripping or leaking from the faucet, difficulty adjusting water temperature, and reduced water flow. You might also notice water leaking from the base of the handle or inconsistent water pressure. Regular inspections can help identify these issues early.
Can I replace a faucet cartridge myself, or do I need a professional?
Replacing a faucet cartridge is generally a manageable DIY task if you have basic plumbing skills and the right tools. However, if you’re unsure about the process, the type of cartridge needed, or encounter difficulties during the replacement, it’s advisable to consult a professional plumber to ensure the job is done correctly.
What tools do I need to replace a faucet cartridge?
Essential tools for replacing a faucet cartridge include an adjustable wrench, screwdriver (Phillips or flathead), pliers, and a utility knife. Depending on your faucet model, you might also need an Allen wrench or hex key for set screws and a cartridge puller for removing stubborn cartridges. Plumber’s grease is useful for lubricating O-rings and seals.
How long does it take to replace a bathroom faucet cartridge?
The time required to replace a bathroom faucet cartridge depends on your familiarity with the process and the condition of the faucet. On average, it can take about 30 minutes to an hour. This includes turning off the water supply, removing the old cartridge, installing the new one, and reassembling the faucet.
What should I do if my faucet still leaks after replacing the cartridge?
If your faucet still leaks after replacing the cartridge, ensure that the new cartridge is seated properly and that all components are securely fastened. Check for any damaged O-rings or seals that might need replacement. If leaks persist, the cartridge might be defective, or there could be another underlying issue. Consulting a professional plumber is recommended.
How can I prevent my faucet cartridge from wearing out quickly?
To prevent your faucet cartridge from wearing out quickly, perform regular maintenance such as cleaning the faucet and aerator to prevent mineral buildup. Using water softeners can reduce hard water deposits. Lubricate the cartridge O-rings and seals periodically with the plumber’s grease. Conduct annual inspections to identify and address any signs of wear or damage early.
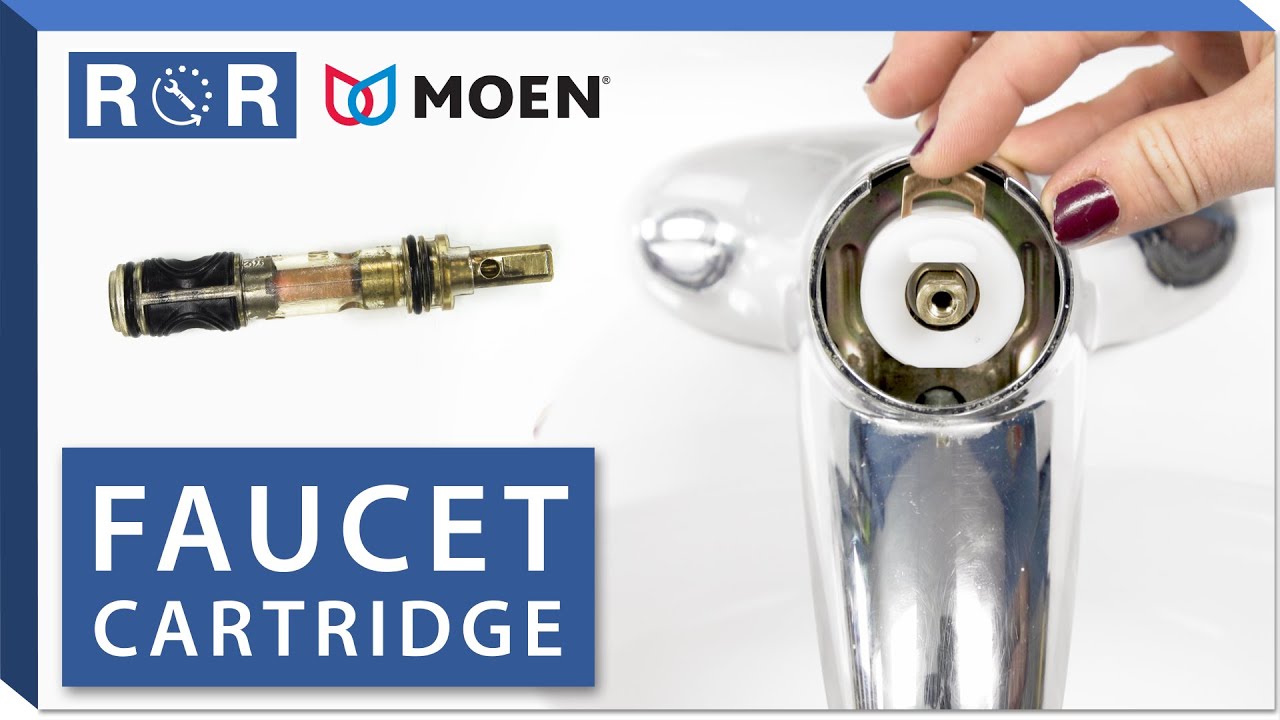
Moen Faucet Cartridge Replacement Model 84670 Eliana: LONG VERSION
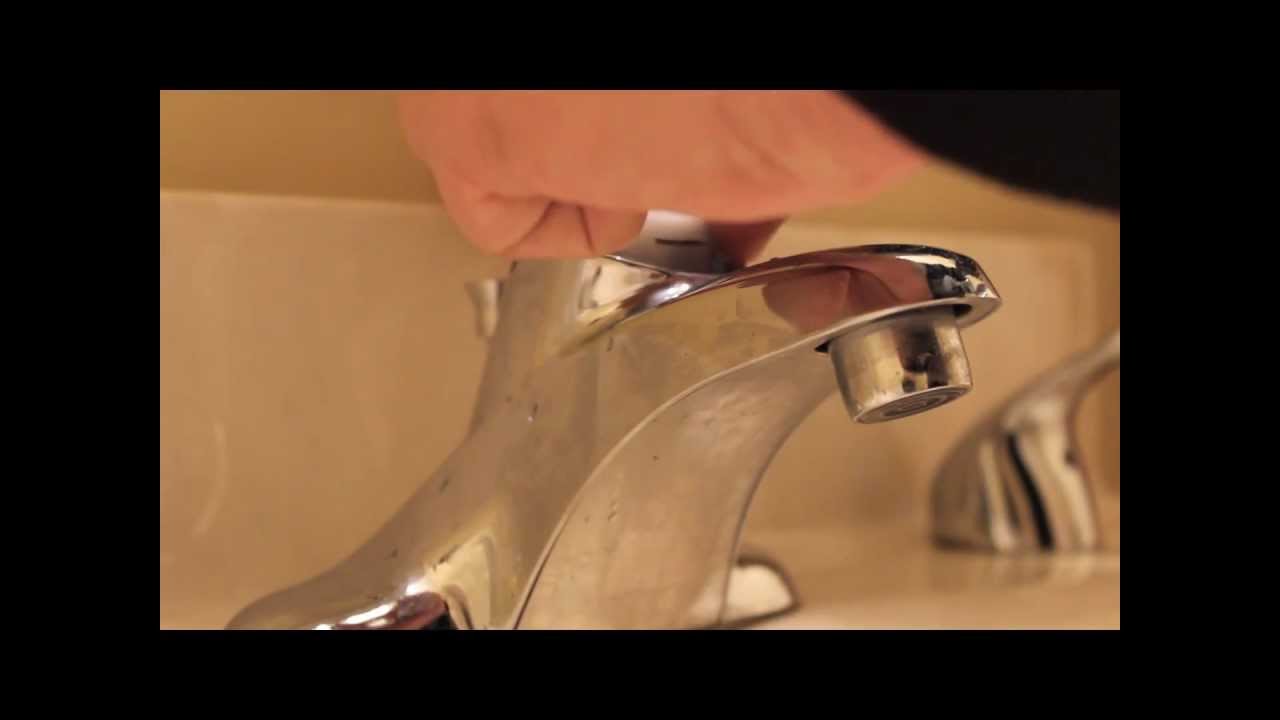
How to repair moen bathroom faucet dripping water – cartridge removal replace single lever
Replace a Moen Shower Cartridge – Fix Leaky Tub Faucet

Moen Cartridge Puller for 1200, 1222 and 1225 Single Handle Cartridges with One-Handle PosiTemp Faucet Cartridge Replacement for Moen Tub Shower
Moen 2-Handle Brass and Plastic Faucet/Tub/Shower Cartridge in the
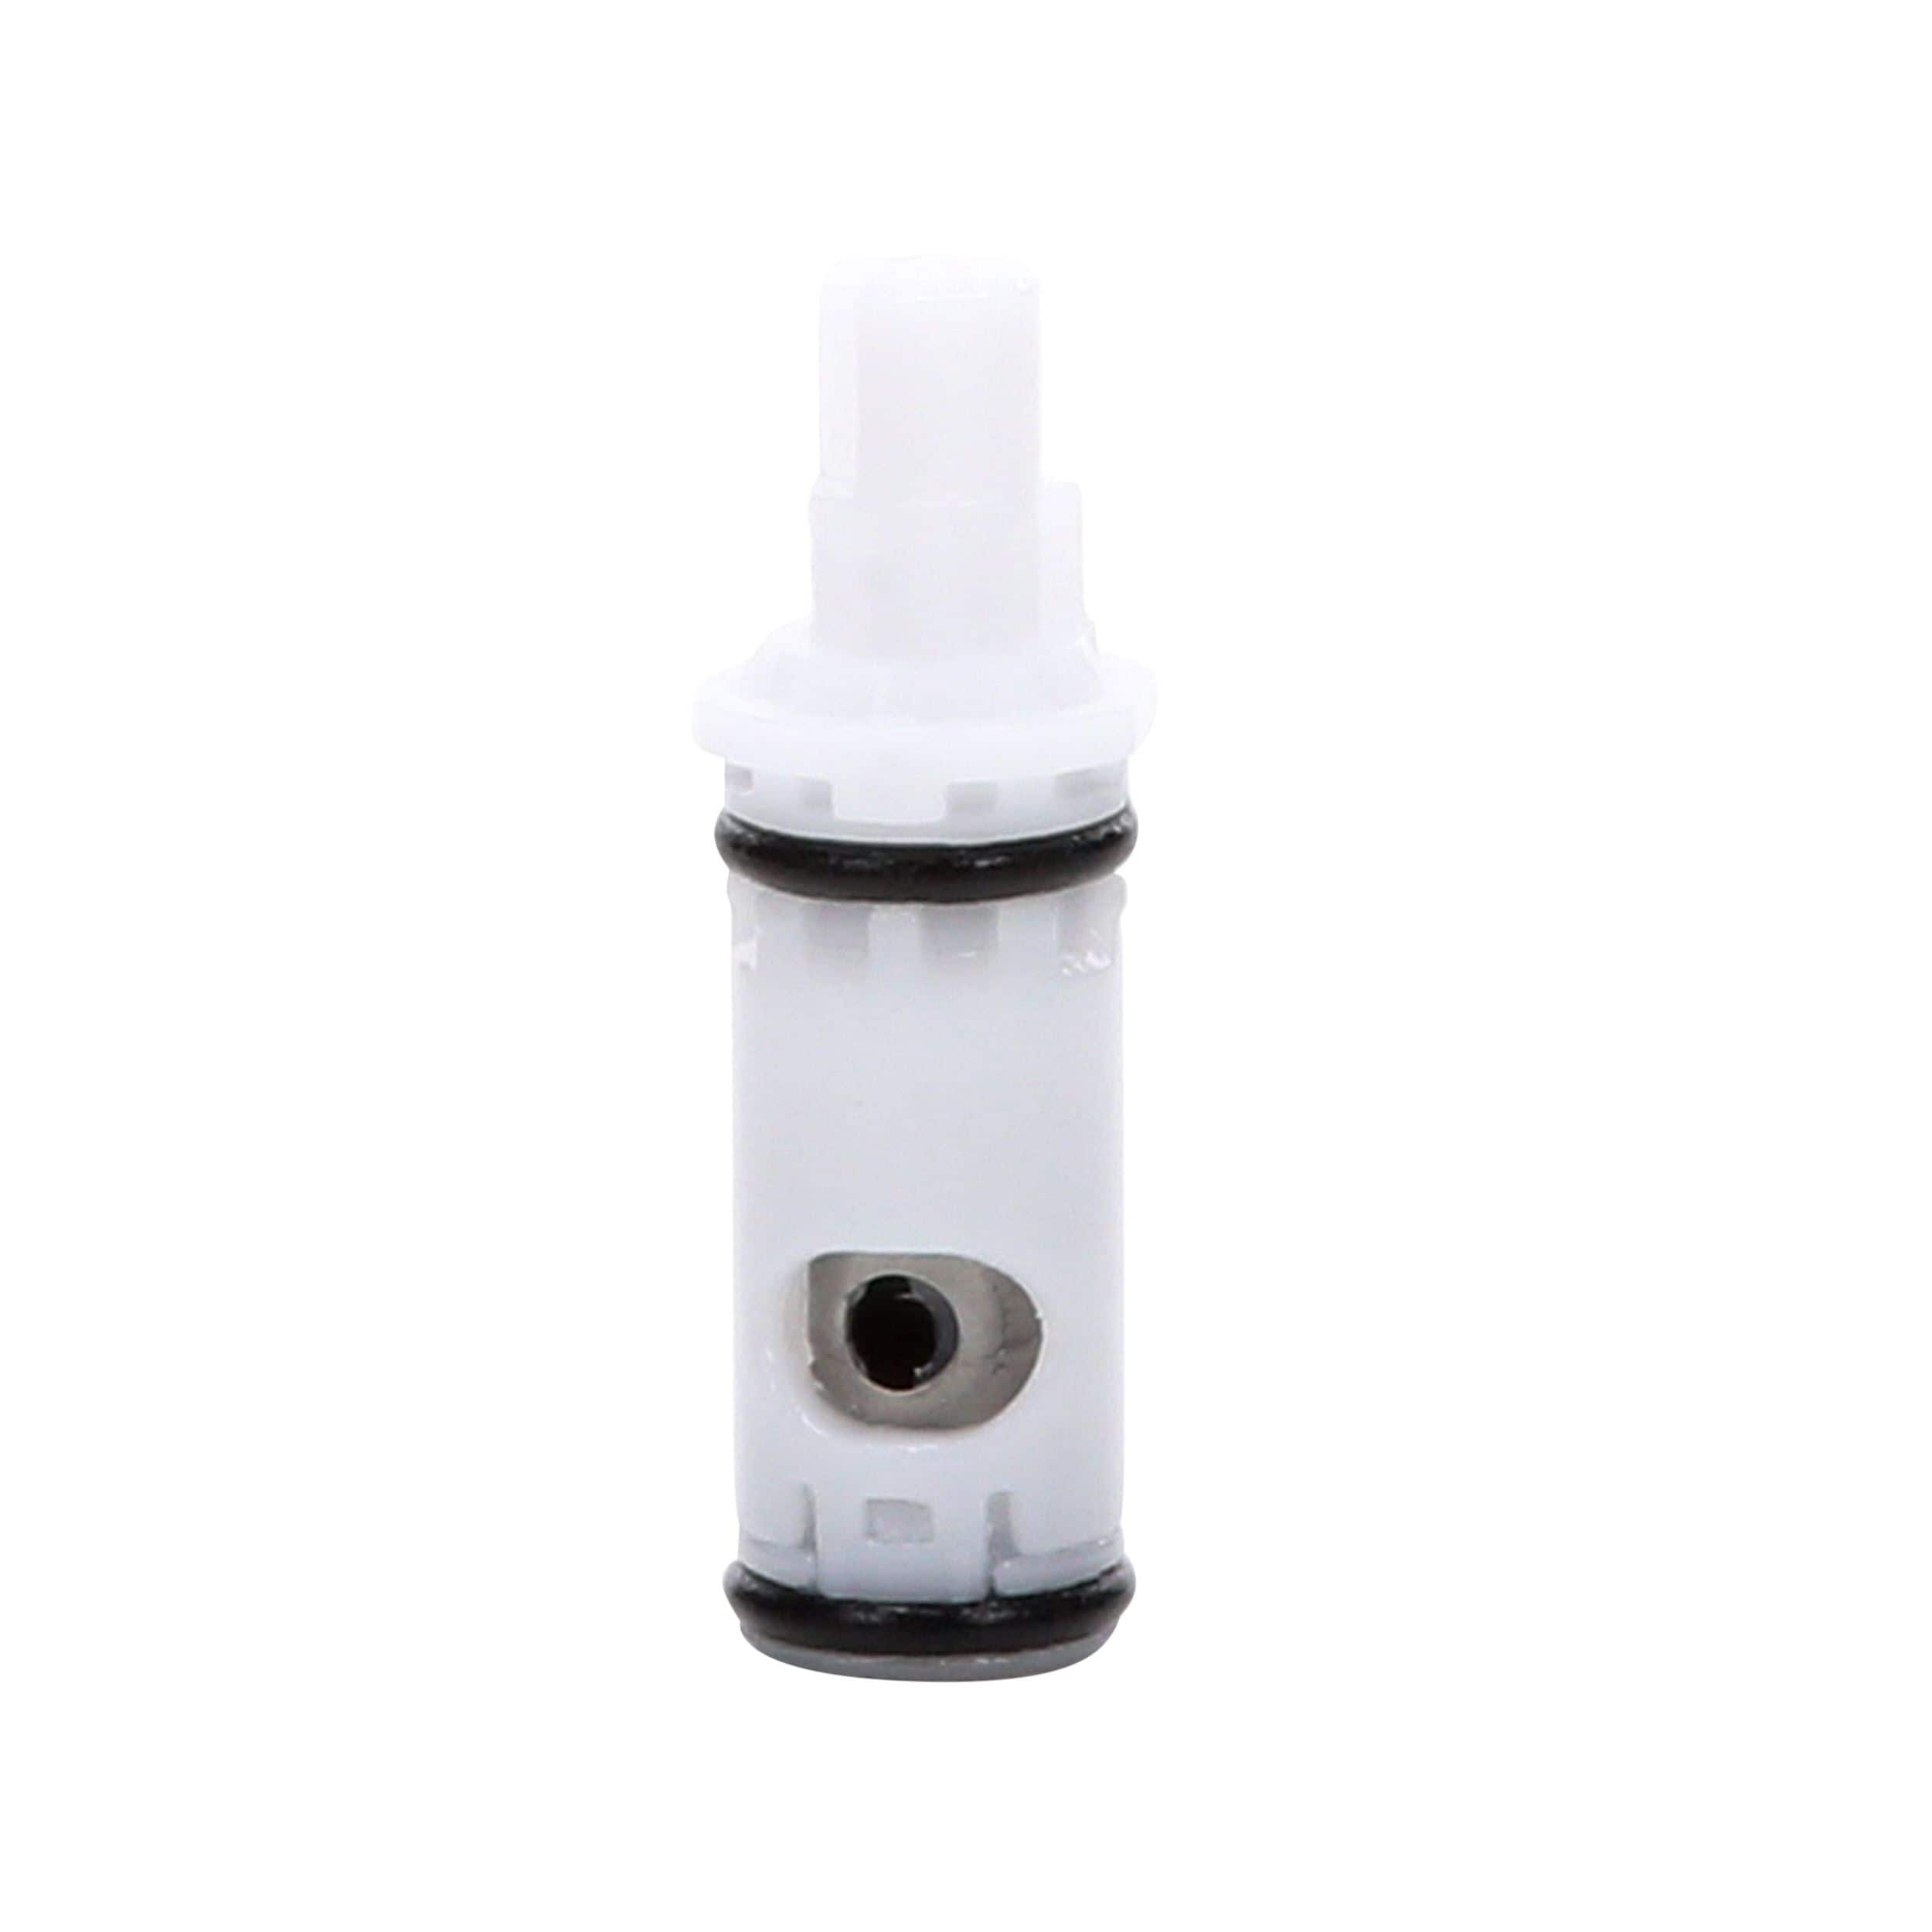
Moen 1225 Replacement
Related Posts:
- Peerless Single Handle Bathroom Faucet Repair
- Single Control Bathroom Faucet
- Delta Linden Single Handle Bathroom Faucet
- Chrome Two Handle Widespread Bathroom Faucets
- Chrome Brass Bathroom Faucets
- Bathroom Faucets Vintage
- Price Pfister Amherst Bathroom Faucet
- Bathroom Faucet Handle Caps
- Price Pfister Contempra Bathroom Faucet
- Bathroom Faucet Ottawa


