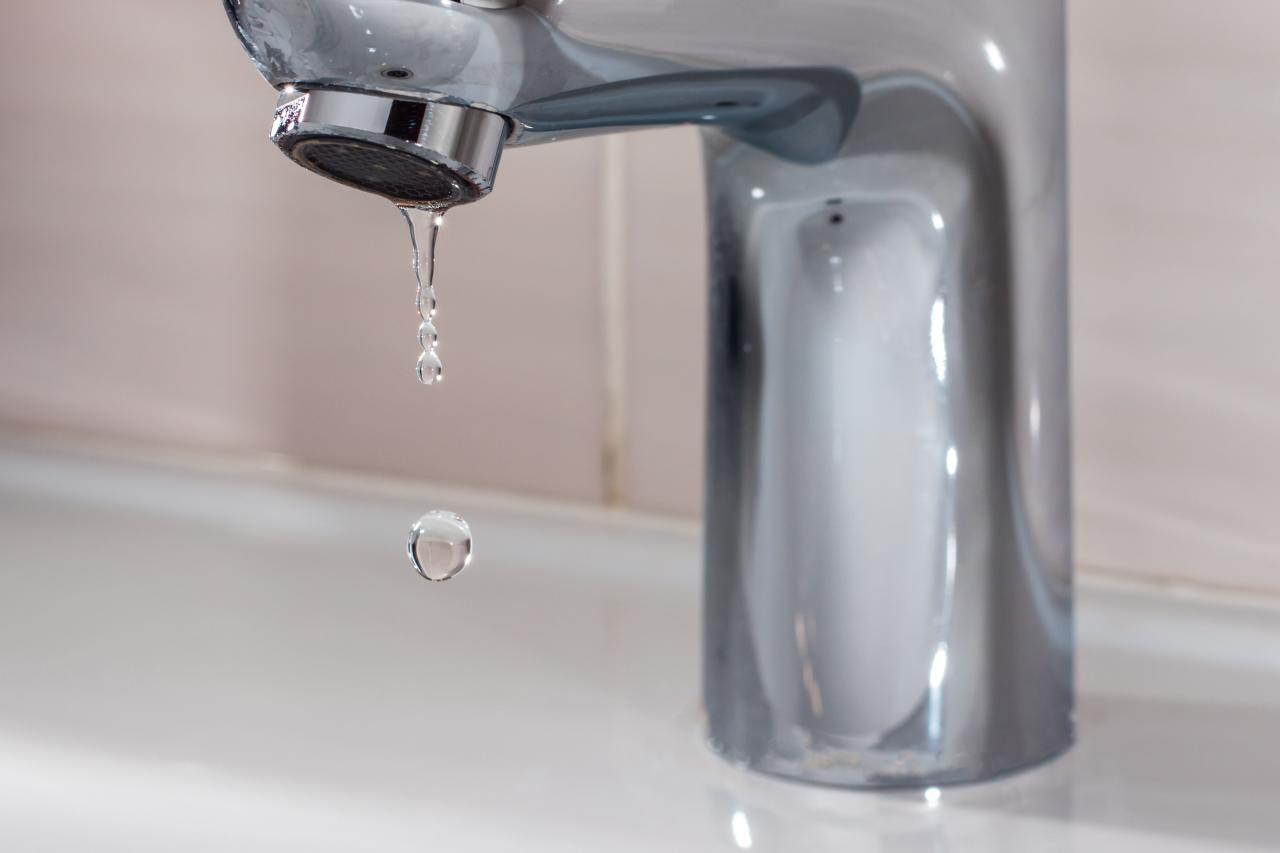
Why is My Bathroom Faucet Dripping?
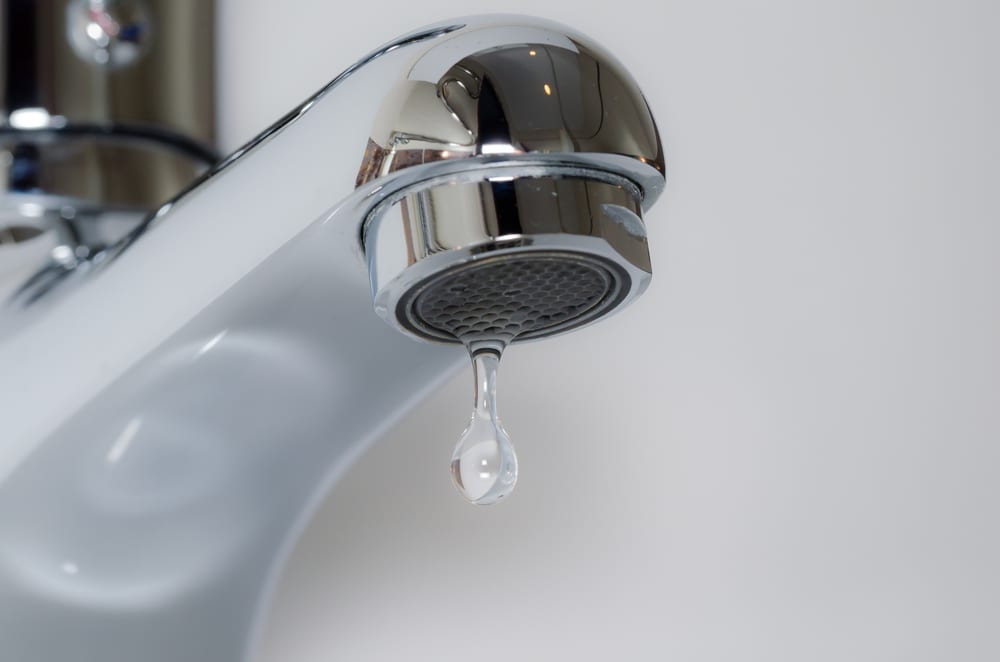
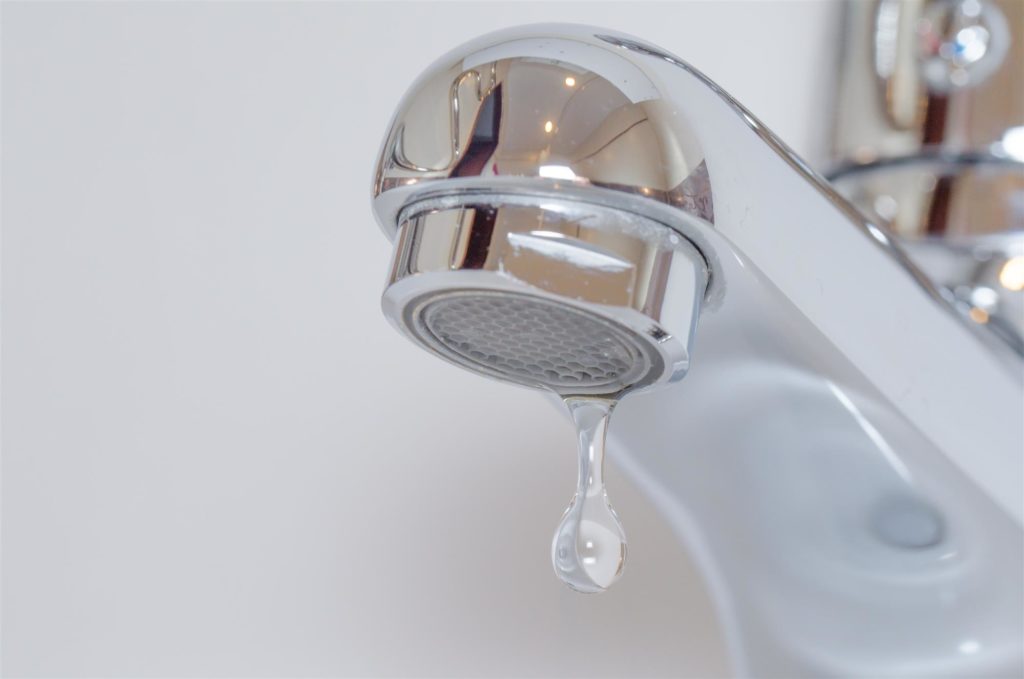
A dripping bathroom faucet is not only annoying, but it can also increase your water bill over time if left unchecked. If you’ve ever wondered why your faucet keeps dripping despite your best efforts to tighten the handle, you’re not alone. Drips often occur due to small, fixable issues. Understanding the cause can help you stop the leak and prevent future problems. Let’s break down the most common reasons why your bathroom faucet might be dripping.
- Worn-Out Washers: One of the most common culprits behind a dripping faucet is a worn-out washer. In compression faucets, the rubber washers press against the valve seat, controlling the water flow. Over time, these washers can wear out due to constant friction. As a result, they lose their ability to form a tight seal, leading to a slow drip. Replacing the washer is a simple fix, and it’s usually inexpensive.
- Damaged O-Rings: O-rings are small rubber rings that help seal the faucet’s handle. Over time, O-rings can become loose or damaged, especially in cartridge faucets. A worn-out O-ring may cause water to drip near the faucet handle. If the drip is coming from the base of the handle rather than the spout, the O-ring is likely the problem. Swapping out a damaged O-ring is a straightforward repair.
- Corroded Valve Seat: The valve seat is the connection point between the faucet and the spout. In some cases, mineral deposits from hard water can cause the valve seat to corrode, creating gaps that allow water to drip from the faucet. Cleaning or replacing the valve seat can solve this issue, but it may require disassembling the faucet to get to the valve seat itself.
- Loose or Faulty Faucet Parts: Over time, the small components inside your faucet can loosen, contributing to leaks. If the handles, nuts, or screws inside the faucet aren’t tightened properly, water may leak from various points. Regular use can also cause components to break down or become misaligned, requiring you to tighten or replace them.
- High Water Pressure: Surprisingly, high water pressure can cause faucets to drip, especially at night when less water is being used in your home. If the water pressure is too high, it can prevent water from flowing smoothly through the pipes, causing small leaks. You might need to adjust the pressure regulator if this is the case.
- Worn-Out Faucet Cartridges: In cartridge faucets, the cartridge controls the water flow. If it becomes worn or cracked, it can cause a persistent drip. Fortunately, replacing the cartridge is often a simple and inexpensive fix, and doing so can restore the faucet’s function.
How to Identify the Type of Faucet You Have Before Fixing the Drip
Before diving into fixing your dripping faucet, it’s important to know what type of faucet you have. Different faucets have unique mechanisms and parts, so understanding your faucet’s design will help you find the right solution and replacement components. There are four main types of bathroom faucets, and identifying yours will make the repair process easier and more efficient.
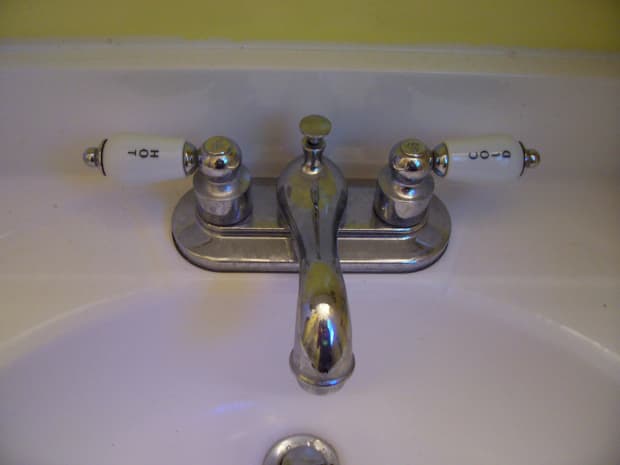
Compression Faucets: Compression faucets are the oldest and most common type of faucet, and they’re usually found in older homes. They have two separate handles—one for hot water and one for cold. When you turn the handle, a stem inside the faucet raises or lowers, which compresses a rubber washer that stops the water flow. If you have to twist the handle multiple times to fully turn off the water, you likely have a compression faucet.
Cartridge Faucets: Cartridge faucets are a bit more modern and are easier to operate. Instead of twisting the handle, you can raise or lower it to control water flow. These faucets are either single-handle or double-handle, and they use a cartridge to regulate water flow. If you notice smooth, precise control when adjusting your water, you probably have a cartridge faucet. Cartridge faucets tend to leak when the cartridge inside wears out or cracks.
Ball Faucets: Ball faucets are typically single-handle designs, often found in kitchen sinks but sometimes used in bathrooms as well. The handle moves in multiple directions to control both the temperature and the water flow. Inside, a metal ball works with various seals and springs to mix hot and cold water. Ball faucets are more prone to leaks than other types because they have more moving parts that can wear out.
Ceramic Disk Faucets: Ceramic disk faucets are known for their durability and high-end feel. These faucets feature a single handle that moves over a pair of ceramic disks. When the disks align, water flows, and when they misalign, the flow stops. Ceramic disk faucets rarely leak, but when they do, it’s usually because the disks have become damaged or the seal is worn out.
How to Identify Your Faucet Type: Start by examining the handle design. If it has separate handles for hot and cold, it’s likely a compression or cartridge faucet. Single-handle faucets are usually ball or ceramic disk types. You can also try removing the handle to inspect the inner components. If you find a rubber washer, it’s a compression faucet. If there’s a cartridge or ball mechanism, you’ll know what type you’re dealing with.
Why It’s Important to Know Your Faucet Type: Knowing your faucet type allows you to purchase the right replacement parts and tools. For instance, compression faucets often need new washers, while cartridge faucets require a replacement cartridge. By identifying the faucet type ahead of time, you’ll save yourself a lot of hassle during the repair process.
Tools You’ll Need to Fix a Dripping Bathroom Faucet
If you’re ready to tackle that dripping bathroom faucet, having the right tools on hand is essential. Fortunately, fixing a leaky faucet doesn’t require a huge toolbox—just a few key tools and materials. Here’s a rundown of everything you’ll need to fix your faucet efficiently and effectively.
Adjustable Wrench
An adjustable wrench is one of the most versatile tools you can have when fixing a faucet. It’s perfect for loosening and tightening nuts, bolts, and screws of various sizes. When removing the faucet handle or replacing a valve seat, an adjustable wrench will help you get the job done without damaging the faucet components.
Screwdriver (Flathead and Phillips)
Many faucets require a screwdriver to remove the handle and other parts. Having both a flathead and Phillips screwdriver on hand is helpful, as different faucets may use different types of screws. A small screwdriver set can make it easier to reach tight spaces without stripping the screws.
Plumber’s Tape (Teflon Tape)
Plumber’s tape is a thin, stretchy tape used to create a watertight seal on threaded pipe joints. When reassembling your faucet, you’ll want to wrap the threads of any new parts (like a cartridge or valve seat) with plumber’s tape to prevent leaks. It’s easy to use and essential for ensuring a long-lasting fix.
Faucet Repair Kit
If you know the type of faucet you have, you can often buy a faucet repair kit that contains all the replacement parts you’ll need—such as washers, O-rings, and cartridges. These kits are available at most hardware stores and come with instructions to guide you through the repair process. Having a kit on hand ensures you have the right parts without making multiple trips to the store.
Allen Wrench
Some faucets, particularly modern ones, use small set screws to secure the handle. These screws can often be removed with an Allen wrench. If your faucet handle doesn’t come off easily, check for a small screw underneath or on the side, and use an appropriately sized Allen wrench to loosen it.
Replacement Parts
Depending on what’s causing the drip, you may need to replace various parts of the faucet, such as the washers, O-rings, valve seats, or cartridges. Be sure to bring the old part with you to the hardware store to ensure you get the correct replacement. A quick search of your faucet’s brand and model online can also help you find the right parts.
Step-by-Step Guide to Fixing a Dripping Compression Faucet
A compression faucet is one of the most common types, and it’s also one of the easiest to fix when it starts dripping. Compression faucets use rubber washers to control water flow, and these washers wear out over time. If you’re dealing with a leaky compression faucet, here’s a step-by-step guide to help you get it fixed in no time.
Turn Off the Water Supply
Before you start any repair, always turn off the water supply. Look for the shutoff valves under the sink and turn them clockwise to close. This will prevent water from flooding the bathroom when you start disassembling the faucet. Once the water is off, open the faucet to drain any remaining water in the lines.
Remove the Faucet Handles
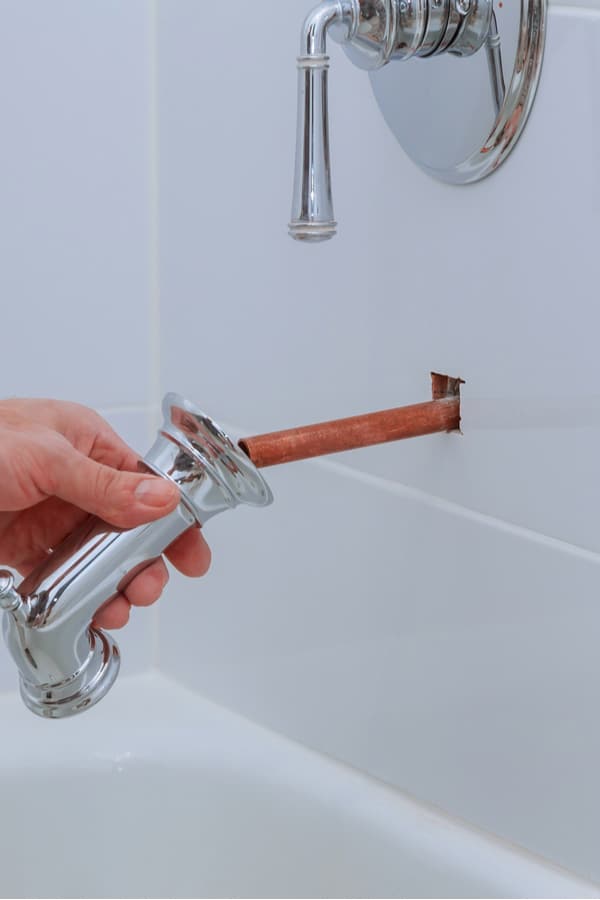
Use a screwdriver to remove the screws holding the faucet handles in place. These screws are usually located under a decorative cap on top of the handles, which you can pry off with a flathead screwdriver. Once the screws are out, gently pull the handles off the faucet.
Remove the Stem Assembly
After the handles are removed, you’ll see the stem assembly that controls the water flow. Use an adjustable wrench to loosen and remove the packing nut, which holds the stem in place. Once the nut is off, pull out the stem. This is where the rubber washer that’s causing the leak is located.
Replace the Rubber Washer
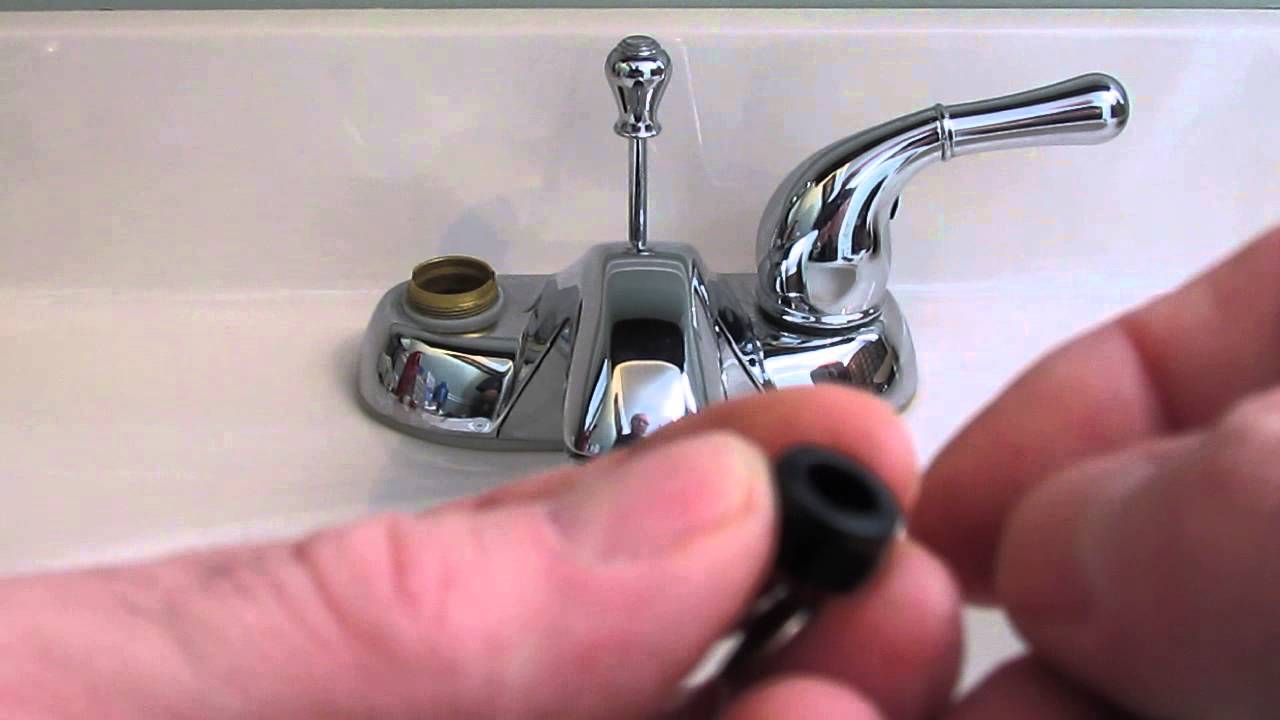
At the base of the stem, you’ll find a rubber washer. Over time, this washer can become brittle and worn, which causes the faucet to drip. Use a screwdriver to remove the old washer, and replace it with a new one that’s the same size and thickness. Make sure the new washer sits snugly in place.
Reassemble the Faucet
Once the new washer is in place, it’s time to reassemble the faucet. Start by reinserting the stem and tightening the packing nut with your adjustable wrench. Then, reattach the faucet handles with the screws you removed earlier. Make sure everything is tightened securely, but be careful not to overtighten, as this could damage the components.
Test for Leaks
Turn the water supply back on and slowly open the faucet to check for any leaks. If everything is working properly, the drip should be gone, and the water should stop completely when the faucet is closed. If the faucet is still dripping, you may need to inspect the other components, such as the O-ring or valve seat.
How to Fix a Leaking Cartridge Faucet: A DIY Solution
Cartridge faucets are popular for their ease of use and sleek design, but like any faucet, they can develop leaks over time. The most common cause of a leak in a cartridge faucet is a worn-out cartridge. Fortunately, replacing the cartridge is a relatively simple process that you can do yourself. Follow these steps to fix your leaking cartridge faucet.
Turn Off the Water Supply
As with any faucet repair, start by turning off the water supply. Look for the shutoff valves under the sink and turn them off. Open the faucet to release any remaining water in the pipes.
Remove the Faucet Handle
Use a screwdriver or Allen wrench to remove the screws securing the faucet handle. These screws are usually located under a decorative cap on top of the handle or at the base. Once the screws are removed, gently pull the handle off to reveal the cartridge inside.
Remove the Cartridge
The cartridge is the part of the faucet that controls water flow and temperature. To remove it, you’ll need to take out the retaining clip or nut that holds it in place. Use pliers or an adjustable wrench to carefully remove the retaining clip. Once the clip is out, pull the cartridge straight up to remove it from the faucet body.
Replace the Cartridge
Take the old cartridge to the hardware store to ensure you get an exact match. Once you have the new cartridge, insert it into the faucet in the same orientation as the old one. Make sure it’s seated properly, and then reattach the retaining clip or nut to hold it in place.
Reassemble the Faucet
After the new cartridge is installed, reattach the faucet handle by securing it with the screws you removed earlier. Make sure everything is tightened properly, but don’t overtighten, as this could damage the faucet components.
Test the Faucet
Turn the water supply back on and test the faucet by slowly opening and closing it. If the leak has stopped and the water flow is smooth, you’ve successfully fixed your leaking cartridge faucet. If the faucet is still leaking, you may need to inspect other parts, such as the O-rings or seals.
When to Call a Plumber: Signs Your Faucet Leak is a Bigger Problem
Fixing a leaky faucet is often a straightforward DIY task, but sometimes the problem is bigger than a simple washer or cartridge replacement. In certain cases, it’s best to call a plumber to avoid making the situation worse. If you’ve attempted to fix your faucet and the leak persists, or if you notice other warning signs, it might be time to bring in a professional. Here are some red flags that indicate a more serious issue.
The Leak Persists After Multiple Repairs
If you’ve tried replacing washers, cartridges, and O-rings, but the faucet is still leaking, it could indicate a deeper issue with the faucet’s internal components or the plumbing itself. In this case, a plumber can diagnose the problem and recommend a more permanent solution.
Low Water Pressure
If you notice a sudden drop in water pressure along with the leak, it could be a sign of a bigger plumbing issue. Low water pressure could indicate a clog in the pipes or even a leak somewhere else in the plumbing system. A plumber can assess the situation and fix any underlying issues.
Corrosion or Rust
If the faucet or the pipes under the sink are corroded or rusting, it’s a sign that the plumbing system is aging and may need more extensive repairs or replacements. A professional plumber can determine whether the faucet needs to be replaced entirely or if the corroded parts can be repaired.
Water Damage Around the Sink
If you notice water damage, mold, or mildew around the sink or underneath the vanity, it could indicate a leak that has gone unnoticed for some time. Water damage can lead to costly repairs if not addressed quickly. A plumber can locate the source of the leak and repair it before more damage occurs.
The Faucet Is Old or Outdated
If your faucet is old and continuously develops leaks despite repairs, it might be time to replace it. A plumber can recommend modern, efficient faucets that will not only stop the leaks but also improve the overall look and functionality of your bathroom.
You’re Not Comfortable with DIY Repairs
If you’re unsure about taking apart your faucet or don’t feel confident in your ability to fix it, there’s no shame in calling a professional. Plumbers have the expertise and tools to quickly fix leaks without causing further damage, saving you time and stress in the long run.
Preventing Future Faucet Leaks: Maintenance Tips and Best Practices
After you’ve fixed your leaky faucet, the last thing you want is for the problem to come back. Regular maintenance can help prevent future leaks and extend the life of your faucet. By following a few simple tips, you can keep your faucet in great shape and avoid costly repairs down the road.
Inspect the Faucet Regularly
One of the easiest ways to prevent leaks is by regularly inspecting your faucet for signs of wear and tear. Check the handles, spout, and base for any drips, rust, or mineral deposits. Catching small problems early can help prevent bigger issues from developing.
Clean the Faucet and Aerator
Mineral deposits from hard water can build up inside the faucet and the aerator, which can affect water flow and cause leaks. Every few months, remove the aerator from the faucet spout and clean it with a vinegar solution to dissolve any mineral buildup. Also, wipe down the exterior of the faucet with a soft cloth to prevent corrosion.
Tighten Loose Parts
Over time, the screws and nuts inside your faucet can loosen, causing leaks. Periodically check the faucet handles, spout, and other components for any looseness, and tighten them as needed. Just be careful not to overtighten, as this can damage the faucet.
Replace Worn-Out Washers and O-Rings
Washers and O-rings are the most common parts to wear out in a faucet. If you notice that your faucet is starting to drip again, check these components first. Keeping a few spare washers and O-rings on hand can make it easy to replace them as soon as they start to wear out.
Monitor Water Pressure
High water pressure can cause strain on your faucet’s internal components, leading to leaks. If you notice that your water pressure is higher than usual, consider installing a pressure regulator to keep it at a safe level. This will help prolong the life of your faucet and prevent unnecessary wear.
Schedule Professional Inspections
Even if your faucet seems to be working fine, it’s a good idea to have a plumber inspect your plumbing system every few years. A professional can spot potential problems that you might miss and recommend preventive measures to keep your faucet and plumbing in good condition.
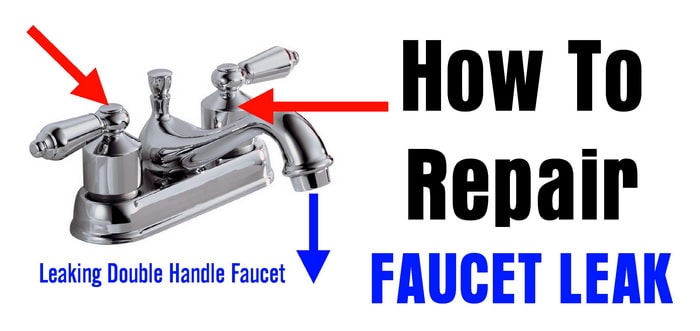
How To Repair A Leaking Double Handle Faucet
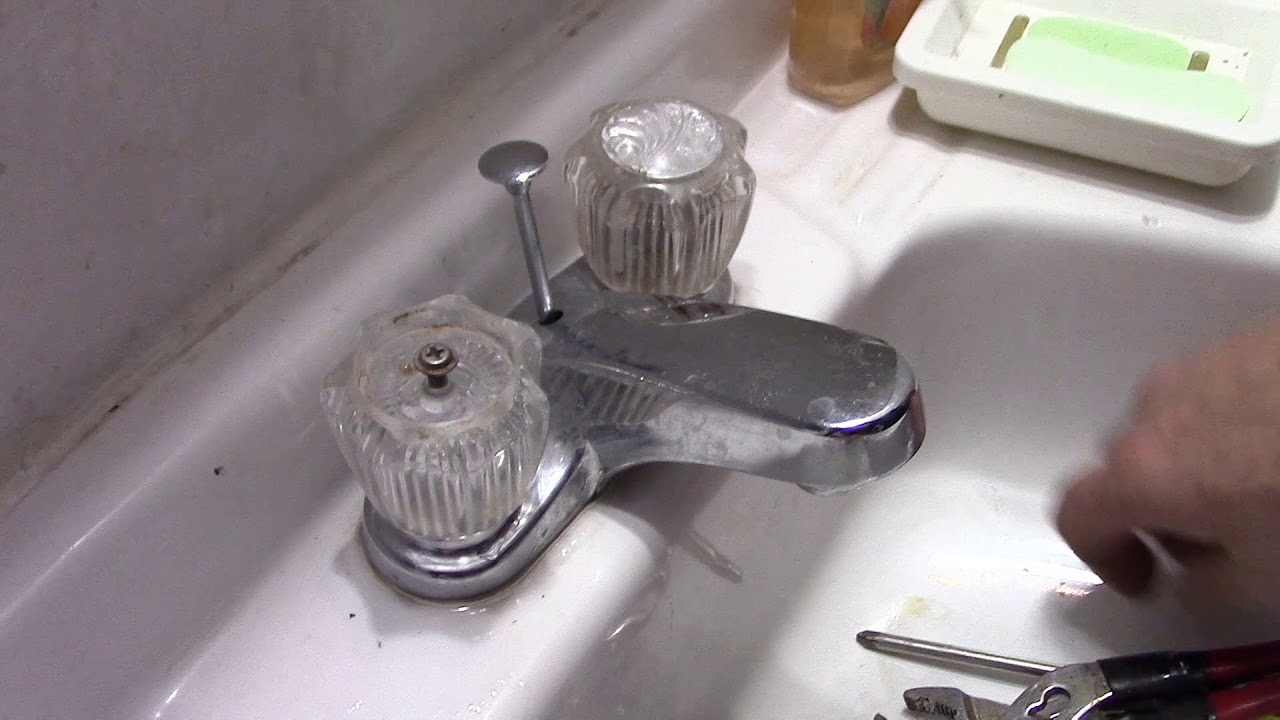
Sink Faucet Repair, Delta Bathroom Sink Drips
Easy Steps to Fix a Leaky Bathtub Faucet
Why Is My Faucet Dripping Nonstop?
Related Posts:
- Hot And Cold Bathroom Faucet Knobs
- Antique Wall Mounted Bathroom Faucets
- Vintage Bathroom Faucet Handles
- Bathroom Faucet Assembly Diagram
- Fix Bathroom Faucet Handle
- Replace Old Bathroom Faucet
- Single Control Bathroom Faucet
- Fix Dripping Bathroom Faucet
- Remove Aerator Delta Bathroom Faucet
- Replacing Bathroom Faucet Washer
