Understanding the Importance of the Aerator in a Delta Bathroom Faucet
The aerator is a small but essential component of a Delta bathroom faucet. While it may seem insignificant, the aerator plays a crucial role in maintaining water efficiency, reducing splashing, and preventing the buildup of limescale. Let’s discuss the importance of the aerator in a Delta bathroom faucet and how it contributes to a smooth and efficient water flow.
- What is an Aerator? An aerator is a device that is attached to the end of a faucet. It consists of a mesh screen and a flow restrictor. The mesh screen helps to break up the water stream, reducing splashing and creating a more gentle flow. The flow restrictor limits the amount of water that flows through the faucet, thus promoting water conservation.
- Water Efficiency: One of the primary functions of an aerator is to promote water efficiency. By introducing air into the water stream, the aerator reduces the amount of water used while maintaining a steady flow. This helps to conserve water and reduce your water consumption, leading to lower water bills and a more sustainable bathroom environment.
- Reducing Splashing: The aerator’s mesh screen plays a vital role in reducing splashing while using the faucet. It breaks up the water stream into multiple smaller streams, dispersing the force and preventing water from splashing everywhere. This is particularly important in bathroom sinks, where water splashing can cause inconvenience and mess. The aerator ensures a controlled and contained flow of water, making it easier to wash hands, brush teeth, or perform any other bathroom tasks without creating a watery mess.
- Preventing Limescale Buildup: Limescale, a white, chalky deposit that forms on faucets and other fixtures, is a common problem in areas with hard water. The aerator helps prevent limescale buildup by introducing air into the water stream. This aerated water is less likely to leave behind mineral deposits, keeping your faucet looking clean and functioning optimally. Regular cleaning of the aerator can further prevent limescale buildup and maintain the efficiency of your Delta bathroom faucet.
- Easy Installation and Replacement: Installing or replacing an aerator in a Delta bathroom faucet is a simple process. Most Delta faucets come with a removable aerator that can be unscrewed and replaced if needed. This allows for easy cleaning, maintenance, or upgrading to a different aerator that suits your specific needs. Delta offers a range of aerator options, including low-flow aerators and those with adjustable water flow settings, allowing you to customize your faucet’s performance.
How to Remove the Aerator from a Delta Bathroom Faucet
Removing the aerator from a Delta bathroom faucet is a simple process that can be done with basic tools and a few easy steps. Whether you need to clean or replace the aerator, this step-by-step guide will walk you through the process of removing it from your Delta bathroom faucet.
Gather the Necessary Tools: Before you begin, gather the necessary tools for removing the aerator. You will need an adjustable wrench or a pair of pliers, a cloth or towel to protect the faucet finish, and possibly some penetrating oil if the aerator is stuck or difficult to remove.
Turn Off the Water Supply: Before you start working on the faucet, it’s important to turn off the water supply. Locate the shut-off valves under the sink and turn them clockwise to shut off the water flow. This will prevent any accidental water leakage while you remove the aerator.
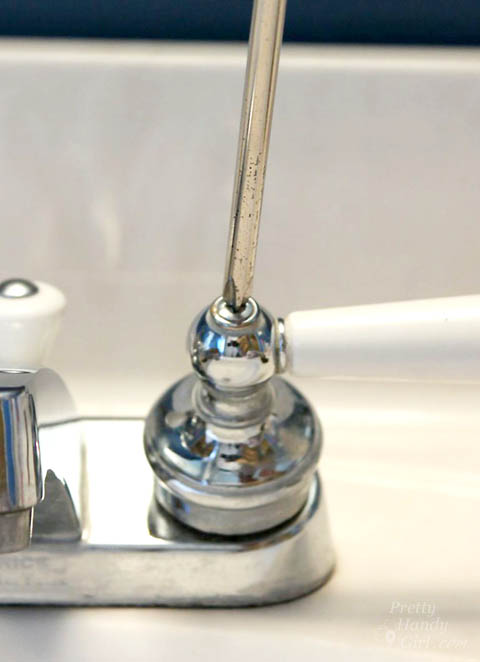
Protect the Faucet Finish: To protect the finish of your Delta bathroom faucet, wrap a cloth or towel around the aerator or use a strap wrench to grip it securely. This will help prevent any scratches or damage to the faucet surface while you apply force to remove the aerator.
Loosen and Unscrew the Aerator: Using an adjustable wrench or pliers, grip the aerator firmly and turn it counterclockwise to loosen and unscrew it from the faucet spout. If the aerator is stuck, you can apply some penetrating oil to help loosen it. Be careful not to apply excessive force as it may damage the aerator or the faucet.
Clean or Replace the Aerator: Once the aerator is successfully removed, you can proceed to clean it if needed. Soak the aerator in a mixture of warm water and vinegar to remove any mineral deposits or debris. Use a small brush, such as a toothbrush, to scrub away any stubborn buildup. If the aerator is damaged or not functioning properly, you can replace it with a new one from Delta or a compatible brand.
Reinstall and Restore Water Supply: After cleaning or replacing the aerator, carefully screw it back onto the faucet spout by turning it clockwise. Ensure it is securely tightened but be careful not to overtighten. Once the aerator is in place, turn on the water supply by turning the shut-off valves counterclockwise. Check for any leaks and ensure that the water flow is smooth and unrestricted.
Benefits of Removing the Aerator
Removing the aerator from a Delta bathroom faucet may seem counterintuitive, as it is designed to promote water efficiency. However, there are certain situations where removing the aerator can offer benefits such as improving water flow and saving money. Below are the advantages of removing the aerator from your Delta bathroom faucet and when it may be beneficial to do so.
Increased Water Flow: One of the primary benefits of removing the aerator is the potential for increased water flow. The aerator restricts the flow of water by adding air into the stream, which helps conserve water but can also reduce the pressure and flow rate. By removing the aerator, you allow the water to flow freely without any restrictions, resulting in a stronger stream. This can be particularly useful when filling containers, rinsing off larger objects, or when you require a higher water flow for specific tasks.
Enhanced Cleaning Power: With the aerator removed, the water flow becomes more forceful, which can enhance the cleaning power of the faucet. The increased water pressure can help remove stubborn dirt, grime, and soap residue more effectively. This can be especially beneficial when cleaning dishes, utensils, or other items that require a thorough scrubbing. The stronger water flow can make your cleaning tasks quicker and more efficient.
Quick Filling of Large Containers: Removing the aerator allows for a faster and more efficient filling of large containers, such as buckets or pots. Without the aerator’s flow restriction, the water flow becomes unimpeded, allowing you to fill containers more quickly. This can be advantageous when you need to fill a large pot for cooking, or when you have a bucket that requires a substantial amount of water.
Saving Money on Water Bills: While it may seem counterintuitive, removing the aerator can help save money on water bills in certain situations. The aerator is designed to reduce water usage by introducing air into the water stream, promoting water efficiency. However, if your water pressure is already low, the aerator may further decrease the flow rate, leading to longer water usage to complete tasks. By removing the aerator, you can potentially reduce the time spent using water, resulting in lower water consumption and subsequently, lower water bills.
Personal Preference and Convenience: Ultimately, the decision to remove the aerator from your Delta bathroom faucet may come down to personal preference and convenience. Some individuals simply prefer a stronger water flow and find the aerator restricts their water usage experience. Additionally, removing the aerator can make cleaning and filling tasks more efficient, saving time and effort. However, it’s important to note that removing the aerator may lead to increased water consumption if not used mindfully.
Cleaning and Maintaining the Aerator for Optimal Performance
Regular cleaning and maintenance of the aerator in your Delta bathroom faucet is essential for ensuring optimal performance and longevity. Over time, mineral deposits, debris, and sediment can accumulate in the aerator, causing reduced water flow and potential issues. Let’s discuss the importance of cleaning and maintaining the aerator, as well as provide step-by-step instructions on how to clean it effectively.
Why Clean the Aerator? Cleaning the aerator is crucial for maintaining the efficiency and performance of your Delta bathroom faucet. Over time, mineral deposits from hard water, debris, and sediment can build up in the aerator’s mesh screen, hindering water flow and causing splashing or uneven water distribution. Regular cleaning helps remove these deposits, ensuring a smooth and consistent water flow.
Gathering the Necessary Tools: Before you begin cleaning the aerator, gather the necessary tools. You will need a pair of pliers or an adjustable wrench, a small container, a toothbrush or small brush, white vinegar, and warm water.
Removing the Aerator: To clean the aerator, start by removing it from the faucet. Use pliers or an adjustable wrench to grip the aerator tightly and turn it counterclockwise to unscrew it from the faucet spout. Be careful not to use excessive force to avoid damaging the aerator or the faucet.
Disassembling the Aerator: Once the aerator is removed, disassemble it by carefully unscrewing the different components. Take note of the order in which the components are stacked to ensure proper reassembly later. If any parts are damaged or worn out, this is a good time to replace them.
Cleaning the Components: Fill a small container with equal parts warm water and white vinegar. Submerge the aerator components in the solution and let them soak for about 15-20 minutes. The vinegar will help dissolve mineral deposits and remove any debris or sediment. Use a toothbrush or small brush to gently scrub the components, paying particular attention to the mesh screen and any clogged or hard-to-reach areas.
Reassembling and Reinstalling the Aerator: After cleaning the components, rinse them thoroughly with water to remove any vinegar residue. Reassemble the aerator by stacking the components in the correct order. Hold the aerator securely and screw it back onto the faucet spout by turning it clockwise. Ensure that it is securely tightened but be careful not to overtighten.

Tips for Finding the Right Replacement for Your Delta Bathroom Faucet
If your Delta bathroom faucet’s aerator is damaged, worn out, or not performing optimally, it may be time to replace it. Finding the right replacement aerator is essential for maintaining the efficiency and performance of your faucet. Below are some helpful tips and guidelines to assist you in finding the right replacement aerator for your Delta bathroom faucet.
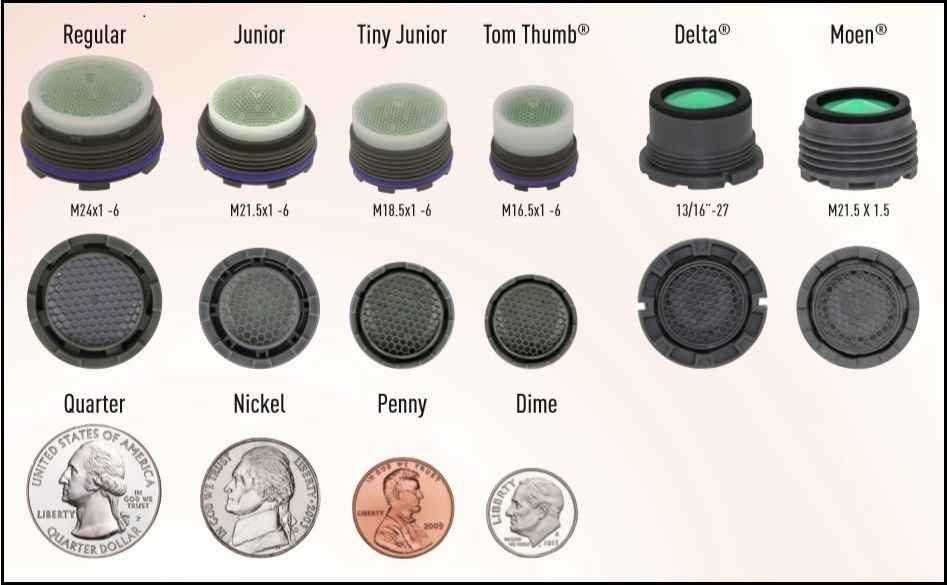
Determine the Faucet Model: Before you start searching for a replacement aerator, it is important to determine the model of your Delta bathroom faucet. Look for the model number, which is typically located on a tag or sticker on the faucet itself. If you cannot find the model number, take a clear photo of the faucet and consult Delta’s customer service or their website for assistance in identifying the model.
Check Delta’s Website or Catalog: Once you have identified the model of your Delta bathroom faucet, visit Delta’s official website or consult their product catalog. Delta offers a wide range of aerator options, specifically designed for their various faucet models. Browse through the available aerators and look for the one that matches your faucet model. Pay attention to the specifications and features provided to ensure compatibility.
Consult Delta’s Customer Service: If you are having difficulty finding the right replacement aerator on your own, do not hesitate to contact Delta’s customer service. They have knowledgeable representatives who can assist you in identifying the correct aerator for your faucet model. Provide them with the necessary details, such as the faucet model number or a photo, and they will guide you in selecting the appropriate replacement aerator.
Consider Water Flow and Efficiency: When choosing a replacement aerator, consider your desired water flow and efficiency. Delta offers different aerator options with varying flow rates, including low-flow aerators for water conservation. Assess your water usage needs and preferences to determine the flow rate that suits your requirements. Additionally, some aerators have adjustable settings to customize the water flow to your liking.
Compatibility with Other Features: If your Delta bathroom faucet has additional features, such as a pull-out sprayer or a separate handle for hot and cold water, ensure that the replacement aerator is compatible with these features. Some aerators are specifically designed to work with certain faucet configurations, so it is important to verify compatibility to ensure proper functionality.
Purchase from Authorized Retailers: To ensure the authenticity and quality of the replacement aerator, it is recommended to purchase from authorized retailers. Delta’s website or authorized plumbing supply stores are reliable sources for obtaining genuine Delta replacement parts. Avoid purchasing from unauthorized sellers to prevent the risk of counterfeit or incompatible products.

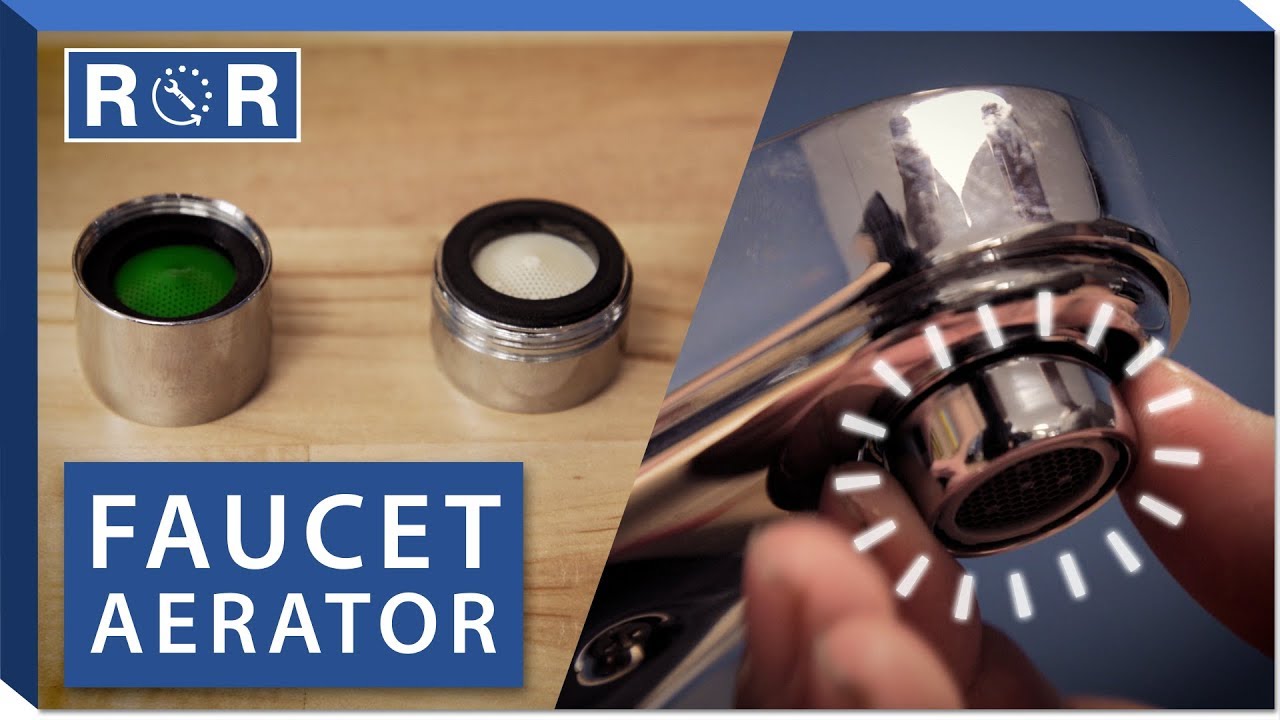
How To Remove a Faucet Aerator? – Faucets Rated
How to Replace a Sink Aerator

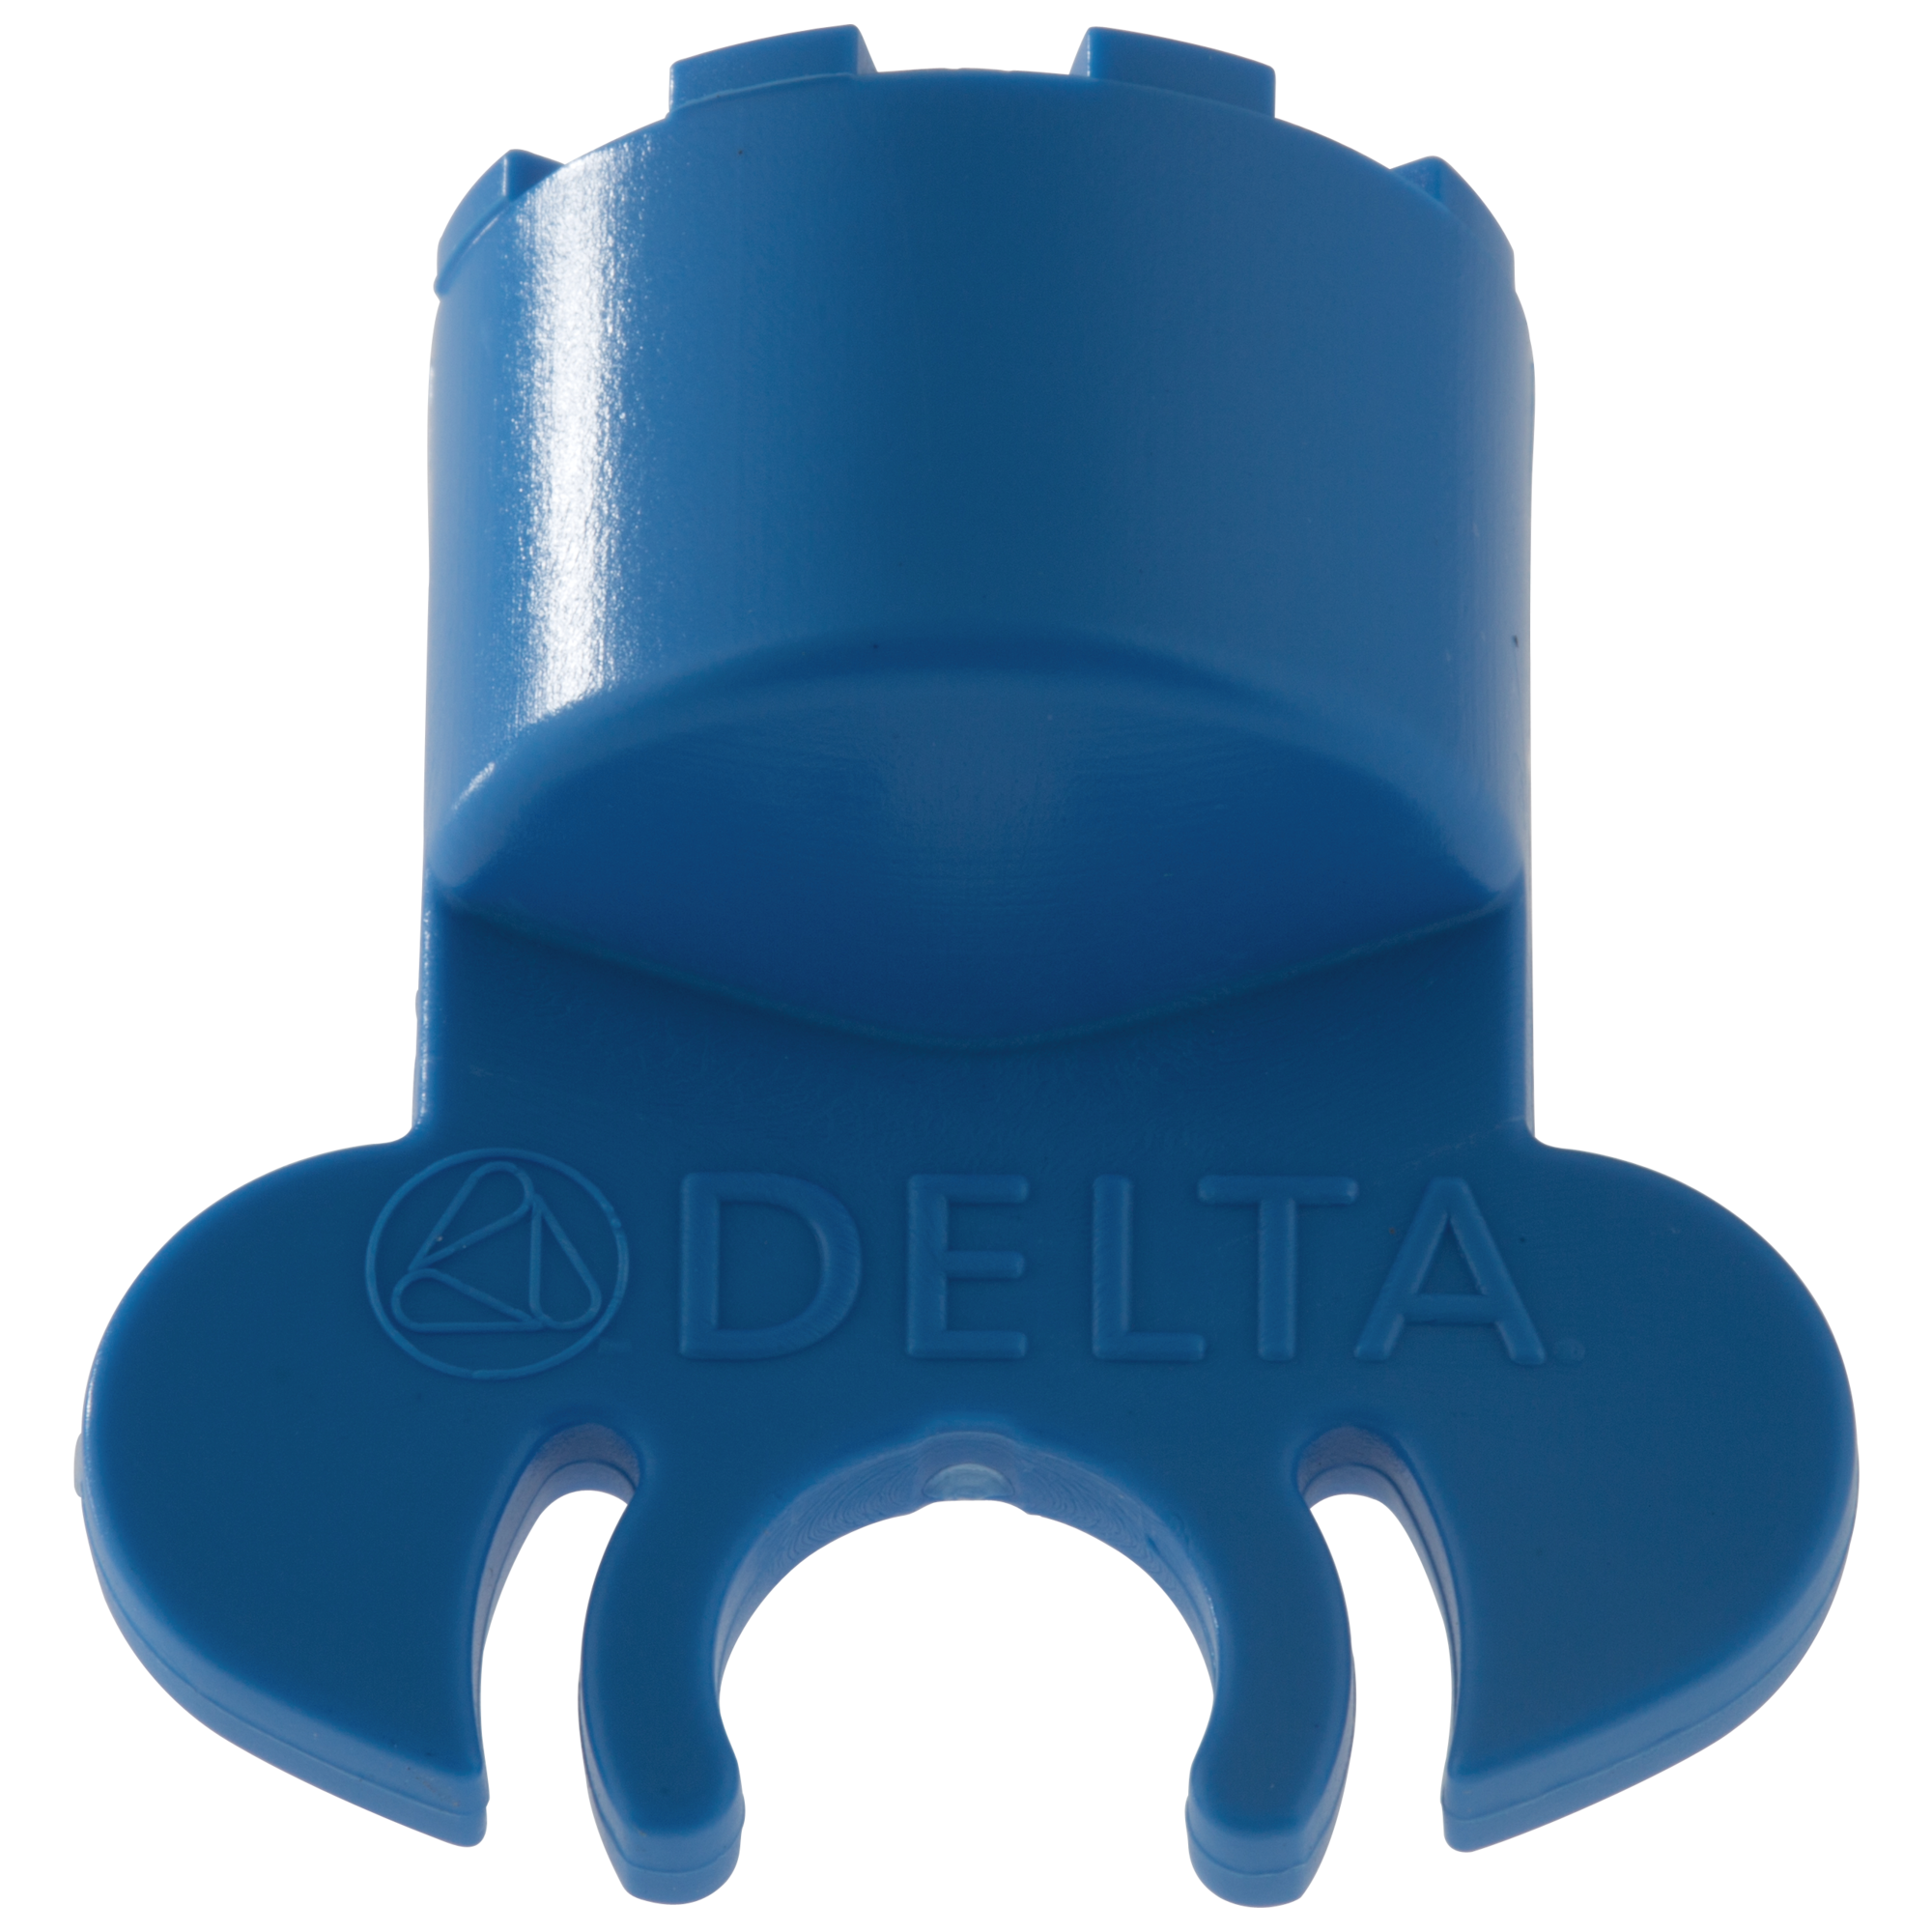
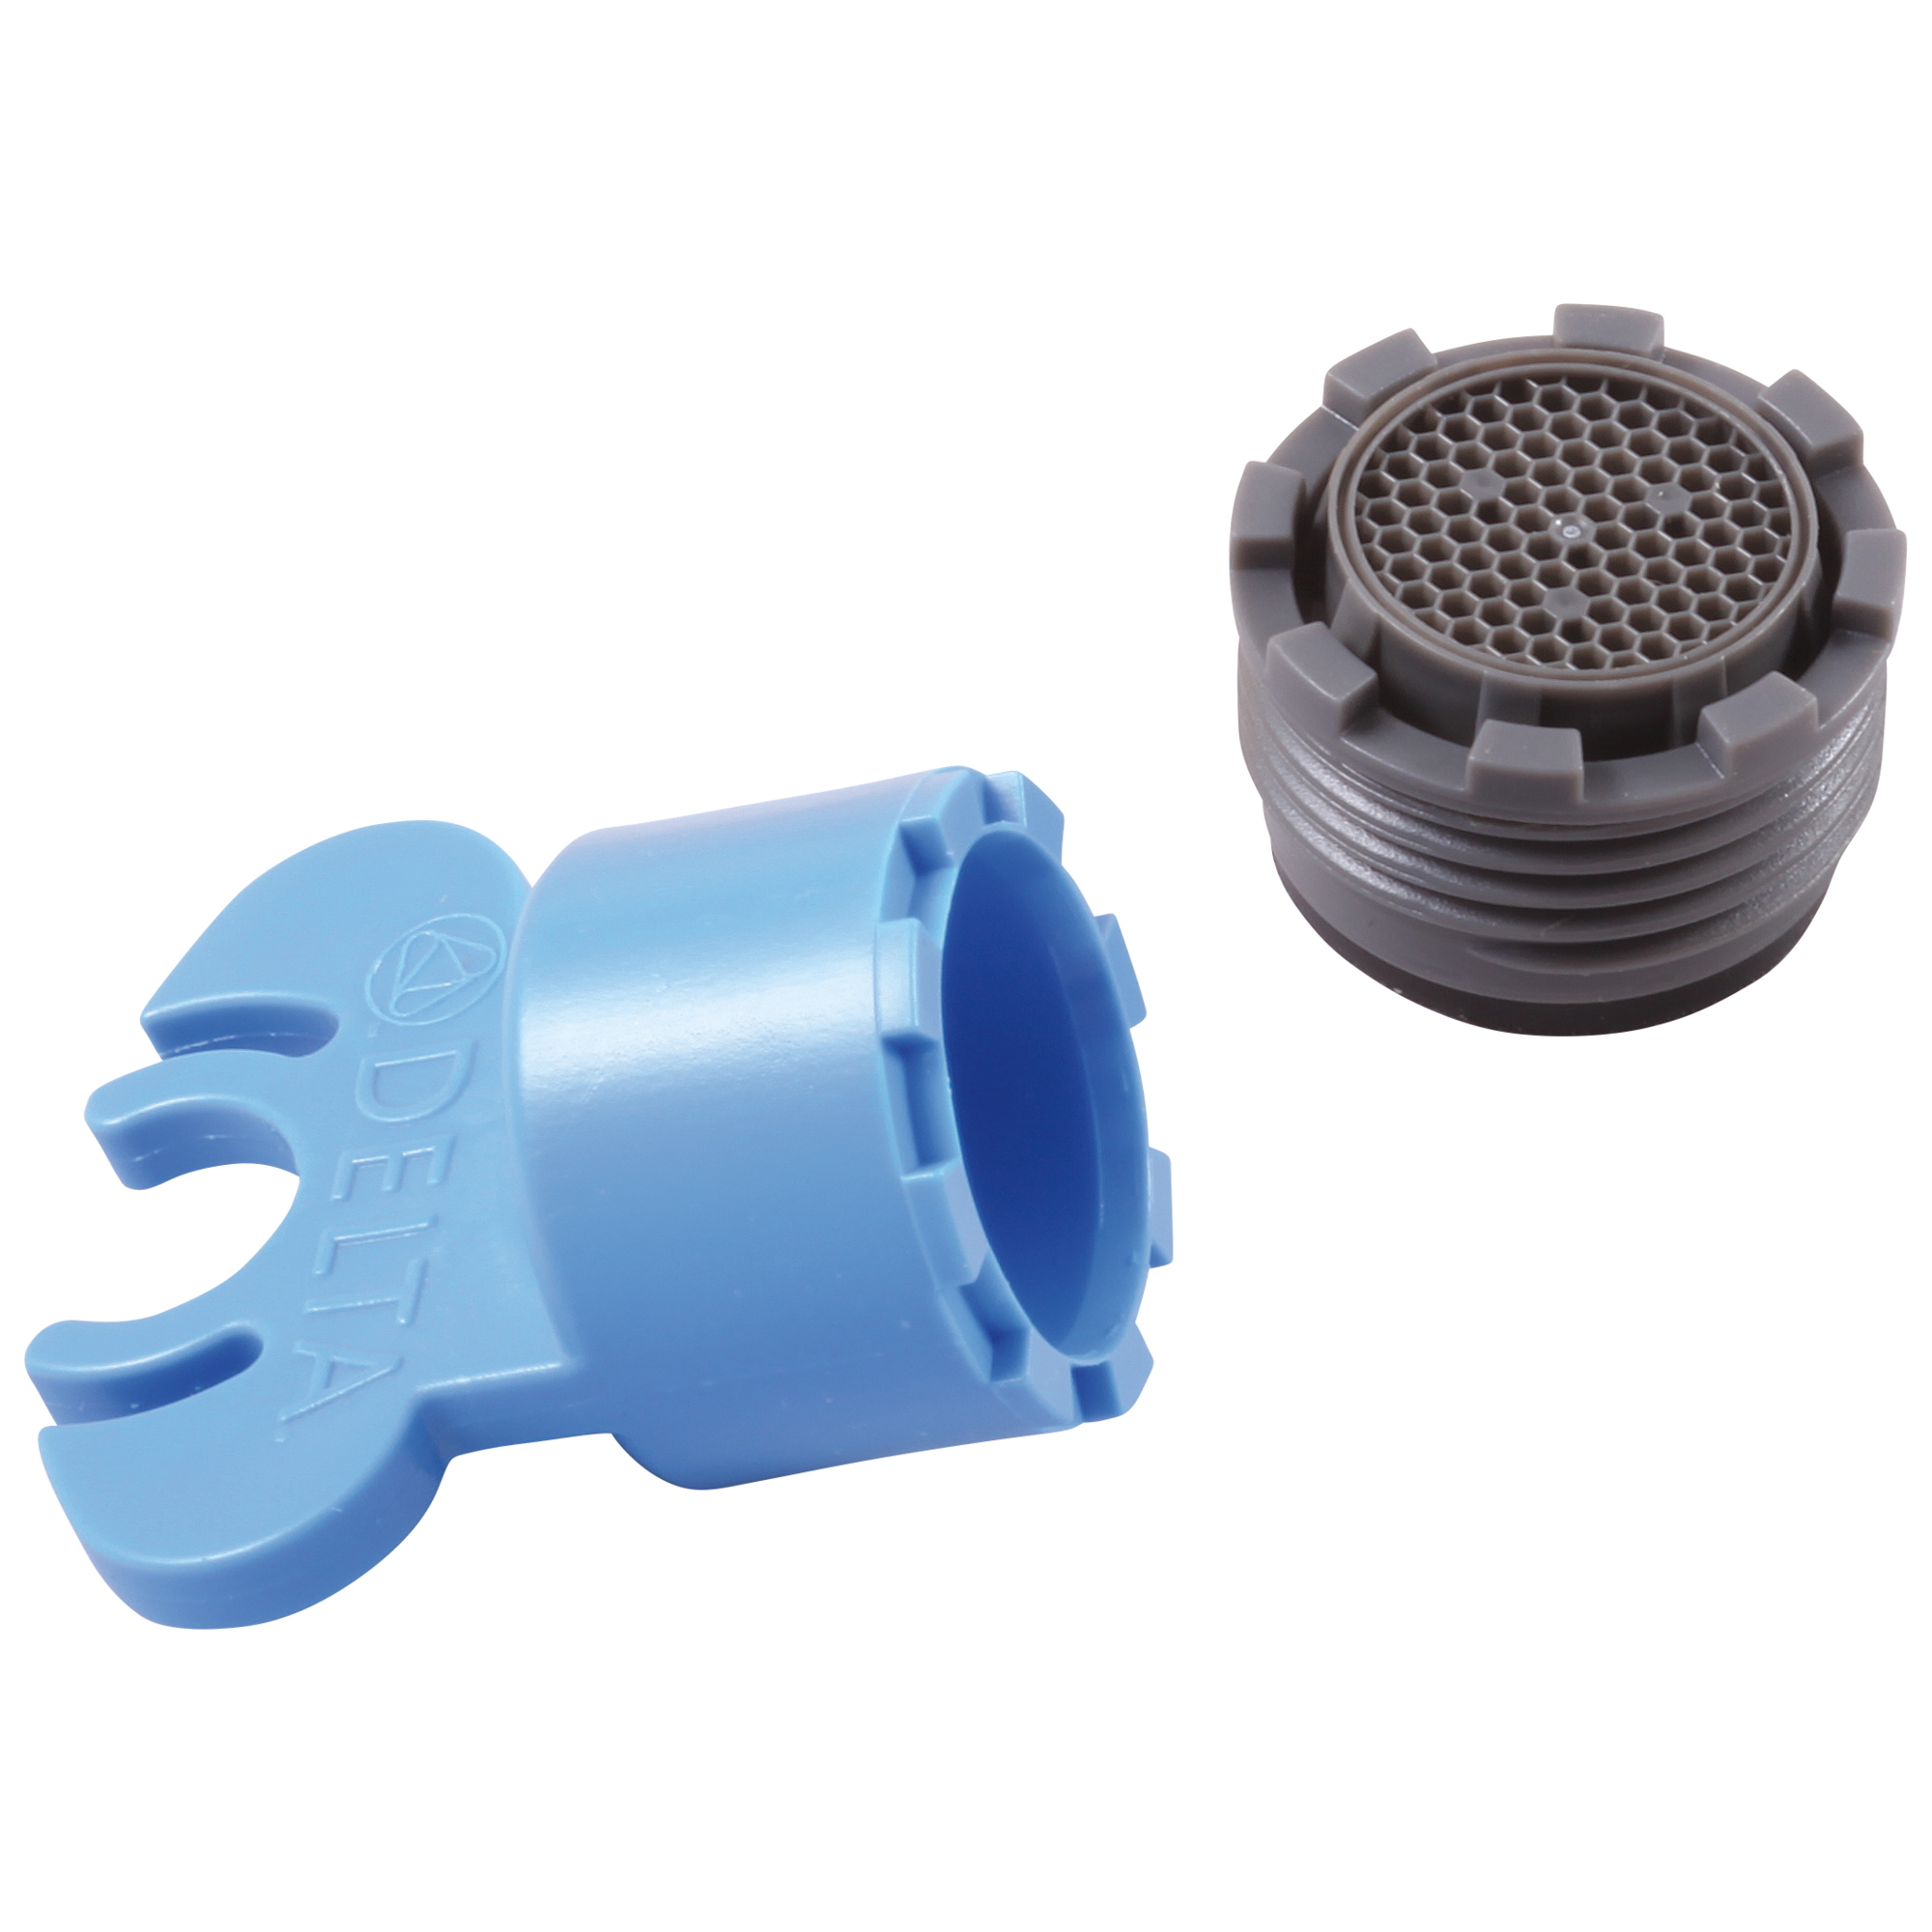
Delta Faucet RP54977 DELTA AERATOR/WRENCH PLASTIC(Assorted color)

plumbing – What do I need to remove and replace this recessed

Cache Aerators, Recessed Aerators OR Hidden Faucet Aerators FAQS
plumbing – What do I need to remove and replace this recessed

Delta Faucet RP32529 Aerator for 2.2 GPM, Chrome – Faucet Aerators

Related Posts:
- Polished Gold Bathroom Faucets
- Bathroom Faucet Deals
- Kohler Bathroom Faucet Handles
- Grohe Bathroom Faucet Installation
- Best Bathroom Faucets To Buy
- Bathroom Faucet Long Spout Reach
- American Standard Colony Bathroom Faucet
- Grohe Bathroom Faucets Replacement Parts
- Crane Bathroom Faucet Parts
- Single Mount Bathroom Faucet


