Tools and Materials Needed for Removing a Faucet Stem
Removing a bathroom faucet stem requires specific tools and materials to ensure the job is done efficiently and correctly. Having the right equipment not only makes the task easier but also helps in preventing any damage to your faucet or plumbing. Here’s a comprehensive list of what you’ll need:
- Adjustable Wrench: An adjustable wrench is crucial for loosening and tightening nuts and bolts. Its adjustable feature allows it to fit various sizes, making it versatile for different faucet types.
- Screwdrivers: Both flathead and Phillips screwdrivers are necessary. These tools help in removing the screws from the handle and other parts of the faucet assembly.
- Faucet Handle Puller: This specialized tool is designed to remove the faucet handle without causing any damage. It’s especially useful for older faucets where the handle might be stuck due to mineral deposits.
- Plumber’s Grease: Applying a plumber’s grease helps in lubricating the parts, making the removal process smoother and preventing wear and tear.
- Replacement Parts: Before starting, ensure you have the correct replacement stem and any other necessary parts. It’s helpful to take the old stem to the hardware store to find the exact match.
- Cleaning Supplies: A rag, vinegar, and a brush will help in cleaning the area around the faucet. Mineral deposits and grime can build up, making it difficult to remove the stem.
- Bucket and Towels: To catch any water that may spill during the process, place a bucket under the sink. Towels are also handy to keep the area dry and clean.

Identifying the Type of Faucet and Stem
Understanding the type of faucet and stem you have is crucial for a successful removal and replacement process. Different faucets have distinct mechanisms, and recognizing these differences will help you approach the task correctly. Here’s how to identify the type of faucet and stem you’re dealing with:
- Compression Faucets: These are the most traditional type and are characterized by separate hot and cold handles. They use a rubber washer to control the water flow. When you turn the handle, the washer is compressed against the valve seat, which stops the water flow.
- Ball Faucets: Commonly found in kitchen sinks, ball faucets have a single handle that controls a ball inside the faucet. This ball regulates the amount of hot and cold water released. These faucets are recognized by the absence of washers and their multi-part mechanism.
- Cartridge Faucets: These can have either a single or double handle. Inside the faucet, there’s a cartridge that moves up and down to control water flow. They are easier to repair compared to compression faucets as they have fewer parts.
- Ceramic Disk Faucets: Known for their durability, ceramic disk faucets use a pair of ceramic disks to control water flow. The handle moves the disks, which then either align to allow water to flow or misalign to stop it.
- Brand Identification: Identifying the brand of your faucet can also be helpful. Look for logos or brand names usually imprinted on the faucet. Knowing the brand can help in finding the right replacement parts.
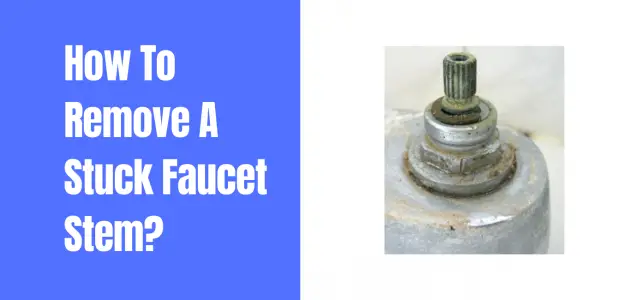
- Stem Identification: Once you have the handle off, look at the stem. Different faucets use different stems, and identifying the type of stem will guide you in purchasing the correct replacement. Compression faucets have threaded stems, while cartridge and ceramic disk faucets have smooth stems with O-rings.
Preparing the Faucet for Stem Removal
Preparation is key when it comes to removing a bathroom faucet stem. Properly preparing the faucet not only makes the removal process smoother but also helps prevent any potential damage to your plumbing system. Here’s a detailed guide on how to prepare your faucet for stem removal:
Turn Off the Water Supply: The first step is to turn off the water supply to the faucet. Look under the sink for the shutoff valves and turn them clockwise until they are fully closed. This prevents any water from flowing while you work on the faucet.
Relieve Water Pressure: After shutting off the water supply, open the faucet to let out any remaining water in the lines. This step helps to relieve any pressure and makes the removal process less messy.
Plug the Drain: Use a sink stopper or a rag to plug the drain. This prevents any small parts, like screws or washers, from falling down the drain and getting lost.
Clean the Area: Before you start disassembling the faucet, clean the area around it. Use a rag and some vinegar to remove any mineral deposits or grime. A clean work area helps in identifying parts more easily and ensures nothing gets stuck due to dirt buildup.
Gather Your Tools and Materials: Lay out all the tools and materials you’ll need, such as screwdrivers, wrenches, a handle puller, a plumber’s grease, and replacement parts. Having everything within reach saves time and keeps you focused on the task.
Take Photos or Notes: If you’re unfamiliar with the faucet’s assembly, take photos or notes as you disassemble it. This step will be incredibly helpful when it’s time to reassemble the faucet, ensuring you don’t miss any parts or steps.
Step-by-Step Guide to Removing the Faucet Handle
Removing the faucet handle is a critical step in accessing the faucet stem. Each type of faucet handle may require a slightly different approach, but the basic steps are generally similar. Here’s a detailed guide to help you through this process:
Locate the Handle Screw: The first step is to find the screw that holds the handle in place. This screw is often hidden under a decorative cap or on the side of the handle. Use a flathead screwdriver to gently pry off the cap, if necessary.
Unscrew the Handle: Once you’ve located the screw, use the appropriate screwdriver to remove it. Turn the screw counterclockwise until it comes out. Be careful not to strip the screw head, as this can make it difficult to remove the handle.
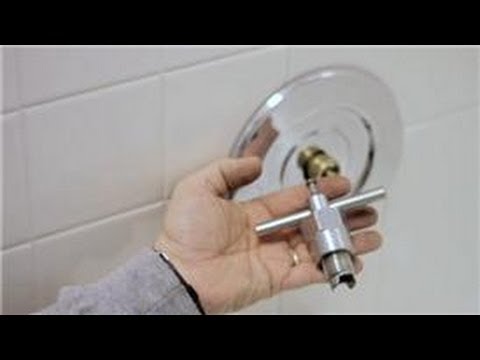
Remove the Handle: After the screw is removed, gently pull the handle off the faucet. If the handle is stuck, use a faucet handle puller. Place the puller over the handle and turn the knob to apply even pressure, which should release the handle without causing damage.
Inspect for Additional Fasteners: Some faucets may have additional fasteners or clips holding the handle in place. Inspect the area closely and remove any additional fasteners using the appropriate tools.
Clean the Handle and Stem: Once the handle is off, clean the handle and the exposed stem with a rag and some vinegar. This step helps in removing any mineral deposits or grime that could interfere with the removal of the stem.
Take Photos or Notes: If you haven’t already, take photos or notes of the handle assembly. This documentation will be useful when you need to reassemble the faucet, ensuring everything goes back in the correct order.

Extracting the Faucet Stem: Techniques and Tips
With the handle removed, the next step is to extract the faucet stem. This process can vary depending on the type of faucet, but the following techniques and tips will guide you through it effectively:
Identify the Stem Type: Before proceeding, confirm the type of stem your faucet uses. This could be a compression, cartridge, or ceramic disk stem. Knowing the stem type will help you apply the correct removal technique.
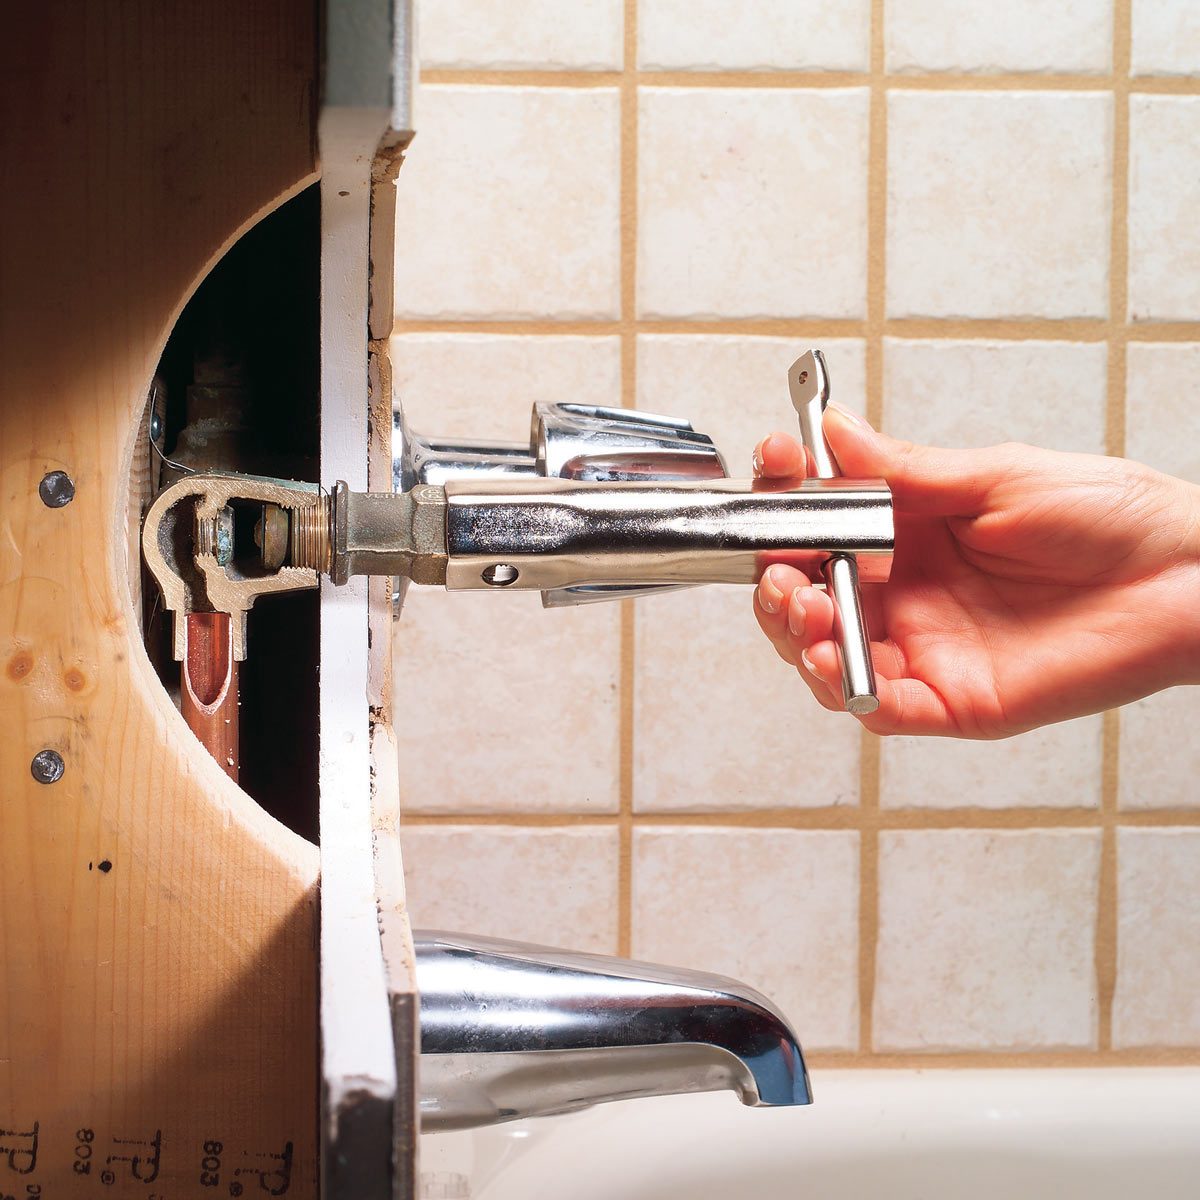
Loosen the Packing Nut: The packing nut holds the stem in place. Use an adjustable wrench to loosen and remove the packing nut. Turn the nut counterclockwise until it comes off. Be careful not to apply too much force, as this could damage the faucet body.
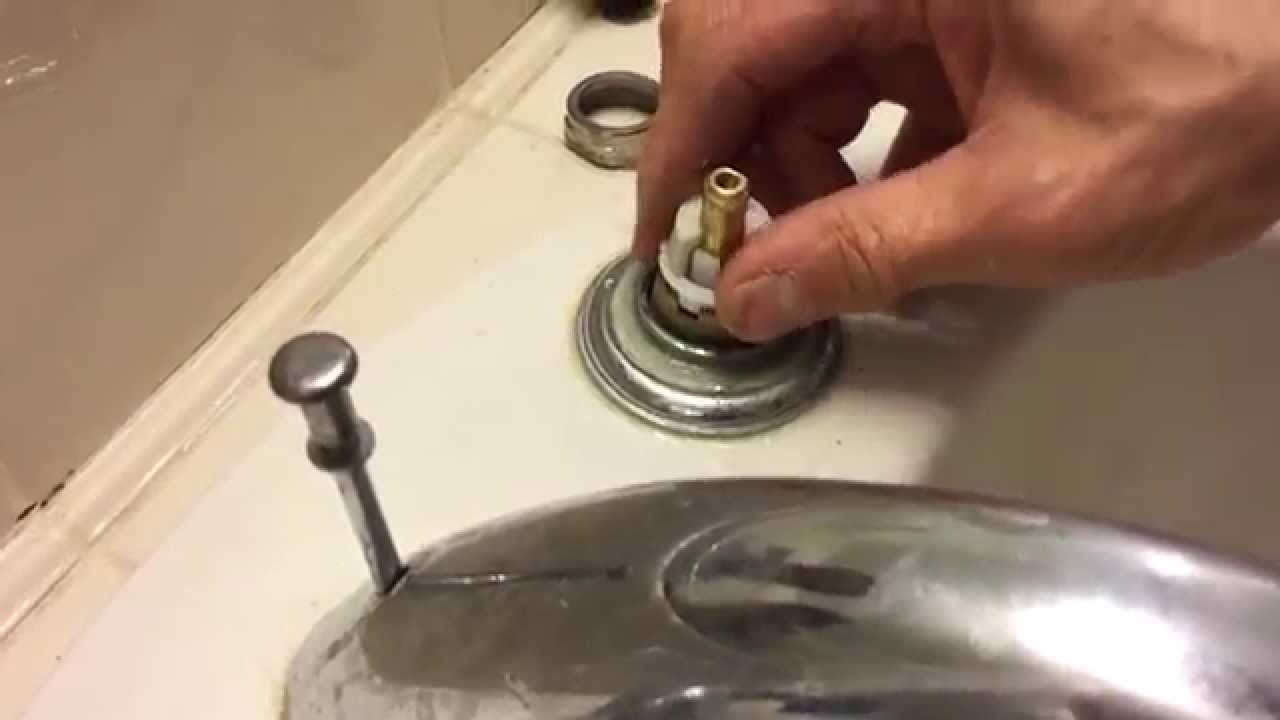
Extract the Stem: Once the packing nut is removed, you can extract the stem. For compression faucets, you might need to use pliers to grip and pull out the stem. For cartridge and ceramic disk faucets, the stem should slide out more easily. If it’s stuck, wiggle it gently to loosen it.
Inspect the Stem and Valve Seat: After removing the stem, inspect it for signs of wear and tear. Look for cracks, corrosion, or any other damage. Also, check the valve seat inside the faucet body. If the valve seat is damaged, it might need to be replaced to ensure a proper seal.
Clean the Area: Use a rag and some vinegar to clean the area where the stem was seated. Removing any mineral deposits or grime ensures a smooth installation of the new stem.
Apply Plumber’s Grease: Before installing the new stem, apply a thin layer of plumber’s grease to the threads and O-rings. This lubrication helps in creating a good seal and makes future removal easier.

Inspecting and Replacing the Faucet Stem and Components
After extracting the faucet stem, it’s important to inspect and replace any worn or damaged components. This step ensures the longevity and proper functioning of your faucet. Here’s a detailed guide on how to inspect and replace the faucet stem and its components:
Inspect the Stem: Carefully examine the faucet stem for any signs of damage or wear. Look for cracks, corrosion, or worn-out threads. If the stem is damaged, it should be replaced to prevent leaks and ensure smooth operation.
Check O-Rings and Washers: O-rings and washers are critical for creating a watertight seal. Inspect these components for any signs of wear, such as cracks, flattening, or brittleness. Replace any damaged O-rings or washers with new ones of the same size and type.
Inspect the Valve Seat: The valve seat, located inside the faucet body, should be smooth and free of damage. Use a flashlight to inspect the valve seat for any signs of pitting, cracks, or corrosion. If the valve seat is damaged, it may need to be replaced or resurfaced using a valve seat wrench and grinding tool.
Replace the Stem: If the stem is in good condition, it can be reinstalled. However, if it’s damaged, replace it with a new one. Ensure the new stem matches the old one in size and type. Insert the new stem into the faucet body, making sure it seats properly.
Reassemble the Faucet: Once the new stem is installed, reassemble the faucet. Start by replacing the packing nut and tightening it with an adjustable wrench. Reattach the handle by reversing the steps you took to remove it, making sure all screws and fasteners are securely tightened.
Test the Faucet: Turn the water supply back on and test the faucet for leaks. Open and close the faucet several times to ensure it operates smoothly. If there are any leaks, check the O-rings and washers to make sure they are properly seated and not damaged.
How to Fix a Leaking Bathtub Faucet
Related Posts:
- American Standard Bathroom Faucet Aerator
- Vigo Wall Mounted Bathroom Faucet
- Discount Bathroom Faucets And Fixtures
- Price Pfister Catalina Widespread Bathroom Faucet
- Moen Monticello Bathroom Faucet Cartridge Replacement
- Antique Porcelain Bathroom Faucets
- Contemporary Wall Mounted Bathroom Faucets
- Eurostream Bathroom Faucet
- Brushed Nickel Bathroom Faucet Single Hole
- Kohler Devonshire Centerset Bathroom Faucet

