The Importance of Bathroom Faucet Supply Lines
Bathroom faucet supply lines are essential components of your plumbing system that deliver water from the main supply to your faucet. These small but crucial parts play a significant role in maintaining the functionality and performance of your bathroom fixtures. Understanding the importance of bathroom faucet supply lines is key to ensuring that your plumbing system operates smoothly and efficiently.
- Water Delivery: The primary function of bathroom faucet supply lines is to deliver water from the main supply to your faucet. Without these supply lines, water cannot reach your faucet, rendering it unusable. Whether you’re washing your hands, brushing your teeth, or taking a shower, reliable supply lines ensure a consistent flow of water for all your daily activities.
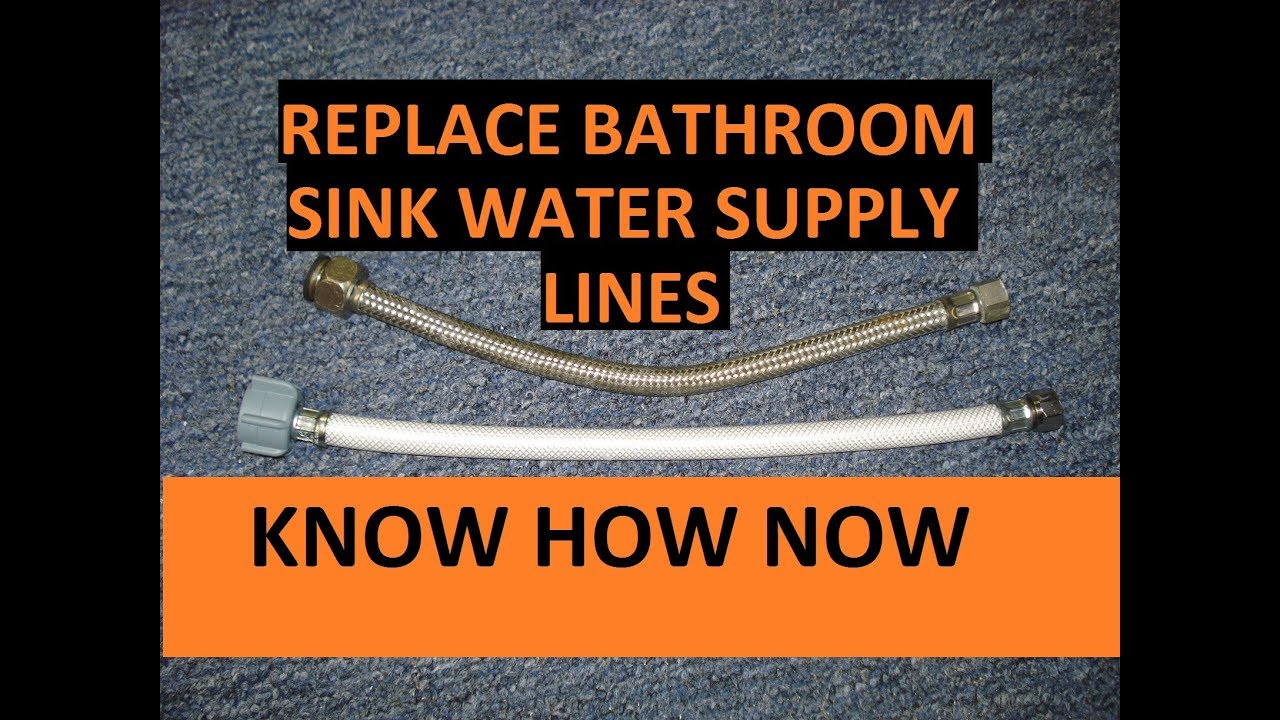
- Flexibility and Durability: Bathroom faucet supply lines are typically made of flexible materials such as braided stainless steel or reinforced polymer. This flexibility allows the supply lines to bend and maneuver around obstacles, making installation easier and more versatile. Additionally, these materials are durable and resistant to corrosion, ensuring that your supply lines withstand the test of time and maintain their functionality for years to come.
- Preventing Leaks and Water Damage: Properly installed and maintained supply lines help prevent leaks and water damage in your bathroom. Leaking supply lines can lead to water waste, increased utility bills, and costly repairs. By ensuring that your supply lines are in good condition and properly connected, you can minimize the risk of leaks and water damage in your bathroom.
- Maintaining Water Pressure: Bathroom faucet supply lines play a crucial role in maintaining consistent water pressure throughout your plumbing system. Clogged or damaged supply lines can restrict water flow and reduce water pressure, resulting in inefficient faucet performance. By regularly inspecting and replacing supply lines as needed, you can ensure that your plumbing system operates at optimal efficiency and maintains adequate water pressure.
- Overall Plumbing System Functionality: Supply lines are integral components of your plumbing system that contribute to its overall functionality and performance. By understanding the importance of bathroom faucet supply lines and properly maintaining them, you can ensure that your plumbing system operates smoothly and efficiently, providing reliable water supply to your bathroom fixtures.

Gathering the Necessary Tools and Supplies for Replacement
Replacing bathroom faucet supply lines is a straightforward task that can be completed with the right tools and supplies. Before you begin the replacement process, it’s essential to gather all the necessary tools and supplies to ensure a smooth and efficient installation. By having everything you need on hand, you can avoid unnecessary delays and complete the replacement with ease. Below are the tools and supplies you’ll need for replacing bathroom faucet supply lines.
Adjustable Wrench: An adjustable wrench is a versatile tool that allows you to tighten or loosen nuts and bolts of various sizes. It’s essential for disconnecting and connecting supply lines to the faucet and shut-off valves. Choose a wrench with a comfortable grip and adjustable jaws to accommodate different sizes of nuts and bolts.
Bucket or Container: A bucket or container is handy for catching any water that may drip or spill during the replacement process. Place the bucket or container under the supply lines to prevent water damage to your bathroom floor and belongings. Additionally, use the bucket to safely dispose of old supply lines and any debris that may accumulate during the replacement.
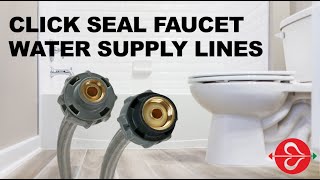
New Supply Lines: Purchase new bathroom faucet supply lines that are compatible with your faucet and plumbing system. Measure the length of the existing supply lines to ensure that you choose the correct size for replacement. Consider opting for braided stainless steel supply lines, which are durable and resistant to corrosion, for long-lasting performance.
Plumber’s Tape: Plumber’s tape, also known as Teflon tape, is a thin white tape that helps create a watertight seal when connecting threaded pipes and fittings. Wrap plumber’s tape around the threads of the faucet and shut off valve connections to prevent leaks and ensure a secure connection. Make sure to use the appropriate type of plumber’s tape for your plumbing fixtures.
Towels or Rags: Keep towels or rags on hand to wipe up any spills or excess water during the replacement process. Place towels under the faucet and shut-off valves to absorb any water that may leak or drip during disconnection and reconnection. Additionally, use towels to clean and dry the area around the supply lines before installing the new ones.
Safety Gear: While replacing bathroom faucet supply lines is a relatively simple task, it’s essential to prioritize safety. Wear protective gloves and safety glasses to prevent injuries from sharp edges or splashing water. Additionally, consider wearing old clothing or an apron to protect your clothes from water and debris.

Step-by-Step Guide: Removing Old Supply Lines
Removing old bathroom faucet supply lines is the first step in replacing them with new ones. This process involves disconnecting the existing supply lines from the faucet and shut-off valves to prepare for installation. While removing old supply lines is a relatively straightforward task, it’s essential to follow the correct steps to avoid damaging your plumbing fixtures or causing leaks. Follow this step-by-step guide for removing old bathroom faucet supply lines.
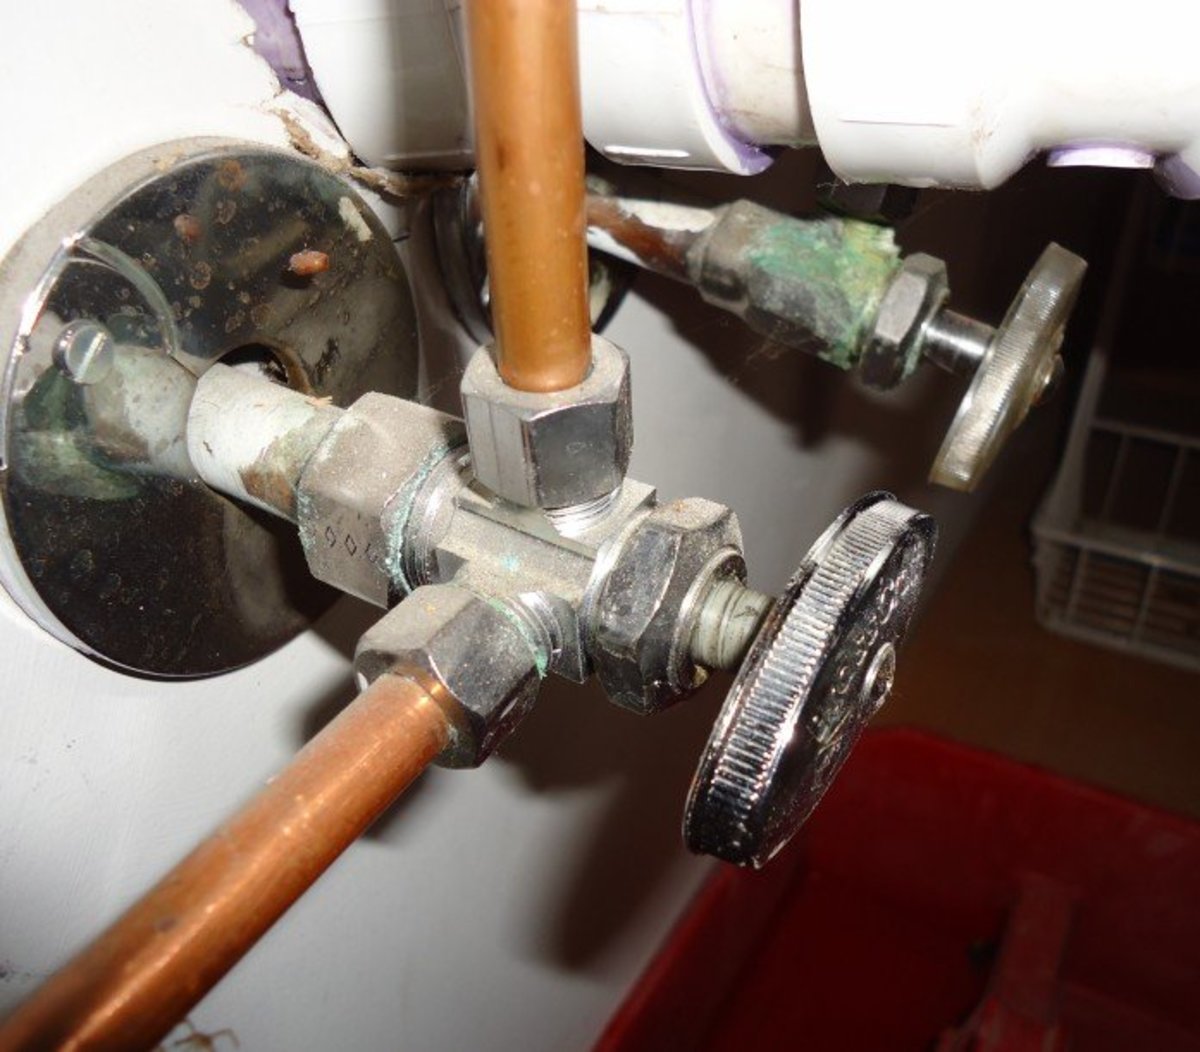
Turn Off the Water: Before you begin removing the old supply lines, it’s crucial to turn off the water supply to your bathroom fixtures. Locate the shut-off valves underneath the sink and turn them clockwise to shut off the water flow. If your bathroom doesn’t have shut-off valves, you may need to shut off the main water supply to your home.
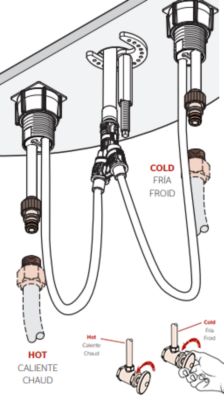
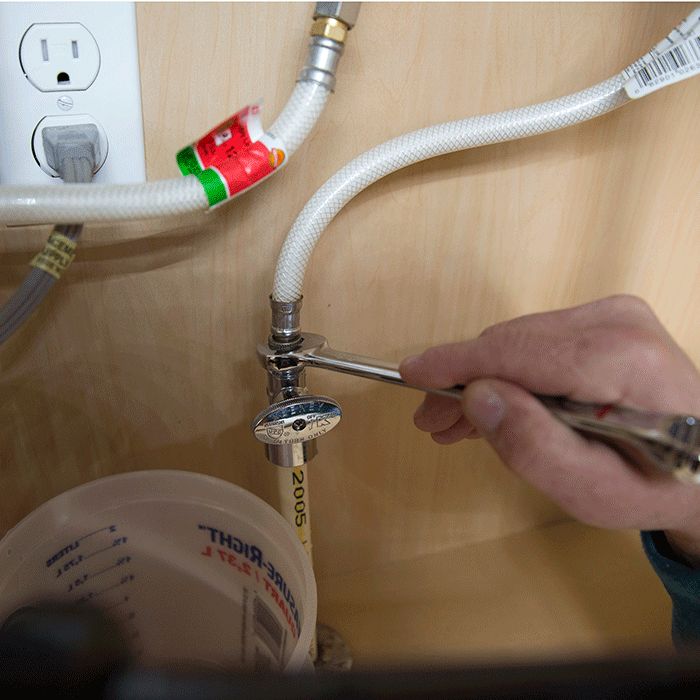
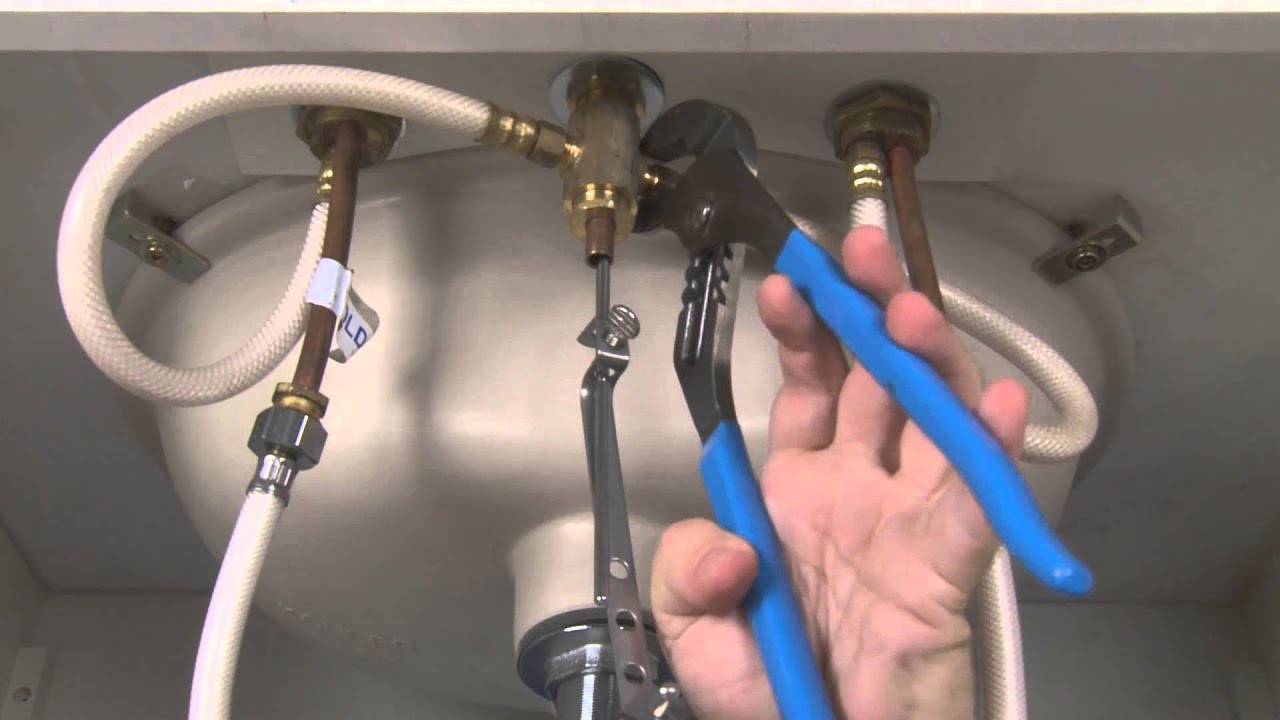
Disconnect the Supply Lines: Once the water supply is turned off, use an adjustable wrench to loosen the nuts connecting the supply lines to the faucet and shut-off valves. Turn the nuts counterclockwise to loosen them, then carefully remove the supply lines from the connections. Be prepared for some water to drain out of the supply lines once they are disconnected.
Remove Old Supply Lines: After disconnecting the supply lines from the faucet and shut-off valves, remove them from the bathroom fixtures. Inspect the supply lines for any signs of damage or corrosion, such as rust or leaks. Dispose of the old supply lines properly, as they may contain water or debris.
Clean the Connections: Once the old supply lines are removed, clean the connections on the faucet and shut-off valves to prepare them for installation of the new supply lines. Use a damp cloth or rag to wipe away any dirt, debris, or old plumber’s tape from the threads of the connections. Ensure that the connections are clean and dry before proceeding with installation.
Inspect Faucet and Shut-Off Valves: While the supply lines are disconnected, take the opportunity to inspect the faucet and shut-off valves for any signs of damage or wear. Look for leaks, cracks, or corrosion that may indicate the need for repairs or replacement. Address any issues with the fixtures before installing the new supply lines.
Prepare for Installation: With the old supply lines removed and the connections cleaned, you’re now ready to install the new supply lines. Gather the necessary tools and supplies, including the new supply lines, plumber’s tape, and adjustable wrench, before proceeding with installation. Follow the manufacturer’s instructions for installing the new supply lines to ensure proper fitting and functionality.
Installing New Supply Lines
Installing new bathroom faucet supply lines is the next step in the replacement process after removing the old ones. Proper installation of the new supply lines is essential for ensuring reliable water supply to your bathroom fixtures and preventing leaks or other issues. While installing new supply lines is a relatively straightforward task, there are some tips and techniques to keep in mind to ensure a successful installation. Below are some tips for installing new bathroom faucet supply lines.
Choose the Right Size: Before purchasing new supply lines, measure the length of the existing supply lines to ensure that you choose the correct size for replacement. Select supply lines that are long enough to reach from the faucet to the shut-off valves without stretching or bending excessively. It’s better to choose slightly longer supply lines than necessary to allow for flexibility and maneuverability during installation.
Apply Plumber’s Tape: Plumber’s tape, also known as Teflon tape, helps create a watertight seal when connecting threaded pipes and fittings. Before installing the new supply lines, wrap the plumber’s tape clockwise around the threads of the faucet and shut-off valve connections. This creates a secure seal that prevents leaks and ensures a tight connection between the supply lines and the fixtures.
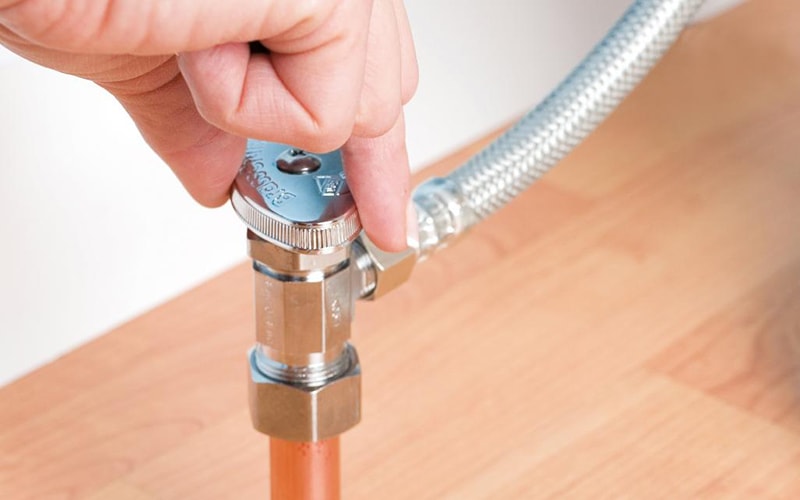
Hand-Tighten Connections: When connecting the new supply lines to the faucet and shut-off valves, hand-tighten the nuts first to ensure a snug fit. Use an adjustable wrench to tighten the nuts slightly, but avoid over-tightening, as this can damage the threads or cause leaks. Once the connections are hand-tightened, use the wrench to give them an additional quarter-turn to secure them in place.
Check for Leaks: After installing the new supply lines, turn the water supply back on and check for leaks at the connections. Inspect the connections on the faucet and shut-off valves for any signs of water leakage, such as dripping or pooling. If you detect any leaks, tighten the connections slightly using the adjustable wrench until the leaks stop. Be careful not to over-tighten, as this can damage the connections.
Test Water Flow: Once the connections are secure and leak-free, test the water flow from the faucet to ensure proper functionality. Turn on the faucet and check the water flow and pressure to ensure that it is consistent and adequate. If you notice any issues with water flow or pressure, double-check the connections and make any necessary adjustments to resolve the problem.
Dispose of Old Supply Lines: After installing the new supply lines and ensuring proper functionality, dispose of the old supply lines properly. Drain any remaining water from the old supply lines and wrap them securely before disposing of them in the trash. Avoid disposing of old supply lines in the recycling bin, as they may contain materials that are not recyclable.

Testing and Troubleshooting: Ensuring Proper Functionality
After installing new bathroom faucet supply lines, it’s essential to test the system and troubleshoot any issues to ensure proper functionality. Testing and troubleshooting allow you to identify and address any potential problems with the supply lines, connections, or fixtures before they escalate into more significant issues. By following a few simple steps, you can ensure that your new supply lines operate smoothly and reliably. Let’s discuss how to test and troubleshoot bathroom faucet supply lines.
Turn On the Water: Once the new supply lines are installed, turn on the water supply to your bathroom fixtures. Open the faucet and allow water to flow freely to flush out any air bubbles or debris from the supply lines. Check for any signs of leaks or drips at the connections on the faucet and shut-off valves.
Check Water Flow: Test the water flow from the faucet to ensure that it is consistent and adequate. Pay attention to the water pressure and temperature to ensure that they meet your expectations. If you notice any issues with water flow or pressure, double-check the connections and make any necessary adjustments to resolve the problem.
Inspect Connections: Inspect the connections on the faucet and shut-off valves for any signs of leaks or drips. Check the nuts and fittings to ensure that they are securely tightened and properly sealed. If you detect any leaks, tighten the connections slightly using an adjustable wrench until the leaks stop. Be careful not to over-tighten, as this can damage the connections.
Test Shut-Off Valves: Test the shut-off valves to ensure that they are functioning correctly. Turn the valves clockwise to shut off the water supply and counterclockwise to turn it back on. Check for any signs of leaks or drips around the valves and make any necessary adjustments to ensure proper functionality.
Troubleshoot Any Issues: If you encounter any issues during testing, troubleshoot the problem to identify the cause and find a solution. Common issues may include leaks, low water pressure, or inconsistent water flow. Check the connections, supply lines, and fixtures for any signs of damage or malfunction and make any necessary repairs or adjustments to resolve the problem.
Schedule Regular Maintenance: After testing and troubleshooting the new supply lines, schedule regular maintenance to ensure their continued functionality and reliability. Inspect the connections and supply lines periodically for any signs of wear or damage and address any issues promptly to prevent leaks or other problems.
Bathroom – Faucet is Leaking or Dripping
Faucet Supply Line Types and Installation – Dengarden
How to Replace a Faucet Water Supply Line: Install Fluidmasteru0027s
How to Disconnect Faucet Supply Lines or Tubes – DIY Home Repair

How to Replace a Water Supply Line Replacing Faucet u0026 Toilet

bathroom – How can I repair a flexible hot water supply hose that

How to Install a Kitchen Faucet Loweu0027s
Replace Two Handle Ultra Glide Valves – Faucet
How do I remove these water supply lines from bathroom sink?

Related Posts:
- Bathroom Faucet Crystal Handles
- Brushed Stainless Steel Bathroom Faucet
- Old Bathroom Faucet Types
- Satin Nickel Centerset Bathroom Faucet
- Wall Mount Cross Handle Bathroom Faucet
- Waterfall Style Bathroom Faucets
- Removing Moen Bathroom Faucet Handle
- Moen Chrome Polished Brass Bathroom Faucets
- Moen 2 Handle Bathroom Faucet Cartridge
- 4 Inch Minispread Bathroom Faucets


