Identifying Common Issues with Moen Dual Handle Bathroom Faucets
Moen dual handle bathroom faucets are known for their durability and reliability, but like any fixture, they can experience issues over time. Identifying common problems with these faucets is the first step towards resolving them efficiently. Here are some of the most common issues you may encounter with Moen dual handle bathroom faucets:
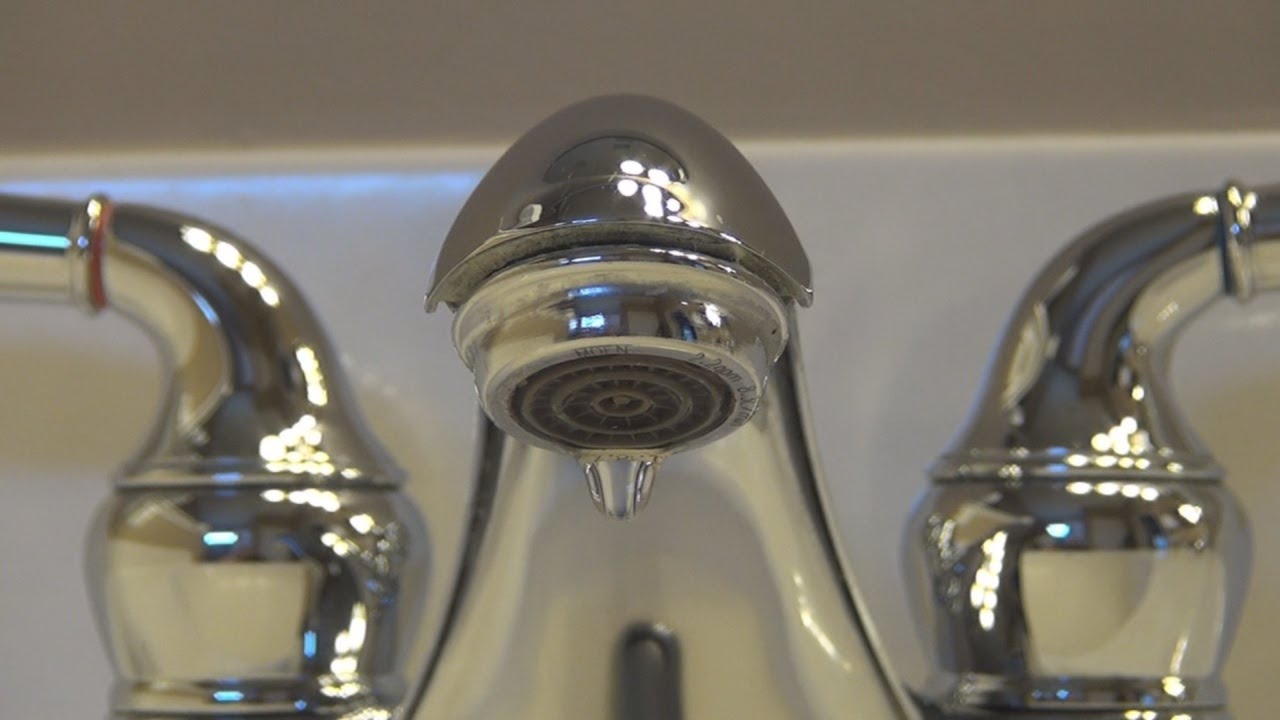
- Dripping Faucet: One of the most common issues with any faucet is dripping. If you notice water continuously dripping from your Moen dual handle faucet spout, it could be due to worn-out internal components such as O-rings, cartridges, or valve seats.
- Low Water Pressure: Low water pressure can be frustrating, especially when trying to wash your hands or fill a sink. This issue can be caused by a buildup of mineral deposits or debris in the aerator or water supply lines. Cleaning or replacing the aerator and checking for any obstructions in the supply lines can help resolve low water pressure issues.
- Handle Difficulties: If you’re having trouble turning your Moen dual handle faucet handles, it could be due to mineral buildup or corrosion inside the handles or cartridges. Cleaning or lubricating the handles and cartridges can often resolve this issue.
- Leaks Around the Base: Leaks around the base of the faucet are usually caused by worn-out O-rings or a loose connection between the faucet and the sink. Tightening the connections and replacing the O-rings can help prevent leaks and ensure a tight seal.
- Temperature Fluctuations: If you’re experiencing sudden changes in water temperature when using your Moen dual handle faucet, it could be due to a faulty cartridge or issues with the hot and cold water supply lines. Replacing the cartridge and checking for any obstructions in the supply lines can help stabilize water temperature.

Step-by-Step Guide to Disassembling a Moen Dual Handle Bathroom Faucet
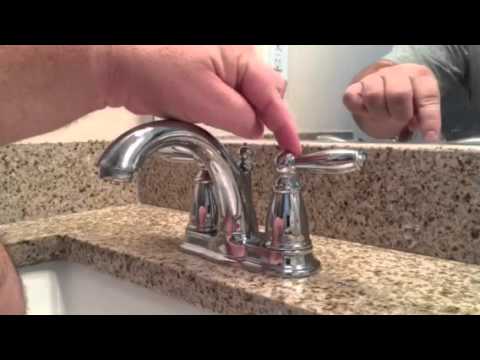
Disassembling a Moen dual handle bathroom faucet may seem like a daunting task, but with the right tools and instructions, it can be relatively straightforward. Whether you need to repair a leak, replace a faulty component, or simply clean the faucet, here’s a step-by-step guide to help you disassemble your Moen faucet:
Gather Your Tools: Before you begin, gather the necessary tools and materials, including an adjustable wrench, screwdriver, Allen wrench set, plumber’s grease, and a towel or rag to catch any water or debris.
Turn Off the Water Supply: Locate the shut-off valves under the sink and turn them clockwise to shut off the water supply to the faucet. Turn on the faucet to drain any remaining water from the lines.
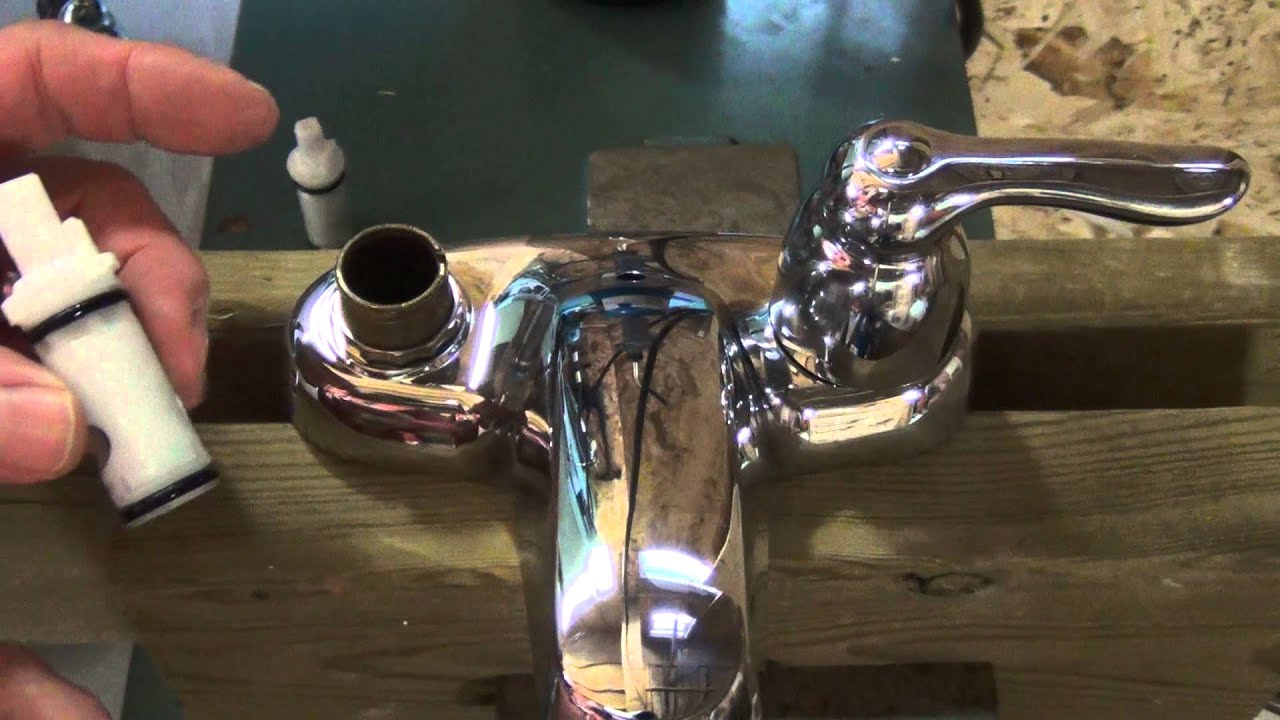
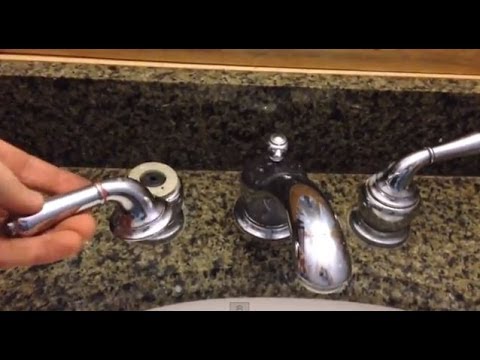
Remove the Handles: Use a screwdriver or Allen wrench to remove the set screw located under the handle of each faucet. Once the set screws are removed, gently lift the handles off the faucet to expose the cartridges or stems.
Remove the Cartridges or Stems: Depending on the type of Moen faucet you have, you’ll need to remove either the cartridges or stems. Use an adjustable wrench to loosen and remove the retaining nuts or rings holding the cartridges or stems in place.
Inspect and Clean the Components: Once the cartridges or stems are removed, inspect them for any signs of damage or wear. Clean the components thoroughly with warm water and mild detergent to remove any dirt, debris, or mineral buildup.
Replace or Repair Components: If you’re replacing any components, such as cartridges or O-rings, install the new parts according to the manufacturer’s instructions. If you’re repairing any components, such as cleaning or lubricating the cartridges, do so before reassembling the faucet.
Reassemble the Faucet: Once all the components are cleaned, repaired, or replaced, reassemble the faucet in the reverse order of disassembly. Tighten the retaining nuts or rings securely, and reinstall the handles and set screws.
Turn On the Water Supply: Turn the shut-off valves under the sink counterclockwise to turn on the water supply to the faucet. Turn on the faucet and check for any leaks or issues. Adjust the handles as needed to ensure smooth operation.
Troubleshooting and Repairing Leaks in Moen Dual Handle Bathroom Faucets
Leaky faucets are not only annoying but can also waste water and increase your utility bills. If you have a Moen dual handle bathroom faucet that’s leaking, troubleshooting and repairing the issue promptly can help prevent further damage and save you money. Here’s how to troubleshoot and repair leaks in Moen dual handle bathroom faucets:
Identify the Source of the Leak: The first step in troubleshooting a leaky faucet is to identify the source of the leak. Check for leaks around the base of the faucet, from the spout, or the handles. Determining where the leak is coming from will help you pinpoint the cause and take appropriate action.
Inspect the O-Rings and Cartridges: Leaks around the base of the faucet are often caused by worn-out O-rings or cartridges. Remove the handles and cartridges from the faucet and inspect them for any signs of damage or wear. Replace any damaged or worn-out O-rings or cartridges with new ones.
Check the Valve Seats: Leaks from the spout of the faucet may be caused by worn-out valve seats. Use a valve seat wrench to remove the valve seats from the faucet and inspect them for any signs of corrosion or damage. If the valve seats are damaged, replace them with new ones.
Clean the Aerator: If you’re experiencing a slow or uneven flow of water from the spout, the aerator may be clogged with mineral deposits or debris. Remove the aerator from the spout and clean it thoroughly with warm water and a mild detergent. Use a toothbrush or small brush to scrub away any stubborn deposits.
Tighten Connections: Leaks around the base of the faucet may also be caused by loose connections between the faucet and the sink. Use an adjustable wrench to tighten the connections securely and ensure a tight seal.
Apply Plumbers Tape: If you’re still experiencing leaks after troubleshooting and repairing the faucet components, apply plumber’s tape to the threads of the faucet spout or handles before reassembling the faucet. This will create a watertight seal and prevent leaks.

Replacing Faulty Components in Moen Dual Handle Bathroom Faucets
Over time, the components of a Moen dual handle bathroom faucet may wear out or become damaged, leading to issues such as leaks, low water pressure, or difficulty turning the handles. In some cases, replacing faulty components is necessary to restore the faucet’s functionality and prevent further damage. Here’s how to replace faulty components in Moen dual handle bathroom faucets:
Identify the Problem: Before replacing any components, identify the specific issue you’re experiencing with your Moen dual handle faucet. Whether it’s a leaky faucet, low water pressure, or difficulty turning the handles, determining the problem will help you choose the right replacement parts.
Turn Off the Water Supply: Locate the shut-off valves under the sink and turn them clockwise to shut off the water supply to the faucet. Turn on the faucet to drain any remaining water from the lines.
Remove the Handles and Cartridges: Use a screwdriver or Allen wrench to remove the set screw located under the handle of each faucet. Once the set screws are removed, gently lift the handles off the faucet to expose the cartridges or stems. Use an adjustable wrench to loosen and remove the retaining nuts or rings holding the cartridges or stems in place.
Inspect the Components: Inspect the cartridges, O-rings, valve seats, and other components for any signs of damage or wear. If any components are damaged or worn out, replace them with new ones. Be sure to choose replacement parts that are compatible with your Moen faucet model.
Install the New Components: Install the new cartridges, O-rings, and other components in the reverse order of removal. Tighten the retaining nuts or rings securely to ensure a tight seal.
Reassemble the Faucet: Once all the new components are installed, reassemble the faucet in the reverse order of disassembly. Tighten the handles and set screws securely, and turn on the water supply to the faucet.
Check for Leaks: Turn on the faucet and check for any leaks or issues. If you notice any leaks, tighten the connections or adjust the components as needed to ensure a tight seal.
Preventive Maintenance Tips
Preventive maintenance is key to extending the lifespan of your Moen dual handle bathroom faucet and preventing costly repairs down the line. By taking proactive measures to care for your faucet, you can ensure that it continues to function properly for years to come. Here are some preventive maintenance tips to help you extend the lifespan of your Moen dual handle bathroom faucet:
Clean Regularly: Regular cleaning is essential for keeping your faucet looking its best and preventing mineral buildup and corrosion. Use a mild soap or detergent and a soft cloth to clean the faucet regularly, paying special attention to the handles, spout, and aerator.
Inspect for Leaks: Periodically check for any signs of leaks or issues with your faucet, such as dripping water or water stains around the base. If you notice any leaks, address them promptly to prevent further damage and water waste.
Check Water Pressure: Monitor the water pressure coming from your faucet regularly. Low water pressure can be a sign of mineral buildup or debris in the aerator or water supply lines. Clean or replace the aerator and check for any obstructions in the supply lines to restore proper water pressure.
Lubricate Moving Parts: Lubricate the moving parts of your faucet, such as the handles and cartridges, regularly to prevent friction and ensure smooth operation. Apply a small amount of plumber’s grease to the moving parts to keep them lubricated and functioning properly.
Protect Against Freezing: If you live in an area where temperatures regularly drop below freezing, take steps to protect your faucet from freezing and bursting. Insulate outdoor faucets and shut off the water supply to outdoor faucets during the winter months to prevent damage.
Address Hard Water Issues: If you have hard water in your area, consider installing a water softener or using a water filtration system to reduce mineral buildup and extend the lifespan of your faucet. Regularly clean and descale your faucet to remove any mineral deposits that may accumulate over time.

Moen 4570 Handle Fell Off. But Then I Fixed It
Moen Eva bathroom dual handle faucet fixed

How to remove Moen Monticello handle set Terry Love Plumbing

Moen Bathroom Faucet 84200 eReplacementParts.com

Tighten a Loose Lever on Moen Brantford Faucet
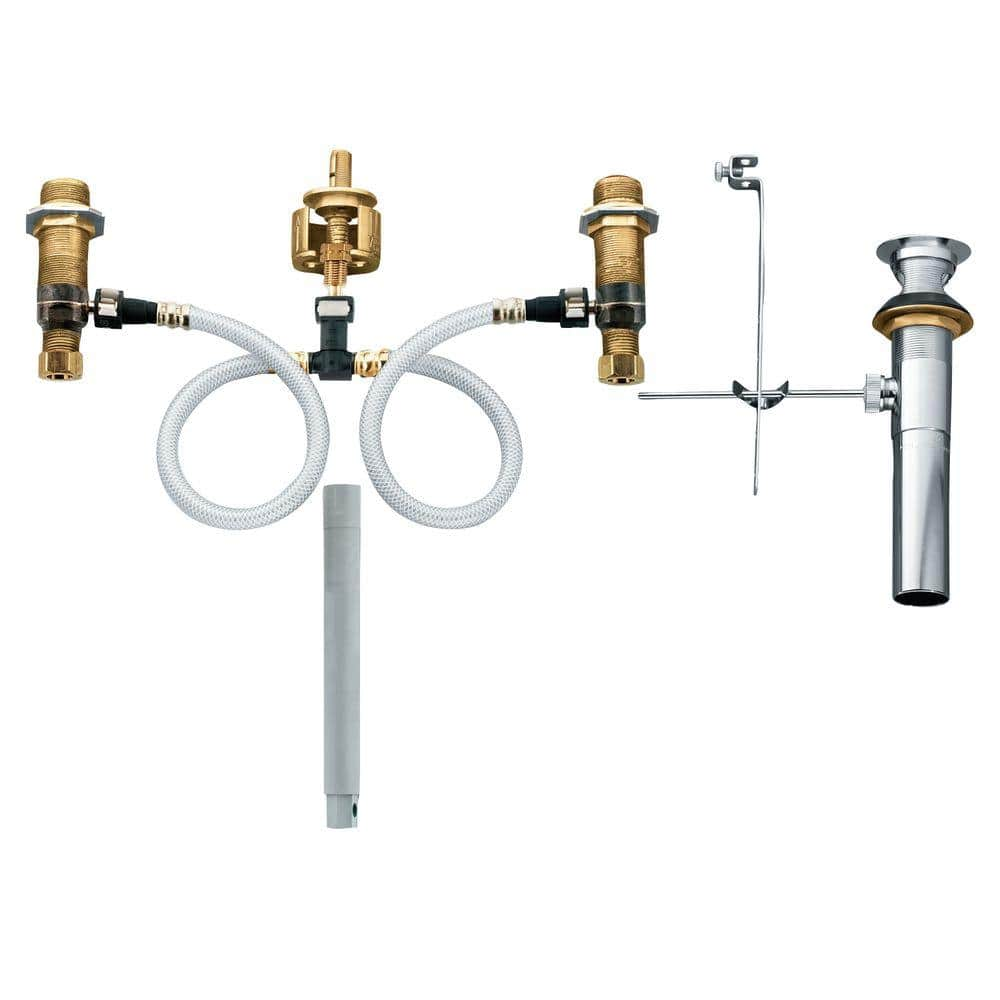
MOEN Widespread Bathroom Faucet Rough-In Valve with Drain Assembly – 1/2 in. IPS Connection 9000
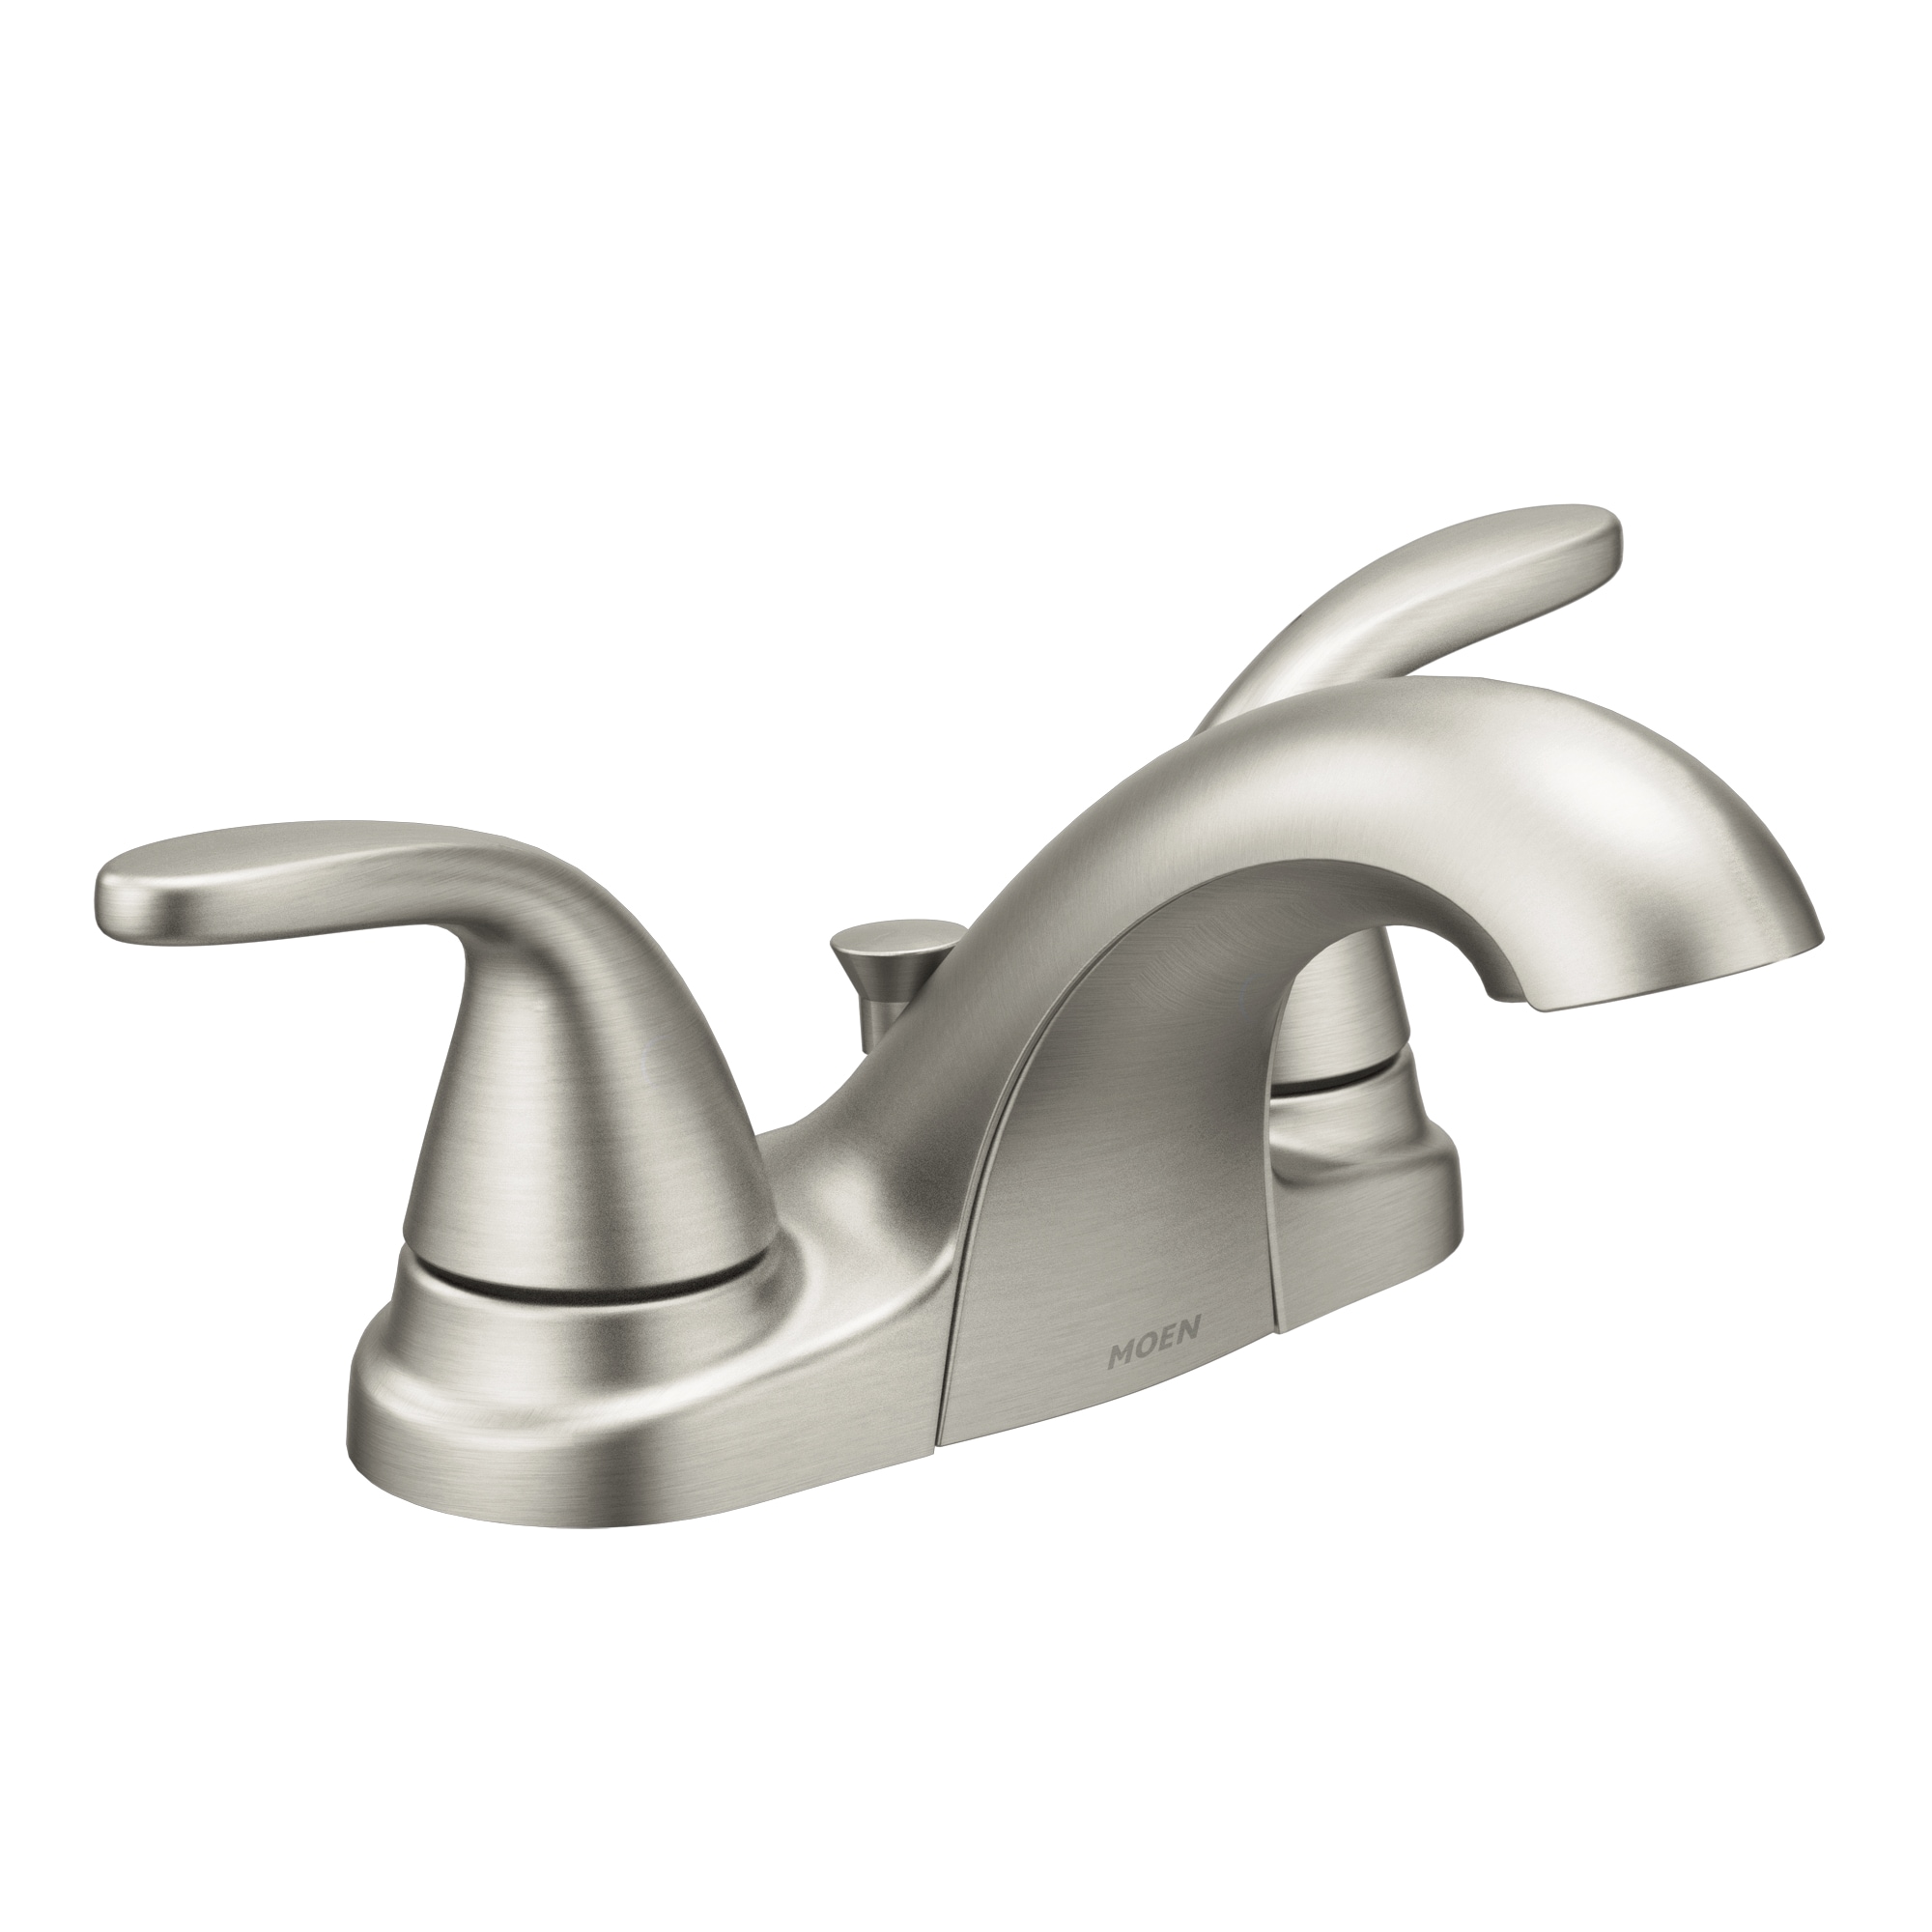
Moen Adler Spot Resist Brushed Nickel 2-handle 4-in Centerset
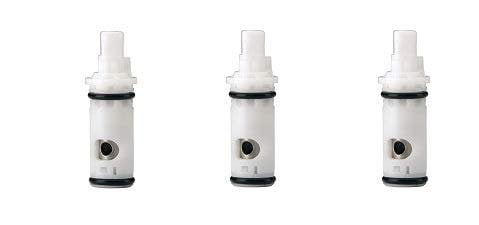
Moen 1224 Replacement Faucet Cartridge Kit Fits Most Double Handle Moen Faucets and Tub or Showers 3 Pack
Related Posts:
- 1 Handle Bathroom Faucets
- Widespread Bathroom Faucet With Cross Handles
- Tall Single Handle Bathroom Faucet
- Bathroom Faucets Discount Prices
- Moen Vs Kohler Bathroom Faucets
- Best Price On Delta Bathroom Faucets
- Bathroom Faucets Long Spout Reach
- Change Bathroom Faucet Washer
- Rohl Wall Mount Bathroom Faucet
- Aquasource Bathroom Faucet Aerator


