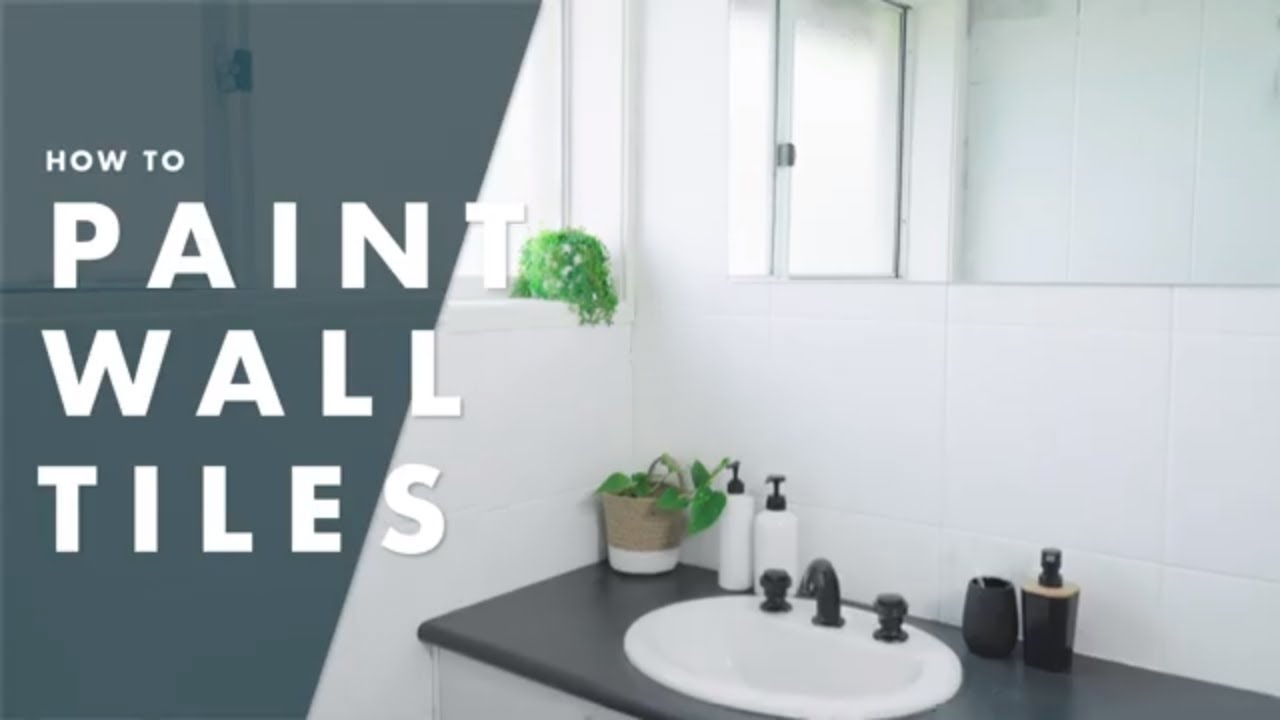
Creative Techniques for Painting Bathroom Tiles
Bathroom tile painting can be a transformative project, offering a budget-friendly way to refresh your space without a complete renovation. But beyond choosing the right colors, there are various creative techniques you can employ to elevate the look of your bathroom tiles. Here are some innovative approaches to consider:
- Stencil Patterns: Stenciling is a popular technique that allows you to create intricate patterns and designs on your bathroom tiles. You can find a wide range of stencils in different styles, from geometric shapes to floral motifs. Using a stencil brush or sponge, carefully apply paint over the stencil to achieve a customized look that adds personality to your bathroom.
- Ombre Effect: The ombre effect is a stylish painting technique that involves blending colors seamlessly from light to dark or vice versa. This technique can create a subtle and visually appealing gradient on your bathroom tiles, adding depth and dimension to the space. Start by selecting two or more complementary colors, then gradually blend them using a sponge or paintbrush for a seamless transition.
- Marbling: Marbling is a classic painting technique that mimics the look of natural marble. This technique involves layering different colors of paint and then swirling them together to create a marbled effect. You can achieve this look by using a feather, sponge, or even plastic wrap to manipulate the paint before it dries. Marbled bathroom tiles can add a touch of elegance and sophistication to your space.
- Tape Designs: Create bold and modern designs on your bathroom tiles using painter’s tape. This technique allows you to create clean lines and geometric patterns with ease. Simply apply strips of painter’s tape in your desired design, then paint over the tiles with your chosen colors. Once the paint is dry, carefully remove the tape to reveal crisp, precise lines that make a statement in your bathroom.
- Texture Painting: Experiment with different textures to add depth and visual interest to your bathroom tiles. You can achieve texture painting by using tools like sponges, brushes, or even household items like crumpled paper or bubble wrap. Apply paint in layers, using varying degrees of pressure and movement to create unique textures that enhance the tactile experience of your bathroom walls.
- Tile Mosaic: For a truly unique and artistic look, consider creating a tile mosaic on your bathroom walls using paint. This technique involves painting individual tiles in different colors to create a mosaic-like pattern. You can draw inspiration from traditional mosaic designs or create your abstract patterns for a modern twist. Use a small brush or even a toothpick to paint intricate details and add depth to your mosaic masterpiece.

Choosing the Right Paint for Bathroom Tiles
When it comes to painting bathroom tiles, selecting the right paint is crucial for achieving a durable and long-lasting finish that withstands moisture and frequent cleaning. With a wide range of options available, it’s essential to choose a paint specifically formulated for use on tiles and other high-moisture areas. Here’s what to consider when selecting the perfect paint for your bathroom tiles:
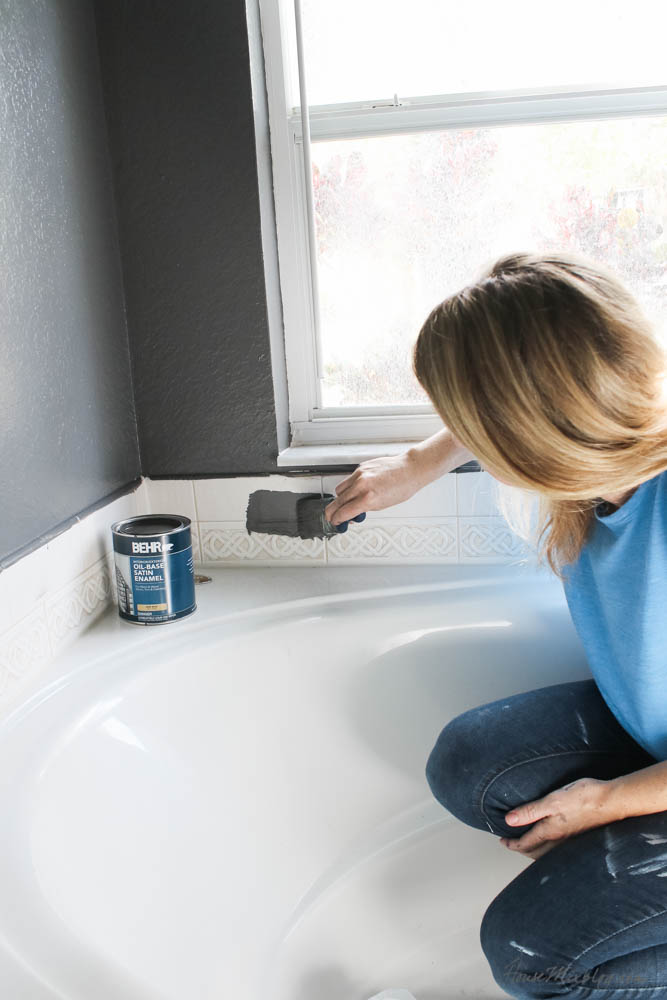
Tile-Specific Paints: Look for paints that are specifically designed for use on tiles and other hard surfaces. These paints are formulated to adhere well to tile surfaces and provide excellent durability and resistance to moisture, mold, and mildew. Tile-specific paints are available in both oil-based and water-based formulations, so choose the type that best suits your preferences and needs.
Epoxy Paints: Epoxy paints are another excellent option for painting bathroom tiles, particularly in high-moisture areas like showers and tub surrounds. Epoxy paints offer superior durability and resistance to water, stains, and chemicals, making them an ideal choice for busy bathrooms. However, epoxy paints can be more challenging to apply than traditional paints and require careful preparation and ventilation due to their strong odor.
Mildew-Resistant Formulas: To prevent the growth of mold and mildew in your bathroom, consider choosing a paint with mildew-resistant properties. These paints contain additives that inhibit the growth of mold and mildew, helping to keep your bathroom tiles looking fresh and clean for longer. Look for paints labeled as “mildew-resistant” or “anti-microbial” for added protection against mold and mildew.
Gloss vs. Matte Finishes: Consider the desired finish for your bathroom tiles when choosing paint. Glossy finishes are easy to clean and reflect light, making them ideal for brightening up small or dark bathrooms. However, glossy finishes can also highlight imperfections and show water spots more easily. Matte finishes, on the other hand, offer a more subtle and understated look while hiding imperfections and providing a smoother appearance.
Color Selection: When selecting paint colors for your bathroom tiles, consider the overall aesthetic of your space and choose colors that complement your existing decor. Lighter colors can make a small bathroom feel more spacious and airy, while darker colors can add drama and sophistication. Neutral tones like white, gray, and beige are versatile options that pair well with a variety of design styles and color schemes.
Sample Testing: Before committing to paint color, it’s essential to test it on a small area of your bathroom tiles to ensure it looks as desired. Paint a sample patch and allow it to dry completely before evaluating the color and finish in different lighting conditions. This will help you make an informed decision and avoid any surprises once you’ve painted the entire area.
Preparing Your Bathroom Tiles for Painting
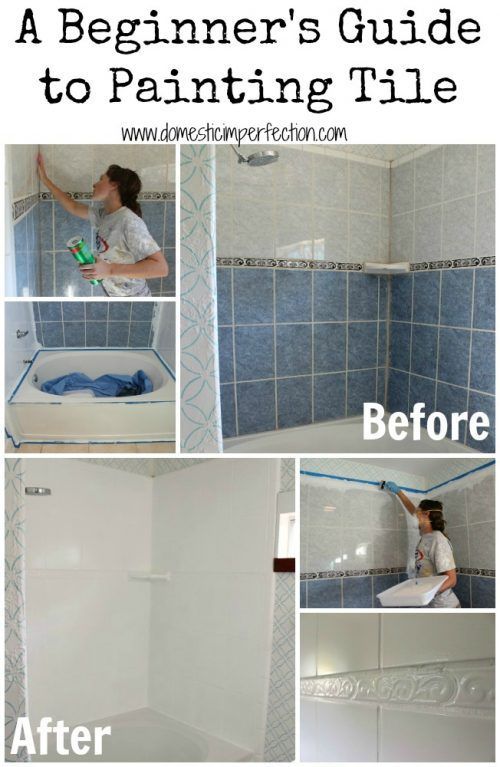
Proper preparation is key to achieving a successful and long-lasting paint finish on your bathroom tiles. Before you begin painting, it’s essential to thoroughly clean and prepare the tiles to ensure the paint adheres well and provides a smooth, professional-looking finish. Here’s how to prepare your bathroom tiles for painting:
Clean the Surface: Start by thoroughly cleaning the tiles to remove any dirt, grime, or soap scum buildup. Use a mild detergent or cleaner and a scrub brush or sponge to scrub the tiles and grout lines thoroughly. Rinse the tiles with clean water and allow them to dry completely before proceeding.
Remove Existing Sealant: If your bathroom tiles are sealed or have a glossy finish, you’ll need to remove the existing sealant to ensure proper adhesion of the paint. Use a tile stripper or solvent to dissolve the sealant, then scrape it away with a putty knife or scraper. Be sure to follow the manufacturer’s instructions and take proper safety precautions when using chemical strippers.
Repair Any Damage: Inspect the tiles for any cracks, chips, or damage, and repair them as needed before painting. Use a tile repair kit or epoxy filler to fill in any cracks or holes, then sand the repaired areas smooth once the filler has dried. This will ensure a smooth and even surface for painting.
Sand the Surface: Roughen up the surface of the tiles with fine-grit sandpaper to create a slightly textured surface that will help the paint adhere better. Use a sanding block or orbital sander to sand the tiles evenly, taking care not to apply too much pressure or sand too aggressively, which could damage the tiles.
Prime the Surface: Apply a coat of primer designed specifically for use on tiles to create a smooth and durable base for the paint. Use a high-quality brush or roller to apply the primer evenly, working in small sections and overlapping the edges for complete coverage. Allow the primer to dry completely according to the manufacturer’s instructions before proceeding.
Mask-Off Areas: Use painter’s tape to mask off any areas you don’t want to paint, such as fixtures, fittings, and adjacent surfaces. Press the tape firmly in place to create clean, crisp lines and prevent paint bleed.
Tips and Tricks for Painting Bathroom Tiles Successfully
Painting bathroom tiles can be a rewarding DIY project that transforms the look of your space without breaking the bank. However, achieving a successful paint finish requires careful preparation and attention to detail. Here are some tips and tricks to help you paint your bathroom tiles like a pro:
Choose the Right Paint: Select a high-quality paint specifically formulated for use on tiles and high-moisture areas. Look for paints labeled as “tile paint” or “bathroom paint,” which are designed to withstand moisture, mold, and mildew.
Prepare the Surface: Proper preparation is key to a successful paint finish. Thoroughly clean the tiles to remove dirt, grime, and soap scum buildup, and repair any damage before painting. Use a primer designed for use on tiles to create a smooth and durable base for the paint.
Use the Right Tools: Invest in high-quality brushes and rollers designed for use with the type of paint you’ve chosen. A high-quality brush will help you achieve a smooth and even finish, while a roller can speed up the painting process for larger areas.
Apply Thin Coats: It’s better to apply multiple thin coats of paint rather than one thick coat. Thin coats dry faster and are less likely to drip or sag, resulting in a smoother and more professional-looking finish.
Allow Proper Drying Time: Be patient and allow each coat of paint to dry completely before applying the next coat or using the bathroom. Rushing the drying process can result in a tacky finish or cause the paint to peel or chip prematurely.
Ventilate the Space: Proper ventilation is essential when painting in a confined space like a bathroom. Open windows and use a fan to ensure adequate airflow and help the paint dry faster.
Protect Surrounding Surfaces: Use painter’s tape to mask off any areas you don’t want to paint, such as fixtures, fittings, and adjacent surfaces. This will help you achieve clean, crisp lines and prevent paint bleed.
Avoid Overlapping Strokes: When applying paint, avoid overlapping strokes, as this can create visible brush marks and uneven coverage. Work quickly and smoothly in one direction to achieve a seamless finish.
Seal the Paint: Once the paint has dried completely, apply a clear sealant or topcoat designed for use on painted tiles to protect the finish and increase durability. Follow the manufacturer’s instructions for the best results.
Inspiring Bathroom Tile Painting Ideas and Designs
Painting bathroom tiles offers endless possibilities for adding color, pattern, and personality to your space. Whether you prefer bold and vibrant hues or subtle and understated tones, there are countless inspiring ideas and designs to consider. Here are some creative bathroom tile painting ideas to spark your imagination:
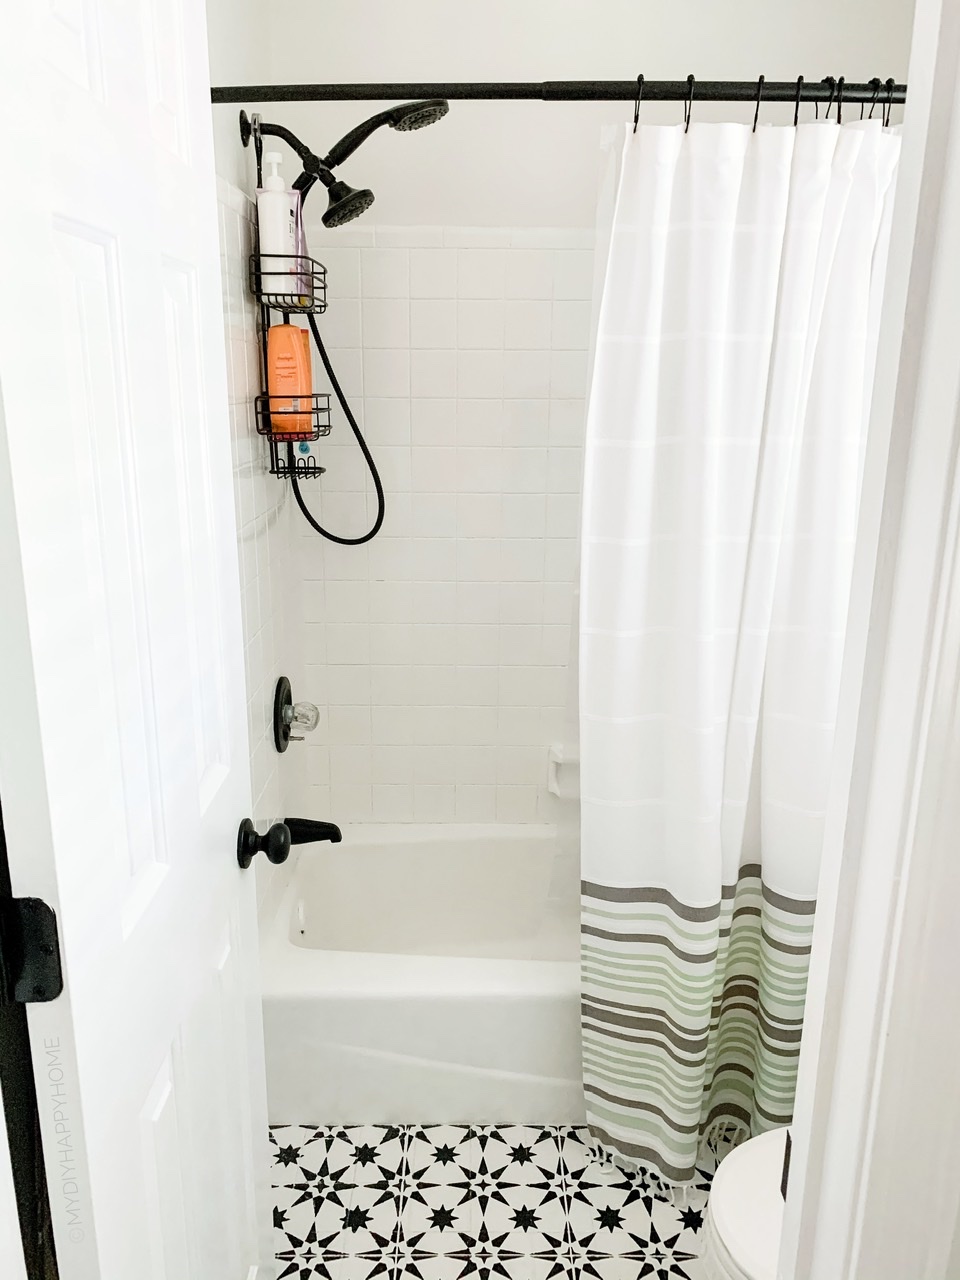
Monochromatic Palette: Create a sleek and modern look by painting your bathroom tiles in a single color palette. Choose shades of gray, blue, or green for a calming and sophisticated vibe, or opt for a timeless black-and-white color scheme for a classic touch.
Geometric Patterns: Make a statement in your bathroom with geometric patterns and designs painted on your tiles. Create bold and modern shapes like triangles, hexagons, or diamonds for a contemporary look, or opt for more traditional patterns like chevron or herringbone for a timeless appeal.
Nature-Inspired Motifs: Bring the beauty of the outdoors into your bathroom with nature-inspired motifs and designs. Paint delicate floral patterns, leafy vines, or whimsical botanicals on your tiles for a fresh and inviting look that adds a touch of natural beauty to your space.
Tropical Oasis: Transform your bathroom into a tropical oasis with vibrant colors and exotic motifs. Paint your tiles in shades of teal, turquoise, and coral for a vibrant and energizing feel, and add palm leaves, tropical flowers, and exotic birds for a fun and playful touch.
Vintage Charm: Embrace vintage charm and nostalgia in your bathroom with retro-inspired tile painting designs. Choose soft pastel colors like mint green, blush pink, or powder blue for a sweet and feminine look, and add vintage-inspired motifs like scallops, polka dots, or stripes for a whimsical touch.
Artistic Accents: Make a bold statement in your bathroom with artistic accents and focal points painted on your tiles. Create a striking feature wall with a mural or hand-painted artwork, or add artistic details like abstract brushstrokes, splatter paint, or graffiti-inspired designs for a contemporary and eclectic vibe.
Color Blocking: Experiment with color-blocking techniques to add visual interest and dimension to your bathroom tiles. Paint blocks of contrasting colors in geometric shapes or random patterns for a modern and dynamic look that adds depth and personality to your space.
Nautical Theme: Bring the serene beauty of the sea into your bathroom with a nautical-inspired theme. Paint your tiles in shades of navy blue, crisp white, and sandy beige for a classic maritime palette, and add nautical motifs like anchors, ropes, and seashells for a coastal-inspired touch.
Whimsical Wonderland: Let your imagination run wild and create a whimsical wonderland in your bathroom with playful and imaginative tile painting designs. Paint whimsical characters, fairy tale scenes, or dreamy landscapes on your tiles for a magical and enchanting look that sparks joy and imagination.
Glamorous Metallics: Add a touch of glamour and luxury to your bathroom with metallic accents and finishes. Paint your tiles in shimmering gold, silver, or copper hues for a glamorous and opulent feel, and pair them with luxe materials like marble, glass, or crystal for a sophisticated and elegant look.
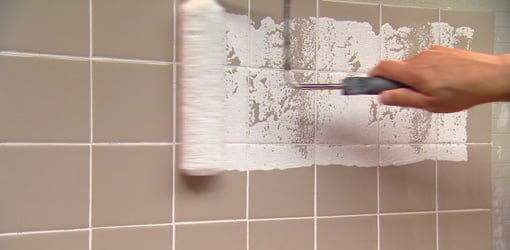
How to Paint Over Ceramic Tile in a Bathroom
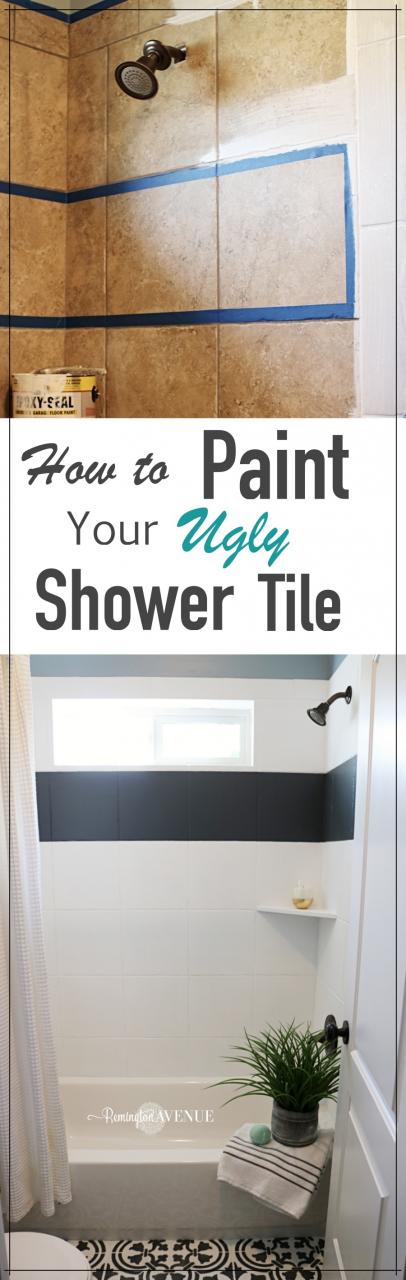
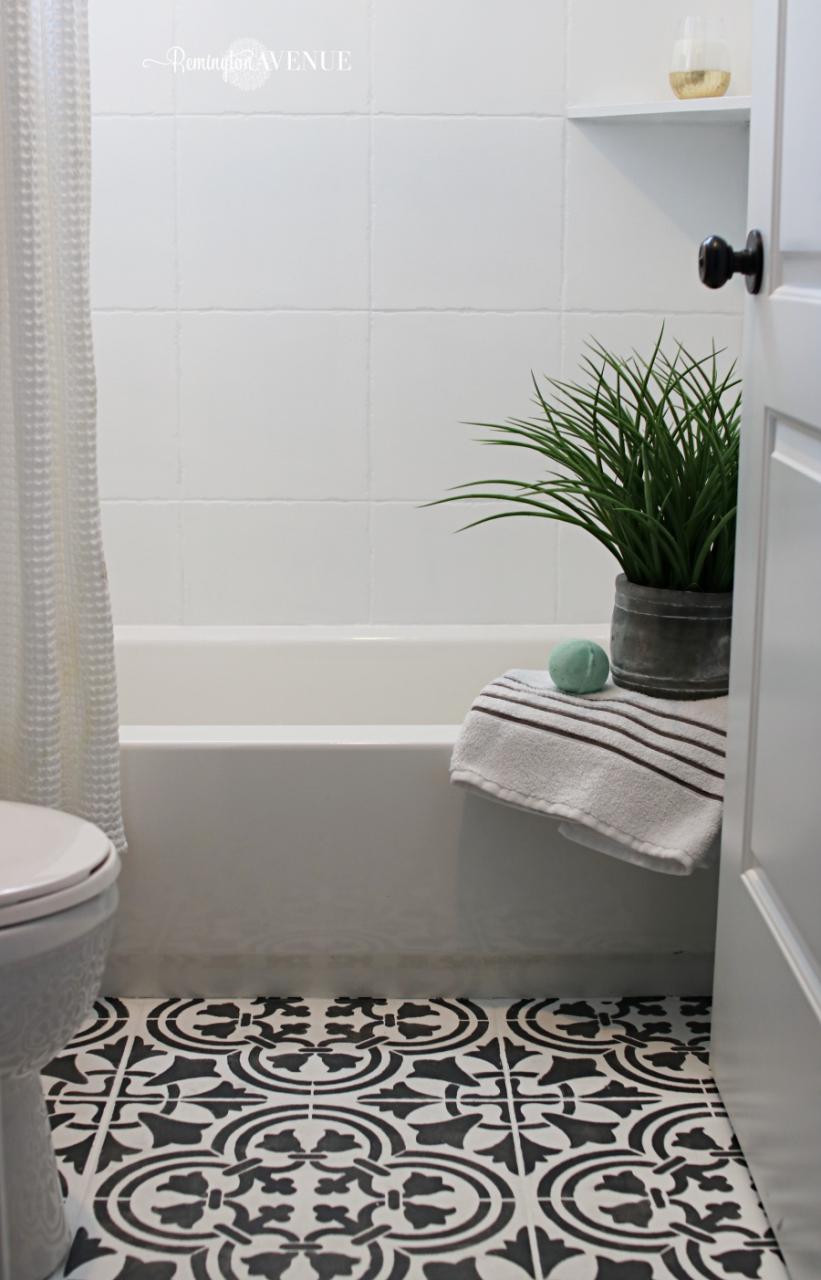
How to Paint Shower Tile – Remington Avenue
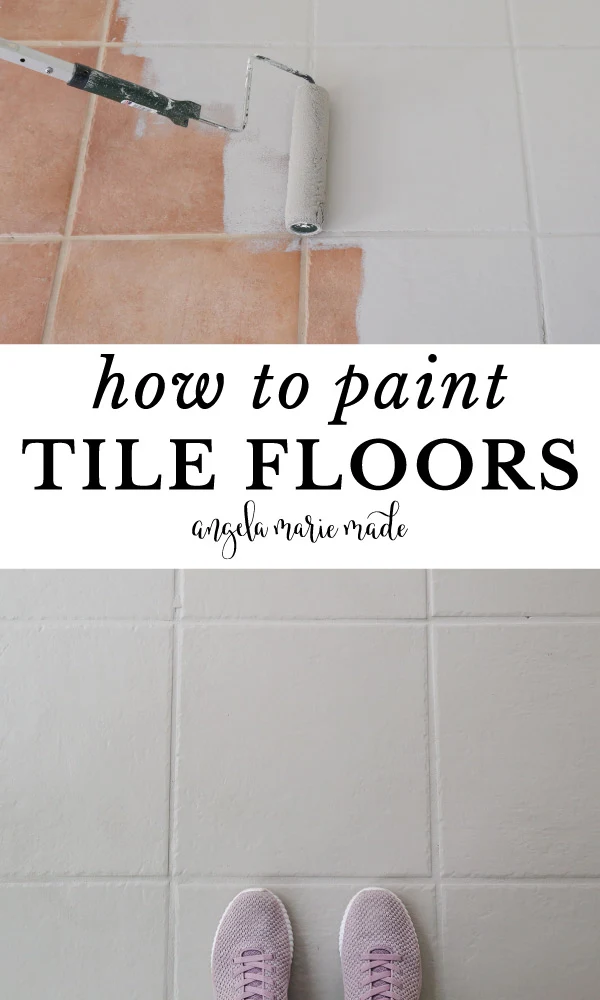
How to Paint Tile Floor – Angela Marie Made
How to Paint Shower Tile – Remington Avenue
Painting Tile in the Bathroom with Chalk Paint® The Purple

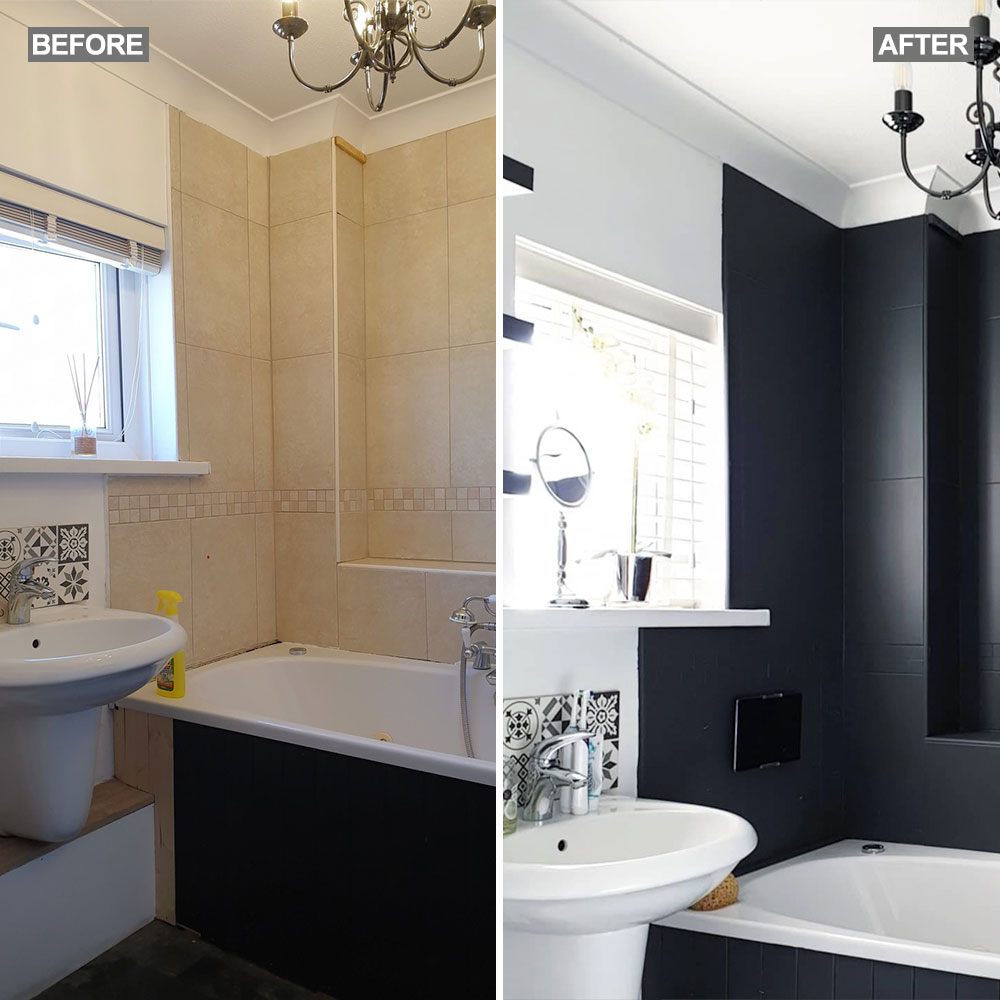
Be inspired by this incredible frenchic paint bathroom tiles makeover
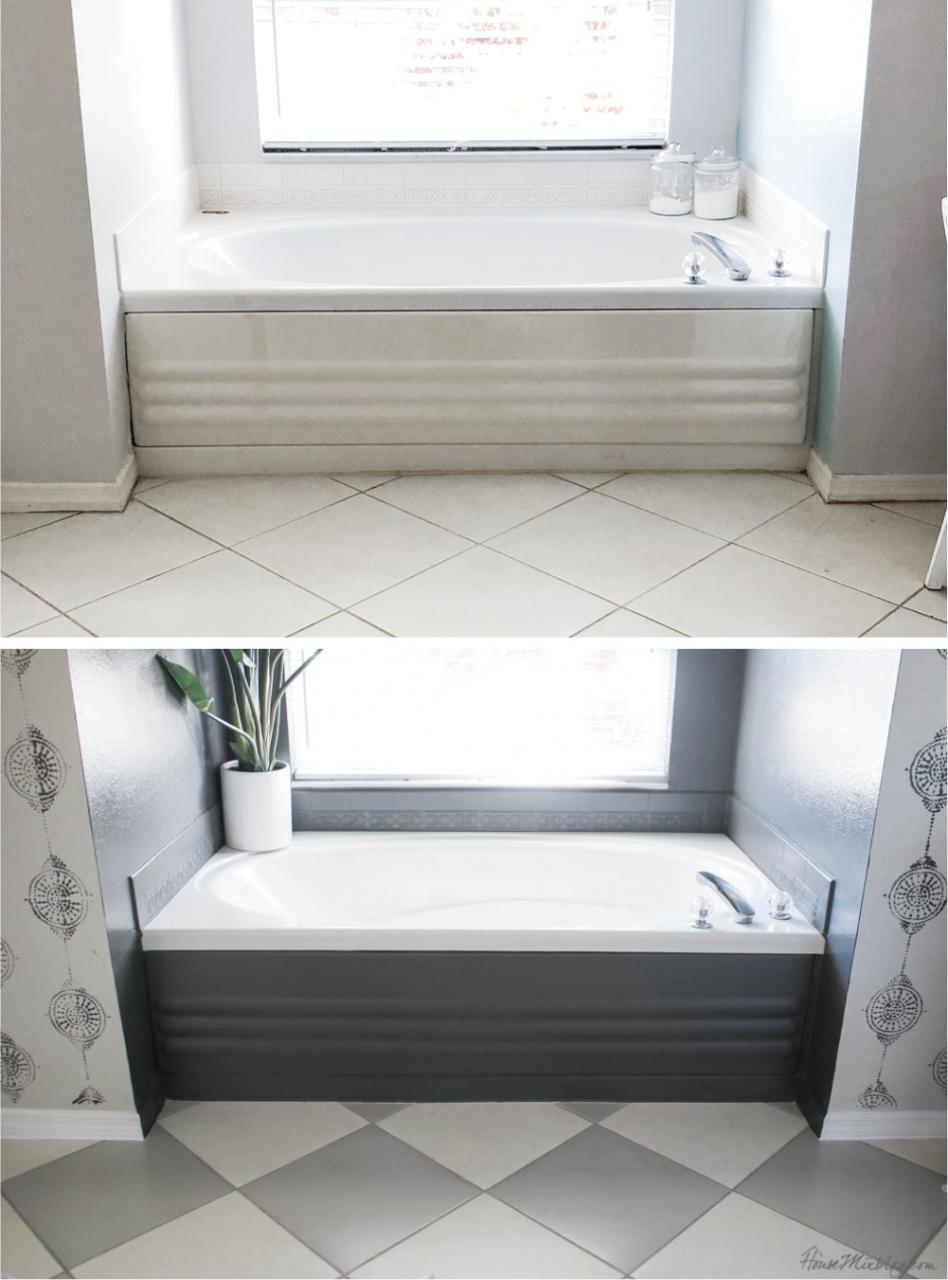
Nitpicky 6-month painted tile update u2013 House Mix
Painting Bathroom Tile? 6 Things to Know First – Bob Vila
Can You Paint Ceramic Floor Tile? HGTV
Related Posts:
- Bathroom Tile Floors Images
- Black And White Mosaic Bathroom Tile
- Steam Cleaning Bathroom Tiles And Grout
- How To Lay Bathroom Tiles On Wooden Floor
- Cool Bathroom Tile Designs
- Yellow Stains On Bathroom Tile
- Bathroom Tile Colors And Designs
- Latest Bathroom Tiles Images
- Home Remedies For Cleaning Bathroom Tile Grout
- Design Your Bathroom Tiles


