Common Grout Issues in Bathroom Tiles
Grout issues in bathroom tiles can be both unsightly and problematic, leading to water damage, mold growth, and deterioration of the tile surface. Identifying common grout problems is the first step towards addressing them effectively and maintaining the integrity of your bathroom tiles. Let’s discuss some of the most common grout issues in bathroom tiles:
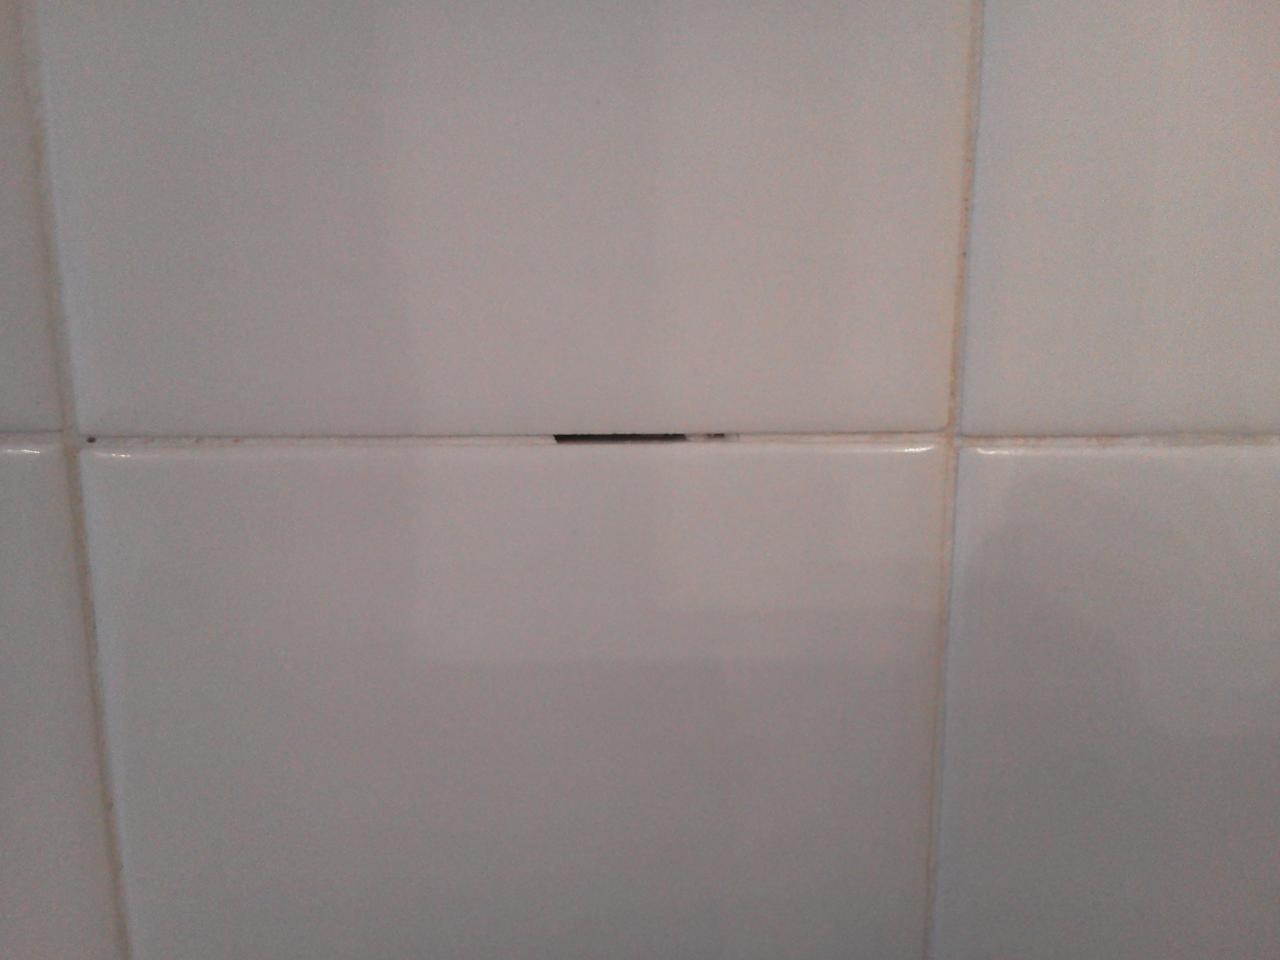
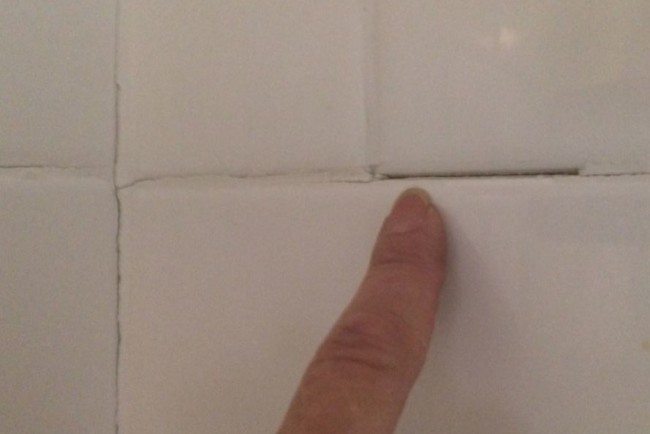
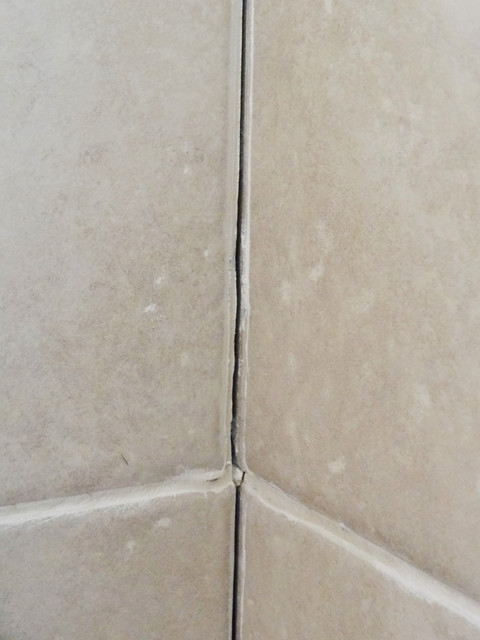
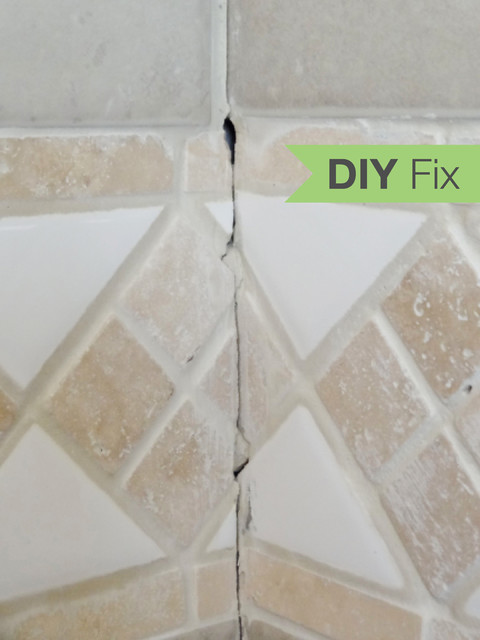
- Cracked Grout: Cracked grout is a prevalent issue in bathroom tiles, often caused by movement or shifting of the underlying surface, such as subflooring or wall studs. Over time, cracks in the grout can allow water to seep behind the tiles, leading to water damage and mold growth. Cracked grout may also be caused by improper installation, insufficient curing time, or excessive weight or pressure on the tiles.
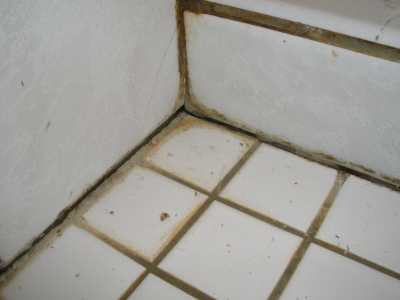
- Discolored Grout: Discoloration of grout is another common problem in bathroom tiles, resulting from exposure to moisture, mold, mildew, or household cleaning products. Over time, grout can become stained or discolored, detracting from the appearance of the tiles and making the bathroom look dirty or outdated. Discolored grout may also be caused by improper cleaning techniques or the use of harsh chemicals that damage the grout’s surface.
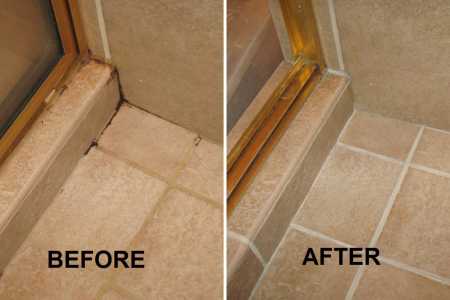
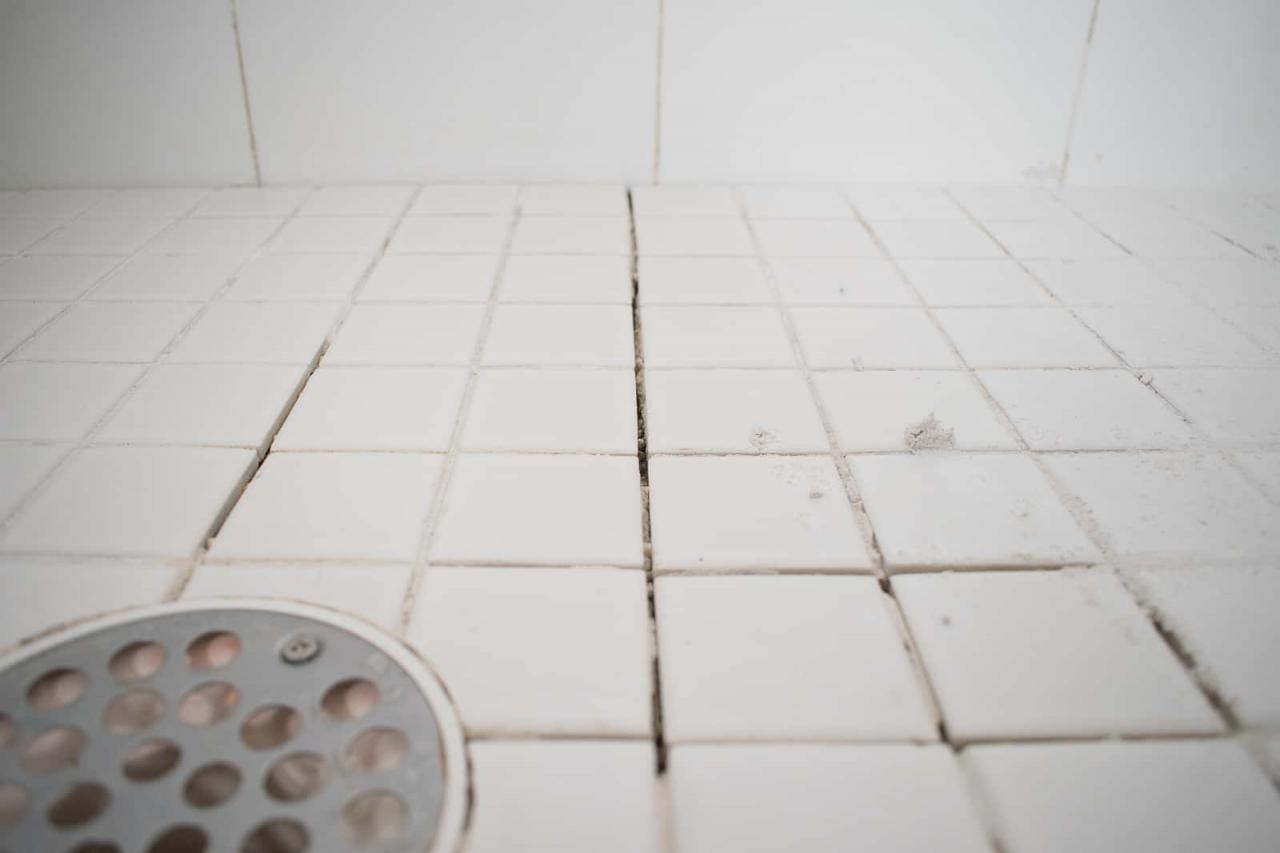
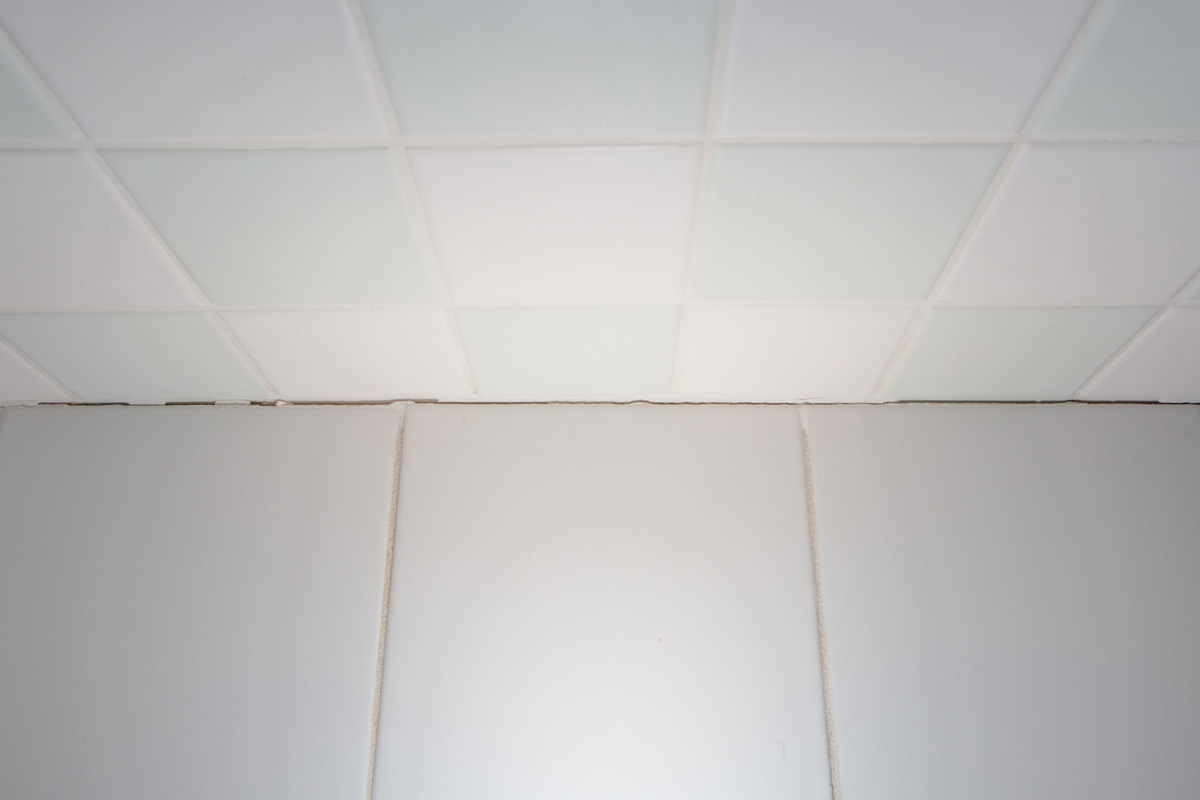
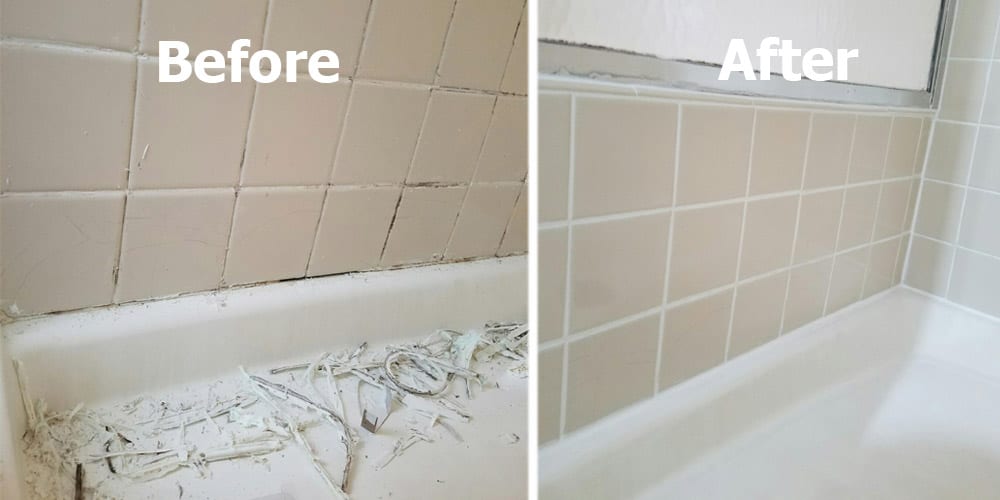
- Missing or Loose Grout: Missing or loose grout is a sign of deterioration and poor maintenance, leaving gaps between tiles where water can penetrate and cause damage. Missing grout may result from improper installation, inadequate curing time, or wear and tear over time. Loose grout may also be caused by excessive moisture, improper cleaning techniques, or the use of abrasive cleaning tools that damage the grout’s bond with the tiles.
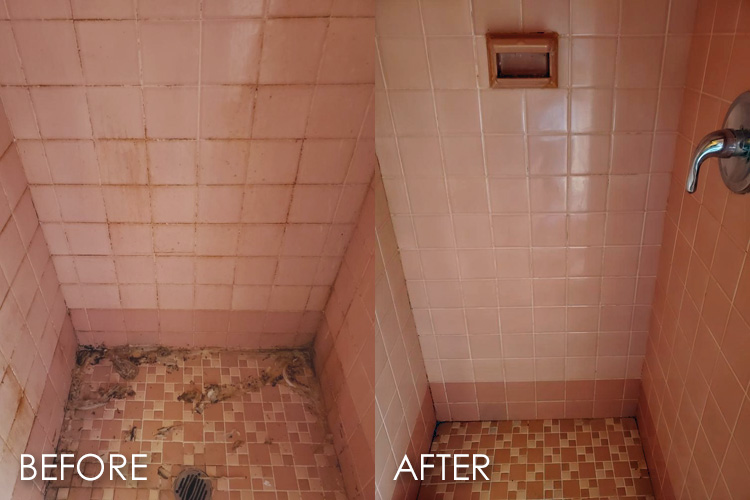
- Mold and Mildew Growth: Mold and mildew thrive in damp, humid environments such as bathrooms, making grout lines an ideal breeding ground. Mold and mildew growth in grout can cause unsightly black or green stains, foul odors, and respiratory issues for occupants of the home. Poor ventilation, inadequate waterproofing, and infrequent cleaning contribute to mold and mildew growth in bathroom tiles, highlighting the importance of regular maintenance and preventive measures.
- Erosion and Deterioration: Over time, grout can deteriorate and erode due to exposure to moisture, heat, and cleaning products. Erosion of grout lines weakens the bond between tiles, leading to gaps, cracks, and instability in the tile surface. Deterioration of grout may result from improper installation, inadequate waterproofing, or neglecting to seal the grout regularly. Addressing erosion and deterioration promptly is essential to prevent further damage and maintain the structural integrity of the bathroom tiles.

Tools and Materials Needed for Fixing Bathroom Tile Grout
Repairing bathroom tile grout requires the right tools and materials to ensure a successful outcome and long-lasting results. Whether you’re patching cracks, replacing missing grout, or cleaning and sealing grout lines, having the proper equipment on hand is essential for a smooth and efficient repair process. Let’s explore the tools and materials needed for fixing bathroom tile grout:
Grout Removal Tool: A grout removal tool, such as a grout saw or grout scraper, is essential for removing old or damaged grout from between tiles. These tools allow you to carefully scrape away the old grout without damaging the surrounding tiles, preparing the surface for regrouting or repair.
Grout Float: A grout float is used to apply new grout to the tile surface and press it into the gaps between tiles. This tool features a rubber or foam pad that helps spread the grout evenly and smoothly, ensuring a tight seal and professional finish.
Grout Mix: Grout mix is a blend of cement, sand, and additives that forms a durable, water-resistant seal between tiles. Choose a grout mix that matches the color and texture of your existing grout for a seamless repair. Grout mix is available in powder form, which must be mixed with water before use, or in pre-mixed form for convenience.
Grout Sealer: Grout sealer is a protective coating applied to grout lines to prevent moisture penetration, mold growth, and staining. Choose a high-quality grout sealer specifically formulated for use in bathrooms, and follow the manufacturer’s instructions for application and curing.
Cleaning Supplies: Cleaning supplies such as a scrub brush, mild detergent or grout cleaner, and a bucket of water are essential for preparing the grout surface before repair. Thoroughly clean the grout lines to remove dirt, grease, and mold buildup, ensuring a clean and smooth surface for regrouting or repair.
Safety Gear: Safety gear such as goggles, gloves, and a dust mask are important for protecting yourself during the grout repair process. Grout removal can create dust and debris that may irritate the eyes, skin, and respiratory system, so wearing appropriate safety gear is essential for your health and safety.
Sponge and Cloth: A sponge and cloth are used to wipe away excess grout and clean the tile surface after grouting. Keep a bucket of clean water nearby for rinsing the sponge and cloth regularly during the grout repair process to ensure a clean and professional finish.
Step-by-Step Guide to Repairing Bathroom Tile Grout
Repairing bathroom tile grout is a straightforward process that can be completed with a few simple steps and the right tools and materials. Whether you’re patching cracks, replacing missing grout, or cleaning and sealing grout lines, following a step-by-step guide ensures a smooth and efficient repair process. Let’s walk through the process of repairing bathroom tile grout:
Prepare the Surface: Begin by preparing the surface for grout repair. Use a grout removal tool, such as a grout saw or grout scraper, to carefully remove old or damaged grout from between the tiles. Take care not to damage the surrounding tiles during the removal process, and thoroughly clean the grout lines to remove any debris or residue.
Mix the Grout: Prepare the grout mix according to the manufacturer’s instructions. Mix the grout powder with water in a clean bucket until it reaches a smooth, paste-like consistency. Allow the grout mix to rest for a few minutes to activate before proceeding with the repair.
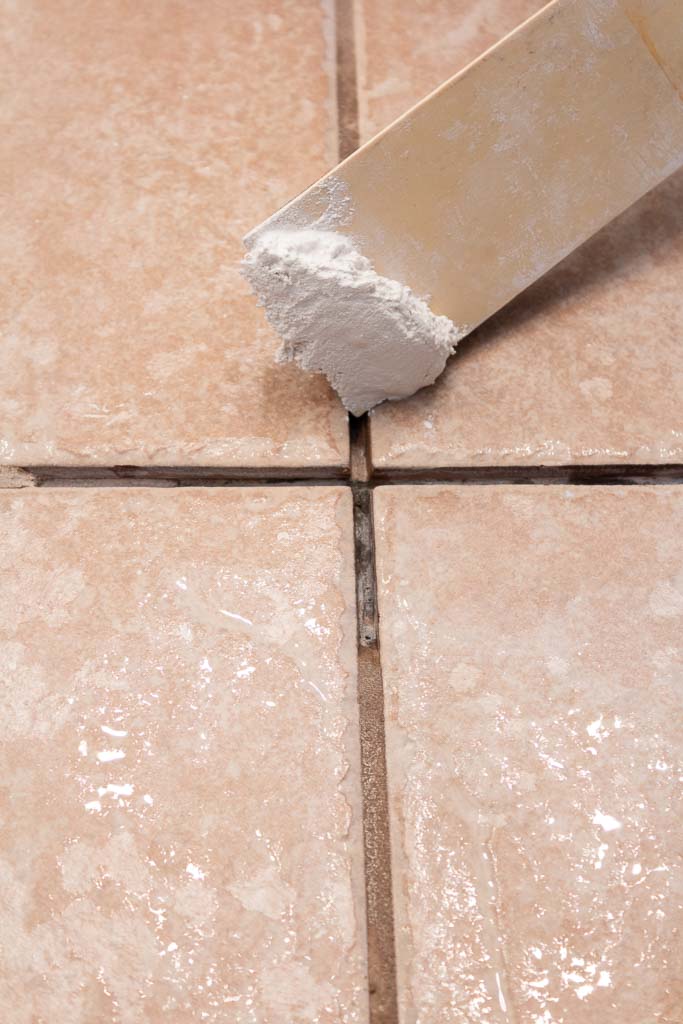
Apply the Grout: Use a grout float to apply the grout to the tile surface, pressing it firmly into the gaps between tiles. Work in small sections, spreading the grout evenly and smoothing it over the surface with the float. Ensure that the grout lines are filled completely and that there are no air pockets or gaps.
Remove Excess Grout: After applying the grout, use the edge of the grout float or a clean damp sponge to remove excess grout from the tile surface. Hold the float or sponge at a 45-degree angle and drag it diagonally across the tiles to remove excess grout and create a smooth, uniform finish.
Clean the Tiles: Once the excess grout has been removed, use a clean, damp sponge to wipe down the tile surface and clean any remaining grout residue. Rinse the sponge frequently in clean water to prevent smearing or staining of the tiles, and continue wiping until the tiles are clean and the grout lines are smooth and uniform.
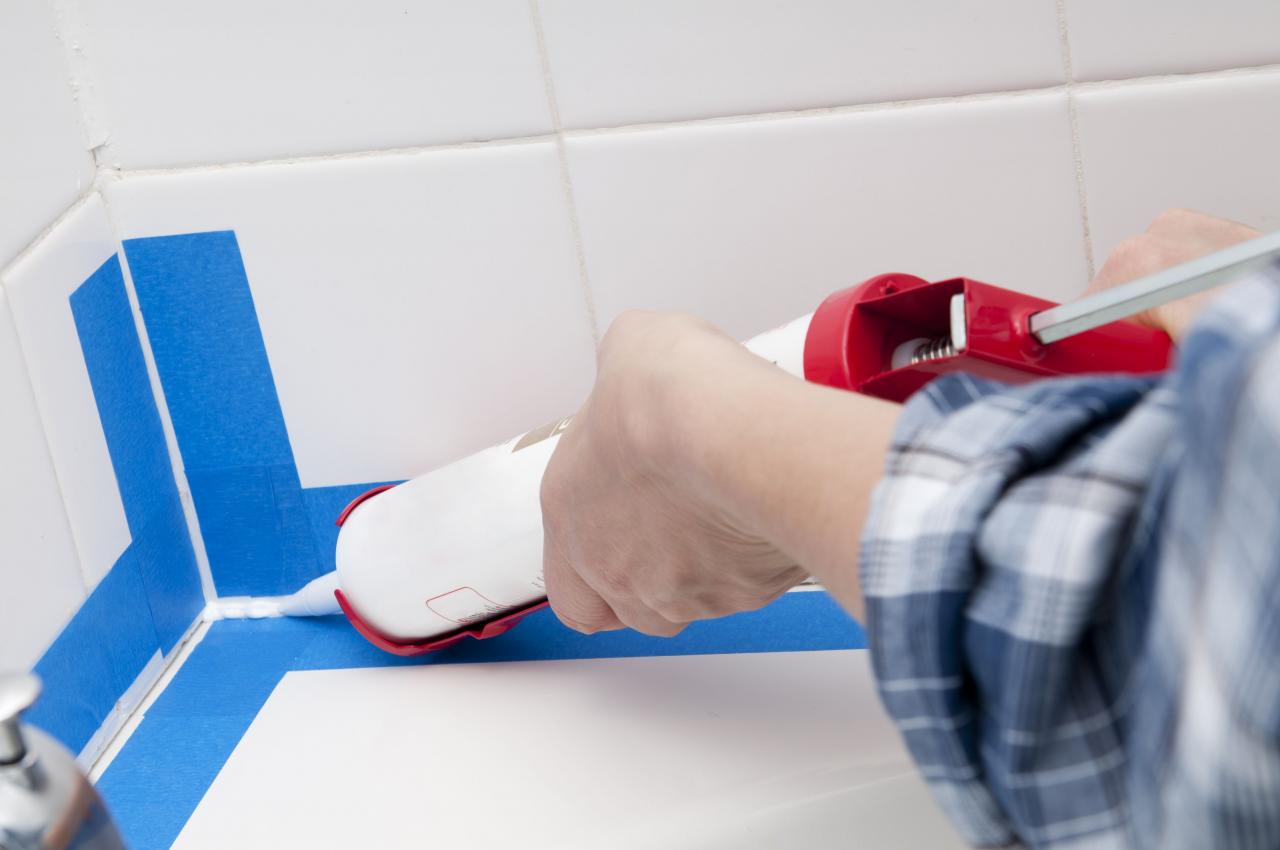
Seal the Grout: After the grout has cured for the recommended time, apply a coat of grout sealer to the grout lines to protect them from moisture, mold, and staining. Use a small brush or applicator to apply the sealer evenly to the grout lines, taking care not to get sealer on the tile surface. Allow the sealer to dry completely before using the shower or bathtub.
Tips for Preventing Future Grout Problems in the Bathroom
Preventing future grout problems in the bathroom is essential for maintaining the beauty and integrity of your tile surfaces. By implementing preventive measures and practicing proper maintenance, you can minimize the risk of cracked, discolored, or deteriorating grout and prolong the lifespan of your bathroom tiles. Here are some tips for preventing future grout problems in the bathroom:
Seal Grout Regularly: Sealant helps protect grout from moisture, mold, and staining, prolonging its lifespan and maintaining its appearance. Apply a high-quality grout sealer to the grout lines every 6 to 12 months, or as recommended by the manufacturer, to ensure optimal protection and prevent future damage.
Keep Grout Clean: Regular cleaning is essential for preventing mold, mildew, and staining in grout lines. Use a mild detergent or grout cleaner and a scrub brush to clean the grout lines regularly, paying special attention to areas prone to moisture and mold growth. Rinse thoroughly with clean water and dry the grout lines completely to prevent water damage and mold growth.
Use a Ventilation Fan: Proper ventilation helps reduce humidity and moisture levels in the bathroom, preventing mold and mildew growth in grout lines. Use a ventilation fan or open a window during and after showers or baths to allow excess moisture to escape, reducing the risk of water damage and mold growth in grout lines and tile surfaces.
Repair Leaks Promptly: Addressing leaks in plumbing fixtures such as faucets, showers, and toilets promptly helps prevent water damage and mold growth in grout lines and tile surfaces. Inspect plumbing fixtures regularly for signs of leaks, such as dripping or pooling water, and repair any leaks immediately to prevent further damage to the bathroom.
Avoid Harsh Cleaners: Harsh chemicals and abrasive cleaning tools can damage grout surfaces and strip away protective sealant, leaving grout vulnerable to moisture, mold, and staining. Use mild detergents or grout cleaners and soft scrub brushes or sponges to clean grout lines, and avoid using bleach or acidic cleaners that can degrade grout over time.
Reinforce Grout as Needed: Periodically inspect grout lines for signs of wear, erosion, or deterioration, and reinforce or repair as needed to maintain the integrity of the tile surface. Patch cracks, replace missing grout, and reseal grout lines regularly to prevent water penetration and damage to the underlying surfaces.
When to Seek Professional Help for Bathroom Tile Grout Issues
While many bathroom tile grout issues can be addressed with DIY repair techniques, there are situations where professional help may be necessary to ensure proper repair and restoration of your tile surfaces. Knowing when to seek professional assistance can prevent further damage and ensure a successful outcome for your grout repair project. Let’s find out some signs that indicate it’s time to seek professional help for bathroom tile grout issues:
Extensive Damage: If your bathroom tile grout is extensively damaged, deteriorated, or eroded, professional intervention may be necessary to restore the integrity of the tile surfaces. Professional contractors have the expertise, tools, and materials needed to assess the extent of the damage and recommend appropriate repair or replacement options.
Persistent Mold and Mildew: If you’ve tried multiple DIY cleaning methods to remove mold and mildew from grout lines without success, professional help may be needed to address the underlying cause of the problem. Professional contractors can identify and remediate mold and mildew issues effectively, preventing further damage and ensuring a clean and healthy bathroom environment.
Structural Issues: If you suspect that your bathroom tile grout issues are due to underlying structural issues, such as water damage or subflooring issues, it’s essential to seek professional assistance. Structural issues can compromise the stability and safety of your bathroom, requiring specialized expertise and repair techniques to address effectively.
Complex Repairs: If your grout repair project involves complex or specialized techniques, such as regrouting large areas, repairing tile cracks, or installing new tile surfaces, professional help may be necessary to achieve optimal results. Professional contractors have the skills and experience needed to tackle complex repair projects and ensure a seamless finish.
Time and Convenience: If you lack the time, tools, or expertise needed to complete a grout repair project effectively, hiring a professional contractor can save you time and hassle. Professional contractors can complete the repair project efficiently and with minimal disruption to your daily routine, allowing you to enjoy beautiful and functional tile surfaces in your bathroom.
Long-Term Value: Investing in professional grout repair and restoration services can enhance the long-term value and aesthetics of your bathroom, ensuring that your tile surfaces remain beautiful and durable for years to come. Professional contractors use high-quality materials and techniques to achieve superior results and prolong the lifespan of your tile surfaces.
Fix-It Friday: When A LITTLE Missing Grout Creates A BIG Leaking
How to Fix Cracked Grout – At Charlotteu0027s House
How To Repair Bathroom Grout Step-by-Step DIY Guide
Quick Fix: Repair Cracked Bathroom Grout
Quick Fix: Repair Cracked Bathroom Grout
Prevent Expensive Bathroom Repairs ProMaster (513) 724-0539
Is cracked grout a problem? – Is grout repair easy? – The Grout Medic
Can I put new grout over my old grout? The Grout Medic
How to Regrout Ceramic Tile

Related Posts:


