Choosing the Right Bathroom Tile for Your Shower Floor
When it comes to choosing the right bathroom tile for your shower floor, there are several factors to consider. The material, style, and size of the tile can all have a significant impact on the overall look and functionality of your shower. Here are some important points to keep in mind:
- Material: One of the first decisions to make is the material of the tile. Common options include ceramic, porcelain, stone, and glass. Each material has its unique characteristics and advantages. For example, ceramic and porcelain tiles are durable and water-resistant, making them ideal for shower floors. On the other hand, stone tiles can add a natural and luxurious touch to your bathroom.
- Style: The style of the tile can greatly enhance the overall aesthetic of your bathroom. Whether you prefer a modern, minimalist look or a more traditional and ornate design, there are countless options available. Consider the color, pattern, and texture of the tile to ensure it complements the rest of your bathroom decor.
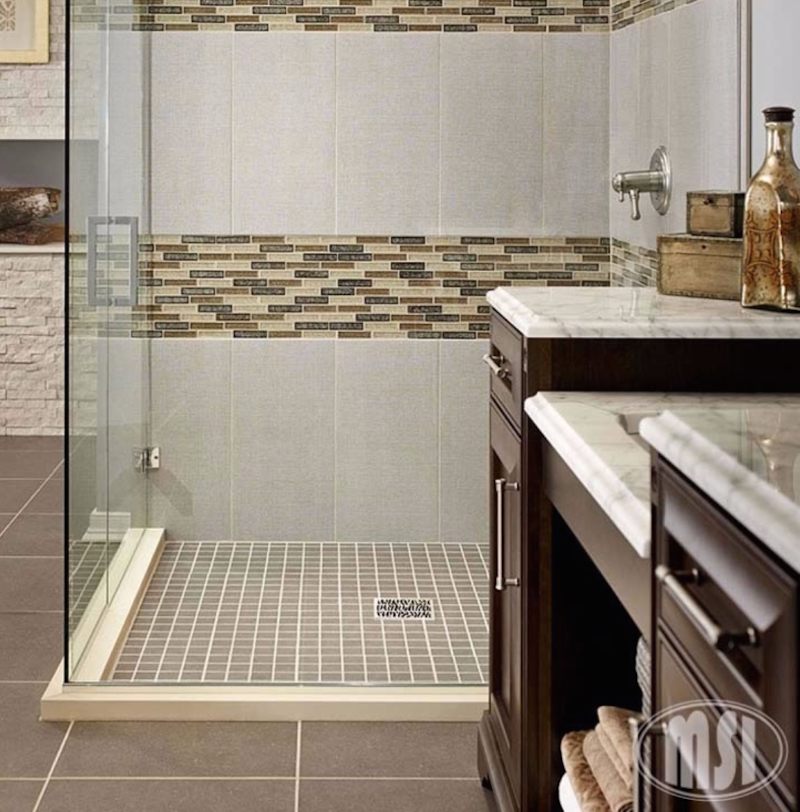
- Size: The size of the tiles can also make a difference in the appearance and functionality of your shower floor. Smaller tiles, such as mosaic or penny tiles, can offer better traction and prevent slipping. However, larger tiles can create a seamless and sleek look, with fewer grout lines to clean.
- Slip Resistance: Safety should be a top priority when choosing bathroom tiles for your shower floor. Look for tiles with a slip-resistant surface or consider adding a textured coating or mat to enhance traction. This is especially important if you have elderly or young family members who may be at a higher risk of slipping.
- Maintenance: Finally, consider the maintenance requirements of the tile. Some materials may require more frequent cleaning or sealing to prevent stains and water damage. Choose a tile that is easy to clean and maintain to ensure the longevity and beauty of your shower floor.

Elevating Your Shower Floor with Tiles
When it comes to designing your shower floor, tiles can play a significant role in creating a stylish and functional space. Here are some design ideas to elevate your shower floor:
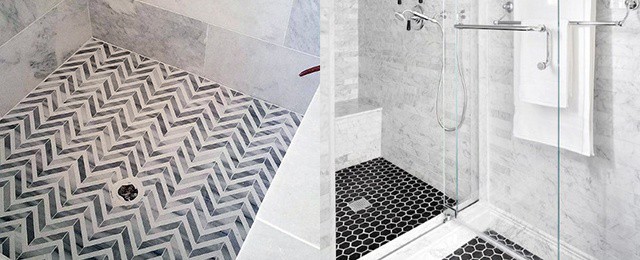
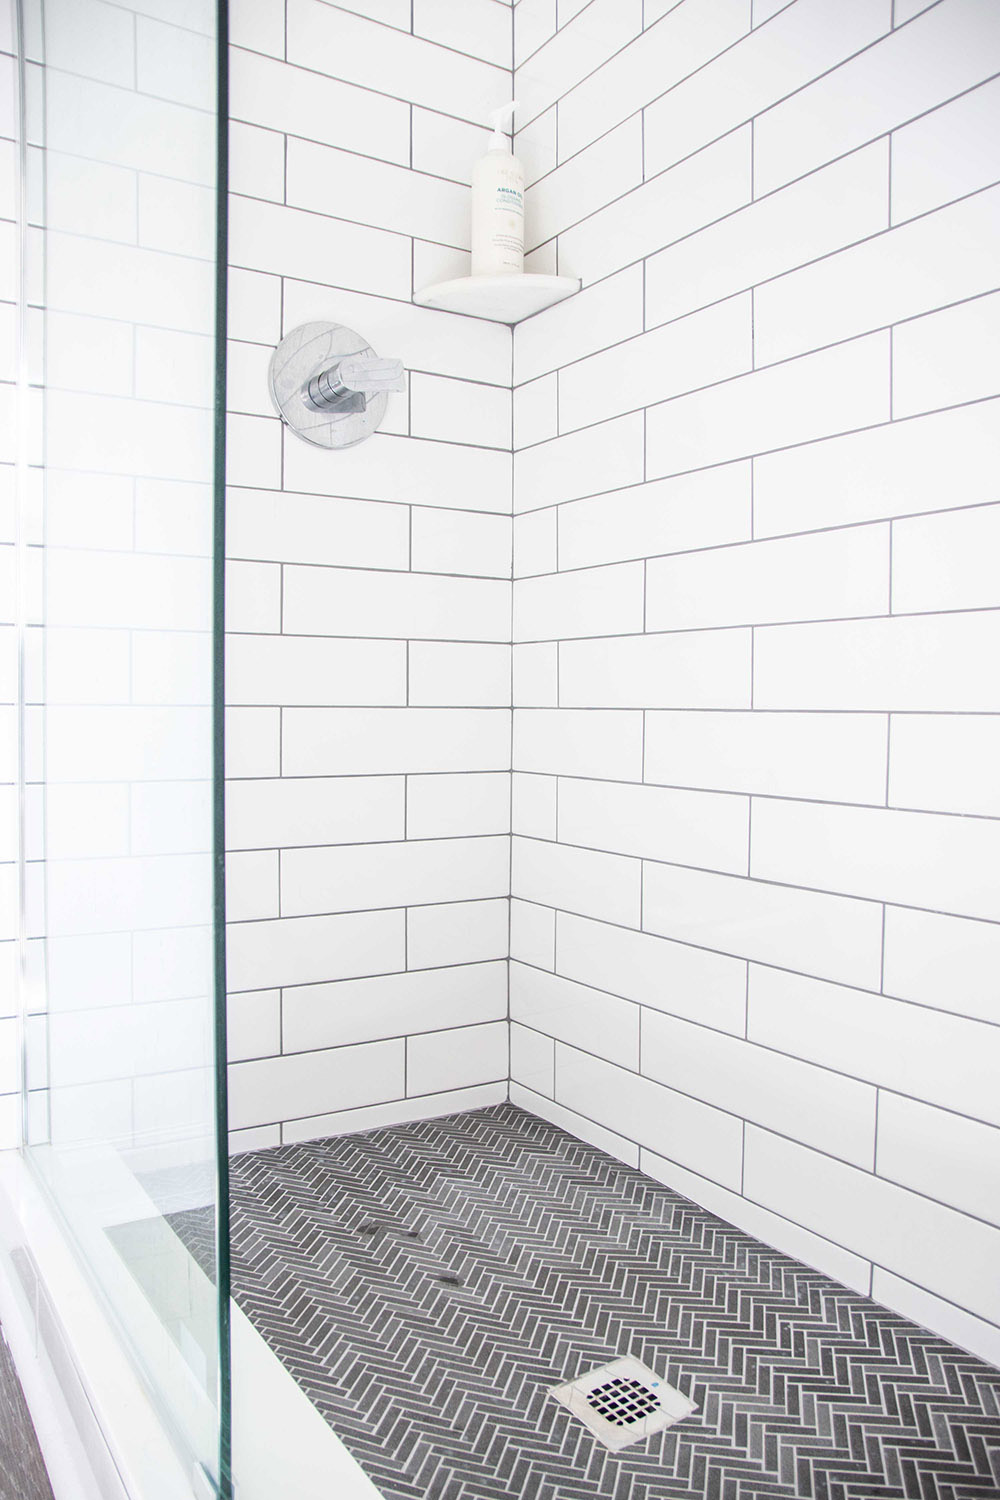
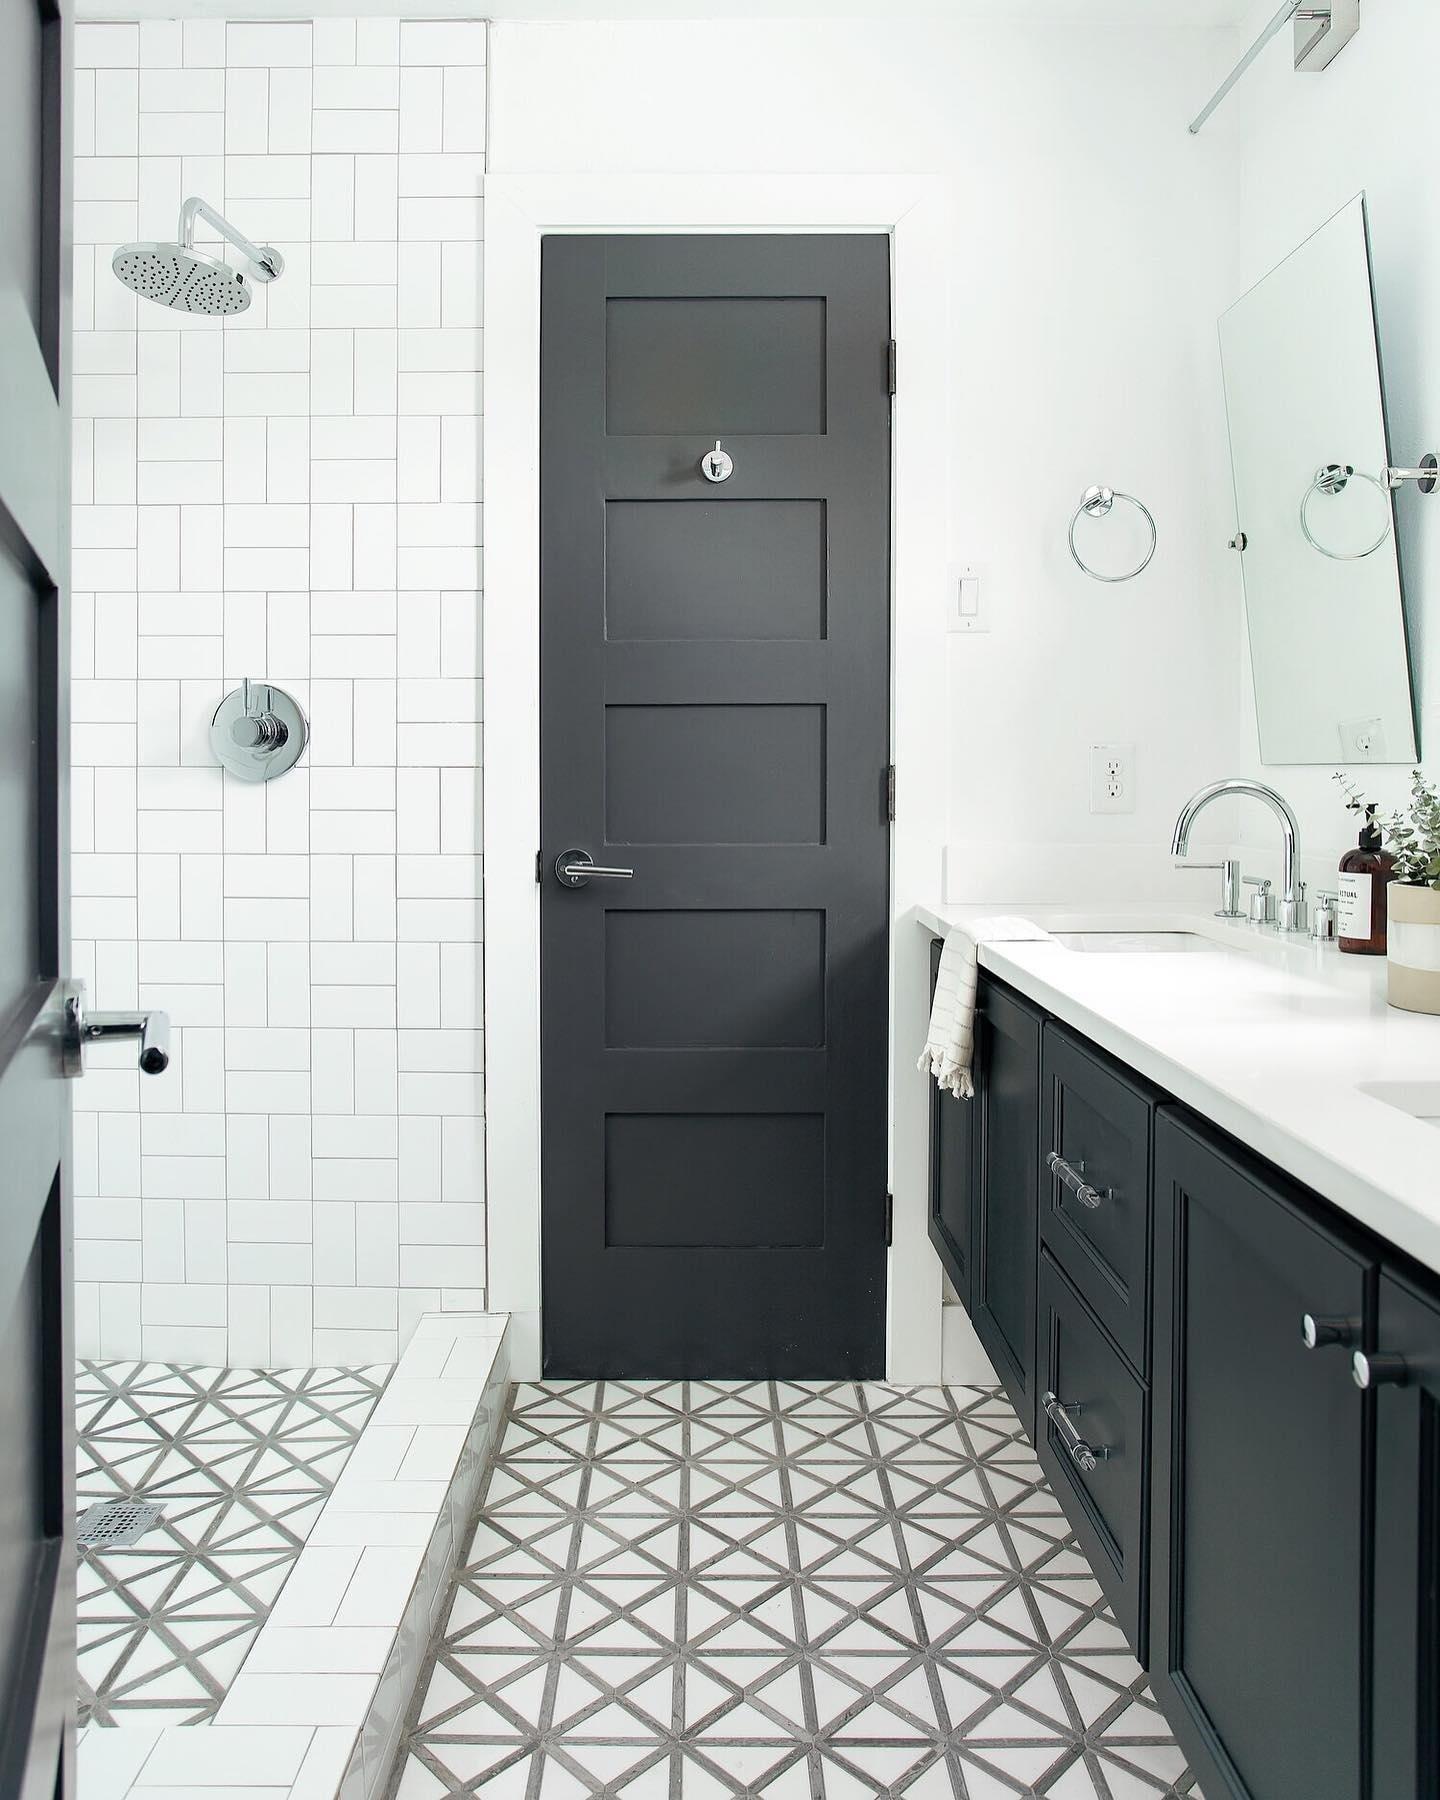
Pattern Play: Instead of opting for a plain and simple tile layout, consider incorporating patterns into your shower floor design. Chevron, herringbone, or even a mix of different tiles can add visual interest and create a unique focal point. Just be sure to choose a pattern that complements the overall style of your bathroom.
Color Contrast: Using contrasting colors can make your shower floor stand out and add a pop of personality to your bathroom. For example, pairing white tiles with bold black accents can create a striking and contemporary look. Alternatively, you can choose tiles in complementary colors to create a harmonious and soothing atmosphere.
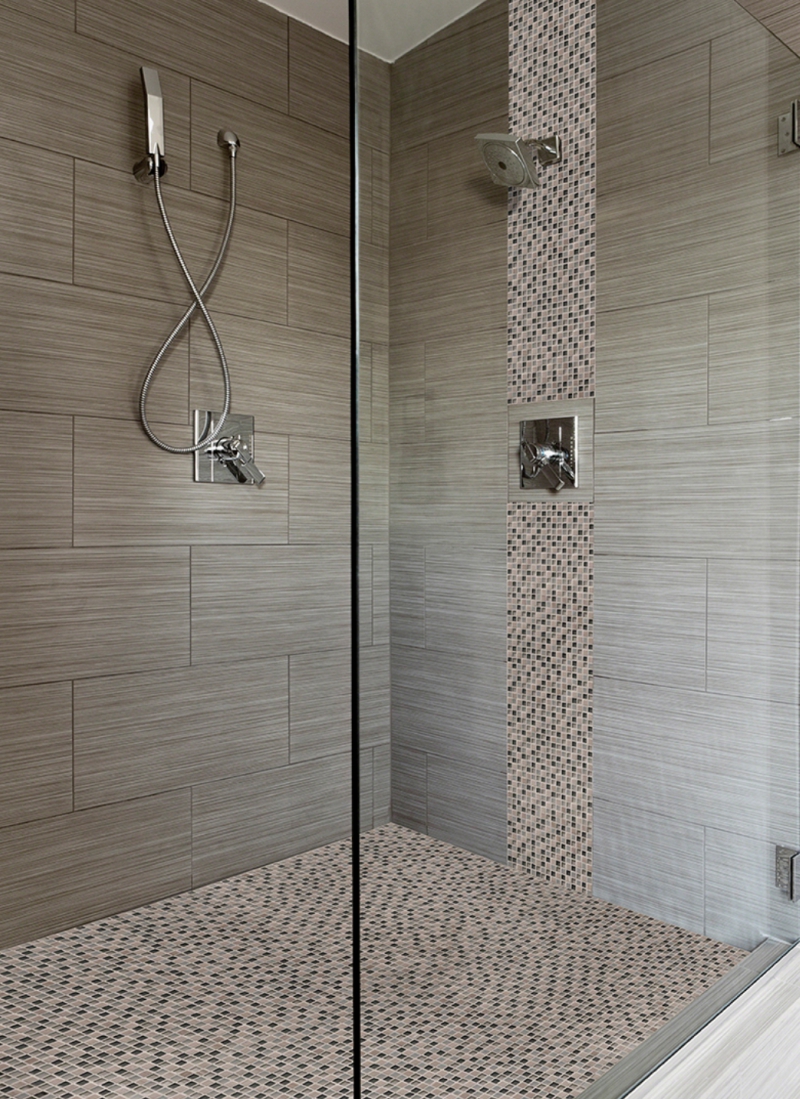
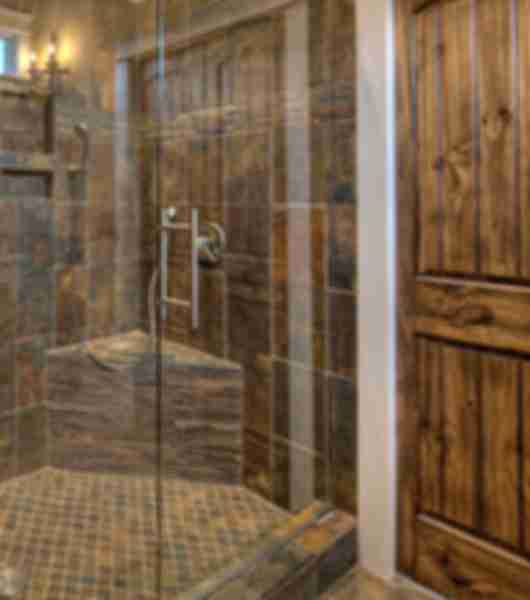
Texture and Shape: Experimenting with different textures and shapes can add depth and dimension to your shower floor. Consider using tiles with a textured surface, such as pebble or mosaic tiles, to create a spa-like feel. Alternatively, you can opt for unique shapes like hexagon or fish scale tiles to make a statement.
Accent Tiles: Incorporating accent tiles into your shower floor design can add a touch of luxury and elegance. Choose a few tiles with a different color, pattern, or material to create a focal point or highlight specific areas, such as the shower niche or the center of the floor. This can elevate the overall look of your shower and make it feel more personalized.
Seamless Transition: If you prefer a seamless and minimalist look, consider extending the same tile from the shower floor onto the bathroom floor. This creates a sense of continuity and makes the space appear larger. Alternatively, you can choose a tile that complements the rest of your bathroom flooring for a cohesive and harmonious design.

Maintenance Tips
Keeping your bathroom tile shower floor clean and beautiful is essential to maintain its appearance and functionality. Here are some maintenance tips to help you keep your shower floor in top condition:
Regular Cleaning Routine: Establish a regular cleaning routine for your shower floor to prevent the buildup of soap scum, grime, and mildew. Use a non-abrasive cleaner and a soft brush or sponge to scrub the tiles, paying extra attention to the grout lines. Rinse thoroughly with water to remove any residue.
Grout Maintenance: Grout lines can be a magnet for dirt and stains. To keep them looking clean and fresh, regularly clean and seal the grout. Use a grout cleaner and a brush to remove any dirt or discoloration. After cleaning, apply a grout sealer to protect the grout from moisture and stains.
Preventing Soap Scum: Soap scum can build up on your shower floor over time, making it look dull and dirty. To prevent soap scum, rinse the shower floor thoroughly after each use. You can also use a squeegee or a microfiber cloth to wipe away excess water and soap residue.
Avoid Harsh Cleaners: While it’s important to keep your shower floor clean, avoid using harsh cleaners or abrasive materials that can damage the tiles or grout. Stick to mild, non-abrasive cleaners and soft brushes or sponges to ensure the longevity and beauty of your tiles.
Regular Maintenance Checks: Periodically check for any signs of damage or wear on your shower floor. Look for cracked or loose tiles, as well as any areas where the grout is crumbling or missing. Promptly repair or replace any damaged tiles or grout to prevent water damage and maintain the integrity of your shower floor.

Enhancing Safety with Slip-Resistant Shower Floor Tiles
Safety should be a top priority when designing and maintaining your bathroom, especially the shower floor. Slip-resistant tiles can greatly enhance the safety of your bathroom and reduce the risk of accidents. Here are some ways to enhance safety with slip-resistant shower floor tiles:
Coefficient of Friction: When choosing slip-resistant tiles, pay attention to their coefficient of friction (COF). The COF measures the tile’s slip resistance and indicates how much traction it provides. Look for tiles with a higher COF, as they offer better slip resistance and are safer for wet areas like the shower floor.
Textured Surfaces: Slip-resistant tiles often have textured surfaces to provide better grip and traction. Common textures include pebbled, ribbed, or raised patterns. These textures can help prevent slipping, even when the floor is wet. However, be cautious not to choose a texture that is too rough, as it may be difficult to clean or may cause discomfort underfoot.
Small Tile Sizes: Using smaller tiles, such as mosaic or penny tiles, can increase the number of grout lines on your shower floor. These grout lines act as additional traction points, making the floor less slippery. Additionally, smaller tiles conform to the foot’s shape better, further reducing the risk of slipping.
Water Drainage: Proper water drainage is crucial for maintaining a safe shower floor. Ensure that your shower floor has a slight slope towards the drain to prevent water from pooling. Additionally, choose tiles with grooves or channels that help direct water flow and minimize the risk of standing water.
Regular Maintenance: Even with slip-resistant tiles, regular maintenance is essential to ensure their effectiveness. Clean your shower floor regularly to remove any soap scum, oils, or other substances that can reduce the tile’s slip resistance. Additionally, inspect the tiles and grout periodically for any signs of damage or wear and repair as needed.
Step-by-Step Guide to Tiling Your Bathroom Shower Floor
Tiling your bathroom shower floor can be a rewarding and cost-effective DIY project. With the right tools and a step-by-step guide, you can achieve professional-looking results. Here’s a comprehensive guide to help you through the process:
Gather Materials and Tools: Before you begin, gather all the necessary materials and tools. This includes tiles, adhesive, grout, a trowel, tile spacers, a tile cutter, a notched trowel, a grout float, a sponge, and a bucket.
Prepare the Surface: Ensure that the shower floor is clean, dry, and free of any debris. Repair any cracks or damaged areas, and remove any old tiles or flooring that may be present.
Measure and Plan: Measure the dimensions of your shower floor and plan the layout of the tiles. Use tile spacers to determine the spacing between tiles and ensure a uniform look.
Apply Adhesive: Start by applying adhesive to a small section of the shower floor using a trowel or notched trowel. Spread the adhesive evenly, creating ridges for better adhesion.
Lay the Tiles: Begin laying the tiles, starting from one corner and working your way across the floor. Press each tile firmly into the adhesive, using tile spacers to maintain consistent spacing between tiles.
Cut Tiles as Needed: Use a tile cutter to cut tiles to fit around edges, corners, or fixtures. Measure each cut carefully and make precise cuts to achieve a seamless look.
Allow Adhesive to Dry: Once all the tiles are in place, allow the adhesive to dry according to the manufacturer’s instructions. This typically takes 24-48 hours.
Apply Grout: Mix the grout according to the manufacturer’s instructions. Use a grout float to apply the grout to the spaces between the tiles, holding the float at a 45-degree angle. Press the grout into the joints, working in small sections at a time.
Clean off Excess Grout: After applying the grout, use a damp sponge to clean off any excess grout from the surface of the tiles. Rinse the sponge frequently and continue wiping until the tiles are clean and the grout lines are smooth.
Allow Grout to Cure: Let the grout cure for the recommended time specified by the manufacturer. This usually takes about 24-48 hours. Avoid stepping on the tiles or getting them wet during this time.
Seal the Grout: Once the grout is fully cured, apply a grout sealer to protect it from stains and moisture. Follow the manufacturer’s instructions for application and drying time.
Finishing Touches: After the grout sealer has dried, clean the tiles and give your shower floor a final inspection. Make any necessary touch-ups or cleaning to ensure a polished and finished look.
Mosaic Tile Inspirations for Your Bathroom and Shower
Shower Floor Tile – The Tile Shop
clé tile design emboldened

Mosaic Tile Inspirations for Your Bathroom and Shower
April Showers
The Benefits of a Curbless Shower – Plank and Pillow

Related Posts:


