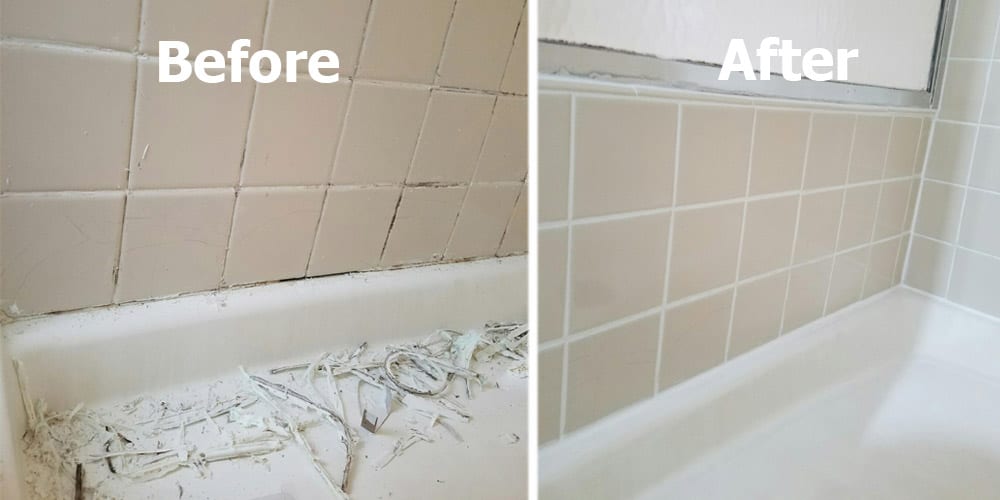
Redoing bathroom tile grout can revitalize the appearance of your bathroom and extend the life of your tiles. Over time, grout can become discolored, cracked, or deteriorated, compromising both the aesthetics and functionality of your tiled surfaces. This guide will walk you through the process of redoing bathroom tile grout, from preparation to finishing touches, ensuring a durable and professional-looking result. We will also discuss common mistakes to avoid and address frequently asked questions to help you achieve the best possible outcome.
Preparation for Redoing Bathroom Tile Grout
Assessing the Condition of Existing Grout
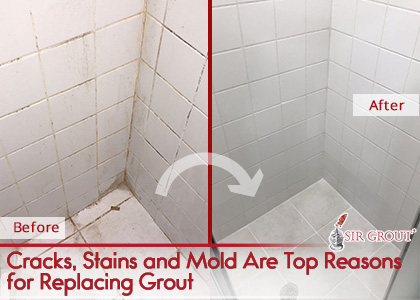
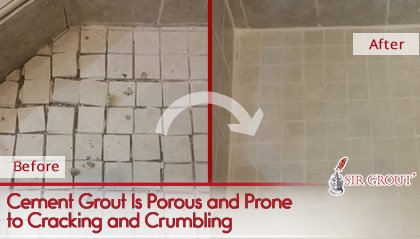
Before starting the regrouting process, it is essential to assess the condition of your existing grout. Look for signs of discoloration, cracking, and crumbling, as these indicate that the grout needs to be replaced. Additionally, check for areas where grout may be missing or has deteriorated to the point of allowing water to seep through. Addressing these issues promptly can prevent further damage to your tiles and the underlying substrate.
If the grout appears to be in relatively good condition but is simply discolored, you might consider grout cleaning or sealing instead of full regrouting. However, if you notice any structural issues or significant damage, regrouting is the best solution to restore the integrity and appearance of your tiled surfaces.
Gathering Necessary Tools and Materials
Once you have determined that regrouting is necessary, gather the necessary tools and materials to complete the job efficiently. Some essential tools include a grout saw or multi-tool with a grout removal attachment, a vacuum or brush for cleaning, a grout float, and a sponge. Additionally, you will need new grout, which comes in various types such as sanded, unsanded, epoxy, or premixed. Choose the grout type that best suits your tile and application.
Other materials you may need include a grout sealer, masking tape, protective gear (gloves and safety glasses), and a bucket for mixing grout if you are not using premixed grout. Having all the necessary tools and materials on hand will make the regrouting process smoother and more efficient.
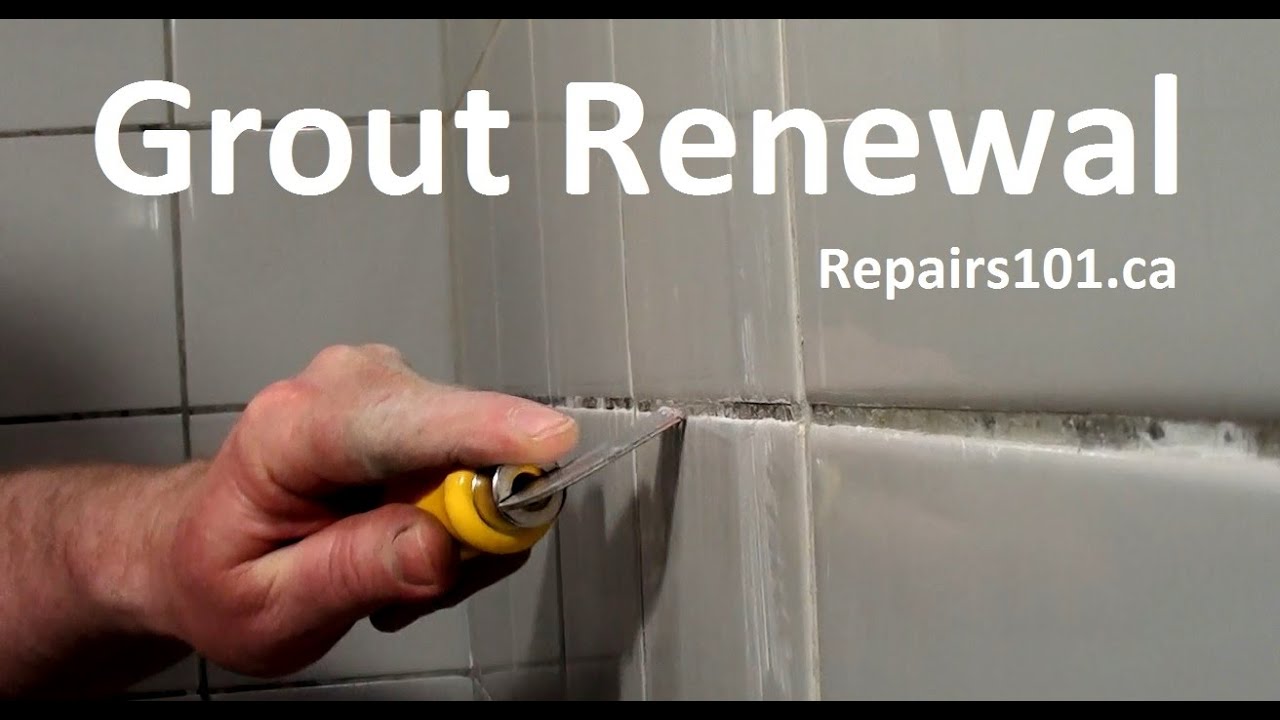
Removing Old Grout
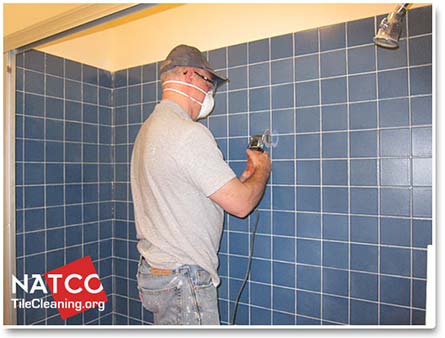
The first step in redoing bathroom tile grout is to remove the old grout. Using a grout saw or a multi-tool with a grout removal attachment, carefully cut into the grout lines to remove the existing grout. Take your time to avoid damaging the tiles. If you are working with a larger area, consider using a power tool to speed up the process.
As you remove the old grout, use a vacuum or brush to clean out the debris from the grout lines. Ensure that the grout lines are completely free of old grout and dust before proceeding. This step is crucial for ensuring that the new grout adheres properly and creates a strong, durable bond.
Cleaning and Preparing the Tile Surface
After removing the old grout, thoroughly clean the tile surface and grout lines. Use a mild detergent or tile cleaner to remove any residue, dirt, or grease that may have accumulated on the tiles. Rinse the area with clean water and allow it to dry completely before applying the new grout.
It is also a good idea to inspect the tiles for any damage or loose tiles during this step. Repair any damaged tiles or secure loose ones before proceeding with the regrouting process. Proper preparation ensures that the new grout will adhere well and create a long-lasting, professional finish.
Applying New Grout
Mixing the Grout
If you are using premixed grout, you can skip this step. However, if you are using powdered grout, follow the manufacturer’s instructions to mix the grout to the correct consistency. Use a bucket and a mixing tool to combine the grout powder with water, adding the water gradually to achieve a smooth, peanut butter-like consistency. Be careful not to add too much water, as this can weaken the grout and affect its performance.
Allow the mixed grout to sit for a few minutes (as per the manufacturer’s instructions) to ensure all the ingredients are fully hydrated. Then, give it one final stir before application. Properly mixed grout is essential for a strong and durable finish.
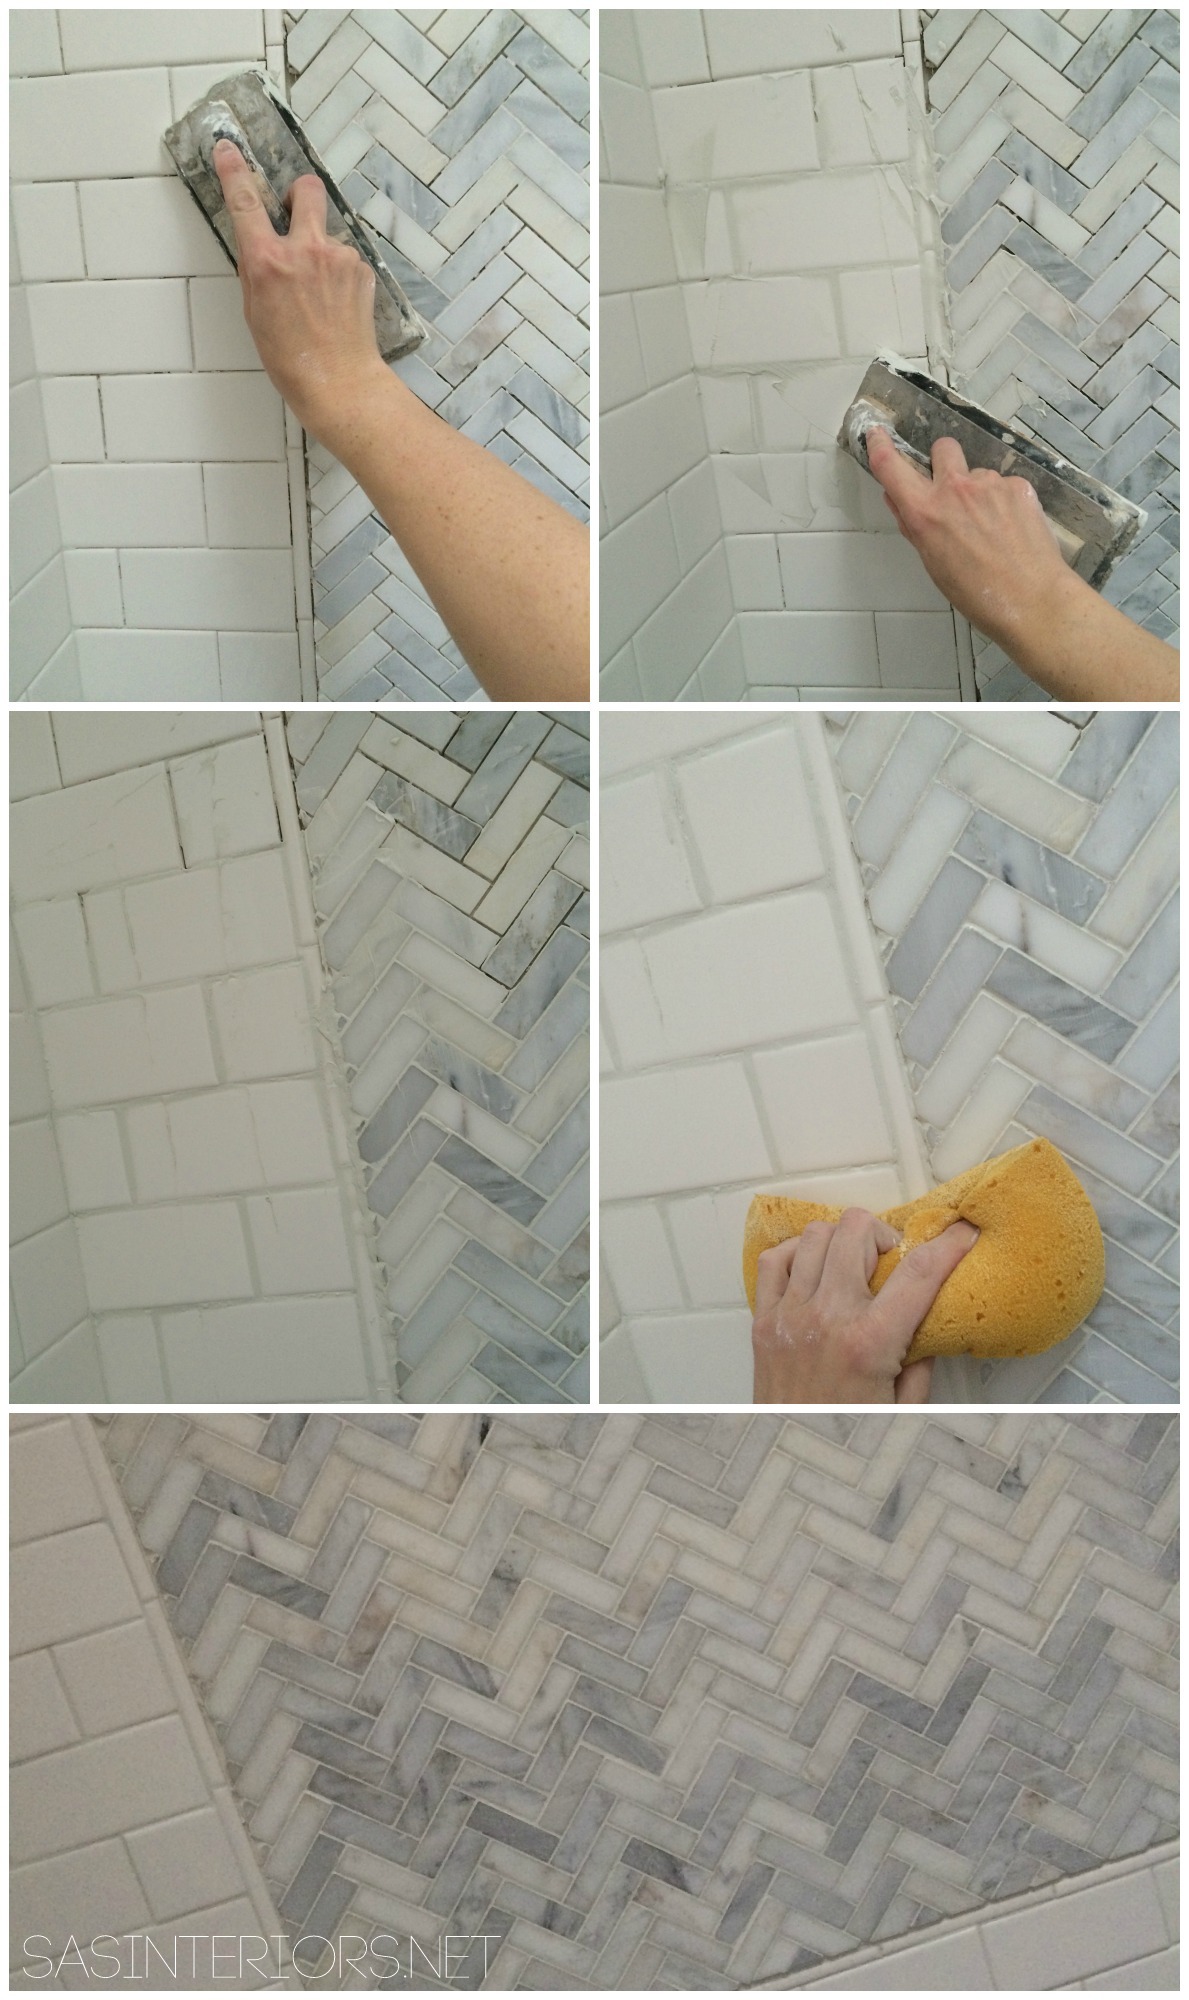
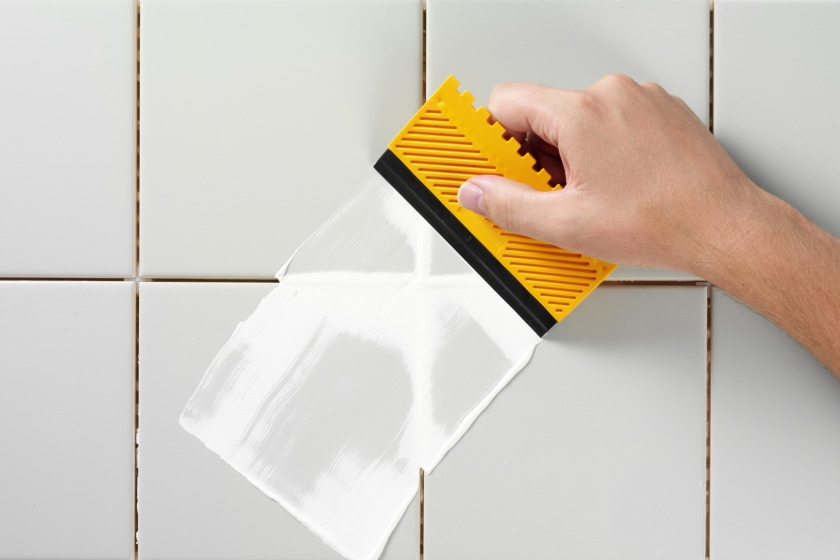
Applying the Grout
Using a grout float, scoop up some grout and apply it to the grout lines at a 45-degree angle. Work in small sections to ensure that the grout does not dry out before you have a chance to smooth it out. Press the grout firmly into the grout lines, ensuring that all gaps are filled.
As you work, use the grout float to remove excess grout from the tile surface by scraping it diagonally across the tiles. This helps to keep the tiles clean and reduces the amount of cleaning required later. Continue applying the grout until all the grout lines are filled.
Smoothing and Cleaning the Grout Lines
After applying the grout, use a damp sponge to smooth the grout lines and remove any excess grout from the tile surface. Rinse the sponge frequently in clean water to avoid spreading grout residue. Be careful not to remove too much grout from the grout lines while smoothing them.
Allow the grout to set for about 15 to 30 minutes (following the manufacturer’s instructions) before doing a final wipe with a clean, damp sponge to remove any remaining grout haze from the tiles. This step is crucial for achieving a clean, professional finish.
Curing the Grout
After the initial cleaning, allow the grout to cure for the time specified by the manufacturer, typically 24 to 72 hours. During this curing period, avoid exposing the grout to water or heavy traffic to ensure it sets properly. Proper curing is essential for the grout’s durability and longevity.
Once the grout has fully cured, you may notice a slight haze on the tile surface. Use a dry cloth or a grout haze remover to buff the tiles and remove any remaining residue. Your newly grouted tiles should now look clean and refreshed.
Sealing and Maintaining the Grout
Applying Grout Sealer
Sealing the grout is an important step in maintaining its appearance and durability. A grout sealer helps protect the grout from moisture, stains, and mildew, making it easier to clean and maintain. Choose a grout sealer that is suitable for your type of grout (sanded, unsanded, or epoxy) and follow the manufacturer’s instructions for application.
Apply the sealer evenly to the grout lines using a small brush or applicator bottle, ensuring that all grout lines are thoroughly covered. Allow the sealer to penetrate for the recommended time before wiping off any excess with a clean cloth. Repeat the process if necessary to ensure complete coverage.
Regular Cleaning and Maintenance
To keep your newly grouted tiles looking their best, establish a regular cleaning and maintenance routine. Use a mild detergent or tile cleaner and a soft brush or sponge to clean the tiles and grout lines. Avoid using abrasive cleaners or scrubbers that can damage the grout or tiles.
Wipe up spills and water immediately to prevent stains and moisture damage. Regularly inspect the grout for any signs of damage or discoloration and address any issues promptly to prevent further deterioration.
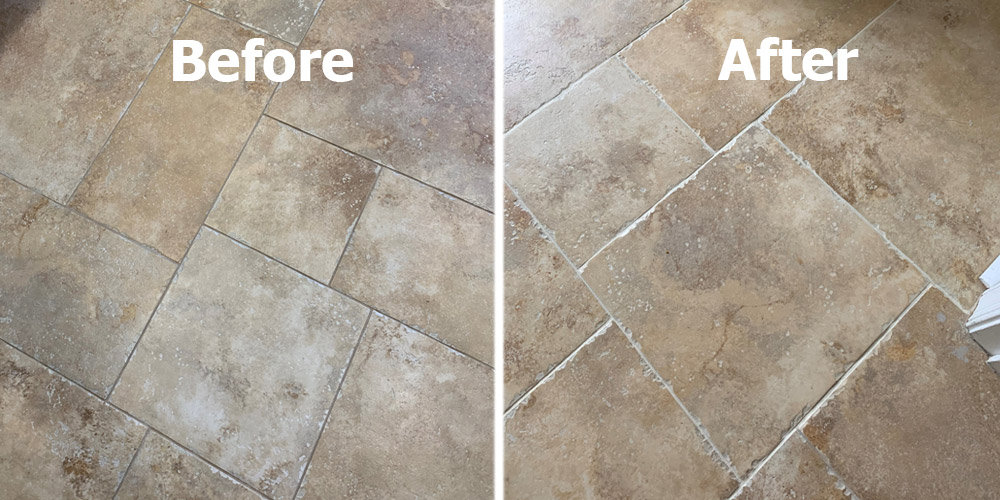
Addressing Grout Discoloration
Over time, grout can become discolored due to dirt, mildew, and exposure to cleaning products. To address grout discoloration, clean the grout lines with a mixture of baking soda and water or a commercial grout cleaner. For stubborn stains, consider using a grout whitening pen or a steam cleaner to restore the grout’s original color.
Regular sealing can also help prevent discoloration by protecting the grout from stains and moisture. Reapply grout sealer as needed, typically every six months to a year, depending on the level of use and exposure to moisture.
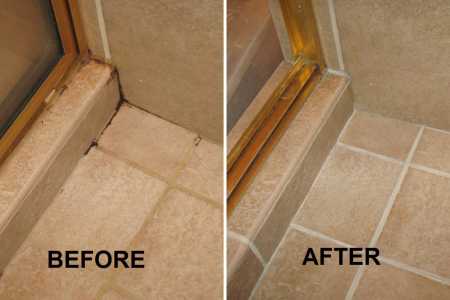
Repairing Damaged Grout
If you notice any areas of grout that are cracked, crumbling, or missing, it is important to repair them promptly to prevent further damage to the tiles and substrate. Use a grout saw or multi-tool to remove the damaged grout, clean the area thoroughly, and apply new grout as described in the earlier sections.
Regularly inspecting and repairing damaged grout helps maintain the integrity and appearance of your tiled surfaces, ensuring a long-lasting and professional finish.
Common Mistakes to Avoid
Neglecting Proper Surface Preparation
One of the most common mistakes when redoing bathroom tile grout is neglecting proper surface preparation. Failing to remove all old grout and clean the grout lines thoroughly can result in poor adhesion of the new grout, leading to premature failure. Take the time to remove all old grout and clean the tile surface to ensure a strong and durable bond.
Using Incorrect Grout Type
Choosing the wrong type of grout for your tile and application can lead to issues such as cracking, discoloration, or inadequate adhesion. It is important to select the appropriate grout type (sanded, unsanded, or epoxy) based on the size of the grout lines and the specific requirements of your project. Follow the manufacturer’s recommendations to ensure the best results.
Improper Mixing and Application
Improperly mixing the grout or applying it incorrectly can compromise the quality of the finished product. Ensure that the grout is mixed to the correct consistency and that it is applied evenly and firmly into the grout lines. Take your time to smooth and clean the grout lines for a professional-looking finish.
Skipping the Sealing Step
Skipping the sealing step can leave your grout vulnerable to moisture, stains, and mildew, leading to premature deterioration and discoloration. Always seal the grout after it has cured to protect it from moisture and stains. Regularly reapply the sealer to maintain the protection and longevity of your grout.
How Often Should I Reseal My Grout?
Resealing grout is an important maintenance step to protect it from moisture, stains, and mildew. The frequency of resealing depends on the level of use and exposure to moisture in your bathroom. Generally, it is recommended to reseal grout every six months to a year. High-traffic areas or areas exposed to frequent moisture, such as showers, may require more frequent resealing. Regularly inspect the grout and reapply the sealer as needed to maintain its protection.
Can I Grout Over the Existing Grout?
Grouting over existing grout is not recommended as it can lead to poor adhesion and a weak bond. The new grout may not adhere properly to the old grout, resulting in premature failure. To achieve the best results, it is important to remove the old grout completely before applying the new grout. This ensures a strong and durable bond, providing long-lasting protection and appearance.
What Type of Grout Should I Use for Bathroom Tiles?
The type of grout you should use for bathroom tiles depends on the size of the grout lines and the specific requirements of your project. Sanded grout is suitable for grout lines wider than 1/8 inch, as it contains sand particles that provide added strength. Unsanded grout is best for grout lines narrower than 1/8 inch, as it has a smoother consistency that can fill smaller gaps. Epoxy grout is highly durable and resistant to stains and moisture, making it an excellent choice for areas exposed to frequent water and high humidity. Follow the manufacturer’s recommendations to select the appropriate grout type for your bathroom tiles.
How Can I Prevent Grout from Cracking?
Preventing grout from cracking involves proper installation and maintenance practices. Ensure that the grout is mixed to the correct consistency and that it is applied evenly and firmly into the grout lines. Avoid using too much water during mixing or cleaning, as this can weaken the grout. Allow the grout to cure properly before exposing it to water or heavy traffic. Regularly inspect and maintain the grout, addressing any issues promptly to prevent further damage. Sealing the grout can also help protect it from moisture and reduce the risk of cracking.
What Should I Do if My Grout Becomes Moldy?
If your grout becomes moldy, it is important to clean and address the issue promptly to prevent further growth and damage. Use a mixture of baking soda and water or a commercial grout cleaner to scrub the moldy grout lines. For stubborn mold, consider using a diluted bleach solution or a specialized mold and mildew remover. After cleaning, ensure that the area is thoroughly dried and apply a grout sealer to protect the grout from future mold growth. Regular cleaning and maintenance can help prevent mold from returning. If the mold persists or is extensive, consider consulting a professional for further assistance.
Can Grout Be Replaced?
How To Professionally Regrout A Tile Shower
How to Eliminate Grout in a Bathroom or Shower

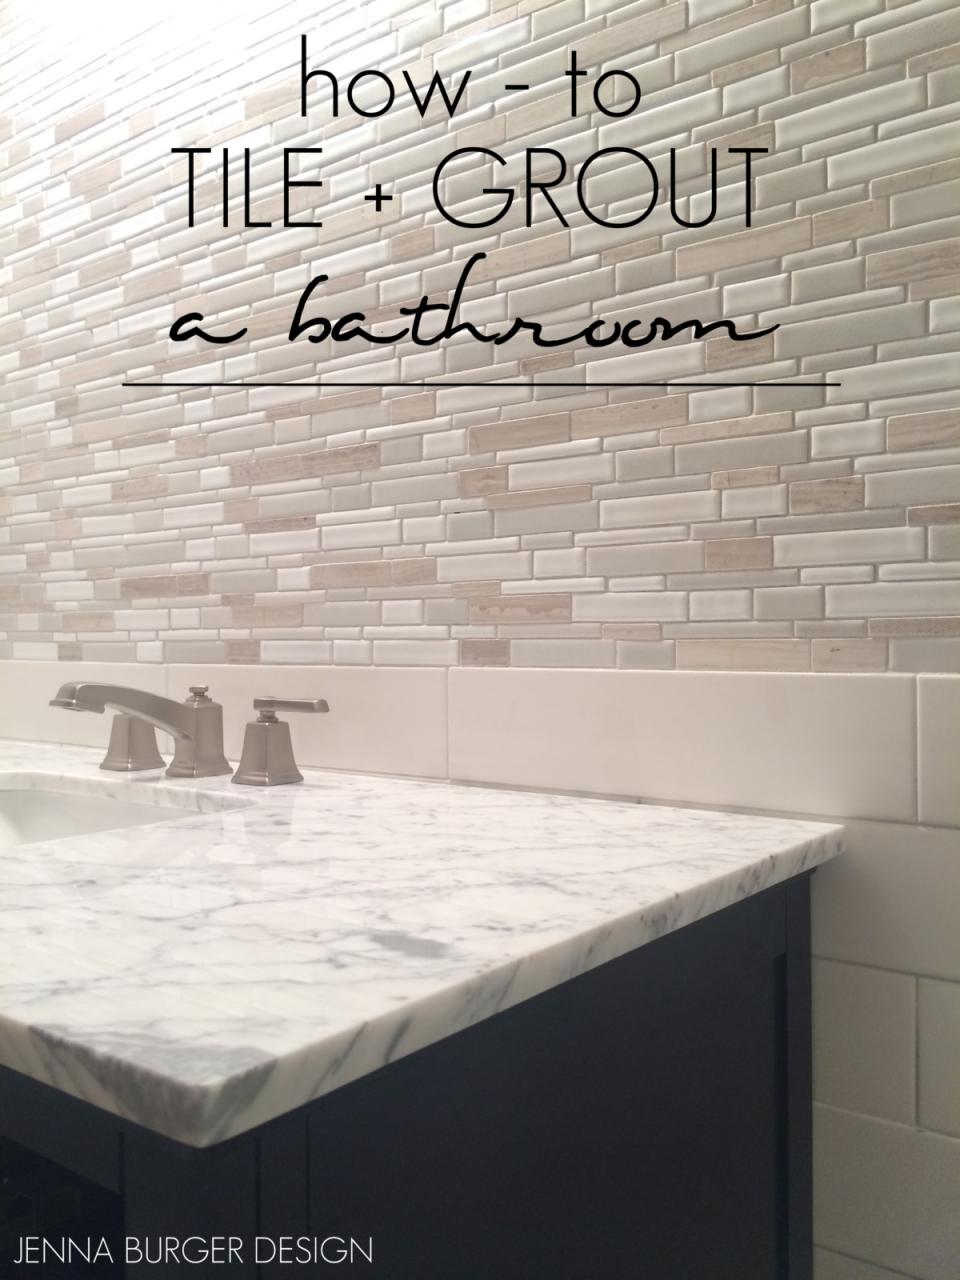
Master Bathroom Renovation: Tile + Grout
How to Grout Tile Regrout Your Bathroom
The Only Way We Got Our Stained Grout White Again
Can I put new grout over my old grout?
Prevent Expensive Bathroom Repairs
Related Posts:
- Bathroom Tile Vinyl Stickers
- Bathroom Tile Ideas And Designs
- Elegant Bathroom Tile Ideas
- How To Fix Grout In Bathroom Tile
- Bathroom Tile Effect Wallpaper
- Black Bathroom Tile Floor
- How To Clean Bathroom Tile Floor Grout
- Bathroom Tile Floor And Wall
- Best Way To Clean Old Bathroom Tile
- Cheap Bathroom Tile Sheets


