Choosing the Right Tiles for Your DIY Bathroom Tile Wall
When it comes to creating a stunning bathroom tile wall, choosing the right tiles is crucial. With so many options available, it can be overwhelming to make a decision. However, by considering a few key factors, you can find the perfect tiles for your DIY project.
- Determine your style: Start by considering the overall style and theme of your bathroom. Are you going for a modern, minimalist look or a more traditional and rustic vibe? This will help you narrow down your tile options and ensure that they complement the rest of the space.
- Consider the size and shape: Tiles come in various sizes and shapes, from small mosaic tiles to large format tiles. Think about the size of your bathroom and the effect you want to achieve. Smaller tiles can create intricate patterns, while larger tiles can make a space feel more open and spacious.
- Think about maintenance: Different tile materials require different levels of maintenance. For example, natural stone tiles may need to be sealed regularly, while ceramic tiles are generally low-maintenance. Consider your lifestyle and how much time and effort you’re willing to put into maintaining your bathroom tile wall.
- Explore different finishes: Tiles are available in a range of finishes, including matte, glossy, textured, and even metallic. Think about the look and feel you want to achieve in your bathroom. A glossy finish can create a sleek and polished look, while a textured finish can add depth and interest.
- Don’t forget about durability: Bathrooms are high-moisture areas, so it’s important to choose tiles that can withstand the conditions. Look for tiles that are water-resistant, durable, and easy to clean. Porcelain and ceramic tiles are popular choices due to their durability and resistance to moisture.
Preparing Your Bathroom Wall for Tile Installation
Before diving into the exciting process of installing tiles on your bathroom wall, it’s crucial to prepare the surface properly. Proper preparation ensures that your tiles adhere well and create a long-lasting, beautiful finish. Follow these steps to prepare your bathroom wall for tile installation.
Clean the wall: Start by thoroughly cleaning the wall to remove any dirt, grime, or grease. Use a mild detergent and a sponge or cloth to scrub the surface. Rinse the wall with clean water and allow it to dry completely.
Repair any damage: Inspect the wall for any cracks, holes, or uneven areas. Use a filler or spackling compound to repair these imperfections. Once the filler is dry, sand it down until it’s smooth and level with the rest of the wall.
Remove any existing tiles: If there are old tiles on the wall, you’ll need to remove them before installing new ones. Use a chisel and hammer to carefully chip away at the tiles and pry them off the wall. Be cautious not to damage the underlying wall surface.
Check for moisture issues: Moisture can cause long-term damage to your bathroom wall and tiles. Check for any signs of water damage or moisture issues, such as mold or mildew. If you notice any problems, address them before proceeding with the tile installation.
Apply a primer: Priming the wall helps create a strong bond between the tiles and the surface. Use a primer specifically designed for tile installations and follow the manufacturer’s instructions for application. Allow the primer to dry completely before moving on to the next step.
Measure and mark guidelines: Before starting the actual tile installation, measure, and mark guidelines on the wall. This will ensure that your tiles are evenly spaced and aligned. Use a level, measuring tape, and a pencil to mark the guidelines.
Installing Tiles on Your Bathroom Wall
Installing tiles on your bathroom wall can be a rewarding and satisfying DIY project. With the right tools and a step-by-step approach, you can achieve a professional-looking finish. Follow this guide to install tiles on your bathroom wall:
Gather your materials: Before you begin, make sure you have all the necessary materials and tools. This includes tiles, adhesive, a notched trowel, tile spacers, a tile cutter, a sponge, grout, grout float, and a bucket for mixing.
Start with a dry layout: Lay out the tiles on the floor or a flat surface to determine the best arrangement and pattern. This will give you an idea of how the final wall will look and allow you to make any adjustments before starting the installation.
Mix the adhesive: Follow the manufacturer’s instructions to mix the tile adhesive. Use a bucket and a stirring stick to achieve a smooth, lump-free consistency. Let the adhesive sit for a few minutes as recommended before applying it to the wall.
Apply the adhesive: Using a notched trowel, spread the adhesive onto the wall in small sections. Hold the trowel at a 45-degree angle and create grooves in the adhesive. This will ensure proper adhesion and help the tiles stick securely to the wall.
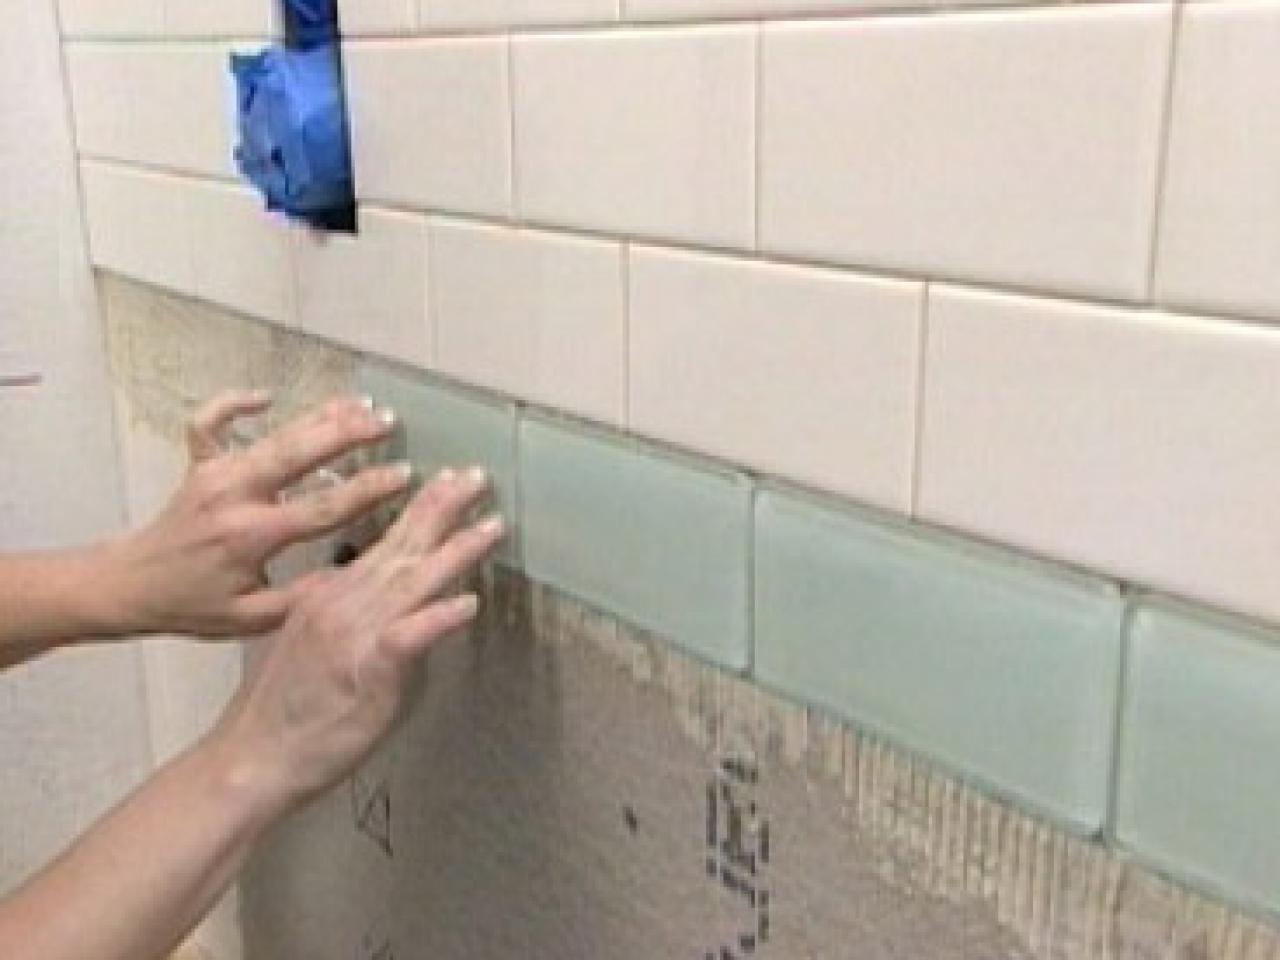
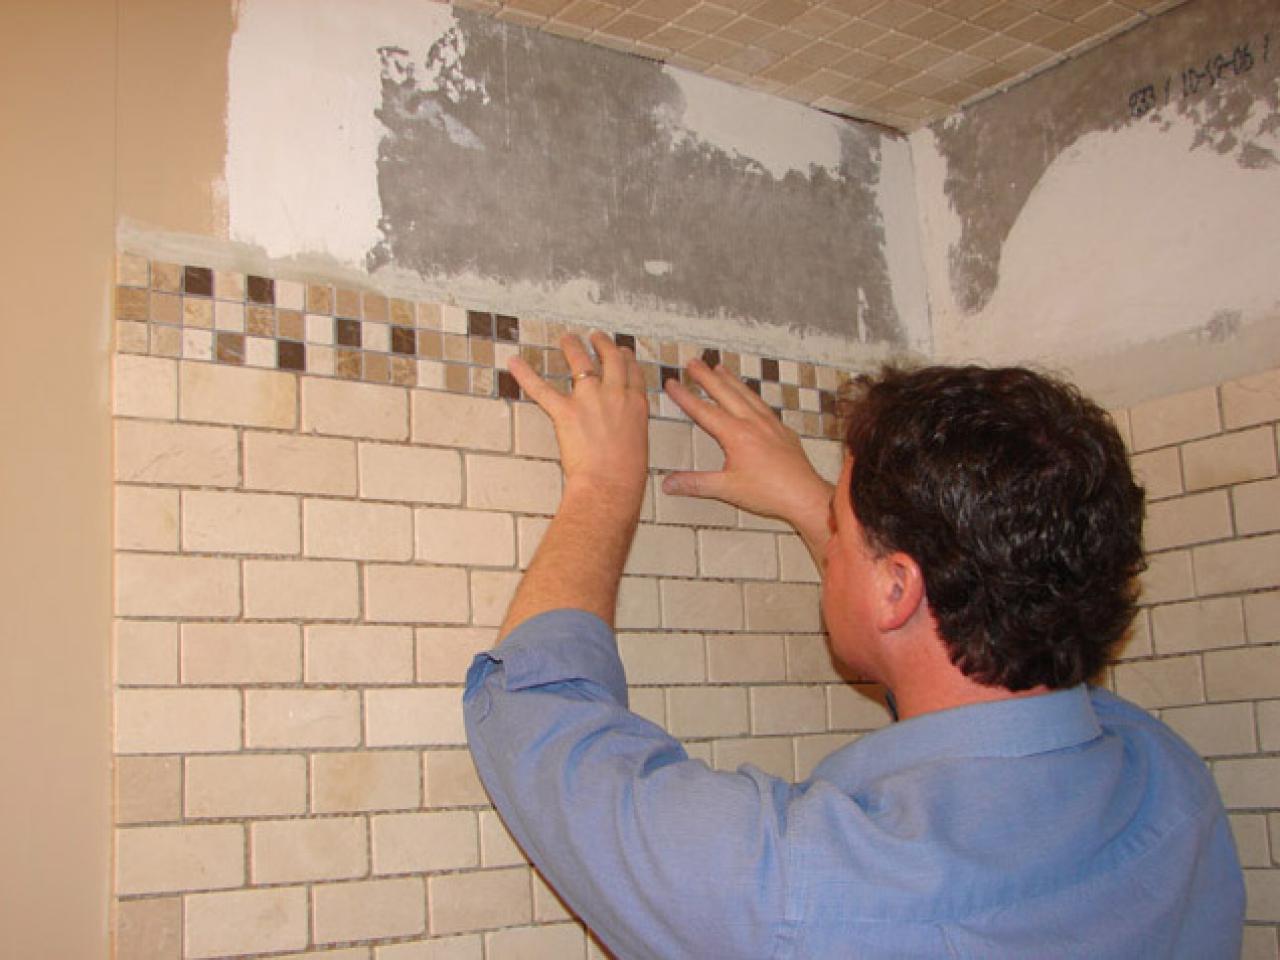
Place the tiles: Start placing the tiles onto the adhesive, following the guidelines you marked earlier. Press each tile firmly into the adhesive, using a slight twisting motion to ensure a good bond. Insert tile spacers between the tiles to maintain even spacing.
Cut tiles if necessary: Use a tile cutter to trim tiles as needed to fit around edges, corners, or fixtures. Measure carefully and make precise cuts to achieve a clean and professional-looking finish.
Let the adhesive dry: Allow the adhesive to dry according to the manufacturer’s instructions. This usually takes around 24 hours, but it’s important to check the specific drying time provided.
Remove tile spacers: Once the adhesive is dry, carefully remove the tile spacers by pulling them out from between the tiles. This will create space for grouting.
Apply the grout: Mix the grout according to the manufacturer’s instructions. Using a grout float, spread the grout over the tiles, ensuring that all the gaps are filled. Hold the float at a 45-degree angle and work the grout into the joints.
Clean the tiles: After applying the grout, use a damp sponge to wipe away any excess grout from the surface of the tiles. Rinse the sponge frequently and continue wiping until the tiles are clean and the grout lines are smooth.
Tips and Tricks for Grouting and Sealing Your DIY Bathroom Tile Wall
Grouting and sealing your DIY bathroom tile wall is an essential step to ensure its longevity and maintain its appearance. Here are some tips and tricks to help you achieve a professional finish:
Choose the right grout: There are different types of grout available, such as sanded and unsanded grout. Sanded grout is suitable for wider grout lines, while unsanded grout is better for narrow ones. Consider the size of your grout lines and choose the appropriate grout for your bathroom tile wall.
Mix the grout correctly: Follow the manufacturer’s instructions to mix the grout properly. Use a clean bucket and a mixing paddle to achieve a smooth and consistent texture. Avoid adding too much water, as it can weaken the grout.
Apply the grout diagonally: When applying the grout, hold the grout float at a 45-degree angle and work it diagonally across the tiles. This helps ensure that the grout fills the gaps evenly and prevents air bubbles from forming.
Clean excess grout promptly: After applying the grout, use a damp sponge to clean off any excess grout from the tile surface. Rinse the sponge frequently and avoid pressing too hard to prevent removing too much grout from the joints.
Let the grout cure: Allow the grout to cure for the recommended time before exposing it to water or applying any sealant. This ensures that the grout is set properly and becomes durable.
Seal the grout: Once the grout is fully cured, apply a grout sealer to protect it from stains and moisture. Follow the manufacturer’s instructions for application and make sure the bathroom is well-ventilated during the process.
Clean the tiles regularly: To maintain the appearance of your bathroom tile wall, clean the tiles regularly using a mild detergent and a soft cloth or sponge. Avoid using abrasive cleaners or tools that can scratch the tiles.
Address any grout issues promptly: If you notice any cracks or gaps in the grout over time, repair them promptly to prevent water damage. Use a grout saw to remove the damaged grout and reapply the new grout as needed.
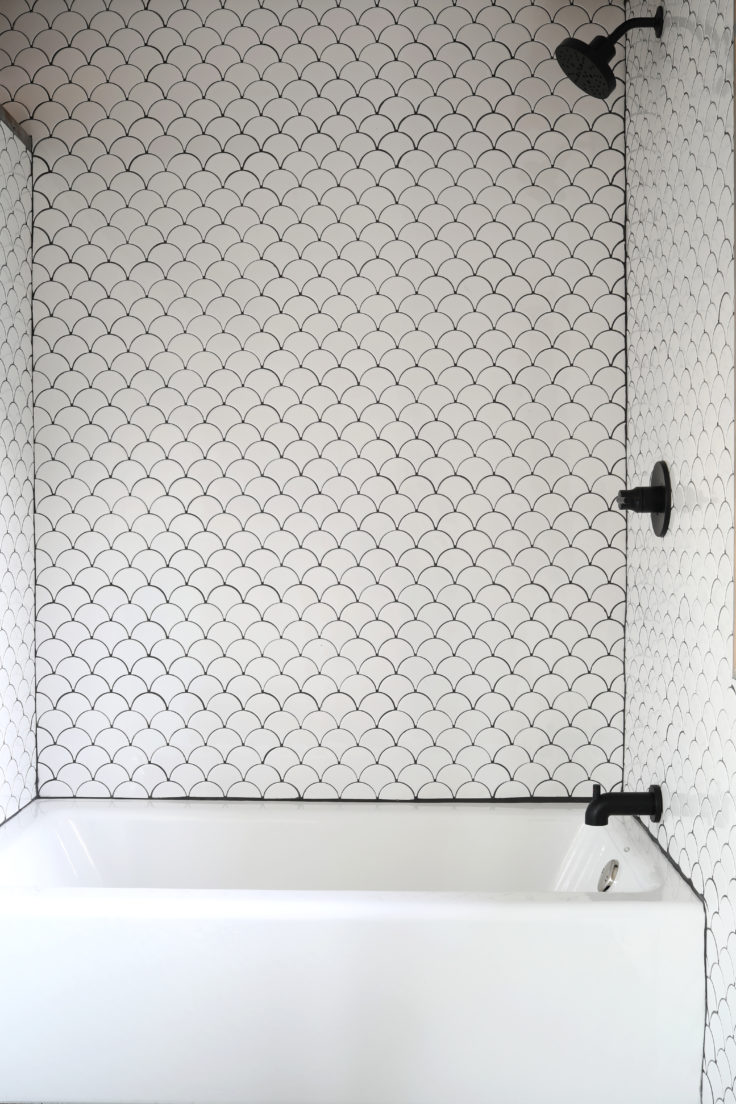
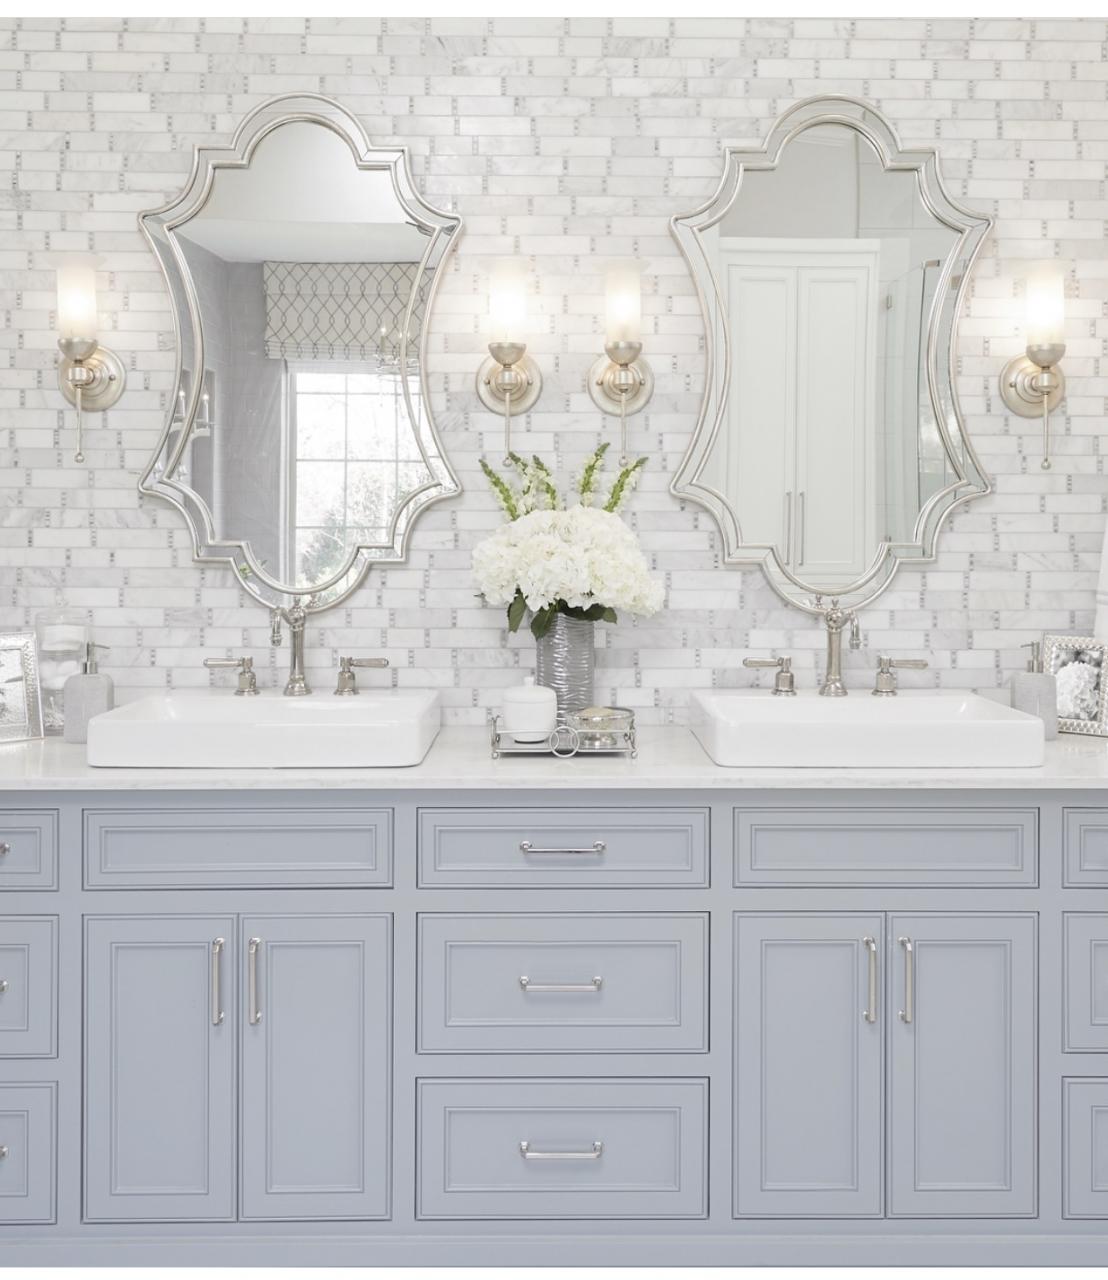
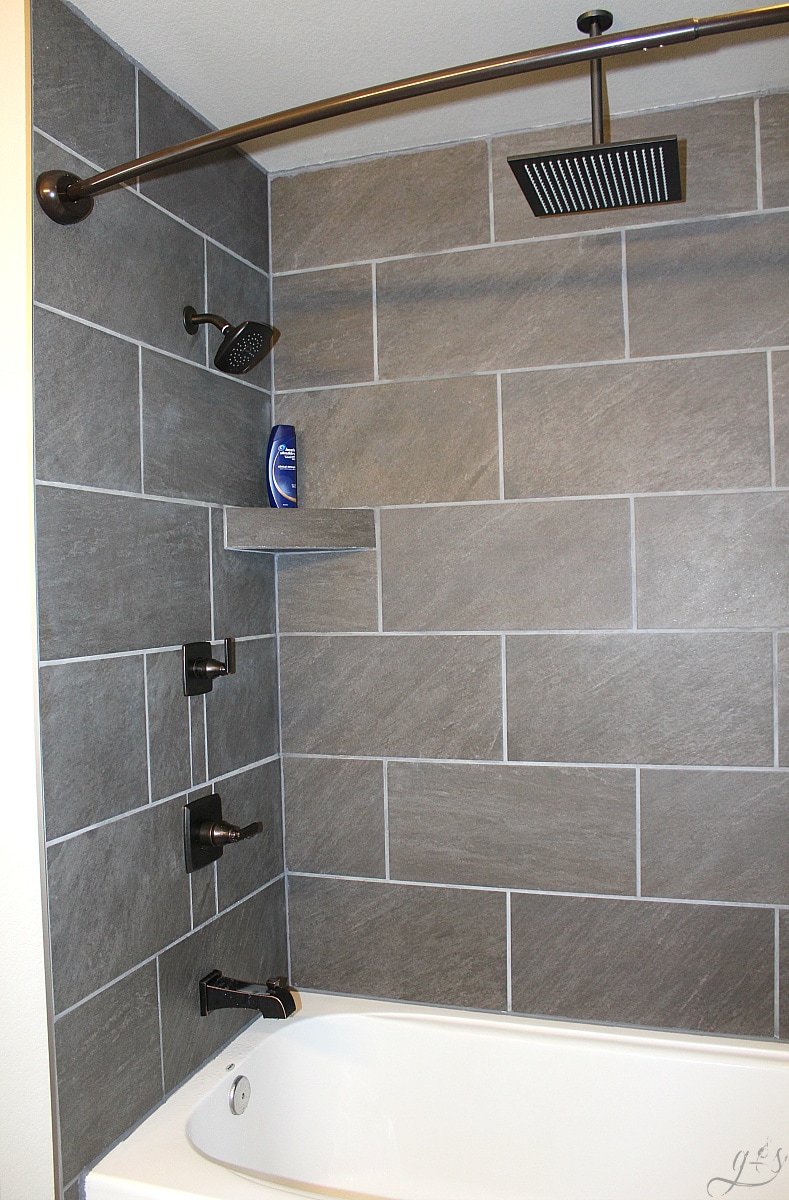
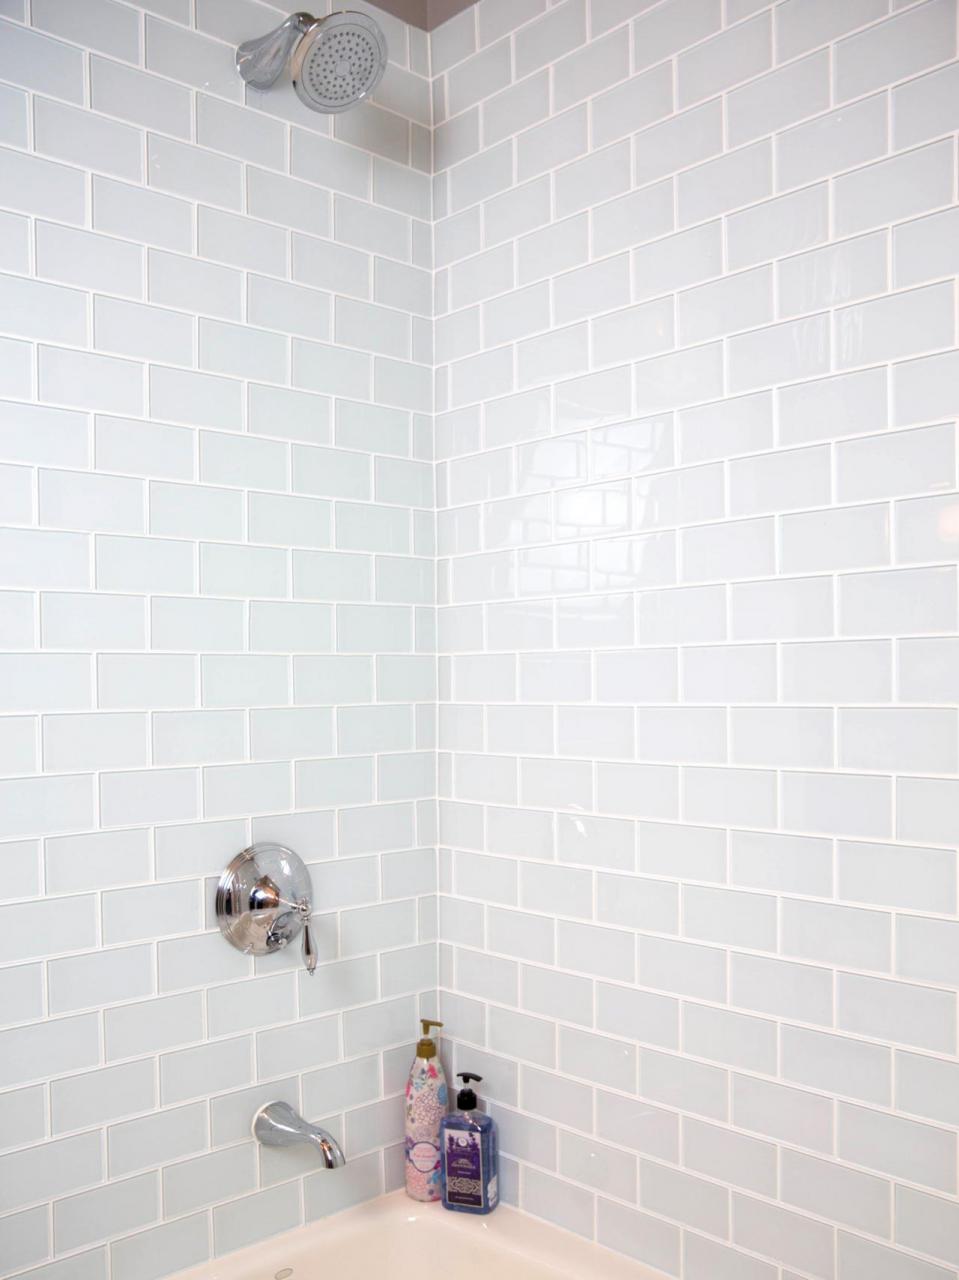
Creative Designs and Patterns to Elevate Your Bathroom Tile Wall
When it comes to designing your bathroom tile wall, the possibilities are endless. Adding creative designs and patterns can elevate the overall look and transform your bathroom into a stylish and unique space. Here are some ideas to inspire you:
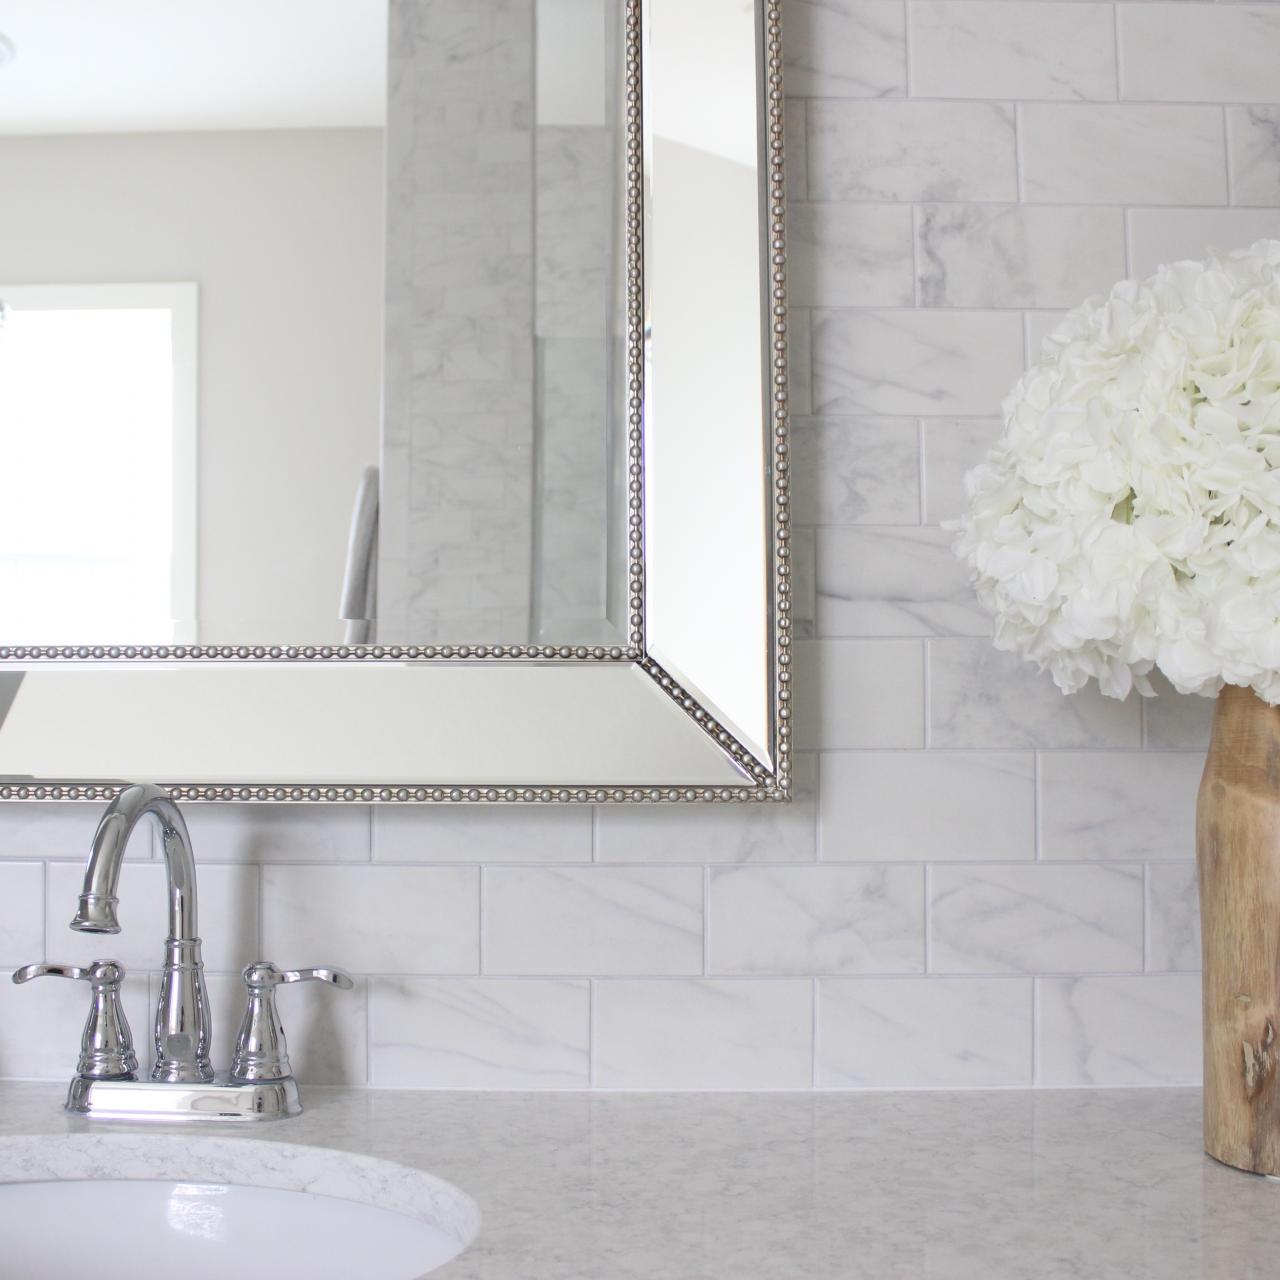
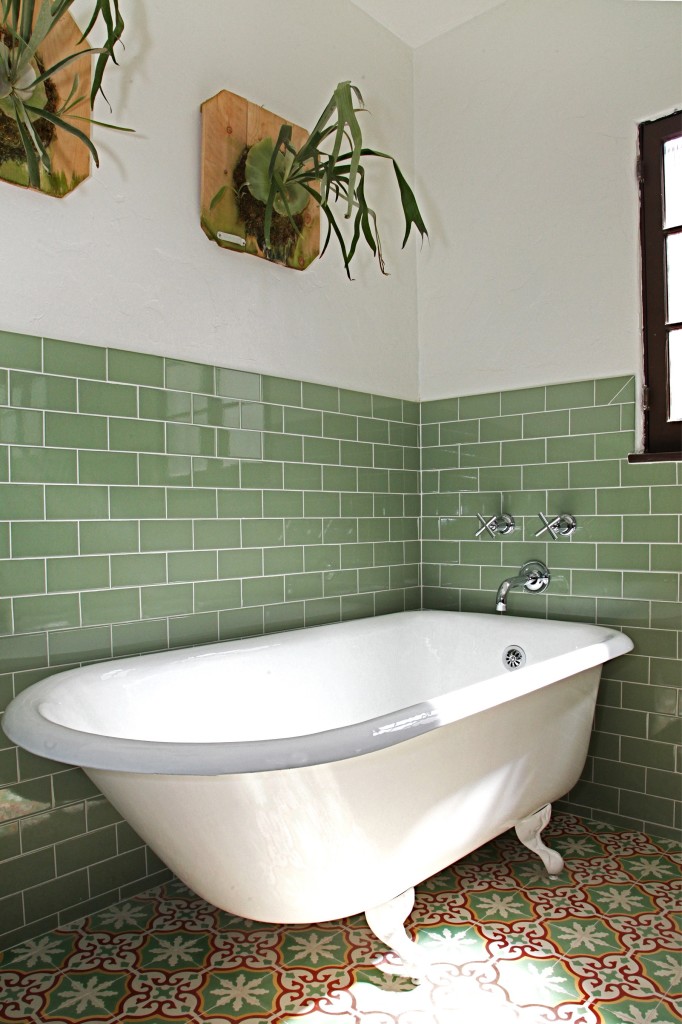
Classic subway tiles: Subway tiles are a timeless choice that can give your bathroom a clean and sophisticated look. Install them in a traditional brick pattern for a timeless appeal, or get creative and try a herringbone or chevron pattern for a modern twist.
Mosaic accents: Incorporating mosaic tiles as accents can add a pop of color and visual interest to your bathroom tile wall. Create a mosaic border or focal point using small, colorful tiles in a pattern or design of your choice.
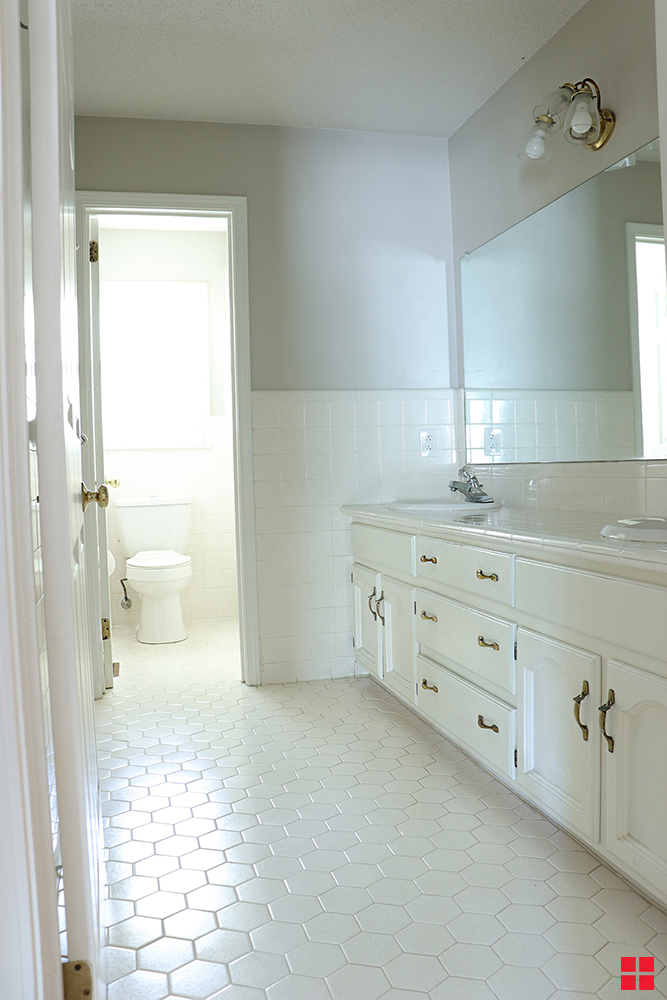
Geometric patterns: Experiment with geometric patterns to add a contemporary and artistic touch to your bathroom. Create a geometric feature wall using tiles in different shapes and sizes, such as hexagons or triangles.
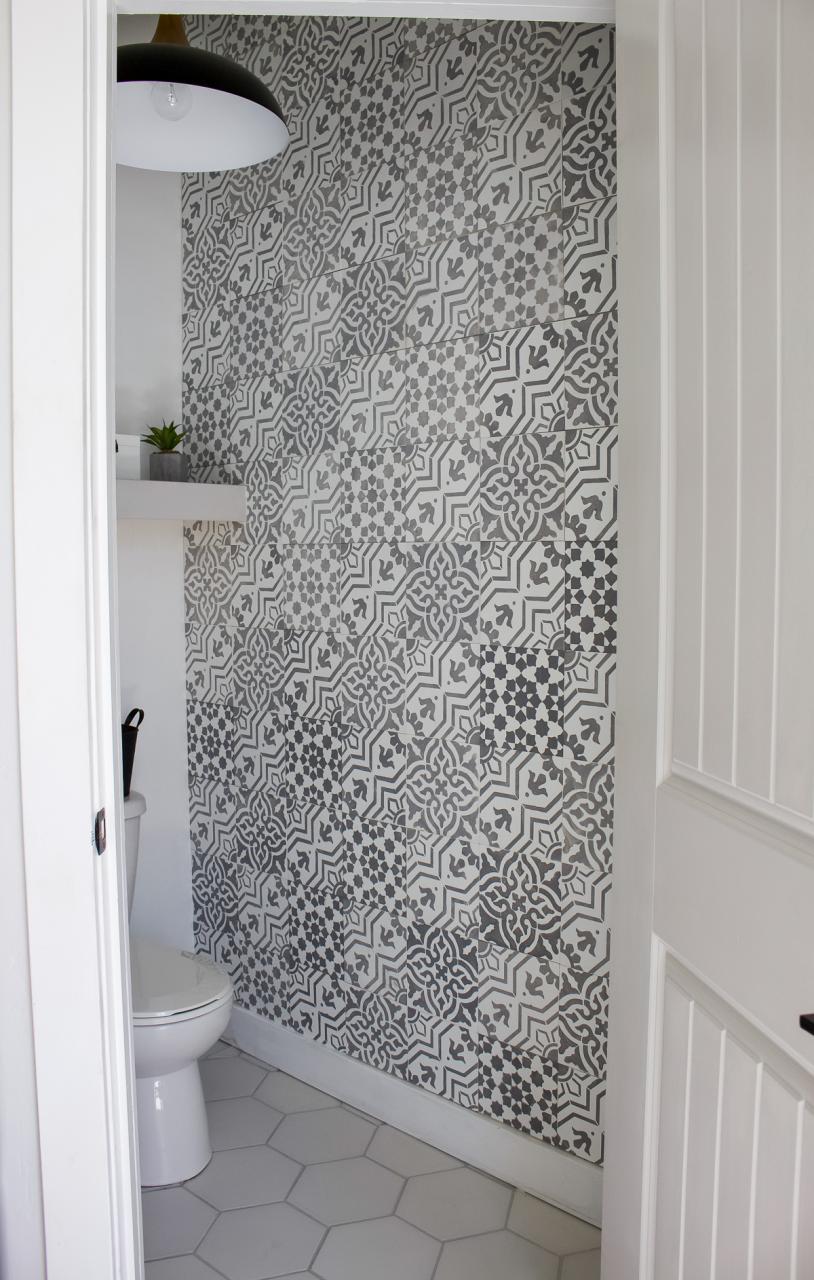
Moroccan-inspired tiles: Embrace the exotic and vibrant atmosphere of Moroccan design by using patterned tiles with intricate and colorful designs. These tiles can instantly transform your bathroom into a luxurious and stylish space.
Vertical or horizontal stripes: Use tiles in contrasting colors to create vertical or horizontal stripes on your bathroom tile wall. This simple yet effective design technique can make a small bathroom appear larger and add a touch of visual interest.
Textured tiles: Opt for tiles with textures such as 3D patterns or raised surfaces to add depth and dimension to your bathroom. These tiles can create a visually captivating and tactile experience.
Gradient effect: Create a stunning gradient effect by arranging tiles in a gradual transition of colors. Start with a darker shade at the bottom and gradually fade to a lighter shade towards the top of the wall.
Ombre tiles: Embrace the popular ombre trend by using tiles in varying shades of the same color. Arrange them from dark to light or vice versa to create a beautiful and subtle gradient effect.
Artistic tile murals: Commission or purchase tile murals featuring artwork or scenic designs to make a bold statement in your bathroom. These unique and eye-catching pieces can serve as the focal point of your bathroom tile wall.
Mix and match: Don’t be afraid to mix different tile shapes, sizes, and patterns to create a truly personalized and eclectic look. Combine geometric tiles with floral patterns or mix smooth and textured tiles for a dynamic and visually captivating effect.
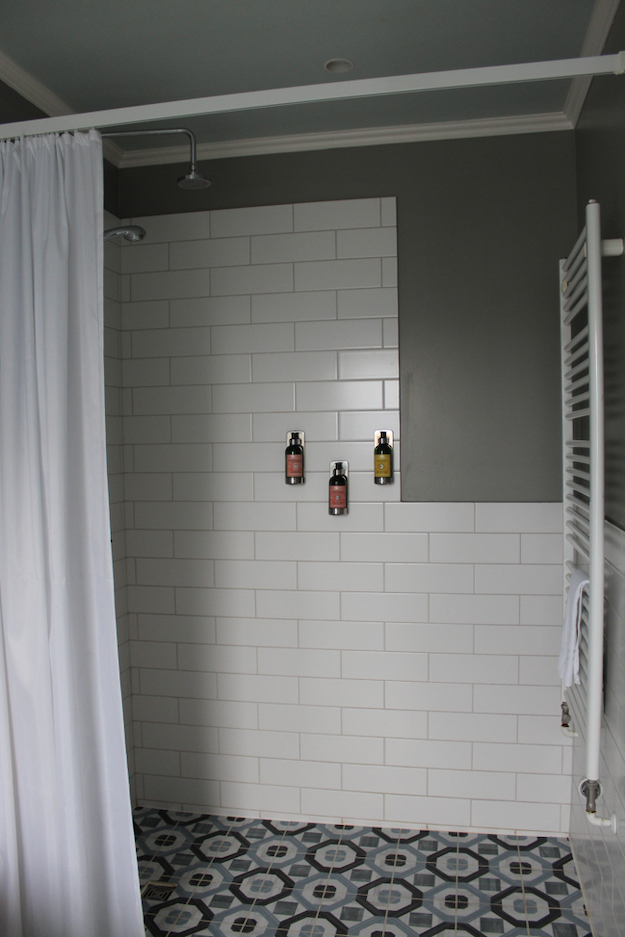
DIY Bathroom Tile Ideas DIY Projects Bathroom Projects
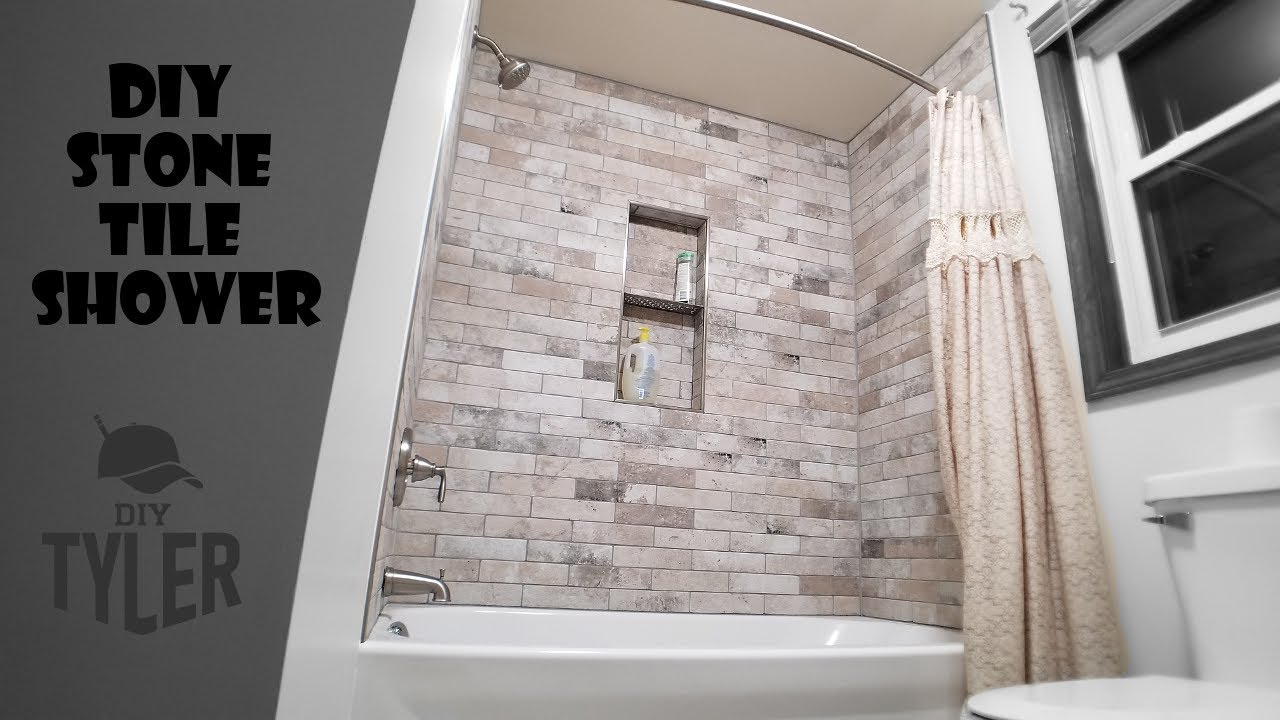
DIY Tile Shower Tub Insert to Stone Tile Wall Shower
Secrets for Amateurs Who Want to Tile a Basement Bathroom

DIY Easy Bathroom Tile Wall – Frills and Drills
DIY Faux Cement Tiles – Designed Simple
How to Tile a Bathroom Wall – Granada Tile Cement Tile Blog Tile
How to Install Tile in a Bathroom Shower
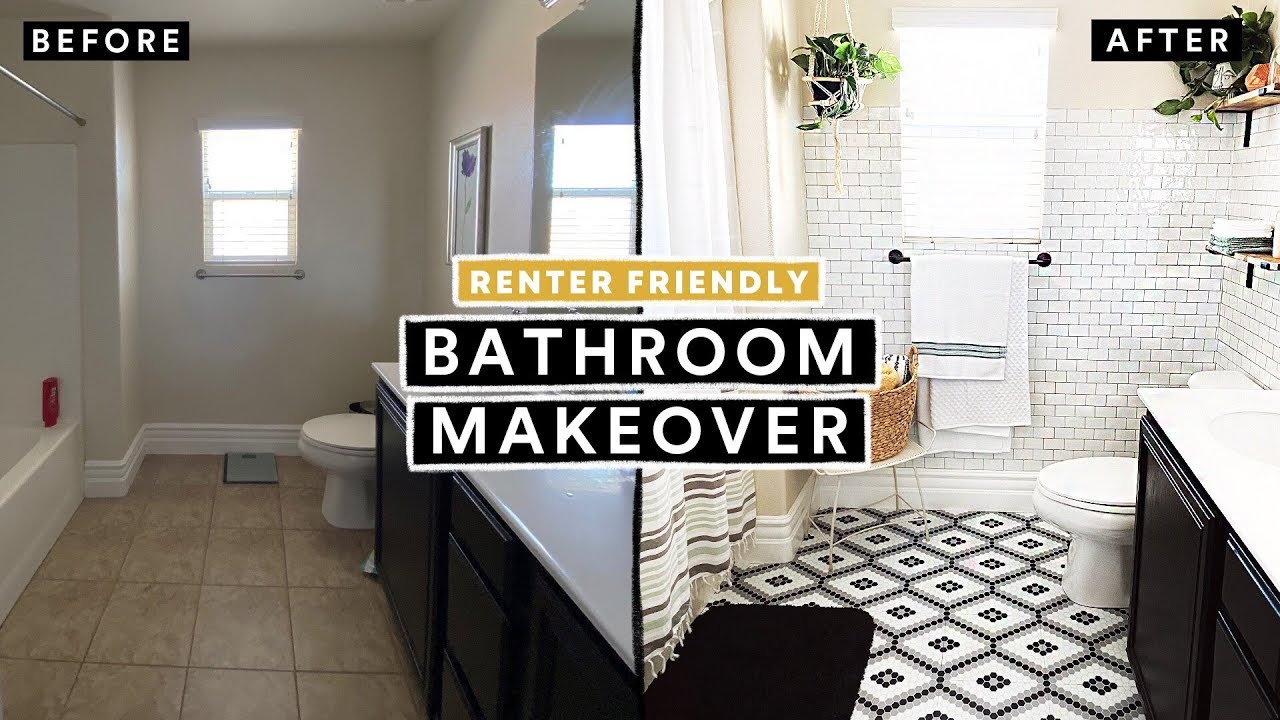
BATHROOM MAKEOVER UNDER $300 + DIY Tile
Bathroom Wall Tile Makeover
Related Posts:


