Choosing the Right Tiles for Your DIY Bathroom Tile Shower
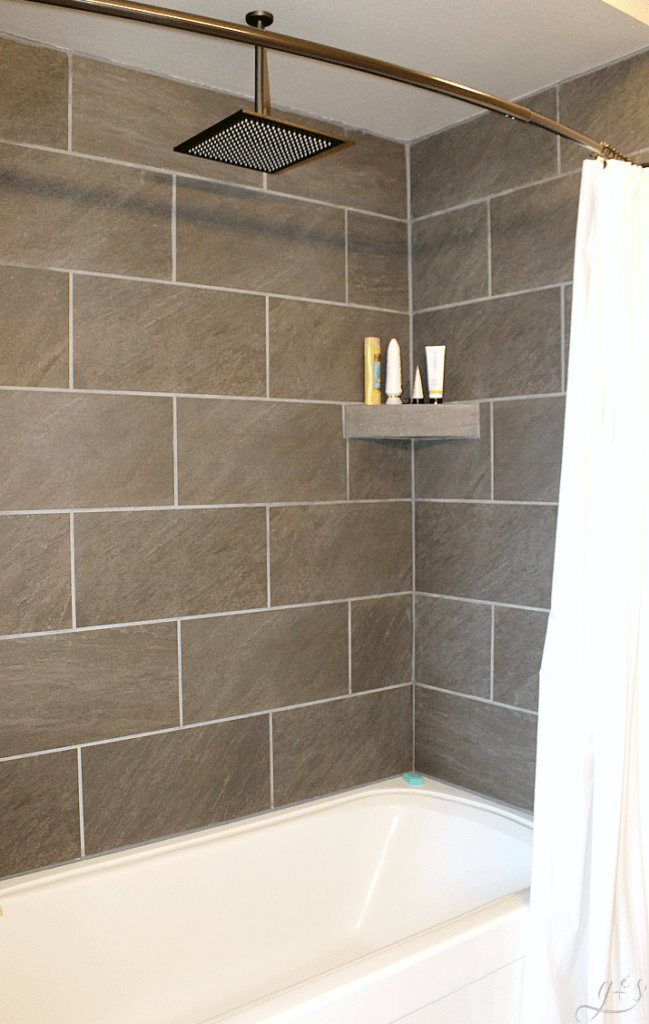
When embarking on a DIY bathroom tile shower project, selecting the right tiles is crucial for achieving both aesthetic appeal and functionality. With a plethora of options available, it’s essential to consider factors such as material, size, color, and texture to ensure the tiles meet your design preferences and practical needs.
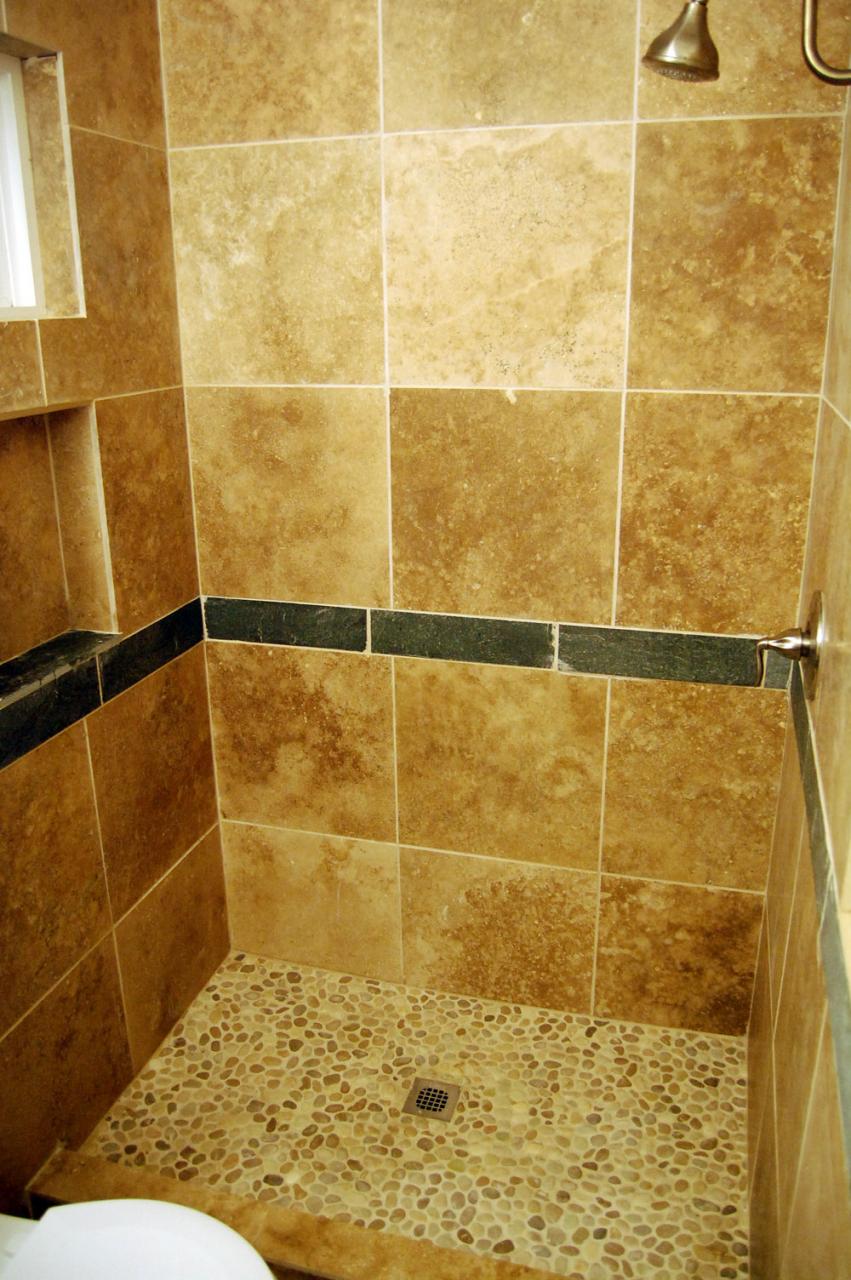
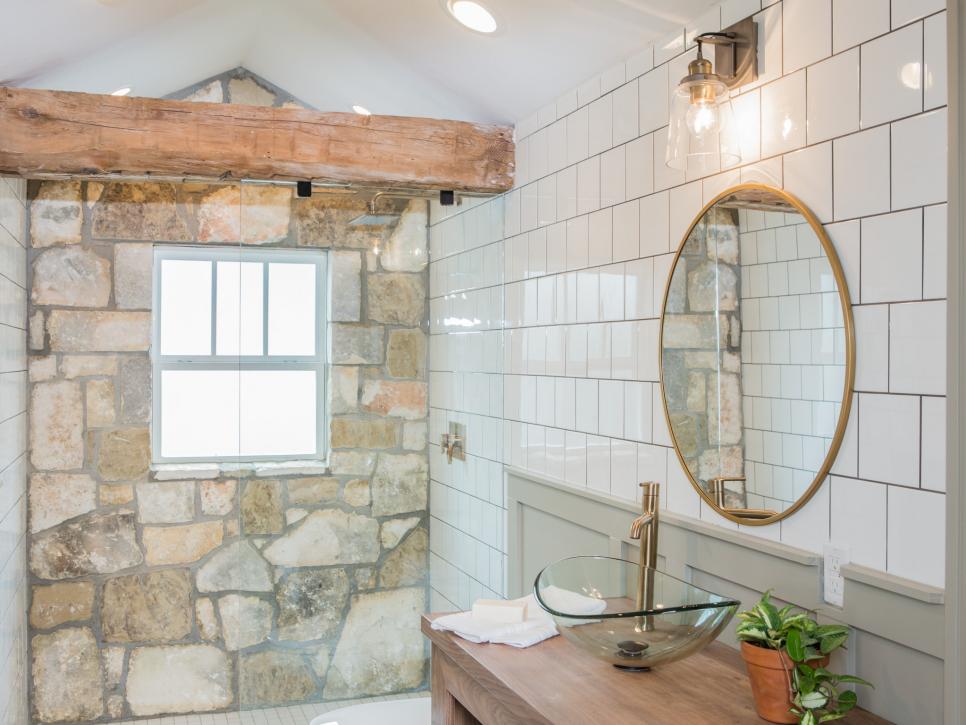
- Material Selection: Tiles come in various materials, each offering unique characteristics and benefits. Common options include ceramic, porcelain, natural stone (such as marble or travertine), and glass. Consider factors like durability, water resistance, and maintenance requirements when choosing the material for your shower tiles.
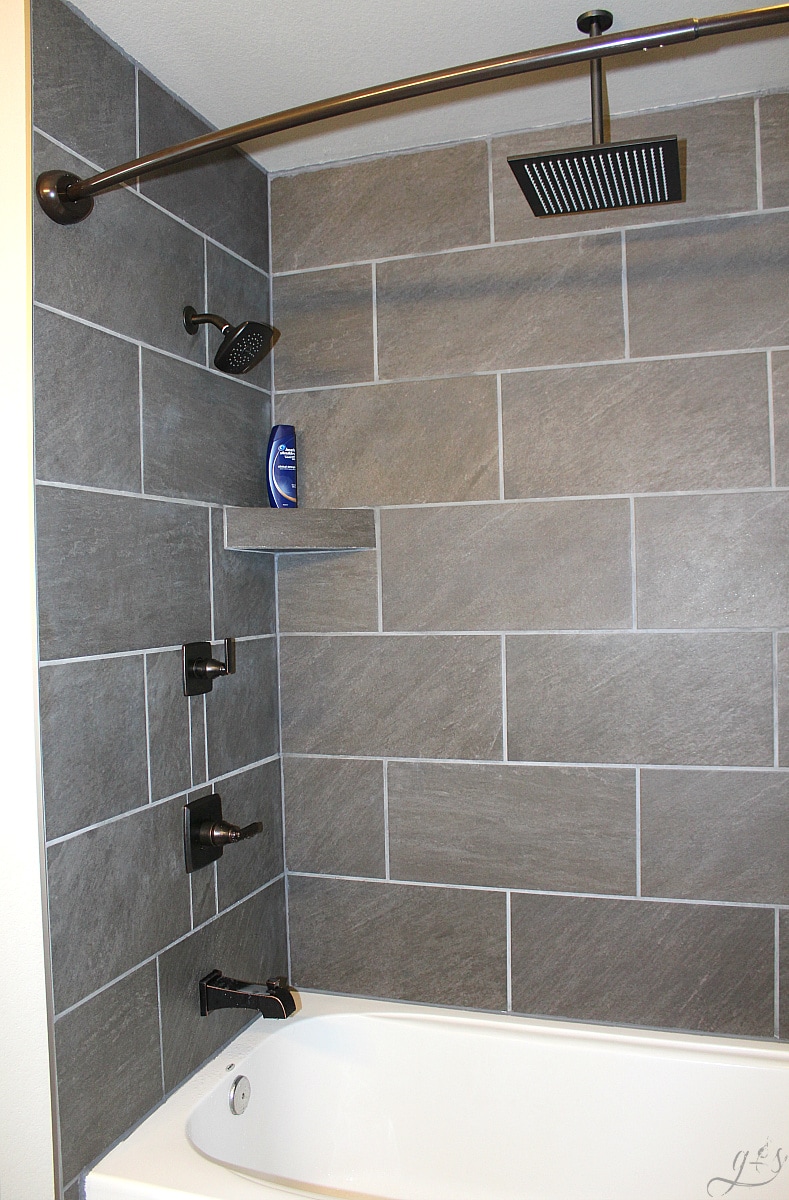
- Size and Shape: The size and shape of the tiles can significantly impact the overall look and feel of your shower. Larger tiles can create a sense of spaciousness and continuity, while smaller tiles allow for intricate designs and patterns. Consider the scale of your bathroom and the desired aesthetic when selecting tile sizes.
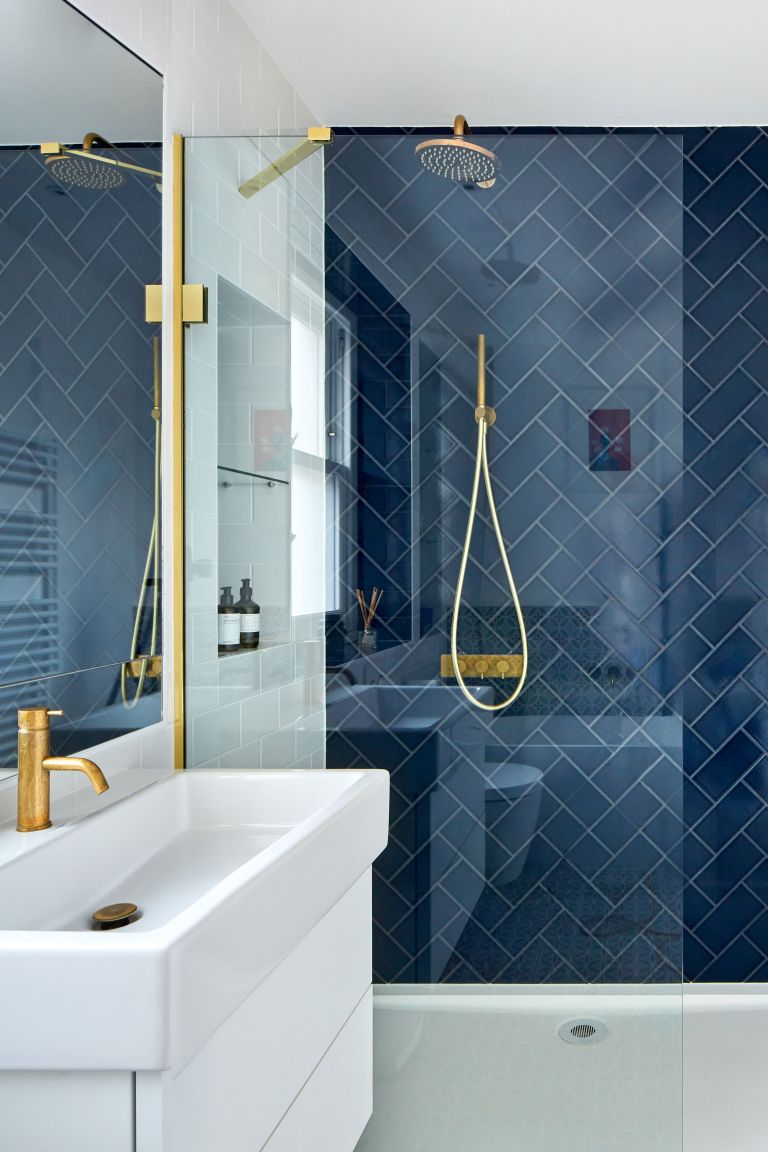
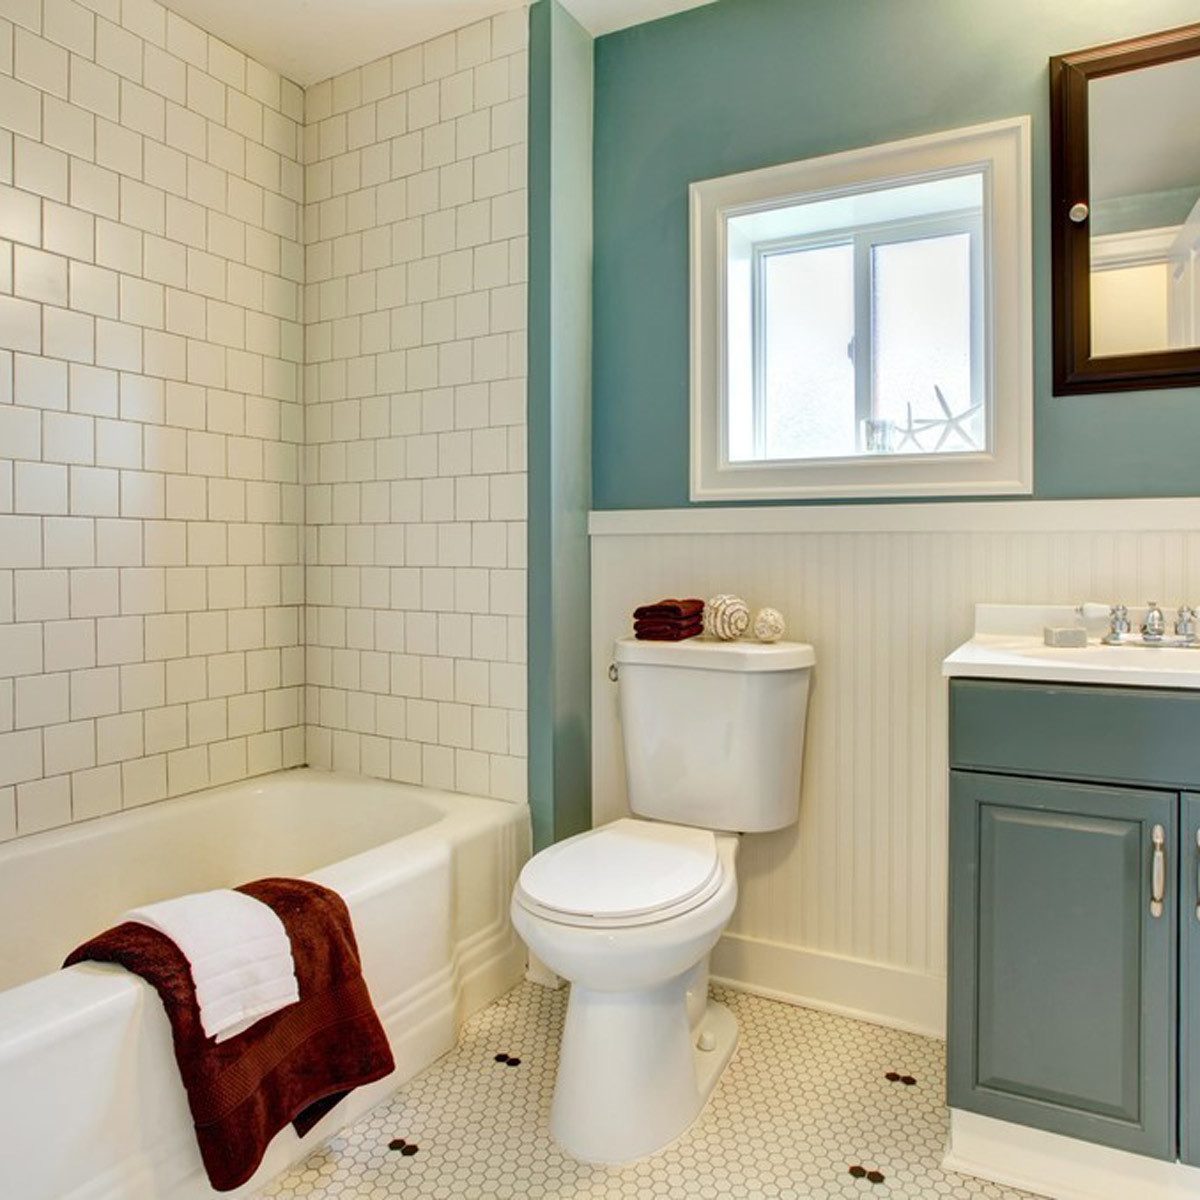
- Color Palette: Choose a color palette that complements your bathroom decor and enhances the desired ambiance. Neutral tones like white, beige, or gray offer timeless elegance and versatility, while bold colors or patterns can add personality and visual interest. Consider the lighting conditions in your bathroom when selecting tile colors to ensure they appear as intended.
- Texture and Finish: The texture and finish of the tiles can affect both the visual and tactile appeal of your shower. Matte finishes offer a subtle, understated look and are less prone to showing water spots or fingerprints. Glossy finishes reflect light and create a sleek, polished appearance, but may require more frequent cleaning. Textured tiles provide slip resistance, making them ideal for shower floors.
- Maintenance Requirements: Consider the level of maintenance required for different types of tiles. Porcelain and ceramic tiles are generally low-maintenance and easy to clean, making them suitable for high-traffic areas like showers. Natural stone tiles may require periodic sealing to protect against stains and moisture damage.
- Budget Considerations: Set a budget for your tile project and choose tiles that offer the best value within your price range. Keep in mind that factors like material, size, and brand can influence the cost of tiles. Consider shopping around and comparing prices from different suppliers to find the best deals without compromising quality.
Essential Tools and Materials for Tiling Your Shower
Before diving into your DIY bathroom tile shower project, it’s essential to gather all the necessary tools and materials to ensure a smooth and successful installation process. Having the right equipment on hand will help you work efficiently and achieve professional-looking results.
Tiles: Begin by selecting the tiles for your shower walls and floor, taking into account factors such as material, size, color, and texture. Purchase enough tiles to cover the entire shower area, including any areas that require cutting or trimming.
Tile Adhesive: Choose a high-quality tile adhesive or thin-set mortar suitable for your chosen tile material and substrate. Opt for a waterproof adhesive specifically designed for use in wet areas like showers to ensure long-lasting adhesion.
Grout: Select a grout color that complements your chosen tiles and desired aesthetic. Consider factors such as stain resistance, water repellency, and ease of application when choosing grout. Epoxy grout is a popular choice for showers due to its durability and resistance to mold and mildew.
Tile Spacers: Use tile spacers to maintain consistent spacing between tiles and ensure straight, even grout lines. Choose spacers that correspond to the desired width of your grout lines, typically ranging from 1/16 inch to 1/4 inch.
Tile Cutter or Wet Saw: Depending on the material and size of your tiles, you may need a tile cutter or wet saw to make precise cuts and adjustments. Rent or purchase the appropriate cutting tool for your project to ensure clean, accurate cuts.
Trowel: A notched trowel is essential for spreading tile adhesive evenly onto the substrate before laying the tiles. Choose a trowel size that matches the recommended notch size for your adhesive to achieve proper coverage and adhesion.
Level and Measuring Tools: Use a level to ensure that your tiles are installed perfectly straight and level. Additionally, have measuring tools such as a tape measure and a straightedge on hand to accurately measure and mark tile placement and cuts.
Grout Float: A grout float is used to apply grout to the tile surface and press it into the joints. Choose a rubber or foam float for smooth, even grout application and to avoid scratching or damaging the tiles.
Sponge and Bucket: Keep a sponge and bucket of water nearby for cleaning excess grout and adhesive from the tile surface during installation. A clean, damp sponge is also essential for smoothing grout lines and removing haze after grouting.
Protective Gear: Wear appropriate protective gear, including safety goggles, gloves, and knee pads, to protect yourself from dust, debris, and potential injury during the tiling process.
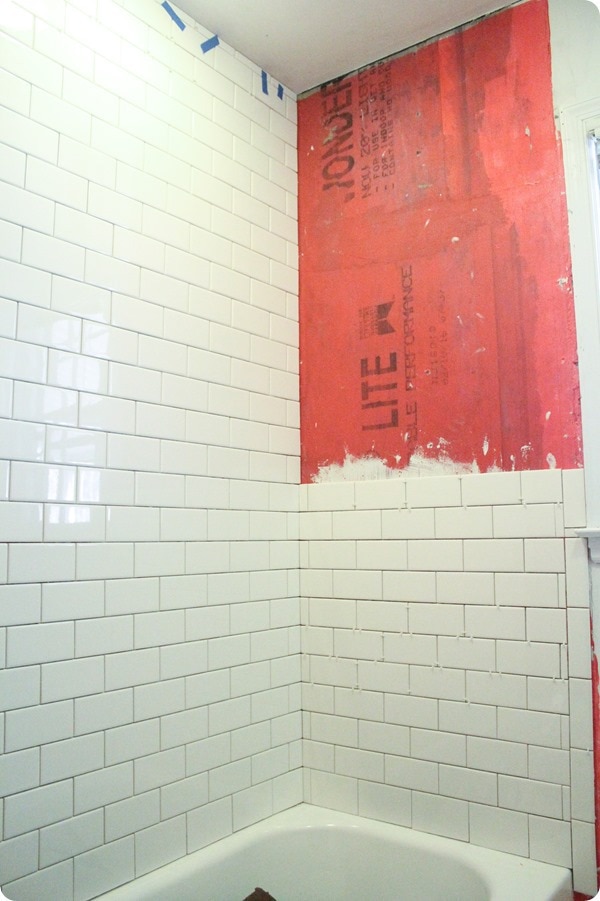
Preparing the Shower Area for Tile Installation
Proper preparation of the shower area is essential for ensuring a successful and long-lasting tile installation. Before laying the tiles, it’s crucial to thoroughly clean and prepare the substrate to create a smooth, stable surface for the tiles to adhere to. Here’s how to prepare the shower area for tile installation:
Remove Existing Materials: Start by removing any existing tiles, grout, or other materials from the shower walls and floor. Use a hammer, chisel, or pry bar to carefully remove old tiles and adhesive, taking care not to damage the underlying substrate.
Inspect the Substrate: Once the old materials have been removed, thoroughly inspect the substrate for any signs of damage or deterioration. Repair any cracks, holes, or uneven areas in the substrate using an appropriate patching compound or filler. Ensure that the substrate is clean, dry, and free of debris before proceeding.
Address Moisture Issues: Moisture can be a significant concern in shower areas, so it’s essential to take steps to prevent water damage and mold growth. Apply a waterproofing membrane or sealer to the substrate to create a barrier against moisture infiltration. Pay special attention to seams, corners, and areas where water is likely to accumulate.
Check for Level and Square: Use a level and a framing square to check that the walls and floor of the shower are level and square. If necessary, shim or adjust the framing to ensure that the surfaces are perfectly flat and square. This will help ensure that the tiles are installed evenly and prevent issues with alignment and grout lines.
Allow for Expansion Joints: Leave expansion joints around the perimeter of the shower area to accommodate movement and prevent cracks in the tiles. Use spacers or strips of foam backer rods to create even gaps between the tiles and the surrounding walls and fixtures.
Prime the Substrate: Before applying tile adhesive, prime the substrate with a bonding agent or primer to improve adhesion and ensure a strong bond between the tiles and the substrate. Follow manufacturer instructions for mixing and applying the primer, and allow it to dry completely before proceeding with tile installation.
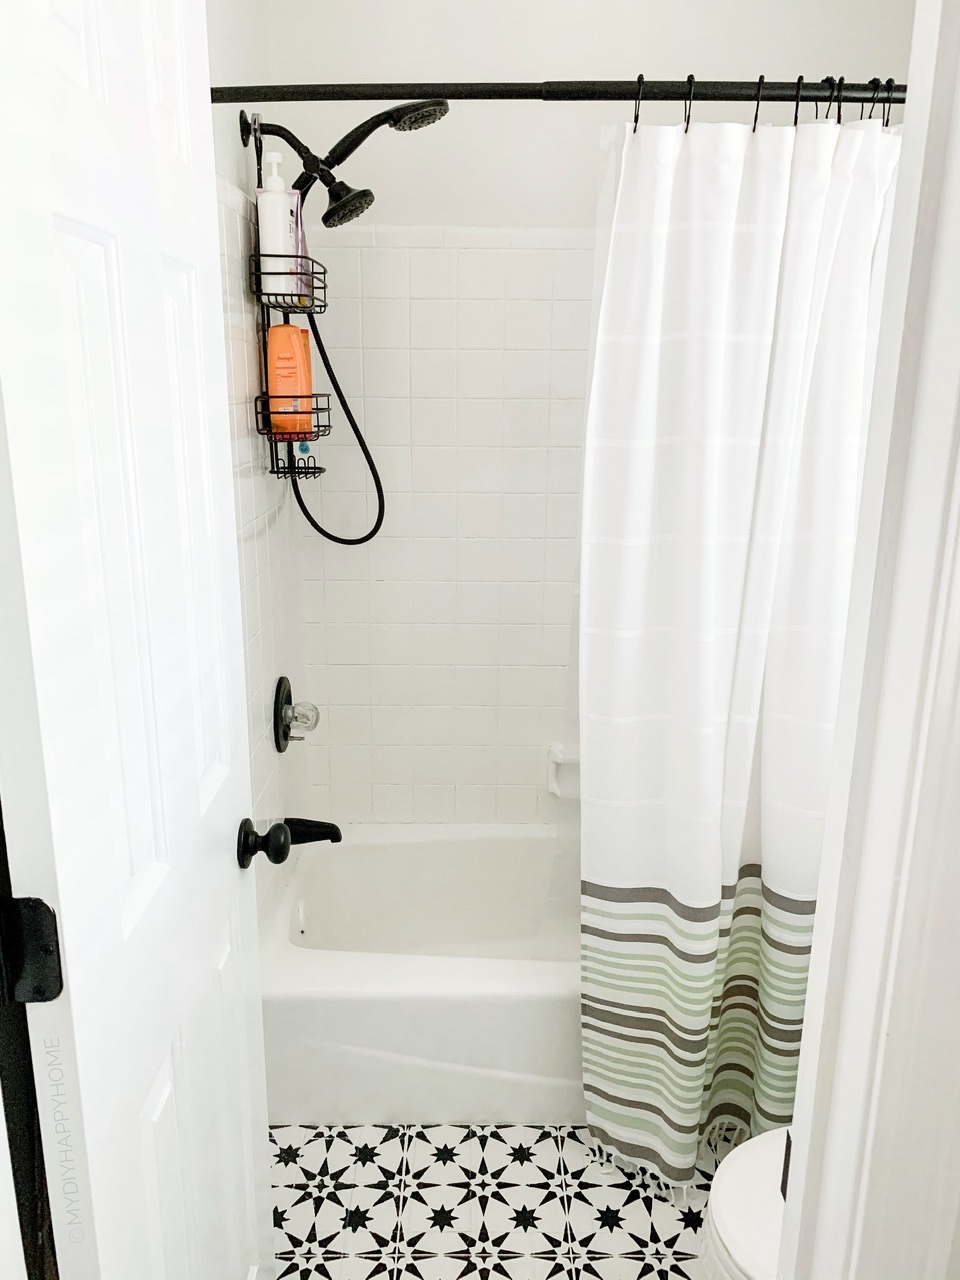
Step-by-Step Guide to Tiling Your Shower Walls and Floor
Tiling your shower walls and floor is a rewarding DIY project that can transform the look and feel of your bathroom. With the right tools, materials, and techniques, you can achieve professional-quality results and create a beautiful, functional shower space. Here’s a step-by-step guide to tiling your shower:
Prepare the Tiles: Begin by laying out the tiles to determine the best placement and arrangement. Dry-fit the tiles on the shower walls and floor, making any necessary cuts or adjustments to ensure a perfect fit around fixtures, corners, and edges.
Mix the Adhesive: Follow the manufacturer’s instructions to mix the tile adhesive or thin-set mortar to the proper consistency. Use a trowel to spread a thin, even layer of adhesive onto the substrate, starting in one corner of the shower area.
Apply the Tiles: Press the tiles firmly into the adhesive, using spacers to maintain consistent spacing between tiles. Work methodically, starting from the bottom of the shower walls and working your way up. Use a level to ensure that the tiles are installed straight and level.
Cut Tiles as Needed: Use a tile cutter or wet saw to make any necessary cuts or adjustments to the tiles. Measure carefully and use a straightedge or square to ensure clean, accurate cuts. Install cut tiles in place, taking care to maintain uniform spacing and alignment.
Tile the Shower Floor: Once the walls are tiled, proceed to tile the shower floor using the same techniques. Start by spreading adhesive on the floor substrate and then lay the tiles in place, working from the center of the floor outward. Use spacers to maintain consistent spacing and ensure even grout lines.
Allow the Adhesive to Cure: Allow the tile adhesive to cure for the recommended amount of time before grouting. This typically takes 24 to 48 hours, depending on the type of adhesive and environmental conditions.
Prepare the Grout: Mix the grout according to the manufacturer’s instructions, ensuring that it has a smooth, lump-free consistency. Use a grout float to apply the grout to the tile surface, working it into the joints at a 45-degree angle.
Remove Excess Grout: After applying the grout, use a damp sponge to remove excess grout from the tile surface and smooth the grout lines. Rinse the sponge frequently and continue wiping until the tiles are clean and the grout lines are uniform.
Allow the Grout to Cure: Allow the grout to cure for the recommended amount of time, typically 24 to 72 hours, before using the shower. Keep the area dry and avoid disturbing the grout during this time to ensure a strong, durable bond.
Seal the Grout (Optional): Consider applying a sealer to the grout lines to protect against stains, mold, and moisture damage. Follow manufacturer instructions for application and allow the sealer to cure completely before using the shower.
Grouting and Sealing: Finishing Touches for Your DIY Bathroom Tile Shower
Grouting and sealing are essential final steps in the tiling process that help protect and enhance the beauty and longevity of your DIY bathroom tile shower. Proper grout application and sealing ensure that your tiles are securely bonded and resistant to moisture, stains, and mold growth. Here’s how to grout and seal your bathroom tile shower:
Choose the Right Grout: Select a grout color that complements your tile and desired aesthetic. Consider factors such as stain resistance, water repellency, and ease of application when choosing grout. Epoxy grout is a popular choice for showers due to its durability and resistance to mold and mildew.
Mix the Grout: Follow the manufacturer’s instructions to mix the grout to the proper consistency. Use a grout float to apply the grout to the tile surface, working it into the joints at a 45-degree angle. Ensure that the grout lines are filled and that there are no gaps or voids.
Remove Excess Grout: After applying the grout, use a damp sponge to remove excess grout from the tile surface and smooth the grout lines. Rinse the sponge frequently and continue wiping until the tiles are clean and the grout lines are uniform. Avoid using too much water, as this can weaken the grout.
Allow the Grout to Cure: Allow the grout to cure for the recommended amount of time, typically 24 to 72 hours, before using the shower. Keep the area dry and avoid disturbing the grout during this time to ensure a strong, durable bond.
Seal the Grout: Once the grout has cured, consider applying a sealer to the grout lines to protect against stains, mold, and moisture damage. Choose a high-quality grout sealer specifically formulated for use in wet areas like showers. Follow manufacturer instructions for application, and allow the sealer to cure completely before using the shower.
Inspect and Maintain: After grouting and sealing, carefully inspect the tile and grout lines for any imperfections or areas that may need touch-ups. Address any issues promptly to ensure the integrity and longevity of your tile installation. Regularly clean and maintain the shower area to keep it looking its best and prevent issues with grout deterioration or mold growth.
How to Install a Tiled Shower Surround

How to Install a Shower Tile Wall Tile a Bathroom Shower

Installing Tile: Smart Tips for Beginners – Lovely Etc.
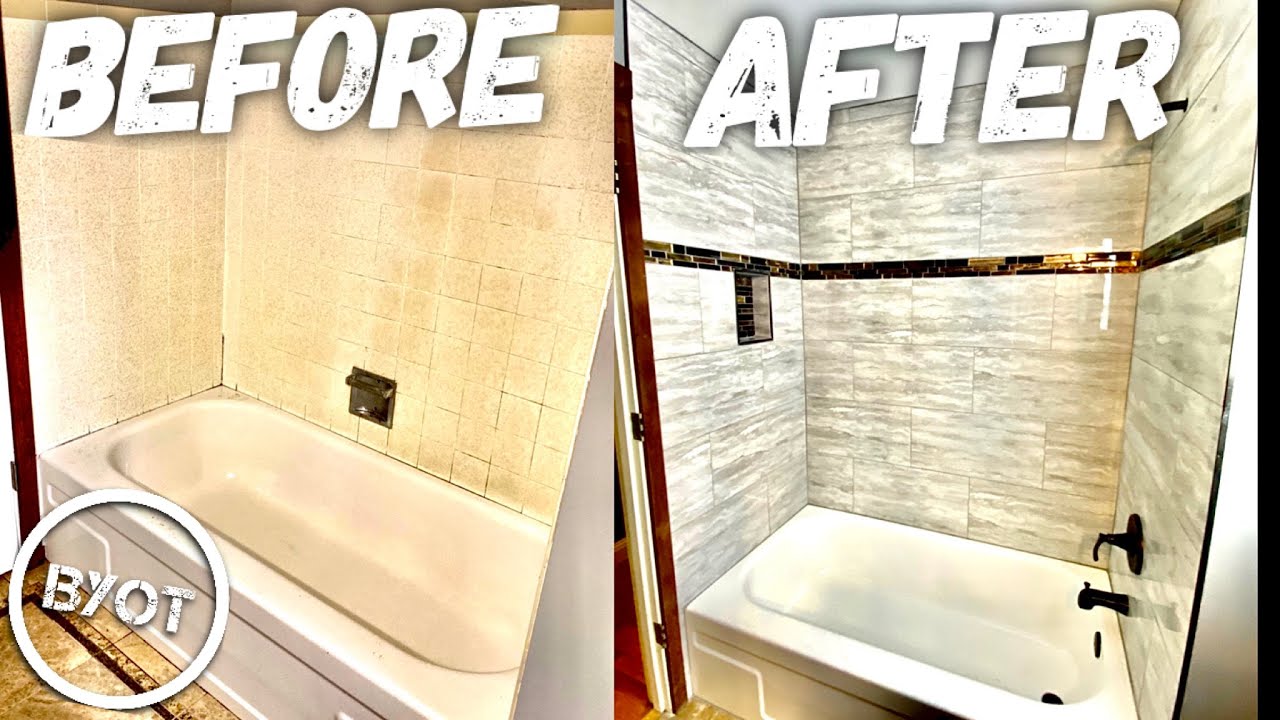
From Ugly to WOW: How to Paint Bathroom Shower Tile
How to tile your shower like a DIY pro The Inspired Hive
Tile Tips for Better Bathroom Tile
Stylish Alternatives for Ceramic Tile Shower Walls or Bases

Best DIY Bathroom Projects
Related Posts:
- Mediterranean Bathroom Tile Ideas
- Design Bathroom Tile Layout
- Bathroom Tile Ideas With Tub
- Art Deco Green Bathroom Tiles
- Houzz Bathroom Tile Floor
- Bathroom Tile Backsplash Images
- Bathroom Tile Ideas Green
- Grey Stone Effect Bathroom Tiles
- Small Bathroom Tile Designs
- Faux Wood Bathroom Tiles


