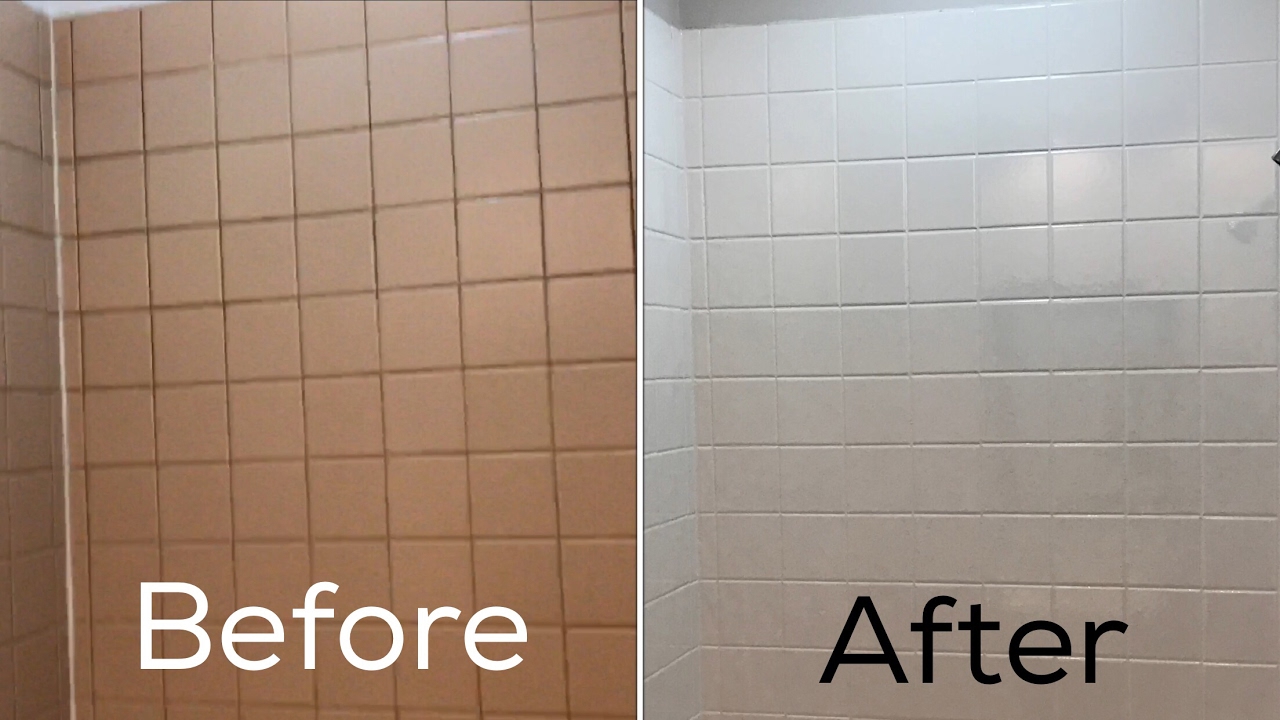
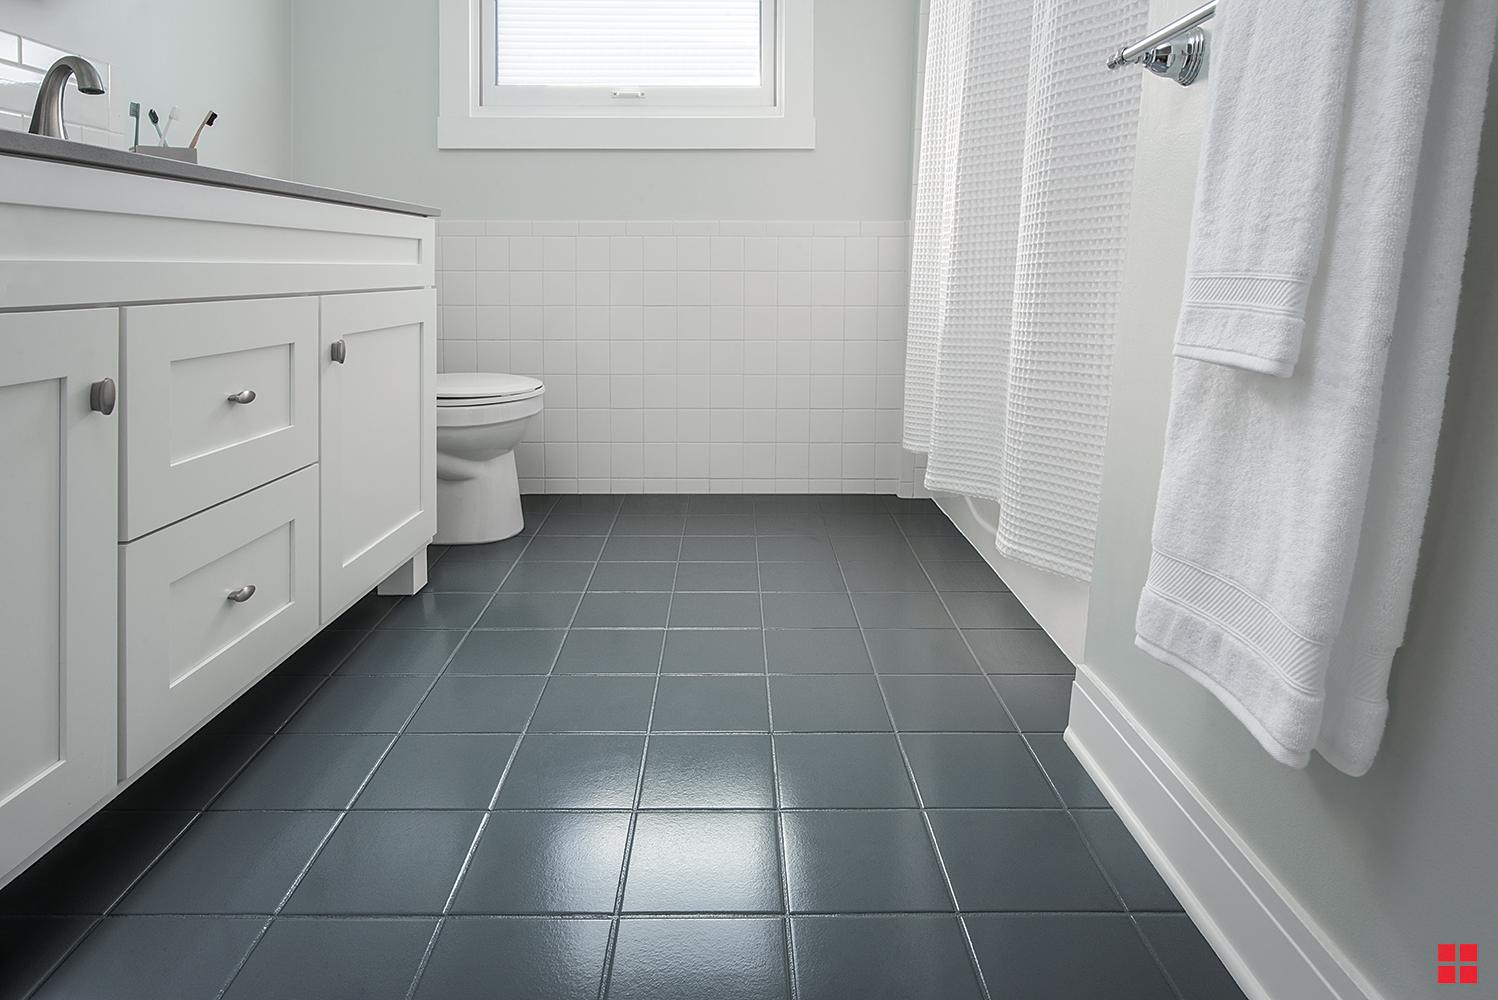
If you’re tired of the outdated look of your bathroom tiles but don’t want to go through the hassle and expense of replacing them, painting them can be a practical and cost-effective solution. I recently embarked on a project to cover my bathroom tiles with paint, and the results exceeded my expectations. Let me share my experience and provide a straightforward guide on effectively painting bathroom tiles.
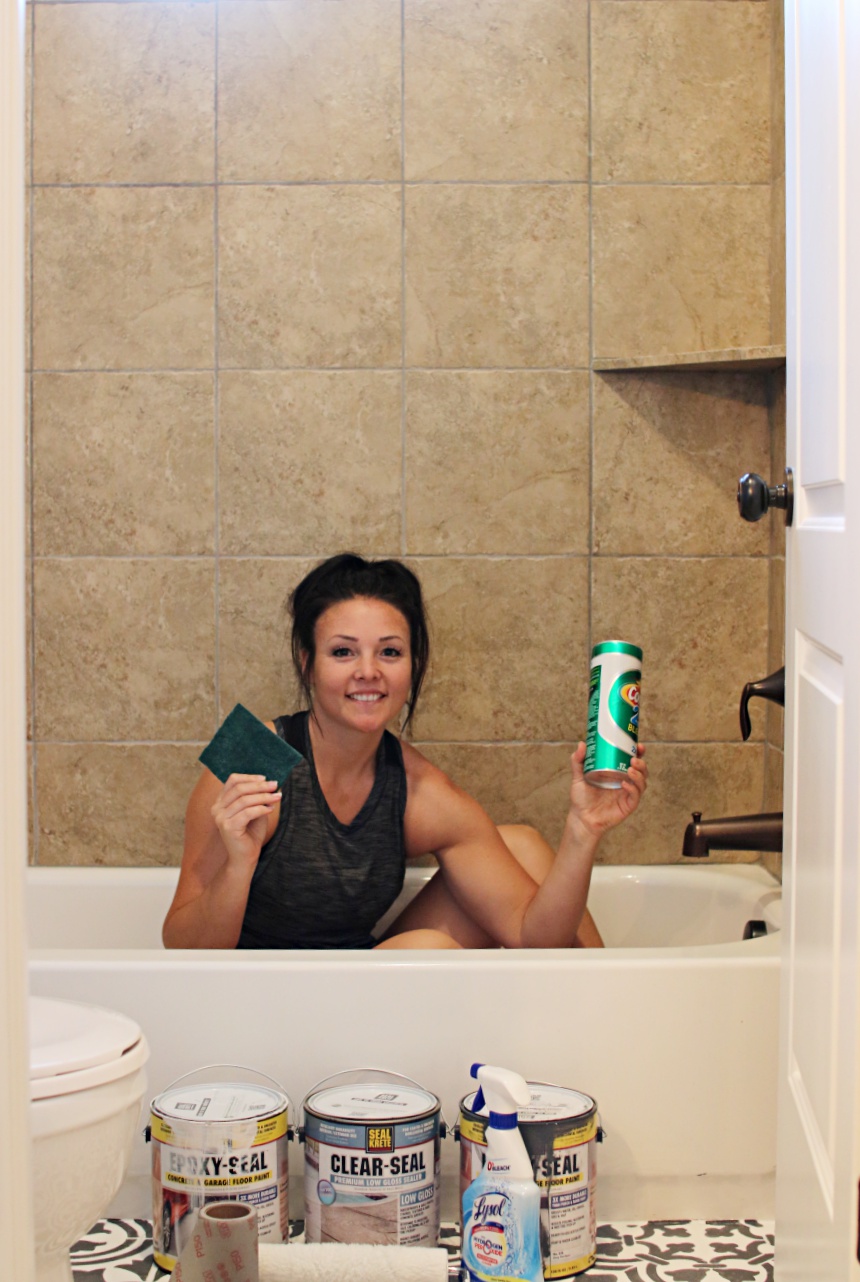
Step 1: Prepare the tiles:
Before painting, thorough preparation is key to ensuring a successful outcome. Start by cleaning the tiles with a mild detergent or tile cleaner to remove dirt, grime, or soap scum. Use a scrub brush or sponge to scrub the tiles gently. Rinse them thoroughly and allow them to dry completely.
Step 2: Sand the tiles:
To create a surface to which the paint can effectively, lightly sand the tiles using fine-grit sandpaper. This step helps to remove the glossy finish and promotes better paint adhesion. After sanding, wipe away any dust or debris with a damp cloth.
Step 3: Apply a bonding primer:
Apply a bonding primer specifically designed on tiles using a roller or brush. This primer will create a strong bond between the paint and the tiles, ensuring long-lasting results. Follow the manufacturer’s instructions for proper application and drying time.
Step 4: Paint the tiles:
Once the primer is dry, it’s time to paint the tiles. Choose a high-quality paint designed for use on tiles or a multi-surface paint that adheres well to different materials. Use a brush or roller to apply the paint evenly, starting from the edges and working toward the center of each tile. Apply multiple thin coats for better coverage, allowing each coat to dry completely before applying the next.
Step 5: Seal the paint:
To protect the painted tiles and enhance their durability, apply a clear topcoat or sealant designed for use on painted surfaces. This will help to prevent chipping, peeling, and water damage. Follow the manufacturer’s instructions for proper application and drying time.
Step 6: Maintain and care for the painted tiles:
To ensure the longevity of your painted tiles, practice regular maintenance and care. Avoid using abrasive cleaners or scrub brushes that could damage the painted surface. Instead, clean the tiles with a gentle cleaner and a soft cloth or sponge. Regularly inspect the painted tiles for any signs of wear and touch up as needed.
Painting bathroom tiles can be a simple and effective way to transform the look of your bathroom without the expense and hassle of replacing them. Following the steps outlined in this guide, I successfully covered my bathroom tiles with paint, giving my bathroom a fresh and updated appearance. Remember to prepare the tiles properly, apply a bonding primer, paint with multiple thin coats, seal the paint, and maintain the painted tiles for long-lasting results. With a little effort and creativity, you can achieve a beautiful and budget-friendly transformation for your bathroom.
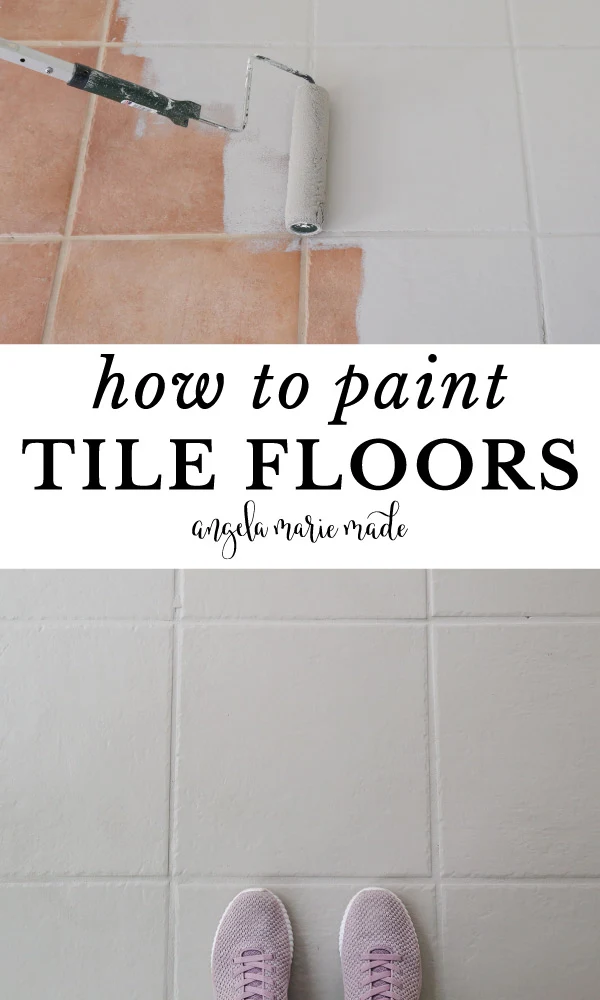
How to Paint Tile Floor – Angela Marie Made
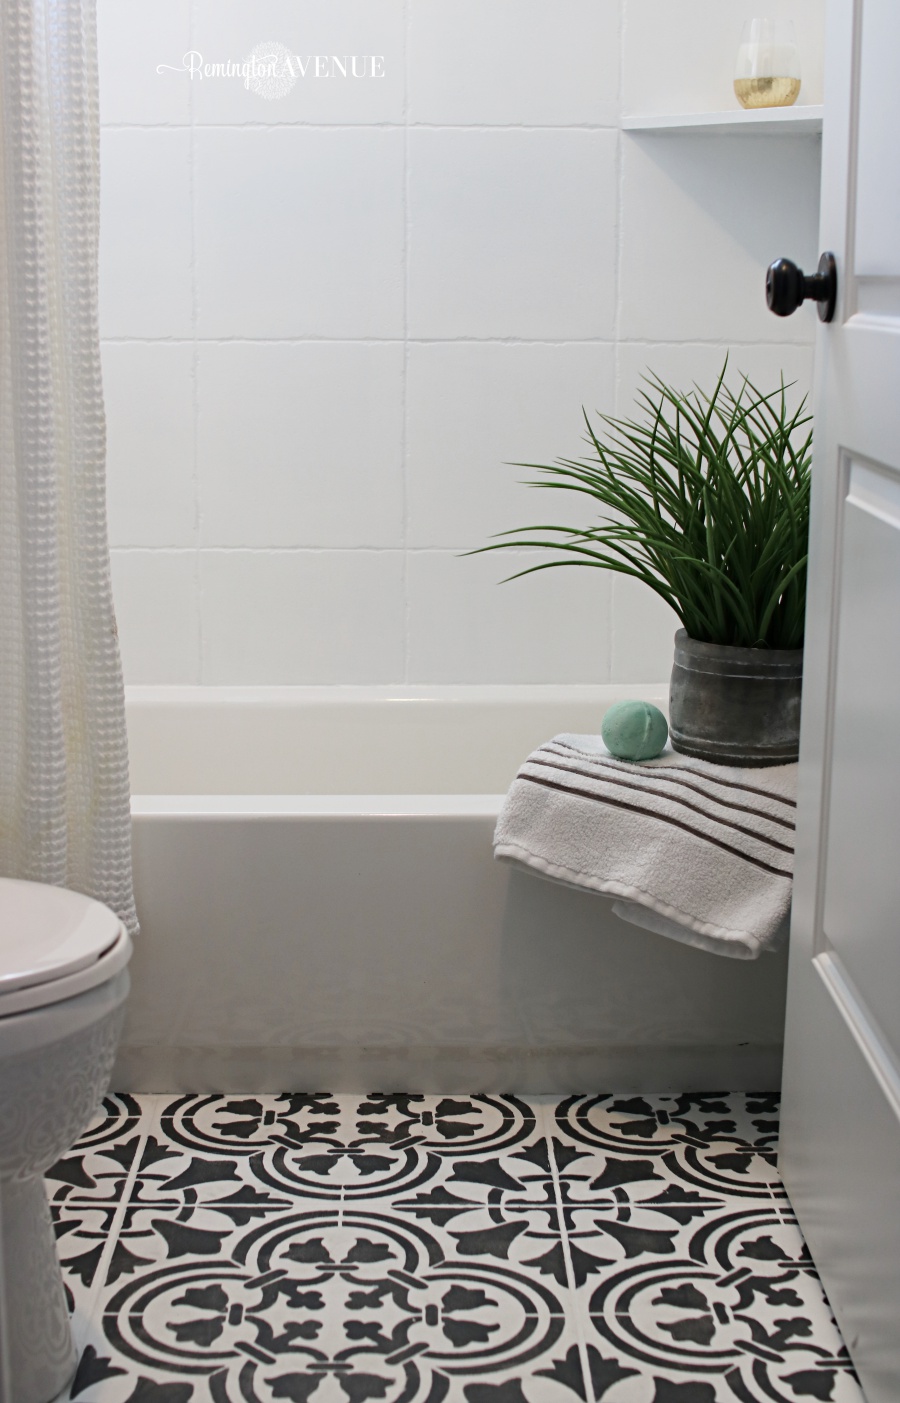
How to Paint Shower Tile – Remington Avenue
Yes! You Really Can Paint Tiles: Rust-Oleum Tile Transformations

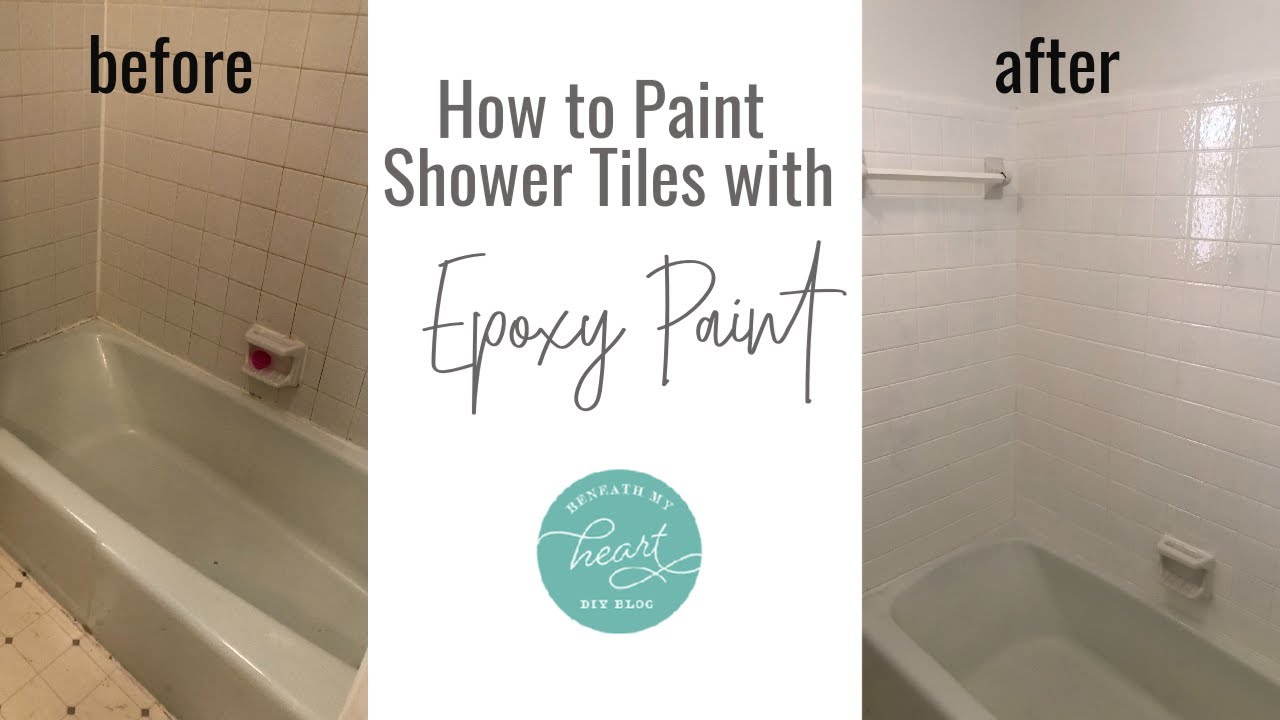
How to DIY Paint Shower Tile – One Year Later Review – Rust-Oleum Tub u0026 Tile Refinishing Kit
Refinishing ceramic tile in my bathroom (before and after)
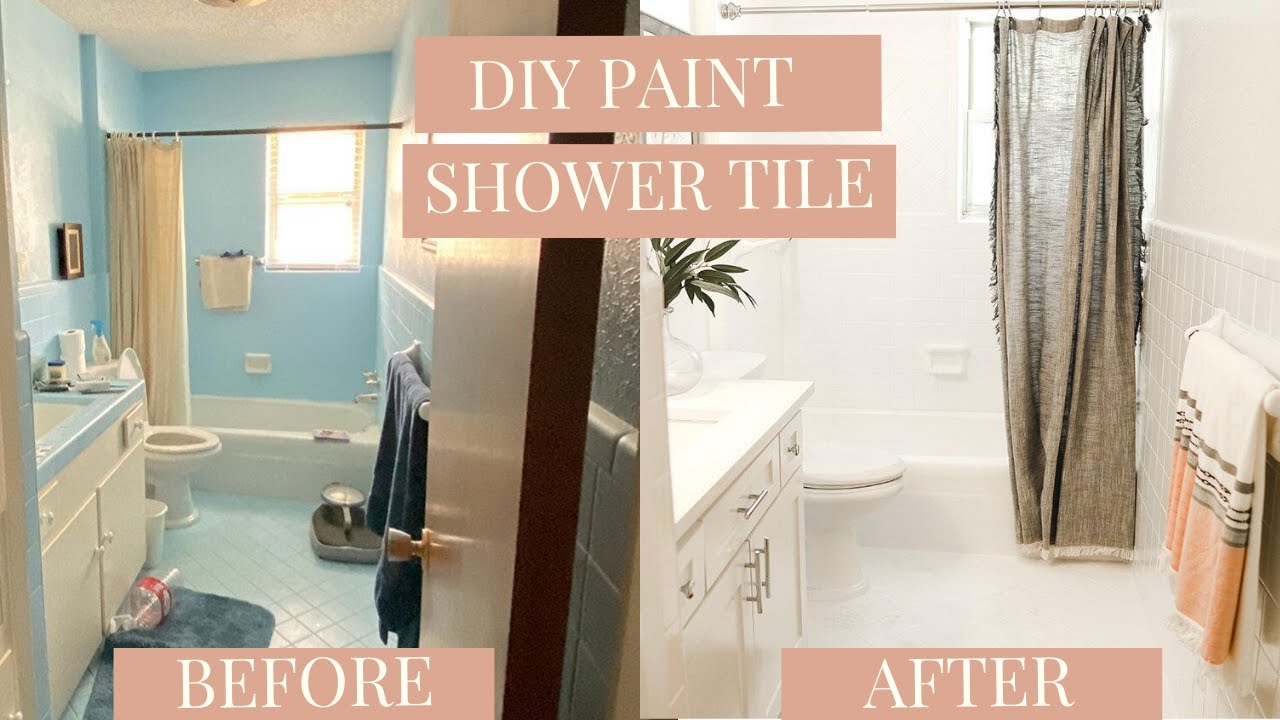
From Ugly to WOW: How to Paint Bathroom Shower Tile

Best Tile Paints Reviewed
/recommended-tile-paints-1822653-hero-7b4d3c2c2d8d449aa50d260d9a038b92.jpg)
How to Paint Shower Tile – Remington Avenue
How to paint bathroom tile: floor, shower, backsplash u2013 House Mix

DIY Painted Bathroom Floor
Nitpicky 6-month painted tile update u2013 House Mix

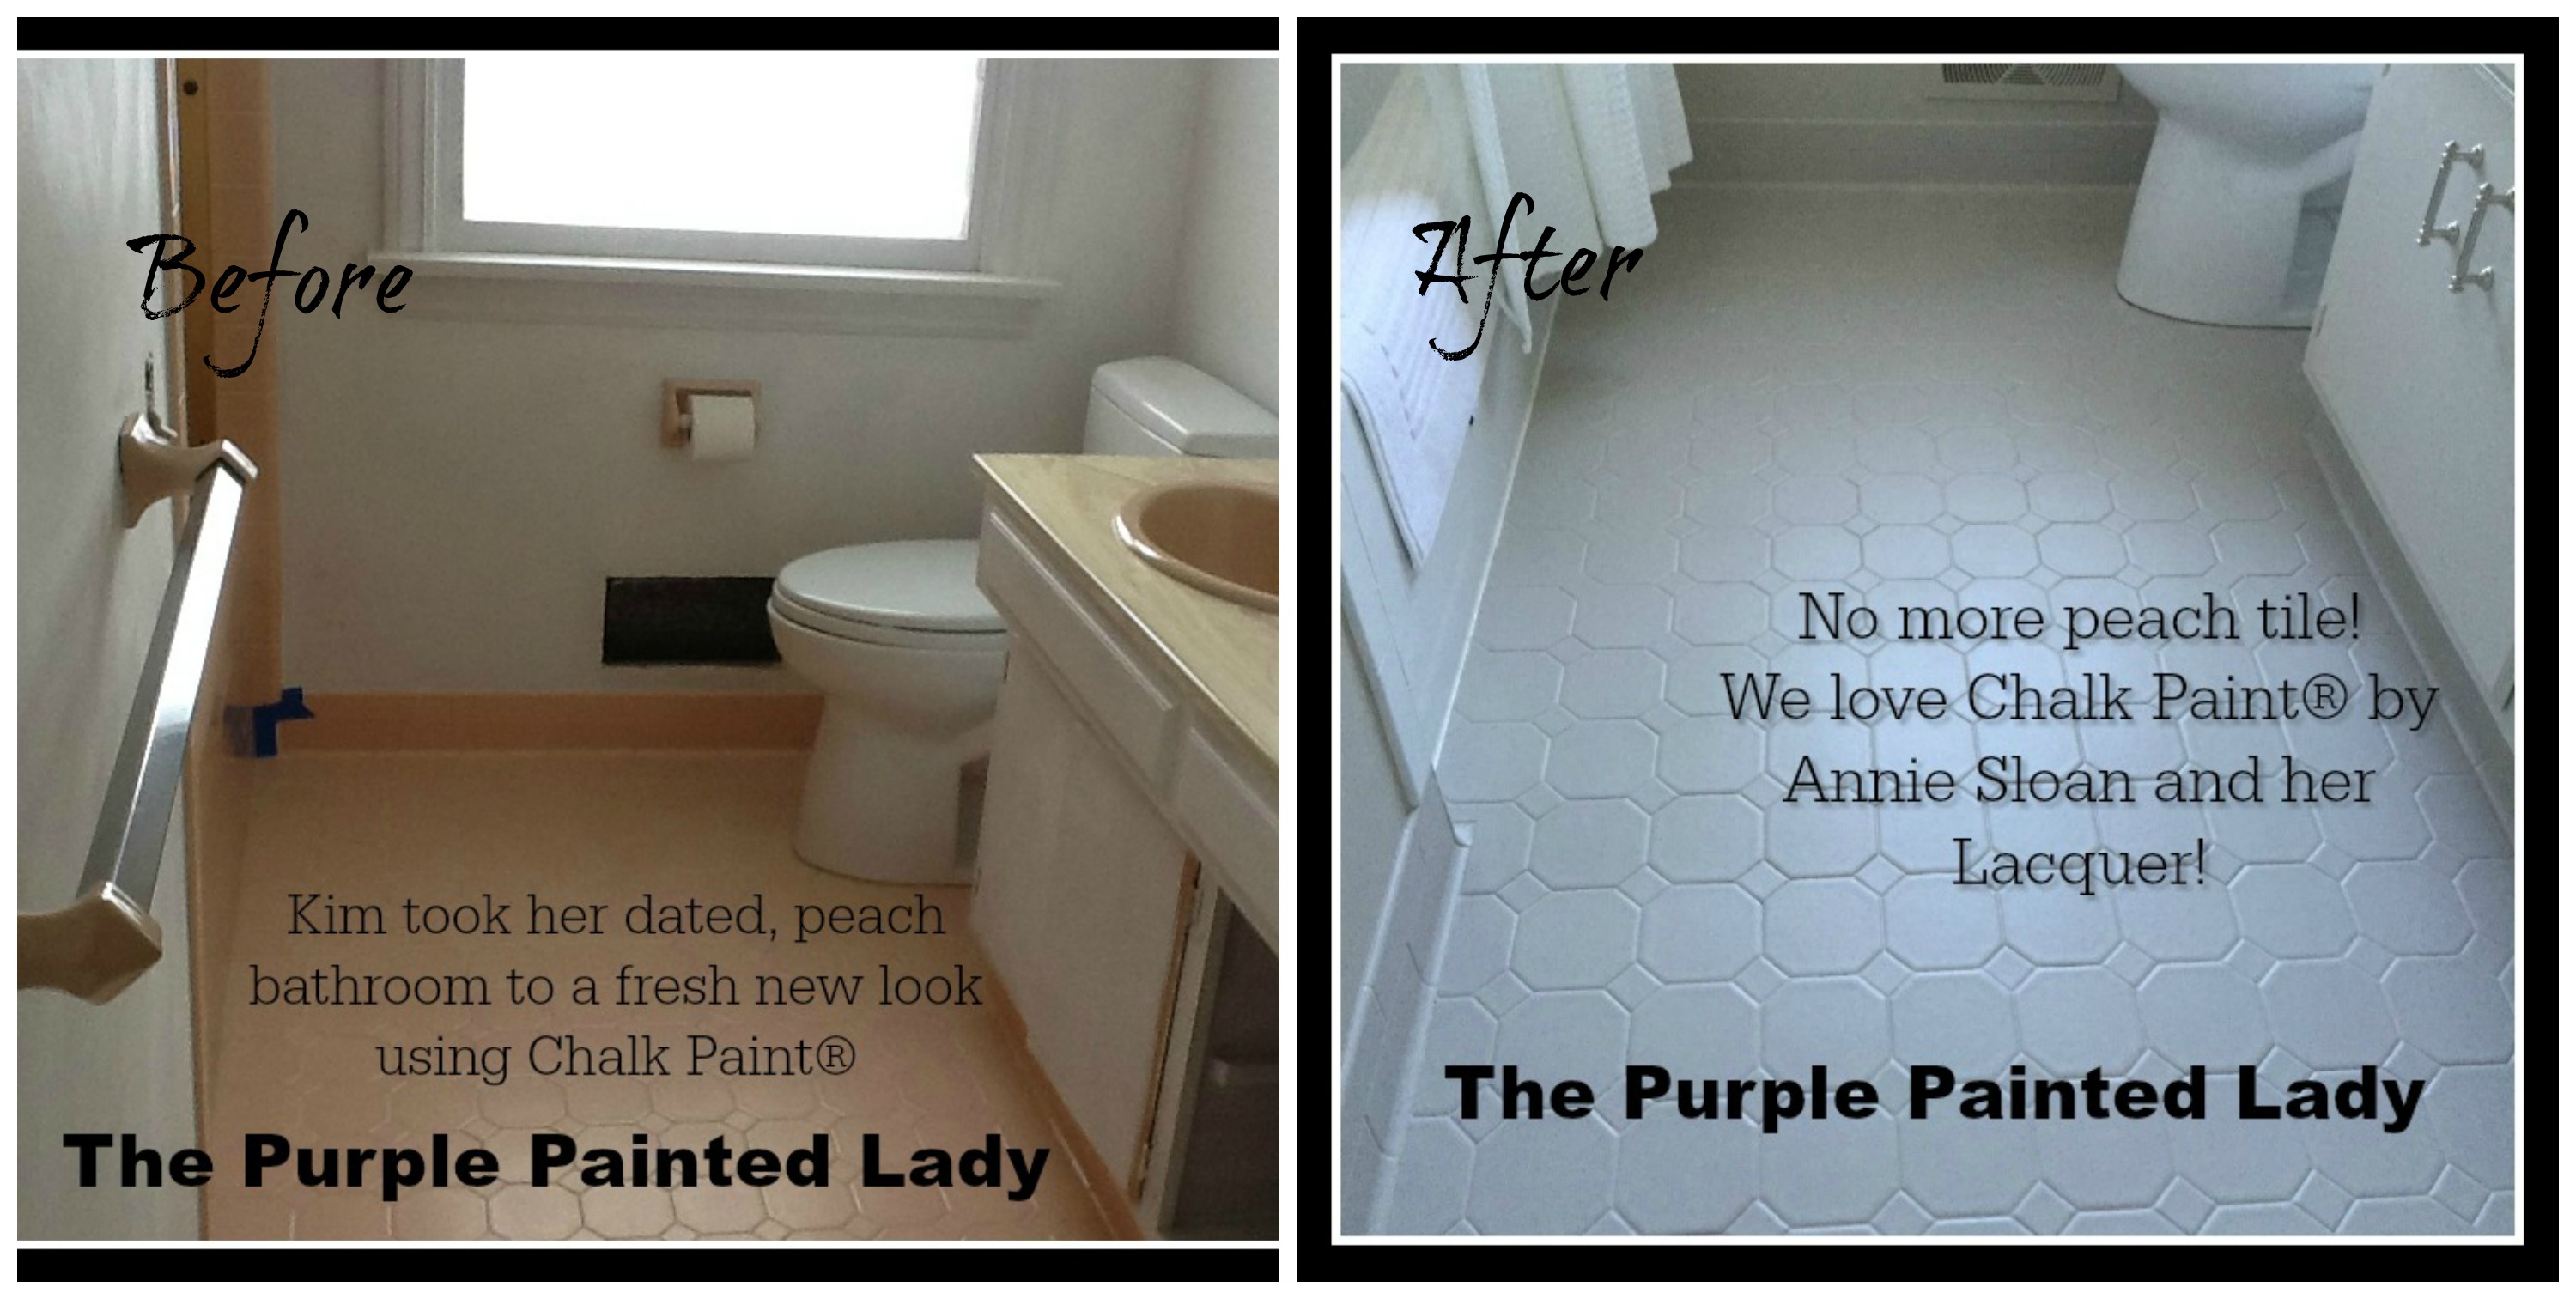
Painting Tile in the Bathroom with Chalk Paint® The Purple
A Bathroom Tile MakeoverWith Paint u2013 Ramshackle Glam Bathroom

Related Posts:
- What Is The Best Cleaner For Bathroom Tile And Grout
- Bathroom Tiles Design With Price
- Cleaning Bathroom Tile Grout With Vinegar
- Bathroom Tiles Karachi
- Earth Tone Bathroom Tile Ideas
- Bathroom Tile Countertop Ideas
- Bathroom Tiles In Grey
- Bathroom Tile Quote
- Bathroom Tile Grouting And Sealing
- Small Half Bathroom Tile Ideas


