Resurfacing bathroom tiles as a DIY project is an excellent way to refresh the look of your bathroom without the expense and hassle of a complete tile replacement. Over time, bathroom tiles can become worn, discolored, or outdated, but resurfacing provides an affordable and effective solution to transform your space. One of the primary benefits of this approach is that it allows you to retain the existing tile structure, saving you both time and money. With some careful preparation and the right materials, you can achieve impressive results and give your bathroom a whole new lease on life.
Images about Resurfacing Bathroom Tiles DIY
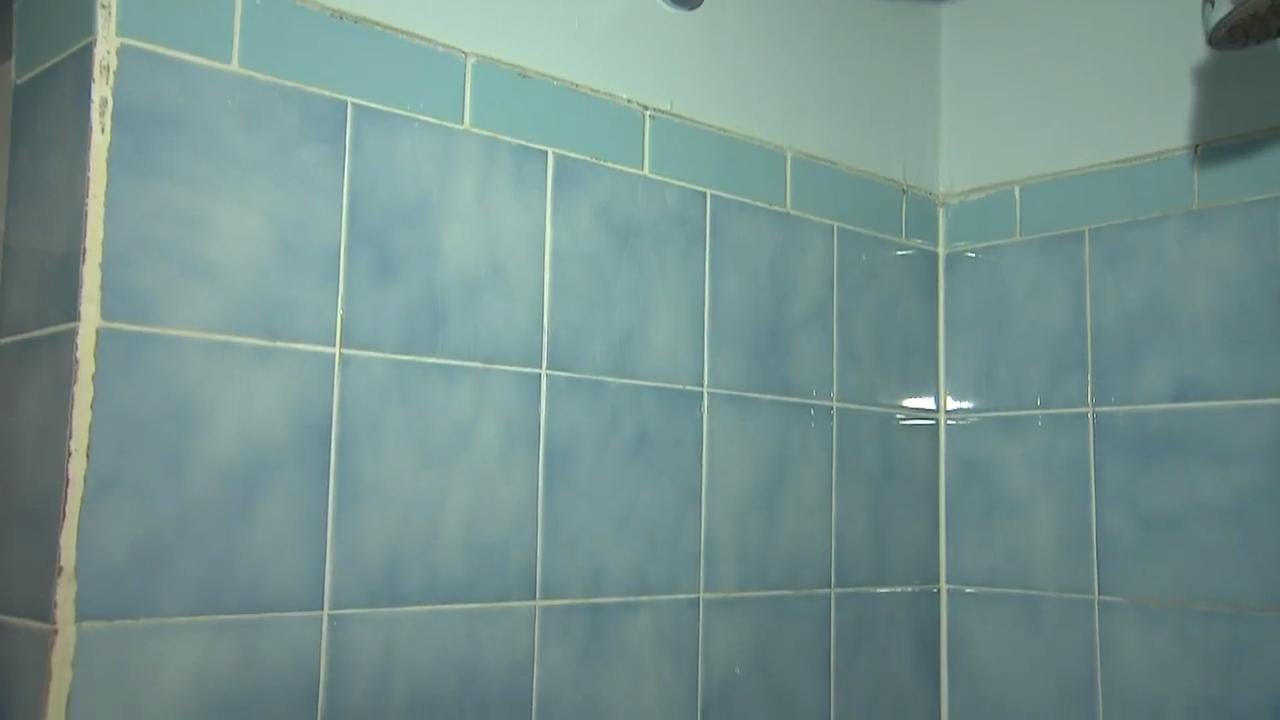
Resurfacing Bathroom Tiles DIY
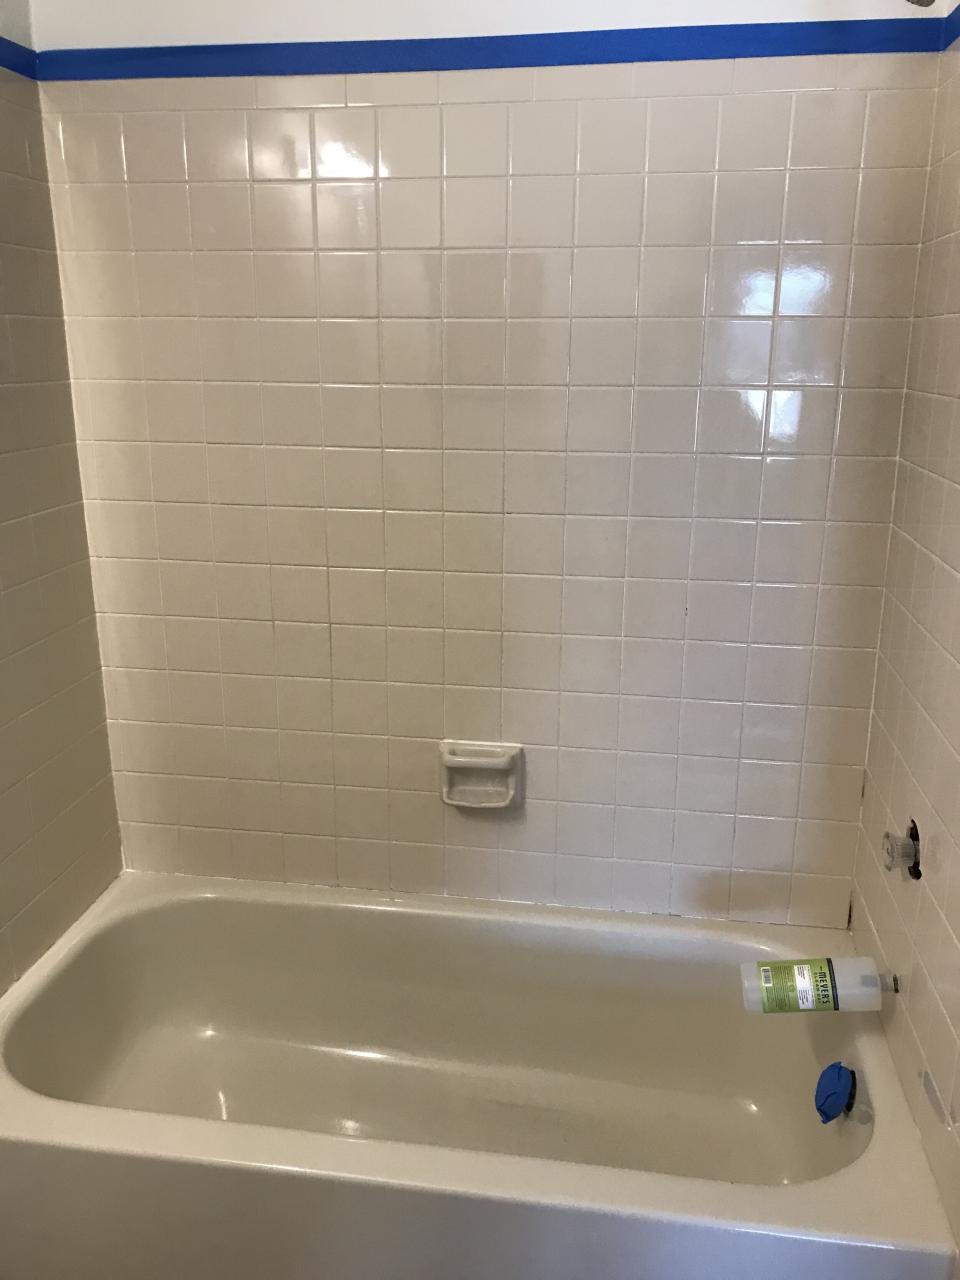
Before you start the resurfacing process, it’s crucial to thoroughly clean the existing tiles and grout to remove any dirt, mold, or mildew. This ensures that the resurfacing materials adhere properly. Next, you’ll need to repair any damaged tiles or grout lines. Small cracks or chips can be filled with epoxy or tile filler, while damaged grout can be regrouted. Once these preparations are complete, the next step is to apply a high-quality tile primer. The primer creates a bonding surface for the resurfacing material, ensuring long-lasting results. After allowing the primer to dry, you can start applying the resurfacing product. Options like tile paint, epoxy coatings, or peel-and-stick tile overlays are readily available and can be applied with relative ease.
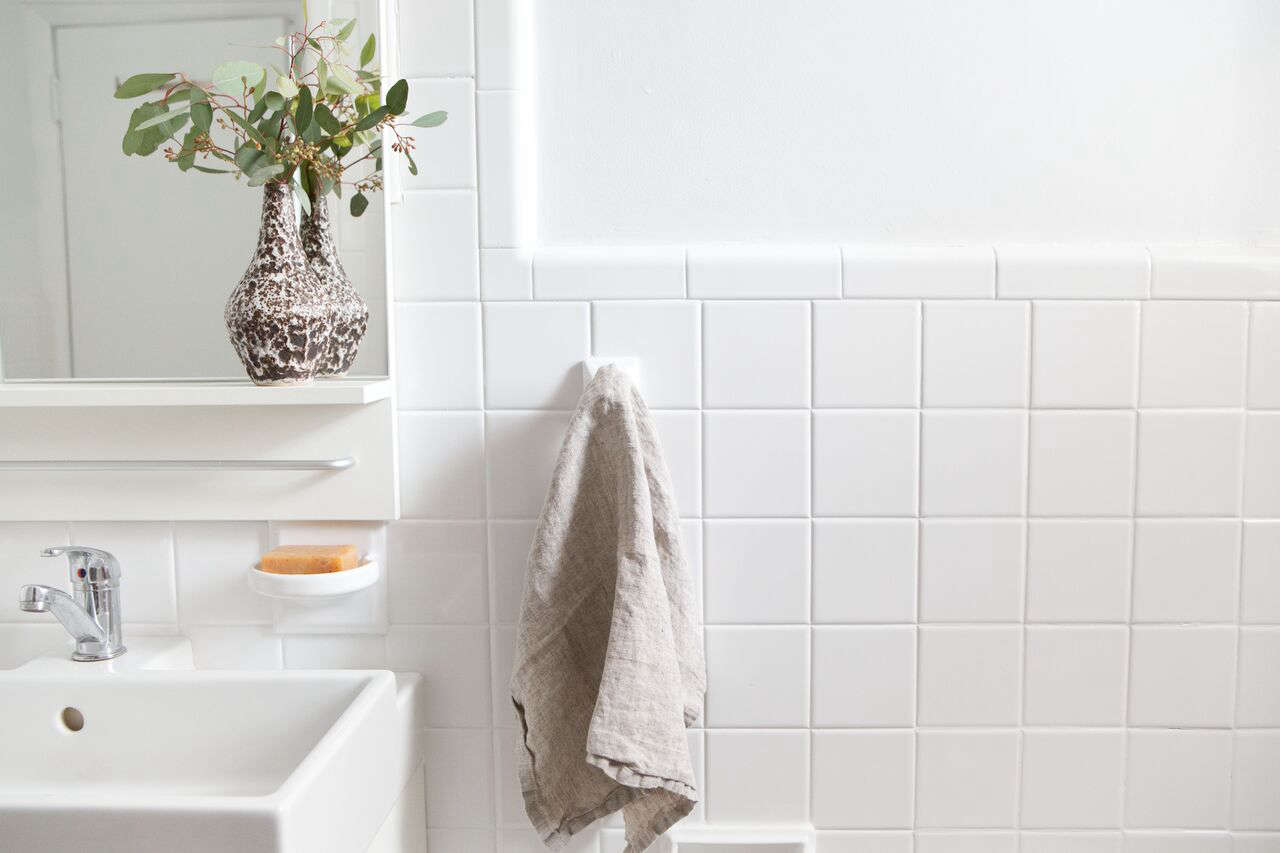
Before/After: A Perfectionistu0027s $1,000 Bathroom Overhaul in
When choosing a resurfacing method, consider the level of skill and experience you have with DIY projects. Tile paint, for instance, is a budget-friendly option that can provide a quick makeover but may require more frequent touch-ups over time. Epoxy coatings and peel-and-stick tile overlays offer more durable solutions, but they may demand a bit more precision during application. Be sure to follow the manufacturer’s instructions closely to achieve the best results. After the resurfacing is complete, applying a clear tile sealer can provide an extra layer of protection and make the tiles easier to clean.
Ceramic Tile Refinishing from Start to Finish – Maryland Tub u0026 Tile

Resurfacing bathroom tiles as a DIY project is a cost-effective way to rejuvenate your bathroom’s appearance. It’s a suitable option for those who want to update their space without the mess and expense of full-scale tile replacement. By cleaning, repairing, priming, and applying the chosen resurfacing material carefully, you can achieve a refreshed and attractive bathroom that reflects your style.
Keep in mind that the durability of the resurfacing will depend on the method and materials chosen, so consider your long-term goals and the level of maintenance you’re willing to undertake. With the right approach, resurfacing bathroom tiles can be a rewarding DIY project that transforms your bathroom into a more inviting and stylish space.
Ceramic tile doesnu0027t have to be replaced. Miracle Method can

The Cabindo: DIY Tub and Tile Reglazing Bathroom tile diy, Tile
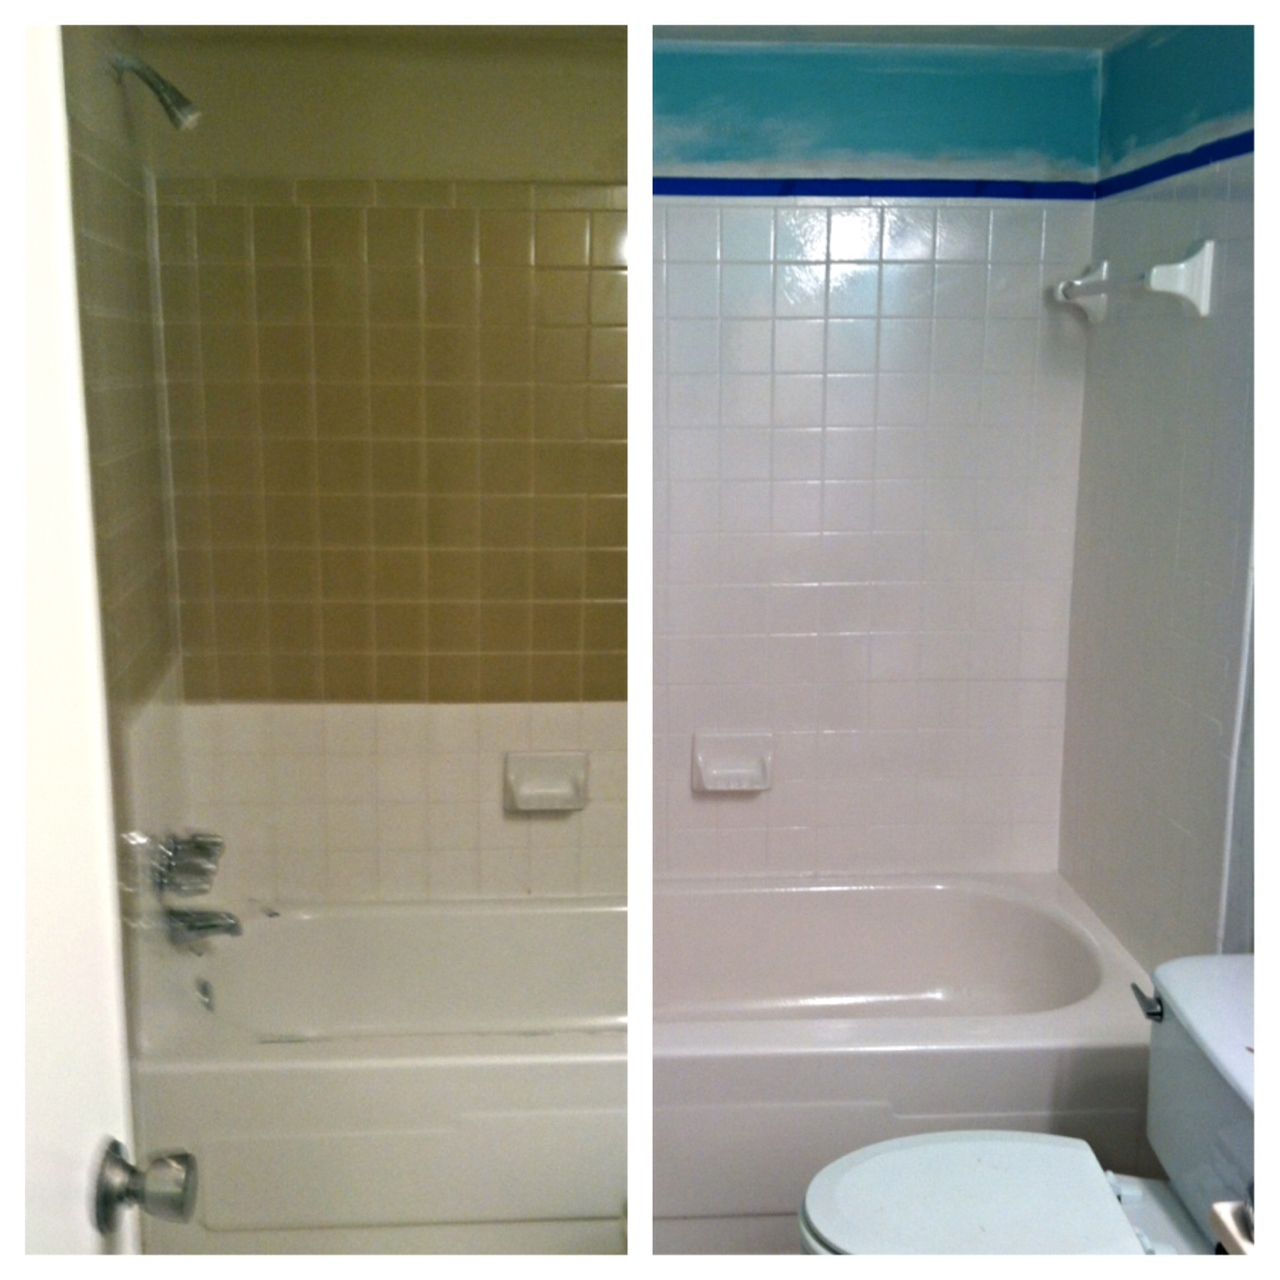
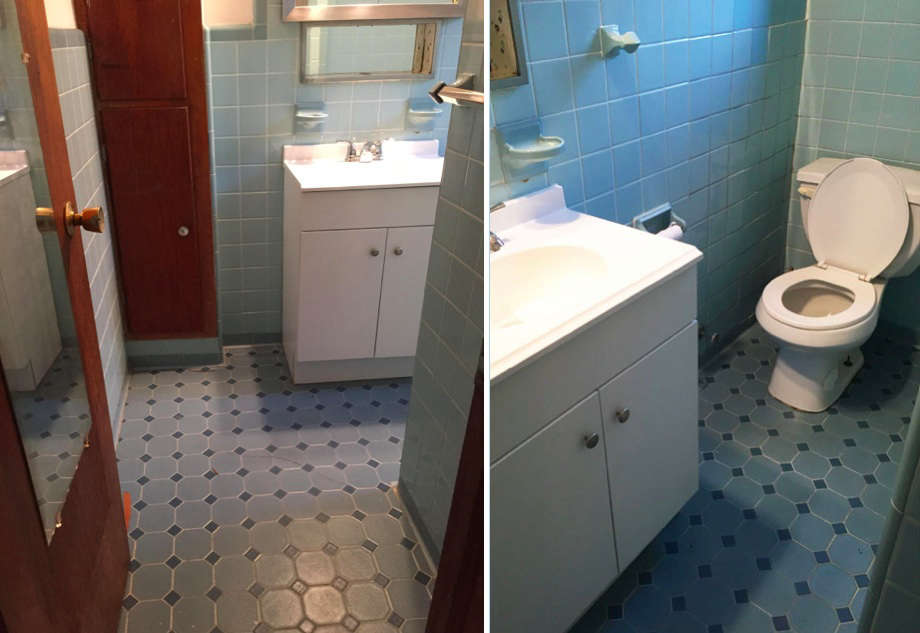
Reglazing Tile Is the Most Transformative Fix for a Dated Bathroom
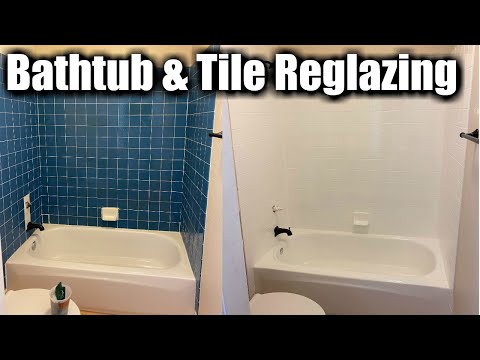
Your DIY solution to re-glaze old-school bathroom tiles
How can I change the tile floor in my bathroom? – Miracle Method
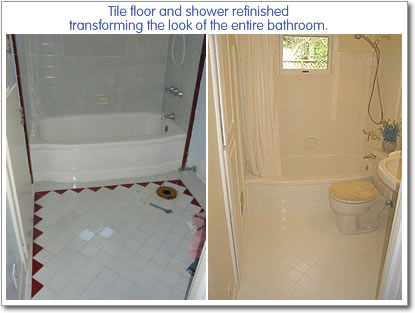
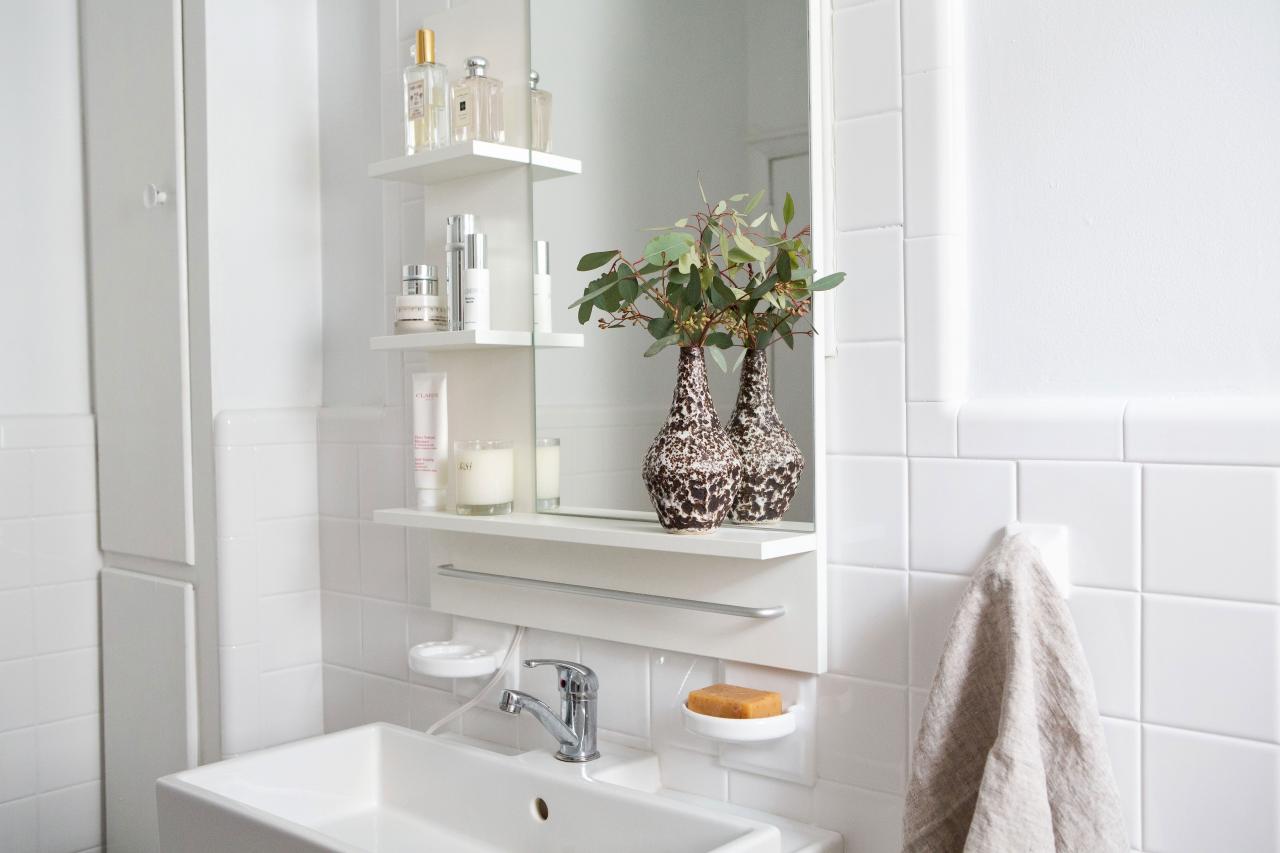
Before/After: A Perfectionistu0027s $1,000 Bathroom Overhaul in
Your DIY solution to re-glaze old-school bathroom tiles – YouTube
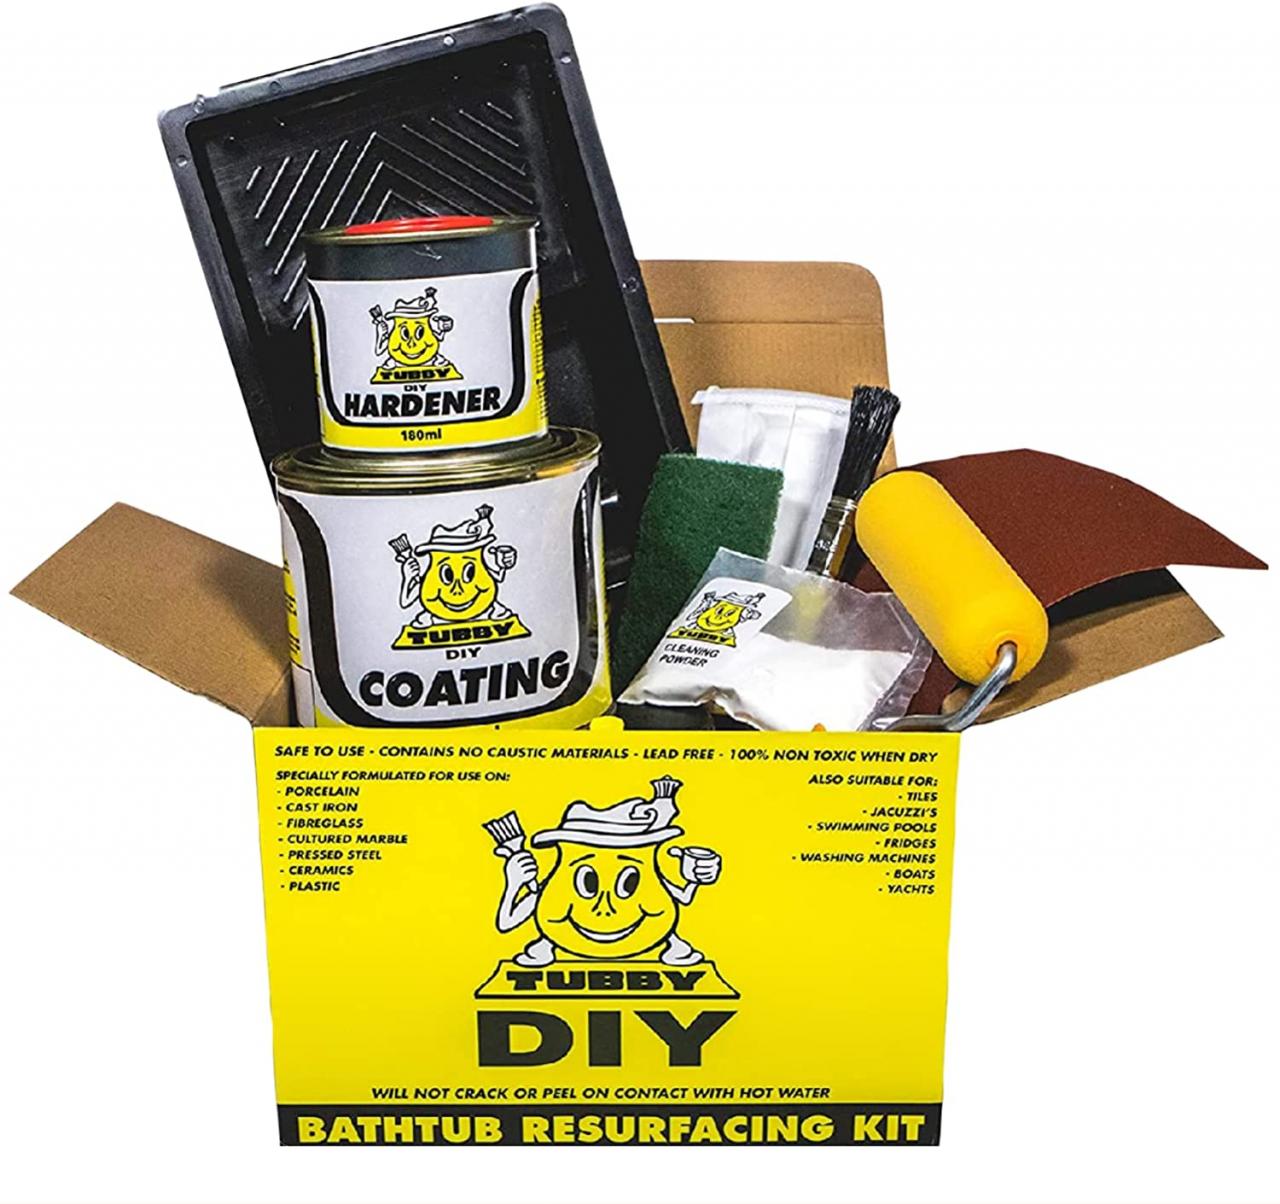
TubbyDIY Tub u0026 Tile Refinishing Kit – Quick u0026 Easy DIY Resurfacing Paint to Repair Bathtub, Sink, u0026 Countertop – Bathroom Renovation – White Gloss
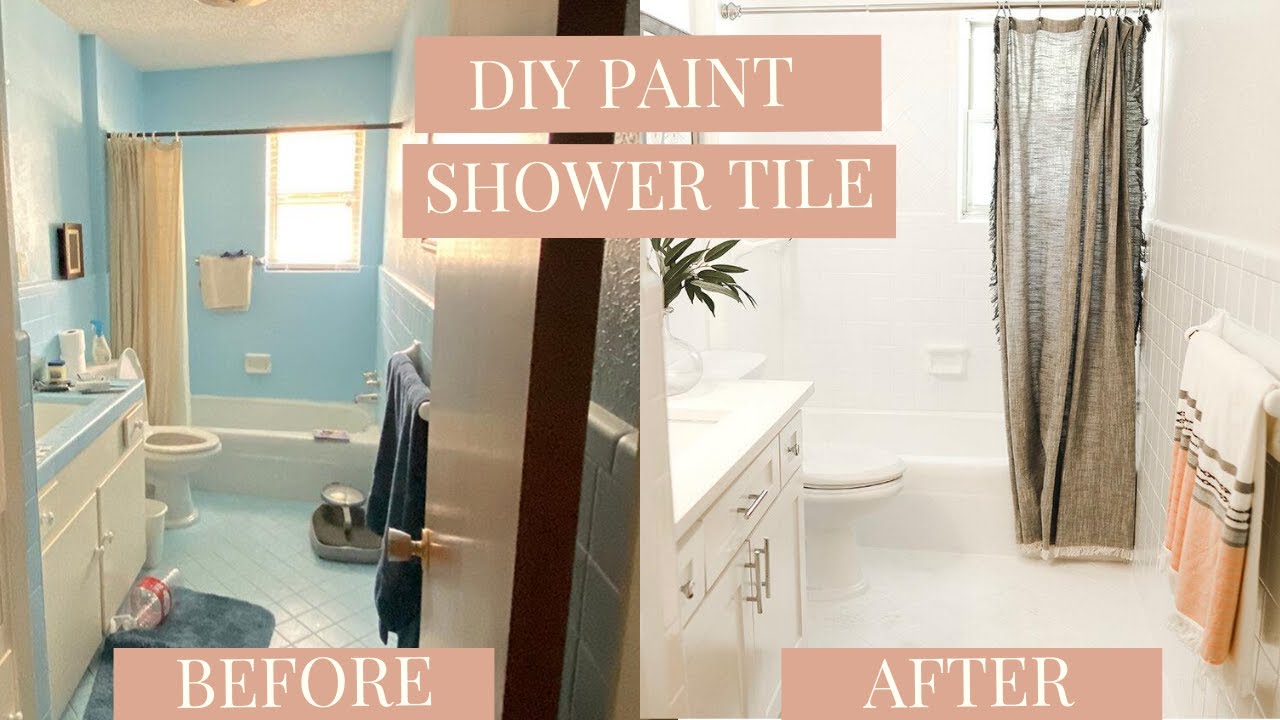
How to DIY Paint Shower Tile – One Year Later Review – Rust-Oleum Tub u0026 Tile Refinishing Kit
Related Posts:


