Are you considering a bathroom renovation and want to learn how to tile your bathroom floor? Tiling your bathroom floor can be daunting, but with the right tools and know-how, you can create a beautiful, durable bathroom floor that you can enjoy for years to come. In this article, we will guide you step-by-step through tiling a bathroom floor, from the initial planning stages to the final grouting and sealing.
Plan and Prepare
Before you start tiling, planning and preparing your bathroom floor is important. Begin by measuring your bathroom floor to determine the tile you need. You should also purchase additional tiles on hand in case of breakage or future repairs.
Next, you will need to prepare the surface of your bathroom floor. If you are tiling over an existing floor, ensure it is clean, dry, and level. If there are any cracks or bumps, use a leveling compound to smooth them out. Make sure the subfloor is sturdy and secure for a new bathroom floor.
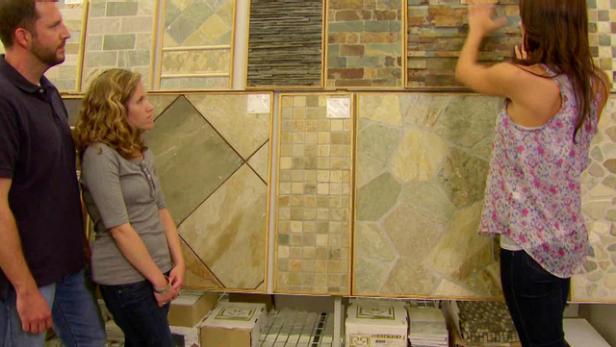
Choose Your Tile
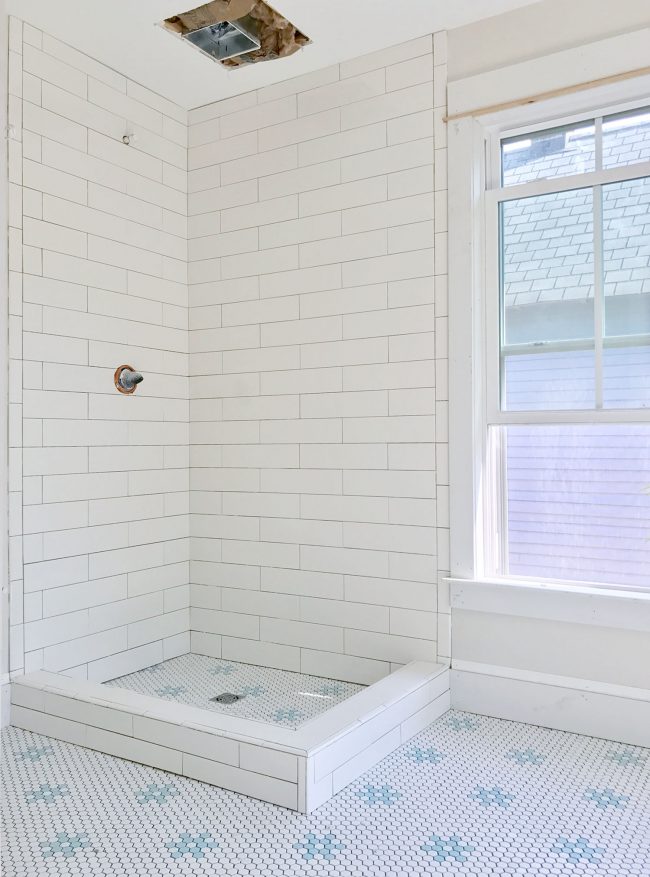
When choosing the right tile for your bathroom floor, there are many options to consider. Ceramic and porcelain tiles are popular due to their durability and low maintenance. Natural stone tiles, such as marble or travertine, can add a luxurious look to your bathroom but require more maintenance.
Consider the size, shape, and color of the tile you want to use. Large format tiles can make your bathroom feel more spacious, while mosaic tiles can add visual interest and texture. Neutral colors can create a timeless look, while bold colors can make a statement.
Prepare Your Materials
To tile your bathroom floor, you will need several tools and materials, including:
- Tile cutter or wet saw
- Tile spacers
- Trowel
- Grout
- Grout float
- Sealer
Ensure you have all the necessary tools and materials before starting the tiling process.
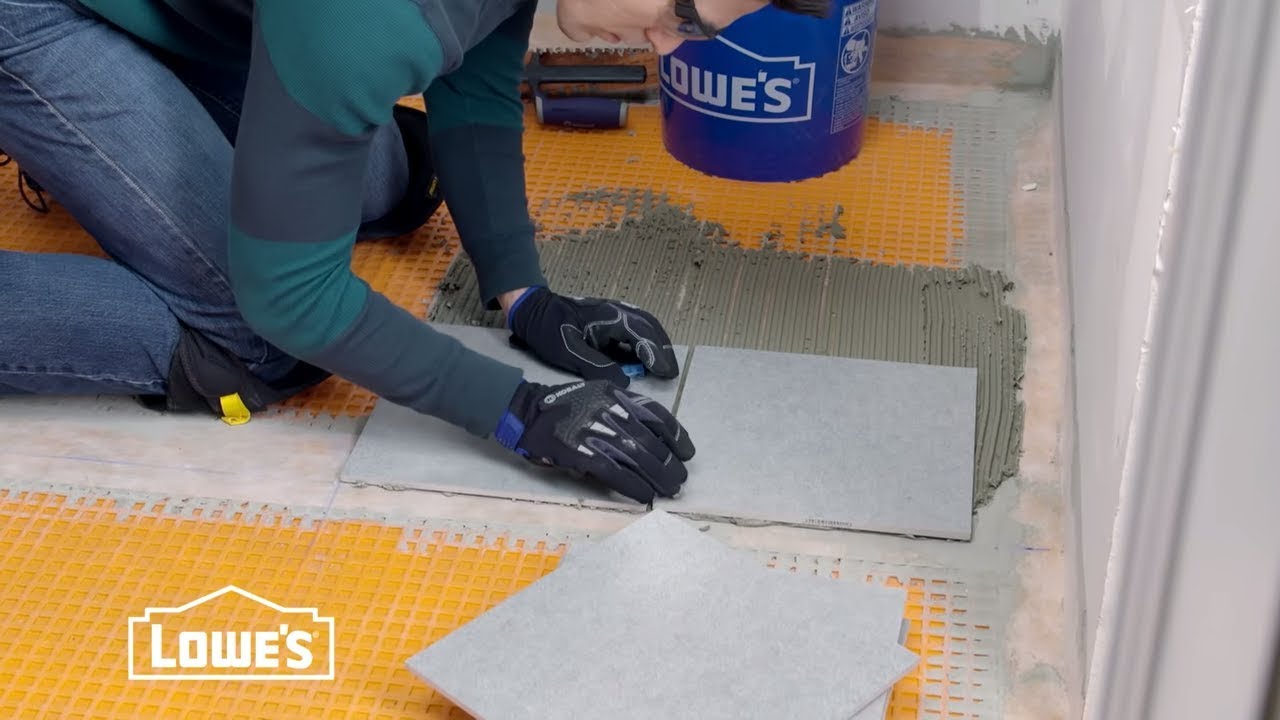
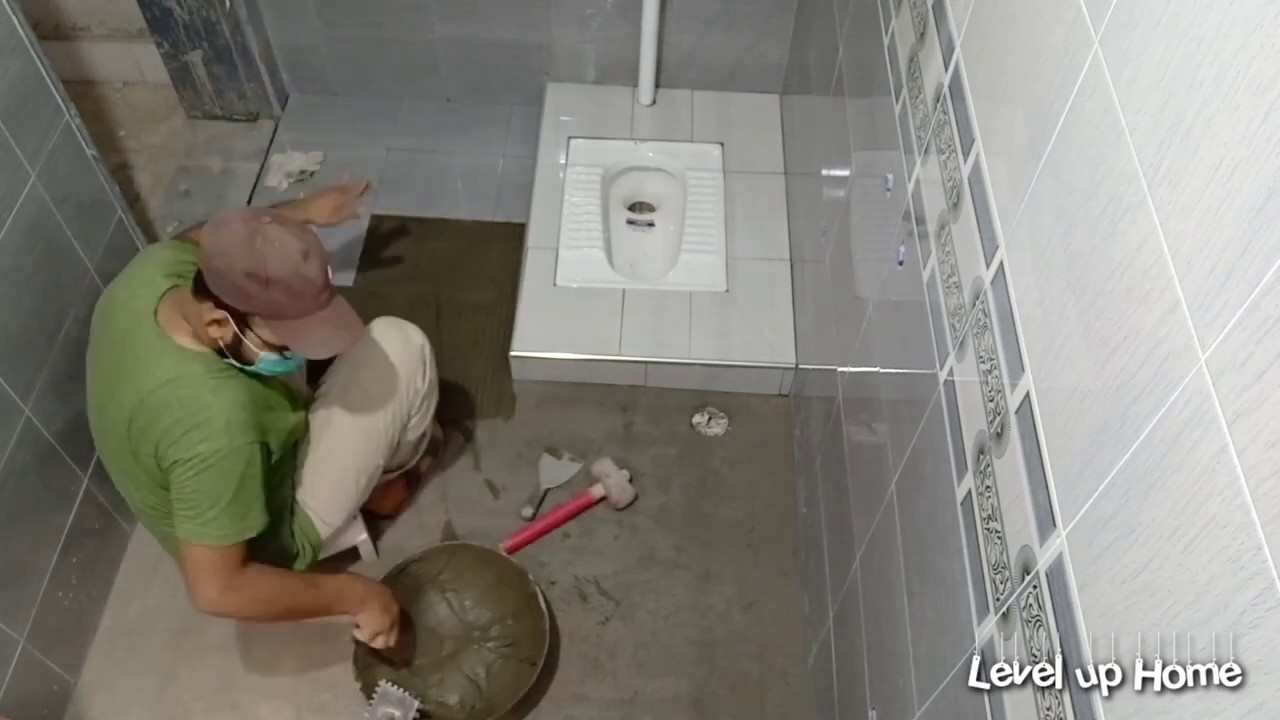
Start Tiling
Now that you have planned and prepared, it’s time to start tiling your bathroom floor. Follow these steps:
- Apply a layer of thin-set adhesive to a small section of your bathroom floor using a trowel.
- Lay your first tile on the adhesive and press it firmly into place. Use tile spacers to ensure that the tiles are evenly spaced.
- Continue laying tiles in a row, using the spacers to keep them evenly spaced. Cut tiles as needed using a tile cutter or wet saw.
- Once you have laid all the full tiles, allow the adhesive to dry according to the manufacturer’s instructions.
- Use a tile cutter or wet saw to cut the tiles to fit around the edges of your bathroom floor.
- Once all tiles are in place, allow the adhesive to dry completely before removing the tile spacers.
Grout and Seal
After the adhesive has dried, it’s time to grout and seal your bathroom floor.
- Mix the grout according to the manufacturer’s instructions.
- Use a grout float to spread the grout over the tiles, pressing it into the gaps between them.
- Once you have filled all the gaps, use a damp sponge to wipe away the excess grout.
- After the grout has dried, apply a sealer to protect your bathroom floor from moisture and stains.
Tiling a bathroom floor can be challenging, but with the right tools and patience, you can create a beautiful and functional bathroom floor. Remember to plan and prepare carefully, choose the right tile, and follow the steps carefully to ensure your bathroom floor looks its best. Good luck!
Bathroom Tile Video

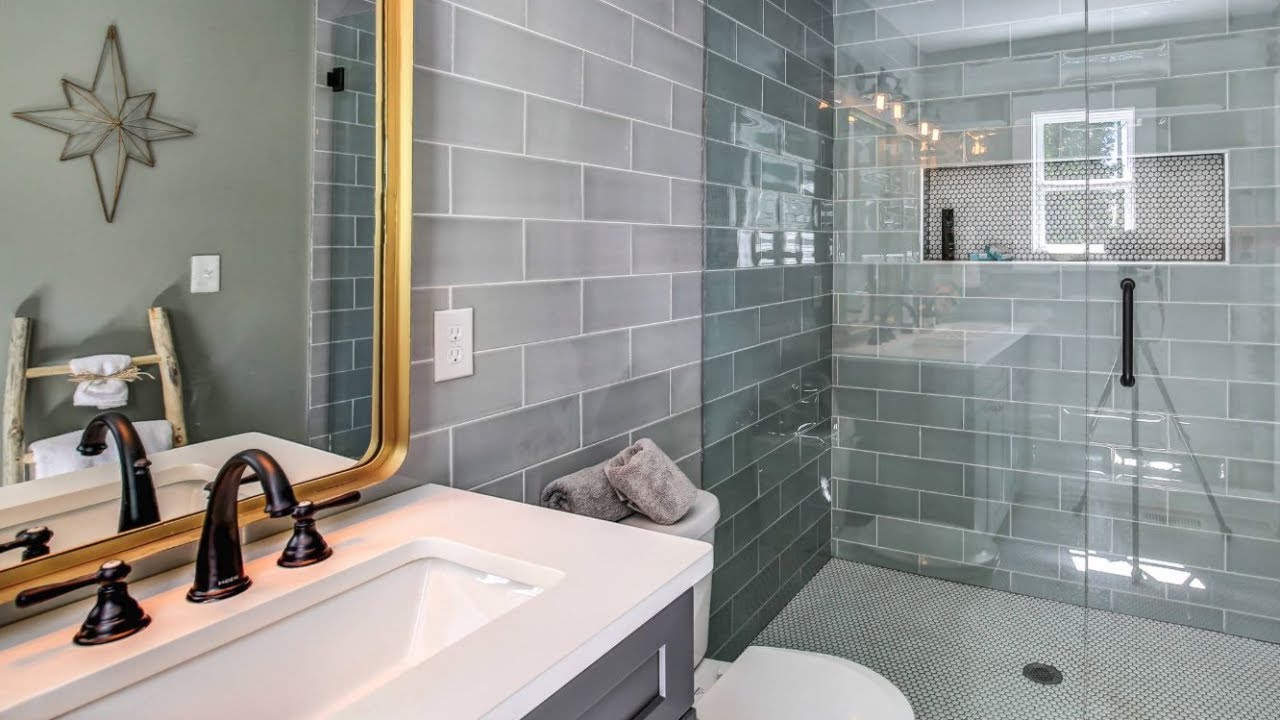
30 Bathroom Tile Ideas
How To Tile a Bathroom Floor The Home Depot

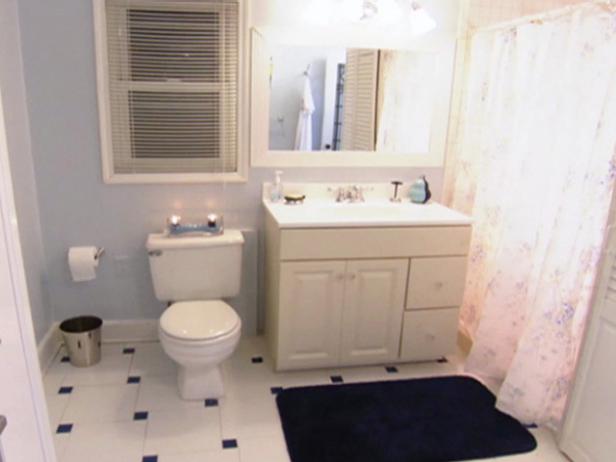
How to Tile a Bathroom Floor
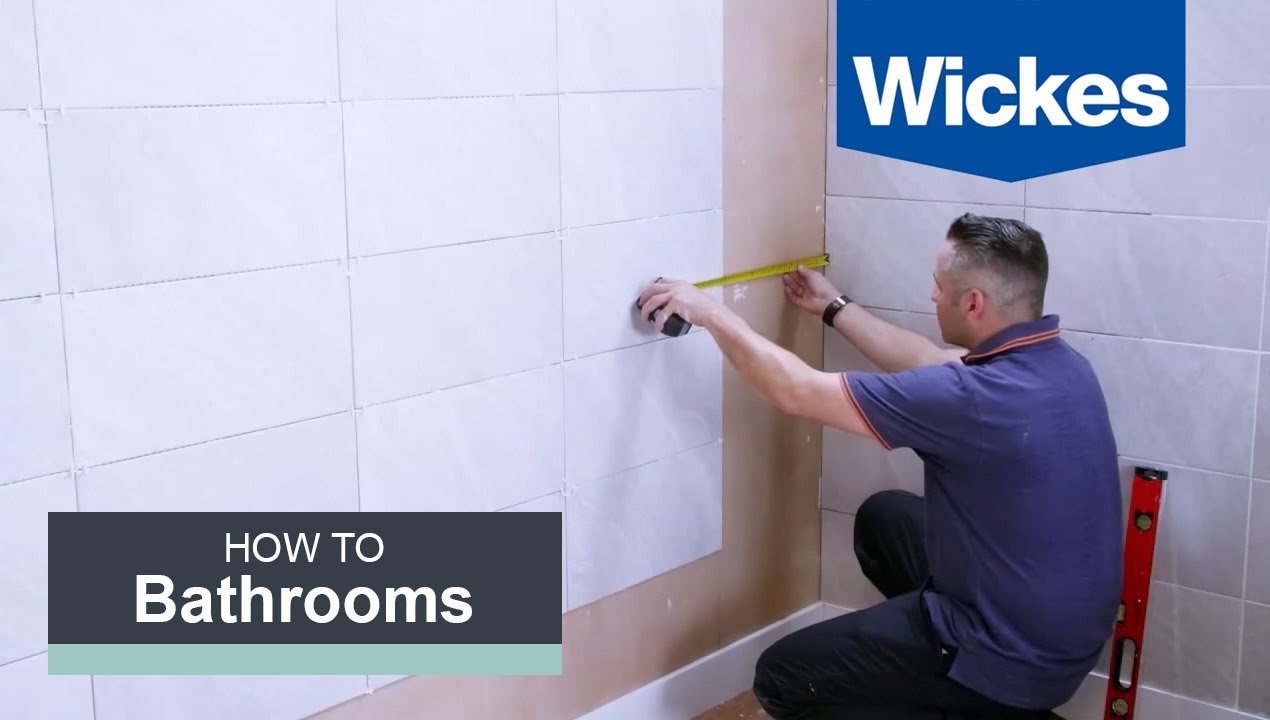
How to Tile a Bathroom Floor with Wickes – YouTube
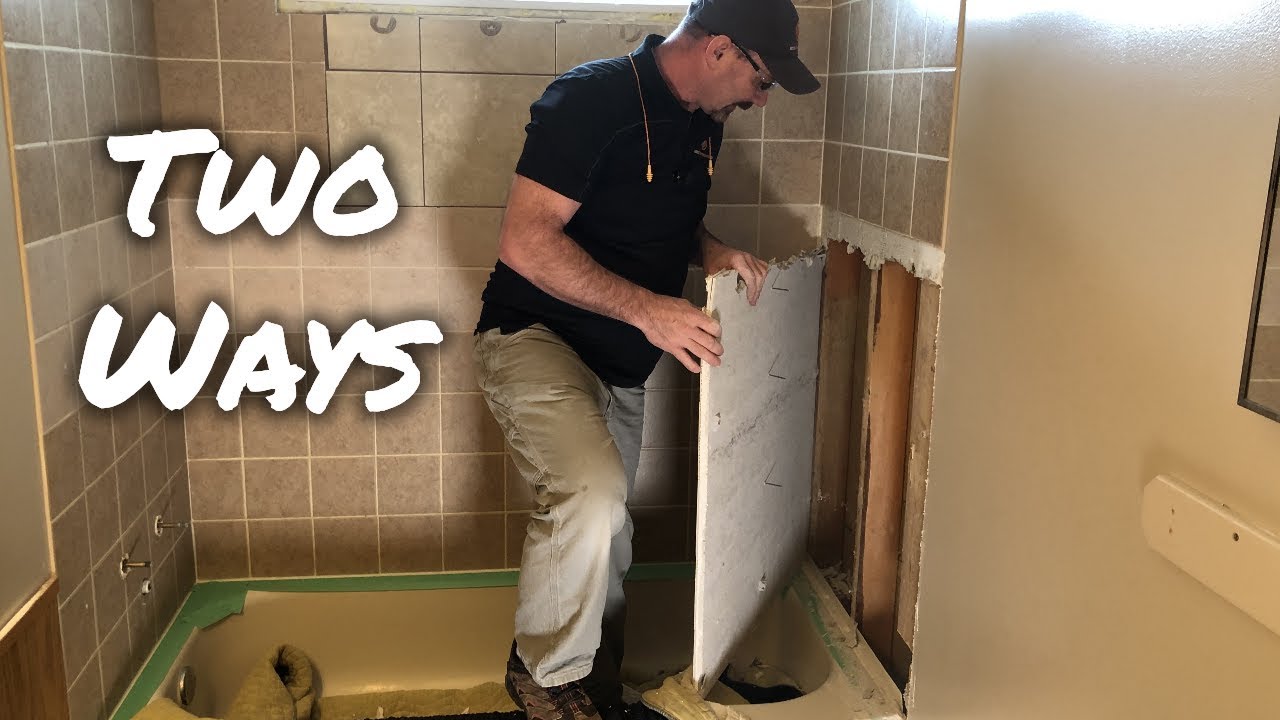
How To Remove Bathtub/Shower Wall Tiles
How To Tile a Bathroom Floor
Removing Ceramic Wall Tiles from Shower Video

Rust-Oleum Tile Transformations – Application Video

Hip Bathroom Tile Trends and Styles HGTV
Bathroom Tiling : How to Replace Tile Around Bathroom Fixtures
Bathroom Tile Installation u2013 Video Floor Coverings International

How to Tile a Small Bathroom Floor Bath room tiles Installation DIY Bath Remodel
HOLY THINSET, BATMAN! The Beach House Bathrooms Are Tiled! Young
Related Posts:
- Bathroom Tile Vanity Ideas
- Grey Matte Bathroom Tiles
- Bathroom Tile Effect Laminate Flooring
- Bathroom Tiles At Wickes
- Diy Painting Ceramic Bathroom Tile
- Bathroom Tile Gallery Cottage Style
- Homebase Bathroom Tiles Sale
- Bathroom Tile Floor To Ceiling
- Can You Tile Over Bathroom Tiles
- Bathroom Tiles Design Malaysia


