Why Consider Painting Bathroom Tile Walls
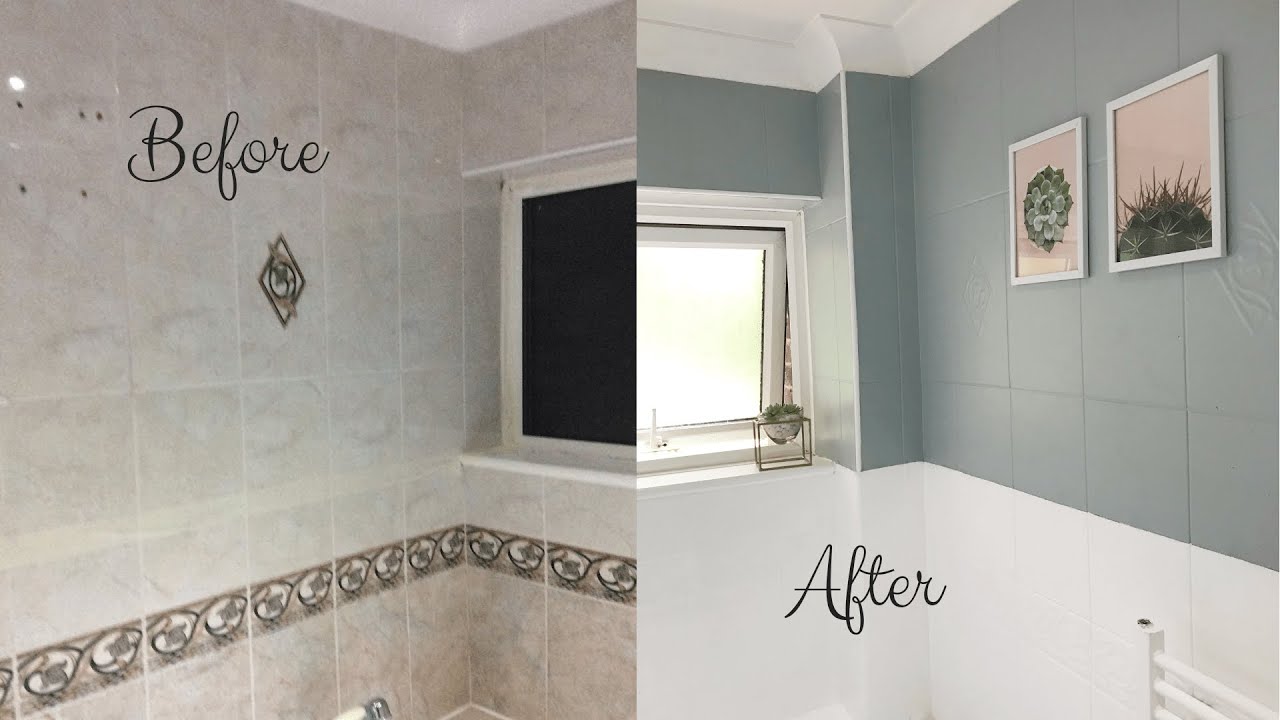
Painting bathroom tile walls can be a cost-effective and stylish solution for updating your bathroom’s look. Here are several benefits and advantages to consider when deciding if painting your bathroom tile walls is the right choice for you.
- Cost-Effective Renovation One of the most significant advantages of painting bathroom tile walls is the cost savings compared to replacing the tiles. Replacing tiles can be expensive and labor-intensive, while painting offers a budget-friendly alternative that can refresh the look of your bathroom without breaking the bank.
- Quick and Convenient Painting tiles is a much quicker process than removing and replacing them. You can complete the entire project in a few days, depending on the size of your bathroom and the drying time required between coats. This convenience makes it an attractive option for those looking to update their bathroom swiftly.
- Wide Range of Colors When you paint your bathroom tile walls, you have an almost limitless choice of colors and finishes. This allows you to customize your bathroom to match your personal style and home decor. You can opt for bold, vibrant colors to make a statement or choose neutral tones for a more classic look.
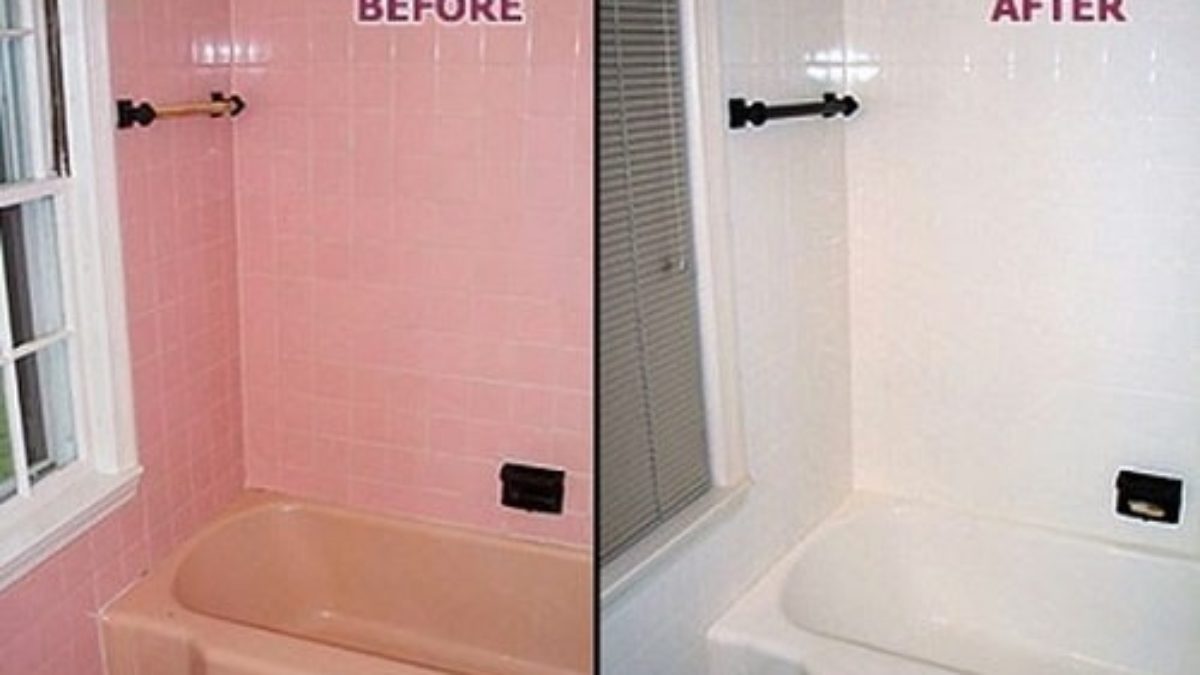
- Covering Imperfections Over time, tiles can become chipped, cracked, or stained. Painting can effectively cover these imperfections, giving your bathroom a cleaner and more uniform appearance. This can be especially beneficial if your tiles are in good condition structurally but have cosmetic issues.
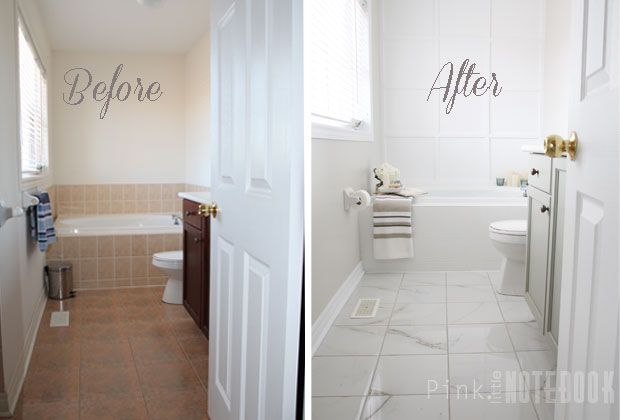
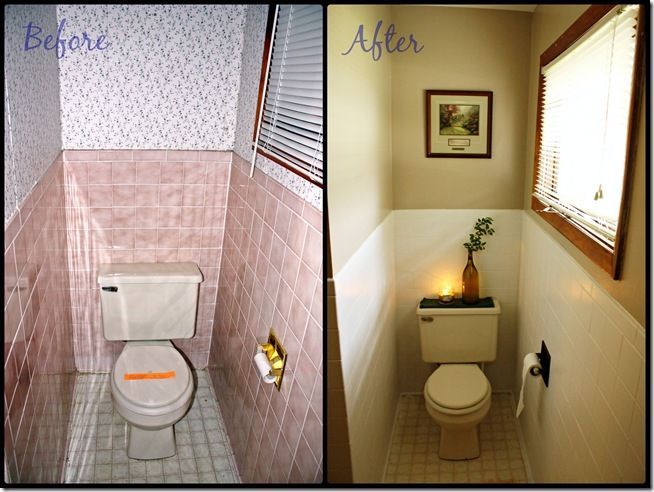
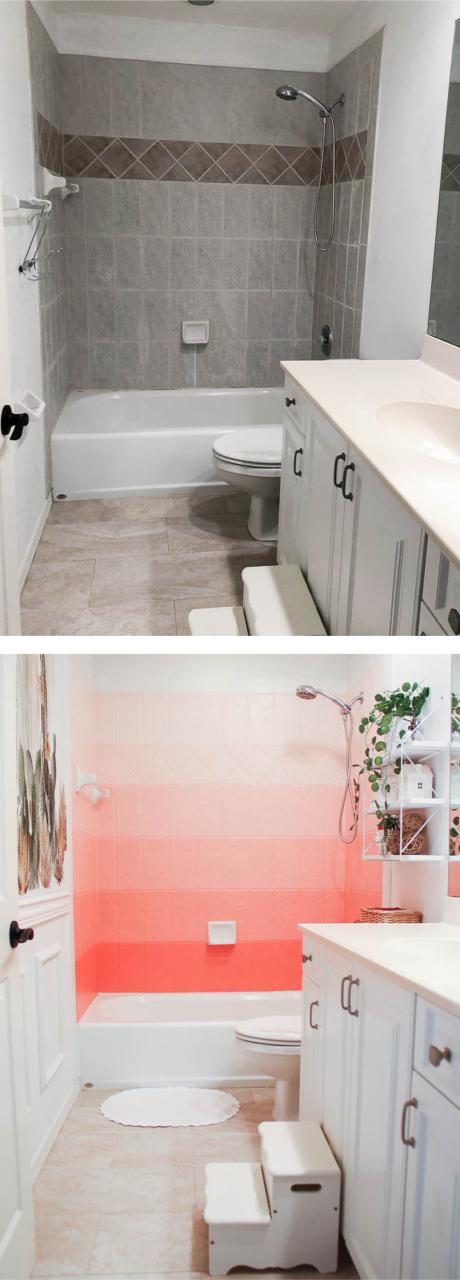
- Improved Aesthetic Appeal Painting your tiles can transform the overall aesthetic of your bathroom. Whether you want to modernize an outdated look or create a new design theme, painting provides a versatile way to achieve the desired effect. It’s a straightforward way to update your space and increase its visual appeal.
- Enhanced Property Value An updated bathroom can significantly enhance the value of your home. While painted tiles might not increase value as much as a full renovation, a fresh, modern-looking bathroom can still make a positive impression on potential buyers. This can be an important consideration if you plan to sell your home in the future.
Preparing Your Bathroom Tiles for Painting
Proper preparation is crucial to ensure that paint adheres well to bathroom tiles and achieves a long-lasting finish. Here are the essential steps to prepare your bathroom tiles for painting.
Clean the Tiles Thoroughly The first step in preparing your bathroom tiles for painting is to clean them thoroughly. Use a strong detergent or a mixture of water and vinegar to remove dirt, grime, and soap scum. Scrub the tiles with a stiff brush to ensure all residues are eliminated. Rinse the tiles with clean water and allow them to dry completely.
Repair Any Damage Inspect the tiles for any cracks, chips, or loose grout. Repair these imperfections before painting to ensure a smooth finish. Use a suitable filler to fix cracks and chips, and re-grout any loose or damaged areas. Allow the repairs to dry and set according to the manufacturer’s instructions.
Sand the Surface Lightly sand the tiles using fine-grit sandpaper. This step helps to roughen the glossy surface of the tiles, which allows the paint to adhere better. Be sure to sand evenly across all the tiles and wipe away any dust with a damp cloth after sanding.
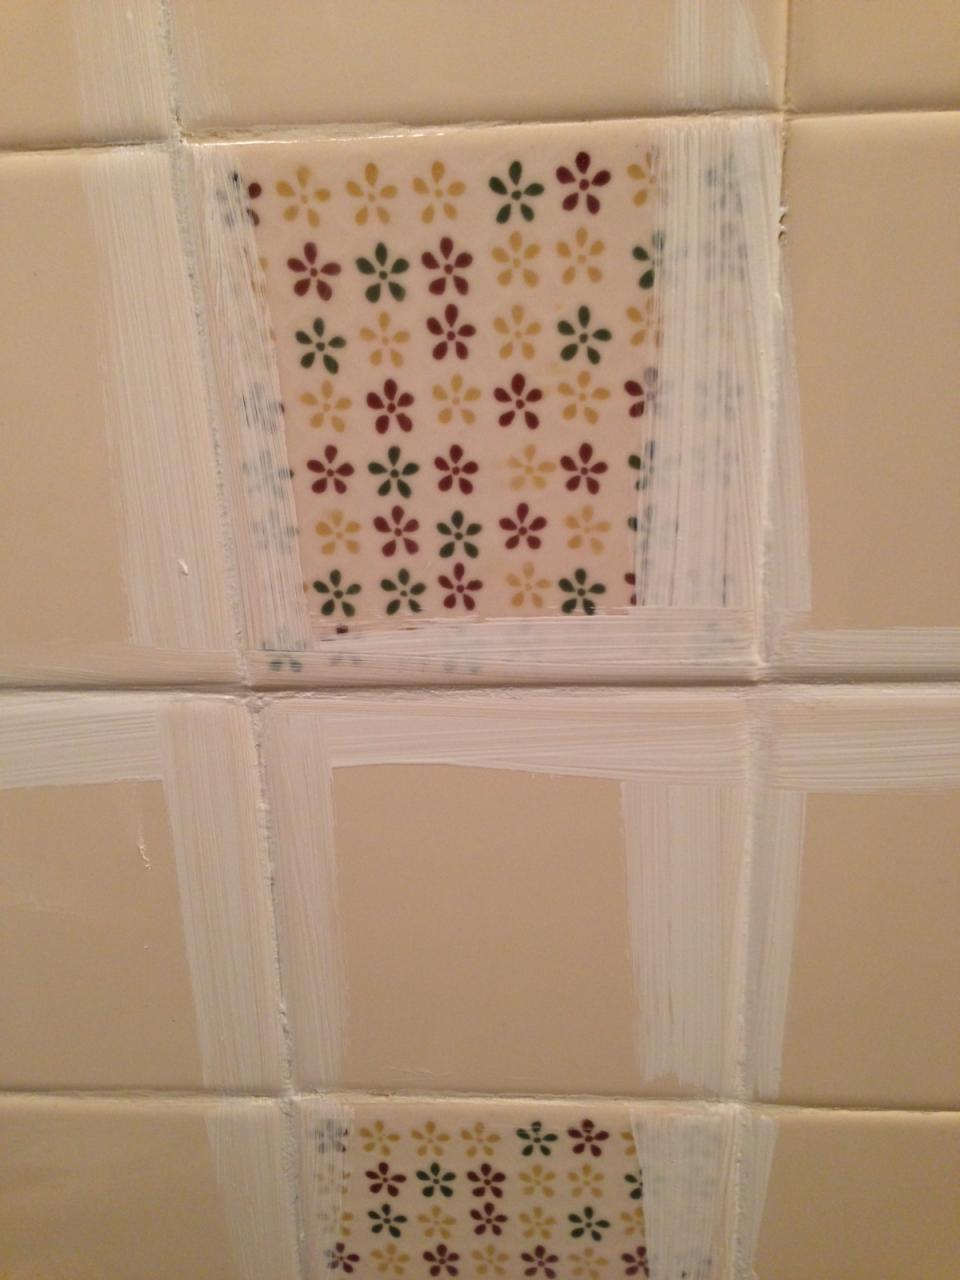
Apply a Quality Primer Applying a high-quality primer is essential for ensuring that the paint sticks to the tiles and lasts longer. Choose a primer specifically designed for use on tiles and glossy surfaces. Apply the primer evenly using a paintbrush or roller, and allow it to dry completely as per the manufacturer’s instructions.
Protect Surrounding Areas Use painter’s tape to protect areas adjacent to the tiles, such as trim, fixtures, and countertops. Cover the floor and any other surfaces that you want to keep free from paint splatters with drop cloths or plastic sheeting. This preparation helps to keep your workspace clean and makes the painting process smoother.
Ensure Proper Ventilation Painting in a bathroom requires adequate ventilation to ensure that fumes do not build up. Open windows and use exhaust fans to circulate air during the painting process. If your bathroom lacks sufficient ventilation, consider using a respirator mask to protect yourself from inhaling fumes.
Choosing the Right Paint for Bathroom Tile Walls
Selecting the right paint is crucial for achieving a durable and attractive finish on bathroom tile walls. Here are the key factors to consider when choosing paint for this specific application.
Type of Paint For painting bathroom tiles, it’s essential to choose a paint that is specifically formulated for high-moisture environments. Epoxy paints and enamel paints are excellent choices due to their durability and resistance to moisture, mold, and mildew. These paints provide a hard, glossy finish that can withstand the humidity of a bathroom.
Color and Finish When selecting a paint color, consider the overall design and color scheme of your bathroom. Light colors can make a small bathroom appear larger and brighter, while dark colors can add a touch of elegance and sophistication. Additionally, choose a finish that suits your style—glossy finishes are more reflective and easier to clean, while matte finishes offer a more subdued look.
Primer Compatibility Ensure that the paint you choose is compatible with the primer you’ve applied. Check the manufacturer’s recommendations for both the primer and paint to ensure they work well together. Using compatible products helps to ensure better adhesion and a longer-lasting finish.
Durability and Resistance Bathrooms are high-traffic areas exposed to water, steam, and cleaning products. Therefore, it’s important to choose a paint that offers excellent durability and resistance to chipping, peeling, and staining. Epoxy and enamel paints are specifically designed to provide these properties, making them ideal for bathroom tiles.
Ease of Application Some paints are easier to apply than others. Look for paints that provide good coverage with fewer coats and have a smooth, even application. Reading product reviews and consulting with paint professionals can help you choose a paint that will be easy to work with and produce professional-looking results.
Environmental Considerations Consider the environmental impact of the paint you choose. Look for low-VOC (volatile organic compounds) or zero-VOC paints, which release fewer harmful chemicals into the air. These eco-friendly options are better for your health and the environment, especially in confined spaces like bathrooms.
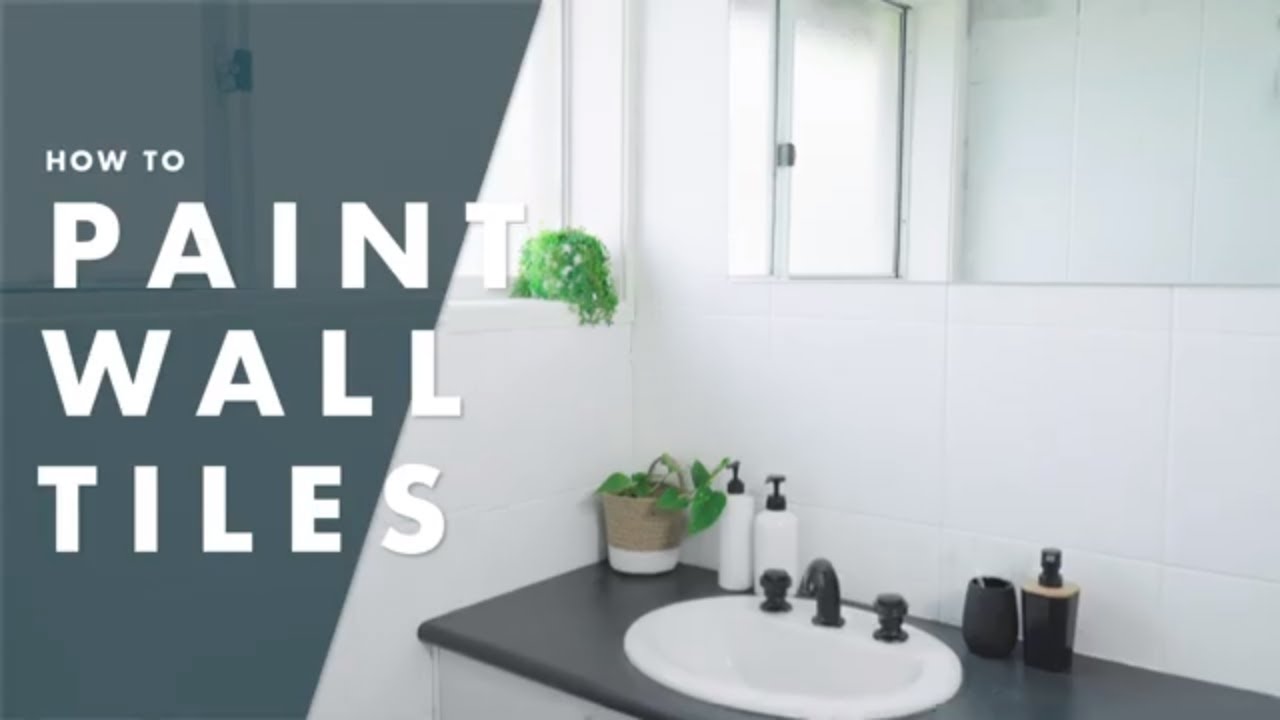
Step-by-Step Guide to Painting Bathroom Tile Walls
Painting bathroom tile walls can be a straightforward DIY project if you follow the right steps. Here is a detailed step-by-step guide to help you achieve professional results.
Gather Your Supplies Before you begin, make sure you have all the necessary supplies. You will need tile-specific primer and paint, fine-grit sandpaper, a paintbrush, a roller, painter’s tape, drop cloths, a cleaning solution, and protective gear like gloves and a mask. Having everything ready will make the process smoother.
Clean and Prepare the Tiles Start by thoroughly cleaning the tiles to remove any dirt, grease, or soap scum. Use a strong detergent or a mixture of vinegar and water, and scrub the tiles with a brush. Rinse well and let the tiles dry completely. Next, sand the tiles lightly with fine-grit sandpaper to create a rough surface for the paint to adhere to. Wipe away any dust with a damp cloth.
Apply Primer Use painter’s tape to protect areas around the tiles, such as trim, fixtures, and countertops. Cover the floor with drop cloths. Apply a high-quality primer designed for tiles using a paintbrush for edges and a roller for larger areas. Apply the primer evenly and allow it to dry completely, following the manufacturer’s instructions.
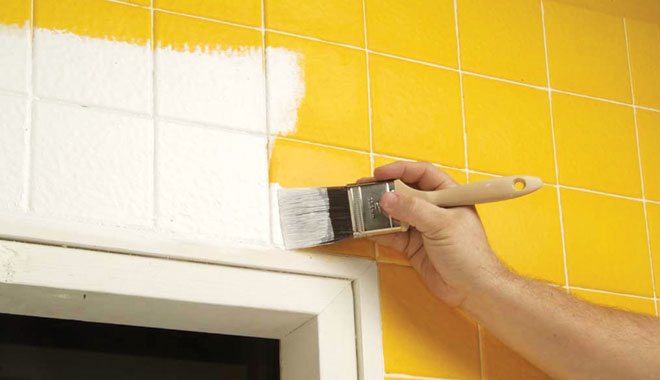
Paint the Tiles Once the primer is dry, it’s time to apply the paint. Use a paintbrush to cut in around the edges and a roller for the main areas. Apply the paint in thin, even coats to avoid drips and ensure a smooth finish. Allow each coat to dry thoroughly before applying the next. Typically, two to three coats are needed for full coverage.
Allow Proper Drying Time After the final coat of paint, let the tiles dry completely. This can take up to 24 hours or more, depending on the paint and the humidity in your bathroom. Avoid using the bathroom during this time to prevent moisture from affecting the paint.
Reassemble and Enjoy Once the paint is fully cured, remove the painter’s tape and reattach any fixtures you removed. Clean up your workspace and enjoy your newly transformed bathroom. The freshly painted tiles can significantly enhance the appearance of your bathroom, giving it a modern and refreshed look.
Maintaining Painted Bathroom Tile Walls
Maintaining painted bathroom tile walls is essential to ensure their longevity and keep them looking fresh and new. Here are some tips and tricks to help you care for your painted tiles.
Regular Cleaning Keep your painted tiles clean by wiping them down regularly with a soft cloth or sponge and a mild detergent. Avoid using abrasive cleaners or scrubbers, as they can scratch the paint and cause it to peel. Rinse thoroughly with clean water and dry the tiles to prevent water spots.
Avoid Harsh Chemicals Harsh chemicals, such as bleach and ammonia, can damage the paint on your tiles. Stick to gentle, non-abrasive cleaning solutions to maintain the integrity of the paint. If you need to disinfect the area, look for cleaners specifically designed for painted surfaces.
Prevent Moisture Buildup Excessive moisture can weaken the paint and lead to peeling or bubbling. Ensure your bathroom is well-ventilated to reduce humidity levels. Use exhaust fans during and after showers to help remove moisture from the air. Wipe down wet tiles after use to prevent water from sitting on the surface.
Touch Up as Needed Over time, your painted tiles may develop small chips or scratches. Keep some extra paint on hand for touch-ups. Clean the area thoroughly before applying the touch-up paint to ensure good adhesion. Regular maintenance and timely touch-ups can keep your tiles looking new for longer.
Avoid Heavy Impact Be cautious with heavy or sharp objects around your painted tiles, as they can cause damage. Avoid using harsh tools or dragging heavy items across the tile surface. Taking care to prevent impact damage will help maintain the smooth and polished appearance of the paint.
Inspect and Repaint When Necessary Periodically inspect your painted tiles for signs of wear and tear. If you notice significant peeling, chipping, or fading, it may be time to repaint. Properly preparing the tiles and using high-quality paint can extend the life of the finish, but repainting might eventually be necessary to maintain a fresh look.
Common Mistakes to Avoid When Painting Bathroom Tile Walls
Painting bathroom tile walls can be a rewarding project, but certain common mistakes can compromise the results. Here are some key pitfalls to avoid.
Skipping Proper Cleaning Failing to thoroughly clean the tiles before painting is a common mistake. Dirt, grease, and soap scum can prevent the paint from adhering properly, leading to peeling and flaking. Always clean the tiles meticulously and ensure they are completely dry before starting the painting process.
Not Using a Suitable Primer Using the wrong primer or skipping this step altogether can result in poor adhesion and a less durable finish. Always use a primer specifically designed for tiles and glossy surfaces. This ensures the paint bonds well to the tiles and provides a long-lasting finish.
Choosing the Wrong Paint Not all paints are suitable for bathroom tiles. Using regular wall paint can lead to issues with durability and moisture resistance. Opt for epoxy or enamel paints that are designed to withstand the humid conditions of a bathroom and provide a hard, glossy finish.
Applying Thick Coats Applying paint in thick coats can lead to drips, uneven coverage, and longer drying times. It’s better to apply several thin, even coats, allowing each one to dry thoroughly before adding the next. This approach ensures a smooth, professional-looking finish.
Rushing the Drying Process Impatience can ruin a paint job. Rushing the drying process or using the bathroom before the paint has fully cured can cause the paint to peel or bubble. Always follow the manufacturer’s recommended drying times and ensure the paint is fully cured before exposing it to moisture.
Neglecting Ventilation Proper ventilation is crucial when painting in a bathroom to prevent the buildup of fumes and ensure a safe working environment. Neglecting this can lead to health risks and poor paint performance. Always use exhaust fans, and open windows, and consider wearing a respirator if necessary.
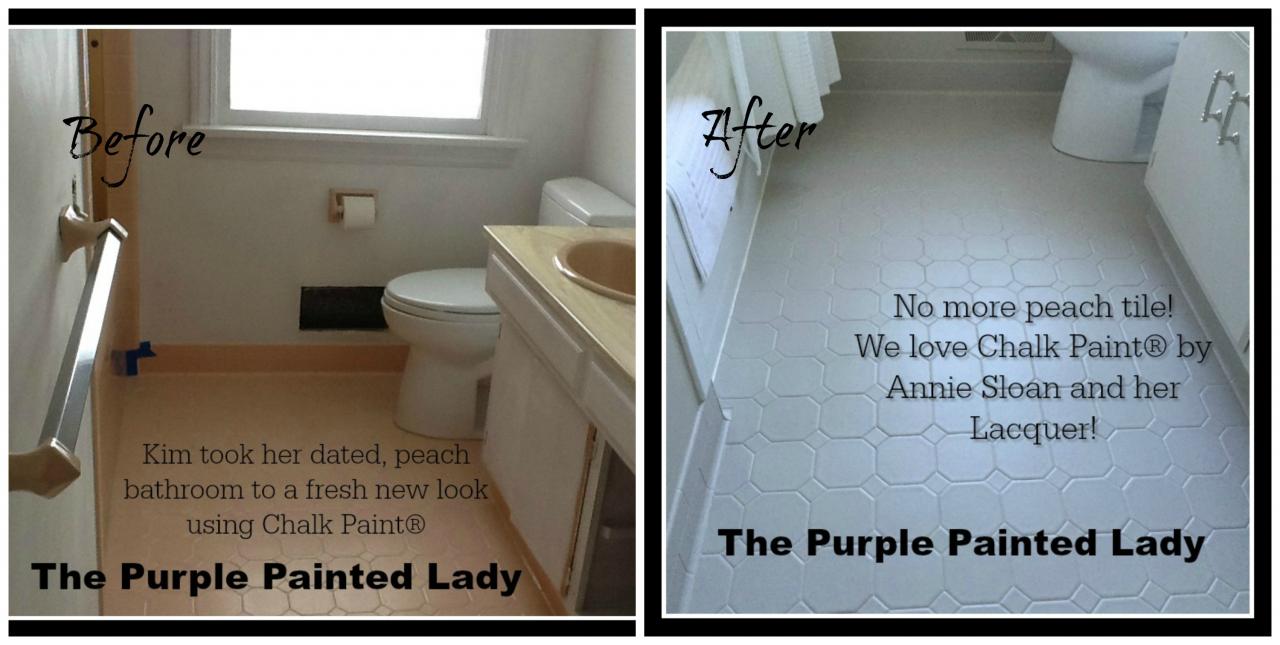
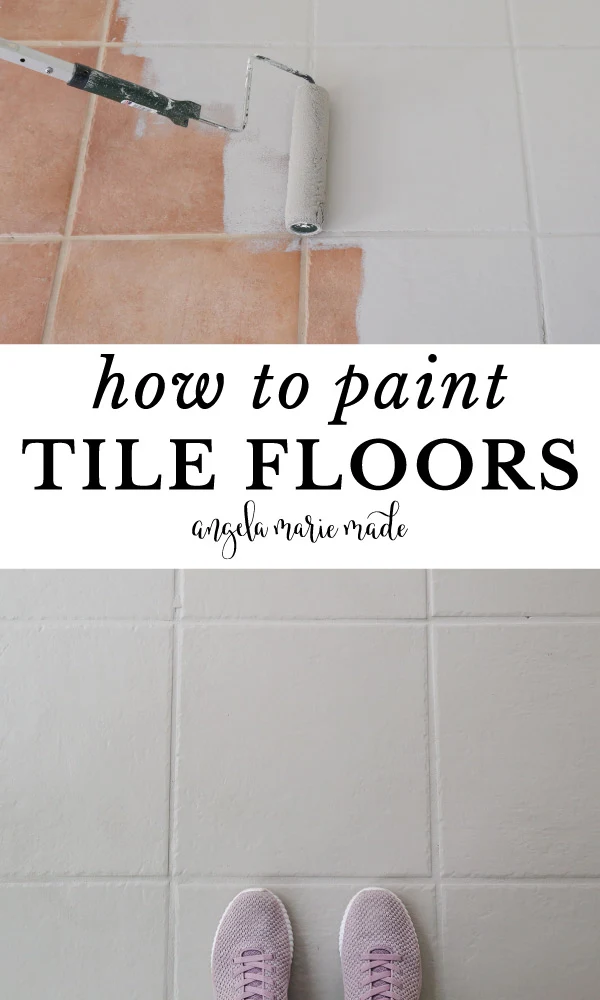
How I Painted Our Bathroom Ceramic Tile Floors

How to DIY Paint Shower Tile

Remodelaholic A $170 Bathroom Makeover with Painted Tile
Bathroom Makeover How to Paint Bathroom Tiles
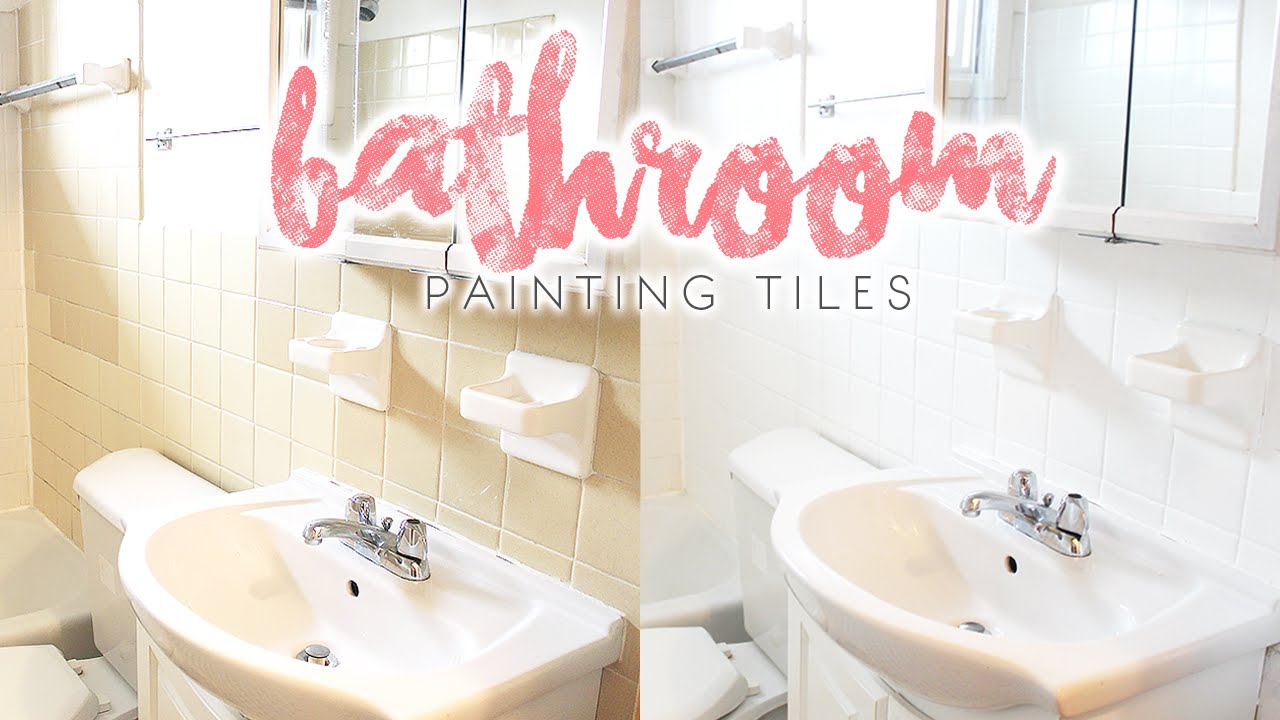
How to paint bathroom tile
Can You Paint Bathroom Tile? Complete Tips and Guides
How to Paint Tile Floor
Related Posts:
- Bathroom Tile On Walls Ideas
- How To Clean Bathroom Tile Grout Lines
- Bathroom Tiles Small Bathrooms Ideas Photos
- Bathroom Tiles Somany
- Bathroom Tile Orlando
- Bathroom Tiles Slate Grey
- Painting Bathroom Tiles Better Homes And Gardens
- Bathroom Tile And Shower Ideas
- How To Repair Bathroom Tile Grout
- Classic Bathroom Tile Floors


