Why Regrouting Old Bathroom Tile is Important
Maintaining the integrity and aesthetics of your bathroom is crucial, and one important aspect is regrouting old bathroom tiles. Over time, grout can deteriorate, become discolored, or even crack, leading to water damage, mold growth, and a generally unappealing appearance. Regrouting not only ensures the longevity of your tiles but also revitalizes the overall look of your bathroom. Below we can see the reasons why regrouting old bathroom tile is important and how it can benefit you in the long run.
- Prevent Water Damage: One of the primary reasons to regrout old bathroom tile is to prevent water damage. As grout ages, it can develop cracks, allowing water to seep through and reach the underlying structure. This moisture can lead to serious problems such as rotting wood, weakened walls, and even structural damage. By regrouting, you create a watertight seal that prevents water from penetrating the tile and causing these issues.
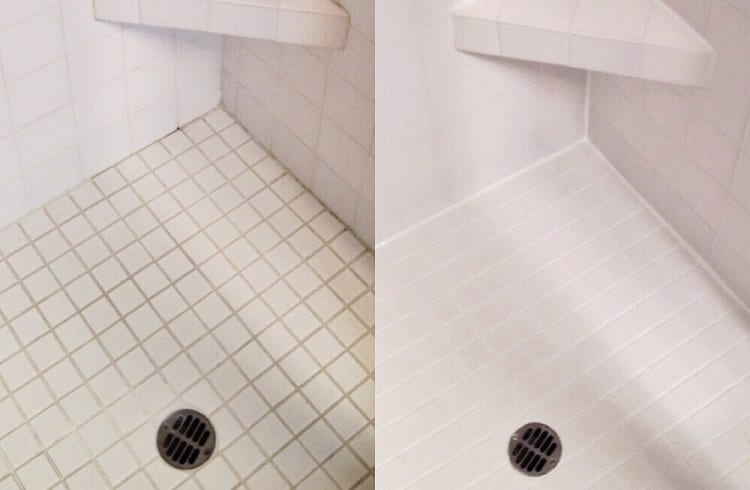
- Maintain Hygiene: Old, worn-out grout can become a breeding ground for mold, mildew, and bacteria. These unsightly and potentially harmful organisms thrive in damp environments, such as a bathroom. By regrouting, you eliminate the hiding places for these microorganisms, making it easier to maintain a clean and hygienic bathroom. Regularly regrouting ensures that your bathroom remains a healthy space for you and your family.
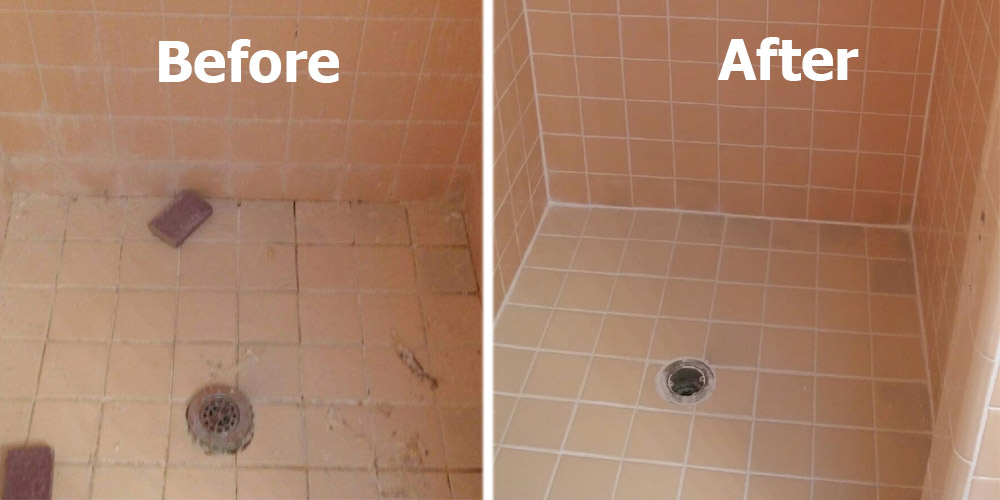
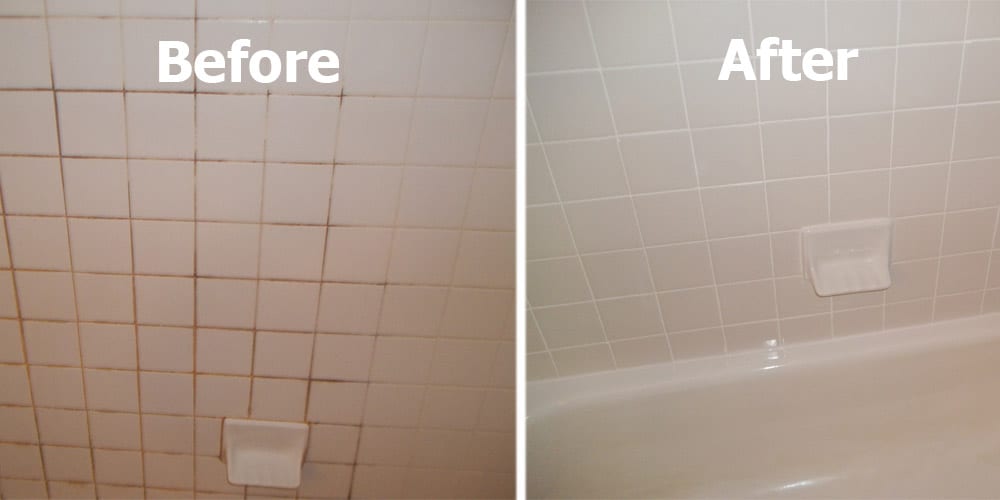
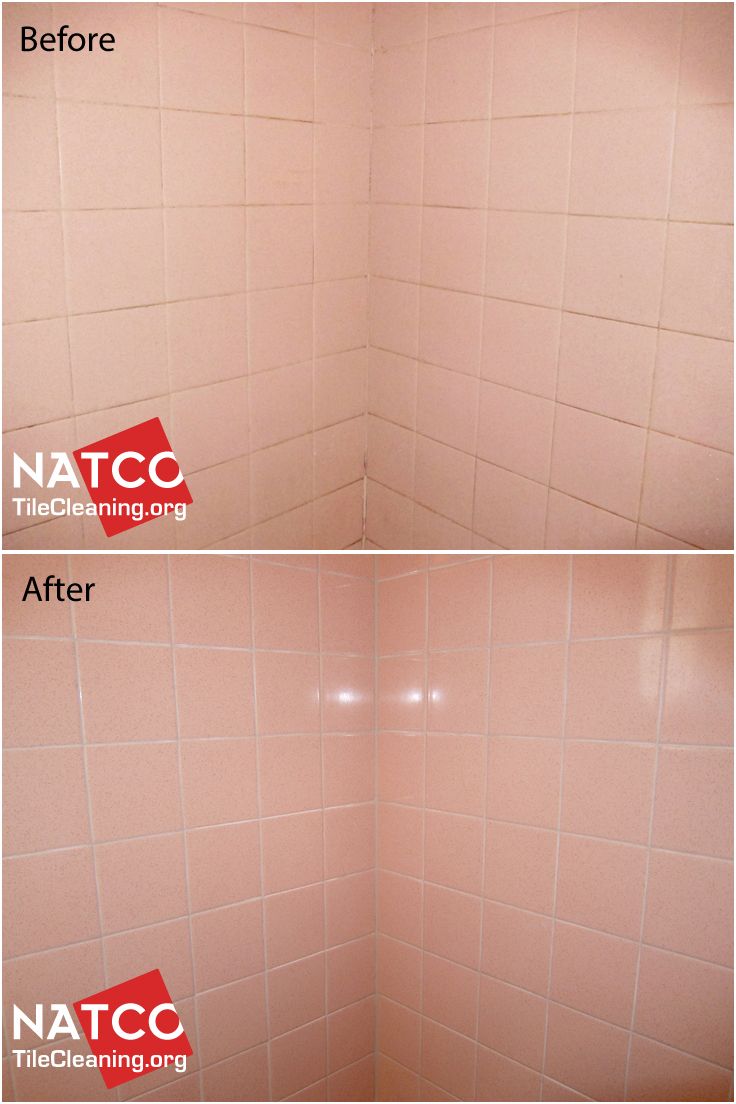
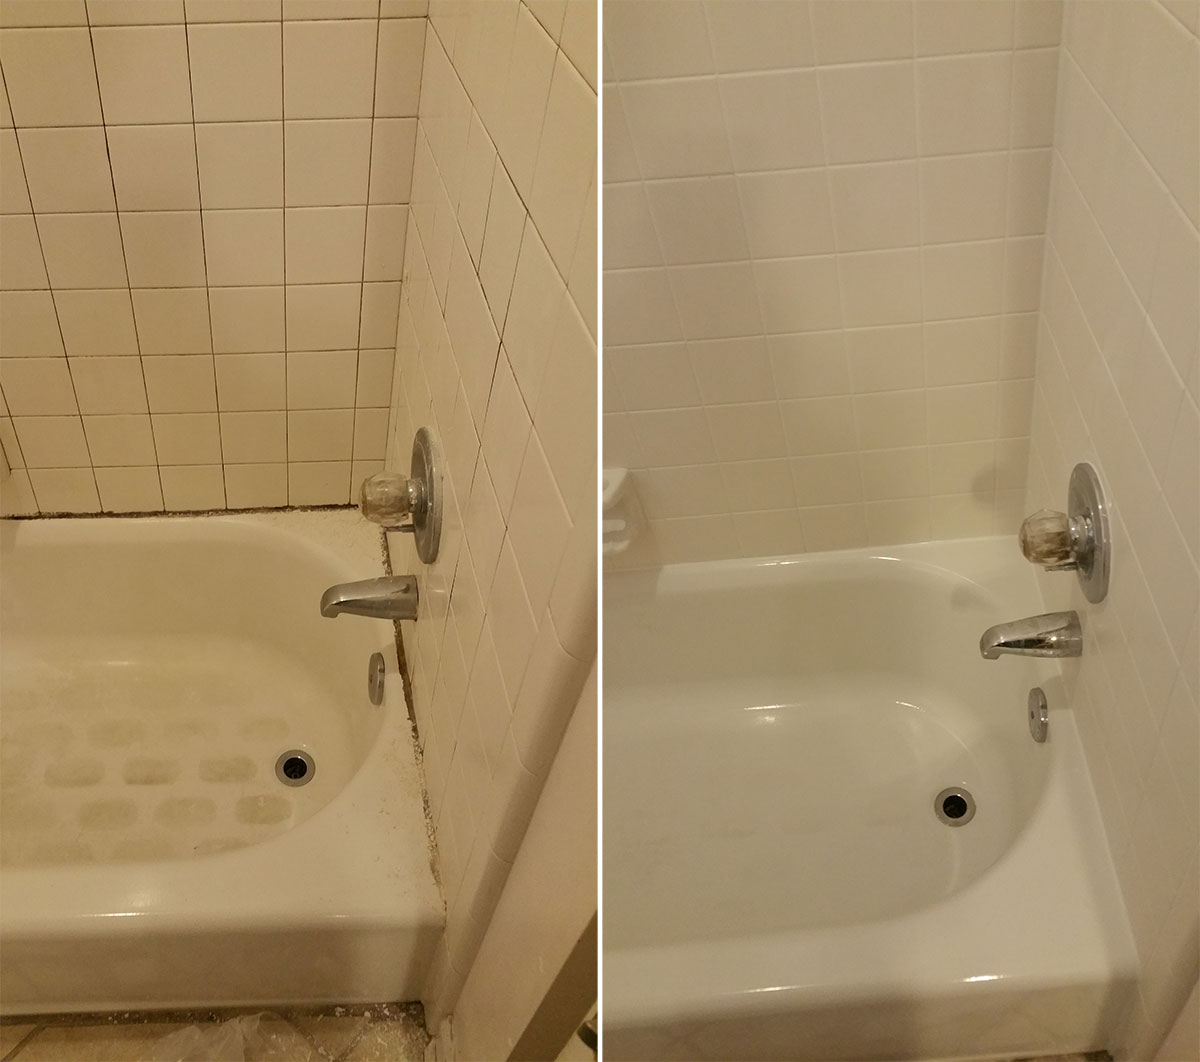
- Restore Appearance: The appearance of your bathroom can greatly affect its overall ambiance. Over time, grout can become discolored, stained, or even chipped, giving your bathroom a worn-out and unattractive look. By regrouting, you can restore the original beauty of your tiles, making your bathroom look fresh, clean, and inviting. It’s a cost-effective way to transform the aesthetic appeal of your bathroom without the need for a complete renovation.
- Increase Durability: Regrouting not only enhances the appearance of your tiles but also increases their durability. Cracked or missing grout can expose the edges of tiles, making them prone to chipping or cracking. By regrouting, you provide a protective barrier that reinforces the strength of your tiles, ensuring they can withstand daily wear and tear for years to come.
- Increase Property Value: If you’re considering selling your home or simply want to increase its value, regrouting your old bathroom tile is a wise investment. Potential buyers are often drawn to bathrooms that look clean, fresh and well-maintained. By regrouting, you can instantly enhance the appeal of your bathroom, making it a selling point that can increase the market value of your property.
Step-by-Step Guide to Regrouting Old Bathroom Tile
If you’ve noticed cracked, discolored, or deteriorating grout in your bathroom, it’s time to consider regrouting. Regrouting old bathroom tile is a relatively simple DIY project that can make a significant difference in the appearance and functionality of your bathroom. Below we provide you with a step-by-step guide to help you successfully regrout your old bathroom tiles and achieve professional-looking results.
Gather Your Tools and Materials: Before you begin regrouting, it’s essential to gather all the necessary tools and materials. You will need a grout saw or scraper, a grout float, a sponge, a bucket, grout powder or pre-mixed grout, and a grout sealer. Make sure to choose a grout color that complements your tiles and desired aesthetic.
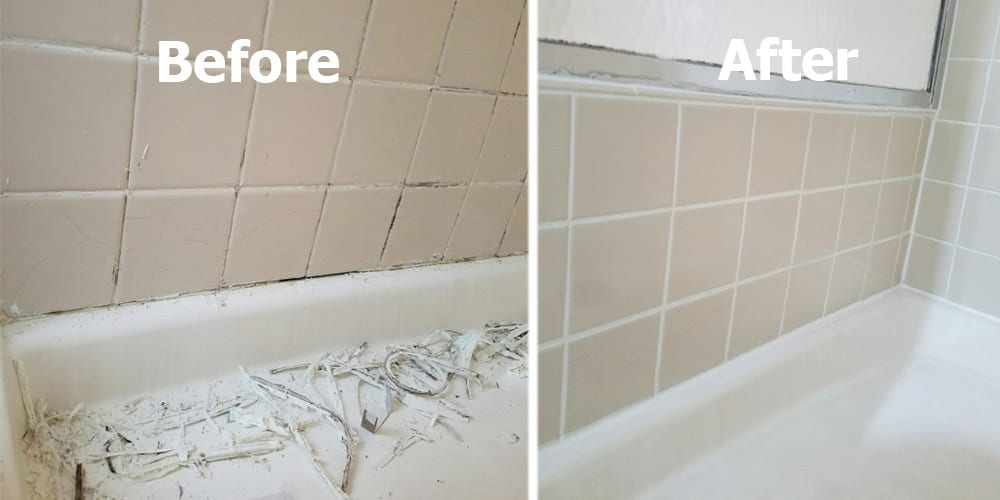
Prepare the Surface: To ensure proper adhesion, it’s crucial to prepare the surface before regrouting. Use the grout saw or scraper to carefully remove the old grout from the joints. Be gentle to avoid damaging the tiles. Once the old grout has been removed, thoroughly clean the tiles and joints to remove any debris or dust.
Mix the Grout: If you’re using grout powder, follow the instructions on the packaging to mix it with water to the desired consistency. If you’ve opted for pre-mixed grout, you can skip this step. Mix only the amount of grout that you can work with within the recommended time frame to prevent it from drying out.
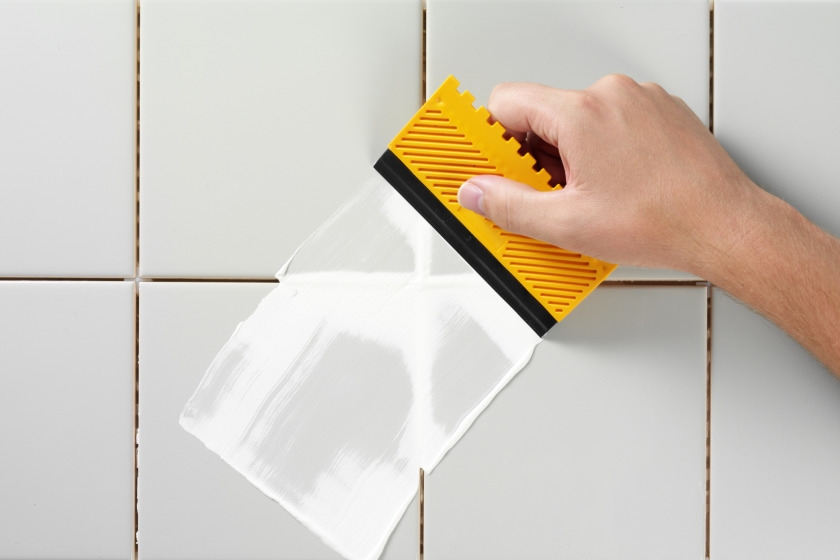
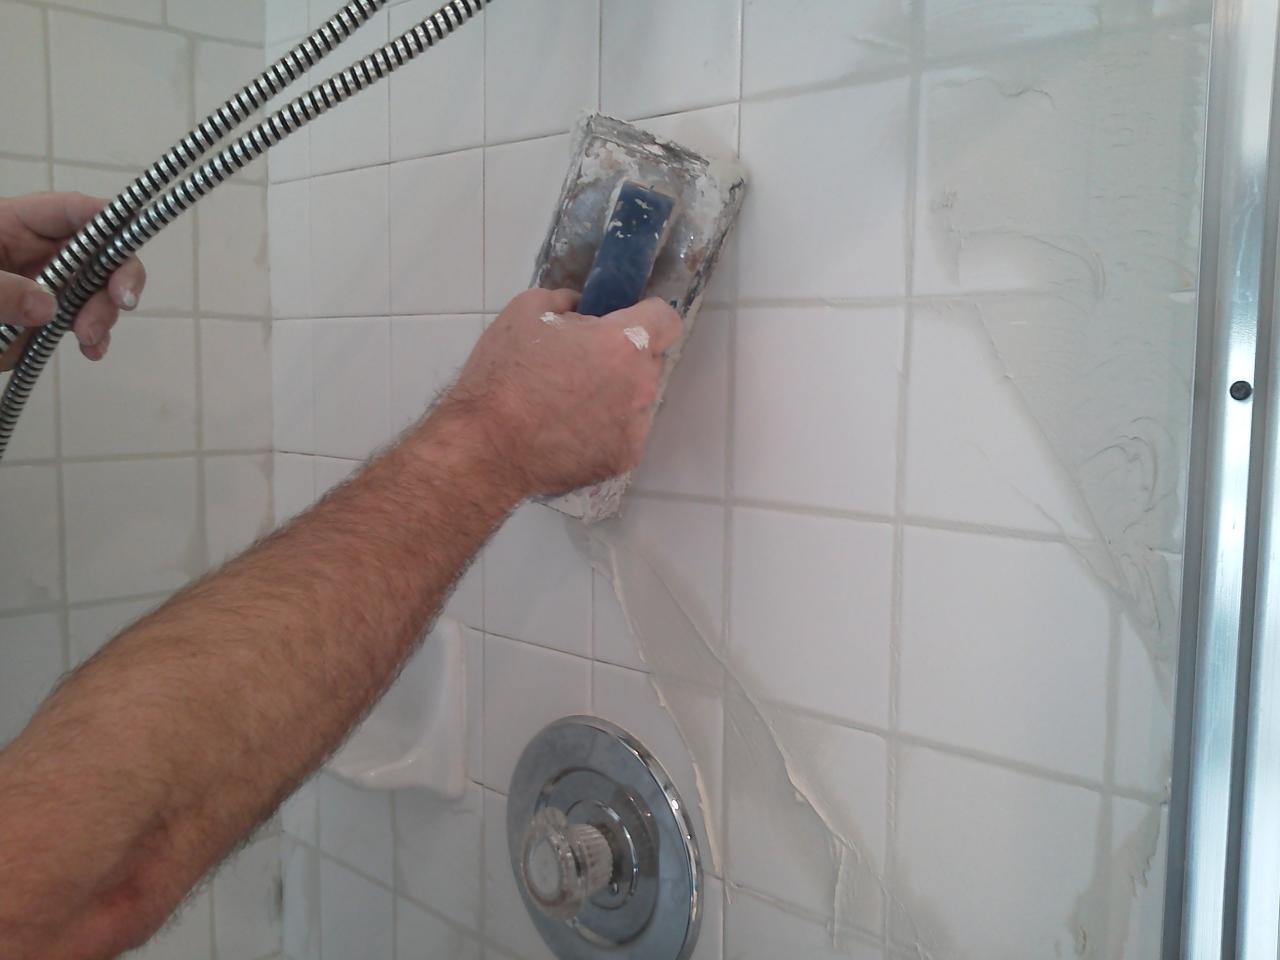
Apply the Grout: Using a grout float, spread the grout mixture over the tiles, ensuring that it fills the joints. Hold the float at a 45-degree angle and work in a diagonal motion to push the grout into the joints. Remove any excess grout from the surface of the tiles using the edge of the float.
Clean the Tiles: After applying the grout, wait for about 10-15 minutes to allow it to set slightly. Then, using a damp sponge, gently wipe away the excess grout from the surface of the tiles. Rinse the sponge frequently to ensure a clean and smooth finish. Avoid pressing too hard as it may dislodge the fresh grout from the joints.
Seal the Grout: Once the grout has fully dried, usually after 24-48 hours, it’s important to seal it to protect it from stains and moisture. Apply a grout sealer according to the manufacturer’s instructions, using a small brush or roller. Allow the sealer to penetrate the grout and wipe away any excess.
Choosing the Right Grout for Your Old Bathroom Tile
When regrouting old bathroom tile, selecting the right grout is essential for achieving the desired results. Grout not only serves as a filler between tiles but also contributes to the overall aesthetics and durability of your bathroom. Here are several types of grout and a guide on how to choose the right grout for your old bathroom tile.
Cement-Based Grout: Cement-based grout is the most common type of grout used for bathroom tiles. It is a mixture of cement, sand, and additives that provide strength and durability. Cement-based grout comes in sanded and unsanded varieties. Sanded grout is suitable for wider joints, while unsanded grout is recommended for narrower joints. It is important to note that cement-based grout requires sealing to prevent stains and moisture absorption.
Epoxy Grout: For areas that are prone to moisture, such as showers and bathroom floors, epoxy grout is an excellent choice. Unlike cement-based grout, epoxy grout is water-resistant, making it resistant to stains, mold, and mildew. It is also highly durable and does not require sealing. However, epoxy grout can be more challenging to work with, as it sets quickly, so it’s important to work efficiently during the installation process.
Acrylic Grout: Acrylic grout is a newer type of grout that combines the benefits of cement-based and epoxy grout. It is water-resistant, stain-resistant, and easier to work with than epoxy grout. Acrylic grout is available in both sanded and unsanded varieties and is a good choice for both walls and floors. It is important to read the manufacturer’s instructions, as some acrylic grouts require sealing, while others do not.
Colored Grout: If you want to add a touch of personalization to your bathroom, colored grout is an option to consider. Colored grout allows you to create contrast or match the color of your tiles. It can enhance the appearance of your bathroom and give it a unique look. However, it’s important to note that colored grout may require additional maintenance and sealing to prevent fading or discoloration over time.
Consider Tile Material and Joint Size: When choosing grout for your old bathroom tile, it’s important to consider the tile material and joint size. Porous tiles, such as natural stone or unglazed ceramic tiles, may require a different type of grout compared to non-porous tiles like porcelain or glazed ceramic tiles. Additionally, the size of the joints between tiles will determine whether sanded or unsanded grout is more suitable.
Tips and Tricks for Successful Regrouting
Regrouting old bathroom tile can be a rewarding DIY project that revitalizes the look of your bathroom. To ensure a successful outcome, it’s important to follow some tips and tricks that can help you achieve professional-looking results. Below we share valuable advice to make your regrouting project a smooth and successful endeavor.
Prepare the Surface Thoroughly: Before regrouting, it’s crucial to prepare the surface properly. Use a grout saw or scraper to remove the old grout, ensuring that the joints are clean and free from debris. Thoroughly clean the tiles and joints to remove any dust or residue. A clean and smooth surface will allow the new grout to adhere properly and result in a more polished finish.
Test the Grout Color: If you’re using colored grout, it’s essential to test the color on a small, inconspicuous area before applying it to the entire bathroom. Grout color can appear differently when applied, especially when it dries. Testing the color will ensure that you’re happy with the final result and avoid any surprises once the grout is set.
Work in Small Sections: To prevent the grout from drying out before you can clean it, it’s best to work in small sections. Apply the grout to one area at a time, making sure to fill the joints. This approach allows you to focus on a specific area, ensuring that you can clean the excess grout before it becomes too difficult to remove.
Use a Grout Finisher or Tool: To achieve a smooth and professional finish, consider using a grout finisher or tool. These tools help shape and smooth the grout lines, creating a uniform and clean appearance. A grout finisher can also help remove excess grout from the surface of the tiles, making the cleaning process easier and preventing grout haze.
Clean the Tiles Thoroughly: Cleaning the tiles after applying the grout is crucial for achieving a polished and professional look. Use a damp sponge or cloth to gently wipe away the excess grout from the tiles. Rinse the sponge frequently and avoid applying excessive pressure, as this can dislodge the fresh grout from the joints. Take your time during this step to ensure a clean and tidy finish.
Seal the Grout: Once the grout has fully dried, it’s important to seal it to protect it from stains and moisture. Apply a grout sealer according to the manufacturer’s instructions, ensuring that you cover all the grout lines. Sealing the grout will help prolong its lifespan, prevent discoloration, and make it easier to clean and maintain in the long run.
Transforming the Look of Your Bathroom with Regrouting
Regrouting old bathroom tile is not only a practical step to maintain the integrity of your bathroom but also a fantastic opportunity to transform its overall look. With the right approach and attention to detail, regrouting can breathe new life into your space, giving it a fresh and updated appearance. Let’s see how regrouting can be a transformative process for your bathroom and provide inspiration for your project.
Refreshing the Color Scheme: One of the most significant ways regrouting can transform your bathroom is by refreshing the color scheme. Over time, grout can become discolored or stained, affecting the overall look of the tiles. By regrouting with a new, clean grout color, you have the opportunity to update and refresh the color palette of your bathroom. Choose a grout color that complements or contrasts with the tiles to create a visually striking and cohesive design.
Creating Visual Contrast: Regrouting allows you to create visual contrast in your bathroom. By choosing a grout color that contrasts with the tiles, you can highlight the individual tiles and their patterns. For example, using a light-colored grout with dark tiles or vice versa can create a striking and eye-catching effect. This contrast can add depth and visual interest to your bathroom, making it a focal point in the space.
Enhancing Tile Patterns: If your bathroom tiles feature intricate patterns or designs, regrouting can enhance their visual impact. By selecting a grout color that complements the tile pattern, you can make it more prominent and visually appealing. Regrouting can help define the lines and shapes of the tiles, accentuating their unique characteristics and turning them into a statement feature in your bathroom.
Restoring a Clean and Polished Look: Over time, grout can become worn-out, cracked, or discolored, giving your bathroom a tired and unclean appearance. Regrouting can transform the look of your bathroom by restoring a clean and polished aesthetic. Fresh, clean grout lines can make the tiles appear newer and well-maintained, elevating the overall look and feel of the space. It’s an effective way to breathe new life into your bathroom without the need for a complete overhaul.
Updating the Style: Regrouting provides an opportunity to update the style of your bathroom. If you have outdated or unappealing grout, replacing it with a modern and trendy option can instantly modernize the space. For example, using a light-colored grout with subway tiles can create a timeless and contemporary look. By regrouting, you can align your bathroom with current design trends and create a space that feels fresh and up-to-date.
How to Regrout Bathroom Tile: 5 Easy Steps True Value
Regrouting Tile, Tile Regrout – Sir Grout

Shower Regrouting Contour Cleaning
How to regrout a shower – Pristine Tile u0026 Carpet Cleaning
How do I know if I need to regrout my shower? The Grout Medic
How To Professionally Regrout A Tile Shower

Related Posts:
- Bathroom Tiles For Small Bathrooms Pictures
- Reseal Bathroom Tile Grout
- Pink Bathroom Tiles Ideas
- Bathroom Tiles Wollongong
- Bathroom Tile Suggestions
- How To Paint Bathroom Tile Before And After
- Small Bathroom Tile Shower
- Replacing Bathroom Tiles Shower
- Bathroom Tile Paint Before And After Pictures
- How To Deep Clean Bathroom Tile


