The Magic of Painting Over Tile Shower
Are you tired of your outdated bathroom tile shower? Want to give it a fresh look without the hassle and expense of replacing it? Look no further! Painting over your bathroom tile shower can work wonders in transforming the entire space. Let’s discuss the magic of painting over tile showers and how it can completely revamp your bathroom.
- The Benefits of Painting Over Tile Showers: Painting over tile showers offers numerous benefits that make it an attractive option for homeowners. Firstly, it is a cost-effective alternative to replacing the tiles altogether. Secondly, it allows for a wide range of color and design options, giving you the freedom to personalize your bathroom. Additionally, painting over tile showers can cover up any imperfections or stains, giving your shower a fresh, clean appearance.
- Preparing Your Tile Shower for Painting: Before diving into the painting process, it is crucial to properly prepare your tile shower. Start by thoroughly cleaning the tiles with a mild detergent to remove any dirt, grime, or soap scum. Next, sand the surface lightly to create a rough texture, which will help the paint adhere better. Fill in any cracks or chips with a suitable filler and allow it to dry completely. Finally, apply a primer designed specifically for tile surfaces to ensure proper adhesion of the paint.
- Painting Techniques and Tips: When it comes to painting your tile shower, there are a few techniques and tips to keep in mind. Firstly, use a high-quality paint specifically formulated for wet areas to ensure durability and resistance to moisture. Consider using a roller for larger surfaces and a brush for smaller, intricate areas. Apply multiple thin coats of paint, allowing each layer to dry completely before applying the next. This will ensure a smooth and even finish. Lastly, consider adding a protective topcoat to increase the longevity of the paint and protect it from daily wear and tear.
- Maintenance and Longevity: To ensure the longevity of your newly painted tile shower, proper maintenance is key. Avoid using harsh abrasive cleaners that may damage the paint. Instead, opt for mild, non-abrasive cleaners that are safe for painted surfaces. Regularly clean and dry the shower to prevent the build-up of mold or mildew. Additionally, consider reapplying a fresh coat of paint every few years to maintain the fresh and vibrant appearance of your tile shower.
- Enhancing the Look with Accessories: Once you have painted your tile shower, it’s time to enhance the overall look by adding accessories. Consider installing new fixtures, such as a modern showerhead or stylish handles, to complement the new color scheme. Adding a shower curtain or glass door can also elevate the aesthetic appeal of your painted tile shower. Finally, don’t forget about the power of lighting! Properly placed lighting can highlight the beauty of your painted tile shower and create a soothing atmosphere in your bathroom.

Painting Bathroom Tile Showers for a Fresh Look
If you’re looking to refresh the appearance of your bathroom without breaking the bank, painting your tile shower can be a fantastic solution. Not only is it a cost-effective option, but it also allows you to unleash your creativity and customize the look of your shower. Below we provide you with a step-by-step guide on how to paint your bathroom tile shower, ensuring a fresh and rejuvenated space.
Gather Your Materials: Before you begin painting, gather all the necessary materials. This includes painter’s tape, plastic sheets or drop cloths to protect surrounding areas, a mild detergent for cleaning the tiles, sandpaper for surface preparation, a tile primer, high-quality paint suitable for wet areas, brushes or rollers, and a topcoat for added protection. Ensuring you have all the materials beforehand will make the process smoother.
Clean and Prepare the Shower Tiles: Thoroughly clean the shower tiles using a mild detergent and warm water. Remove any soap scum, dirt, or grime. Rinse the tiles thoroughly and allow them to dry completely. Next, use sandpaper to gently roughen the surface of the tiles. This step is essential for better paint adhesion. Once done, wipe away any dust or debris.
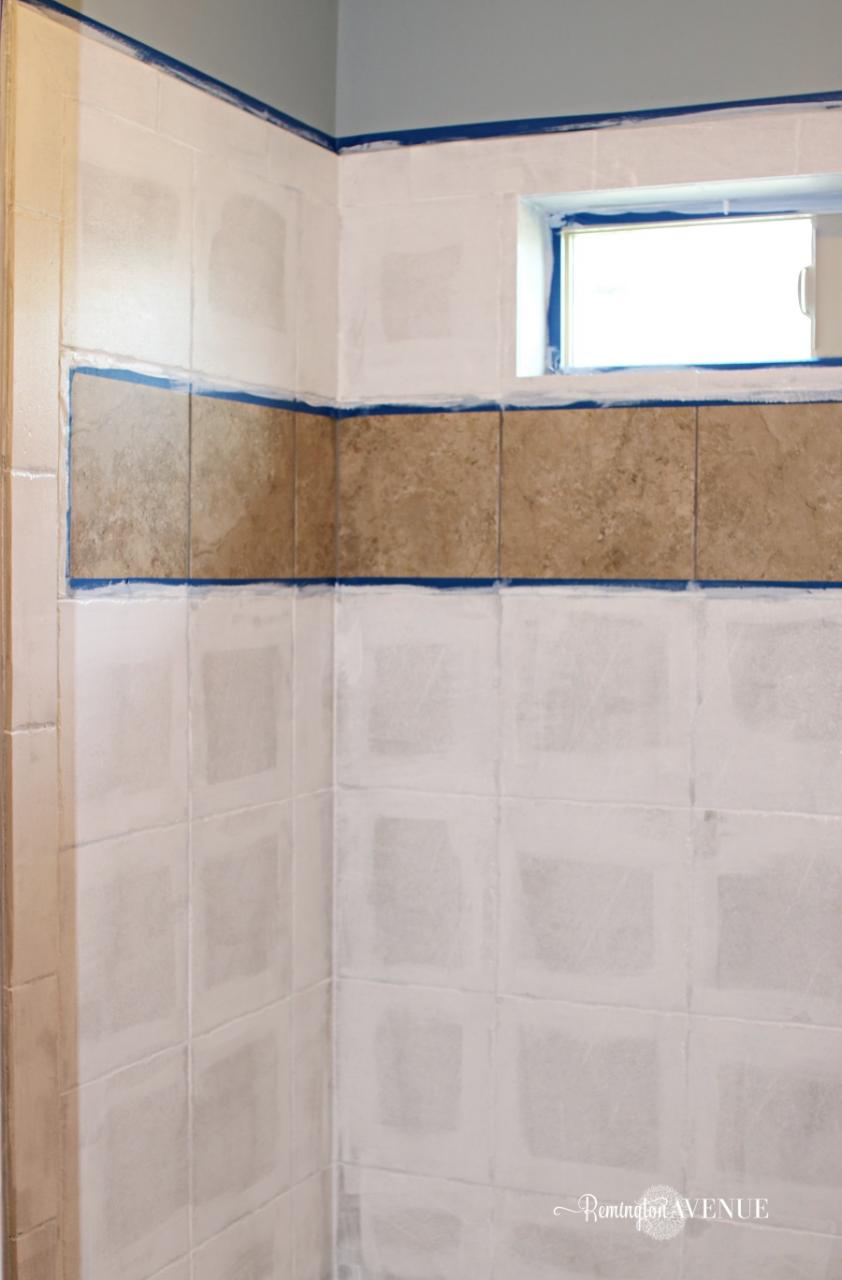
Apply Painter’s Tape and Protect Surrounding Areas: To prevent paint from getting on areas you don’t want to paint, carefully apply painter’s tape along the edges of the tiles, fixtures, and any other areas you wish to protect. Use plastic sheets or drop cloths to cover the shower floor and any other surfaces that may be exposed to paint splatters.
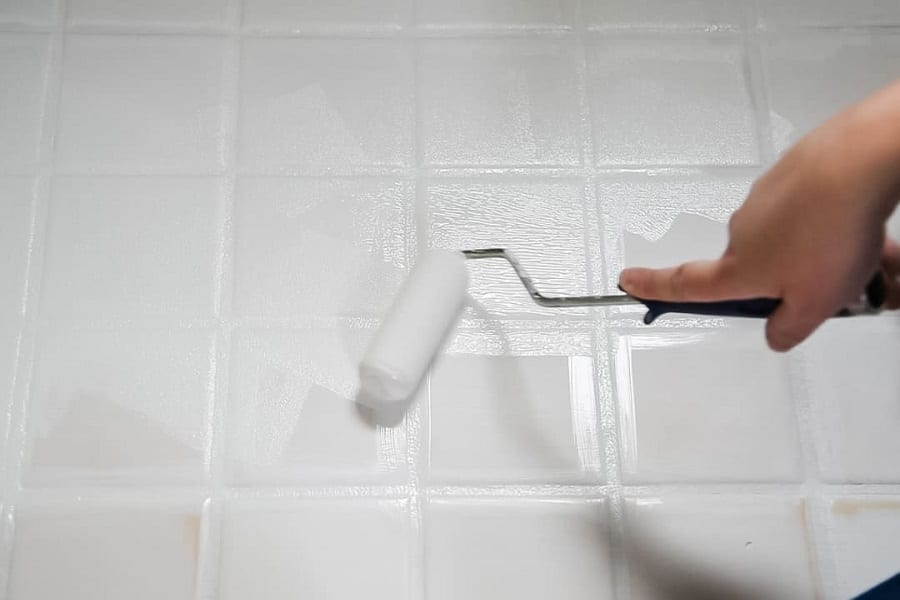
Prime the Tiles: Using a tile-specific primer, apply an even coat to the tiles using a brush or roller. The primer will create a smooth surface for the paint to adhere to and ensure better durability. Allow the primer to dry completely as per the manufacturer’s instructions.
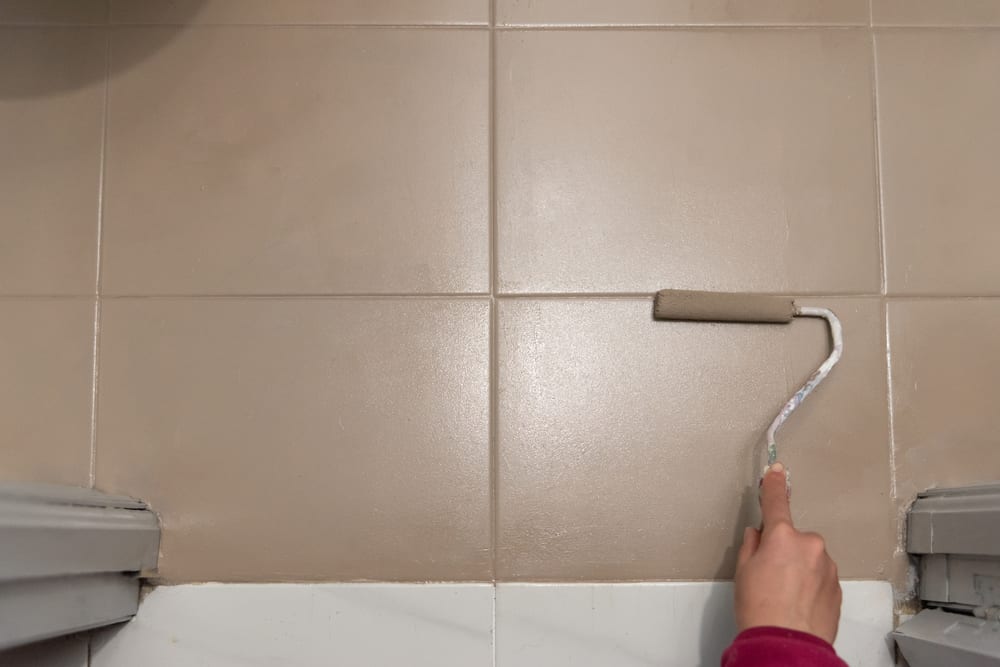
Paint the Tiles: Once the primer is dry, it’s time to paint the tiles. Use a high-quality paint designed for wet areas, such as bathroom or kitchen paint. Start with a brush or roller and apply the paint evenly over the tiles, working in small sections. Use long, smooth strokes to achieve a consistent finish. Allow the first coat to dry completely before applying a second coat if needed.
Apply a Protective Topcoat: To enhance the durability of the painted tiles and protect them from moisture and daily wear and tear, apply a protective topcoat. The topcoat will provide an additional layer of defense against water damage and make the painted tiles easier to clean. Follow the manufacturer’s instructions on drying time and application techniques.
Remove the Painter’s Tape and Clean Up: Once the topcoat is dry, carefully remove the painter’s tape while ensuring not to damage the freshly painted tiles. Clean up any paint drips or splatters using a mild detergent and a damp cloth.
Choosing the Right Paint and Supplies for Painting Over Bathroom Tile Showers
When it comes to painting bathroom tile showers, selecting the right paint and supplies is crucial for achieving a successful and long-lasting result. With a wide range of options available, it’s important to choose products that are specifically designed for use in wet areas and can withstand the conditions of a shower. Below are the factors to consider when choosing paint and supplies for painting over bathroom tile showers.
Consider the Paint Type: When selecting paint for your bathroom tile shower, opt for a paint that is specifically formulated for high-moisture areas. Look for paints labeled as “bathroom paint,” “kitchen paint,” or “moisture-resistant paint.” These types of paints are designed to withstand constant exposure to water and humidity, ensuring their longevity and durability. Avoid using regular wall paint, as it may not hold up well in a shower environment.
Look for Mold and Mildew Resistance: Bathrooms, especially showers, are prone to mold and mildew growth due to the high moisture levels. To combat this issue, choose a paint that has mold and mildew-resistant properties. These paints contain additives that inhibit the growth of mold and mildew, helping to keep your shower clean and fresh for longer periods.
Opt for Waterproof or Water-Repellent Paints: Since showers are constantly exposed to water, it’s essential to choose a paint that is either waterproof or water-repellent. Waterproof paints create a barrier that prevents water from seeping into the tile and causing damage. Water-repellent paints, on the other hand, allow water to bead up and roll off the surface, minimizing absorption. Both options provide an added layer of protection for your bathroom tile shower.
Select the Right Finish: The finish of the paint can significantly impact the overall look and functionality of your painted tile shower. For a shower, it’s best to choose a paint with a satin or semi-gloss finish. These finishes are easier to clean and are more resistant to water and stains compared to matte or flat finishes. Satin and semi-gloss finishes also provide a subtle sheen that can enhance the visual appeal of your shower.
Invest in Quality Supplies: In addition to choosing the right paint, investing in quality supplies is equally important. Use high-quality brushes or rollers to ensure smooth and even application of the paint. Cheap brushes or rollers may leave streaks or bristle marks on the surface, compromising the final result. Additionally, make sure to use painter’s tape that is specifically designed for delicate surfaces to protect surrounding areas from paint splatters.
Consider Ventilation and Drying Time: Proper ventilation is crucial when painting a bathroom tile shower. Ensure that the bathroom is well-ventilated by opening windows or using exhaust fans to allow the paint fumes to dissipate. Additionally, consider the drying time of the paint you choose. Some paints may require longer drying times, so plan accordingly to avoid any disruption to your daily routine.

Tips and Tricks for Preparing and Priming Bathroom Tile Showers Before Painting
Proper preparation and priming are crucial steps when painting bathroom tile showers. By taking the time to prepare the surface and apply a suitable primer, you can ensure better adhesion and a long-lasting finish. Below we share some helpful tips and tricks for preparing and priming your bathroom tile shower before painting, ensuring a smooth and successful painting process.
Thoroughly Clean the Tiles: Before you begin any preparation work, it’s essential to thoroughly clean the tiles in your bathroom shower. Remove any soap scum, dirt, or grime using a mild detergent and warm water. Scrub the tiles gently with a sponge or soft brush, paying attention to the grout lines as well. Rinse the tiles thoroughly and allow them to dry completely before proceeding to the next step.
Repair any Damaged Areas: Inspect the tiles for any cracks, chips, or other damage. If you find any, it’s important to repair them before painting. Use a suitable tile filler or epoxy compound to fill in the damaged areas. Follow the manufacturer’s instructions for application and drying time. Once the filler is dry, sand it lightly to ensure a smooth and even surface.
Sand the Tiles: To improve paint adhesion, lightly sand the surface of the tiles. Use fine-grit sandpaper or a sanding block and gently roughen the surface. This step helps to remove any glossiness or smoothness that may hinder the paint from adhering properly. Be careful not to oversand or apply excessive pressure, as this can damage the tiles.
Clean and Dry the Surface Again: After sanding, it’s important to clean the tiles once more to remove any dust or debris. Use a damp cloth or sponge to wipe down the entire surface, ensuring it is free from any sanding residue. Allow the tiles to dry completely before moving on to the priming step.
Choose a Suitable Primer: Selecting the right primer is crucial for proper adhesion and durability of the paint. Look for a primer specifically formulated for tile or high-moisture areas. These primers are designed to bond well with tile surfaces and provide an ideal base for paint. Consider using a primer that is mold and mildew resistant for added protection in the bathroom environment.
Apply the Primer: Using a brush or roller, apply the primer to the tiles following the manufacturer’s instructions. Work in small sections, ensuring even coverage. Pay attention to the grout lines as well, as the primer will help seal and protect them. Allow the primer to dry completely before proceeding with the painting process.
Lightly Sand the Primed Surface (Optional): If you notice any imperfections or roughness on the primed surface, you can lightly sand it once again. Use fine-grit sandpaper or a sanding block and sand in a gentle, circular motion. This step helps to smooth out any unevenness and provides a better surface for the paint to adhere to. After sanding, clean the surface again to remove any sanding residue.
Inspiring Bathroom Tile Shower Painting Ideas and Designs
Painting your bathroom tile shower opens up a world of possibilities to transform your space from dull to fabulous. With a wide range of colors and design options available, you can create a unique and personalized look that suits your style. Here are some inspiring ideas and designs for painting bathroom tile showers, giving you the inspiration you need to embark on your creative project.
Monochromatic Elegance: For a sleek and sophisticated look, consider painting your bathroom tile shower in a monochromatic color scheme. Choose a single color in various shades and apply it to the tiles and surrounding walls. This creates a cohesive and visually pleasing design. Shades of gray, white, or beige can create a timeless and elegant ambiance, while bolder colors like navy or black can add a touch of drama and modernity.
Bold Accent: If you want to make a statement and add a pop of color to your bathroom, consider using a bold accent color on your tile shower. Select a vibrant hue, such as teal, coral, or mustard yellow, and paint either the entire shower or just a single wall for a focal point. This creates a striking contrast against neutral walls and fixtures, instantly transforming the space into a vibrant and energetic oasis.
Pattern Play: Unleash your creativity by incorporating patterns into your bathroom tile shower design. Use painter’s tape to create geometric shapes, stripes, chevron patterns, or even a Moroccan-inspired tile design. Experiment with different colors and patterns to achieve a unique and eye-catching look. This playful approach adds personality and visual interest to your shower, making it a true focal point of the bathroom.
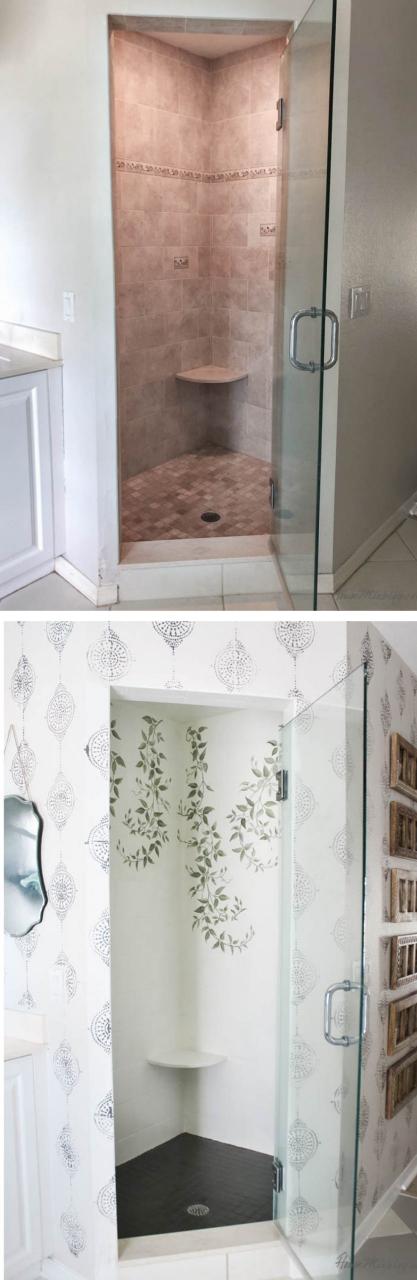
Nature-Inspired Serenity: Bring the calming and soothing vibes of nature into your bathroom by painting your tile shower with earthy and natural colors. Shades of green, blue, or brown can create a serene and spa-like atmosphere. Consider adding a mural or stencil of leaves, flowers, or vines for an extra touch of nature-inspired beauty. This design choice creates a peaceful retreat where you can relax and unwind.
Classic Subway Tile: If you want to achieve a timeless and classic look, consider painting your bathroom tile shower to mimic the appearance of subway tiles. Use painter’s tape to create rectangular shapes on the tiles and paint them in a crisp white or off-white color. This design choice adds a touch of elegance and sophistication to your shower, reminiscent of traditional subway tile designs.
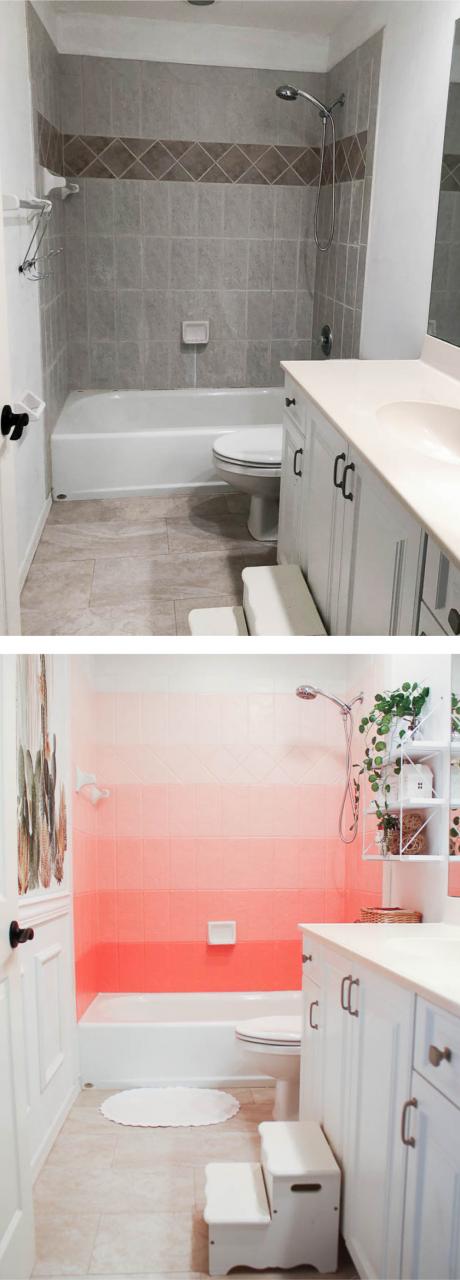
Ombre Effect: Create a stunning gradient effect by painting your bathroom tile shower in an ombre style. Choose a color palette that transitions from light to dark or vice versa. Start with the lightest shade at the top or bottom of the shower and gradually blend it with darker shades. This creates a visually striking and dynamic look that adds depth and dimension to your shower.
How to Refinish Outdated Tile (yes, I painted my shower) (Domestic

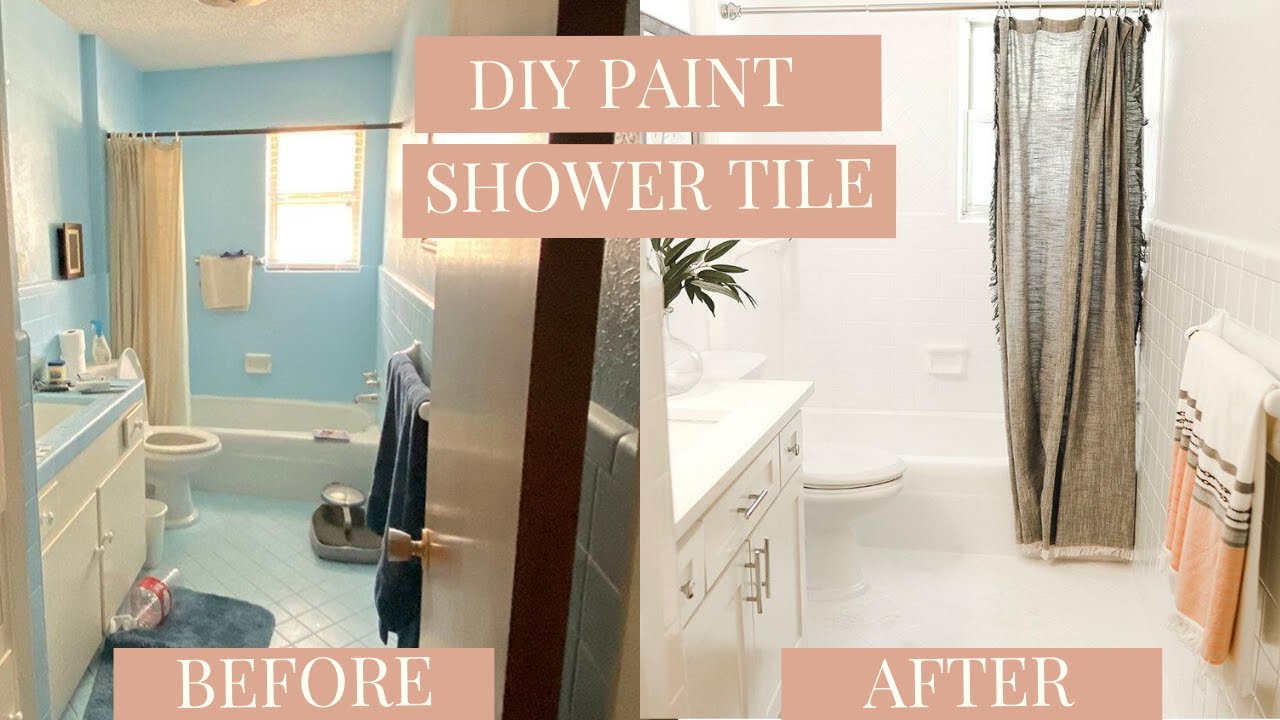
How to paint bathroom tile: floor, shower, backsplash House Mix
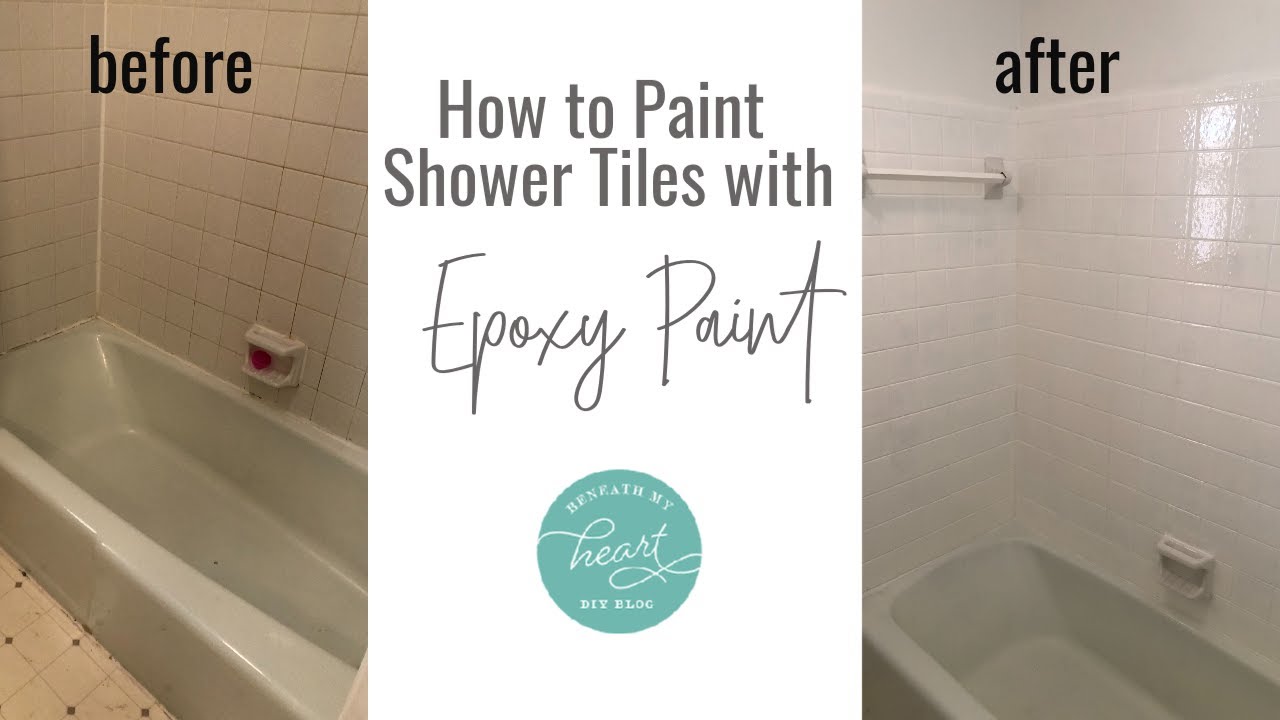
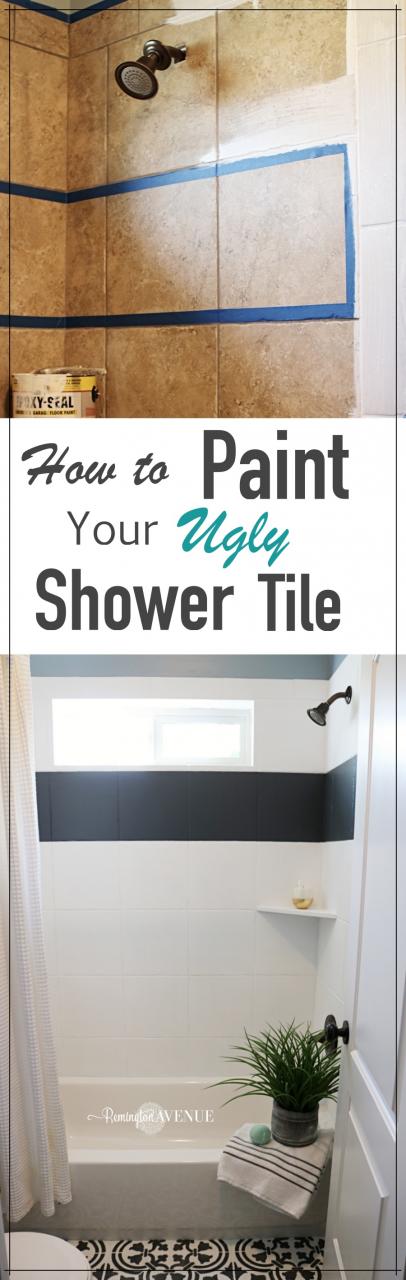
How to Paint Shower Tile – Remington Avenue

Can You Paint Bathroom or Shower Tiles? (Step by Step Guides)
Refinishing ceramic tile in my bathroom (before and after)

How to Paint Shower Tile – Remington Avenue
Can Bathroom Tiles Be Painted? Pros, Cons And How To Paint
How to paint bathroom tile: floor, shower, backsplash
Related Posts:
- How To Remove And Replace Bathroom Tile
- Reglazing Bathroom Tile Cost
- Bathroom Tiles Green And White
- Vintage Bathroom Tile Restoration
- Bathroom Tiles Karachi
- Bathroom Tiles And Decor
- Pictures Of Bathroom Tile Showers
- Bathroom Tile Ideas Natural
- Bathroom Tile Floors Images
- Bathroom Tile Designs Photo Gallery


