Preparing for Tile Removal
Preparing for tile removal is a crucial step in ensuring a smooth and successful project. Whether you’re renovating your bathroom or simply updating the look, removing the old tiles from plaster walls requires careful planning and preparation. Below we provide you with a step-by-step guide on how to prepare for tile removal, ensuring a hassle-free experience.
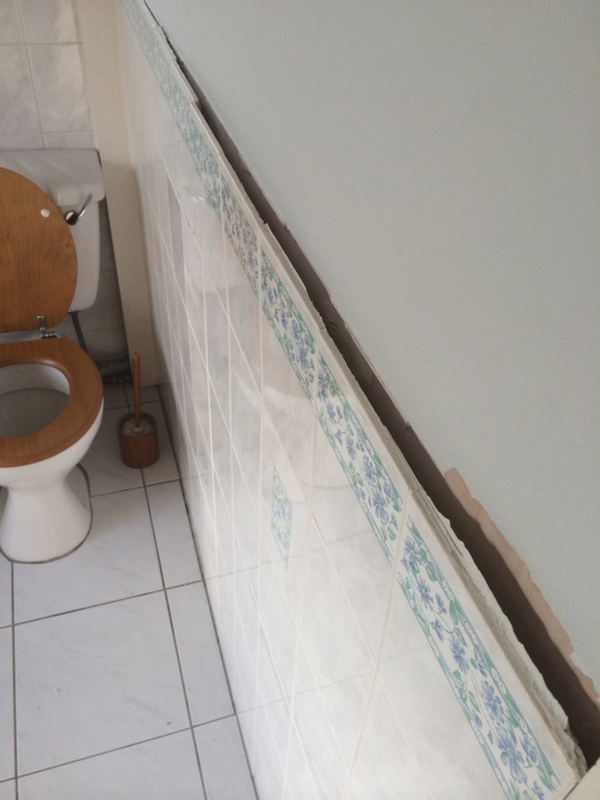
- Clearing the Space: The first step in preparing for tile removal is to clear the bathroom space. Remove any furniture, accessories, or fixtures that may obstruct your work area. This will provide you with ample space to maneuver and prevent any damage to your belongings during the tile removal process.
- Gathering the Right Tools: Having the right tools at hand is essential for a successful tile removal project. Some of the tools you will need include a hammer, chisel, pry bar, scraper, safety goggles, gloves, and a dust mask. Ensure that these tools are readily available before starting the project.
- Protecting Surfaces: Before you begin removing the tiles, it’s important to protect the surrounding surfaces. Cover the bathtub, sink, and any other fixtures with plastic sheets or drop cloths to prevent any damage or debris from falling on them. Additionally, use painter’s tape to secure the protective coverings in place.
- Ensuring Safety: Safety should be a top priority when removing bathroom tiles. Make sure to wear the appropriate safety gear, including safety goggles and gloves, to protect yourself from flying debris and sharp edges. It’s also advisable to wear a dust mask to prevent inhaling any dust or particles during the removal process.
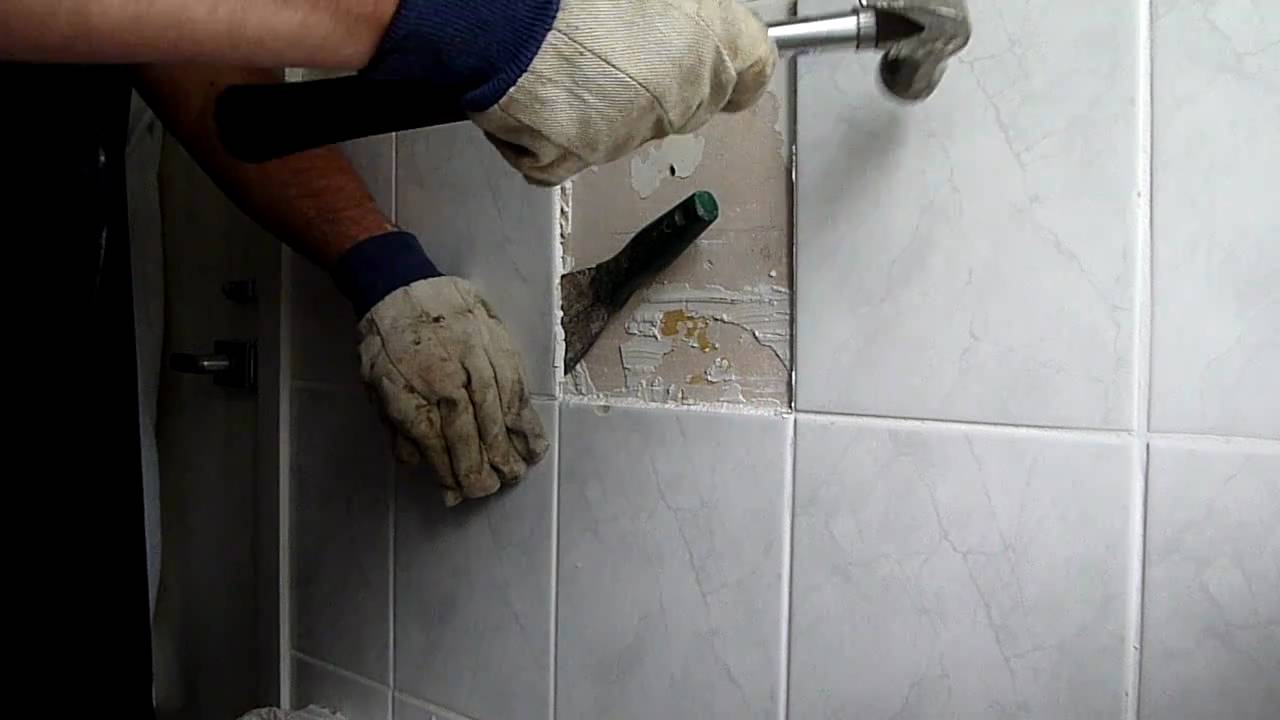
- Testing the Tiles: Before starting the removal, it’s wise to test a few tiles to determine the best approach for removal. Use a hammer and chisel to carefully remove a few tiles, observing the condition of the plaster walls underneath. This will help you assess the difficulty level and adjust your approach accordingly.
- Preparing for Clean-Up: Last, it’s important to prepare for the clean-up process. Place a tarp or drop cloth on the floor to catch any debris or tile fragments that may fall during removal. This will make the clean-up process much easier and prevent damage to your flooring.

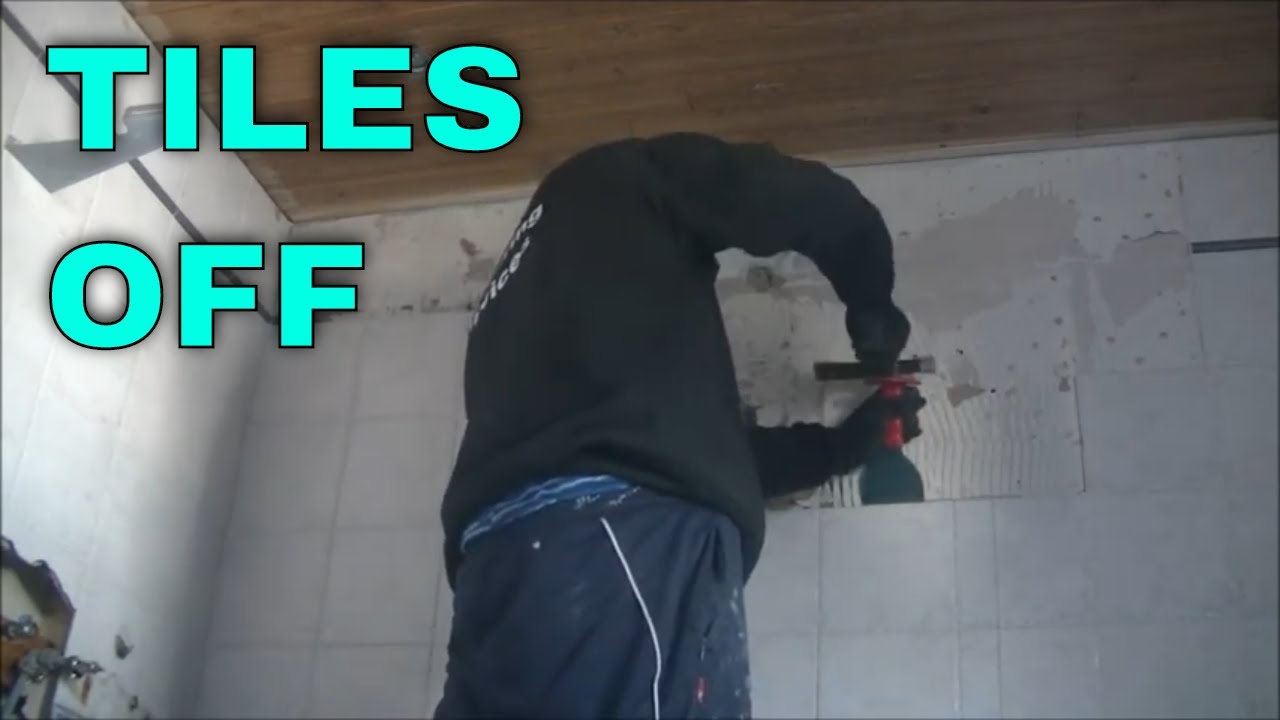
Tools and Techniques for Safely Removing Bathroom Tile from Plaster Walls
When it comes to removing bathroom tiles from plaster walls, having the right tools and using the proper techniques is crucial. Here are the essential tools and techniques for safely removing bathroom tile, ensuring a smooth and efficient process.
Essential Tools: Before starting the tile removal process, it’s important to gather the essential tools. These include a hammer, chisel, pry bar, scraper, grout saw, safety goggles, gloves, and a dust mask. Having these tools on hand will make the removal process much easier and safer.
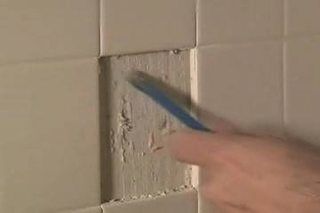
Removing Grout: The first step in removing bathroom tiles is to remove the grout surrounding them. Use a grout saw to carefully scrape away the grout, ensuring not to damage the surrounding tiles or plaster walls. This will make it easier to remove the tiles without causing unnecessary damage.
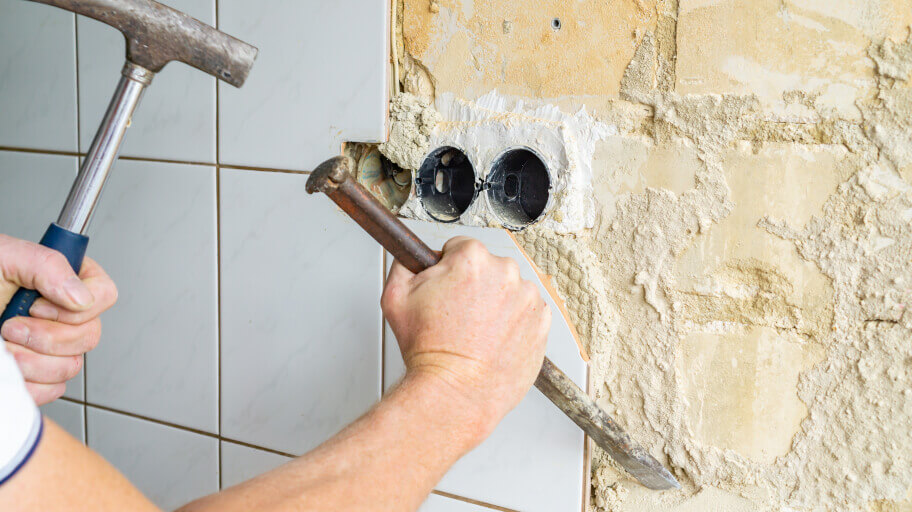
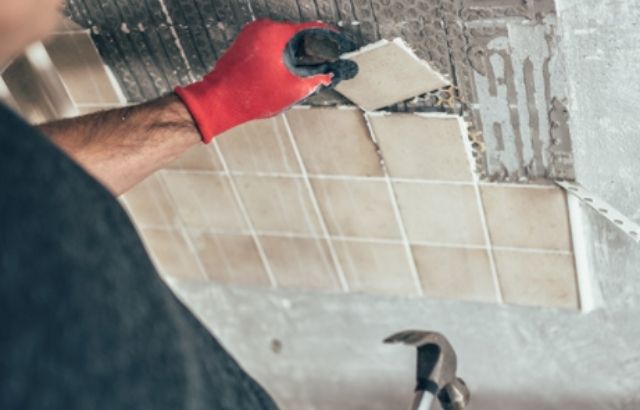
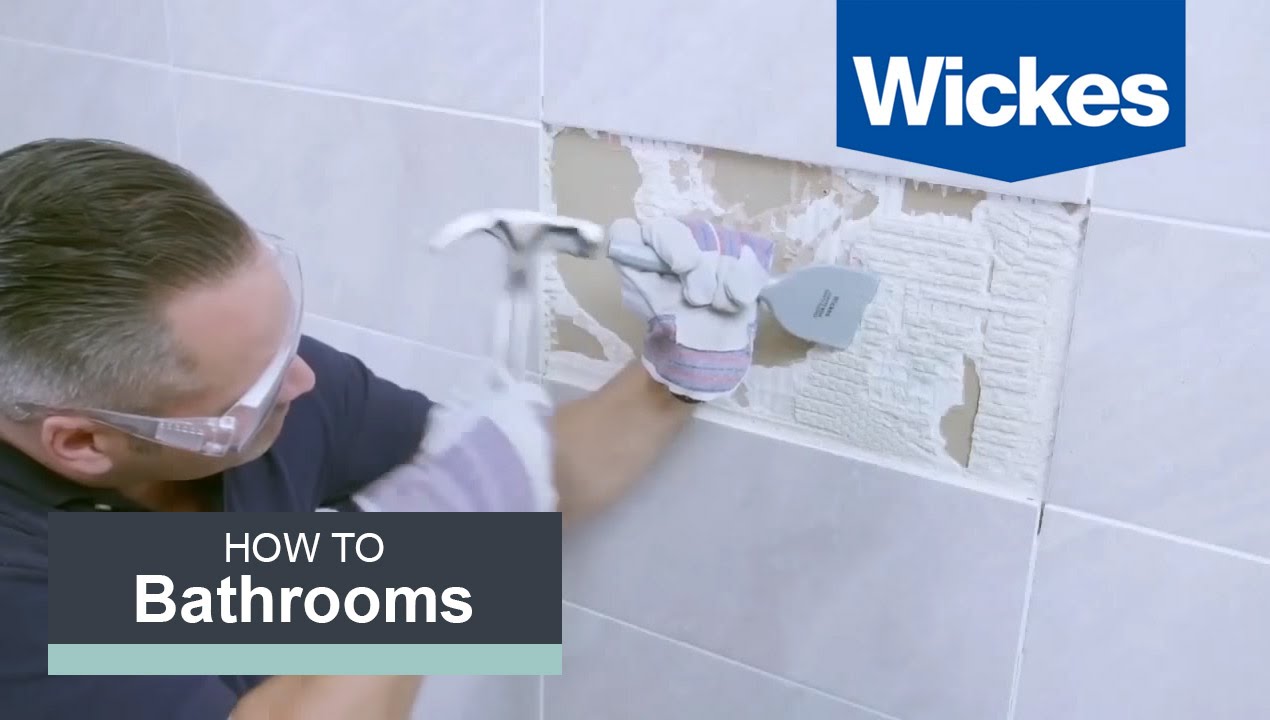
Tile Removal Techniques: There are several techniques you can use to remove bathroom tiles from plaster walls. One common method is to use a hammer and chisel to gently tap and pry the tiles away from the wall. Start at one corner and work your way across, being careful not to damage the plaster underneath.
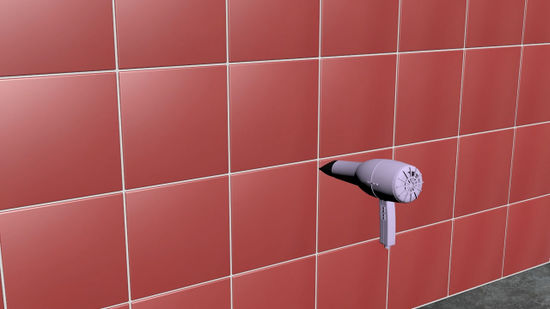
Dealing with Stubborn Tiles: In some cases, you may encounter stubborn tiles that are difficult to remove. For these tiles, consider using a heat gun or hairdryer to soften the adhesive. Apply heat to the tile for a few minutes, then try removing it with a chisel or scraper. The heat will help loosen the adhesive, making the removal process easier.
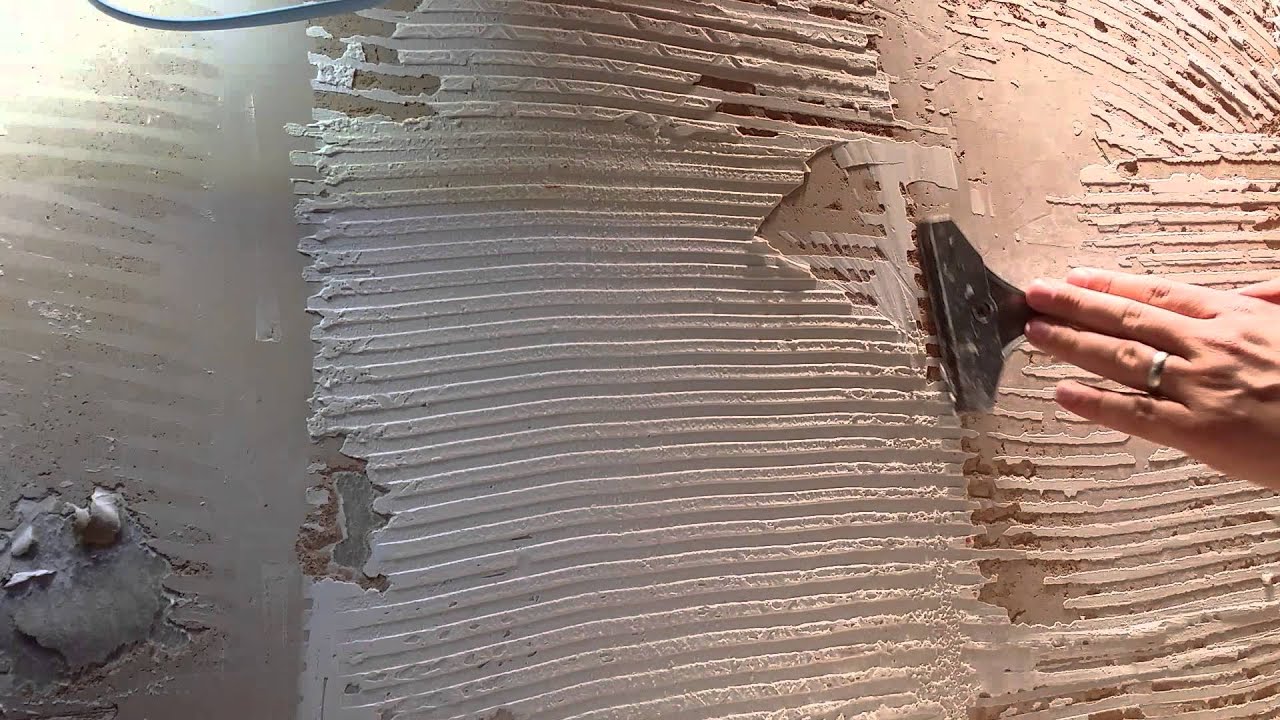
Removing Adhesive Residue: After removing the tiles, you may be left with adhesive residue on the plaster walls. To remove this residue, use a scraper or adhesive remover specifically designed for this purpose. Apply the adhesive remover to the residue, let it sit for a few minutes, and then scrape it off using a scraper or putty knife.
Clean-Up and Finishing Touches: Once all the tiles and adhesive residue have been removed, it’s time for clean-up. Use a broom or vacuum cleaner to remove any debris or tile fragments from the floor. Wipe down the plaster walls with a damp cloth to remove any remaining dust or residue.
Dealing with Adhesive Residue
After removing bathroom tiles from plaster walls, dealing with adhesive residue is often a common challenge. Here are some tips for effectively dealing with adhesive residue, ensuring a clean and smooth tile removal process.
Assessing the Residue: Before tackling the adhesive residue, it’s important to assess the extent of the problem. Inspect the plaster walls and determine the type of adhesive used. Different adhesives may require different removal methods, so understanding the nature of the residue will guide your approach.
Using Adhesive Remover: One effective method for removing adhesive residue is to use an adhesive remover. These products are specifically designed to break down and dissolve adhesives, making them easier to remove. Apply the adhesive remover to the residue, following the manufacturer’s instructions, and let it sit for the recommended amount of time.
Scraping and Scrubbing: After the adhesive remover has had time to work, use a scraper or putty knife to gently scrape away the softened residue. Be careful not to damage the plaster walls while scraping. For stubborn residue, a scrub brush or abrasive pad can be used to help loosen and remove the adhesive.
Natural Remedies: If you prefer a more natural approach, several household items can help remove adhesive residue. These include vinegar, baking soda, or lemon juice. Apply the chosen substance to the residue and use a cloth or sponge to scrub away the adhesive. Rinse with water afterward to remove any residue.
Heat Method: In some cases, applying heat can help soften the adhesive residue, making it easier to remove. Use a heat gun or hairdryer on a low setting to gently warm the residue. Once the adhesive softens, scrape it away using a scraper or putty knife. Be cautious with heat application to avoid damaging the plaster walls.
Finishing Touches: After removing the adhesive residue, it’s important to clean the plaster walls thoroughly. Use a damp cloth or sponge to wipe away any remaining residue or dust. Allow the walls to dry completely before proceeding with any further renovations or wall coverings.
Repairing Plaster Walls After Tile Removal
Once you’ve successfully removed bathroom tiles from plaster walls, it’s important to repair and restore the surface for a fresh start. Below are the necessary steps and techniques for repairing plaster walls after tile removal, ensuring a smooth and even surface for your new wall coverings.
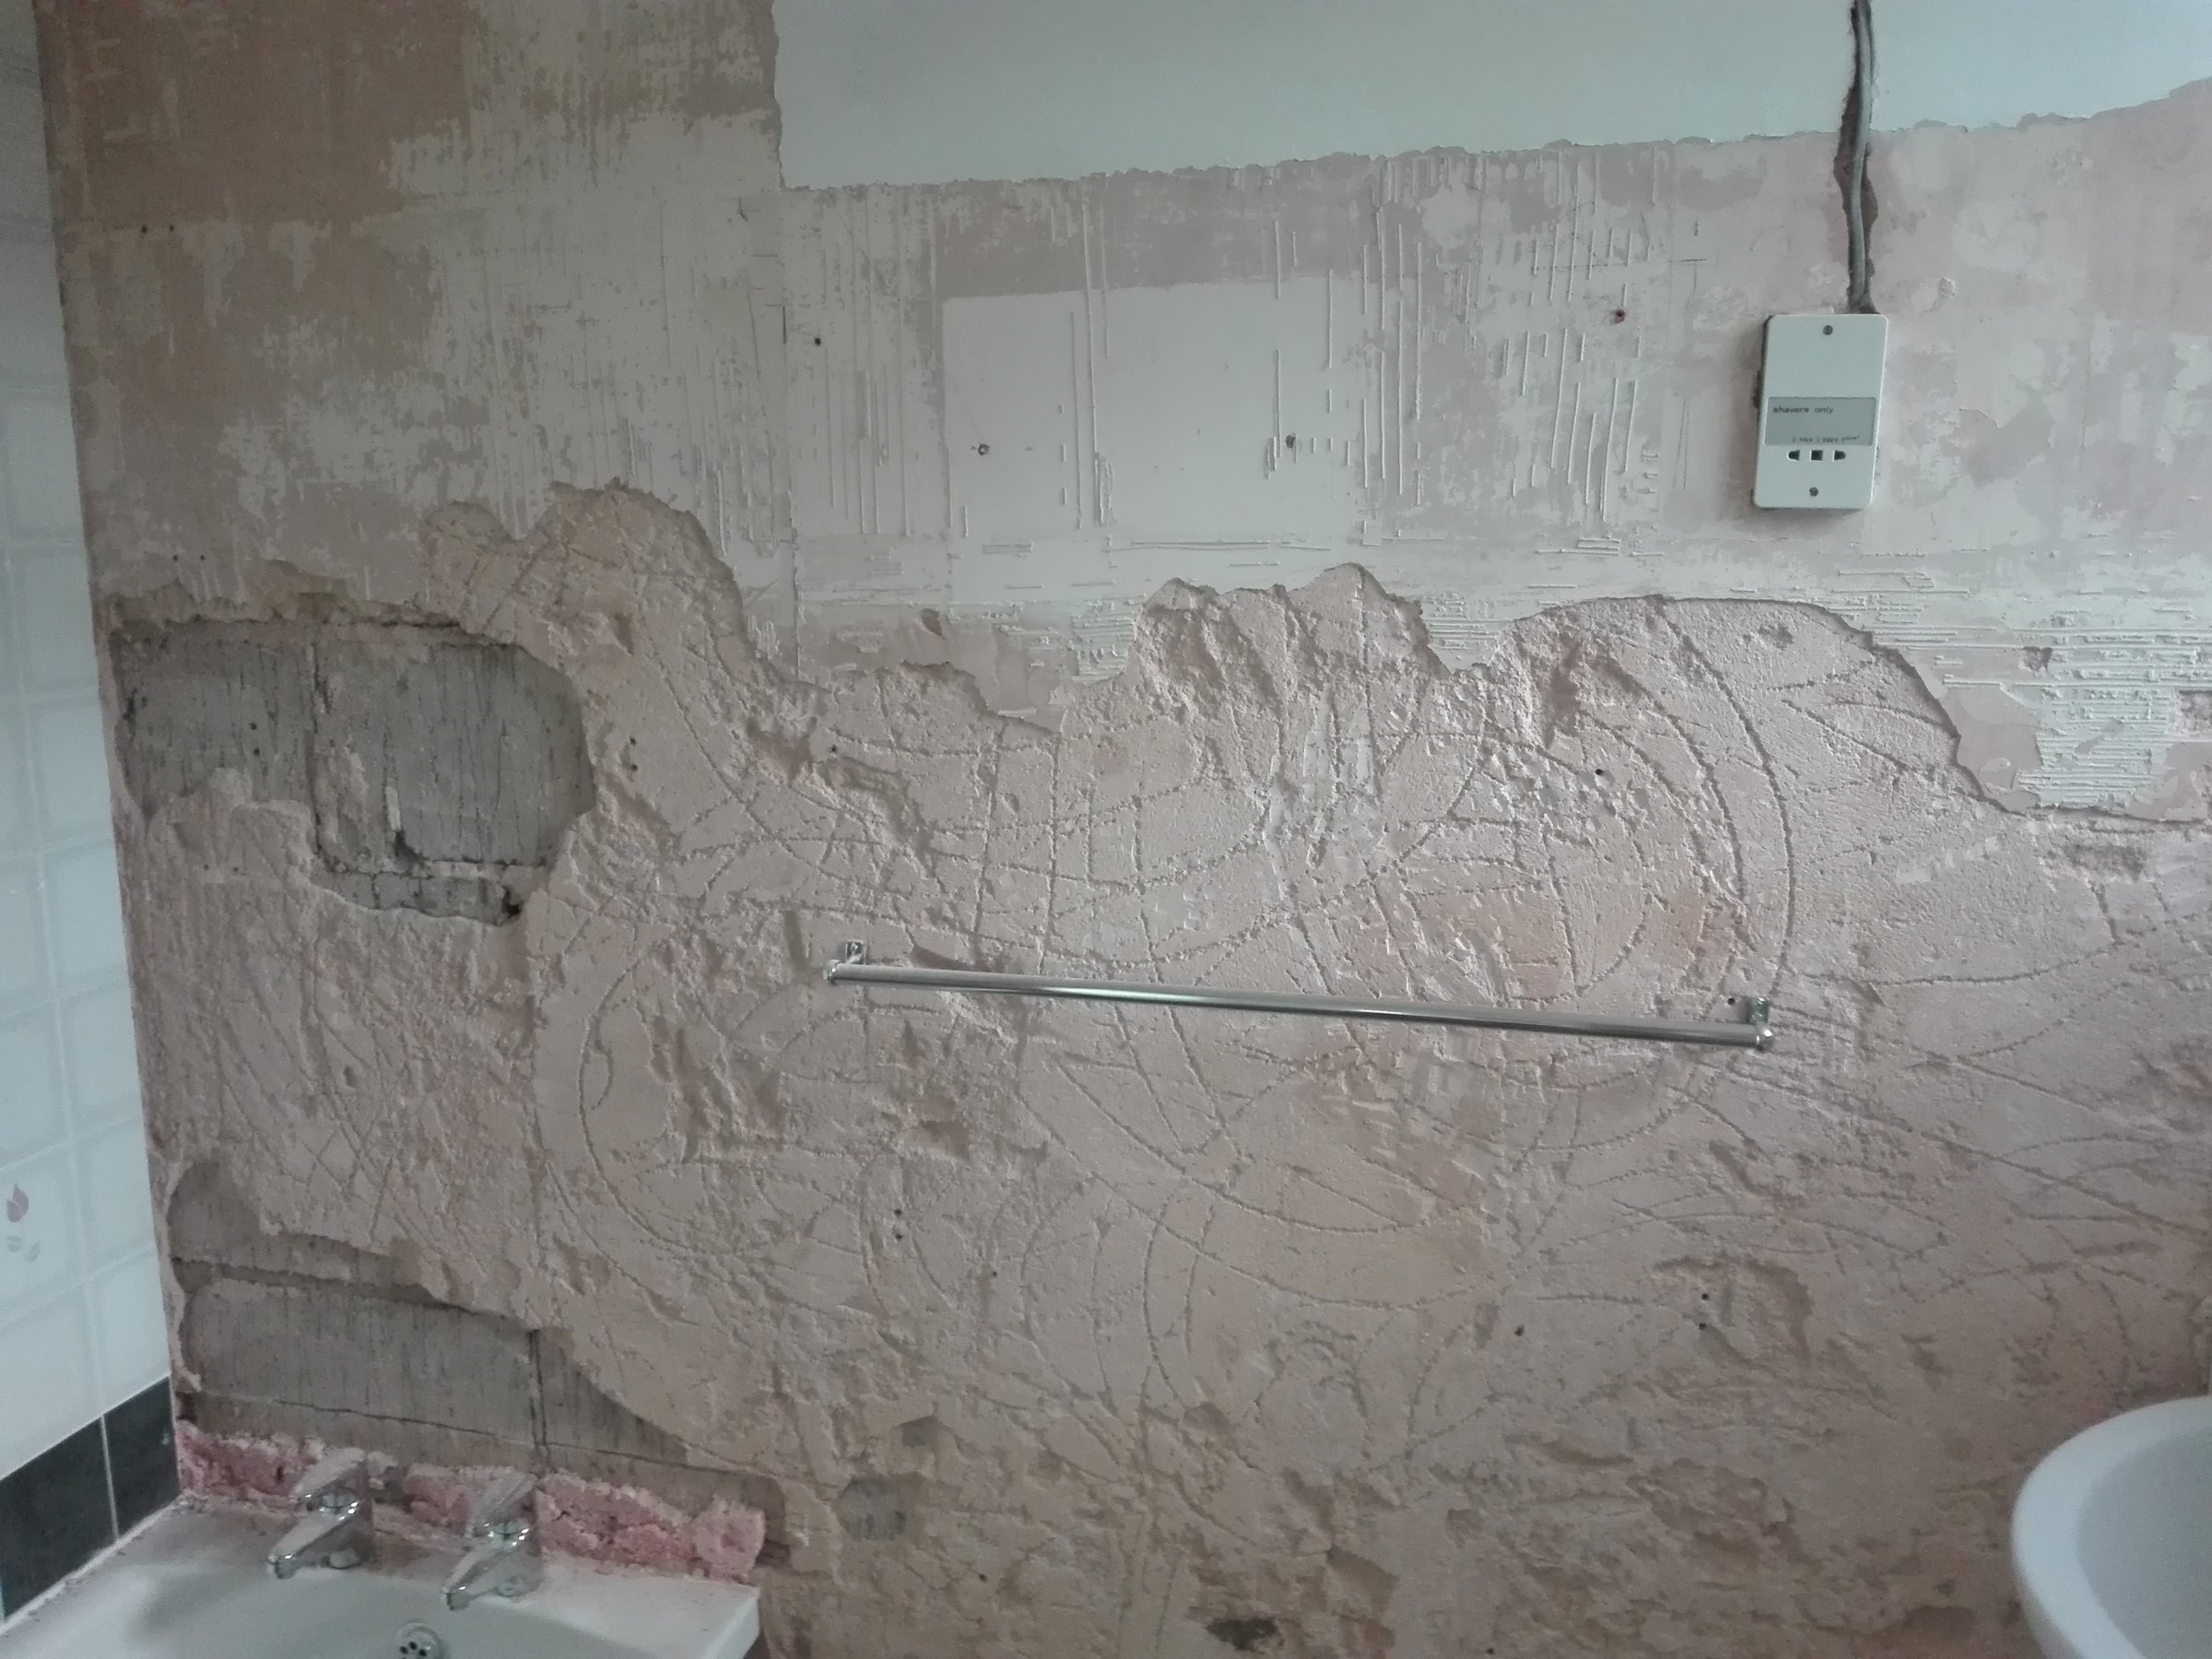
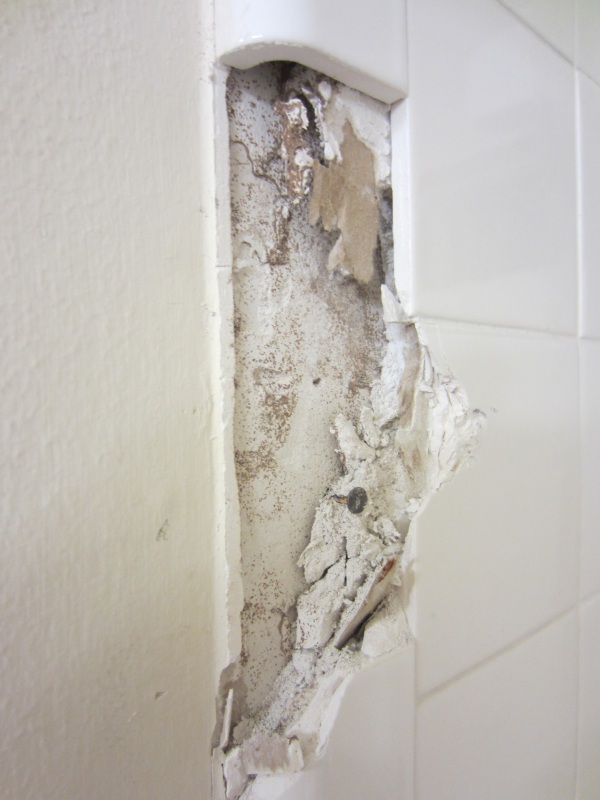
Assessing the Damage: Before starting the repair process, carefully assess the condition of the plaster walls. Look for any cracks, holes, or damage caused during the tile removal process. Understanding the extent of the damage will guide your repair approach.
Filling Holes and Cracks: To repair small holes or cracks in the plaster walls, use a patching compound or spackle. Apply a thin layer of the compound to the damaged area, smoothing it out with a putty knife. Allow it to dry according to the manufacturer’s instructions, and then sand it down to create a smooth surface.
Skim Coating: If the plaster walls have extensive damage or uneven surfaces, consider skim-coating the entire wall. Skim coating involves applying a thin layer of joint compound or plaster over the entire wall to create a smooth and even surface. Use a trowel or putty knife to apply the compound, working in even strokes. Allow it to dry completely, and then sand it down for a seamless finish.
Sanding and Priming: After repairing the plaster walls, it’s important to sand them down to create a smooth and even surface. Use fine-grit sandpaper or a sanding block to gently sand the repaired areas. Wipe away any dust with a damp cloth, and then apply a primer to the walls. The primer will help create a bond between the repaired surface and the new wall coverings.
Texturing: If you prefer a textured finish on your plaster walls, now is the time to apply it. There are various texturing techniques you can use, such as stippling, sponge painting, or using a textured roller. Experiment with different techniques to achieve the desired texture for your walls
Painting or Wallpapering: Once the repaired plaster walls are smooth, even, and textured to your liking, it’s time to choose your desired wall covering. You have the option to paint the walls or apply wallpaper for a fresh and new look. Consider the style and color scheme you want to achieve in your bathroom and choose a paint color or wallpaper pattern that complements your design vision.
Painting Process: If you decide to paint the walls, start by applying a coat of primer specifically designed for plaster surfaces. This will ensure proper adhesion and help the paint achieve a smooth finish. Once the primer is dry, apply your chosen paint color using a roller or brush. Allow the first coat to dry completely before applying a second coat if needed.
Wallpaper Application: For those who prefer wallpaper, make sure to select a type that is suitable for bathrooms and can withstand moisture. Prepare the walls by applying a wallpaper primer to ensure proper adhesion. Follow the manufacturer’s instructions for wallpaper application, carefully aligning the patterns and smoothing out any air bubbles or wrinkles as you go.
Finishing Touches: After painting or wallpapering, take the time to inspect the walls for any imperfections. Touch up any areas that may need additional paint or smoothing. Clean up any stray paint or wallpaper paste, and ensure that the edges and corners are neat and well-defined. This attention to detail will result in a polished and professional finish.
Enjoying the Fresh Look: With the plaster walls repaired and the new wall coverings in place, step back and admire the fresh look of your bathroom. Take a moment to appreciate the time and effort you put into restoring the surface, and enjoy the transformed space.
Exploring Your Options for Bathroom Wall Coverings
Once you’ve removed the old bathroom tiles and repaired the plaster walls, it’s time to choose a new look for your bathroom. The wall coverings you select will play a significant role in defining the style and ambiance of the space. Below are various options for bathroom wall coverings, allowing you to find the perfect choice for your desired aesthetic.
Paint: Painting the bathroom walls is a classic and versatile option. It allows for endless color choices and can easily be updated as trends change. Opt for moisture-resistant paint specifically designed for bathroom use. Consider light and neutral tones for a clean and airy feel or bold and vibrant colors for a dramatic statement. Don’t be afraid to experiment with different paint finishes, such as matte, satin, or semi-gloss, to achieve the desired look.
Wallpaper: Wallpaper has made a comeback in recent years, offering a wide range of patterns, textures, and styles. Choose a wallpaper specifically designed for bathrooms, as it will be more resistant to moisture and humidity. From subtle floral prints to bold geometric designs, there’s a wallpaper to suit every taste. Consider accent walls or feature areas to create visual interest and make a statement.
Tile: While you’ve removed the old bathroom tiles, it doesn’t mean you can’t consider new ones. Tiles are a popular choice for bathroom wall coverings due to their durability and ease of maintenance. Consider using tiles as accent pieces or to create a focal point in the bathroom. Subway tiles, mosaic tiles, or decorative tiles can add texture and visual interest to the space. Ensure that the tiles are suitable for bathroom use and properly sealed to prevent water damage.
Natural Stone: For a luxurious and organic look, consider using natural stone as a wall covering. Options like marble, granite, or travertine can add a touch of elegance and sophistication to your bathroom. Natural stone can be used as a full wall covering or as an accent piece. Keep in mind that natural stone requires proper sealing and maintenance to prevent stains and damage.
Paneling: Wood paneling can bring warmth and texture to your bathroom. Choose moisture-resistant wood, such as cedar or teak, and ensure it is properly sealed to withstand the bathroom environment. Paneling can be used on a full wall or as wainscoting to create a stylish and timeless look. Consider painting or staining the wood to match your desired aesthetic.
Textured Wall Coverings: If you’re looking for a unique and textured look, consider textured wall coverings. Options such as textured paint, fabric, or 3D wall panels can add depth and visual interest to your bathroom. These coverings can be used as an accent wall or on specific sections of the bathroom to create a focal point.
How can I remove the tile from this wall?
Preparing Walls For Tiling – Removing Old Tiles
Bathroom Wall Tiles Removal
How to Remove Wall Tiles Without Damaging Plasterboard –
How to remove tile adhesive from plasterboard walls.
How to Remove Wall Tiles: 11 Steps (with Pictures) – wikiHow
How to Remove Wall Tiles: 11 Steps (with Pictures) – wikiHow

How to Remove Bathroom Tile Without Damaging the Plaster Walls
How to Remove and Replace Tiles with Wickes
Related Posts:


