Understanding the Causes of Broken Bathroom Tiles
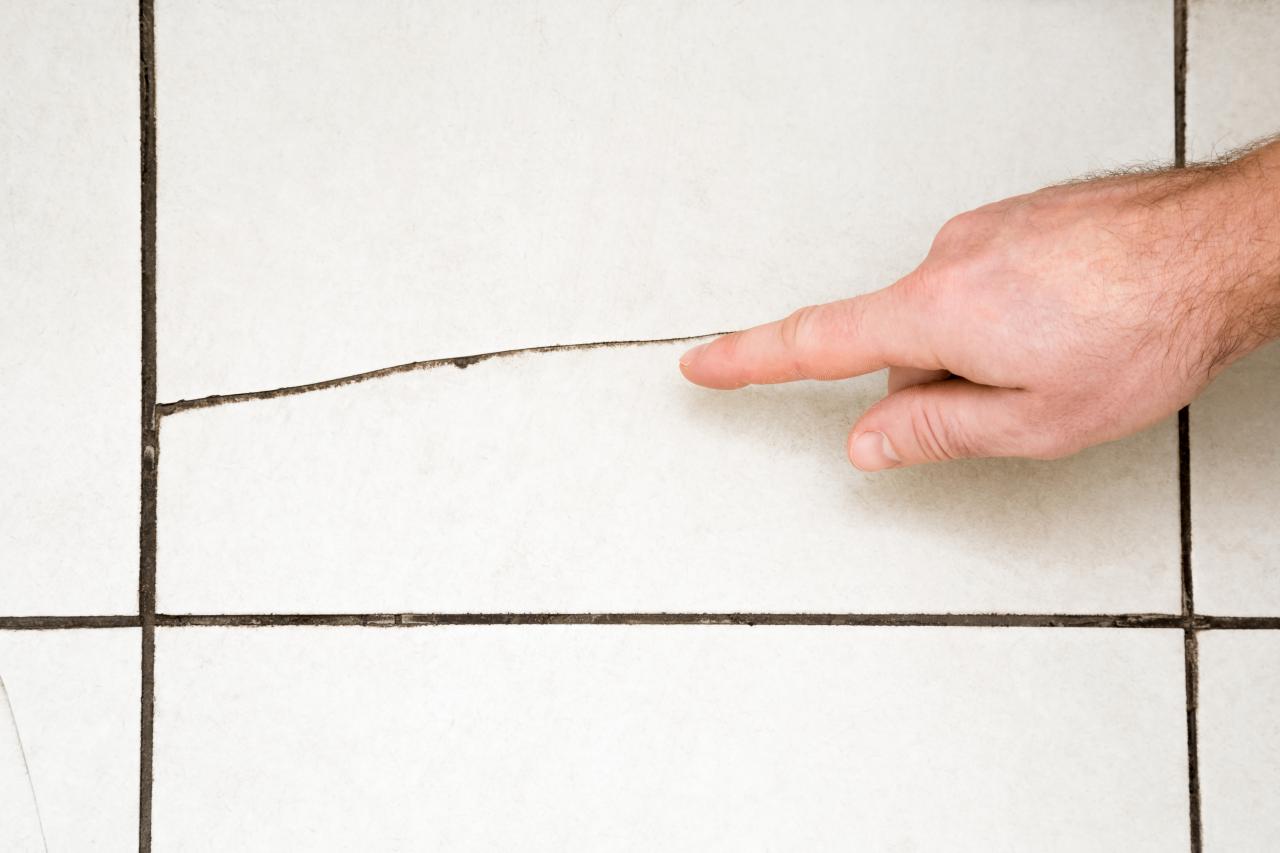
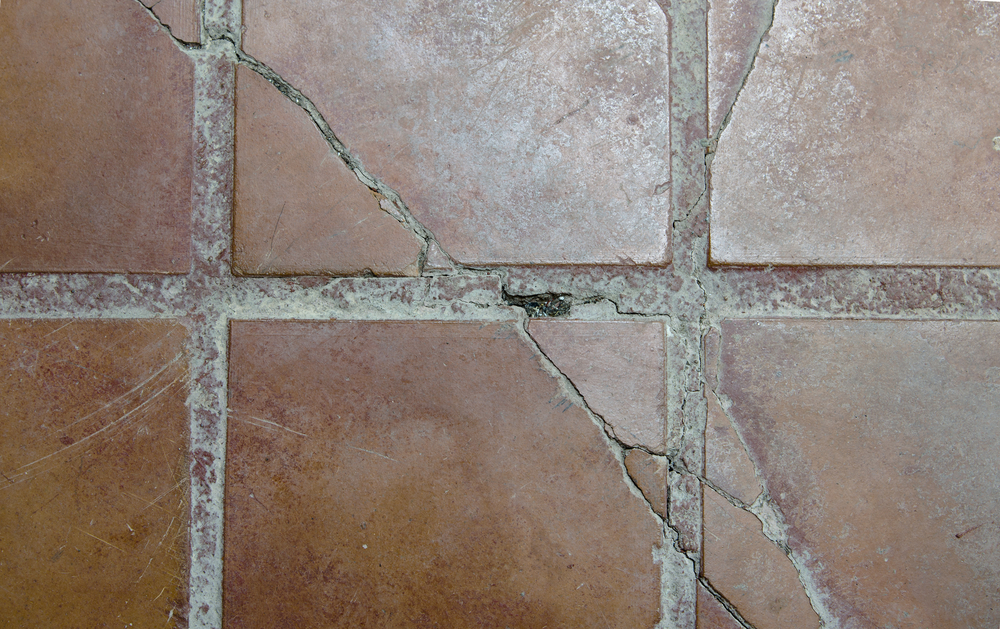
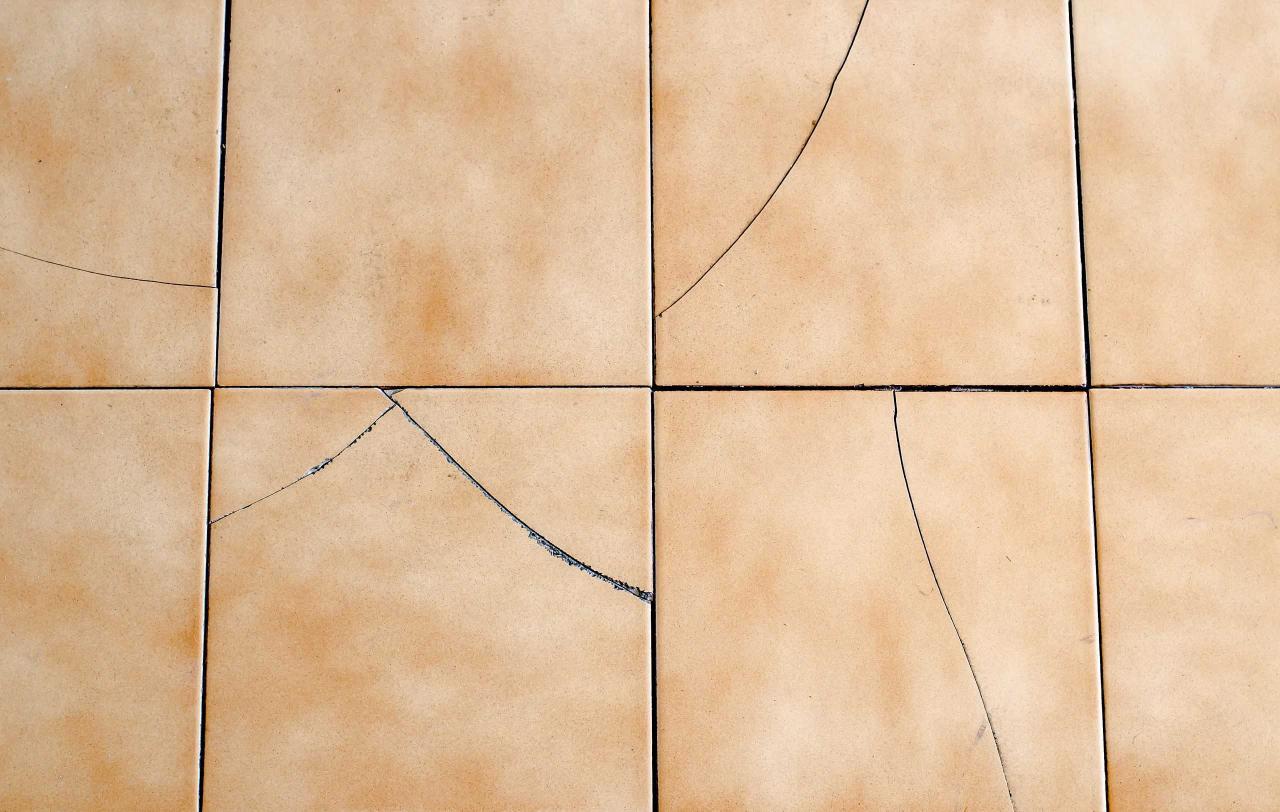
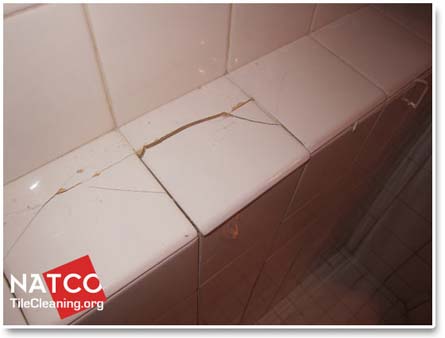
Broken bathroom tiles can be a frustrating and unsightly issue. Understanding the causes behind this problem is crucial to prevent further damage and ensure a long-lasting solution. Let’s find out some common causes of broken bathroom tiles and provide insights on how to address them effectively.
- Poor Installation: One of the primary causes of broken bathroom tiles is poor installation. Improperly applied adhesive or insufficiently leveled surfaces can result in weak bond strength, leading to tile breakage over time. To avoid this, it is essential to hire a professional or ensure proper installation techniques if you’re doing it yourself.
- Impact and Heavy Objects: Bathroom tiles are prone to breaking when subjected to heavy impacts or when heavy objects are dropped on them. This can occur due to accidents, minor falls, or even by dropping heavy items like shampoo bottles. Avoid such situations by being cautious and handling items carefully in the bathroom.
- Moisture and Water Damage: Moisture and water damage are common culprits behind broken bathroom tiles. Excessive water exposure weakens the adhesive, causing tiles to loosen and eventually crack. This is particularly true in areas prone to water splashes, such as shower walls and floors. Ensure proper sealing, and regular maintenance, and use waterproof materials in areas where water damage is likely.
- Subfloor Issues: Tile breakage can also occur due to underlying subfloor problems. Uneven or weak subfloors can cause tiles to crack under stress. It is crucial to address any subfloor issues before installing or replacing tiles. Ensure that the subfloor is stable, level, and strong enough to support the tiles.
- Temperature and Climate Changes: Extreme temperature changes can expand or contract bathroom tiles, leading to cracks and breakages. This is particularly relevant in regions with fluctuating climates. To minimize the impact of temperature changes, use high-quality, flexible adhesives and grouts that can accommodate slight movements without compromising tile integrity.

What You’ll Need to Fix Broken Bathroom Tiles
Fixing broken bathroom tiles requires the right tools and materials to ensure a successful repair. Let’s discuss the essential tools and materials you’ll need to tackle this task effectively. By having the right equipment on hand, you can save time and effort and achieve a professional-looking result.
Safety Gear:
Before starting any tile repair project, it’s essential to prioritize safety. Make sure you have the following safety gear:
- Safety goggles: Protect your eyes from debris and tile fragments.
- Dust mask: Prevent inhaling dust particles during tile removal and cutting.
- Gloves: Keep your hands protected from sharp edges and adhesives.
Tile Removal Tools:
To remove a broken tile, you’ll need the following tools:
- Chisel: Use a cold chisel to carefully chip away the grout and loosen the broken tile.
- Hammer: Pair the chisel with a hammer for added force when removing the tile.
- Tile nipper: This tool helps you trim or shape tiles for a perfect fit during replacement.
Adhesive and Grout Tools:
To replace the broken tile, you’ll need the following tools:
- Adhesive: Choose a high-quality adhesive suitable for your specific tile and substrate.
- Notched trowel: Use a notched trowel to apply the adhesive evenly on the subfloor.
- Grout float: This tool helps you apply grout smoothly and evenly into the gaps between tiles.
- Sponge: Use a damp sponge to wipe away excess grout and clean the tiles.
Tile Cutting Tools:
If you need to cut tiles to fit specific areas, you’ll need the following tools:
- Tile cutter: Use a manual tile cutter or a wet saw to cut tiles with precision.
- Tile file: Smooth the edges of cut tiles with a tile file for a clean finish.
Level and Measuring Tools:
To ensure a seamless repair, you’ll need accurate measurements and a level:
- Tape measure: Measure the dimensions of the broken tile and the area for replacement.
- Level: Ensure the tiles are installed straight and level by using a bubble or laser level.
How to Remove and Replace a Broken Bathroom Tile
Removing and replacing a broken bathroom tile may seem like a daunting task, but with the right steps, it can be a straightforward process. We will provide a step-by-step guide to help you remove and replace a broken bathroom tile effectively. By following these instructions, you can achieve a seamless repair and restore the beauty of your bathroom.
Gather the Necessary Tools and Materials:
Before you begin, gather the following tools and materials:
- Safety gear (goggles, dust mask, gloves)
- Chisel
- Hammer
- Tile nipper
- Adhesive
- Notched trowel
- Grout float
- Sponge
- Replacement tile
Prepare the Work Area: Clear the area around the broken tile and ensure there is enough space to work comfortably. Lay down protective sheets or towels to prevent damage to the surrounding tiles or floor.
Remove the Grout: Use a chisel and hammer to carefully chip away the grout surrounding the broken tile. Start from the center and work your way towards the edges. Be cautious not to damage the adjacent tiles.
Loosen and Remove the Broken Tile: Using the chisel or a tile nipper, gently break the broken tile into smaller pieces. Carefully remove the broken tile fragments and clean the area to ensure a smooth surface for the replacement.
Apply the Adhesive: Prepare the adhesive according to the manufacturer’s instructions. Use a notched trowel to apply a thin, even layer of adhesive on the subfloor. Make sure the adhesive covers the entire area where the replacement tile will be placed.
Install the Replacement Tile: Carefully place the replacement tile onto the adhesive, pressing it firmly to ensure good adhesion. Wiggle the tile slightly to ensure it is level and aligned with the surrounding tiles. Use a level to double-check its position.
Apply Grout: Once the adhesive has dried, use a grout float to apply grout into the gaps between the tiles. Hold the float at a 45-degree angle and push the grout into the joints. Remove any excess grout from the tile surface with a damp sponge.
Let the Grout Cure: Allow the grout to cure for the recommended time specified by the manufacturer. Avoid walking on the repaired area during this time to ensure a strong bond.
Clean and Polish the Tiles: Once the grout has fully cured, clean the tiles with a damp cloth to remove any grout residue. Polish the tiles to restore their shine and ensure a finished look.

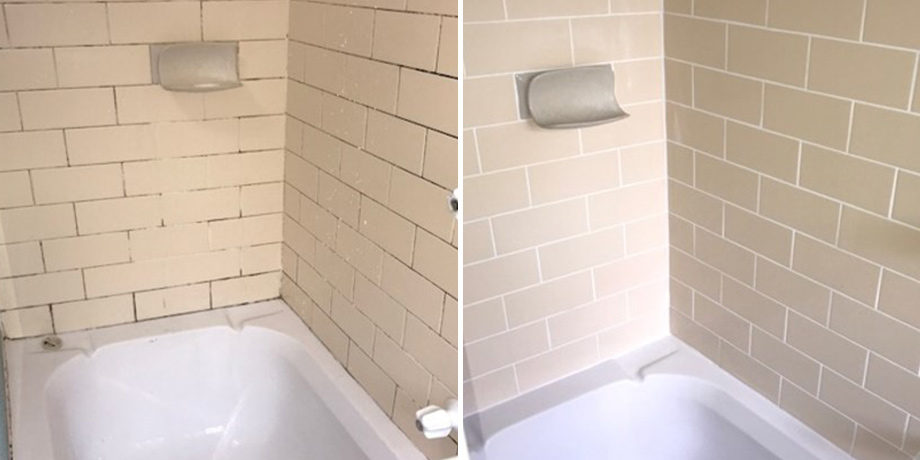
Tips for a Seamless Repair: Ensuring a Professional-looking Finish
When it comes to fixing broken bathroom tiles, achieving a seamless repair is essential for a professional-looking finish. We will provide you with some valuable tips to ensure your tile repair project results in a flawless and aesthetically pleasing outcome. By following these tips, you can take your repair skills to the next level and achieve a seamless finish that blends seamlessly with the rest of your bathroom tiles.
Select a Matching Replacement Tile: To ensure a seamless repair, choose a replacement tile that closely matches the color, pattern, and texture of the existing tiles in your bathroom. This will help the repaired area blend in seamlessly with the rest of the floor or wall.
Pay Attention to Grout Color: When selecting grout for the repaired area, choose a color that matches the existing grout. Using a different grout color can draw attention to the repaired section, making it more noticeable. A consistent grout color will help create a cohesive look.
Use the Proper Adhesive: Ensure that you use the correct type of adhesive for the specific tile material and the area in which it will be installed. Different tiles require different adhesives, such as thin-set mortar or mastic. Using the right adhesive will ensure a strong bond and prevent future tile breakage.
Take Time for Proper Alignment: When installing the replacement tile, take the time to align it properly with the surrounding tiles. Use a level to ensure it is straight and flush with the adjacent tiles. A misaligned tile can disrupt the visual flow and detract from the overall appearance.
Apply Grout Carefully and Clean Excess Promptly: When applying grout, be diligent in filling the gaps evenly and completely. Use a grout float at a 45-degree angle to push the grout into the joints, ensuring a consistent finish. Promptly clean any excess grout from the tile surface with a damp sponge to avoid hard-to-remove residue.
Allow Sufficient Drying Time: To achieve a professional-looking finish, it is crucial to allow the adhesive and grout sufficient time to dry. Follow the manufacturer’s instructions for the recommended drying time before allowing foot traffic or exposing the repaired area to moisture.
Perform a Final Cleaning and Inspection: Once the repair is complete and the adhesive and grout have dried, thoroughly clean the repaired tiles to remove any remaining residue or smudges. Take a step back and inspect the repaired area from different angles to ensure a seamless blend with the surrounding tiles.
Consider Sealing the Grout: To protect the grout from staining and moisture penetration, consider applying a grout sealer. This will help maintain the appearance of the repaired area and extend the lifespan of the grout.
Maintenance Tips to Keep Your Bathroom Tiles Intact
After repairing broken bathroom tiles, it’s important to take preventative measures to ensure they stay intact for the long term. We will discuss some valuable maintenance tips to help you prevent future damage to your bathroom tiles. By following these tips, you can extend the lifespan of your tiles and maintain a beautiful and functional bathroom.
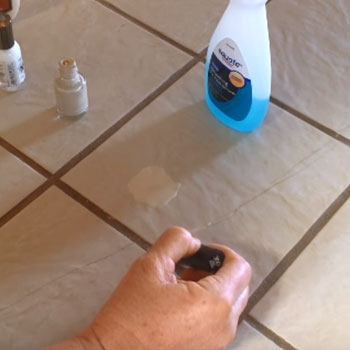
Regular Cleaning: Regular cleaning is essential for keeping your bathroom tiles in good condition. Use a mild cleaner or a mixture of vinegar and water to clean the tiles regularly, removing any dirt, grime, or soap residue. Avoid using abrasive cleaners or tools that can scratch the tile surface.
Gentle Cleaning Methods: When cleaning, use a soft sponge or cloth to avoid scratching the tiles. For stubborn stains or grout lines, opt for a soft-bristled brush. Be gentle yet thorough in your cleaning approach to avoid damaging the tiles.
Proper Grout Maintenance: Proper grout maintenance is crucial for tile integrity. Inspect the grout regularly for any signs of cracks or deterioration. Repair or replace damaged grout promptly to prevent water infiltration, which can weaken the adhesive and lead to tile breakage.
Seal the Grout: Consider applying a grout sealer to protect the grout lines from moisture, staining, and discoloration. A grout sealer forms a protective layer that prevents water and dirt from penetrating the grout, keeping it in good condition and prolonging its lifespan.
Use Bath Mats and Rugs: Place bath mats or rugs in areas where water is likely to splash, such as near the shower or sink. These mats will help absorb excess water and prevent it from pooling on the tiles, reducing the risk of water damage and tile breakage.
Avoid Harsh Chemicals: Avoid using harsh chemicals, such as bleach or acidic cleaners, on your bathroom tiles. These chemicals can damage the tile surface and compromise its integrity over time. Stick to mild cleaners and natural alternatives for regular maintenance.
Prevent Impact Damage: Be mindful of heavy objects or tools that may accidentally fall on the tiles. Avoid dropping heavy items like shampoo bottles or applying excessive force to the tiles. Taking precautions will help prevent impact damage and potential tile breakage.
Address Plumbing Issues: Leaking pipes or fixtures can cause water damage and compromise the integrity of your bathroom tiles. Regularly inspect your plumbing system for any signs of leaks or moisture buildup. Address plumbing issues promptly to prevent water damage to the tiles and surrounding areas.
How to Remove and Replace Tiles with Wickes

Home Improvement Bathroom repair, Bathroom wall tile, Diy tile

How To Fix A Broken Tile Without Replacing It – Upgraded Home
How to Replace a Broken Tile (Shower Wall Repair!)

How To Fix Broken Tile Without Replacing
How to Replace Cracked and Broken Shower Tiles
Water Damage Behind Shower Tiles

Related Posts:
- Bathroom Tile Floor Or Wall First
- Overstock Bathroom Tile
- Bathroom Tile Colour Scheme Ideas
- Bathroom Tiles On Wooden Floor
- Ideas For Bathroom Tiles Pictures
- Bathroom Tile Grout Removal
- Bathroom Tiles Design In Karachi
- Bathroom Tile Mildew Removal
- Ways To Clean Bathroom Tiles
- Bathroom Tiles Colors Small Bathrooms


