Identifying the Source of the Leak
When it comes to fixing a bathroom tile leak, the first and most crucial step is identifying the source of the problem. This step-by-step guide will help you locate the exact area of the leak, allowing you to proceed with the necessary repairs effectively.
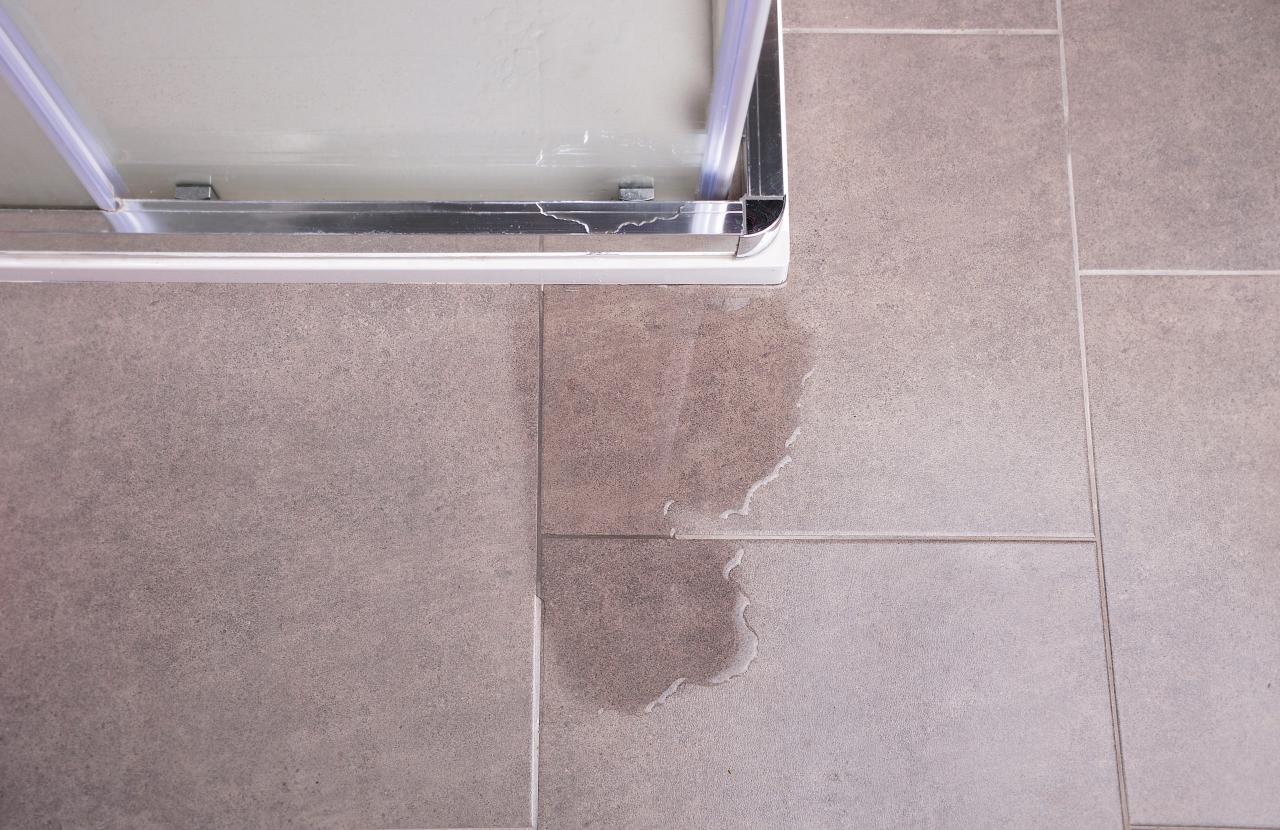
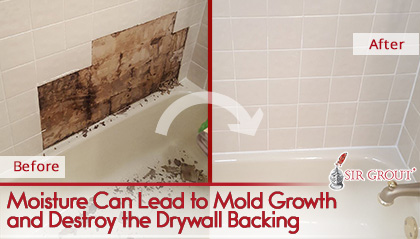
- Observe for Visible Signs: Start by visually inspecting the bathroom for any visible signs of water damage. Look for discoloration, peeling paint, or damp spots on the walls or ceiling adjacent to the bathroom. Pay close attention to areas surrounding the shower, bathtub, and sink, as these are common locations for tile leaks.
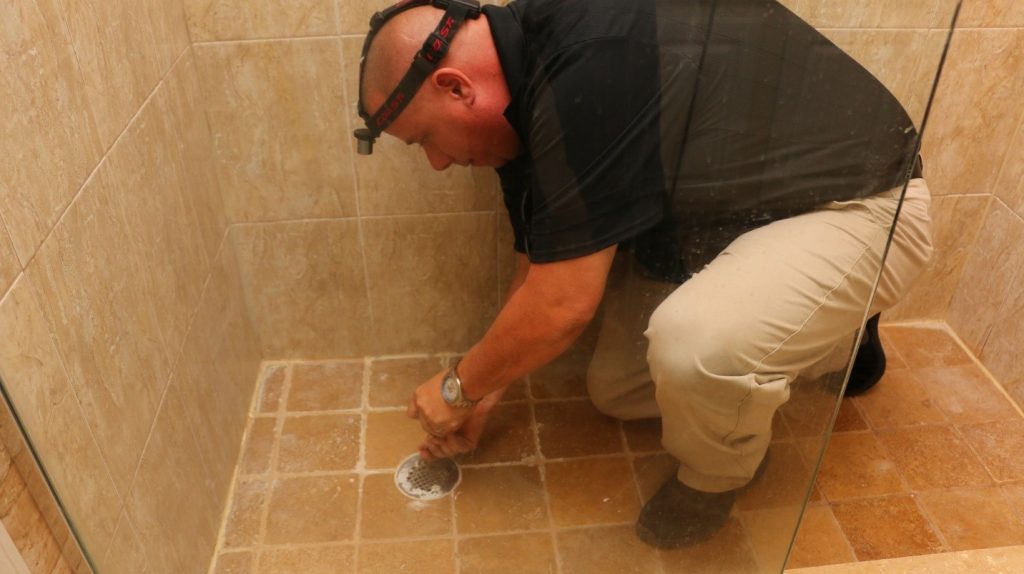
- Test the Shower and Faucets: Turn on the shower and faucets one at a time and observe if any water is leaking from the tiles or grout. Carefully inspect the area around the showerhead, faucet handles, and bathtub spout. If you notice any water seeping through the tiles, take note of the specific location.
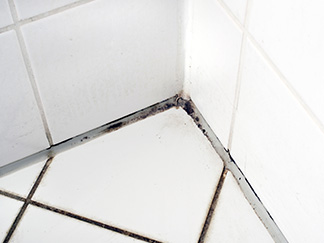
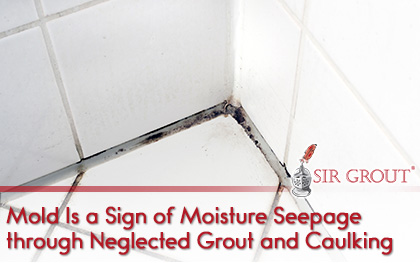
- Check the Grout and Caulk: Check the condition of the grout and caulk lines between the tiles. Cracked or deteriorated grout and caulk can be a common cause of tile leaks. Run your finger along the grout lines to feel for any gaps or irregularities. Inspect the caulk lines for cracks or gaps as well.
- Use a Moisture Meter: If you’re unable to locate the source of the leak visually, consider using a moisture meter. This handy tool can detect moisture levels behind the tiles, helping pinpoint the exact location of the leak. Follow the manufacturer’s instructions carefully to ensure accurate readings.
- Seek Professional Help if Needed: If you’ve followed the steps above and still can’t identify the source of the leak, it may be time to call a professional plumber or tile expert. They have specialized tools and expertise to detect hidden leaks and provide a solution. Remember, it’s better to seek professional help than to risk further damage by attempting repairs blindly.
Tools and Materials Needed for Repairing Bathroom Tile Leaks
Repairing a bathroom tile leak requires the right tools and materials to ensure a successful and lasting fix. This article will guide you through the essential items you’ll need to have on hand before starting any repairs.
- Safety Gear: Before you begin any repairs, prioritize your safety by wearing the appropriate gear. This includes safety goggles, gloves, and a dust mask. These items will protect your eyes, hands, and respiratory system from any potential hazards during the repair process.
- Grout and Caulk Removal Tools: To repair a tile leak, you’ll need to remove the damaged grout and caulk. Essential tools for this task include a grout saw or grout removal tool and a caulk removal tool. These tools will help you efficiently remove the old grout and caulk without damaging the surrounding tiles.
- Grout and Caulk Application Tools: Once you’ve removed the old grout and caulk, you’ll need tools to apply the new ones. A grout float or grout spreader is essential for spreading the grout evenly between the tiles. Additionally, a caulk gun will allow you to apply a smooth and consistent bead of caulk along the edges.
- Grout and Caulk: Invest in high-quality grout and caulk for long-lasting repairs. Choose a grout color that matches the existing grout in your bathroom to maintain a seamless look. Opt for a waterproof caulk that is specifically designed for bathrooms to ensure maximum effectiveness in preventing future leaks.
- Tile Replacement Tools: If you need to replace damaged tiles, you’ll require a few additional tools. These include a tile cutter or wet saw for cutting new tiles to the desired size, a notched trowel for applying adhesive, and a tile spacer for maintaining even spacing between tiles. Additionally, have a sponge or damp cloth on hand for cleaning excess adhesive or grout.
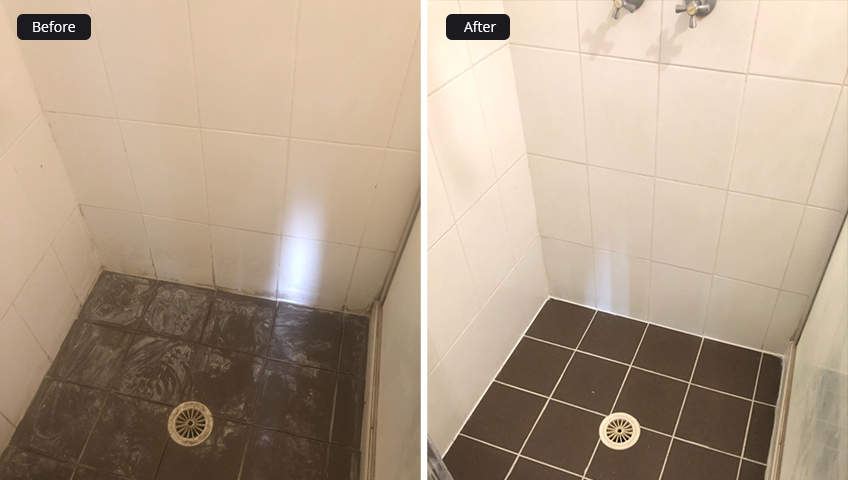
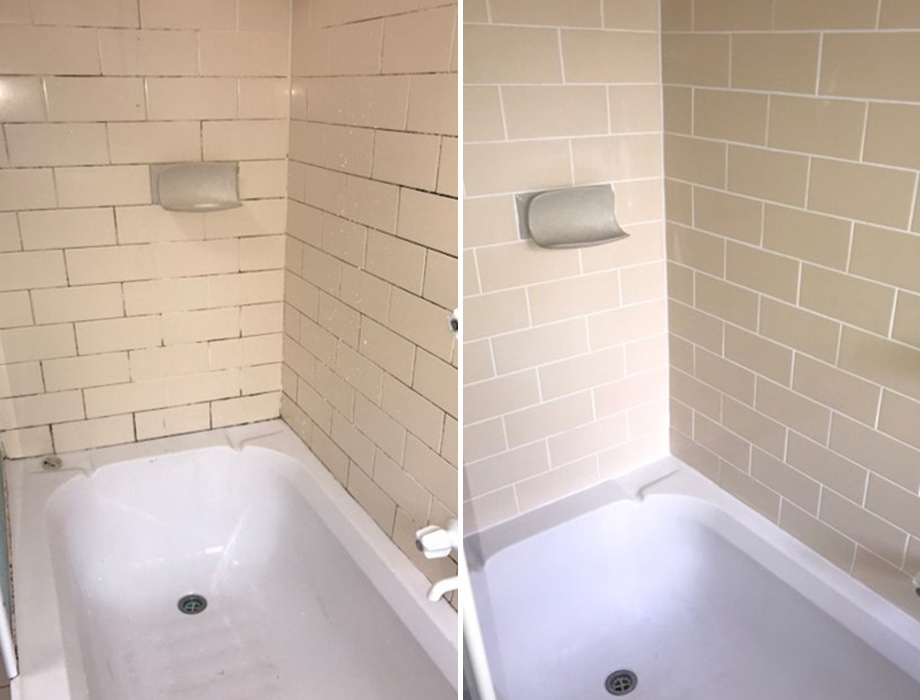
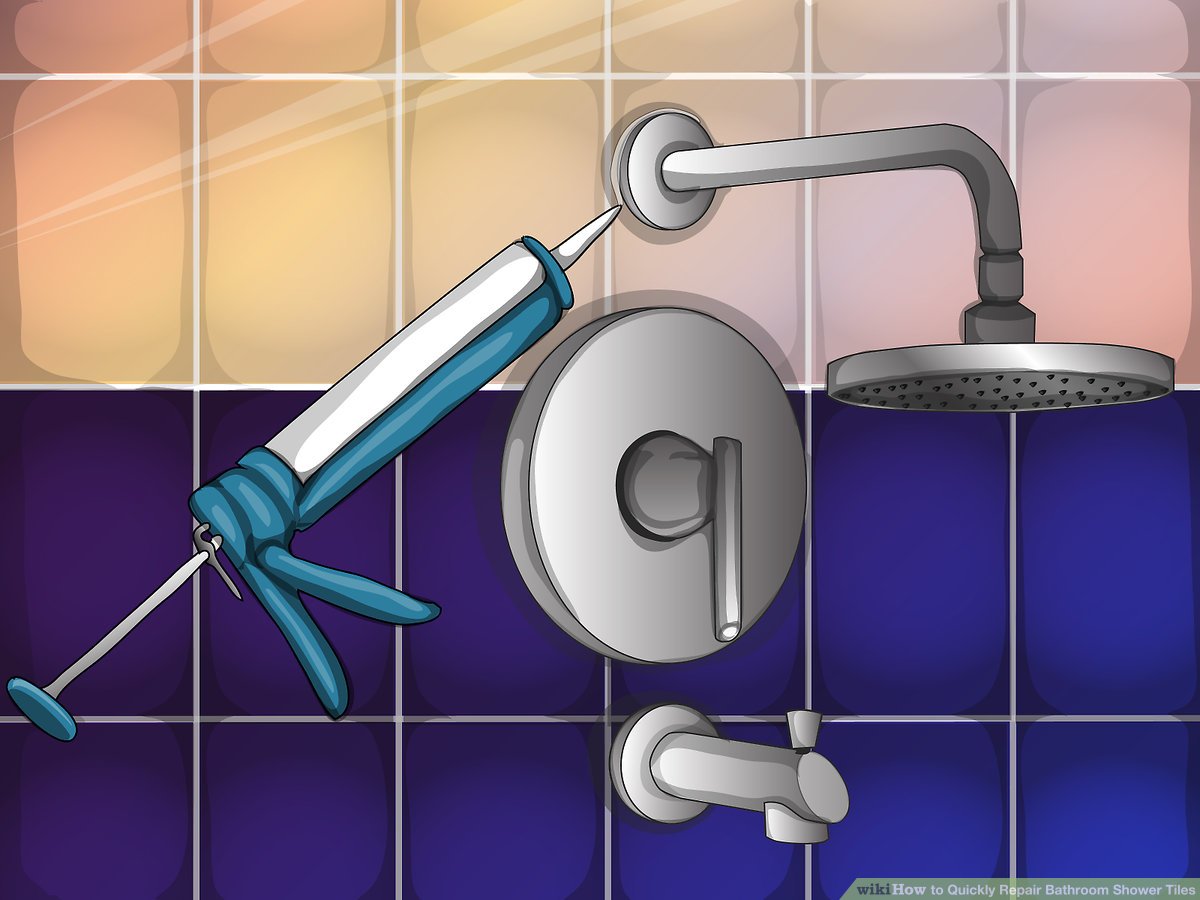
Repairing Grout and Caulk
If you’ve identified a small tile leak in your bathroom, repairing the grout and caulk can often provide a quick and effective solution. Let me guide you through the steps of repairing grout and caulk to fix small tile leaks.
Remove the Damaged Grout and Caulk: Using a grout saw or grout removal tool, carefully remove the damaged grout surrounding the affected tiles. Take your time and work in small sections to avoid damaging adjacent tiles. Once the grout is removed, use a caulk removal tool to remove the old caulk along the edges.
Clean the Area: Before applying new grout or caulk, thoroughly clean the area. Use a mixture of water and mild detergent to remove any dirt, grime, or residue. Ensure that the area is completely dry before proceeding.
Apply New Grout: Prepare the grout according to the manufacturer’s instructions. Using a grout float or grout spreader, apply the new grout to the gaps between the tiles. Work the grout into the gaps using a diagonal motion to ensure full coverage. Remove any excess grout using a damp sponge or cloth.
Apply New Caulk: Once the grout has dried, it’s time to apply new caulk along the edges of the tiles. Load a tube of caulk into a caulk gun and cut the tip at a 45-degree angle. Apply a smooth, continuous bead of caulk along the edges, ensuring full coverage. Use a caulk smoothing tool or your finger to create a neat and even finish.
Allow for Drying Time: Give the grout and caulk sufficient time to dry and cure. Follow the manufacturer’s instructions for the recommended drying time. Avoid exposing the repaired area to moisture until the grout and caulk have fully cured.
Test for Leaks: Once the grout and caulk have dried completely, test the area for leaks. Run water over the repaired tiles and check for any signs of water seepage or leakage. If there are no leaks, you have successfully repaired the small tile leak.
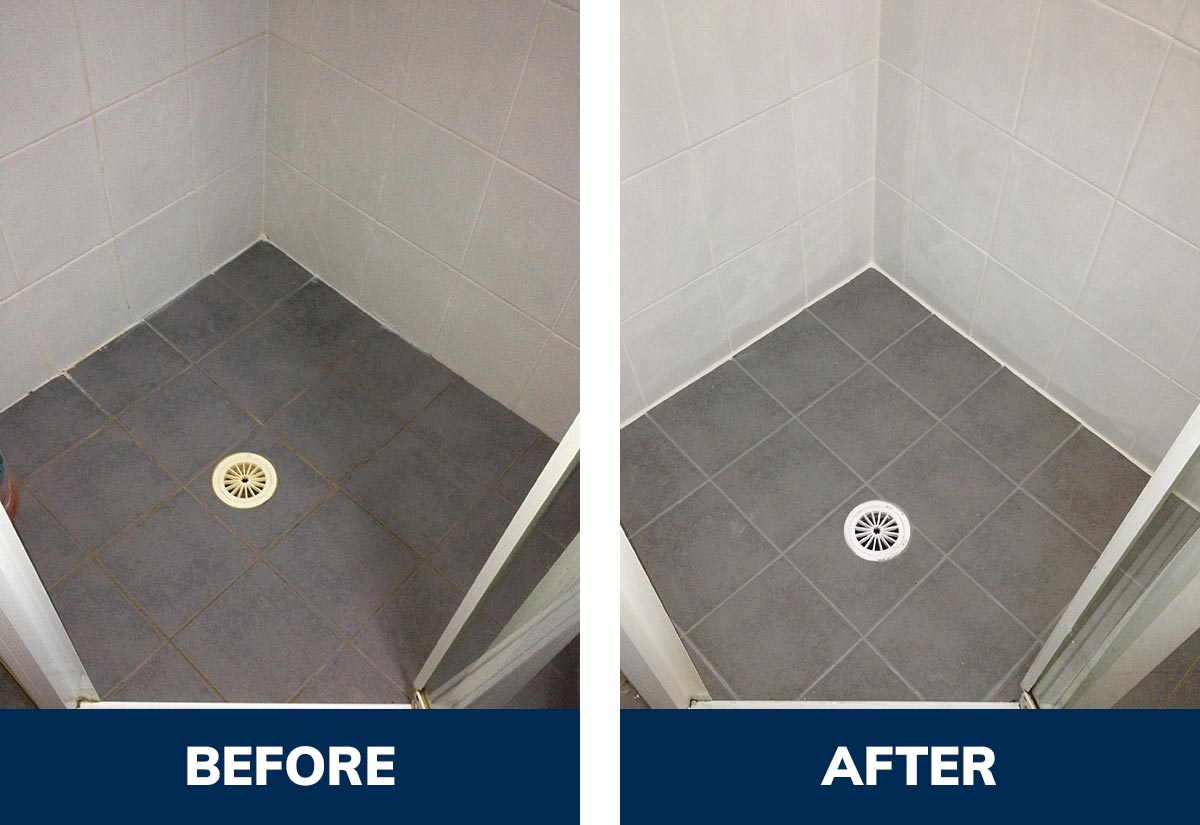
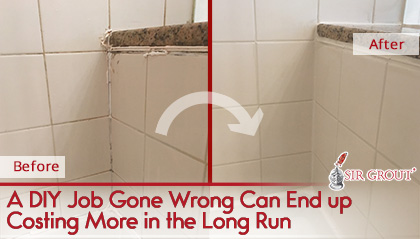
Replacing Damaged Tiles
In some cases, repairing grout and caulk may not be sufficient to fix a bathroom tile leak. When the tiles themselves are damaged, replacing them becomes necessary. Follow this guide to help you through the steps of replacing damaged tiles to restore the integrity of your bathroom.
Remove the Damaged Tile: Using a grout saw or a rotary tool with a tile-cutting attachment, carefully remove the grout surrounding the damaged tile. Be cautious not to damage neighboring tiles. Once the grout is removed, use a chisel and hammer to carefully break the damaged tile into smaller pieces. Remove the broken pieces and clean the area.
Prepare the Substrate: Inspect the substrate to ensure it is in good condition. If there are any cracks or damage, repair it before installing the new tile. Fill cracks with patching compound and smooth the surface. Allow the compound to dry according to the manufacturer’s instructions.
Apply Tile Adhesive: Using a notched trowel, apply a thin layer of tile adhesive to the substrate. Be sure to spread it evenly, covering the entire area where the new tile will be placed. Use the notched side of the trowel to create ridges in the adhesive, which will help with tile adhesion.
Install the New Tile: Carefully place the new tile into the adhesive, pressing it firmly and evenly. Ensure that it is aligned with the surrounding tiles. Use tile spacers to maintain even spacing between the tiles. Continue this process until all the damaged tiles have been replaced.
Grout the New Tile: Once the adhesive has dried, remove the tile spacers and prepare the grout according to the manufacturer’s instructions. Using a grout float, apply the grout to the gaps between the tiles, working it into the spaces. Wipe away any excess grout with a damp sponge or cloth. Allow the grout to dry.
Clean and Seal: After the grout has dried, clean the tiles and remove any grout haze using a grout haze remover or a mixture of water and vinegar. Once the tiles are clean and dry, apply a tile sealer to protect the grout and tiles from moisture and stains.
Preventing Future Tile Leaks
After successfully fixing a bathroom tile leak, it’s important to take preventative measures to avoid future leaks. Follow these simple maintenance tips to keep your bathroom leak-free and in excellent condition.
Regularly Inspect and Clean: Make it a habit to regularly inspect your bathroom for any signs of damage or leaks. Check the grout and caulk lines for cracks or gaps and promptly repair any issues you come across. Additionally, clean the tiles, grout, and caulk regularly to remove any dirt, soap scum, or mold that can compromise their integrity.
Address Water Damage Promptly: If you notice any signs of water damage, such as discoloration, peeling paint, or damp spots, investigate the source of the problem immediately. Water damage can quickly escalate, leading to more significant issues. By addressing it promptly, you can minimize the risk of tile leaks and extensive repairs.
Use a Shower Curtain or Door: Ensure that your shower area is properly enclosed to prevent water from splashing onto the bathroom floor and walls. Install a shower curtain or a door to contain the water within the designated shower area. This will help protect the surrounding tiles and prevent water from seeping through.
Avoid Harsh Cleaners: When cleaning your bathroom tiles, grout, and caulk, avoid using harsh chemical cleaners. These cleaners can deteriorate the grout and caulk, making them more susceptible to leaks. Opt for mild, non-abrasive cleaners or natural cleaning solutions to maintain the integrity of your bathroom surfaces.
Maintain Proper Ventilation: Proper ventilation is crucial in preventing moisture buildup, which can lead to mold growth and tile damage. Ensure that your bathroom is well-ventilated by using exhaust fans or opening windows during and after showers. This will help reduce humidity levels and promote faster drying of surfaces.
Reapply Grout and Caulk as Needed: Over time, grout and caulk can wear out or become damaged. Regularly inspect the grout lines and caulk edges, and reapply them as needed. This will help maintain a watertight seal and prevent leaks from occurring.
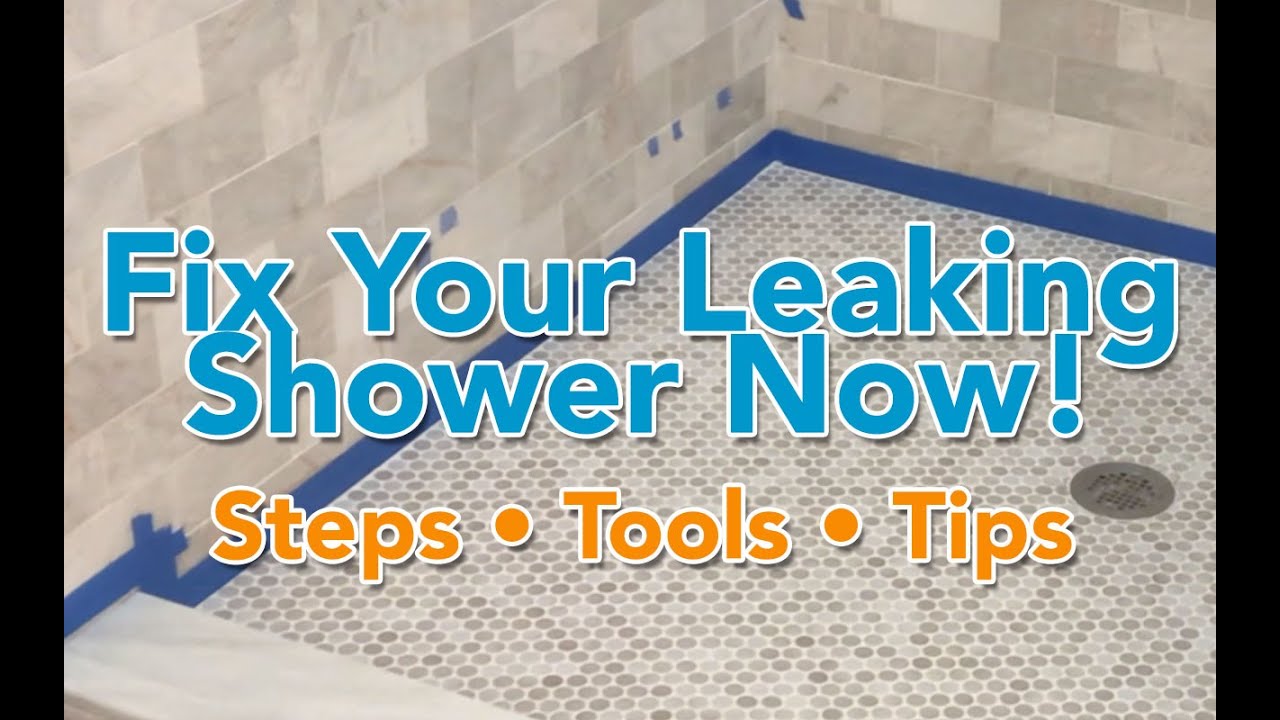
How to Fix a Leaking Shower Without Removing Tiles
How to Fix Leaking Shower Without Removing Tiles
Stop Leaking Showers Fast Without Removing Tiles
Epoxy Grout Fixed My Leaking Shower. Will It Work For You?
How to Fix a Leaking Shower Without Removing Tiles
Why Cracked Tiles in Your Bathroom Are a Problem Shower Sealed
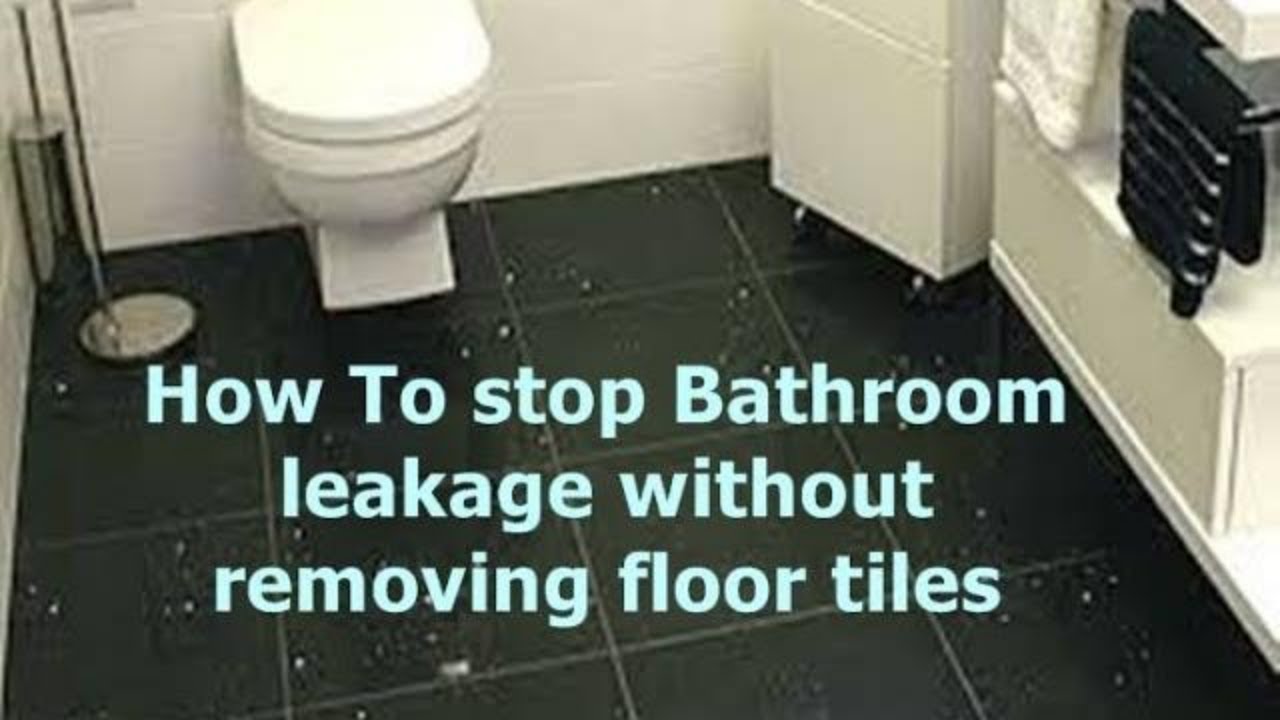
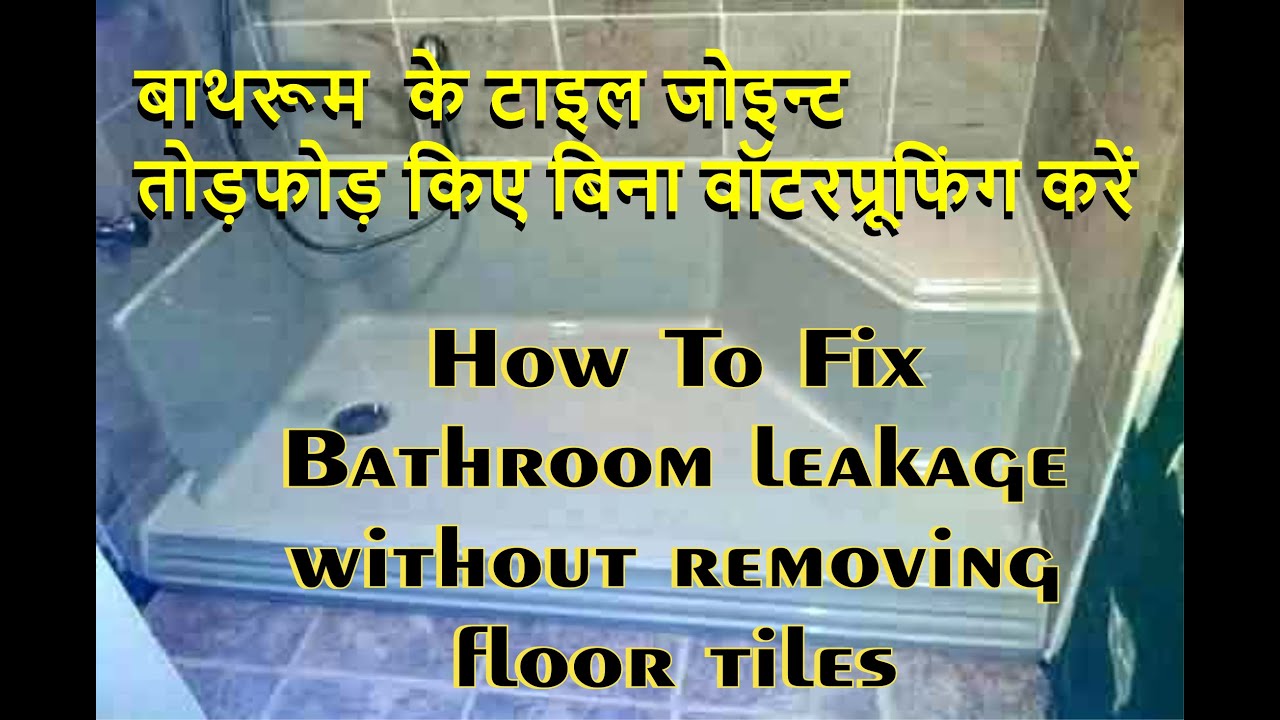
How To Fix Toilet,Bathroom leakage without removing floor tiles by Waterseal Clear-Coat Kit(DIY)
How to Quickly Repair Bathroom Shower Tiles
Related Posts:


