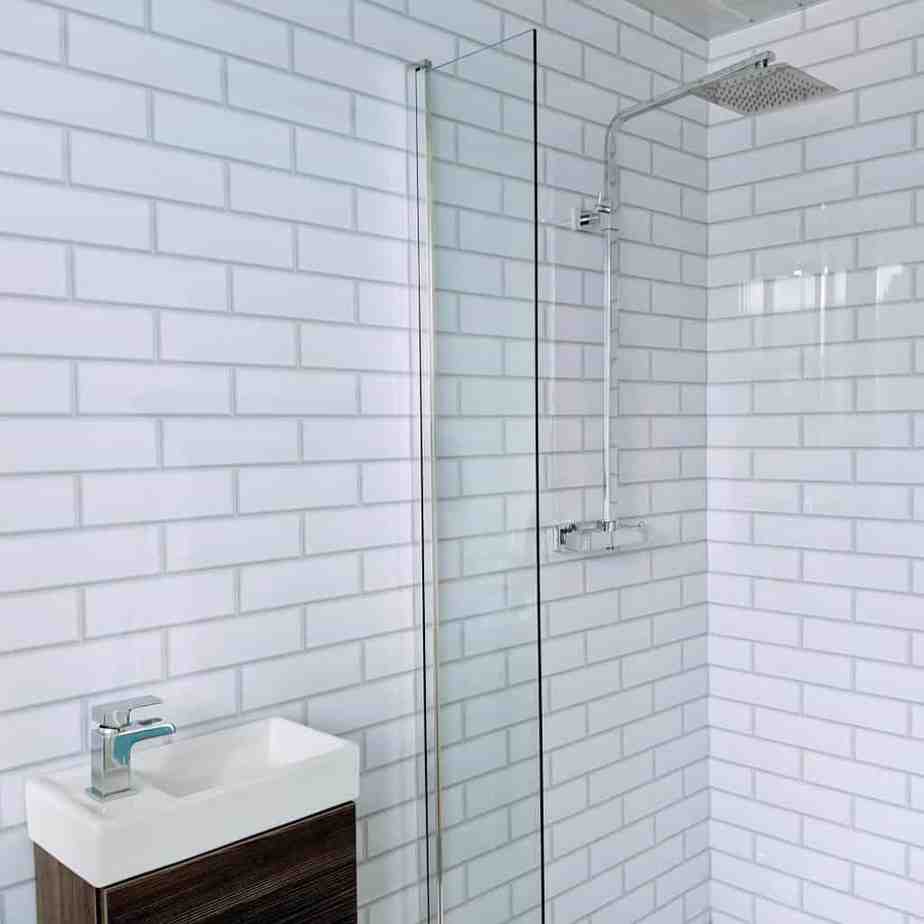
Understanding the Need to Cover Bathroom Tile on Walls
When it comes to bathroom renovations, one area that often gets overlooked is the walls. While bathroom tiles are durable and easy to clean, there may come a time when you want to change the look or cover up outdated or damaged tiles. This is where the need to cover bathroom tile on walls arises. Whether you’re looking for a quick fix or a complete transformation, covering bathroom tile on walls can be a cost-effective and aesthetically pleasing solution.
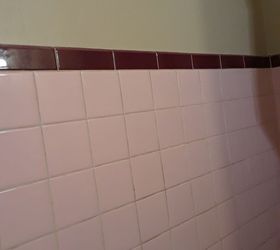
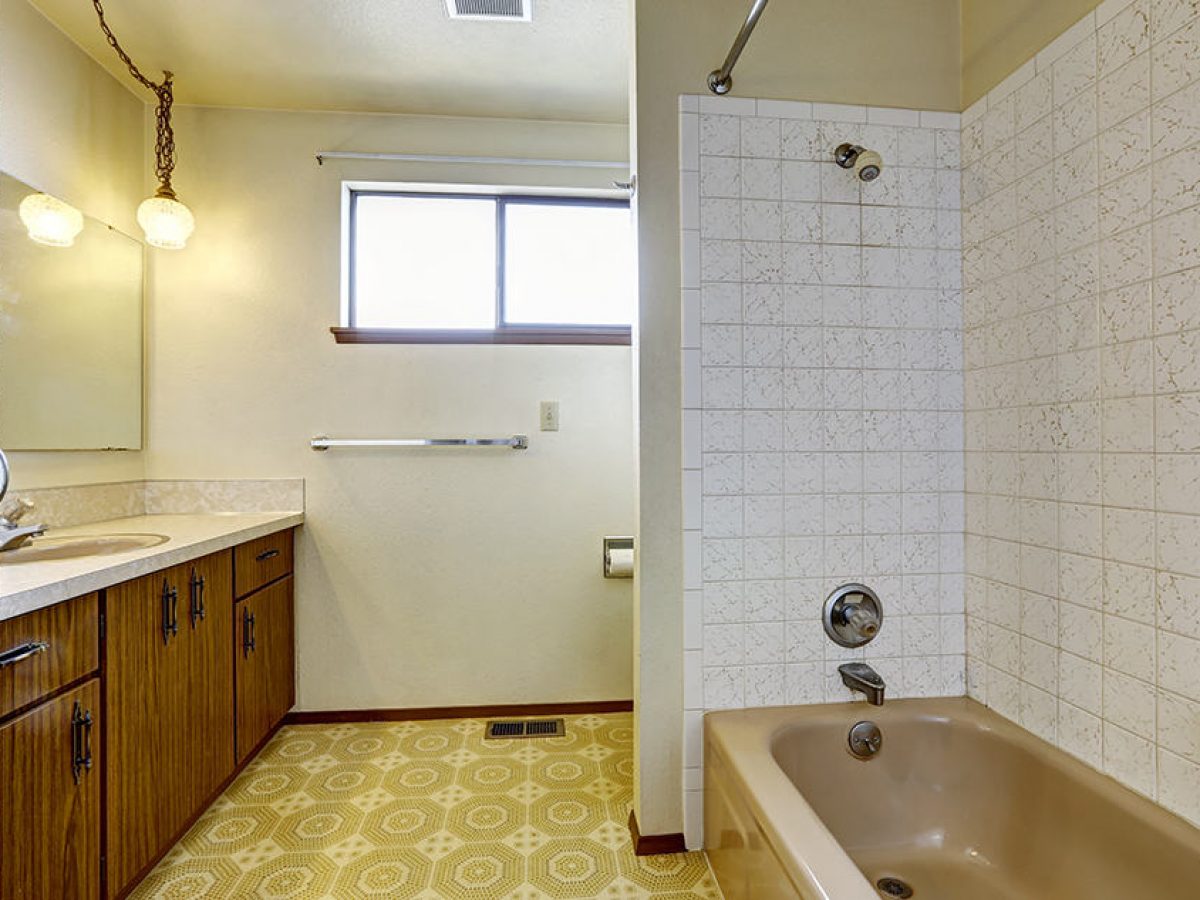
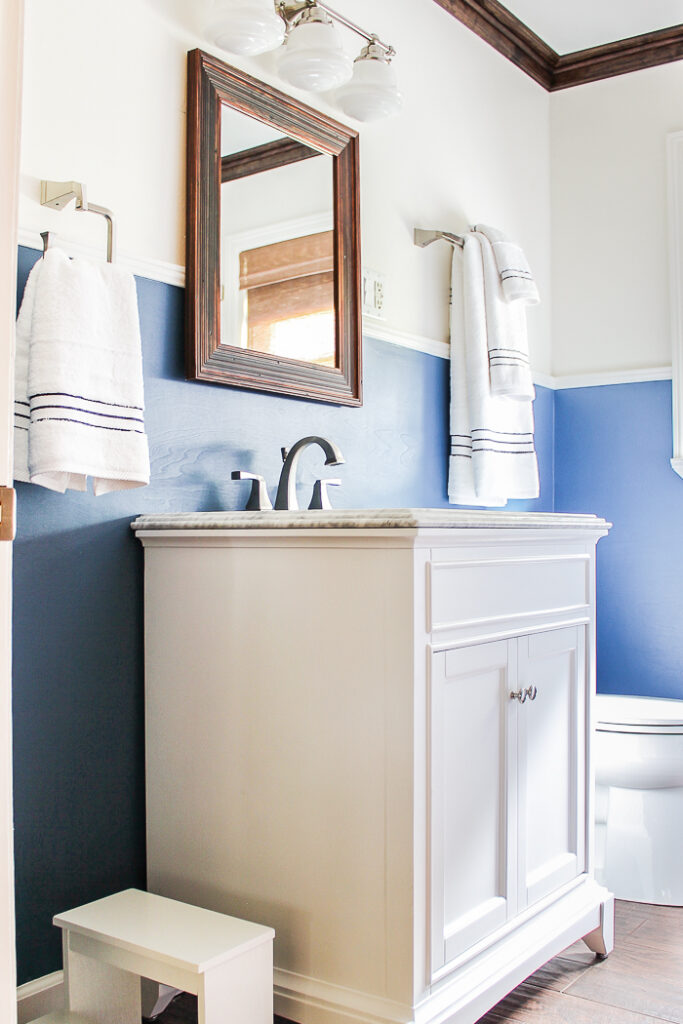
One of the main reasons why you might want to cover bathroom tile on walls is to update the overall appearance of your bathroom. Over time, trends change, and what was once stylish may now look outdated. By covering the existing tile, you can give your bathroom a fresh and modern look without the hassle of completely replacing the tiles.
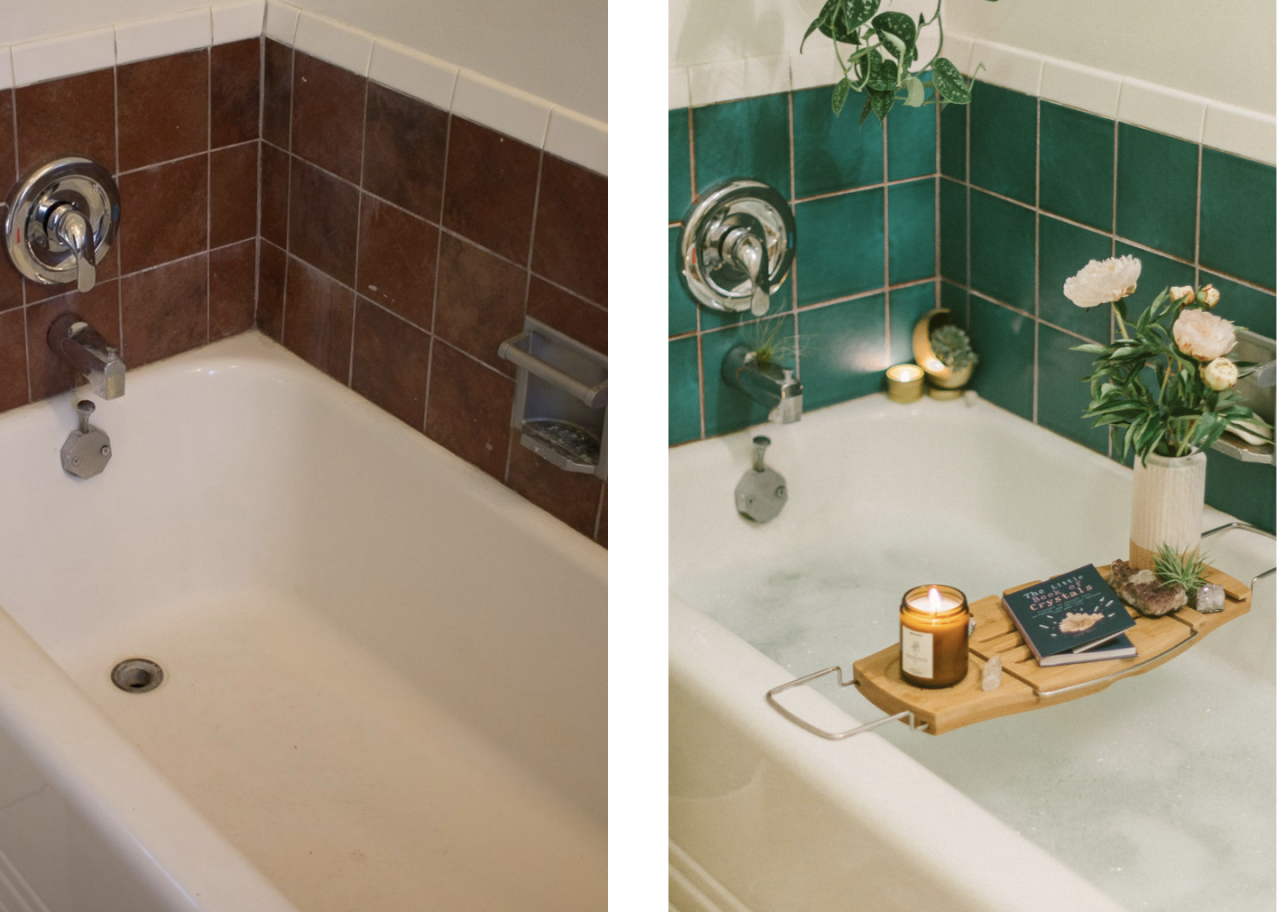
Another common reason is to cover up damaged or cracked tiles. Bathroom tiles are exposed to water, moisture, and daily wear and tear, which can cause them to deteriorate over time. Instead of removing and replacing individual tiles, covering them with a new material can provide a seamless and more visually appealing result.
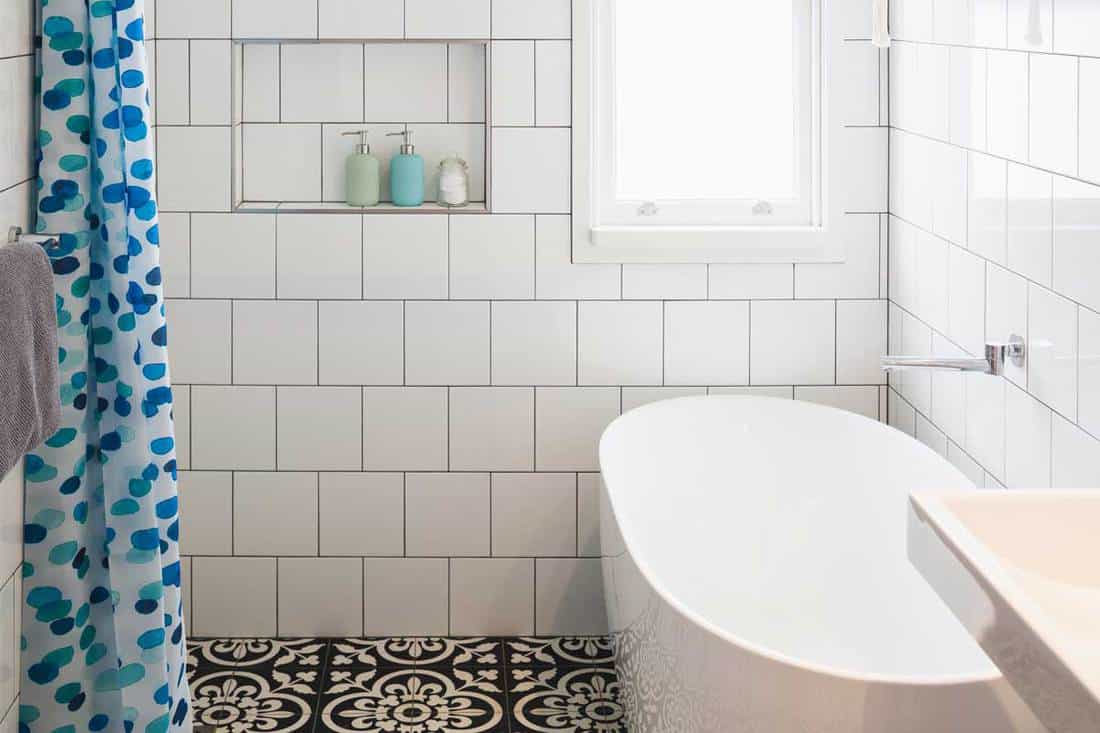
Additionally, covering bathroom tile on walls allows you to experiment with different designs and styles. Whether you prefer a sleek and minimalist look or a bold and vibrant aesthetic, there are various coverings available that can help you achieve your desired look.
Overall, understanding the need to cover bathroom tile on walls allows you to transform your bathroom’s appearance, address any damage, and explore different design possibilities. In the following sections, we will discuss the steps to prepare the surface, explore different covering options, provide a step-by-step guide for installation, and offer tips for a professional and long-lasting bathroom tile wall covering.

Steps to Ensure a Smooth and Clean Base
Before covering bathroom tile on walls, it is crucial to prepare the surface properly. This step ensures a smooth and clean base for the new covering, allowing it to adhere properly and last longer. Here are the steps to follow when preparing the surface:
Clean the tiles: Start by thoroughly cleaning the existing tiles. Remove any dirt, grime, or soap residue using a mild detergent and warm water. For tough stains or mold, use a tile cleaner or a mixture of baking soda and water. Ensure that the tiles are completely dry before proceeding to the next step.
Repair any damage: Inspect the tiles for any cracks, chips, or loose tiles. If you find any, repair them before proceeding. Use a tile adhesive to reattach any loose tiles and fill in cracks or chips with a suitable filler. Allow sufficient time for the repairs to dry and set before moving forward.
Sand the surface: To create a rough texture for better adhesion, lightly sand the surface of the tiles using fine-grit sandpaper. This step helps the new covering stick to the tiles more effectively.
Apply a primer: After sanding, apply a primer specifically designed for tile surfaces. The primer will provide a better bond between the existing tiles and the new covering material. Make sure to follow the manufacturer’s instructions regarding application and drying time.
Smooth out the surface: Once the primer is dry, inspect the surface for any rough spots or imperfections. Use a putty knife or sandpaper to smooth out any uneven areas. This step ensures a level and even surface for the new covering.
Choosing the Right Covering
When it comes to covering bathroom tile on walls, there are several options available, each with its unique characteristics and benefits. Here, we will explore different covering options to help you make an informed decision:
Paint: Painting over bathroom tiles is a popular and cost-effective option. With the right type of paint and proper preparation, you can achieve a fresh and updated look. Choose a high-quality, moisture-resistant paint specifically formulated for tiles. Consider using a primer designed for tile surfaces to ensure better adhesion and durability.
Vinyl or laminate panels: These panels are designed to mimic the look of tiles and can be installed directly over the existing tiles. They are easy to clean and maintain, making them a practical choice for bathrooms. Vinyl panels are available in various designs and patterns, allowing you to create a customized look.
Wall decals or stickers: If you’re looking for a temporary solution or want to add a touch of personality to your bathroom, wall decals or stickers can be a fun and creative option. They are easy to apply and remove, making them ideal for renters or those who like to change their bathroom decor frequently.
Tile overlays: Tile overlays are thin, lightweight materials designed to be installed directly over existing tiles. They come in various materials, including porcelain, ceramic, and stone. Tile overlays provide a cost-effective way to transform the look of your bathroom without the need for extensive demolition or installation.
Wall panels: Wall panels made of materials like acrylic, fiberglass, or PVC are another option for covering bathroom tile on walls. They offer a seamless and waterproof solution, providing a clean and modern look. Wall panels are available in different colors and finishes, allowing you to customize your bathroom’s aesthetic.
Guide to Covering Bathroom Tile on Walls
Once you have chosen the right covering for your bathroom tile walls, it’s time to proceed with the installation. Follow this step-by-step guide to ensure a successful installation:
Measure and plan: Start by measuring the area you want to cover. Use a tape measure to determine the dimensions accurately. Plan the layout, taking into consideration any obstacles such as outlets or fixtures. Mark the starting point and create a reference line using a level and pencil.
Cut the covering material: Depending on the chosen covering, measure and cut the material accordingly. Use appropriate tools such as a tile cutter, utility knife, or saw, as recommended by the manufacturer. Follow safety precautions and wear protective gear when cutting.
Apply adhesive: Apply the recommended adhesive to the back of the covering material, following the manufacturer’s instructions. Use a notched trowel to spread the adhesive evenly, ensuring proper coverage. Work in small sections to prevent the adhesive from drying out.
Install the covering material: Carefully place the covering material onto the prepared surface, aligning it with the reference line. Press firmly to ensure proper adhesion. Use spacers or leveling tools, if necessary, to maintain consistent spacing and alignment.
Trim and finish: Once the covering material is installed, trim any excess material using appropriate tools. Smooth out the edges and corners for a clean and polished look. Follow any specific finishing instructions provided by the manufacturer.
Allow for proper drying and curing: After installation, allow sufficient time for the adhesive to dry and the covering material to cure. Follow the manufacturer’s recommended drying and curing times before exposing the newly covered walls to water or moisture.
Finishing Touches
After covering bathroom tile on walls, it’s important to pay attention to the finishing touches to ensure a professional and long-lasting result. Here are some tips to consider:
Seal the edges: To prevent water seepage and maintain the integrity of the covering material, seal the edges with a waterproof sealant. This step helps protect the underlying tile and ensures a watertight finish.
Use high-quality grout: If your chosen covering material requires grouting, opt for a high-quality, waterproof grout. Properly applied grout enhances the appearance and durability of the covering while preventing moisture penetration.
Regular cleaning and maintenance: Proper cleaning and maintenance are key to preserving the appearance and longevity of the bathroom tile wall covering. Follow the manufacturer’s guidelines for cleaning the specific covering material. Avoid using abrasive cleaners or tools that may damage the surface.
Address any issues promptly: If you notice any signs of damage or deterioration, such as loose tiles, cracks, or water damage, address them promptly. Early intervention can prevent further damage and extend the lifespan of the bathroom tile wall covering.
Consider professional installation: If you’re unsure about your DIY skills or want to ensure a flawless installation, consider hiring a professional. Professional installers have the expertise and tools to handle the installation efficiently and effectively.
How to Cover Ugly Shower Tile

Bathroom Wall Tile Makeover
How to Cover Tiles Cheaply – 7 Clever Ways and Ideas on it
Peel and Stick Tiles Are The Easiest Fix for Ugly Rental Bathrooms
How to Cover Bathroom Wall Tiles
How to Cover Tiles Cheaply – Clever Ways and Ideas on it
Related Posts:
- Old Fashioned Bathroom Tile Designs
- Bathroom Tiles Black And White Pattern
- Bathroom Tile Ideas Budget
- Looking For Bathroom Tiles
- Bathroom Tile Trim Pieces
- Bathroom Tile Demolition
- Do It Yourself Bathroom Tiles
- Bathroom Tile Paint Before And After
- Fixing Bathroom Tiles On Walls
- Light Grey Bathroom Tile Ideas


