How to Determine if Your Bathroom Cabinet Needs Repair
One of the first steps in keeping your bathroom cabinets in top shape is knowing when they need repair. I’ve often found that ignoring small issues can lead to bigger problems down the line, so it’s important to stay on top of maintenance. But how can you tell when it’s time to take action? By learning the signs of wear and damage, you can address issues before they become too serious.
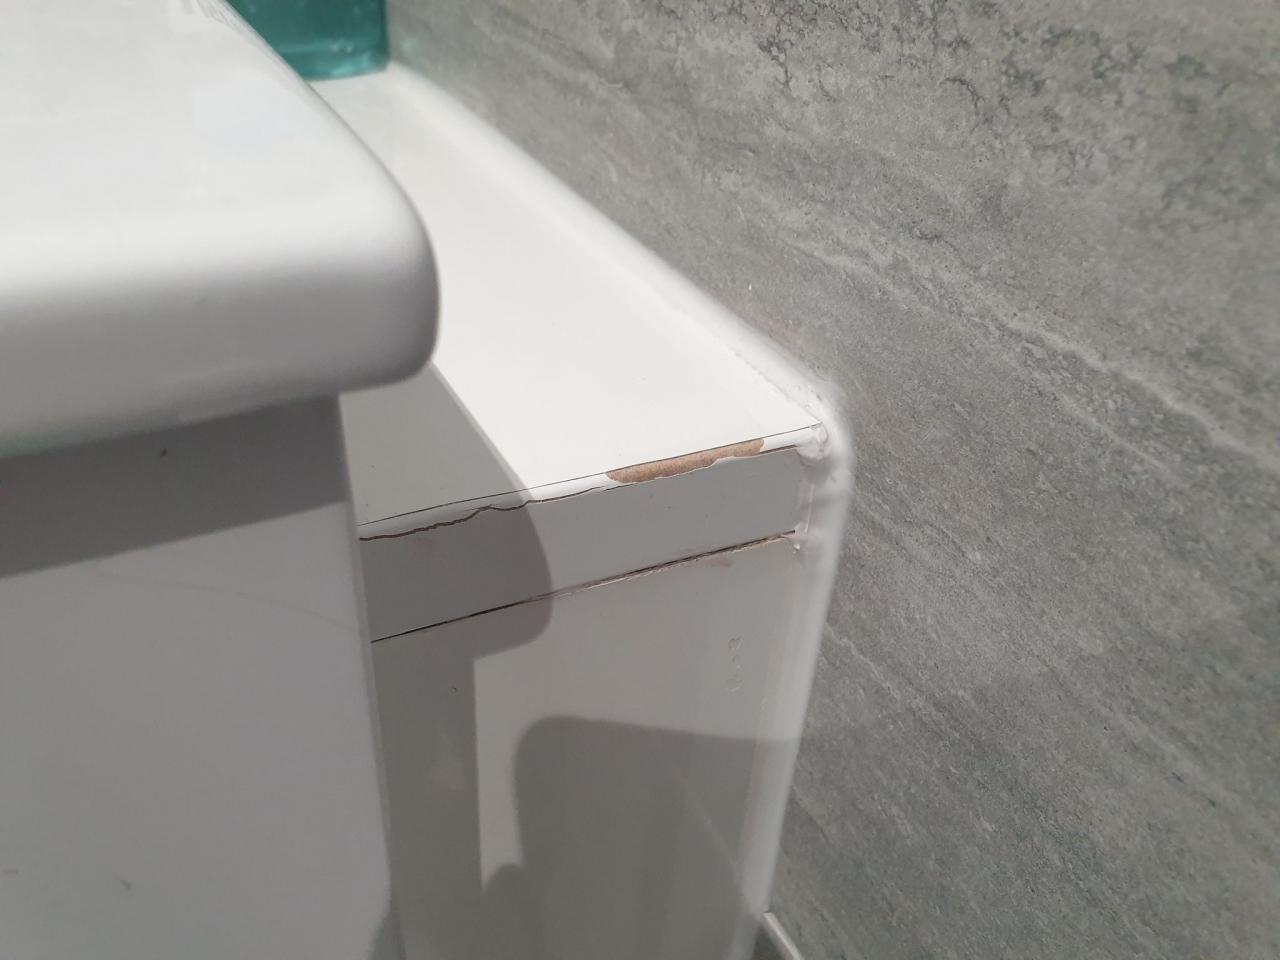
- Checking for Structural Damage: The most obvious indicator that a bathroom cabinet needs repair is visible structural damage. I always make it a habit to inspect the cabinets for cracks, splits in the wood, or other signs of wear. If you notice that your cabinet is leaning, sagging, or has gaps where pieces should meet, it’s a clear sign that repairs are needed.
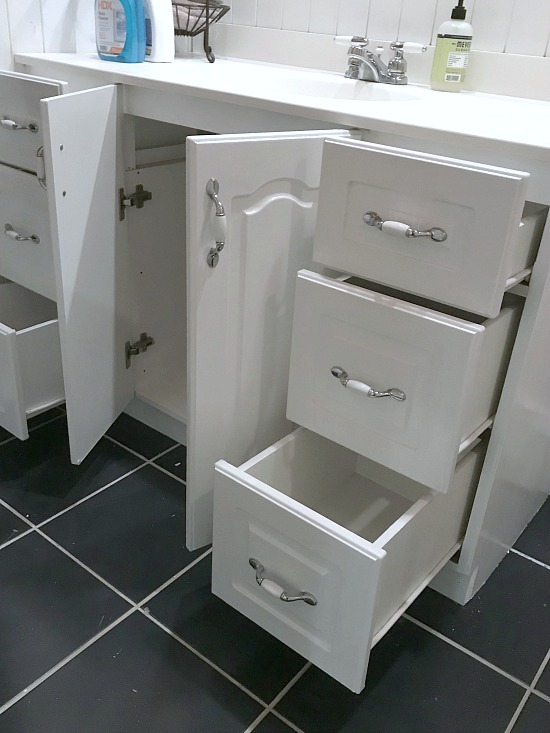
- Loose or Misaligned Doors and Drawers: Loose or misaligned doors and drawers are another giveaway that your cabinet needs attention. Over time, the constant opening and closing can wear down hinges and drawer tracks. If you notice that your doors don’t close properly or that drawers are sticking, that’s a signal that repairs should be made soon.
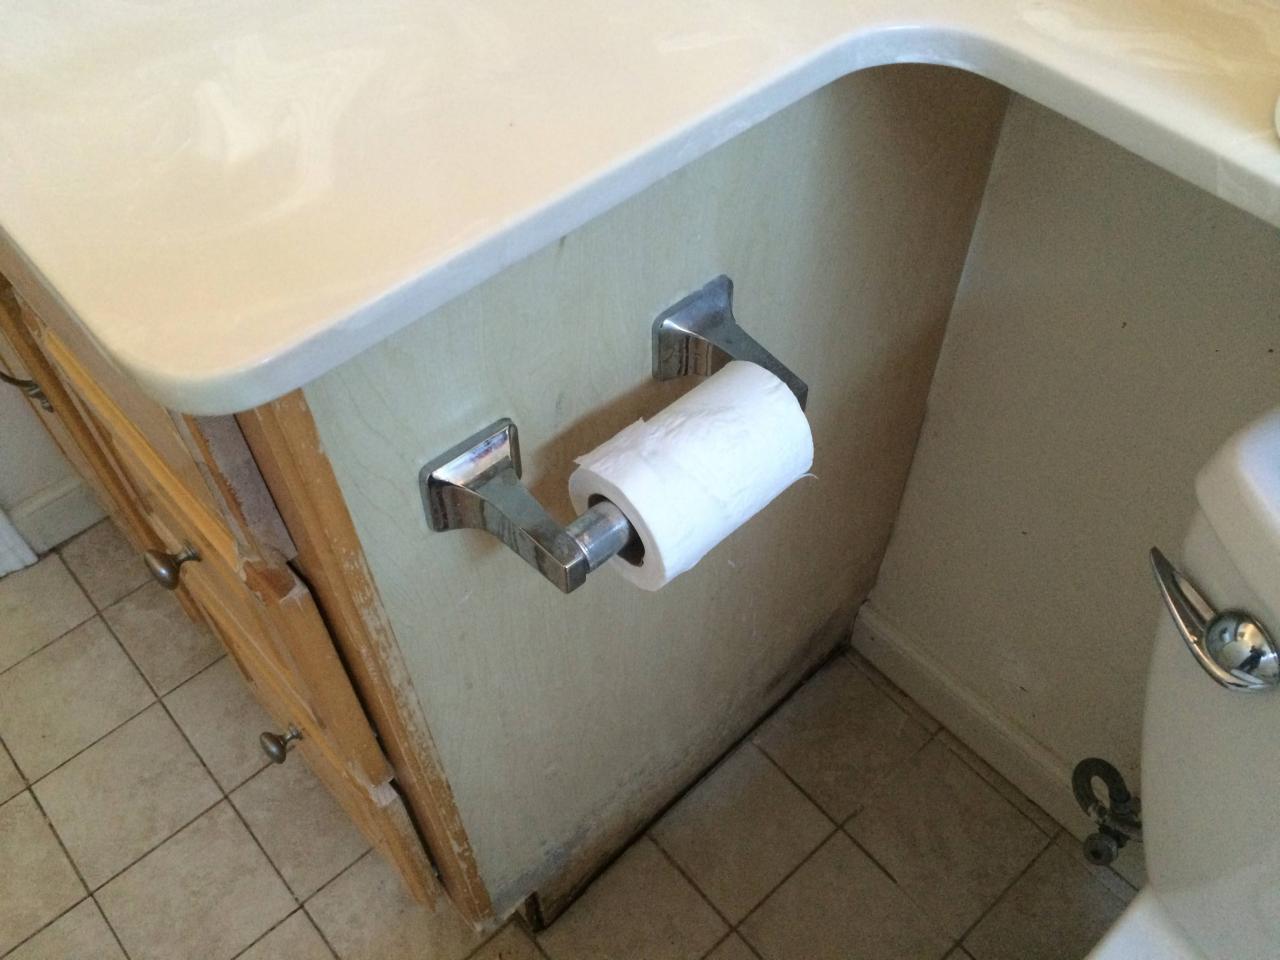
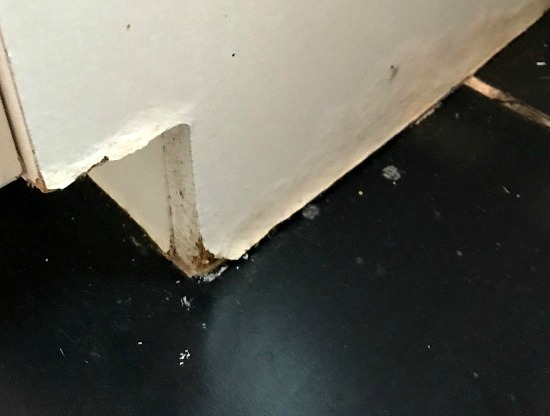
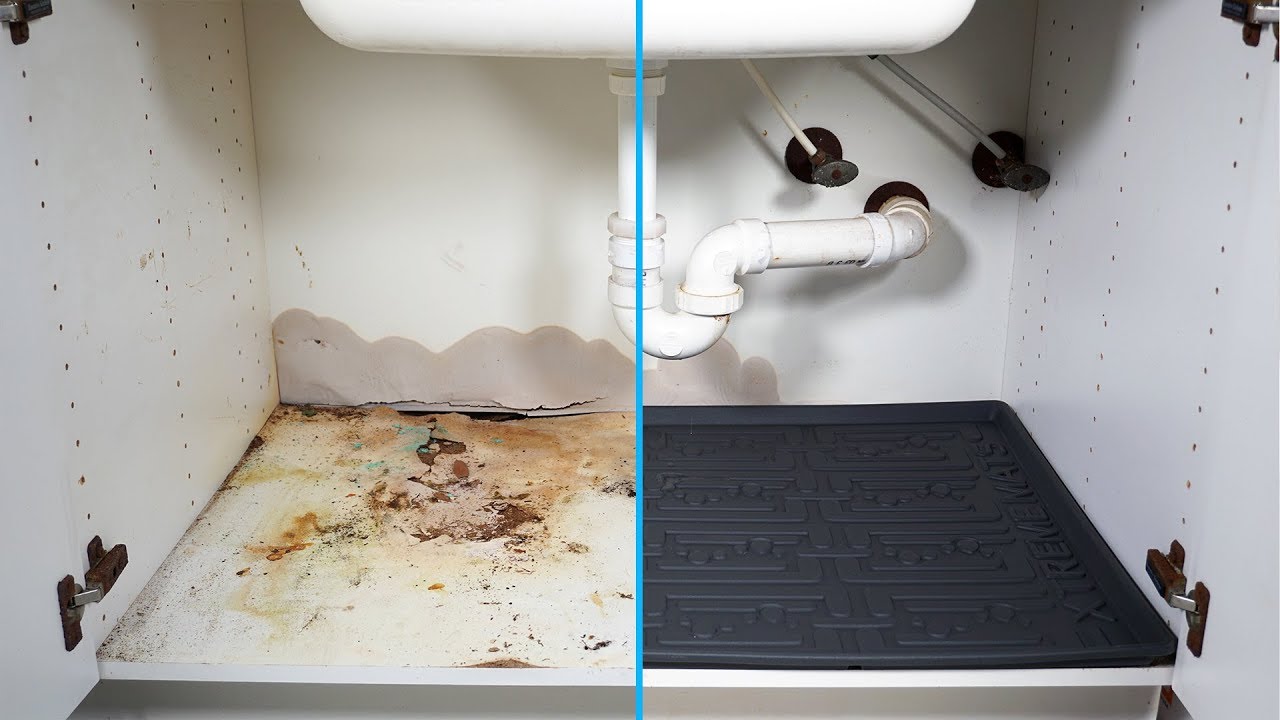
- Signs of Water Damage: Given that bathrooms are a high-moisture environment, water damage is one of the most common issues I’ve seen. Check the areas around sinks, faucets, or where the cabinet meets the floor. Warped wood, bubbling, or discoloration are telltale signs that water damage has taken its toll, and immediate repairs are necessary.
- Unusual Noises: If your cabinet doors creak or make unusual noises when opened, it could mean that the hinges or screws are loose or rusted. These issues can lead to more significant damage over time, so I always recommend addressing them before they worsen. Regularly tightening or replacing hardware can save you from bigger headaches later.
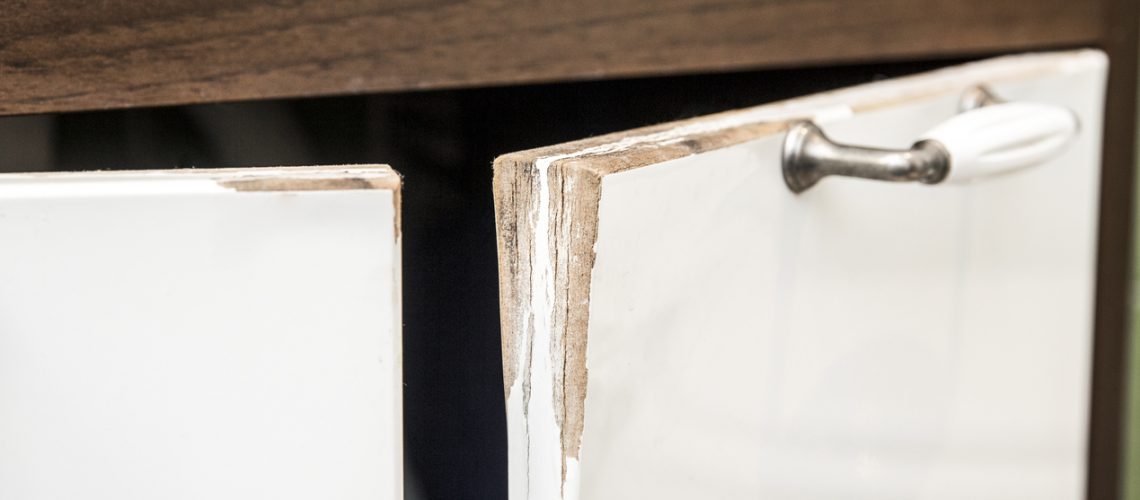
- Fading or Peeling Finish: Another sign that your cabinet might need some repair is if its finish is fading, peeling, or chipping. Not only does this affect the cabinet’s appearance, but it also exposes the wood to potential water damage and other forms of wear. Keeping an eye on the finish can help you spot when it’s time for some touch-ups or refinishing.
- Rotting Wood: In extreme cases, especially in older homes or poorly ventilated bathrooms, rotting wood can be an issue. If you notice soft spots, a musty smell, or even mold on or around your cabinets, the wood might be rotting due to prolonged exposure to moisture. In these cases, immediate repair or replacement is necessary to prevent further damage.
Fixing Loose or Broken Cabinet Hinges
Loose or broken cabinet hinges are a common issue in bathroom cabinets, and they can be frustrating when doors no longer function as they should. Over time, humidity and constant use can wear down the hinges, making them weak or causing them to break. Fortunately, fixing loose or broken hinges is a relatively simple task, and I’ve found that it can make a world of difference in cabinet performance.
Identifying the Problem
The first step in fixing loose or broken hinges is identifying what exactly has gone wrong. In many cases, I’ve noticed that screws holding the hinges in place may loosen over time, causing the door to sag or not close properly. Sometimes, the hinge itself might be damaged or rusted, particularly in high-moisture environments like the bathroom.
Tightening the Screws
If the issue is loose screws, a simple tightening might be all that’s needed. I always start by using a screwdriver to ensure all the screws holding the hinges in place are securely fastened. Be careful not to overtighten, as this can strip the screw holes. If the screw holes are already stripped, you may need to fill them with wood filler or use larger screws.
Replacing Damaged Hinges
If the hinges are damaged or rusted, replacing them is the best solution. I recommend taking one of the old hinges with you to the hardware store to ensure you purchase the correct size and type. Replacing the hinges involves removing the old ones, lining up the new ones with the pre-drilled holes, and securing them in place with screws.
Repairing Stripped Screw Holes
In cases where the screw holes have become stripped, I’ve had success using wood filler or wooden dowels to fill the holes before reinstalling the screws. After applying the filler, let it dry completely, then re-drill the holes and secure the screws. This ensures the hinges are firmly attached and prevents further loosening.
Adding Extra Support
If your cabinet doors are particularly heavy, adding extra support hinges can help distribute the weight and prevent future problems. I’ve installed additional hinges on larger doors to provide more stability and reduce strain on the existing hinges.
Preventative Maintenance
To prevent loose or broken hinges in the future, regular maintenance is key. I make it a point to check my cabinet hinges periodically, tightening any loose screws and applying lubricant to the hinges to prevent rust and wear. This simple maintenance can help extend the life of your hinges and keep your cabinet doors functioning smoothly.
Repairing Water Damage on Bathroom Cabinets
Water damage is one of the most common issues in bathroom cabinets, given the high humidity and moisture exposure. I’ve seen firsthand how even small leaks or splashes can lead to significant damage over time if not addressed. Repairing water-damaged cabinets can seem daunting, but with the right approach, you can restore them to their former glory.
Identifying the Extent of Water Damage
Before diving into repairs, I always start by assessing the extent of the water damage. Water damage can cause wood to warp, swell, or discolor. In some cases, the damage might be limited to the surface, but in more severe cases, it could have affected the structural integrity of the cabinet. Understanding the scope of the damage will help determine the best repair approach.
Drying Out the Cabinet
The first step in repairing water damage is to ensure the cabinet is completely dry. I’ve found that using fans, dehumidifiers, or even a hairdryer can help speed up the drying process. It’s crucial to make sure the cabinet is thoroughly dry before attempting any repairs, as trapped moisture can lead to mold growth or further damage.
Sanding and Refinishing
If the water damage is primarily cosmetic, such as discoloration or minor swelling, sanding the affected areas can often resolve the issue. I typically start with coarse sandpaper to remove the damaged finish and then switch to a finer grit for a smooth surface. After sanding, I apply a fresh coat of paint or varnish to restore the cabinet’s appearance.
Replacing Damaged Sections
In cases where the water damage has caused the wood to warp or rot, it may be necessary to replace the damaged sections. I’ve had to remove and replace parts of the cabinet, such as the bottom panels or sideboards, when the damage was too extensive for sanding or refinishing. This can involve cutting new pieces of wood and securing them in place with screws or wood glue.
Sealing to Prevent Future Water Damage
Once the repairs are complete, I always make sure to seal the cabinet to protect it from future water damage. I recommend using a waterproof sealant or varnish, especially in areas around sinks or bathtubs where water exposure is likely. Applying caulk around the edges of the cabinet can also help prevent moisture from seeping into vulnerable areas.
Improving Ventilation
To minimize the risk of water damage in the future, improving ventilation in the bathroom is essential. I’ve found that using a bathroom fan or dehumidifier can help reduce humidity levels and prevent moisture buildup around cabinets. Proper ventilation is a simple yet effective way to extend the life of your bathroom cabinets.
Dealing with Scratches and Dents on Cabinet Surfaces
Scratches and dents are inevitable in high-traffic areas like the bathroom, where cabinets are frequently used. While they may seem like minor cosmetic issues, these blemishes can detract from the overall look of your bathroom. I’ve had plenty of experience dealing with scratched and dented cabinets, and with a few easy steps, you can restore them to their original condition.
Assessing the Damage
Before diving into repairs, I always take a close look at the scratches and dents to determine their severity. Light surface scratches are usually easier to fix, while deeper dents or gouges might require more extensive work. Understanding the type of damage helps me choose the appropriate repair method.
Filling in Scratches with Wood Markers
For minor scratches, wood markers or touch-up pens are my go-to solution. These markers come in various wood tones and are perfect for blending small scratches with the surrounding surface. I’ve found that applying the marker in light layers and wiping off any excess creates a seamless finish.
Using Wood Filler for Deeper Scratches and Dents
When scratches or dents are more substantial, I turn to wood filler. I typically apply the filler with a putty knife, carefully smoothing it over the damaged area. Once it’s dry, I sand the surface until it’s flush with the surrounding wood. Afterward, I apply a matching stain or paint to blend the repair with the rest of the cabinet.
Buffing Out Surface Scratches
If the scratches are superficial and confined to the finish, I’ve had success using fine-grit sandpaper or a scratch remover solution to buff them out. Gently sanding the area or applying the solution can minimize the appearance of scratches without damaging the underlying wood.
Preventing Future Damage
Once the repairs are complete, I always take steps to prevent future damage. Adding felt pads to cabinet doors and drawers helps cushion the impact when they’re opened and closed, reducing the likelihood of new dents and scratches. Regularly cleaning the cabinets with a soft cloth also helps prevent abrasions.
Maintaining the Finish
To keep cabinets looking their best, maintaining the finish is essential. I like to use furniture polish or a protective wax coating to add a layer of protection against everyday wear and tear. This not only keeps the cabinets shiny but also helps safeguard them from future scratches and dents.
Replacing Damaged Cabinet Doors and Drawers
Sometimes, cabinet doors and drawers become too damaged to repair, and replacing them is the best option. I’ve found that replacing just the doors and drawers can give a bathroom a fresh look without the need for a full renovation. The process is straightforward, and with the right tools, you can swap out the damaged components in no time.
Removing the Old Doors and Drawers
The first step in replacing damaged doors and drawers is removing the old ones. I usually start by unscrewing the hinges from the cabinet frame and carefully lifting the door off. For drawers, I simply slide them out of the tracks. It’s important to keep track of all the hardware, as you may be able to reuse it.
Measuring for New Doors and Drawers
Before purchasing replacements, I always take accurate measurements of the old doors and drawers. This ensures that the new ones will fit perfectly. If you’re planning to change the style or design of the doors, make sure the new hinges and handles will align with the existing holes in the cabinet.
Choosing Replacement Doors and Drawers
When selecting replacement doors and drawers, I consider both style and durability. Solid wood doors offer a classic, long-lasting option, while MDF or laminate doors provide a more budget-friendly solution. I’ve found that choosing a style that complements the rest of the bathroom’s design can enhance the overall look of the space.
Installing the New Doors and Drawers
Once the new doors and drawers are ready, installing them is a relatively simple process. I start by attaching the hinges to the cabinet frame, making sure they’re aligned correctly. For drawers, I carefully slide them back into the tracks. If needed, I adjust the alignment to ensure everything opens and closes smoothly.
Replacing Hardware
If the cabinet’s hardware is also damaged or outdated, replacing it at the same time as the doors and drawers can give the bathroom a more cohesive look. I like to choose hardware that matches the faucet and other fixtures in the bathroom for a polished finish.
Maintaining Your New Cabinet Components
After replacing the doors and drawers, regular maintenance is key to keeping them in good condition. I make it a point to check the hinges and drawer tracks periodically, tightening any loose screws and applying lubricant as needed. This helps prevent issues and extends the life of the new components.
Reinforcing Weak or Wobbly Cabinets
Weak or wobbly cabinets can be a real nuisance, especially when they’re heavily used in a busy bathroom. I’ve learned that reinforcing the cabinets not only makes them more functional but also extends their lifespan. Strengthening weak spots is a relatively simple process that can have a big impact on stability and durability.
Identifying Weak Spots
The first step in reinforcing cabinets is identifying where the weaknesses lie. I typically check for loose joints, wobbly legs, or areas where the wood has become thin or worn. In many cases, I’ve found that the cabinet frame is the main source of instability.
Tightening Joints and Screws
Loose joints are often the cause of wobbly cabinets. I’ve had success tightening any screws or bolts that hold the cabinet frame together. If the screws are stripped, I either replace them with larger ones or use wood filler to fill the holes before reinstalling the screws.
Adding Corner Braces
For additional support, I like to add metal corner braces to the inside corners of the cabinet. These braces help reinforce the structure and prevent it from shifting or wobbling. I’ve found that this simple addition can significantly increase the stability of the cabinet.
Reinforcing the Back Panel
In some cases, the back panel of the cabinet may be weak or loose. I reinforce this area by adding a plywood panel or tightening the screws that secure the existing back panel. A sturdy back panel helps keep the cabinet frame square and prevents it from wobbling.
Strengthening the Cabinet Base
If the cabinet base is weak, I reinforce it by adding additional support underneath. I’ve used wooden blocks or metal brackets to strengthen the base, especially in cases where the cabinet is carrying heavy items like cleaning supplies or toiletries.
Preventing Future Weakness
To prevent future weakening, I always avoid overloading the cabinet with heavy items. Regularly checking for loose screws or bolts and addressing them promptly can also prevent the cabinet from becoming wobbly again. By staying on top of these small issues, you can maintain the cabinet’s stability for years to come.
Restoring the Finish on Bathroom Cabinets for a Fresh Look
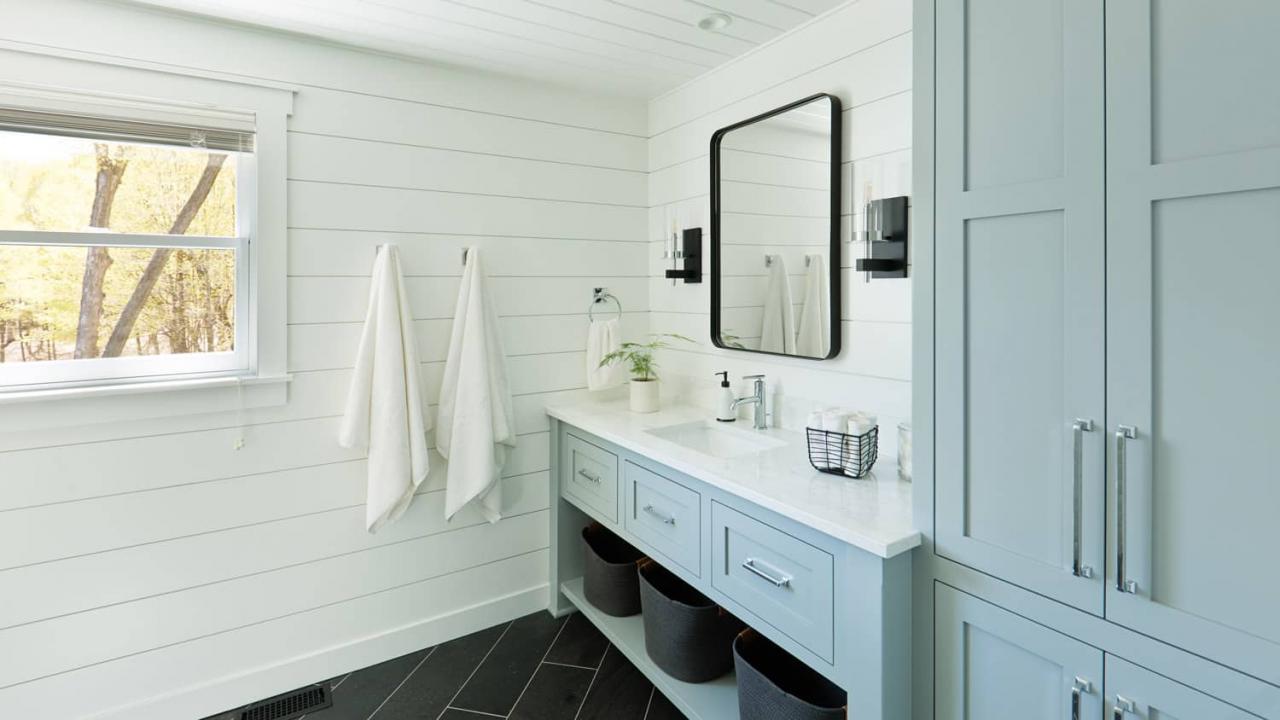
Over time, bathroom cabinets can start to look worn and faded, especially in high-humidity environments. I’ve found that restoring the finish on cabinets is an excellent way to give them a fresh, updated appearance without the need for a full replacement. With a little effort, you can bring your cabinets back to life.
Cleaning the Cabinets
The first step in restoring the finish is giving the cabinets a thorough cleaning. I use a mild detergent or a specialized wood cleaner to remove dirt, grease, and grime that can accumulate on the surface. It’s important to start with a clean surface before applying any new finishes.
Sanding the Surface
Once the cabinets are clean, I lightly sand the surface to remove the old finish and create a smooth base for the new one. I usually start with a fine-grit sandpaper and work my way up to a smoother grit. Sanding also helps remove any scratches or imperfections that may have accumulated over time.
Choosing the Right Finish
When it comes to choosing a new finish, I consider both the style of the bathroom and the type of wood. For a natural look, I prefer using a clear varnish or stain that enhances the wood grain. If I’m going for a more modern look, I opt for a paint or lacquer in a color that complements the bathroom’s décor.
Applying the New Finish
Applying the new finish is the fun part. I’ve found that using a high-quality brush or a sprayer ensures an even coat. Depending on the type of finish, I may apply multiple layers, allowing each one to dry completely before moving on to the next. Patience is key here to achieve a smooth, professional-looking result.
Protecting the Finish
Once the new finish is in place, I always apply a protective top coat to seal the wood and protect it from moisture. In a bathroom setting, where water exposure is common, a water-resistant sealant is essential for preserving the finish and preventing future damage.
Regular Maintenance
To keep the cabinets looking fresh, I make it a point to regularly clean and polish the surfaces. Using furniture polish or wax not only keeps the cabinets shiny but also adds an extra layer of protection. Regular maintenance is the best way to extend the life of your restored cabinets and keep them looking their best.
How To Repair Peeling Veneer On Particle Board Cabinets
Who Installs Bathrooms Vanities and Sinks?
BATHROOM VANITY UNIT REPAIR – Namco Refurbs
Repairing a Water Damaged Bathroom Vanity
Repair a Water Damaged Vanity Cabinet
Water Damaged Cabinet – Repair u0026 Prevent
Related articles:
- Led Bathroom Cabinet Sale
- Tall Bathroom Cabinet With Glass Doors
- Chrome Mirrored Bathroom Cabinets
- Zenith Bathroom Cabinets
- Bathroom Cabinets Okc
- Recessed Bathroom Cabinets Mirror
- Painted Bathroom Cabinets Pinterest
- Bathroom Cabinets Las Vegas Nv
- Bathroom Cabinet To Fit Around Sink
- Roper Rhodes Summit Bathroom Cabinet
