Choosing the Right Vanity Style for Your Bathroom
When it comes to bathroom renovations, choosing the right vanity can be a game-changer. Not only does it serve as a functional piece for storage and utility, but it also plays a significant role in defining the aesthetic of your space. Here are some essential tips and ideas to help you pick the perfect vanity for your bathroom.
- Understand Your Space: Before you start shopping, take a good look at your bathroom’s layout. Measure the available space and note the placement of plumbing and electrical outlets. Consider the flow of traffic and how much room you need to move around comfortably. This will help you narrow down your choices to vanities that fit both physically and functionally.
- Determine Your Storage Needs: Think about what you need to store in your vanity. Do you have a lot of toiletries, towels, or cleaning supplies? If so, you might want a vanity with plenty of drawers and cabinets. For smaller bathrooms, consider a pedestal sink or a wall-mounted vanity to maximize floor space while still providing some storage.
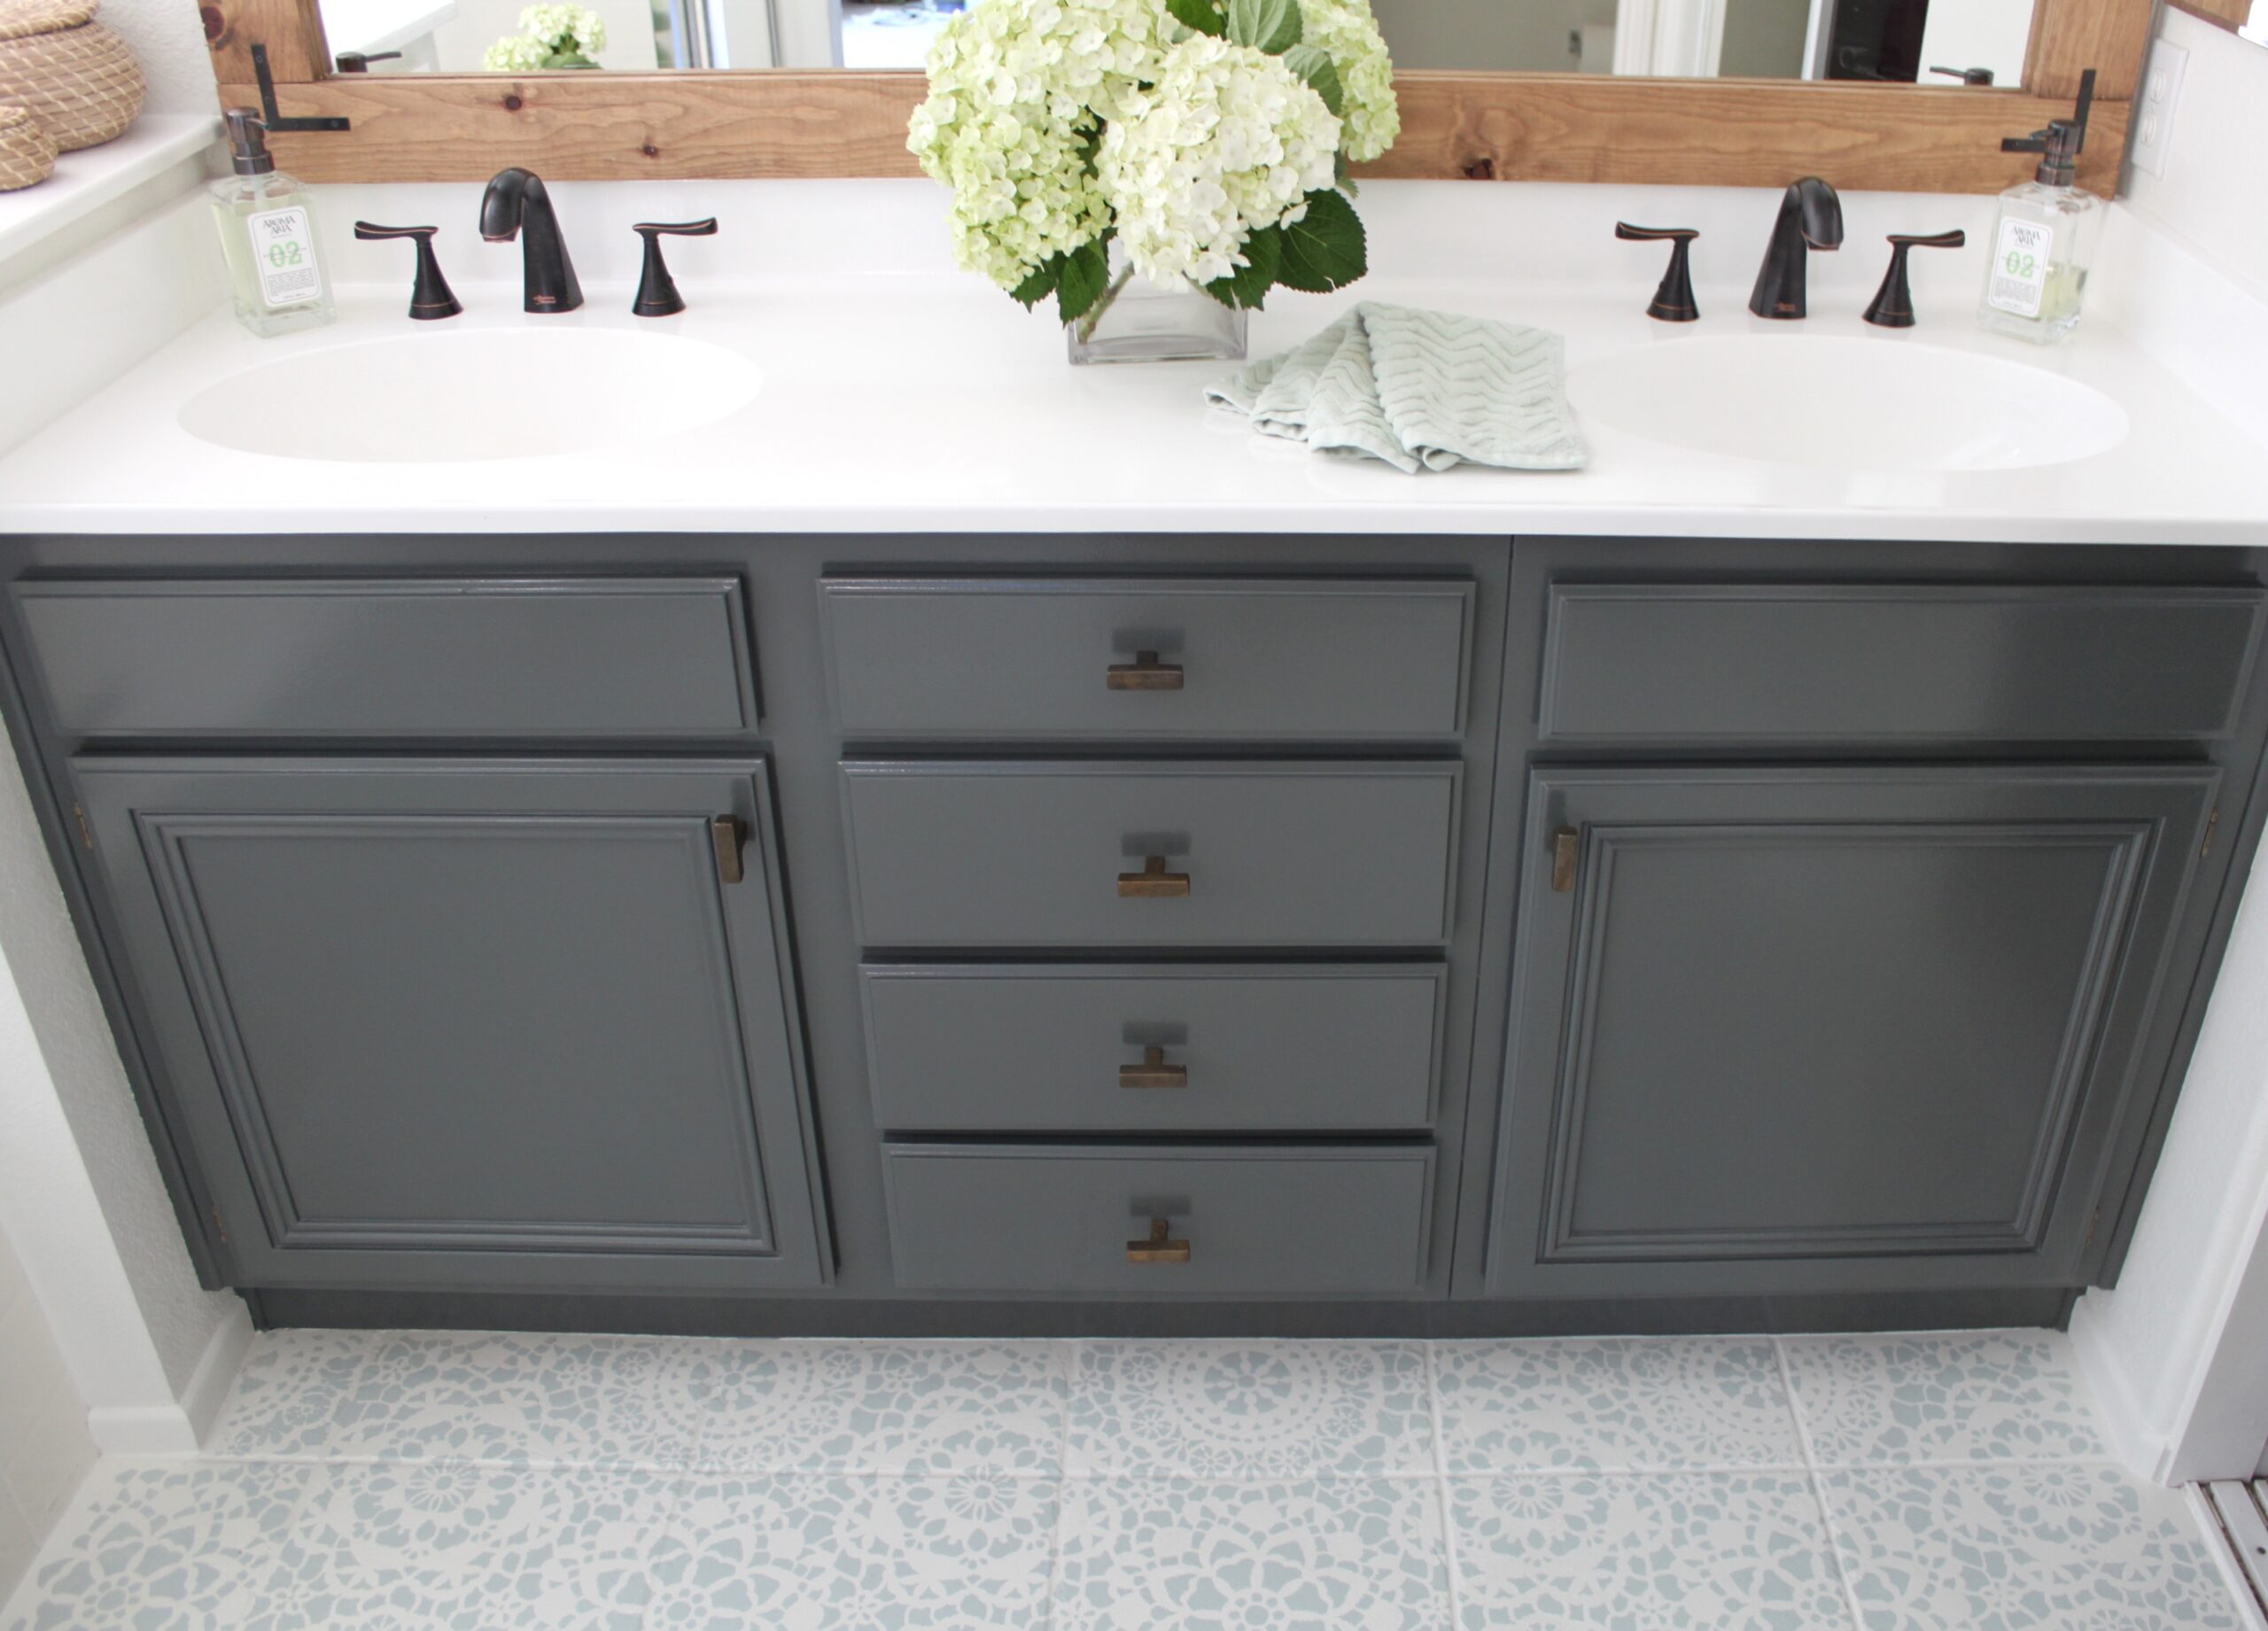
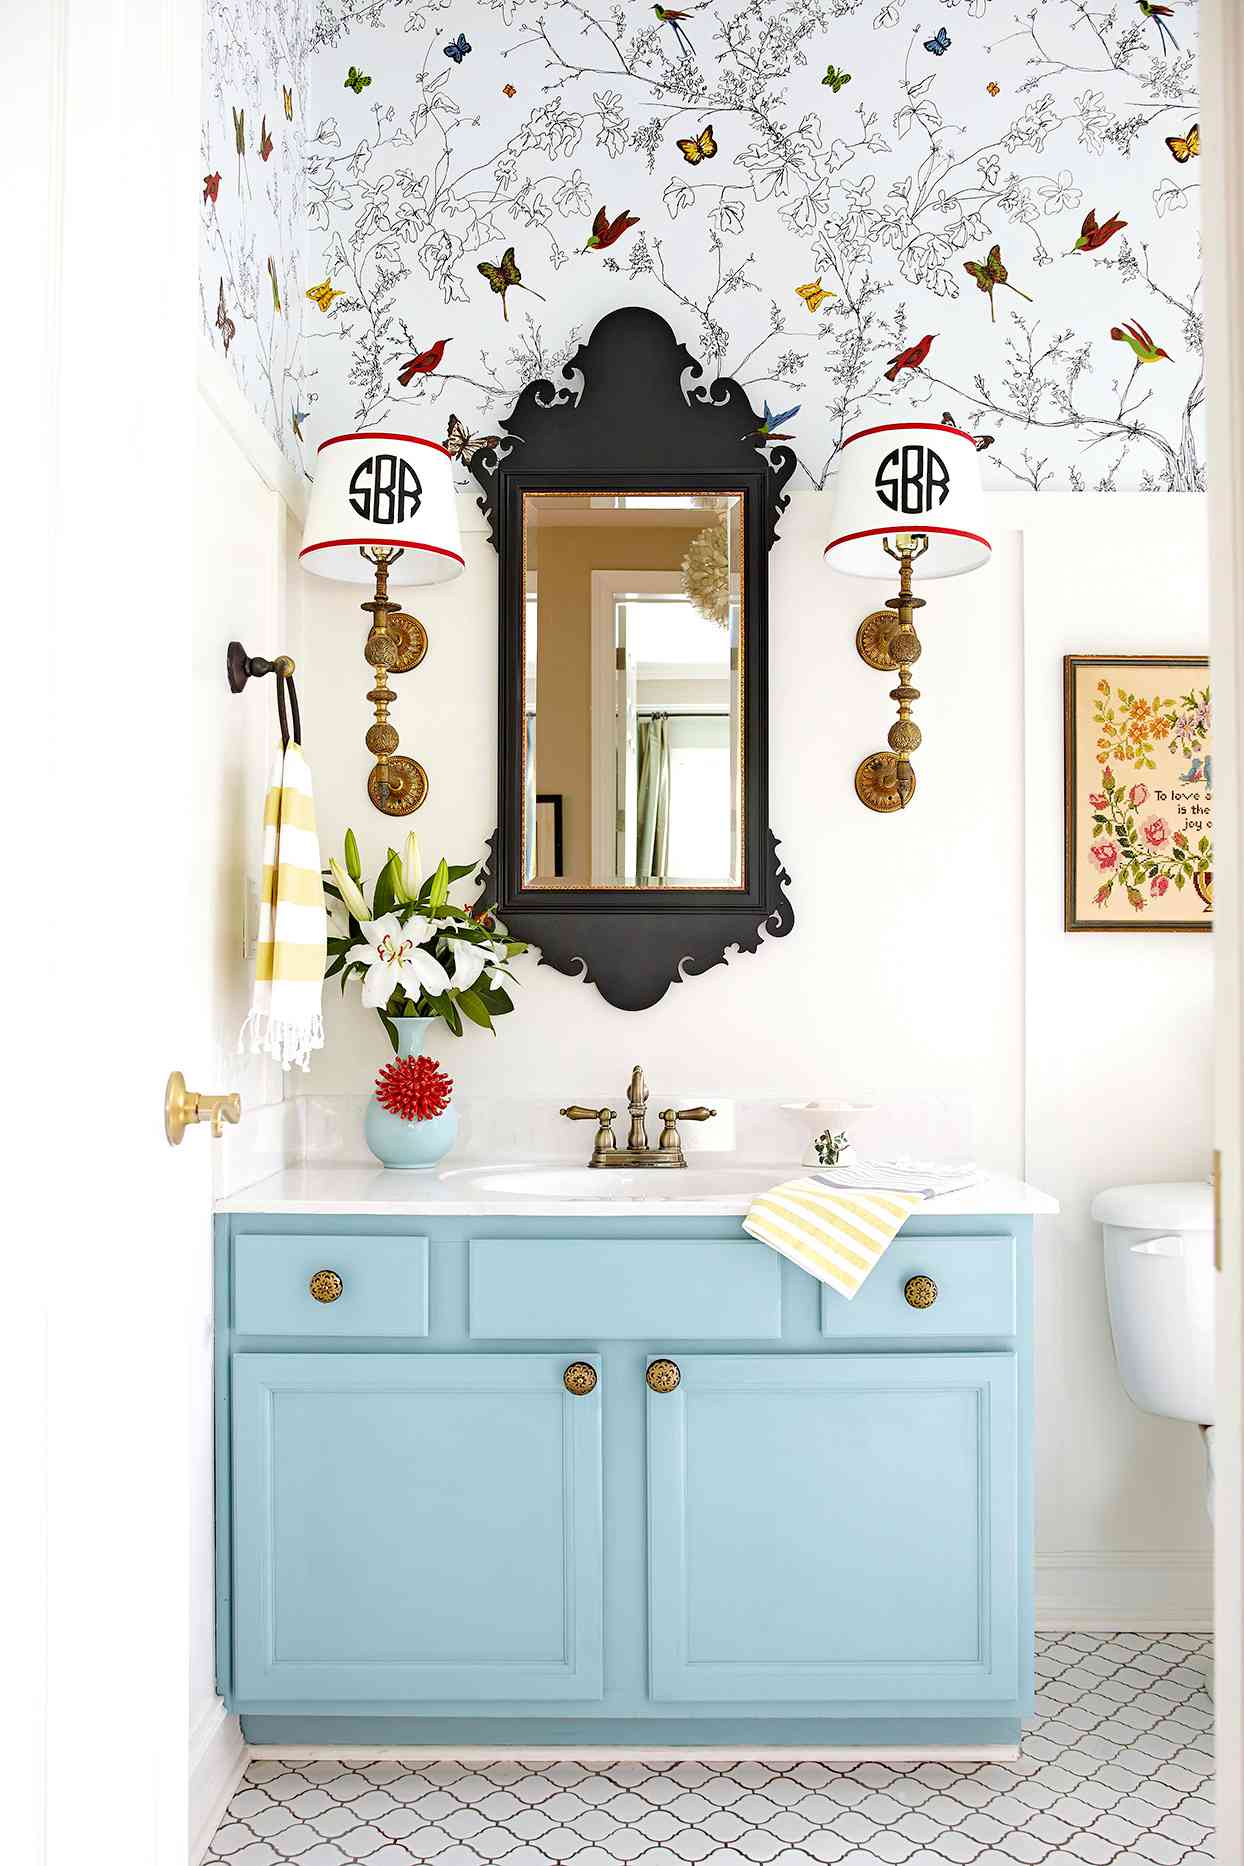
- Consider the Style of Your Bathroom: Your vanity should complement the overall style of your bathroom. If you have a modern bathroom, look for sleek, minimalist designs with clean lines and a glossy finish. For a more traditional bathroom, you might prefer a vanity with ornate details and a rich wood finish. The right vanity can tie together your bathroom’s design and make it look cohesive and polished.
- Choose the Right Material: Vanities come in various materials, each with its pros and cons. Solid wood is durable and gives a high-end look, but it can be expensive and sensitive to moisture. MDF (Medium-Density Fiberboard) is a more affordable option that’s resistant to warping, though it might not last as long. For a modern look, consider a vanity made from glass or metal.
- Pick the Perfect Countertop: The countertop is a crucial part of your vanity and should be chosen carefully. Granite and marble are luxurious and durable but require regular maintenance. Quartz is a popular choice for its durability and low maintenance. For a budget-friendly option, consider laminate or solid surface materials. Make sure the countertop complements the rest of your bathroom’s design.
- Don’t Forget the Sink: Finally, consider the type of sink you want for your vanity. Undermount sinks are popular for their clean look and ease of cleaning. Vessel sinks sit on top of the countertop and can make a bold design statement. Integrated sinks are built into the countertop, providing a seamless look that’s easy to clean. Choose a sink that fits your style and functional needs.

Essential Tools and Materials for a Bathroom Vanity Makeover
A bathroom vanity makeover can transform your space and give it a fresh, updated look. To get started on this DIY project, you’ll need the right tools and materials. Here’s a comprehensive list to ensure you have everything you need for a smooth and successful vanity makeover.
Measuring Tools
Before you begin any project, accurate measurements are crucial. A tape measure, a level, and a pencil are your best friends. These tools will help you ensure that your new vanity fits perfectly in your space and is installed level and plumb. A framing square can also be handy for making sure corners and edges are at perfect right angles.
Basic Hand Tools
A set of basic hand tools is essential for any DIY project. You’ll need a hammer, screwdrivers (both flathead and Phillips), pliers, and an adjustable wrench. These tools will help you with tasks like removing old fixtures, installing new ones, and making any necessary adjustments during the process.
Power Tools
While many tasks can be accomplished with hand tools, power tools can make the job faster and easier. A power drill with a variety of drill bits is essential for drilling holes and driving screws. A jigsaw or circular saw can help cut through materials like plywood or countertop materials. Make sure to have the appropriate safety gear, like goggles and ear protection, when using power tools.
Plumbing Supplies
Since a bathroom vanity involves plumbing, you’ll need some basic plumbing supplies. Have a pipe wrench and plumber’s tape on hand for connecting and sealing pipes. You might also need a pipe cutter if you need to adjust the length of any pipes. Don’t forget to have a bucket and towels nearby in case of any leaks or spills.
Painting and Finishing Supplies
If you’re planning to paint or refinish your vanity, gather your painting supplies. This includes sandpaper for smoothing surfaces, painter’s tape for clean edges, and paintbrushes or rollers. Choose a paint that is suitable for bathroom environments, typically a semi-gloss or gloss finish that is resistant to moisture. If you’re staining wood, have a wood conditioner and stain in your desired color.
Installation Materials
For the installation of your new vanity, you’ll need some specific materials. This includes screws, brackets, and wall anchors for securing the vanity to the wall. A caulking gun with silicone caulk is essential for sealing around the edges of the vanity and sink to prevent water damage. Additionally, have wood glue or construction adhesive on hand for securing any joints or pieces.

Step-by-Step Guide to Removing Your Old Vanity
Removing an old bathroom vanity can seem like a daunting task, but with the right approach, it can be a straightforward DIY project. Follow these steps to safely and efficiently remove your old vanity, making way for your new installation.
Turn Off the Water Supply
The first step is to turn off the water supply to your bathroom sink. Locate the shutoff valves under the sink and turn them clockwise to close. If there are no individual shutoff valves, you may need to turn off the main water supply to your home. After shutting off the water, open the faucet to drain any remaining water from the pipes.
Disconnect the Plumbing
Next, you’ll need to disconnect the plumbing connections. Use a wrench to loosen and remove the nuts connecting the water supply lines to the faucet. Be prepared for some water to spill out, so have a bucket and towels ready. Then, disconnect the P-trap, which is the curved pipe under the sink that connects to the drain. Use a pipe wrench or pliers to loosen the slip nuts and remove the P-trap.
Remove the Sink and Countertop
With the plumbing disconnected, you can now remove the sink and countertop. If you have an undermount sink, it may be attached to the countertop with clips or adhesive. Use a utility knife to cut through any adhesive and carefully lift the sink out. For the countertop, check for any screws or brackets securing it to the vanity base. Remove these fasteners and carefully lift the countertop off the vanity.
Detach the Vanity from the Wall
Most vanities are secured to the wall with screws or brackets. Use a screwdriver or drill to remove these fasteners. If the vanity is caulked to the wall, use a utility knife to cut through the caulk. Once all fasteners are removed, gently pull the vanity away from the wall. If it’s heavy, you may need an extra pair of hands to help with this step.
Prepare the Area for the New Vanity
With the old vanity removed, take the time to inspect the area and make any necessary repairs. Check the wall for damage or holes and patch them with a spackling compound. If there’s any old caulk or adhesive residue, use a scraper to remove it. Clean the area thoroughly to ensure a smooth surface for your new vanity installation.
Dispose of the Old Vanity
Finally, dispose of your old vanity properly. If it’s still in good condition, consider donating it to a local charity or recycling center. Otherwise, you may need to take it to a landfill or arrange for a bulk pickup with your local waste management service. Be mindful of any local regulations regarding the disposal of large items.
Preparing Your Space for a New Vanity Installation
Once you’ve removed your old vanity, it’s time to prepare your bathroom for the new installation. Proper preparation ensures that your new vanity fits perfectly and functions well. Here are some key steps to get your space ready.
Assess and Repair the Walls and Floor
After removing the old vanity, inspect the walls and floor for any damage. Patch any holes or cracks in the wall with spackling compound and sand them smooth. If the floor is damaged or uneven, consider repairing or replacing it. A level and stable surface are essential for a secure vanity installation.
Check the Plumbing
Before installing your new vanity, make sure your plumbing is in good condition. Check for any leaks or signs of wear in the pipes and fittings. If necessary, replace old or damaged parts. Ensure that the water supply lines and drain are positioned correctly for your new vanity. You may need to adjust the plumbing if your new vanity has a different configuration.
Prepare the Electrical Outlets
If your new vanity includes features like a built-in light or outlet, you’ll need to ensure that the electrical wiring is ready. Turn off the power to the bathroom at the circuit breaker and check the wiring. If you’re not comfortable working with electricity, consider hiring a licensed electrician to handle any necessary changes or upgrades.
Plan the Layout
Take the time to plan the layout of your new vanity. Measure the dimensions of the vanity and mark its position on the wall and floor. Ensure that there is enough clearance for drawers and doors to open fully. Consider the placement of mirrors, lighting, and other fixtures to ensure a cohesive and functional design.
Gather Your Tools and Materials
Before you begin the installation, gather all the tools and materials you’ll need. This includes screws, brackets, a drill, a level, a tape measure, and any other items specified in the vanity’s installation instructions. Having everything on hand will make the installation process smoother and more efficient.
Dry Fit the Vanity
Before permanently installing your new vanity, do a dry fit to ensure everything lines up correctly. Place the vanity in its designated spot and check the fit against the wall and floor. Make any necessary adjustments to the plumbing, electrical, or layout before proceeding with the final installation.

Installing Your New Bathroom Vanity: Tips and Tricks
Installing a new bathroom vanity can be a rewarding DIY project that gives your bathroom a fresh look. With the right approach and some handy tips and tricks, you can ensure a smooth installation process. Here’s how to get it done.
Secure the Vanity Base
Start by positioning the vanity base in its designated spot. Use a level to ensure it’s perfectly level and plumb. If necessary, use shims to adjust the height and level the vanity. Once it’s in the correct position, secure the vanity to the wall using screws and brackets. Make sure the screws are driven into wall studs for a secure hold.
Install the Countertop
Next, it’s time to install the countertop. Apply a bead of silicone adhesive along the top edges of the vanity base. Carefully place the countertop on top, aligning it with the edges of the vanity. Press down gently to ensure a good bond with the adhesive. If your countertop includes a backsplash, apply a bead of silicone along the back edge and press it into place.
Attach the Sink
If your new vanity includes a separate sink, you’ll need to attach it to the countertop. Apply a bead of plumber’s putty or silicone adhesive around the edge of the sink opening. Place the sink into the opening and press down firmly. Use the clips or brackets provided with the sink to secure it to the countertop. Make sure the sink is centered and aligned properly.
Connect the Plumbing
With the sink in place, it’s time to reconnect the plumbing. Start by connecting the water supply lines to the faucet. Use a wrench to tighten the connections, but be careful not to overtighten and damage the fittings. Next, attach the P-trap to the drainpipe and the sink drain. Use the plumber’s tape on the threads to ensure a watertight seal. Turn on the water supply and check for any leaks.
Seal the Edges
To prevent water damage, it’s important to seal the edges of the vanity. Apply a bead of silicone caulk along the edges where the countertop meets the wall and where the sink meets the countertop. Smooth the caulk with your finger or a caulk tool for a clean finish. Allow the caulk to dry completely before using the vanity.
Final Adjustments and Cleaning
Once the vanity is installed, make any final adjustments to ensure everything is secure and level. Tighten any loose screws or connections. Clean up any excess adhesive or caulk with a damp cloth. Give the entire vanity a thorough cleaning to remove dust and debris from the installation process. Your new vanity is now ready to use!

Finishing Touches: Adding Hardware and Accessories
The final step in your bathroom vanity makeover is adding the finishing touches. Hardware and accessories can enhance the look and functionality of your vanity, making it a stylish and practical addition to your bathroom. Here are some ideas to help you complete your project.
Choose the Right Hardware
Selecting the right hardware for your vanity is like picking the perfect jewelry for an outfit. Consider the style and finish of your vanity when choosing knobs, handles, and pulls. Brushed nickel, chrome, and oil-rubbed bronze are popular finishes that can complement a variety of styles. Install the hardware evenly and securely for a polished look.
Add a Mirror
A mirror is a must-have accessory for any bathroom vanity. Choose a mirror that complements the style of your vanity and fits the space well. Frameless mirrors offer a sleek, modern look, while framed mirrors can add a touch of elegance. Consider installing a medicine cabinet mirror for additional storage.
Lighting Matters
Good lighting is essential for a functional bathroom. Install lighting fixtures above or beside your mirror to provide adequate illumination for grooming and applying makeup. Choose fixtures that match the style and finish of your vanity hardware. LED lights are energy-efficient and provide bright, clear light.
Organize with Storage Solutions
Maximize the storage potential of your vanity with organizers and storage solutions. Drawer dividers and trays can keep smaller items like makeup and toiletries neatly organized. Add baskets or bins inside the cabinets for larger items like towels and cleaning supplies. A well-organized vanity can make your morning routine more efficient.
Decorative Touches
Add some decorative touches to personalize your vanity area. Consider adding a small vase of fresh flowers or a potted plant for a touch of nature. Decorative trays can corral items like soap dispensers, toothbrush holders, and perfume bottles. Choose accessories that complement your bathroom’s color scheme and style.
Final Inspection
Before you call your vanity makeover complete, do a final inspection to ensure everything is in place and functioning properly. Check that all hardware is securely attached, the plumbing is leak-free, and the lighting is working. Clean the vanity and surrounding area thoroughly. Enjoy your beautiful new bathroom vanity and the fresh look it brings to your space!
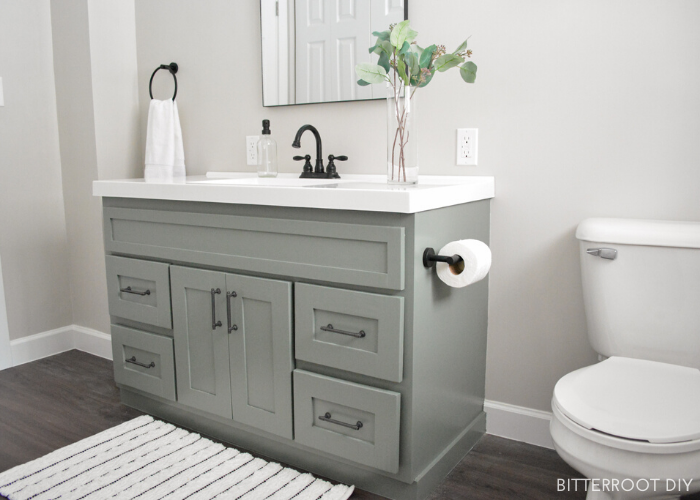
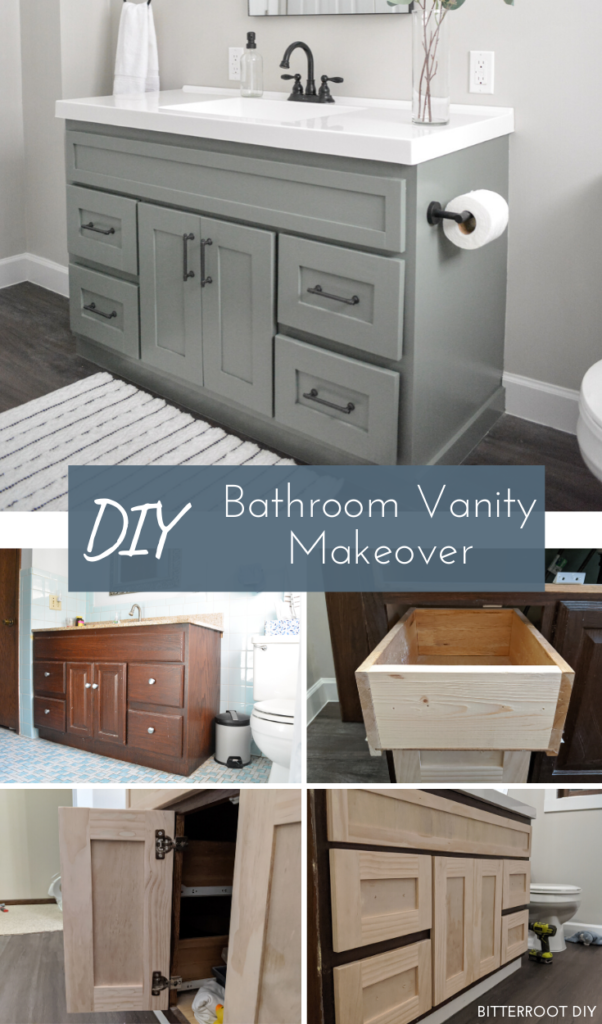
DIY Bathroom Vanity Makeover – Bitterroot DIY
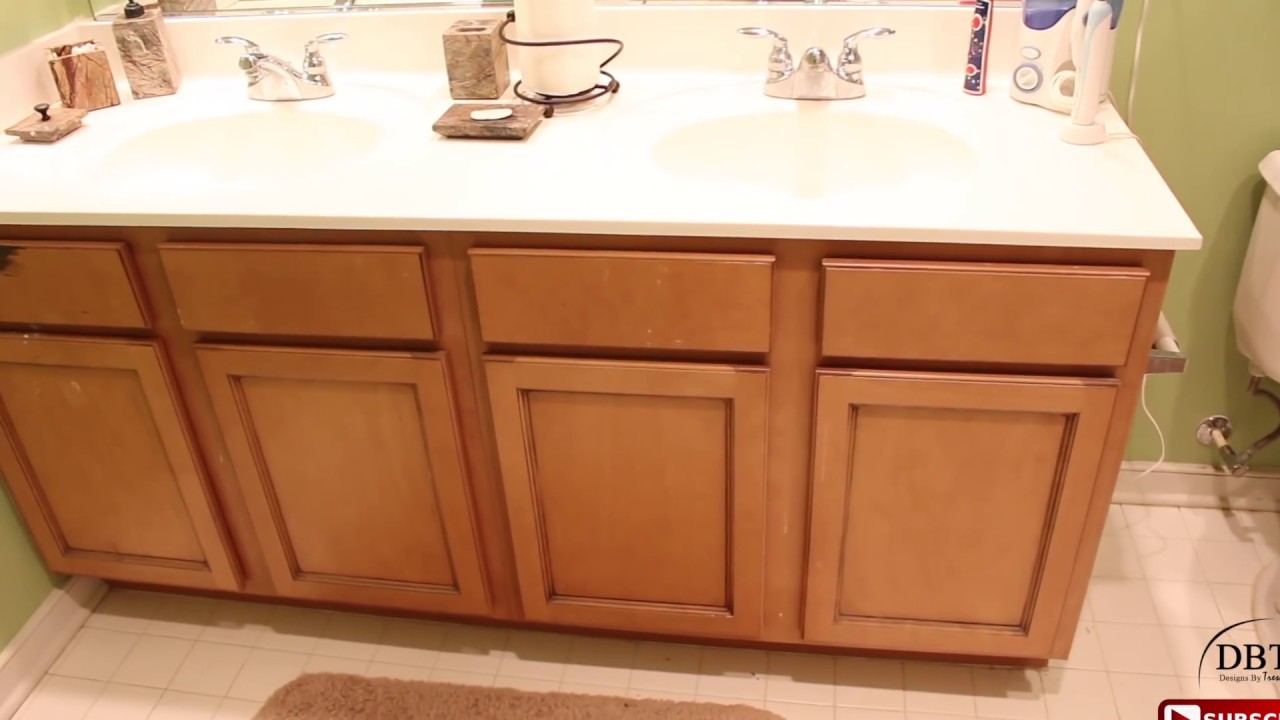
Update Your Bathroom Cabinets for Under $70

DIY Bathroom Vanity Makeover
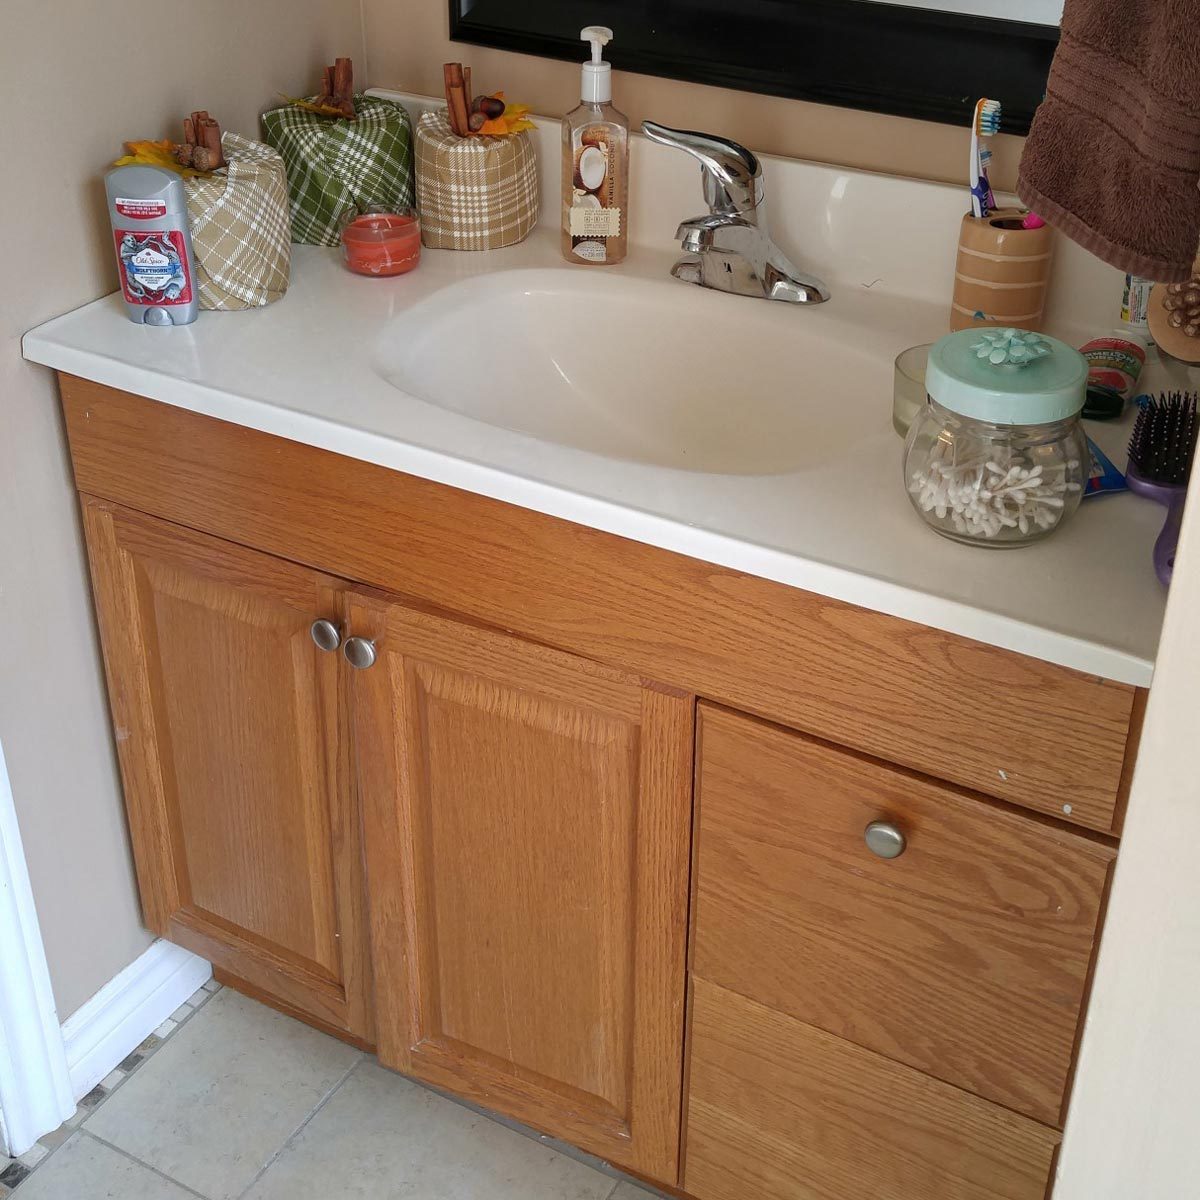
Low-Cost Ways to Replace (or Redo) a Hideous Bathroom Vanity
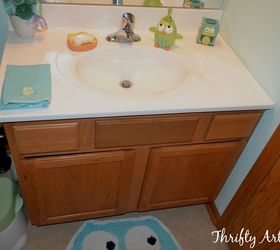
Major Tips To Transform Your Bathroom Cabinets If It Looks Like This
Choosing A Vanity for your Bathroom Remodel – Creative Contracting
How to Paint Bathroom Vanity Cabinets (That Will Last)

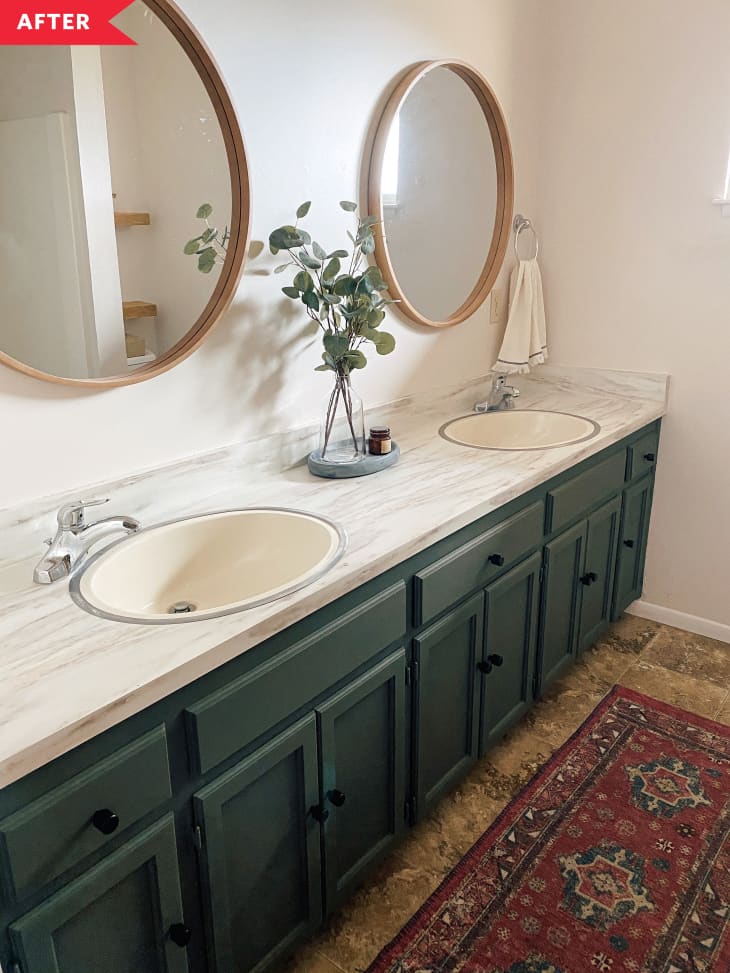
Green Vanity Bathroom Redo – Before and After Photos Apartment
Related Posts:


