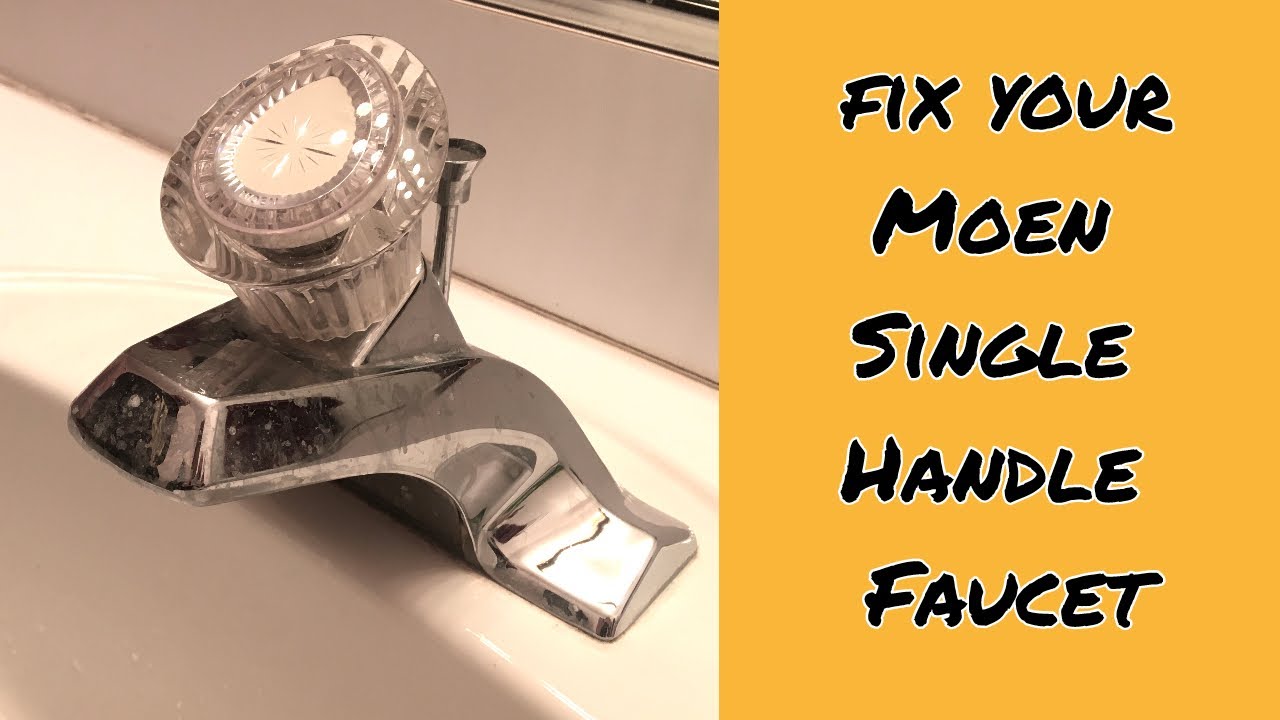
Moen Single Lever Bathroom Faucet Repair
When it comes to everyday functionality, few things are as important as a well-functioning bathroom faucet. If you’re experiencing issues with your Moen single-lever bathroom faucet, don’t fret! In this straightforward guide, we’ll walk you through the steps to repair your faucet and restore it to optimal working condition.
Step 1: Gather the necessary tools
Before you begin the repair process, make sure you have the following tools on hand:
- Adjustable wrench
- Screwdriver (both flathead and Phillips)
- Plumber’s tape
- Replacement parts (if necessary)
Step 2: Turn off the water supply
Locate the shut-off valves under the sink and turn them clockwise to shut off the water supply. To be extra cautious, it’s advisable to place a towel or a bucket beneath the faucet to catch any water that might still be in the pipes.
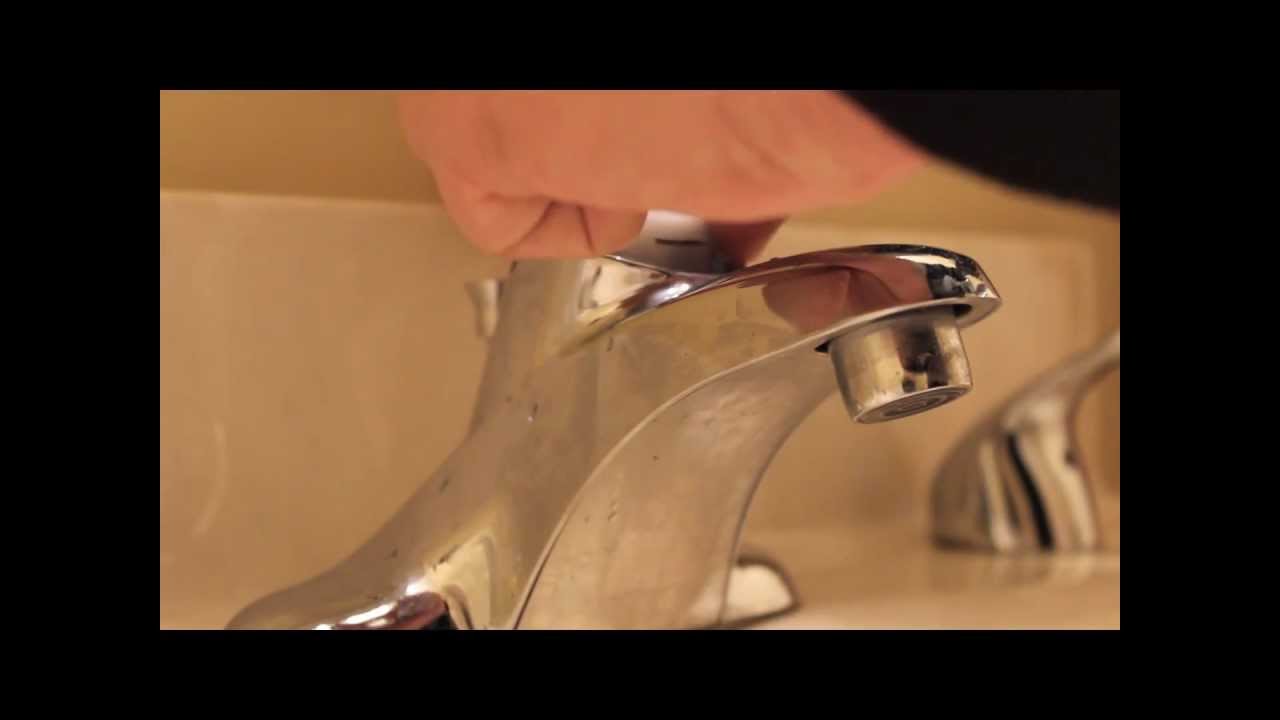
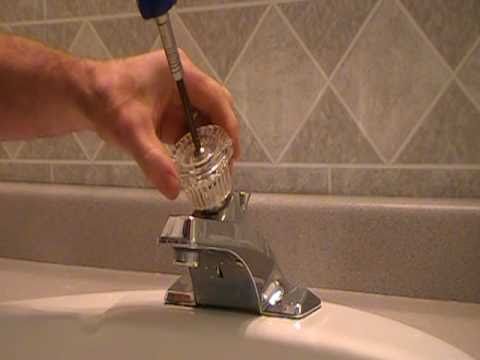
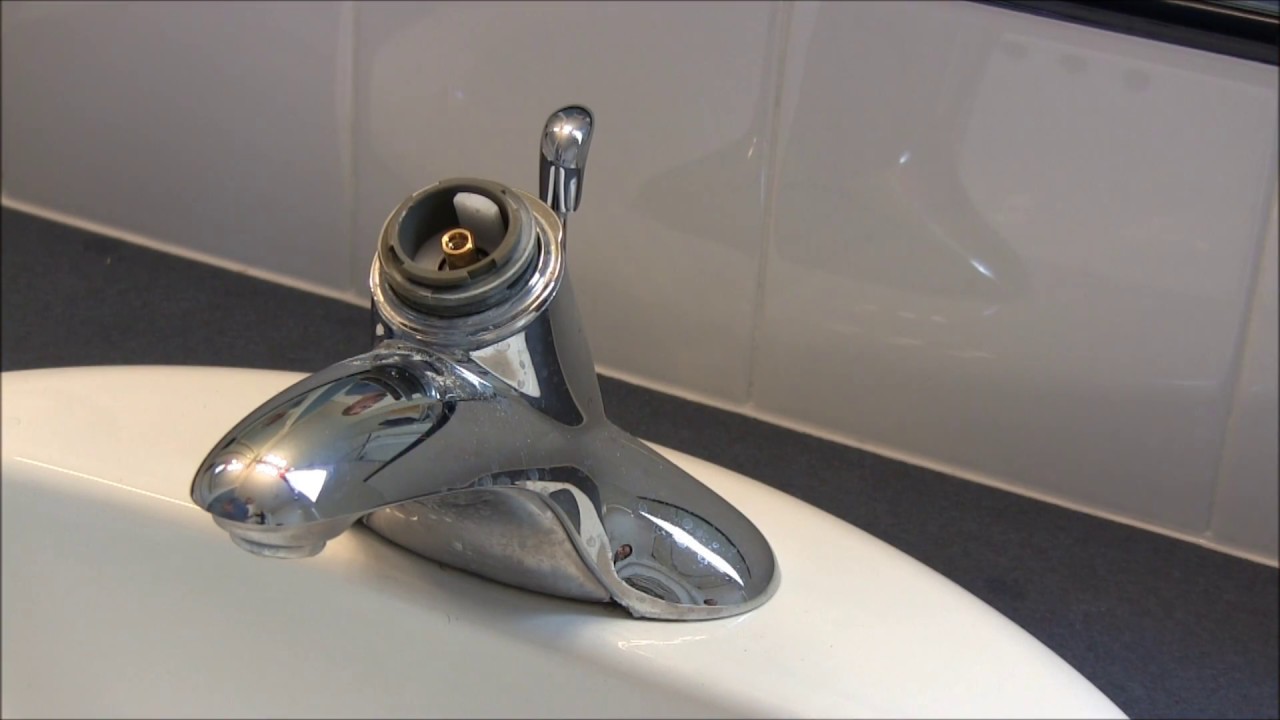
Step 3: Remove the faucet handle
Using the appropriate screwdriver, remove the screw that secures the faucet handle. Once the screw is removed, gently pull off the handle to expose the cartridge.
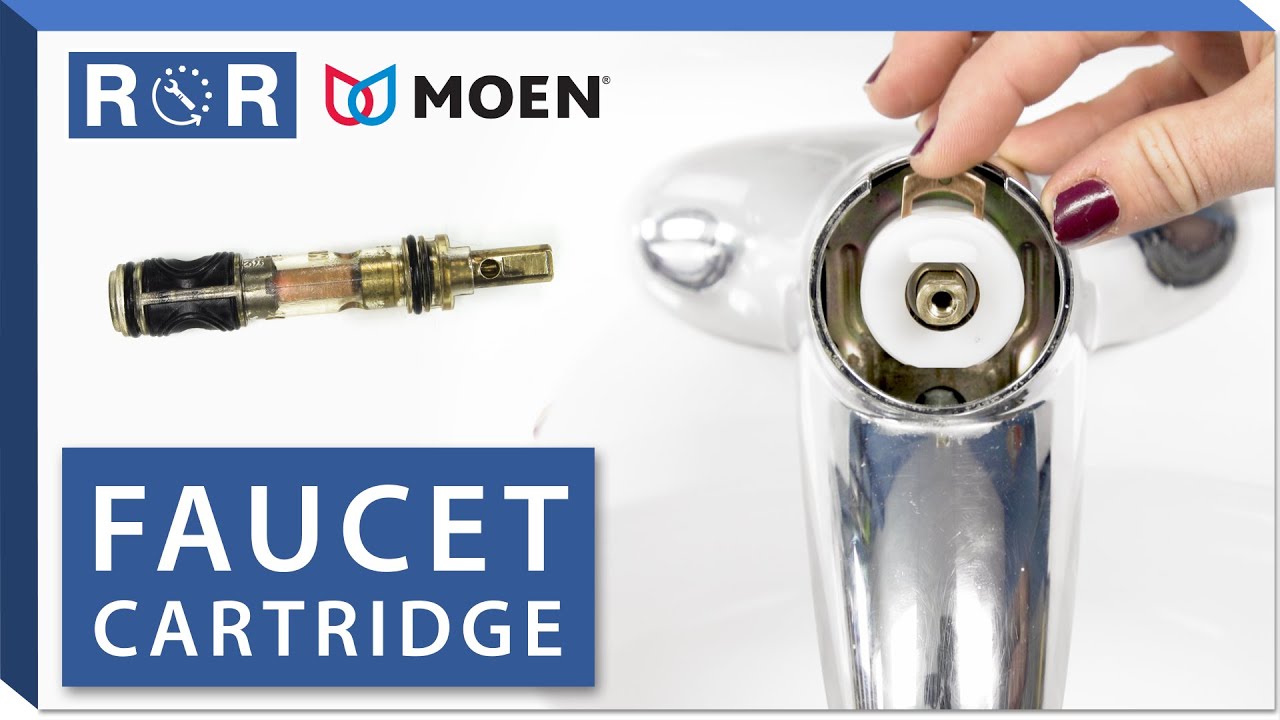
Step 4: Inspect the cartridge
The cartridge is the component responsible for controlling the flow of water. Inspect it for any signs of damage, such as cracks or mineral buildup. If the cartridge appears worn or damaged, it will need to be replaced. Contact Moen or your local hardware store to obtain a suitable replacement cartridge.
Step 5: Install the new cartridge
Carefully align it with the faucet body, ensuring it fits securely. Follow the manufacturer’s instructions for proper installation. Tighten any retaining nuts or screws to secure the cartridge in place.
Step 6: Reassemble the faucet
Place the faucet handle back onto the cartridge and secure it with the screw you removed earlier. Ensure that the handle is aligned properly and functions smoothly.
Step 7: Test for leaks
Once everything is reassembled, turn the water supply back on. Slowly open the shut-off valves to allow water to flow into the faucet. Check for any leaks around the handle or base of the faucet. If you notice any leaks, ensure all connections are tightened, and consider using a plumber’s tape to seal any potential gaps.
Repairing a Moen single-lever bathroom faucet doesn’t have to be a daunting task. Following these simple steps and using basic tools can resolve many common issues and restore your faucet’s functionality. Remember, if you encounter any challenges or the problem persists, it’s always a good idea to consult a professional plumber.
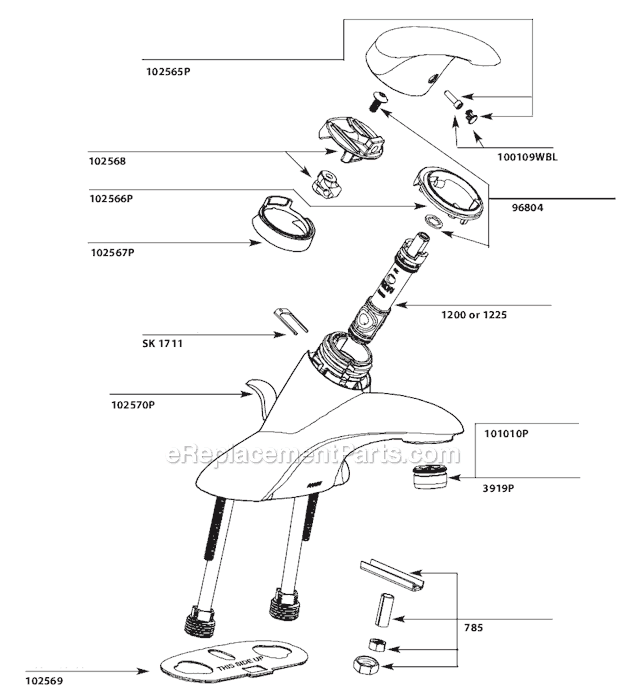
Magnum Cartridge: Repair and Replace (Single Handle Moen Bathroom Faucet)
How to fix Moen Single-handle faucets
How to Fix a Leaking Moen 1225 Series Bathroom Faucet by Replacing the Cartridge
Moen Bathroom Faucet L64725 eReplacementParts.com
Bathroom faucet cartridge replacement
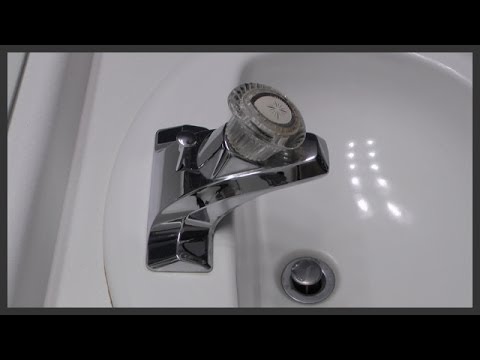
Moen Chateau L4621 single-handle lavatory repair, older style

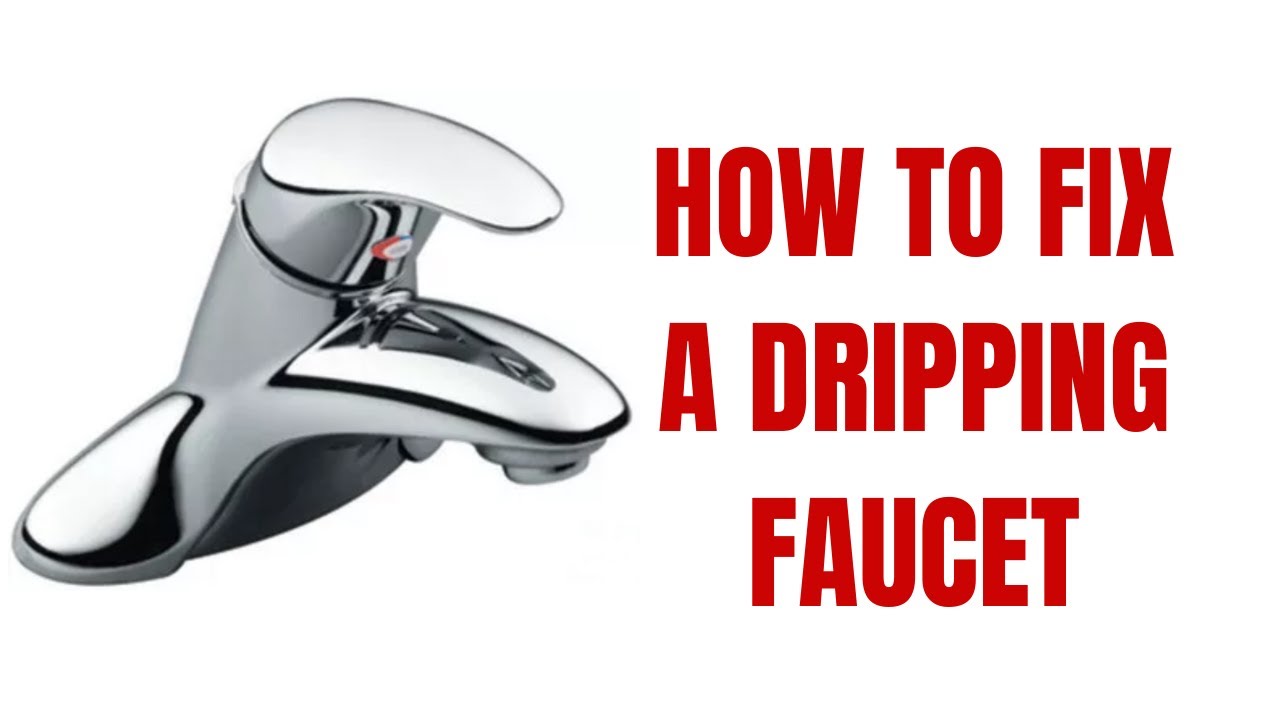
How to Fix a Leaking Moen Bathroom Sink Faucet Fast! – Plumbing Sniper

How to Fix a Leaky Moen Faucet – Fast and Easy Cartridge Replacement
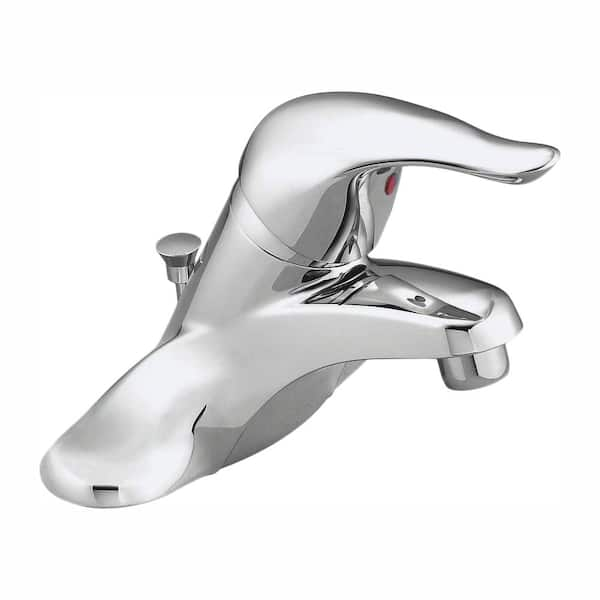
MOEN Chateau 4 in. Centerset Single Handle Low-Arc Bathroom Faucet
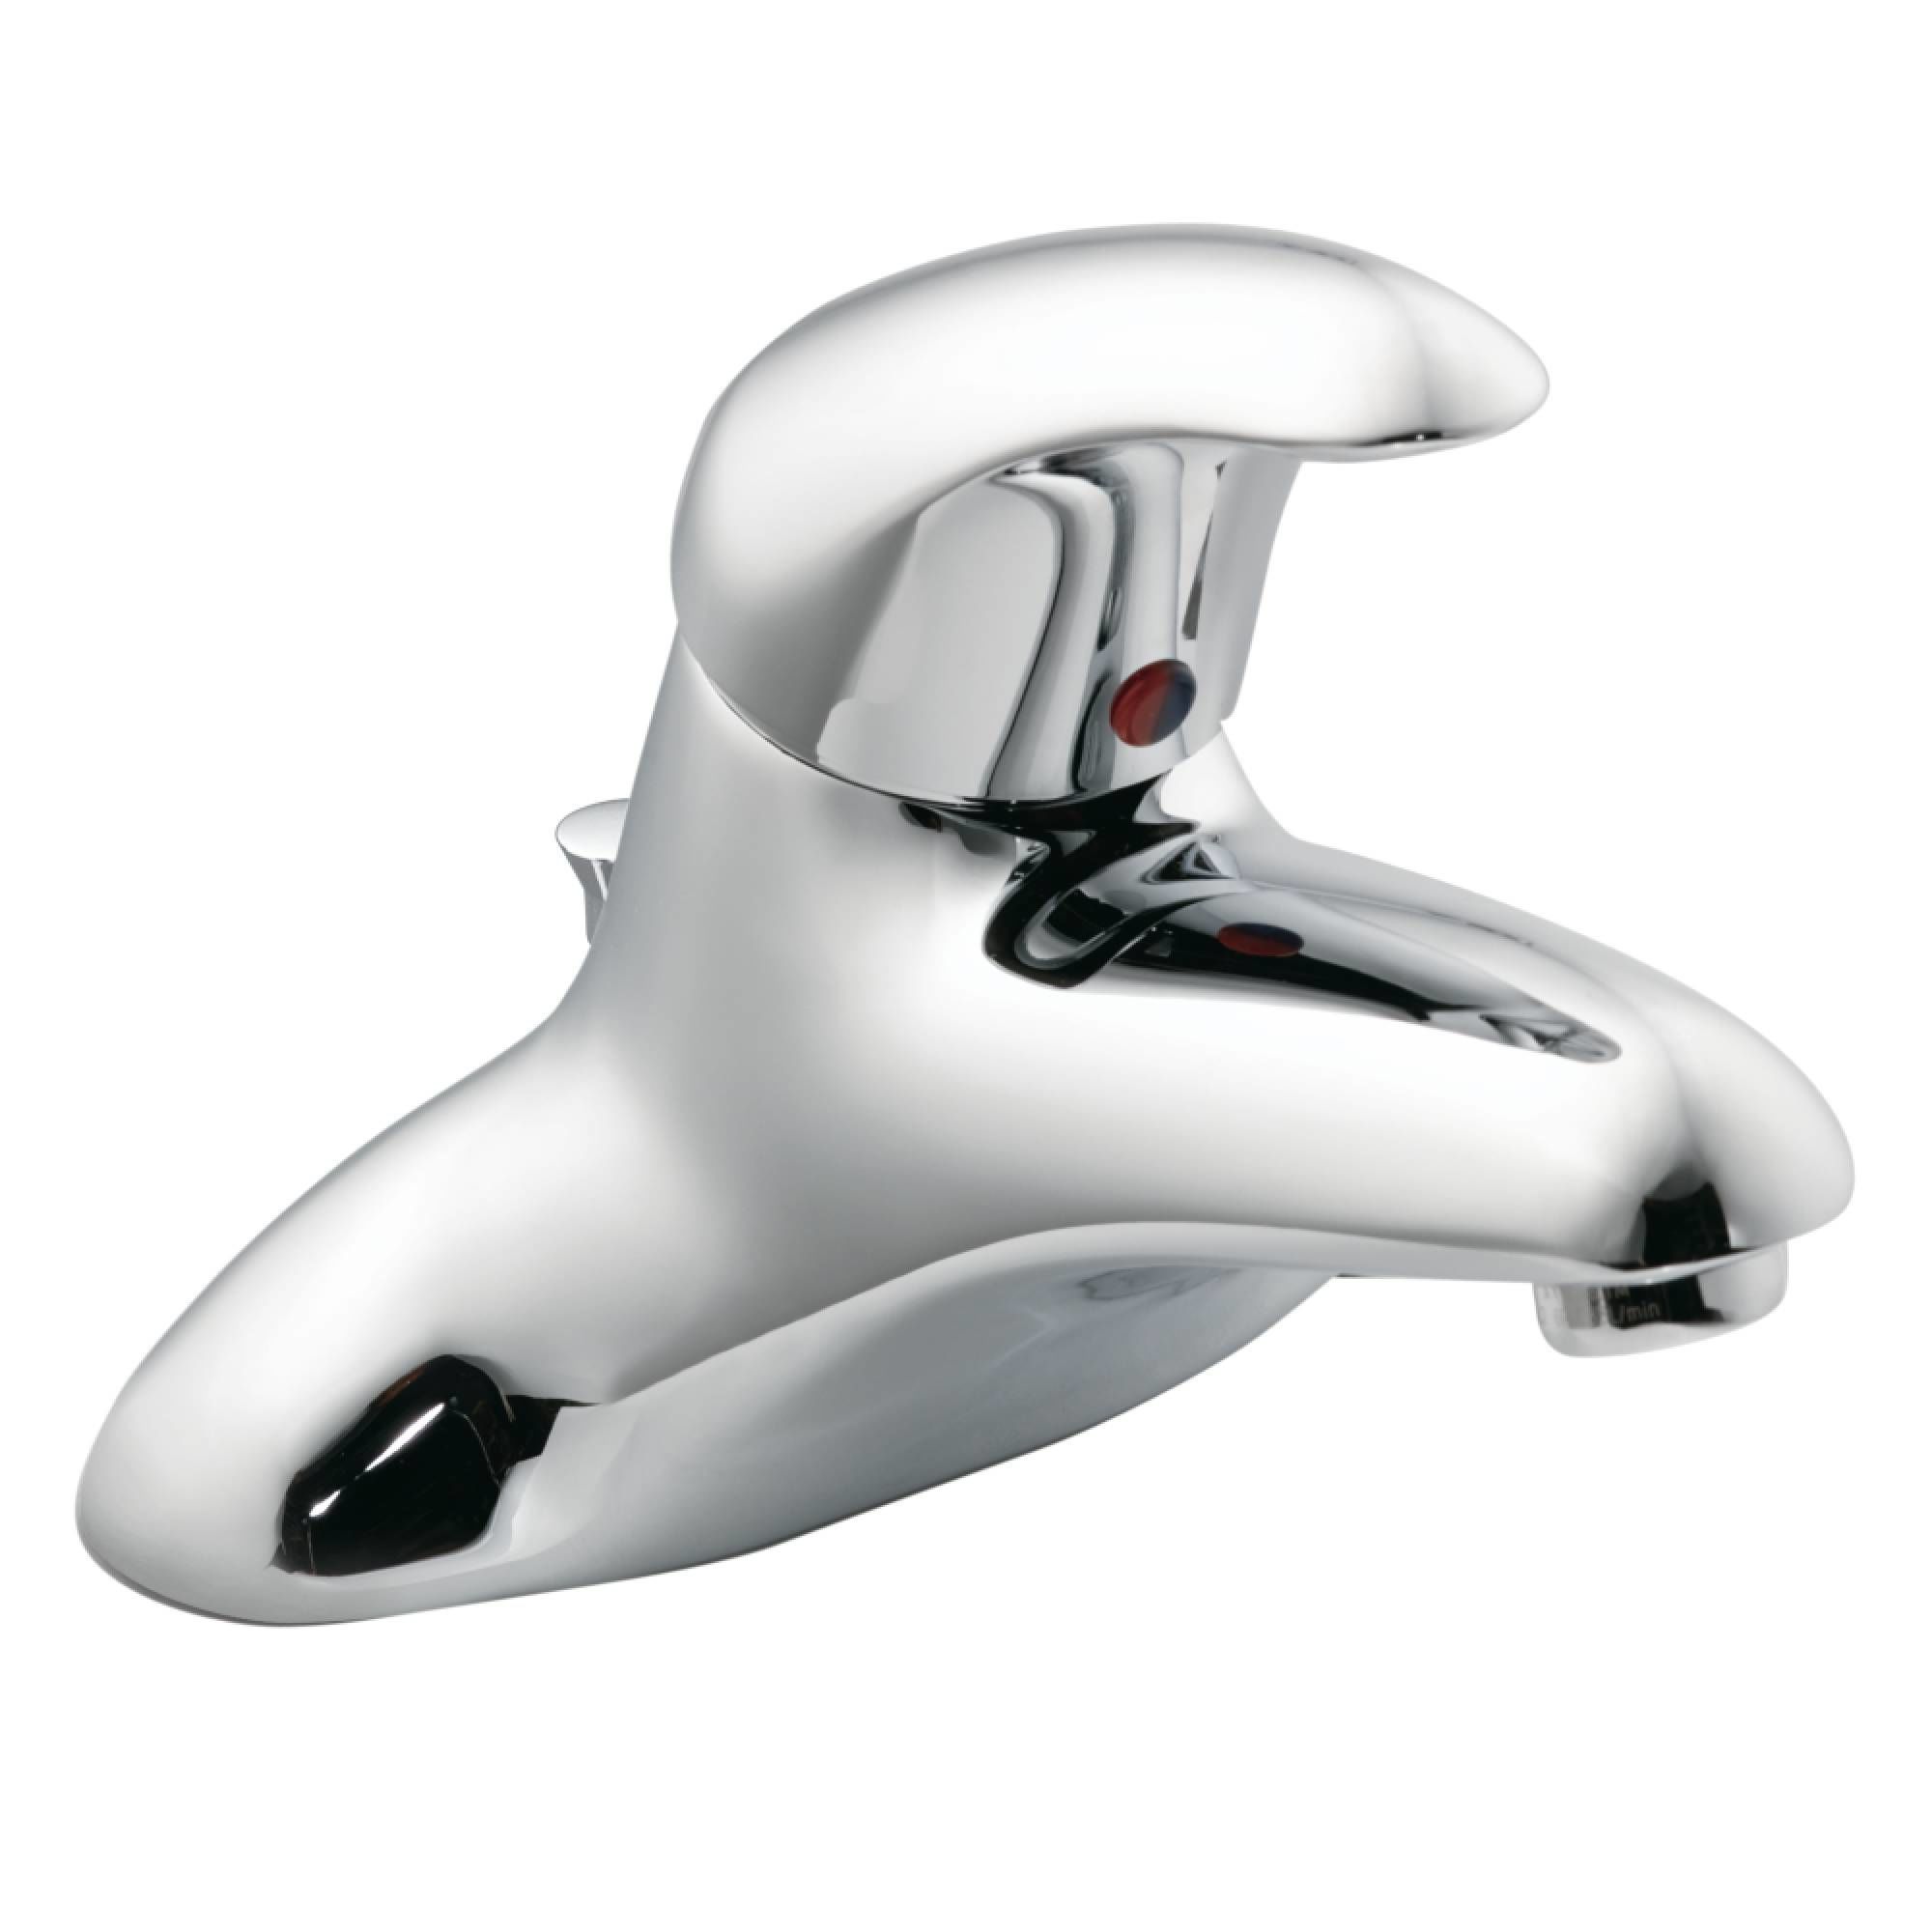
Moen 64621 Cht 1 Handle Lav Knb 50/50 Wa 1/2 Chr Bk

How do I replace my Moen bathroom faucet cartridge?
Moen 8414
Related Posts:
- Buy Bathroom Faucets Online
- Wall Mounted Bathroom Faucets Clearance
- Replace Moen Bathroom Faucet
- Old Moen Bathroom Faucet Repair
- Fixing Moen Bathroom Faucet Handle
- Pfister Centerset Bathroom Faucet
- Remove Cartridge From Moen Bathroom Faucet
- Price Pfister Catalina Widespread Bathroom Faucet
- Copper Waterfall Bathroom Faucet
- How To Tighten Bathroom Faucet Handles