Understanding the Delta Bathroom Faucet
The Delta Bathroom Faucet is a popular choice among homeowners due to its innovative features and exceptional quality. Let’s talk about the various features and benefits of the Delta Bathroom Faucet, helping you understand why it’s a smart investment for your bathroom.
- Sleek Design: One of the standout features of the Delta Bathroom Faucet is its sleek and modern design. With clean lines and a variety of finishes to choose from, such as chrome, brushed nickel, and bronze, the Delta faucet can effortlessly complement any bathroom decor. Its elegant design adds a touch of sophistication and style to your space.
- Water Efficiency: Another key benefit of the Delta Bathroom Faucet is its water efficiency. Delta faucets are equipped with innovative technologies, such as WaterSense, which helps conserve water without compromising performance. This means you can enjoy a refreshing and powerful stream of water while reducing water consumption and lowering your utility bills.
- Durability and Reliability: When it comes to faucets, durability is crucial, and the Delta Bathroom Faucet doesn’t disappoint. Constructed with high-quality materials, these faucets are built to withstand daily use and are highly resistant to corrosion and tarnish. Delta faucets are also backed by a lifetime warranty, providing you with peace of mind and assurance of their reliability.
- Easy Installation: Installing the Delta Bathroom Faucet is a breeze, even for those with limited plumbing experience. With their user-friendly design and clear instructions, you can easily replace your old faucet or install a new one without the need for professional help. This not only saves you money but also gives you the satisfaction of completing a DIY project.
- Innovative Technologies: Delta faucets incorporate cutting-edge technologies to enhance your overall experience. Some models feature Touch2O technology, allowing you to turn the faucet on or off with a simple touch. Others come with ShieldSpray technology, which provides a more powerful and efficient spray while minimizing splatter. These innovative features make using the Delta Bathroom Faucet a joy.
Tools and Materials Needed
Before you start installing your Delta Bathroom Faucet, it’s essential to gather all the necessary tools and materials. Below is the list of items you’ll need, to ensure a smooth and hassle-free installation process.
- Delta Faucet Kit: The first item you’ll need is the Delta Faucet Kit, which typically includes the faucet assembly, handles, spout, and any other necessary components. Ensure that you have the correct kit for your specific model and bathroom setup.
- Adjustable Wrench: An adjustable wrench is a must-have tool for faucet installation. It allows you to tighten or loosen various connections, ensuring a secure and leak-free installation. Make sure to choose an adjustable wrench that fits the size of the nuts and bolts on your faucet.
- Pipe Wrench: If you need to remove the old faucet or work with stubborn connections, a pipe wrench can come in handy. It provides a strong grip and leverage, making it easier to loosen tight fittings.
- Plumber’s Tape: Plumber’s tape, also known as Teflon tape, is an essential item for creating watertight seals. Wrap a few layers of plumber’s tape around the threaded connections to prevent leaks.
- Screwdriver: Depending on your faucet model, you may need a screwdriver to tighten or loosen screws during installation. Ensure you have both flathead and Phillips screwdrivers on hand to accommodate different types of screws.
- Bucket or Towel: To catch any water that may spill during the installation process, keep a bucket or towel nearby. This will help prevent any damage to your bathroom floor or fixtures.
Installing Your Delta Bathroom Faucet
Introduction: Installing your Delta Bathroom Faucet may seem daunting at first, but with a step-by-step guide, the process becomes straightforward and manageable. This guide will walk you through each stage of the installation, ensuring a successful and professional-looking result.
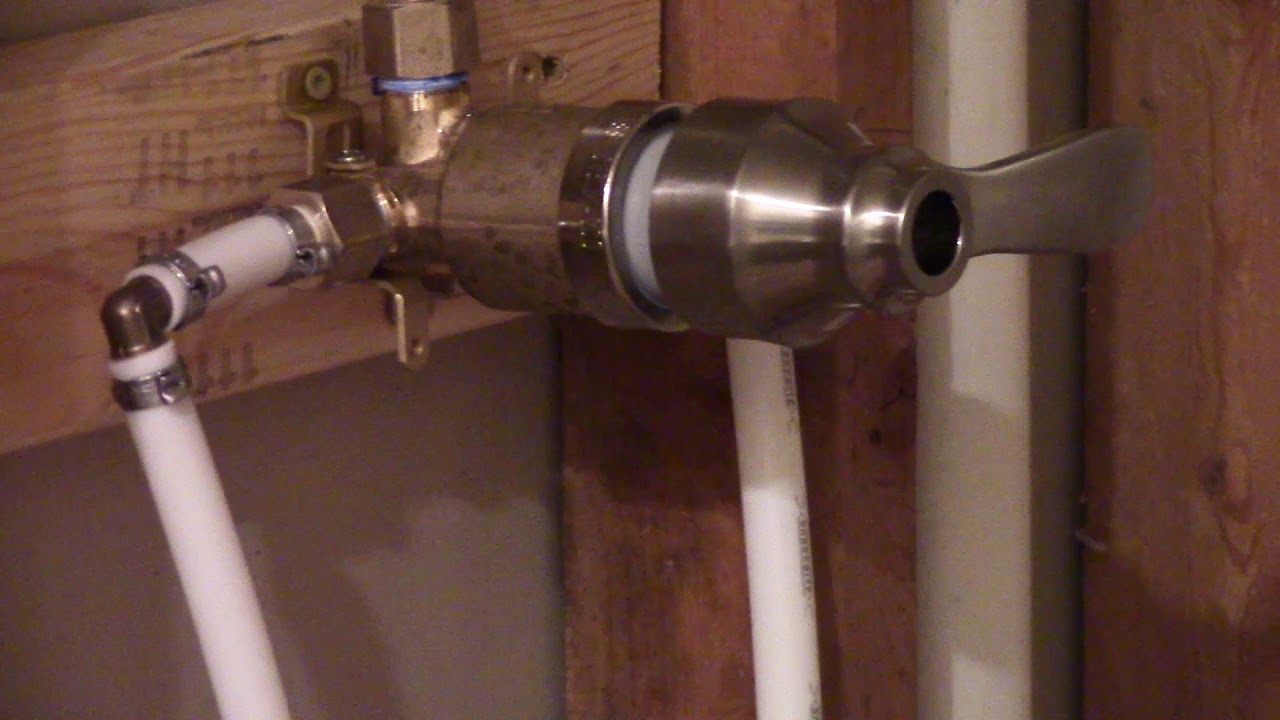
Turn Off Water Supply: Before you begin, turn off the water supply to your bathroom. Locate the shut-off valve under the sink and close it to prevent any water flow during the installation process. This step is crucial to avoid any potential water damage or accidents.
Remove the Old Faucet: If you’re replacing an old faucet, start by disconnecting the supply lines and removing any nuts or bolts securing the faucet in place. Use a wrench or screwdriver, depending on the type of fasteners used. Once the old faucet is removed, clean the sink surface thoroughly.
Assemble the New Faucet: Follow the manufacturer’s instructions to assemble the new Delta Bathroom Faucet. This typically involves attaching the handles, spout, and any other components provided in the faucet kit. Ensure all connections are tight but be careful not to overtighten, as this can damage the faucet or cause leaks.
Mount the Faucet: Position the assembled faucet on the sink surface, aligning it with the mounting holes. Use the included washers and nuts to secure the faucet in place. Tighten the nuts until the faucet is stable but avoid excessive force.
Connect the Supply Lines: Attach the supply lines to the corresponding hot and cold water connections on the faucet. Use an adjustable wrench to tighten the connections, ensuring they are secure but not overly tight. Double-check for any leaks at this stage.
Test and Adjust: Once the faucet is securely installed, turn on the water supply and test for any leaks. Adjust the handles and check the water flow to ensure everything is functioning correctly. Make any necessary adjustments or tighten connections if needed.
Clean Up: Clean up any debris or excess plumber’s tape from the installation process. Wipe down the faucet and surrounding area to ensure a clean and polished look. Enjoy your newly installed Delta Bathroom Faucet!
Troubleshooting Common Installation Issues
While installing a Delta Bathroom Faucet is usually a straightforward process, sometimes unexpected issues can arise. Here are some common installation problems and provide troubleshooting tips to help you overcome them.
Leaks at the Connections: If you notice leaks at the connections between the faucet and the supply lines, they may not be tightened enough. Use an adjustable wrench to carefully tighten the connections without over-tightening, as this can damage the fittings or cause leaks elsewhere.
Low Water Pressure: If you experience low water pressure after installing your Delta faucet, the aerator may be clogged with debris. Unscrew the aerator from the faucet spout and rinse it under running water to remove any sediment or buildup. Reattach the aerator and test the water pressure again.
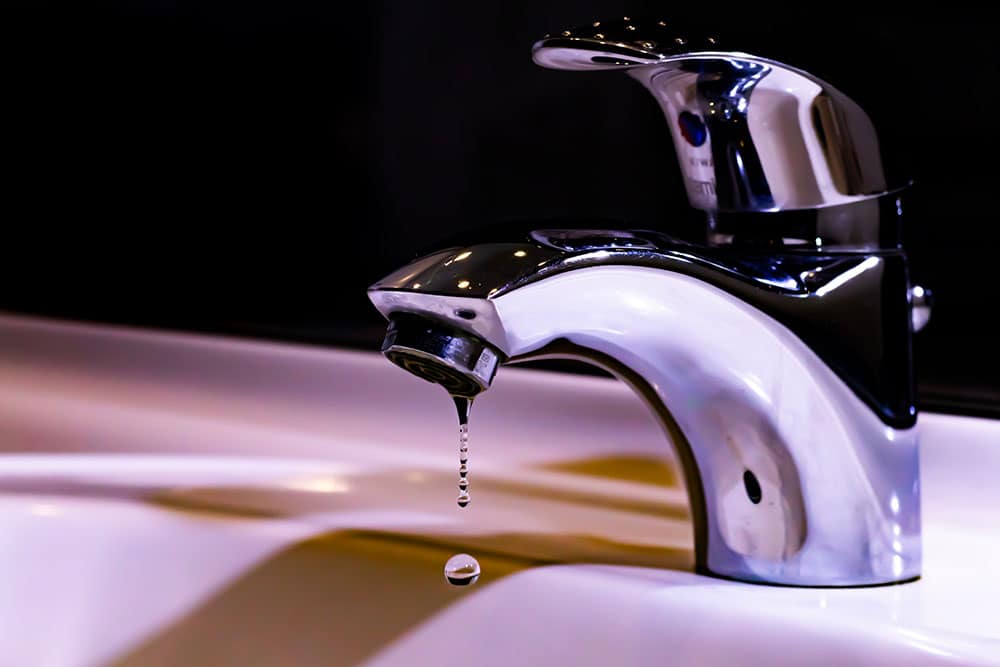
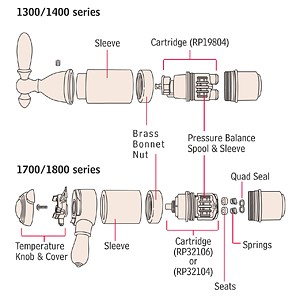
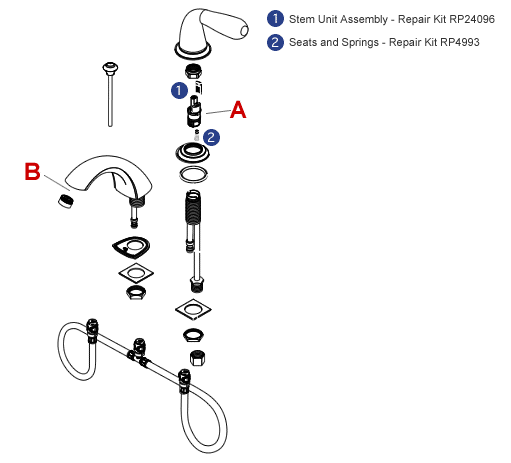
Dripping Faucet: A dripping faucet can be frustrating and wasteful. If your Delta faucet continues to drip even when turned off, the problem may lie with the cartridge. Remove the handle and inspect the cartridge for any damage or wear. If necessary, replace the cartridge following the manufacturer’s instructions.
Uneven Handles or Spout: If the handles or spout of your Delta faucet appear crooked or uneven, it may be due to improper installation. Double-check that all connections are secure and properly aligned. Adjust as needed to ensure a level and symmetrical appearance.
Persistent Leaks: In some cases, you may encounter persistent leaks even after troubleshooting. If this occurs, it’s advisable to contact Delta’s customer support for further assistance. They can provide guidance or arrange for a replacement if necessary.
Maintenance Tips
To ensure your Delta Bathroom Faucet stays in top condition and continues to perform optimally, regular maintenance is essential. Below are some simple yet effective maintenance tips to keep your faucet looking and functioning like new.
Regular Cleaning: Regularly clean your Delta faucet using a mild soap or gentle cleaner and a soft cloth. Avoid abrasive cleaners or harsh chemicals, as they can damage the finish. Gently wipe down the faucet, including the handles and spout, to remove any dirt, grime, or water spots.
Avoid Harsh Chemicals: When cleaning your bathroom, be cautious not to spill or spray harsh chemicals directly onto the faucet. Chemicals like bleach or ammonia can corrode the faucet’s finish and cause damage. Instead, apply cleaning solutions to a cloth or sponge and then clean around the faucet.
Prevent Hard Water Buildup: If you live in an area with hard water, mineral deposits can build up on your faucet over time, affecting its appearance and performance. To prevent this, periodically wipe down your faucet with a mixture of equal parts vinegar and water. This natural solution helps dissolve mineral deposits and keeps your faucet looking pristine.
Check for Leaks: Regularly inspect your Delta faucet for any signs of leaks. Check the connections, handles, and spout for any moisture or dripping water. If you notice any leaks, address them promptly to prevent further damage and water wastage.
Lubricate Moving Parts: To ensure smooth operation, lubricate the moving parts of your Delta faucet periodically. Apply a small amount of silicone-based lubricant to the handle and cartridge to reduce friction and extend their lifespan. Be careful not to over-lubricate, as excess lubricant can attract dirt and debris.
Follow Manufacturer’s Instructions: Lastly, always refer to the manufacturer’s instructions for specific maintenance recommendations and warranty information. Different Delta faucet models may have unique care requirements, so it’s essential to follow the guidelines provided to maintain your warranty coverage.
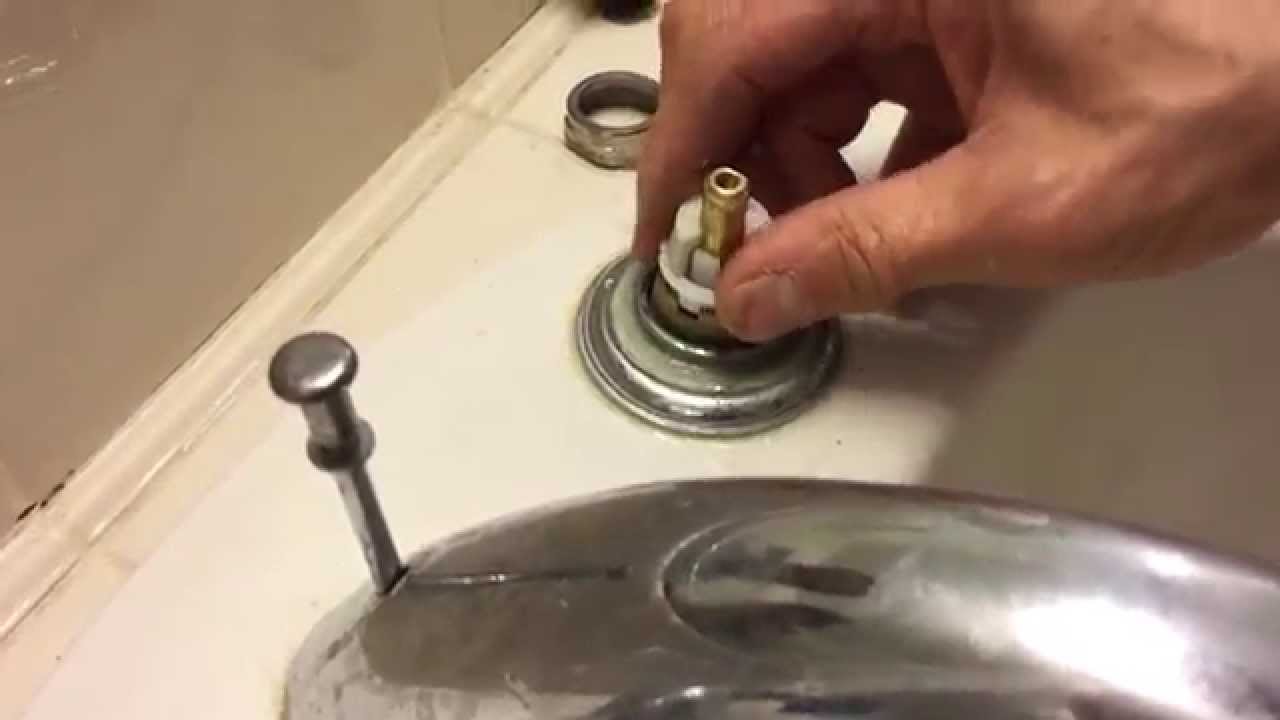
Tutorial: Delta Faucet Cartridge Replacement
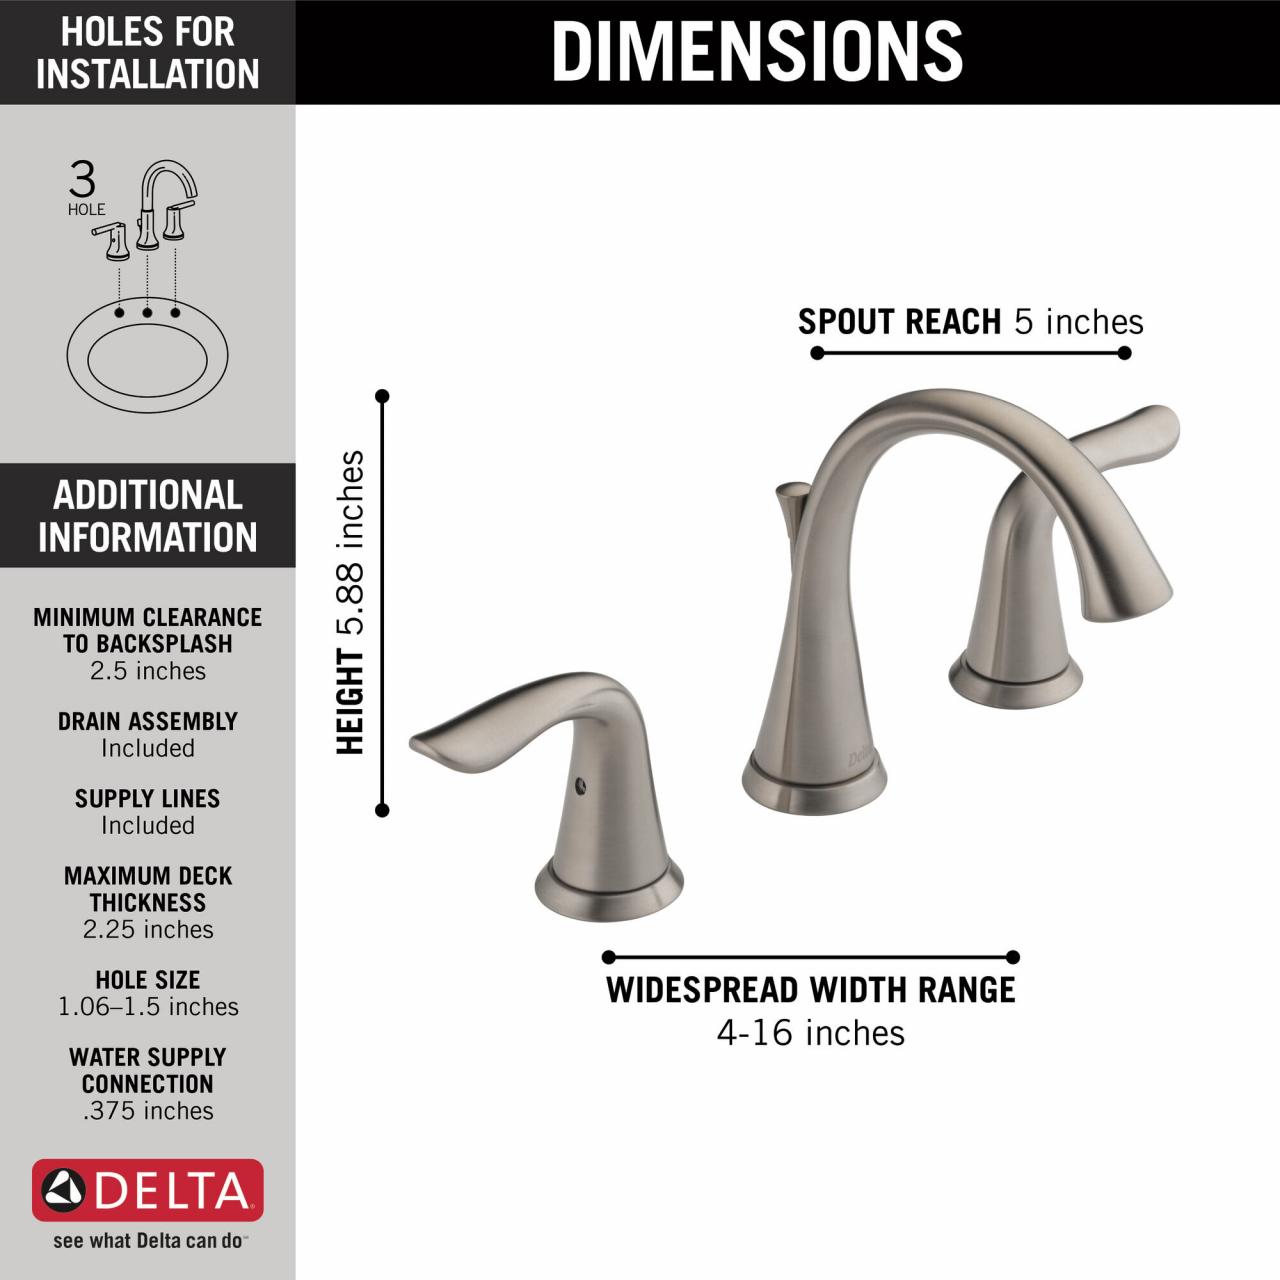
Two Handle Widespread Bathroom Faucet
How to Install a Delta® Single-Handle Bathroom Sink Faucet
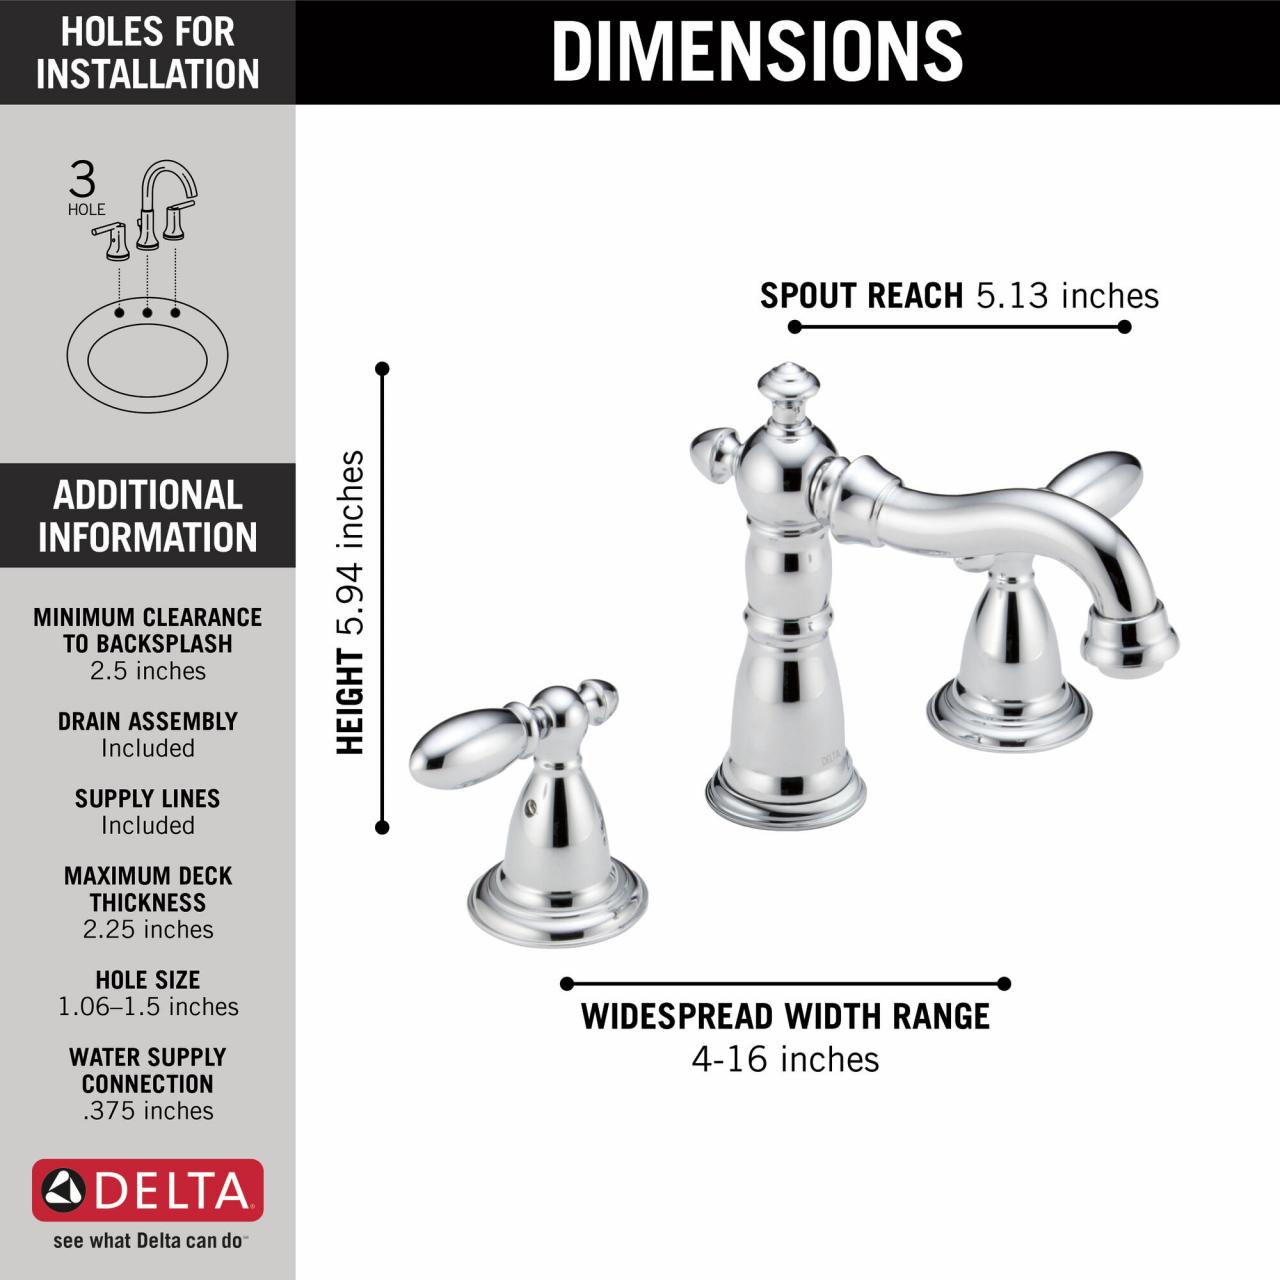
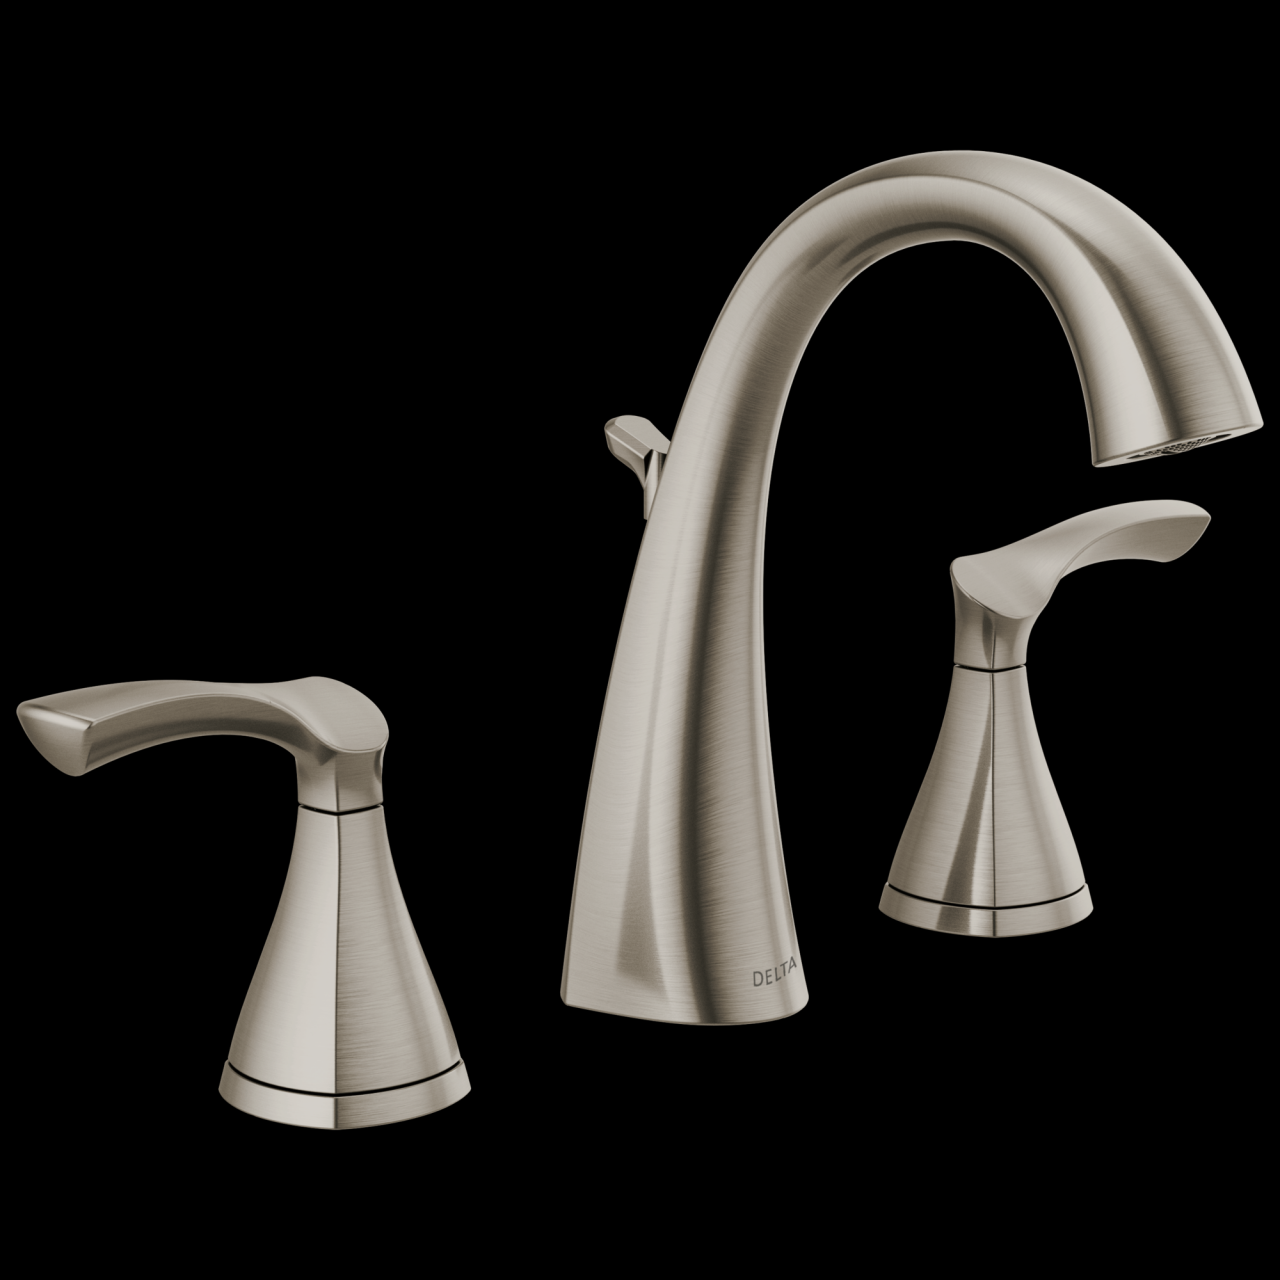
Delta Sandover Spotshield Brushed Nickel 2-handle Widespread
Troubleshooting a Leaking Faucet: Delta Faucet
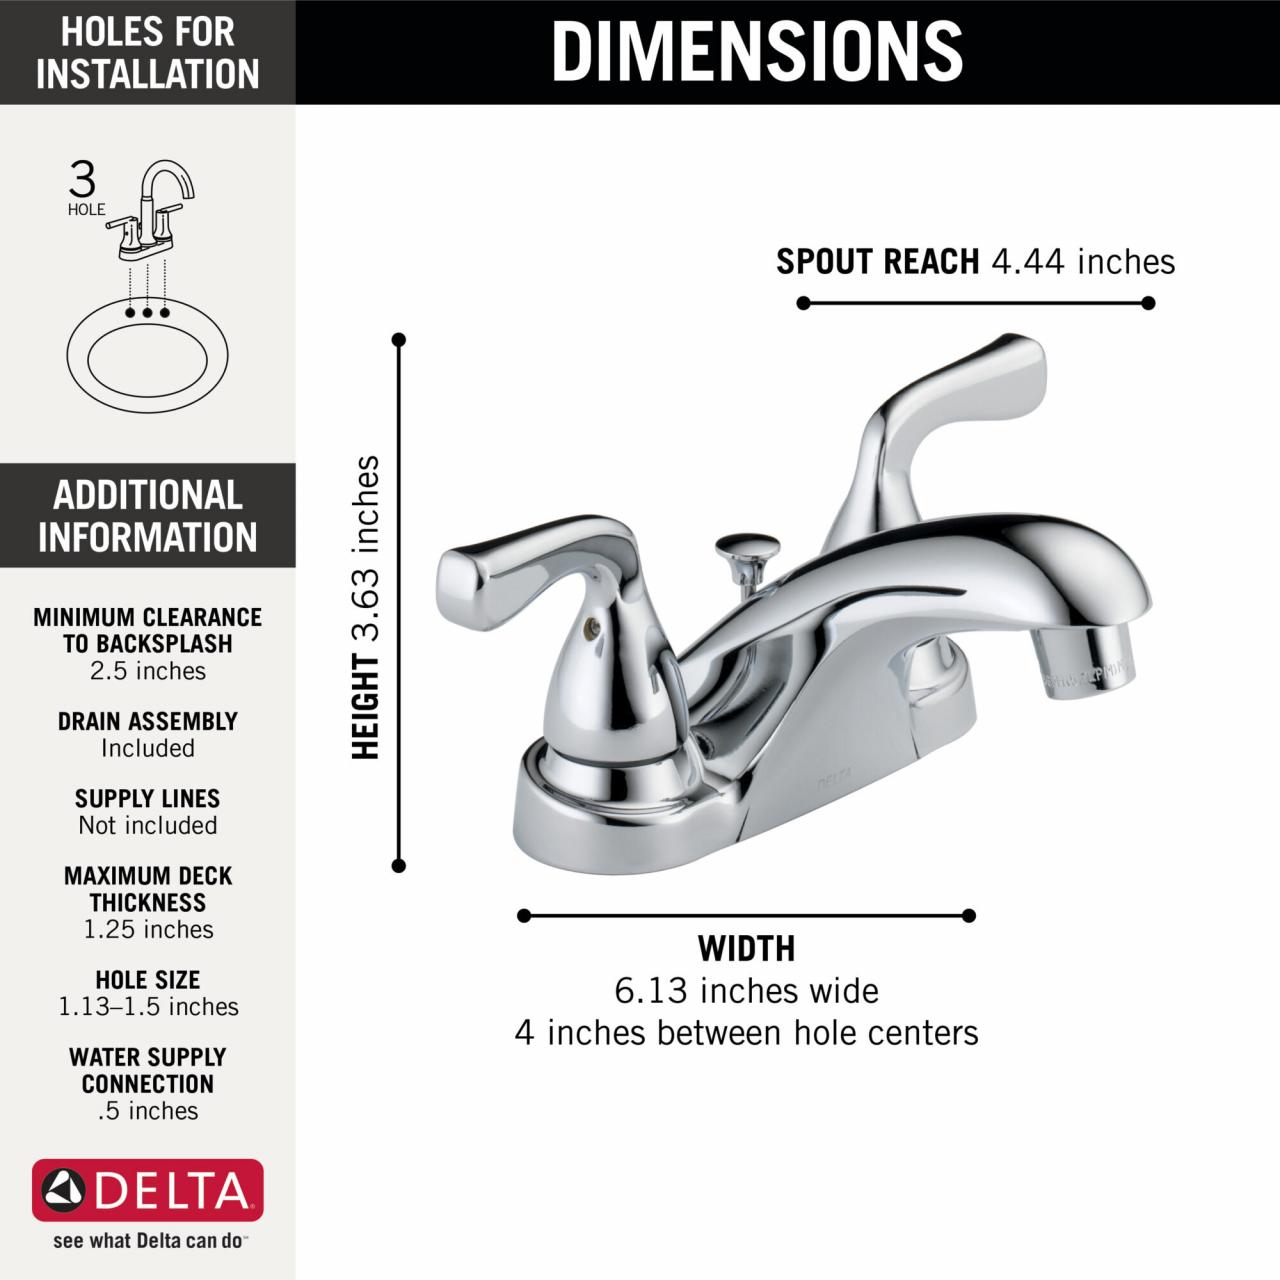
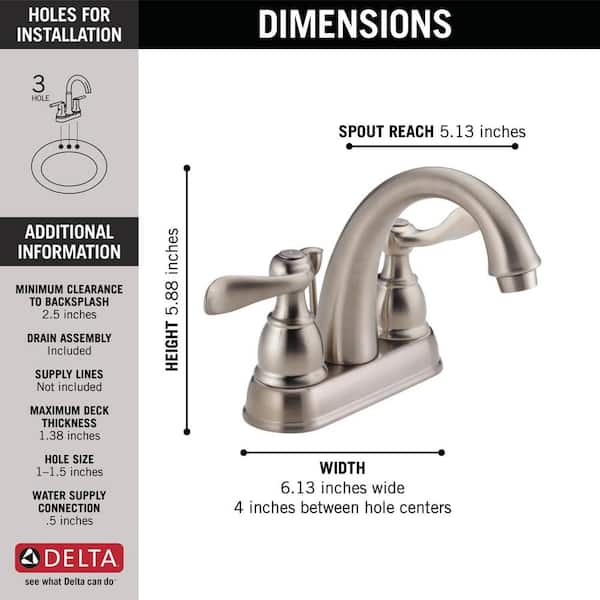
Delta Windemere 4 in. Centerset 2-Handle Bathroom Faucet with
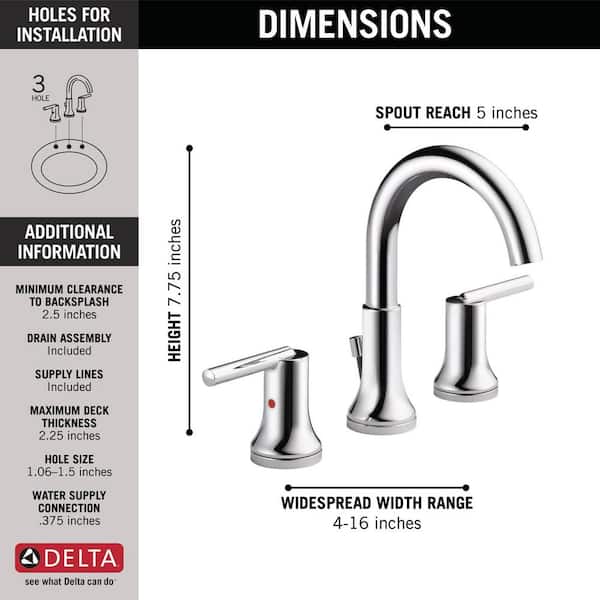
Delta Trinsic 8 in. Widespread 2-Handle Bathroom Faucet with Metal
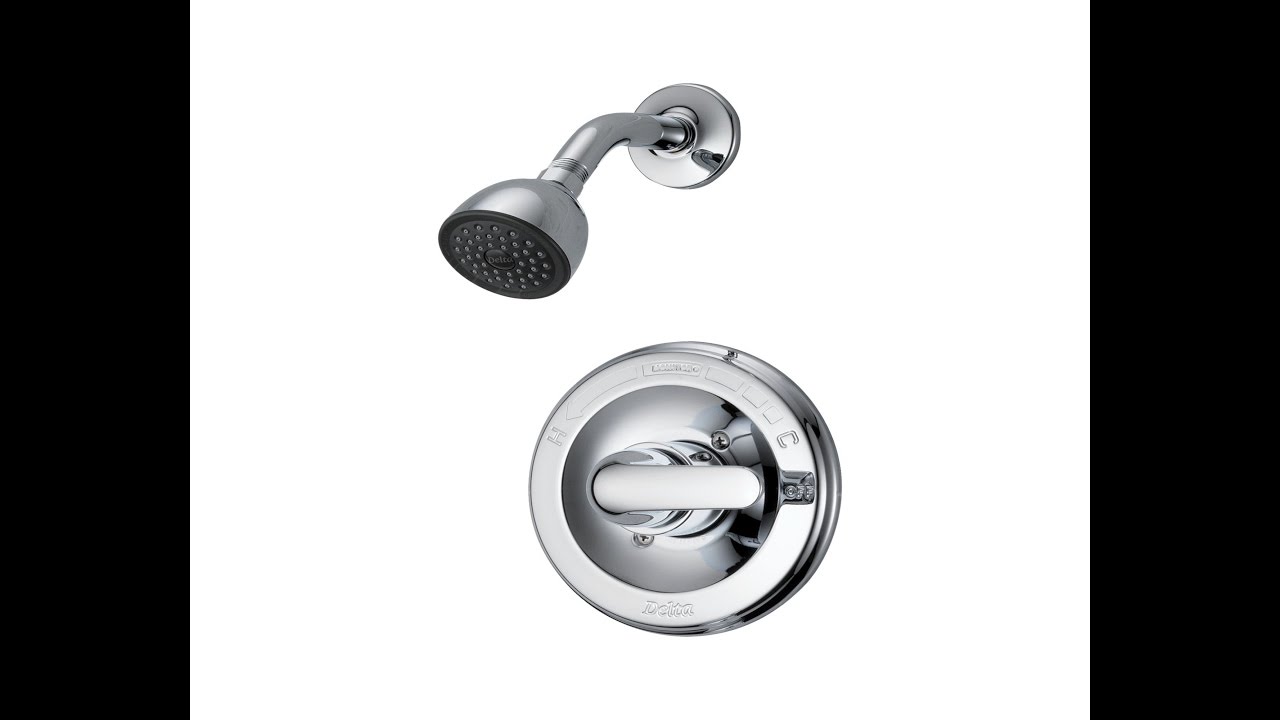
Delta Shower Faucet Install
Related Posts:
- Discontinued Bathroom Faucets Cheap
- Replacing Price Pfister Bathroom Faucet Cartridge
- Delta 2 Handle Bathroom Faucet Repair
- Bathroom Faucets Chrome And Polished Brass
- Pfister Centerset Bathroom Faucet
- Moen Contemporary Bathroom Faucets
- Hansgrohe Metris Single Hole Bathroom Faucet
- Water Spout Bathroom Faucet
- Widespread Bathroom Faucet Cross Handles
- Bathroom Faucets Gold Tone


