Choosing the Right Mirror for Your Bathroom
Choosing the right mirror for your bathroom is a crucial step in enhancing both functionality and aesthetics. The perfect mirror can open up the space, add a touch of style, and improve your daily grooming routine. Here’s how to select the ideal mirror for your bathroom.
- Consider the Size and Proportion: The size of your mirror should be proportionate to the vanity or sink it will hang above. A mirror that’s too small can look out of place, while one that’s too large may overwhelm the space. As a general rule, the mirror should be a few inches shorter than the width of your vanity or sink to create a balanced look.
- Shape and Style: Mirrors come in various shapes and styles, including rectangular, round, oval, and custom shapes. The shape should complement the overall design of your bathroom. Rectangular mirrors are versatile and work well in most settings, while round and oval mirrors add a softer touch to modern or traditional designs.
- Frame or Frameless: Decide whether you prefer a framed or frameless mirror. Framed mirrors add a decorative element and can match other fixtures in your bathroom. Frameless mirrors, on the other hand, offer a sleek, contemporary look and are often easier to clean.
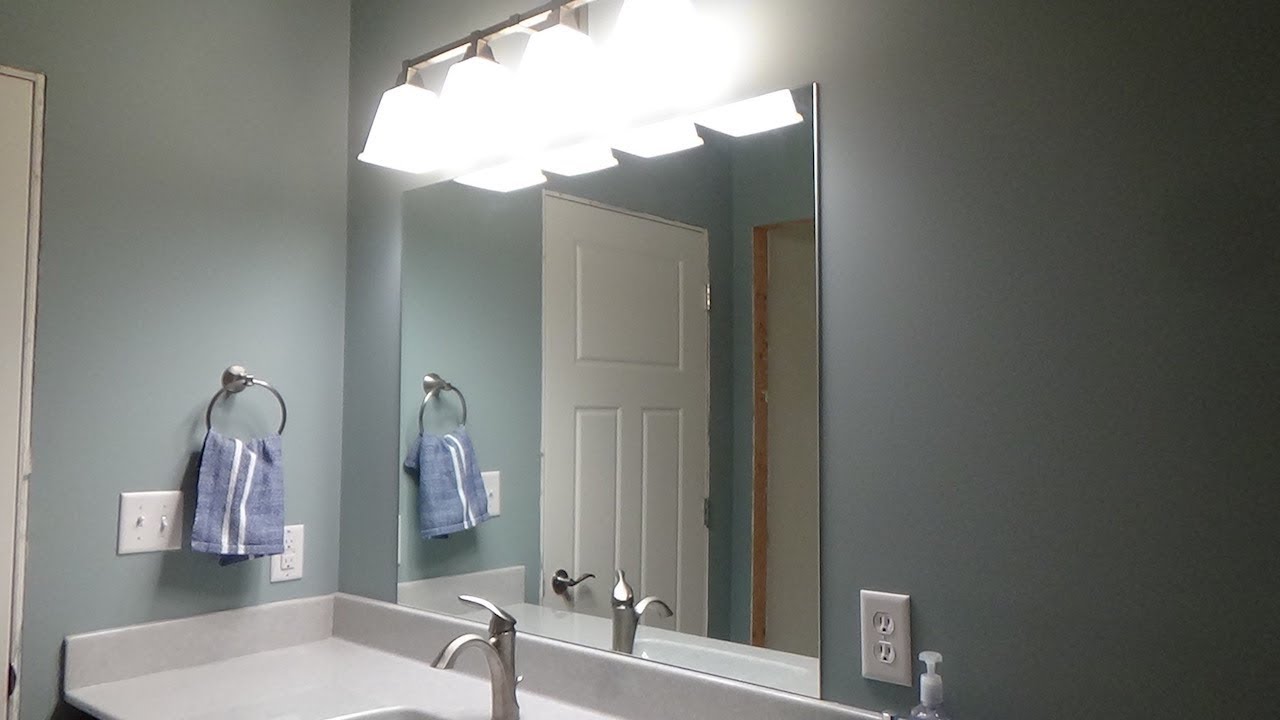
- Functionality and Features: Modern mirrors can come with various features such as built-in lighting, anti-fog technology, and magnifying sections. Consider your needs and how these features might enhance your bathroom routine. For example, illuminated mirrors are great for makeup application and shaving, while anti-fog mirrors ensure a clear reflection after hot showers.
- Placement and Positioning: Think about where you will place the mirror. Ideally, it should be centered above the sink and at a comfortable height for all users. In shared bathrooms, consider the heights of different users to ensure the mirror is positioned appropriately.
- Budget and Quality: Mirrors come in a wide range of prices. Set a budget that balances quality and cost. High-quality mirrors with durable frames and clear reflections are worth the investment. Cheap mirrors may save money upfront but could require replacement sooner due to wear and tear.

Tools and Materials Needed for Installation
Installing a bathroom mirror is a straightforward project that requires the right tools and materials. Having everything you need on hand before you start will make the process smoother and more efficient. Here’s a list of essential tools and materials for installing a bathroom mirror.
Measuring Tape: Accurate measurements are crucial for the proper placement and alignment of the mirror. A good quality measuring tape will help ensure you get the dimensions right, both for the mirror and the wall space.
Level: A level is essential to make sure your mirror hangs straight. A small bubble level is usually sufficient for most mirrors, but a longer level can be useful for larger mirrors to ensure precision across the entire length.
Drill and Drill Bits: A power drill will be needed to make holes in the wall for screws or anchors. Make sure you have the appropriate drill bits for the type of wall you’re working with, such as masonry bits for tile or concrete and standard bits for drywall.
Wall Anchors and Screws: Depending on the weight of the mirror and the wall material, you may need different types of wall anchors. Plastic anchors are suitable for lighter mirrors on drywall, while heavy-duty anchors or toggle bolts are needed for heavier mirrors or installation on plaster or masonry walls.
Mirror Clips or Mounting Brackets: These are necessary to secure the mirror to the wall. Mirror clips are typically used for frameless mirrors while mounting brackets can be used for framed mirrors. Ensure you have the right type and number for your specific mirror.
Pencil and Painter’s Tape: A pencil is useful for marking measurements and placement on the wall. Painter’s tape can be used to outline the mirror’s position, giving you a visual guide and protecting the wall from accidental damage during installation.
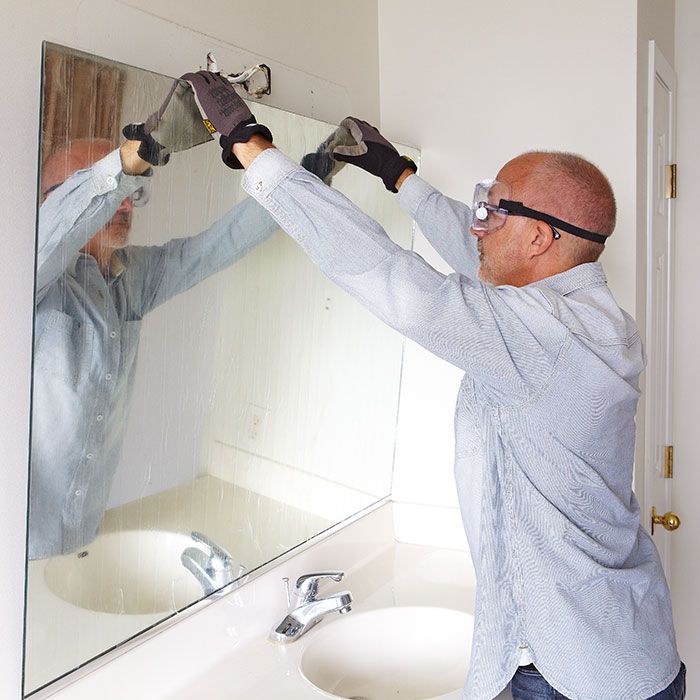
Safety Gear: Don’t forget safety glasses and gloves. Safety glasses protect your eyes from dust and debris, while gloves provide a better grip on the mirror and protect your hands from sharp edges.
Step-by-Step Guide to Installing a Bathroom Mirror
Installing a bathroom mirror can seem daunting, but with the right approach, it’s a manageable DIY project. Here’s a step-by-step guide to help you through the process.
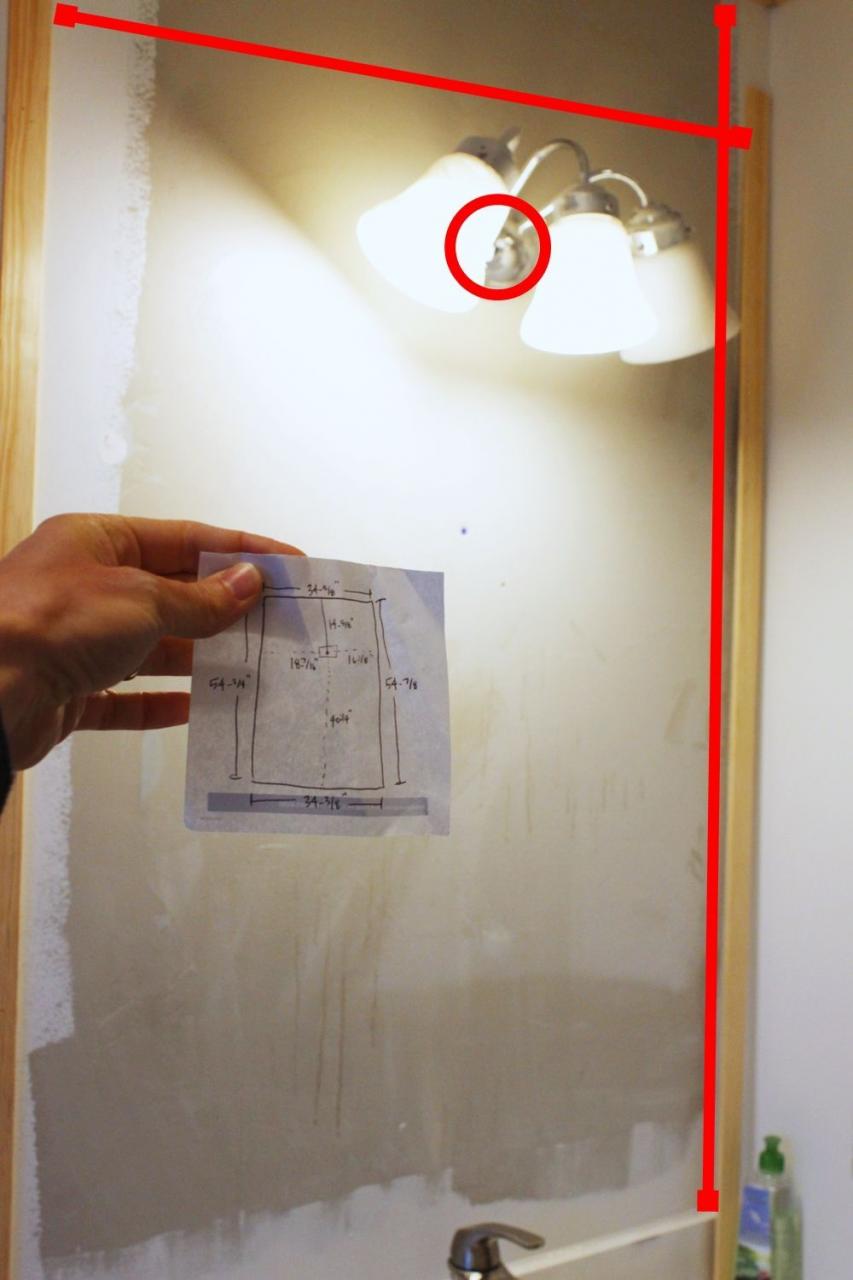
Measure and Mark the Placement: Start by measuring the height and width of your mirror. Use these measurements to mark the position on the wall where the mirror will hang. The center of the mirror should generally be at eye level, around 60-65 inches from the floor for most adults. Use painter’s tape to outline the mirror’s position, ensuring it’s centered above the sink or vanity.
Determine Anchor Points: Depending on the type of mounting hardware you’re using (mirror clips, mounting brackets, etc.), mark the anchor points on the wall. These points should align with the mounting holes on the back of the mirror or frame. Use a level to ensure your marks are straight and even.
Drill Holes for Anchors: Using the appropriate drill bit for your wall type, drill holes at the marked anchor points. For drywall, use a standard bit; for tile or concrete, use a masonry bit. Insert the wall anchors into the holes. If using plastic anchors, gently tap them in with a hammer until flush with the wall.
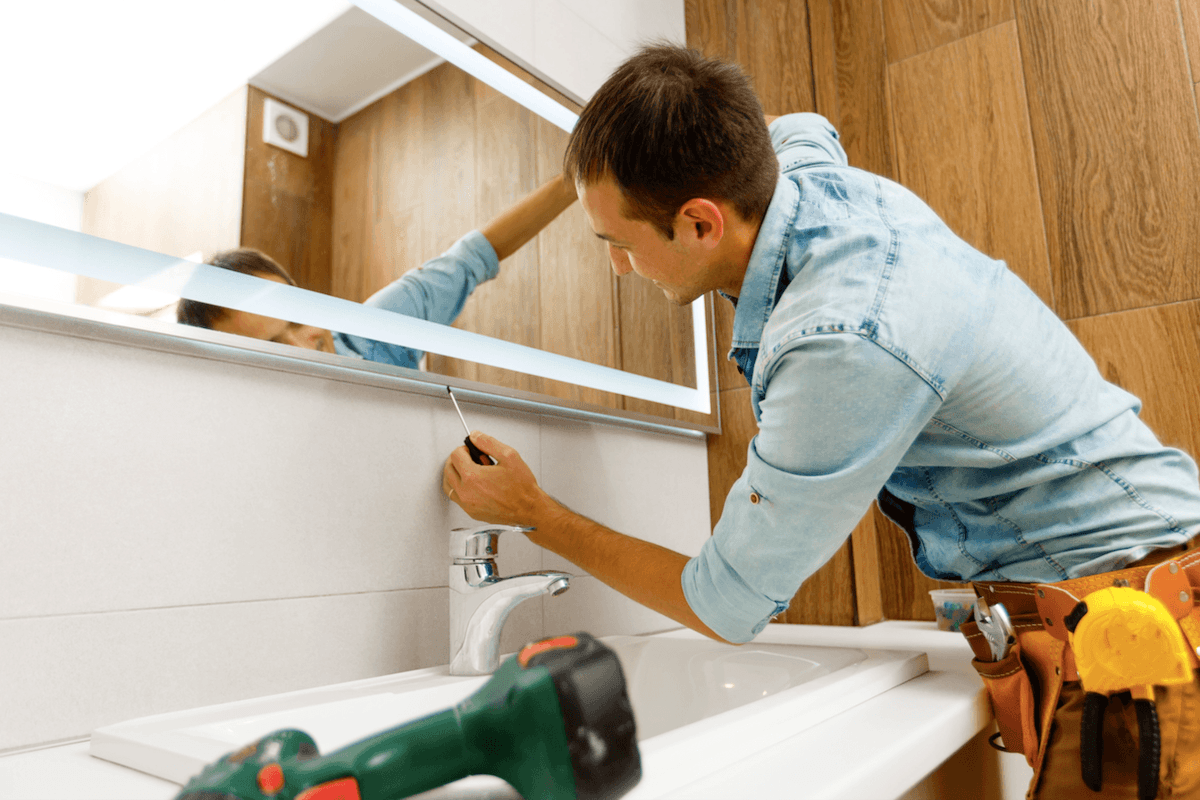
Install Mounting Hardware: Attach the mirror clips or mounting brackets to the wall, securing them with screws. Make sure they are tight and level. For heavy mirrors, consider using toggle bolts or other heavy-duty anchors for additional support.
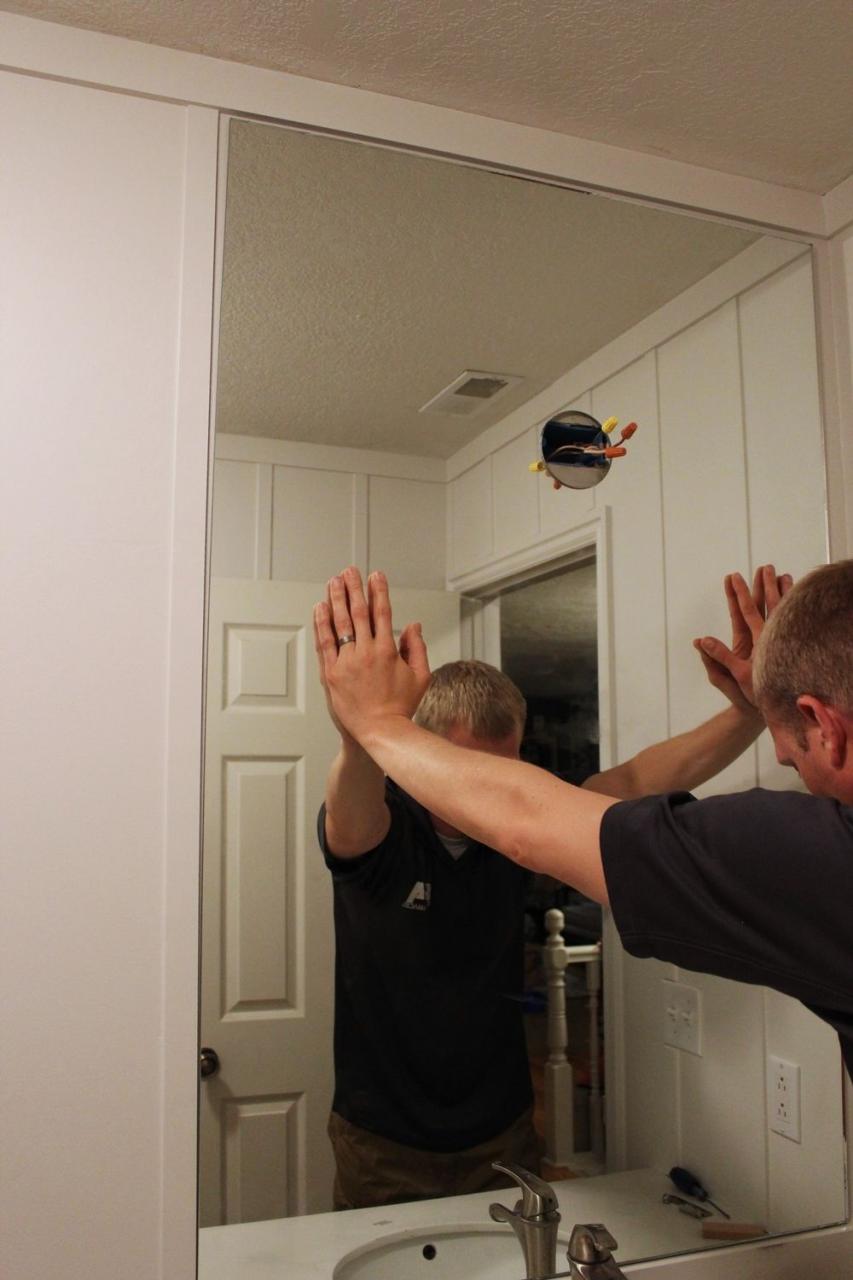
Hang the Mirror: Carefully lift the mirror and place it into the mounted hardware. If using mirror clips, insert the bottom edge of the mirror into the lower clips first, then secure the top clips. For mounting brackets, hang the mirror onto the brackets and ensure it’s secure.
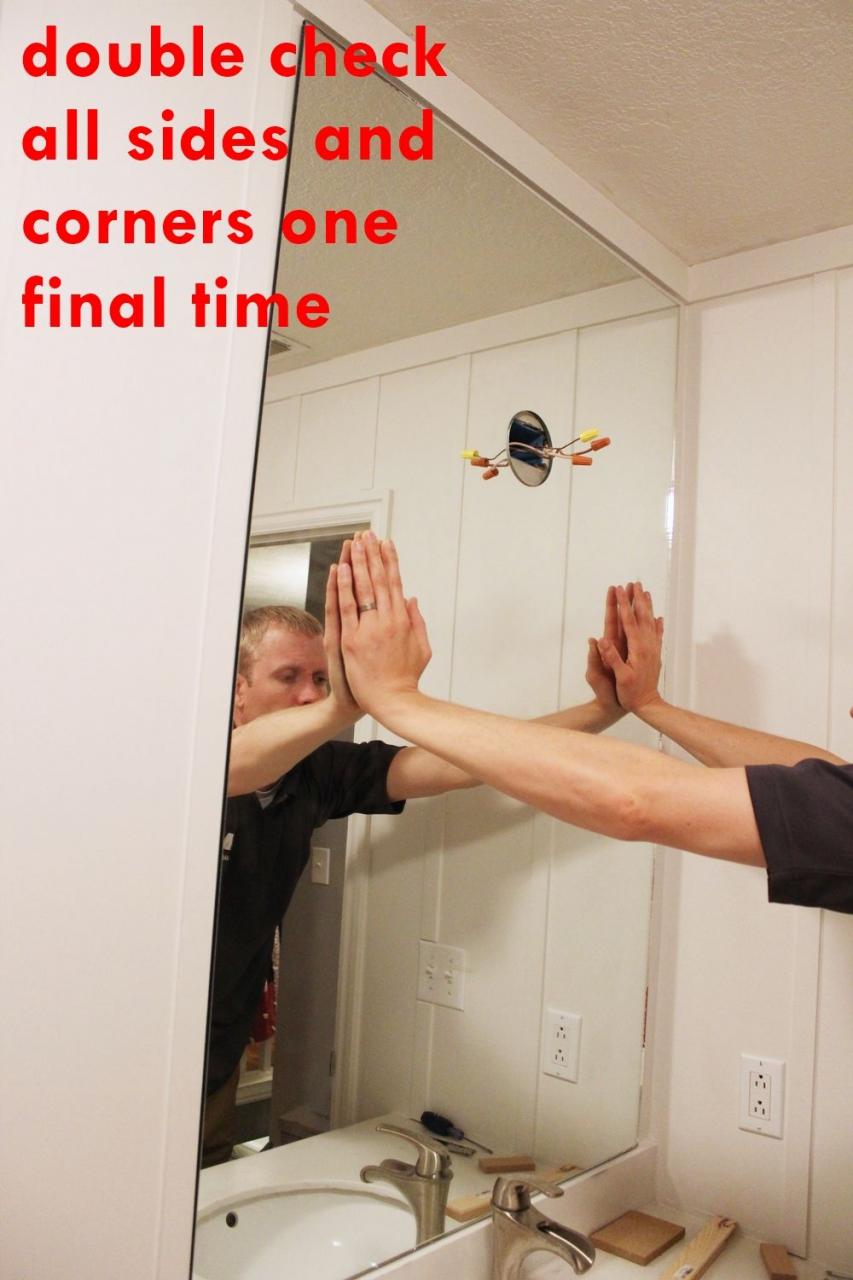
Final Adjustments and Cleaning: Once the mirror is in place, use a level to check that it’s perfectly straight. Make any necessary adjustments. Finally, clean the mirror and surrounding area to remove any fingerprints or debris from the installation process.
Tips for Ensuring Proper Alignment and Placement
Proper alignment and placement of your bathroom mirror are essential for both aesthetics and functionality. An uneven or poorly placed mirror can disrupt the harmony of the space and make daily tasks inconvenient. Here are some tips to ensure your mirror is perfectly aligned and placed.
Use a Level: Always use a level when marking anchor points and mounting hardware. Even if you think you can eyeball it, a level ensures precision. A small bubble level works well for most mirrors, but a laser level can be even more accurate for larger installations.
Measure Multiple Times: The adage “measure twice, cut once” applies here. Double-check all measurements before drilling any holes. Measure the height and width of the mirror, and ensure it’s centered above the sink or vanity. Confirm the distance between anchor points matches the mirror’s mounting holes.
Mark Clearly: Use a pencil to make small, precise marks on the wall. Painter’s tape can help outline the mirror’s position and provide a visual guide. This method allows you to step back and see if everything looks right before committing to drilling.
Consider User Height: Think about the height of the primary users. The center of the mirror should be at eye level, typically around 60-65 inches from the floor. In shared bathrooms, you may need to adjust this height to accommodate different users comfortably.
Centering Above the Sink: The mirror should be centered horizontally above the sink or vanity. If you have double sinks, you can either center a single large mirror between them or use two smaller mirrors centered above each sink. Make sure there’s equal space on either side for a balanced look.
Check for Obstructions: Before drilling, check for potential obstructions behind the wall, such as plumbing pipes or electrical wires. Use a stud finder to locate wall studs and ensure you’re not drilling into areas that could cause damage.

Dealing with Different Wall Types: Drywall, Tile, and Concrete
Installing a bathroom mirror can vary significantly depending on the type of wall you’re working with. Each wall type requires specific tools and techniques to ensure a secure and stable installation. Here’s how to handle drywall, tile, and concrete walls.
Drywall: Drywall is the most common wall material and is relatively easy to work with. For lightweight mirrors, standard plastic wall anchors are usually sufficient. For heavier mirrors, use toggle bolts or metal anchors for added support. When drilling into drywall, use a standard drill bit and make sure to avoid hitting any electrical wiring or plumbing behind the wall.
Tile: Installing a mirror on a tiled wall requires a bit more care to avoid cracking or damaging the tiles. Use a masonry drill bit specifically designed for tile and ceramic. Start by placing a piece of painter’s tape over the spot where you’ll drill to help prevent the drill bit from slipping. Drill slowly and apply steady pressure to avoid cracking the tiles. Once you’ve drilled the holes, insert appropriate wall anchors designed for masonry or tile.
Concrete or Brick: For concrete or brick walls, you’ll need a hammer drill and masonry bits. Mark the anchor points and drill into the wall, applying steady pressure. Insert heavy-duty anchors or masonry screws into the holes. These materials require anchors that can handle the weight and provide a secure hold, especially for large or heavy mirrors.
Plaster: Plaster walls, often found in older homes, can be tricky as they tend to be brittle. Use a carbide-tipped drill bit to make clean holes. Toggle bolts are a good choice for plaster walls, providing strong support behind the wall. Be gentle to avoid cracking the plaster, and use wall anchors designed for this specific material.
Studs and Reinforcement: If possible, try to align at least one of your mounting points with a wall stud for added support. Use a stud finder to locate studs behind the wall. If you can’t align with a stud, ensure you use appropriate wall anchors that can support the mirror’s weight independently.
Professional Help: If you’re unsure about drilling into a specific wall type or if your mirror is particularly large and heavy, consider hiring a professional. They have the tools and expertise to ensure a safe and secure installation without damaging your walls.
Adding Lighting and Other Enhancements to Your Bathroom Mirror
Enhancing your bathroom mirror with lighting and other features can greatly improve functionality and style. From built-in lighting to decorative elements, these additions can make your mirror a central feature in your bathroom. Here’s how to enhance your bathroom mirror.
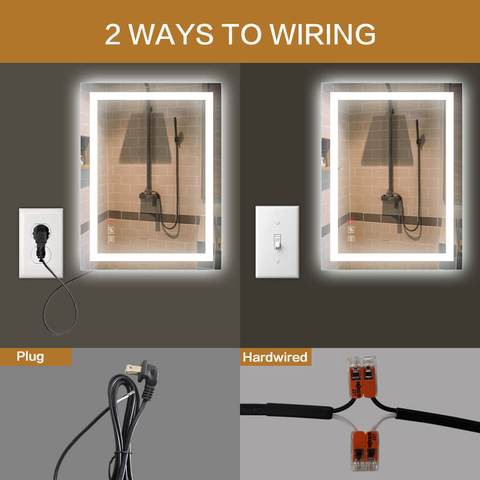
Integrated Lighting: Mirrors with built-in lighting, such as LED lights around the edges, provide excellent illumination for grooming tasks. These mirrors often come with adjustable light settings to suit different needs, from bright task lighting to softer ambient light. Integrated lighting eliminates shadows and enhances visibility.
Side Lighting: Installing sconces or light fixtures on either side of the mirror provides balanced illumination, reducing shadows on your face. Choose fixtures that complement the style of your mirror and bathroom. Position the lights at eye level to maximize their effectiveness.
Backlit Mirrors: Backlit mirrors create a soft, diffused glow around the mirror, adding a touch of elegance and modernity. This type of lighting can make the bathroom feel more luxurious and spa-like. It also provides gentle, ambient light that’s perfect for relaxing baths.
Magnifying Sections: Some mirrors come with built-in magnifying sections or attached magnifying mirrors. These are useful for detailed grooming tasks such as applying makeup or shaving. They can be integrated into the main mirror or attached as a separate, adjustable component.
Smart Features: Modern bathroom mirrors can come equipped with smart features such as touch controls, defogging systems, and even Bluetooth speakers. Touch controls allow you to adjust lighting and other settings with ease. Defogging systems keep the mirror clear in steamy bathrooms, and built-in speakers let you enjoy music or podcasts while you get ready.
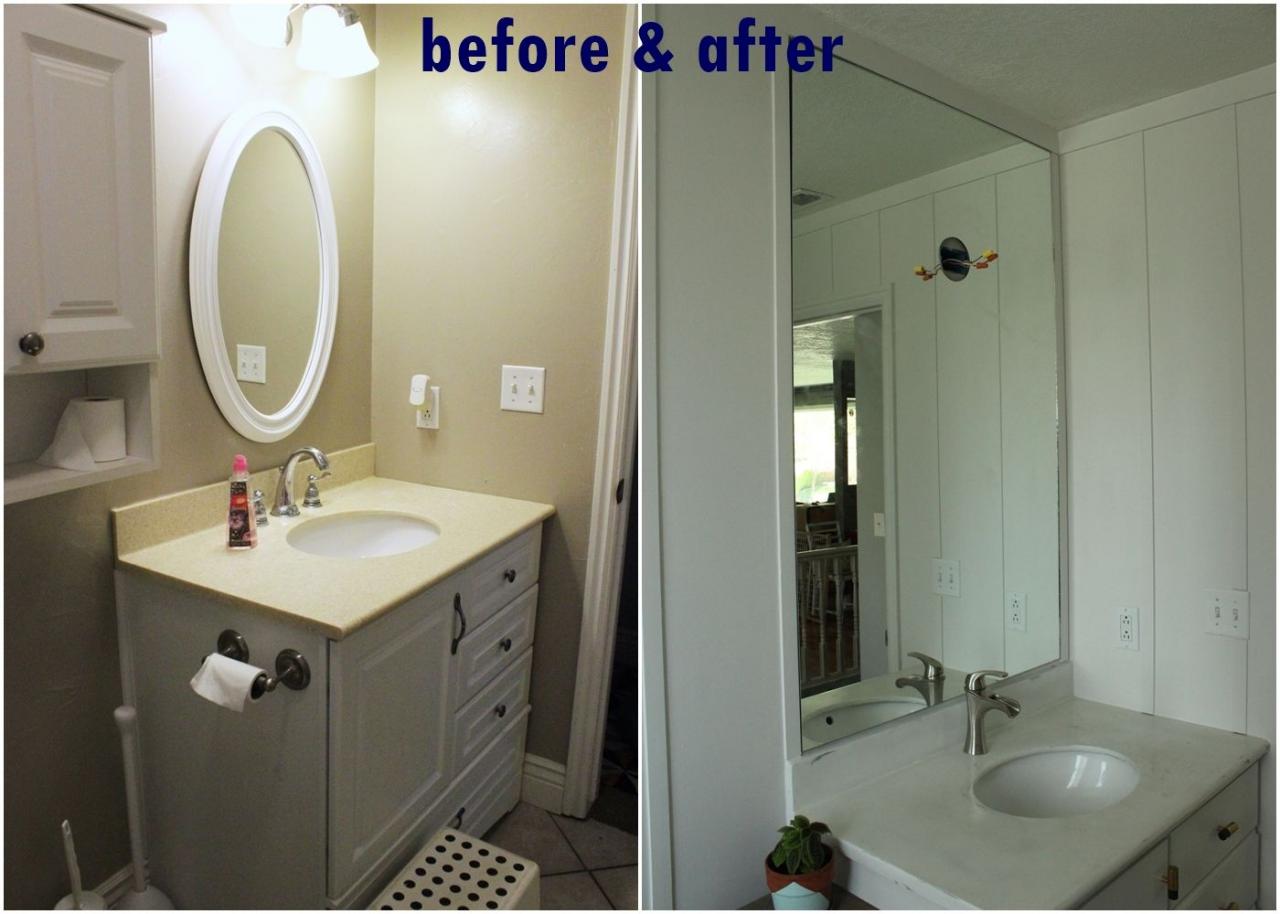
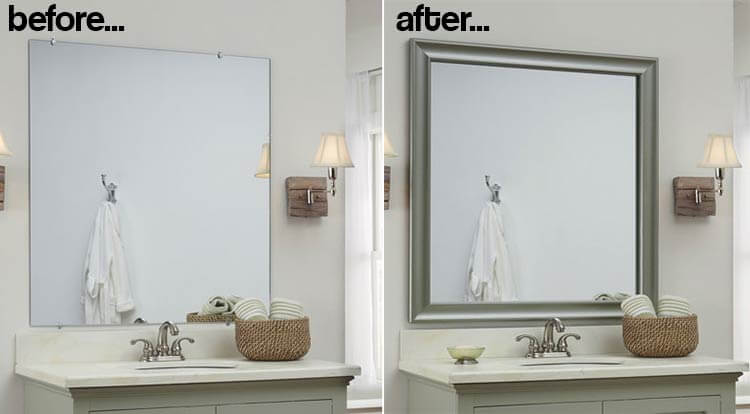
Decorative Frames and Accents: Enhance the look of your bathroom mirror with decorative frames or accents. A stylish frame can add a touch of personality and tie the mirror to the overall bathroom decor. Consider materials like wood, metal, or even mosaic tiles for a unique and customized look.

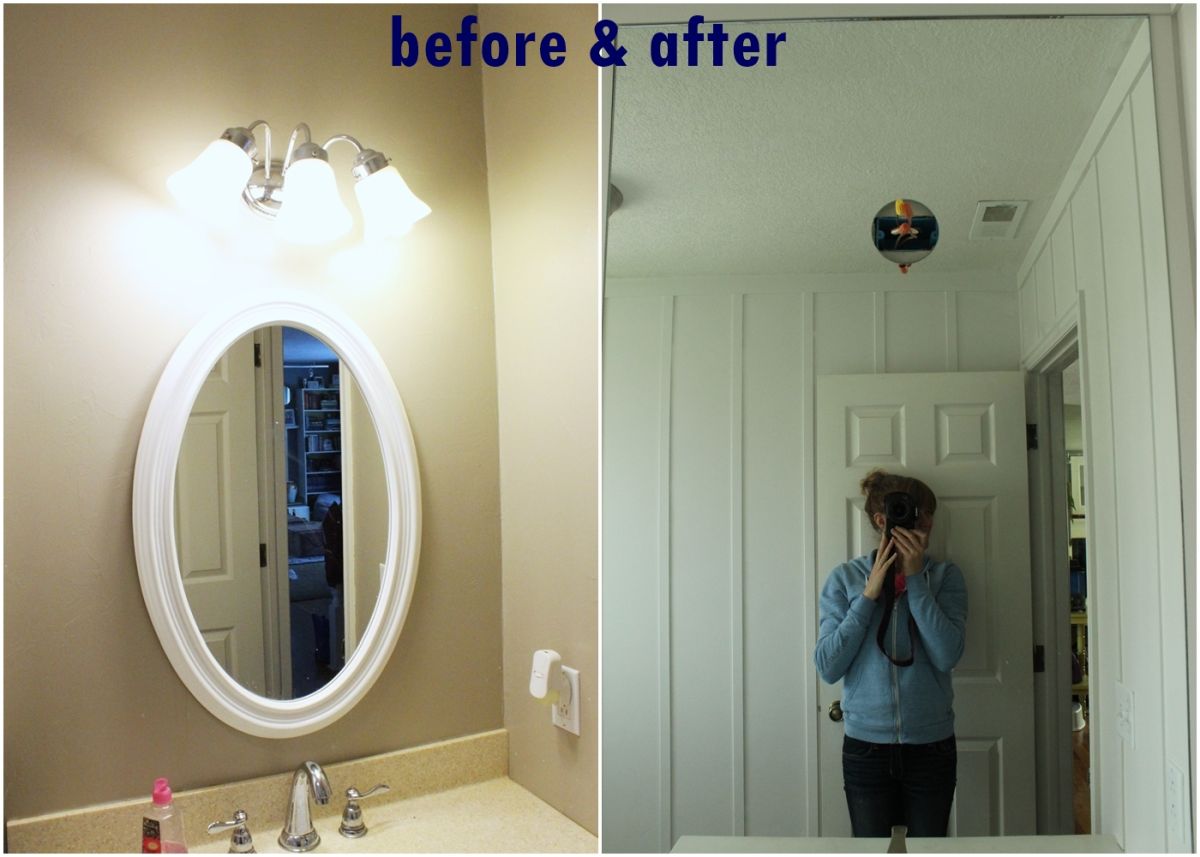
Remove a Bathroom Mirror
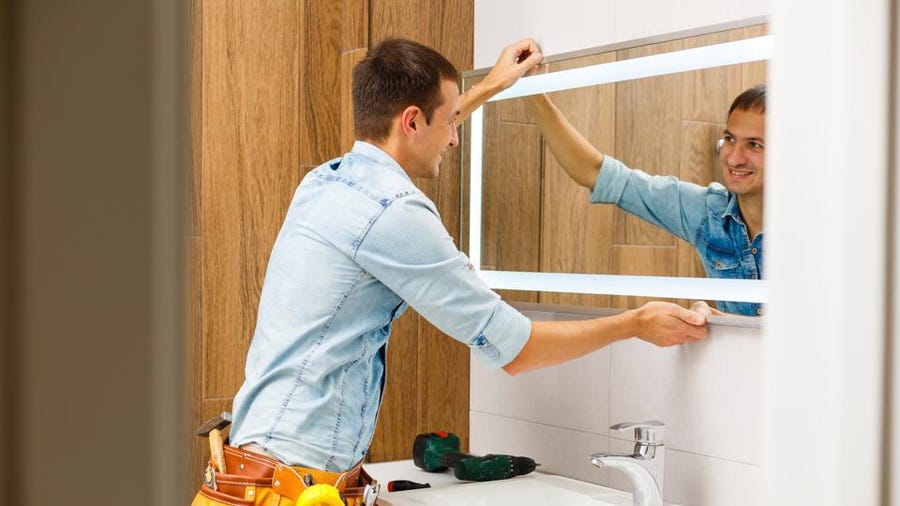
How to Professionally Install a Bathroom Mirror
How to Professionally Install a Bathroom Mirror
2024 Bathroom Mirror Installation Cost Mirror Costs
2 Ways to Wire LED Bathroom Mirror
How To Remove A Mirror Glued To The Wall u2013 Forbes Advisor
How to Professionally Install a Bathroom Mirror
Bathroom mirror frames – 2 easy-to-install sources + a DIY
How to put up a bathroom mirror
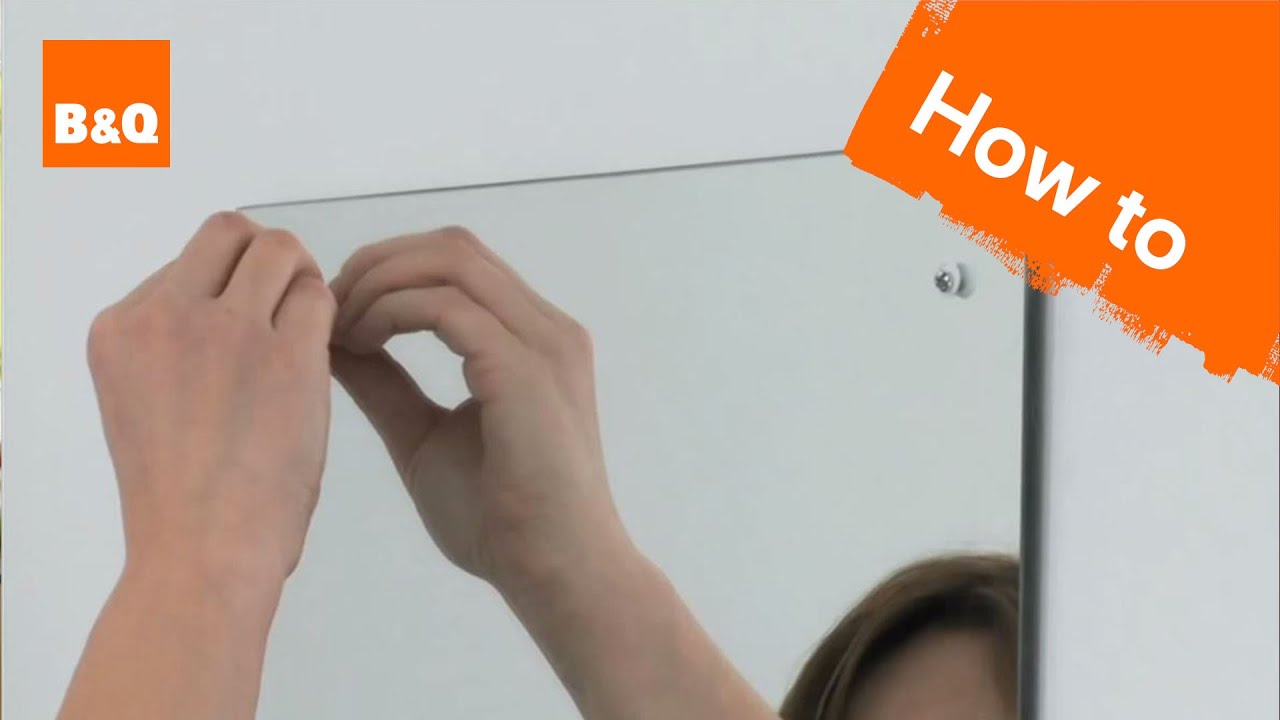
How to Hang a Frameless Mirror on the Wall (with Pictures)

Related Posts:
- Frameless Rectangular Bathroom Mirrors
- Cheap Bathroom Mirror Frames
- Led Bathroom Mirror Bluetooth
- White Rectangular Bathroom Mirror
- Bathroom Mirrors Over Sink
- Oval Shaped Bathroom Mirrors
- Bathroom Mirror Over Window
- Bathroom Mirrors Stores
- Octagon Bathroom Mirror With Shelves
- Bathroom Mirror Magnifying With Lights


