Recently, I encountered an issue with the handle of my Moen bathroom faucet. Instead of panicking or calling a professional, I decided to take matters into my own hands and repair it myself. Let me walk you through the step-by-step process I followed to fix my Moen bathroom faucet handle.
Step 1: Gather the Tools
Before starting the repair, it’s important to have the necessary tools on hand. For this repair, you’ll need a screwdriver (usually a Phillips head), an adjustable wrench, and a replacement handle kit specifically designed for Moen faucets. These kits are readily available at most hardware stores or online.
Step 2: Turn Off the Water Supply
To ensure a hassle-free repair, turning off the water supply to your bathroom faucet is crucial. Locate the shut-off valves under the sink and turn them clockwise until fully closed. This will prevent any unwanted leaks or water damage during the repair process.
Step 3: Remove the Handle
Using a screwdriver, carefully remove the screw on the top or at the base of the handle. Once the screw is removed, you can gently pull the handle off the faucet stem. In some cases, the handle might be secured with a small set screw, so check for that and loosen it before attempting to remove the handle.
Step 4: Inspect and Replace the Components
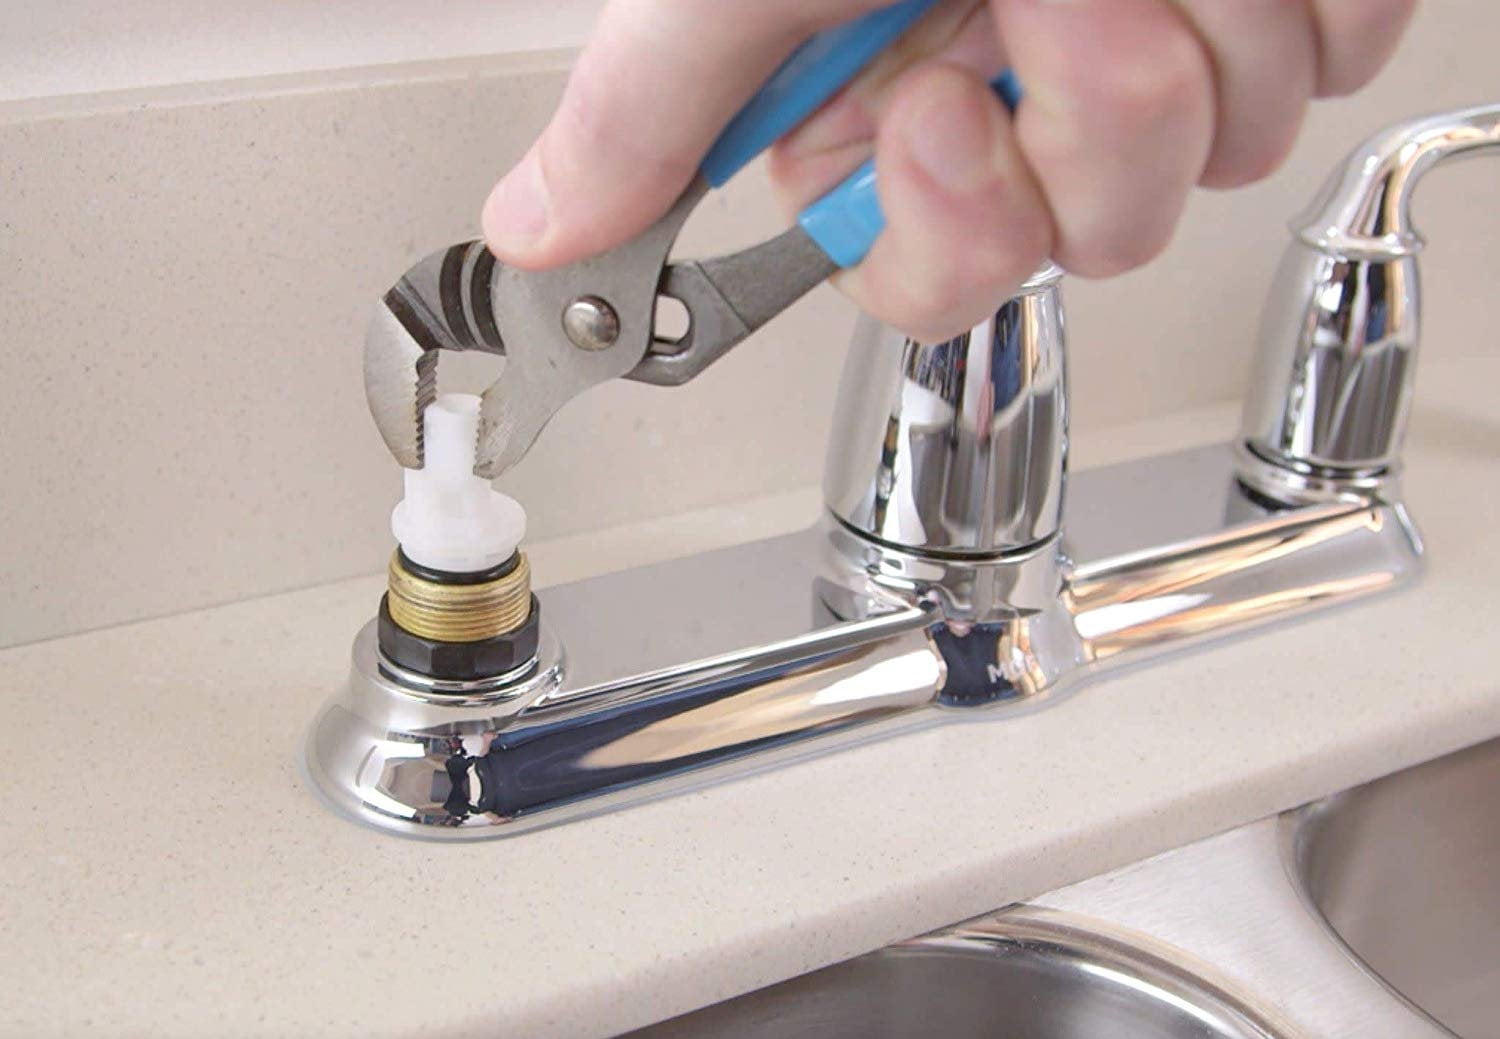
With the handle removed, you’ll have access to the inner components. Inspect them closely for any signs of damage or wear. If you notice any broken or worn parts, it’s best to replace them. Moen offers replacement handle kits that include all the necessary components, such as the handle, cartridge, and retaining clip.
Step 5: Install the Replacement Handle
Take the new handle from the replacement kit and align it with the faucet stem. Make sure it fits snugly and securely. Refer to the instructions in the kit for specific installation details if needed. Once the handle is properly positioned, reattach the screw using your screwdriver, ensuring it’s tightened firmly.
Step 6: Test the Faucet
After completing the handle replacement, it’s time to turn the water supply back on. Slowly open the shut-off valves under the sink in a counterclockwise direction. Then, test the faucet by turning it on and off a few times to ensure the handle operates smoothly and without leaks.
Repairing a Moen bathroom faucet handle is a simple task that can be done by following a few straightforward steps. By gathering the right tools, turning off the water supply, removing the handle, inspecting and replacing damaged components, installing the replacement handle, and testing the faucet, you can successfully fix your Moen bathroom faucet handle. Remember, if you encounter any difficulties or feel uncomfortable with the repair process, it’s always best to seek assistance from a professional plumber.

Moen Bathroom Faucet Repair – Moen 1225
Moen 4570 Handle Fell Off. But Then I Fixed It. Hereu0027s How.
Moen Bathroom Faucet Handle Removal? – Home Improvement Stack Exchange
Moen Monticello faucet handle removal
How to replace a 1224 moen cartridge
How to Fix a Leaky Faucet u2013 Home Repair Tutor
How to repair moen bathroom faucet dripping water – cartridge removal replace single lever
How to Fix a Leaky Faucet u2013 Home Repair Tutor
Moen 1224 Replacement Faucet Cartridge Kit Fits Most Double Handle
How to Remove Bathroom Sink Faucet Handle That has No Screw
How to remove Moen Monticello handle set Terry Love Plumbing
How to Repair a 2-Handle Cartridge Faucet
Fixing a Leaking Moen Bathroom Faucet
Related Posts:
- Delta Bathroom Faucets Reviews
- What Is The Best Bathroom Faucet Brand
- How To Replace The Bathroom Faucet
- Delta Motion Sensor Bathroom Faucets
- Delta Nyla Bathroom Faucet
- Bathroom Faucets Touchless
- American Standard Williamsburg Bathroom Faucet
- Kohler Forte Single Hole Bathroom Faucet
- Kohler Bathroom Faucet Widespread
- Led Bathroom Faucets Brushed Nickel




/repair-a-two-handle-cartridge-faucet-1824887-hero-46a7f7b8303a40e88a3efea73c3381d3.jpg)

