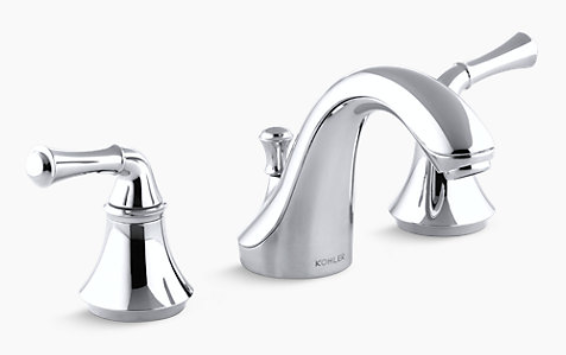
Kohler is a well-known brand for bathroom fixtures, and their faucets are no exception. If you’re experiencing problems with your Kohler bathroom faucet, don’t worry – many issues can be resolved with simple repairs. This guide will take you through the steps to repair your Kohler bathroom faucet and get it functioning like new.
Common Issues with Kohler Bathroom Faucets
Before we get started with the repair process, it’s helpful to understand the most common issues that can arise with Kohler bathroom faucets. These include:
- Dripping: If your faucet drips even when the handle is turned off, it’s likely due to a worn-out washer or O-ring.
- Low water pressure: If your faucet is running with low water pressure, it could be due to mineral buildup in the aerator or a clogged cartridge.
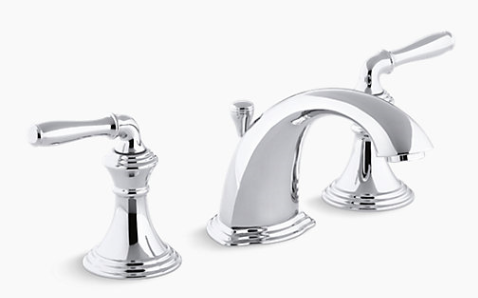
- Leaking: If water is leaking from the base of the faucet, it could be due to a worn-out cartridge or loose connections.
Tools You Will Need
Before you begin the repair process, gather the following tools:
- Adjustable wrench
- Phillips screwdriver
- Allen wrench
- Pliers
- Replacement parts (washers, O-rings, cartridges)
Step-by-Step Guide to Repairing Your Kohler Bathroom Faucet
Follow these steps to repair your Kohler bathroom faucet:
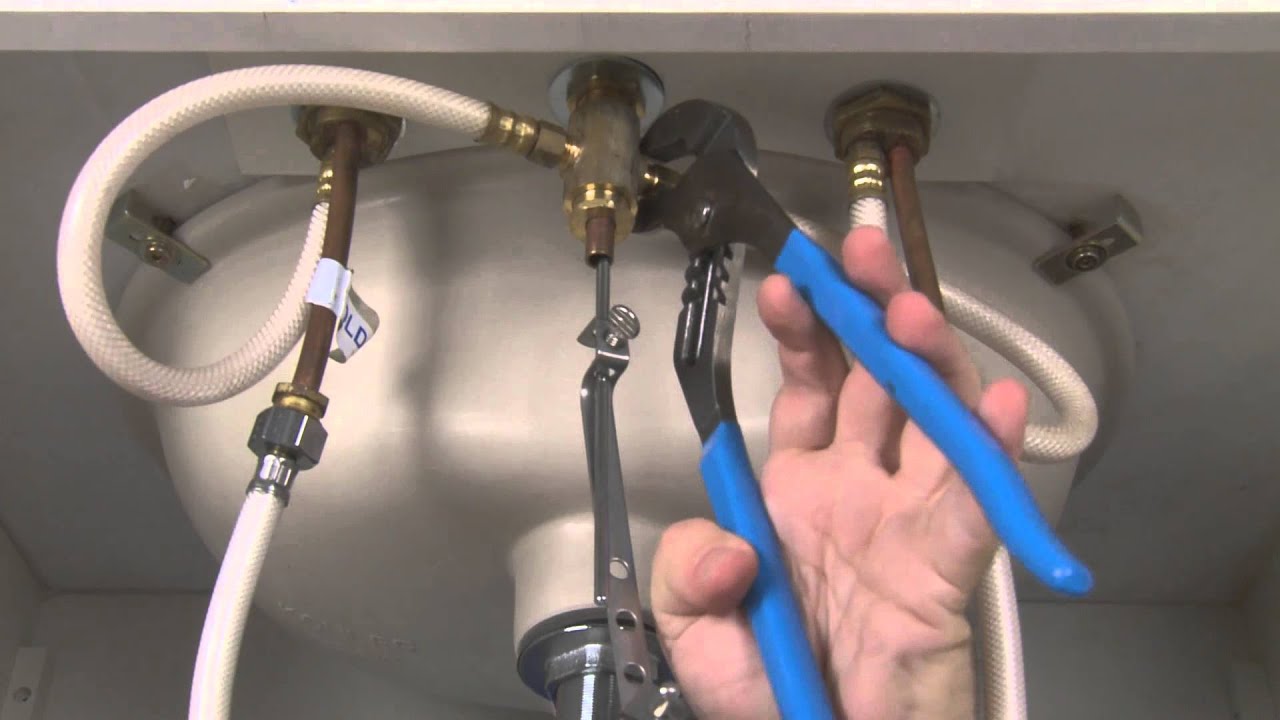
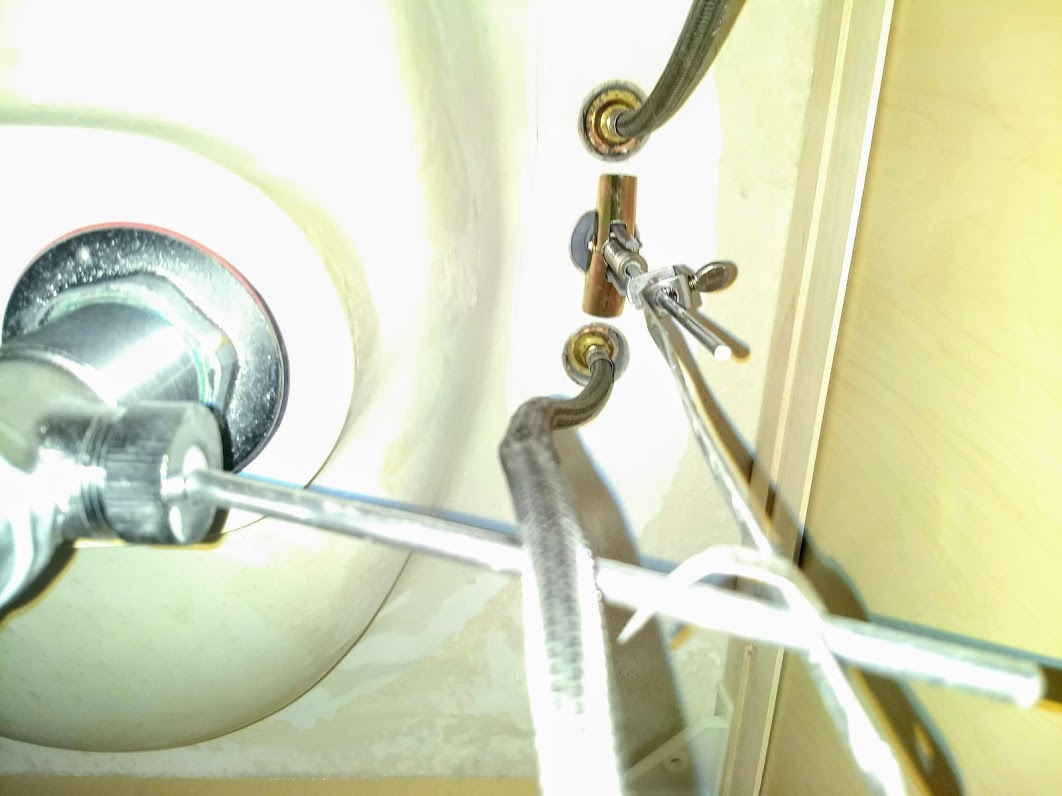
- Turn off the water supply: Locate the shut-off valves under the sink and turn them off.
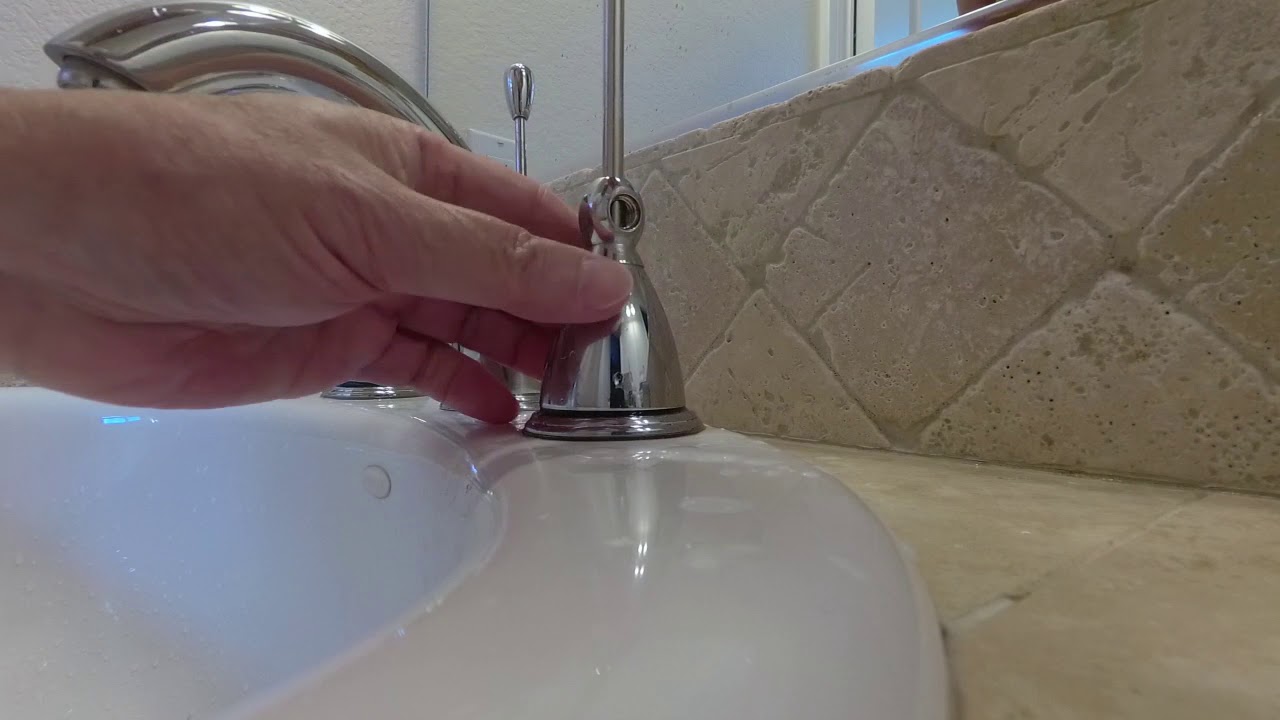
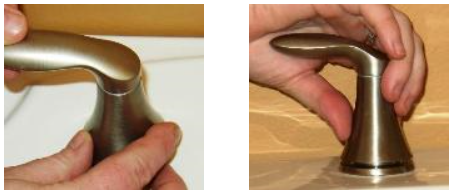
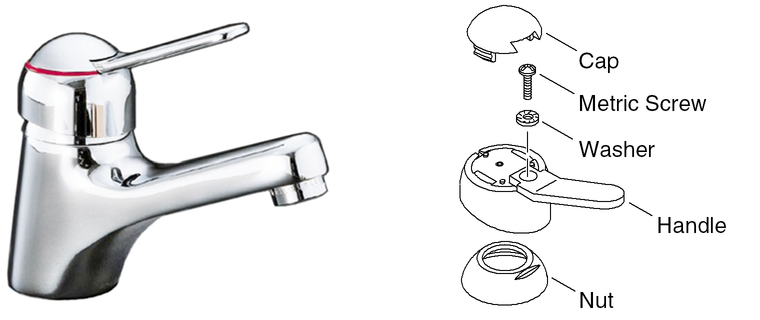
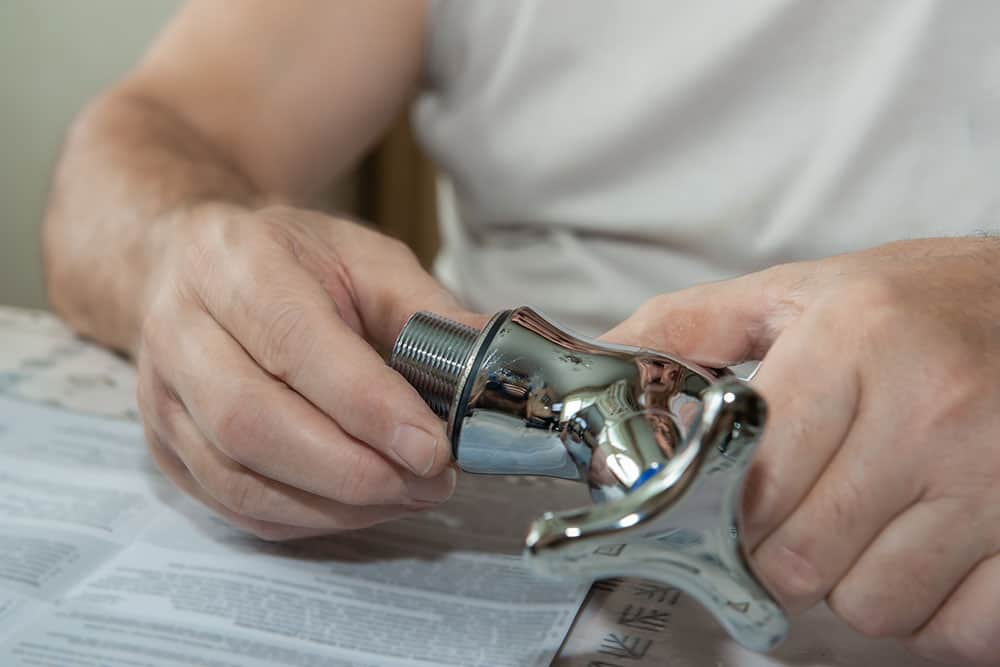
- Remove the handle: Use a screwdriver or Allen wrench to remove the screw holding the handle. Once the screw is removed, gently pull the handle off.
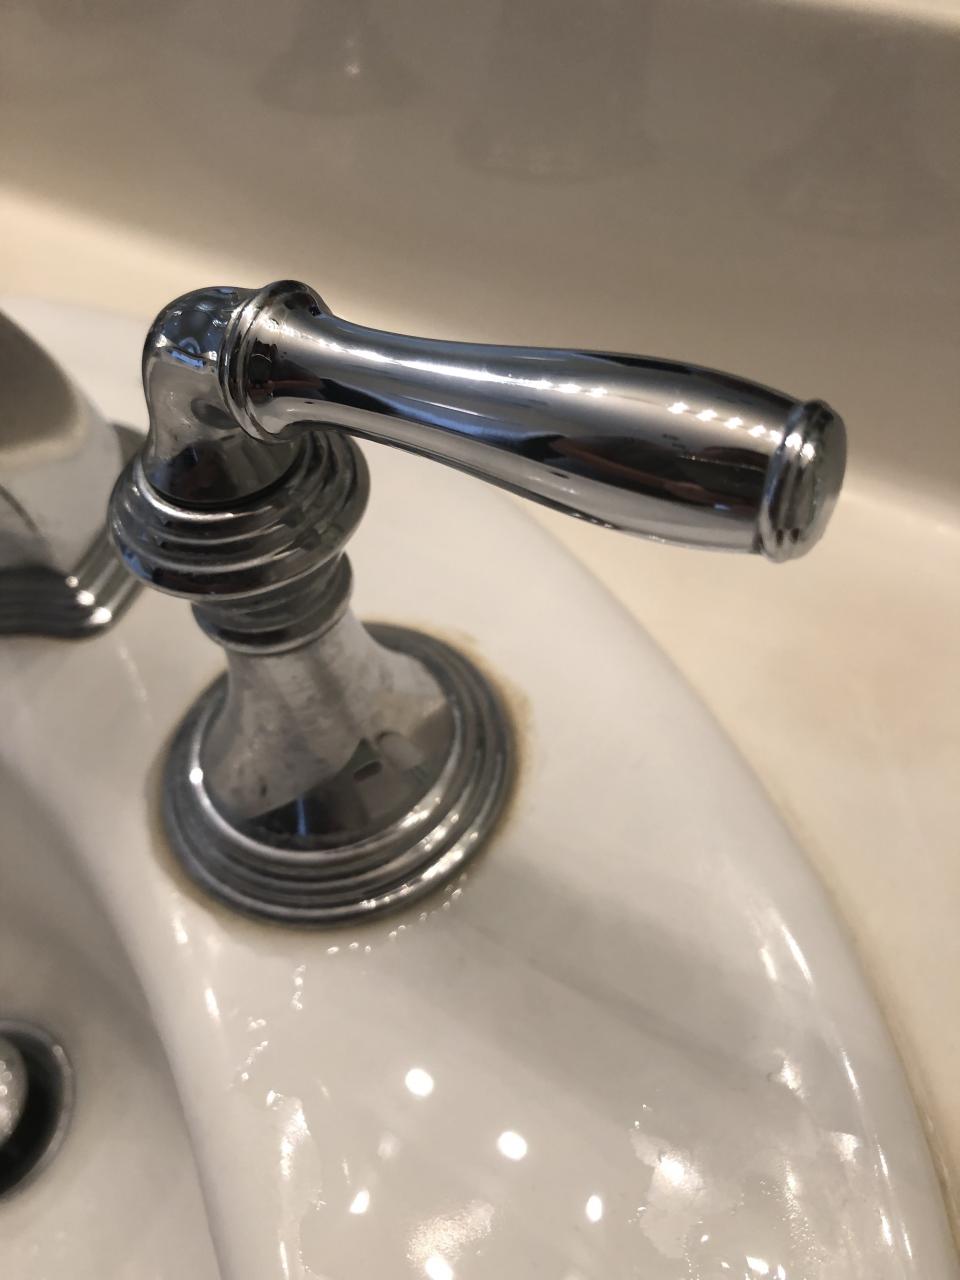
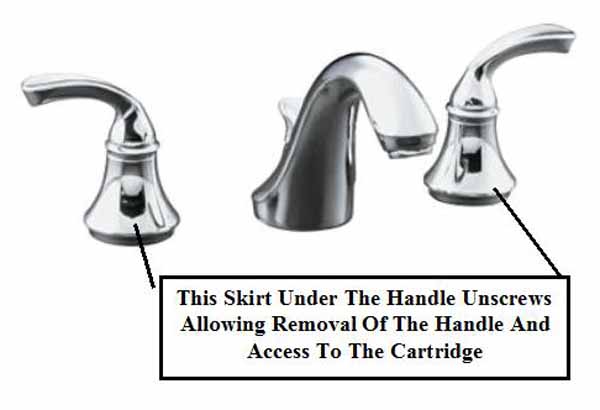
- Remove the escutcheon: The escutcheon is the decorative plate that covers the faucet body. Use a wrench or pliers to remove it.
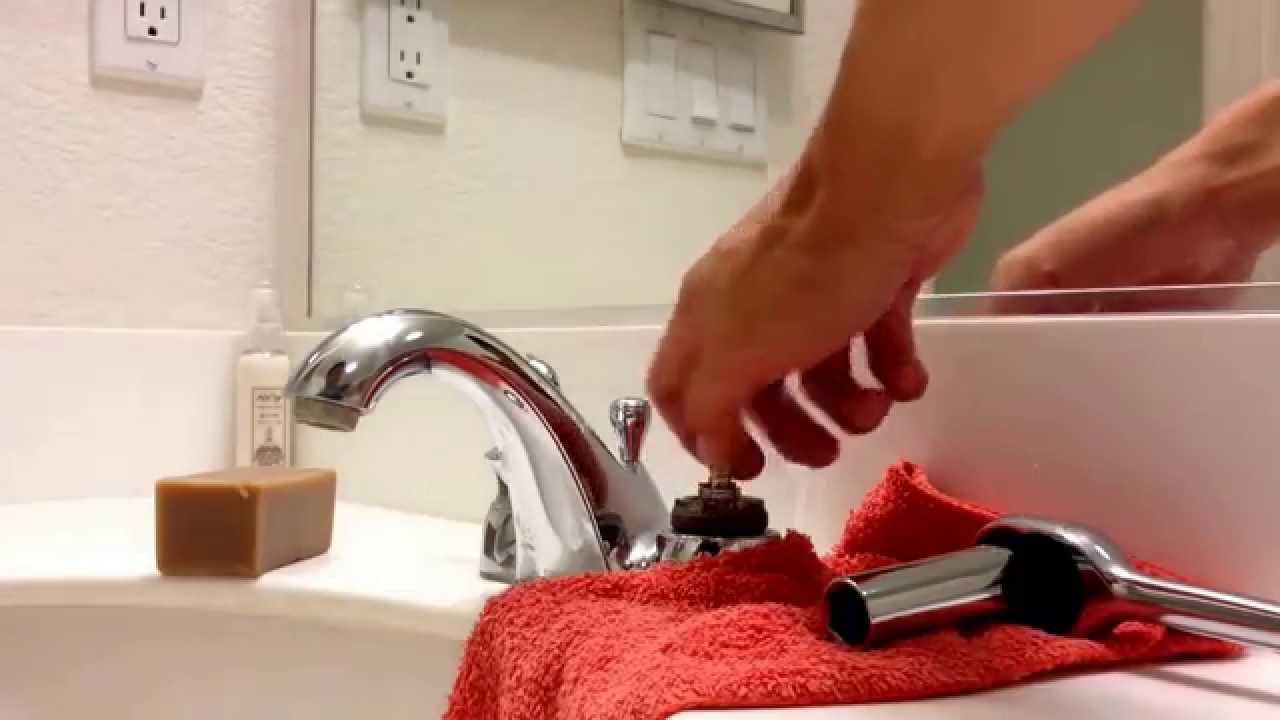
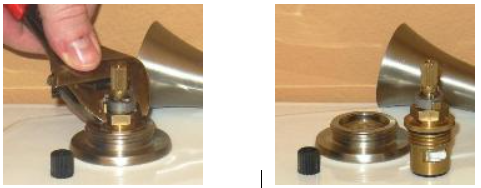
- Remove the cartridge: Use pliers to remove it by pulling it straight out of the faucet body.
- Replace worn-out parts: Check the cartridge for damage and replace it if necessary. Also, check the washer and O-ring and replace them if worn out.
- Reassemble the faucet: Follow the steps in reverse order to reassemble the faucet, making sure to tighten all connections securely.
- Test the faucet: Turn the water supply back on and test the faucet for leaks and proper water pressure.
Repairing your Kohler bathroom faucet doesn’t have to be a daunting task. With a few simple tools and some know-how, you can easily fix common issues and get your faucet working like new again. By following the step-by-step guide outlined above, you can confidently tackle any issues with your Kohler bathroom faucet and avoid costly repairs or replacements.
How To Repair A Kohler Bathroom Faucet
Replace the Valve in a Two Handle Faucet u2013 KOHLER
Single-Handle Bathroom Sink Faucets – Handle Removal u2013 KOHLER

Kohler leaking handle cartridge repair
How to replace valve cartridge on Kohler DevonshireWidespread
Replace the Valve in a Two Handle Faucet u2013 KOHLER
Replace the Valve in a Two Handle Faucet u2013 KOHLER

Single-Handle Bathroom Sink Faucets – Handle Removal u2013 KOHLER
Kohler bathroom faucet Terry Love Plumbing Advice u0026 Remodel DIY
Replace Two Handle Ultra Glide Valves – Faucet
Remove the Handles for the Forte Bathroom Faucet u2013 KOHLER
2006 Kohler bathroom faucet how to remove, has toggle “nut
How To Remove Kohler Bathroom Faucet Cartridge – Bargain Bathroom
Remove the Handles for the Devonshire Bathroom Faucet u2013 KOHLER
Related Posts:
- Bathroom Faucet Drain Installation
- Moen Touchless Bathroom Faucet
- Price Pfister Unison Bathroom Faucet
- Bathroom Faucets Montreal
- Moen Bathroom Faucet Repair Single Lever
- Bathroom Faucets For Cheap
- Moen Bathroom Faucet Replacement
- 4 Center Bathroom Faucet
- Pfister Pull Out Bathroom Faucet
- American Standard Wall Mount Bathroom Faucet


