Preparation Steps to Safely Remove Bathroom Tiles
Gather the necessary tools: Before starting the tile removal process, it is important to gather all the necessary tools. These may include a chisel, hammer, pry bar, putty knife, goggles, gloves, and a dust mask. Having all these tools on hand will ensure that you are prepared for the task at hand.
Clear the area: Remove any objects or furniture from the bathroom to create a clear workspace. This will not only prevent any damage to these items but also provide you with enough space to maneuver safely during the tile removal process.
Turn off the water supply: Before starting the tile removal, it is crucial to turn off the water supply to avoid any potential water damage. Locate the main water valve and shut it off to prevent water from flowing into the bathroom area.
Protect surrounding surfaces: To avoid any accidental damage to the surrounding surfaces, such as the bathtub, sink, or toilet, it is advisable to cover them with protective materials. Use plastic sheets or drop cloths to cover these surfaces and secure them with tape to ensure they stay in place.
Wear protective gear: Safety should always be a priority when removing bathroom tiles. Wear goggles to protect your eyes from flying debris, gloves to safeguard your hands, and a dust mask to prevent inhaling any harmful particles that may be released during the tile removal process.
Test a tile: Before proceeding with removing all the tiles, it is a good idea to test a tile to determine the best removal technique. Gently tap the tile with a hammer or chisel to see how easily it comes off. This will help you gauge the amount of force required and the potential risk of breaking the tiles.
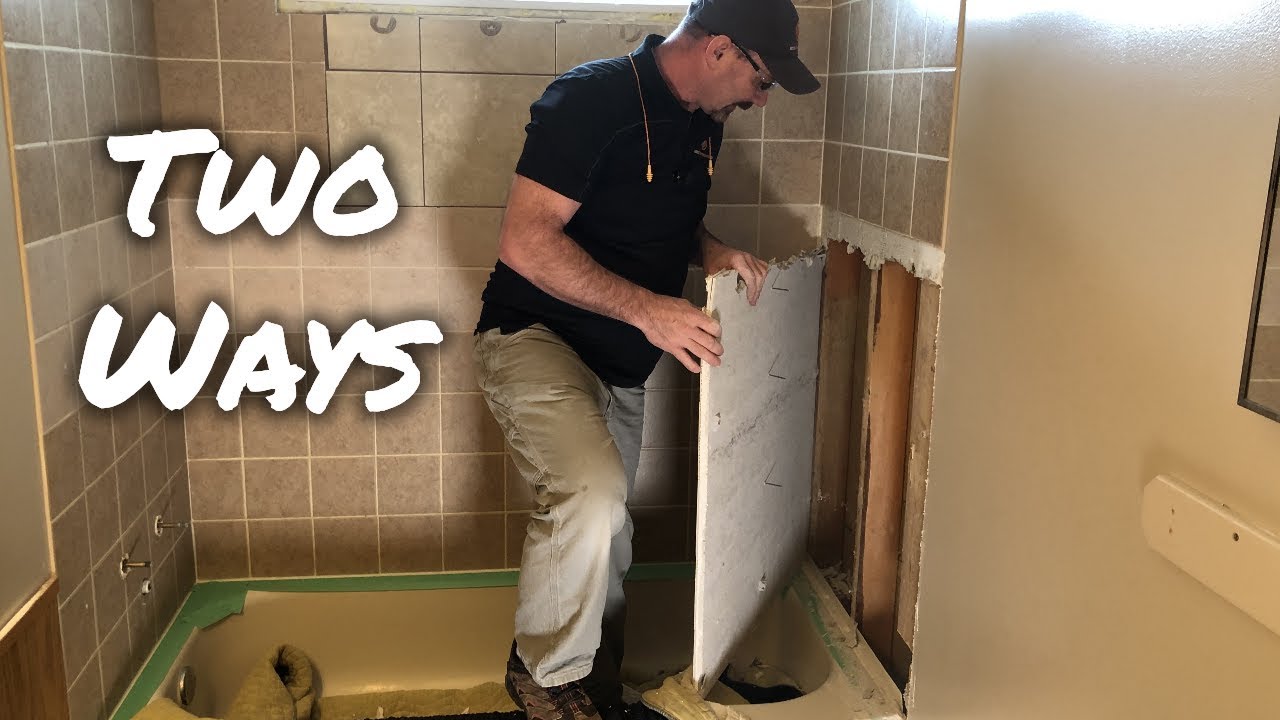
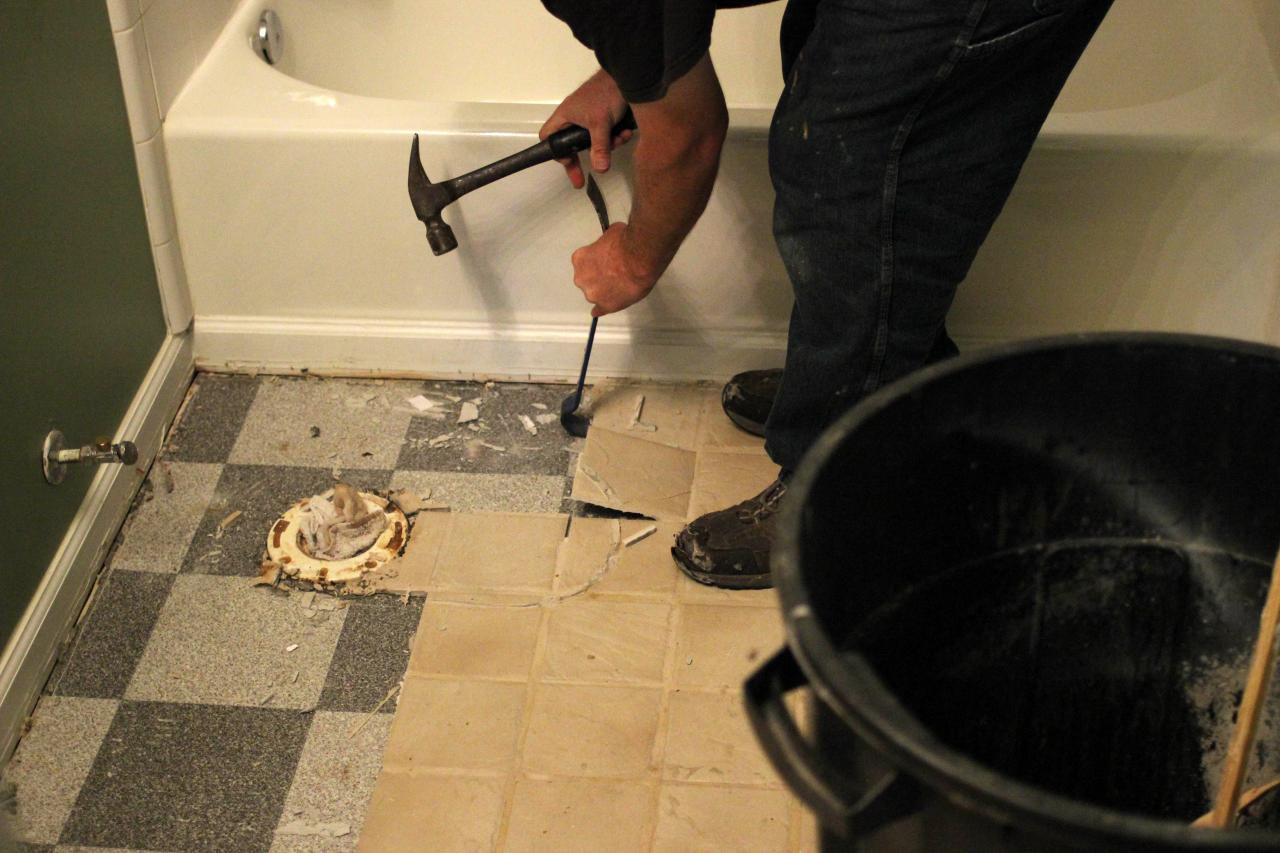
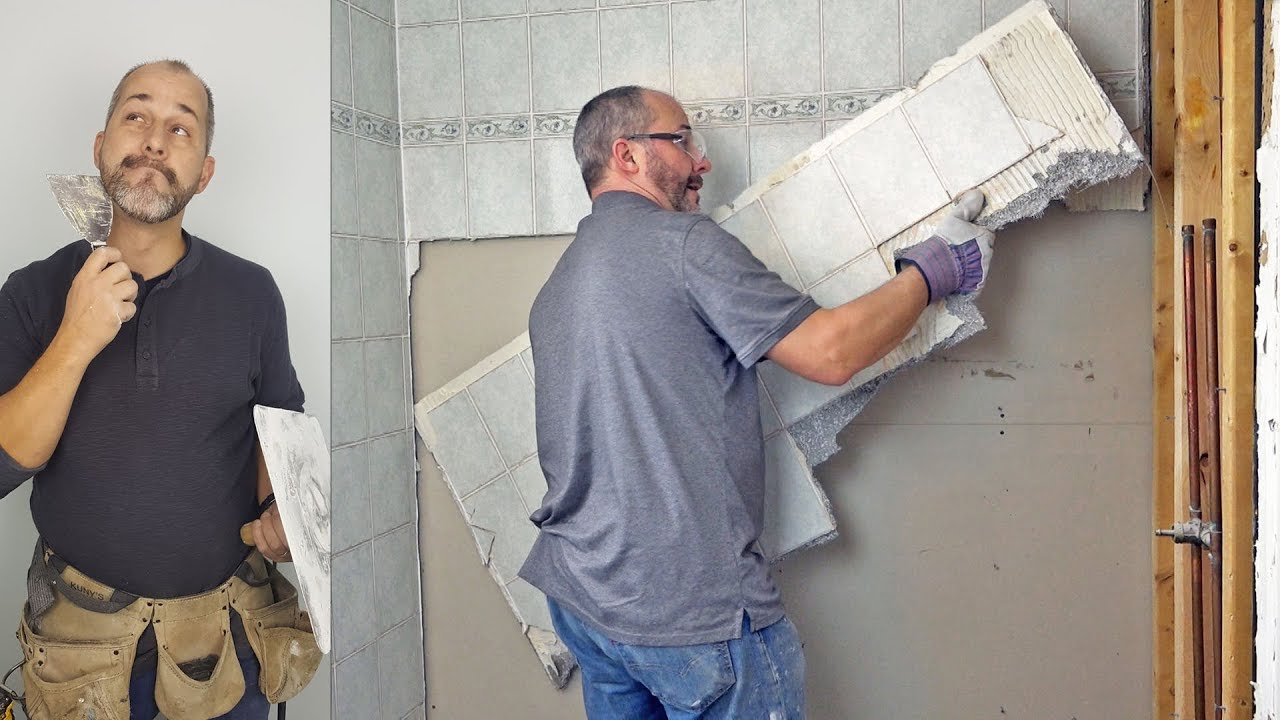
Start removing the tiles: Once you have determined the best technique for removing the tiles, start by removing one tile at a time. Use a chisel or putty knife to carefully pry the tile away from the wall or floor. Apply gentle pressure and work slowly to minimize the risk of damaging surrounding tiles.
Clean up debris: As you remove each tile, place it in a designated container or bag to keep the area clean and organized. Continuously clean up any loose debris or dust to maintain a safe working environment.

Techniques for Gentle Tile Removal Tips and Tricks
Preparation is Key: Before starting the tile removal process, it is important to prepare the area properly. Clear the bathroom of any objects or furniture that may obstruct your work. Cover the surrounding floor and fixtures with protective materials, such as drop cloths or plastic sheets, to prevent any damage.
Use the Right Tools: To remove bathroom tiles without breaking them, it is crucial to use the appropriate tools. A grout removal tool, such as a grout saw or rotary tool with a grout removal bit, can help loosen the tiles without causing much damage. Additionally, a pry bar or putty knife can aid in gently lifting and removing the tiles.
Apply Heat: Applying heat to the tiles can make the removal process easier and less likely to cause breakage. Use a heat gun or hairdryer on a low setting to warm up the tiles. This will soften the adhesive and make it easier to remove the tiles without damaging them.
Work in Sections: It is advisable to work in small sections when removing bathroom tiles. Start by removing the grout between the tiles using the grout removal tool. Then, insert the pry bar or putty knife underneath the tiles and gently lift them. By working in small sections, you can minimize the risk of damaging the tiles.
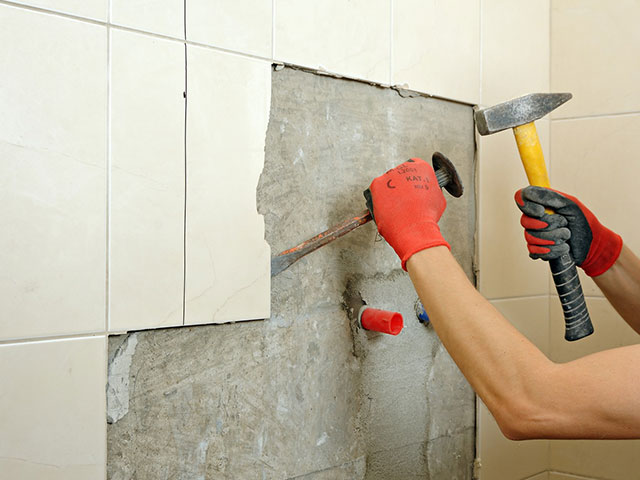
Use a Mallet or Hammer: If the tiles are stubborn and do not come off easily, you can gently tap them with a mallet or hammer to loosen them. Be careful not to apply too much force, as this can cause the tiles to break. Use a block of wood or a similar object to cushion the impact and distribute the force evenly.
Take Your Time: Removing bathroom tiles without breaking them requires patience and precision. Take your time and work slowly to ensure that each tile is removed without damage. Rushing the process can increase the risk of breakage.
Seek Professional Help if Needed: If you are unsure about removing the bathroom tiles without causing damage, it is advisable to seek professional help. Tile removal experts have the necessary skills and tools to safely remove tiles without breaking them. Hiring a professional can save you time, effort, and potential tile replacement costs.
Tools and Materials for a Damage-Free Tile Removal Process
When it comes to removing bathroom tiles without causing any damage, having the right tools and materials is essential. Here are some key items you will need for a successful and damage-free tile removal process:
- Safety Equipment: Before starting the tile removal process, ensure that you have the necessary safety equipment. This includes safety goggles, gloves, and a dust mask. These items will protect you from any potential injuries or exposure to harmful dust particles.
- Tile Removal Tool: One of the most important tools for this process is a tile removal tool. This tool is specifically designed to remove tiles without causing any damage to the surrounding area. It typically has a sharp edge that can be inserted under the tile to lift it off the surface.
- Hammer: A hammer is another essential tool that can be used in conjunction with the tile removal tool. It can be used to gently tap the tile removal tool and loosen the adhesive that holds the tiles in place. Be careful not to use excessive force, as this can lead to tile breakage.
- Putty Knife: A putty knife can be used to remove any residual adhesive or grout after the tiles have been lifted off. It is important to remove all traces of adhesive to ensure a smooth and clean surface for the new tiles.
- Chisel: In some cases, a chisel may be needed to remove stubborn tiles or larger sections of tile. A chisel can be used to carefully chip away at the tile and separate it from the surface. However, caution must be exercised to prevent any damage to the underlying structure.
- Pry Bar: A pry bar can be useful for removing larger sections of tile or for lifting up tiles that are particularly stubborn. It provides additional leverage and makes the removal process easier.
- Adhesive Remover: Depending on the type of adhesive used to install the tiles, you may need an adhesive remover. This product can help dissolve the adhesive and make it easier to remove any residue left behind.
- Clean Cloths: Finally, having clean cloths or rags on hand is important for wiping away any dust or debris that may accumulate during the tile removal process. Keeping the work area clean will help prevent any damage to the surrounding surfaces.

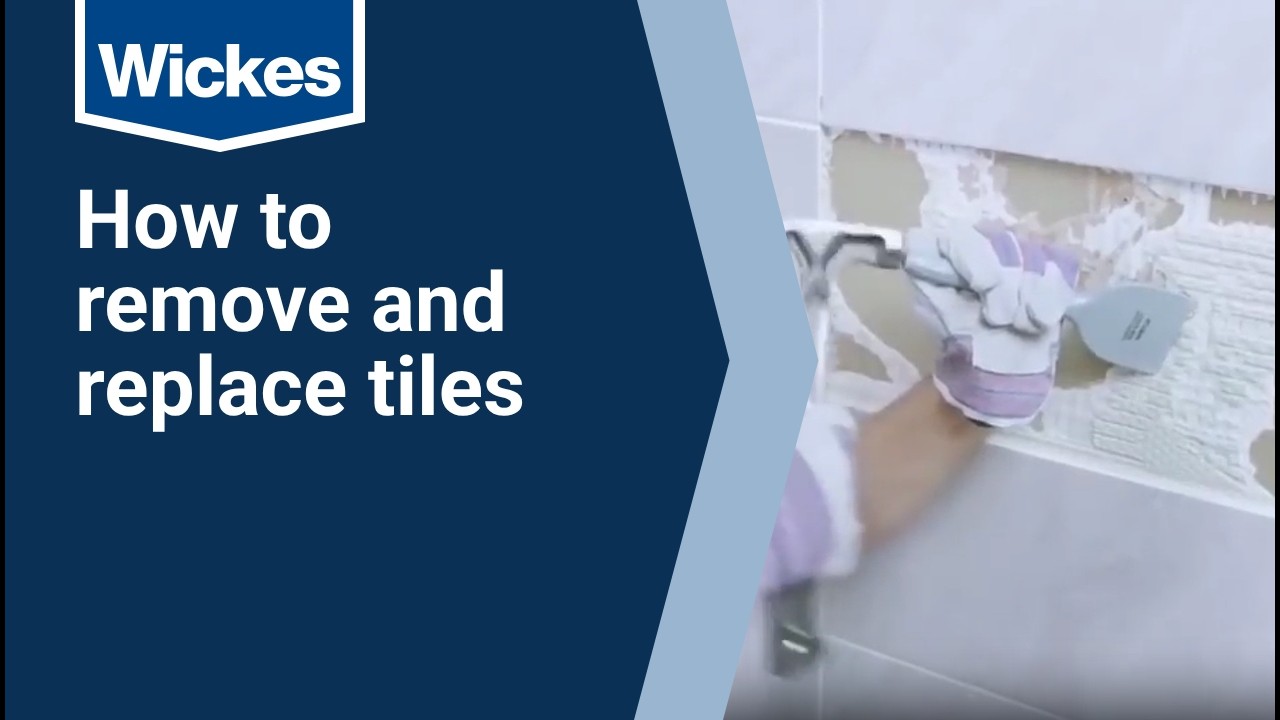
How to Remove and Replace Tiles with Wickes
How to Remove a Tile Floor HGTV
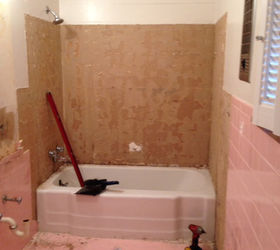
Tips on How to Remove Old Shower Tile u2022 Ugly Duckling House

How to Remove Wall Tiles: 11 Steps (with Pictures) – wikiHow

How do I remove the adhesive from 1950u0027s pink wall tiles? Hometalk
How To Remove Tile From Wall

Question: How Do You Remove Shower Tiles Without Breaking Them
How To Remove Tiles From Wall u2013 5 Steps For Removing Wall Tiles
How do I remove the adhesive from 1950u0027s pink wall tiles? Hometalk
Related Posts:


