Are you tired of looking at a plain and boring bathroom mirror? Do you want to add a touch of elegance and sophistication to your bathroom without breaking the bank? Then, framing your large bathroom mirror with clips might be the perfect solution!
In this DIY guide, we will provide simple and easy-to-follow steps on framing your large bathroom mirror with clips. By the end of this guide, you will have a beautiful and stylish bathroom mirror that will make your space feel more luxurious and refined.
Step 1: Measure Your Mirror
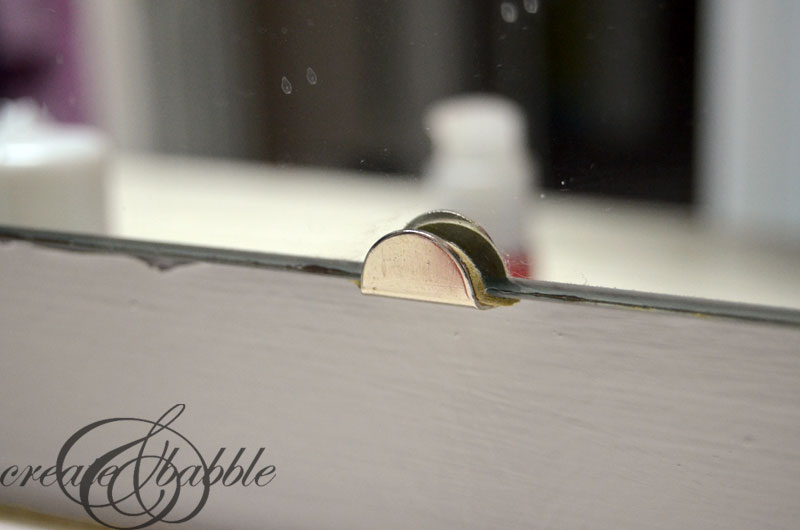
Before framing your bathroom mirror, you need to measure it first. This step is crucial in determining the number of materials you will need. Use a tape measure to measure the length and width of your mirror. Don’t forget to note the size of the clips holding your mirror in place.
Step 2: Choose Your Frame Material
Once you have your mirror measurements, it’s time to choose the frame material. There are different types of materials that you can use to frame your bathroom mirrors, such as wood, metal, or plastic. Wood is a popular choice as it gives a classic and timeless look. Metal and plastic frames are also great options for a more modern and contemporary feel.
Step 3: Cut the Frame Material
Cut your chosen frame material using a saw according to the measurements you took earlier. Make sure to be precise with your cuts to ensure your frame fits perfectly on your mirror.
Step 4: Sand and Paint/Stain Your Frame
After cutting your frame material, it’s time to sand it down to remove any rough edges or splinters. Then, you can paint or stain your frame to match your bathroom’s decor. Be creative and experiment with different colors to achieve your desired look.
Step 5: Attach the Clips to the Frame
Once your frame is painted or stained, attaching the clips is time. To do this, position the clips on the back of your frame and screw them in place. Ensure the clips are positioned in the same place as the clips on your mirror.
Step 6: Attach the Frame to the Mirror
Now that your frame is complete, it’s time to attach it to your mirror. Carefully position your frame on the mirror and clip it into place. Ensure the clips are securely fastened to prevent the frame from falling off.
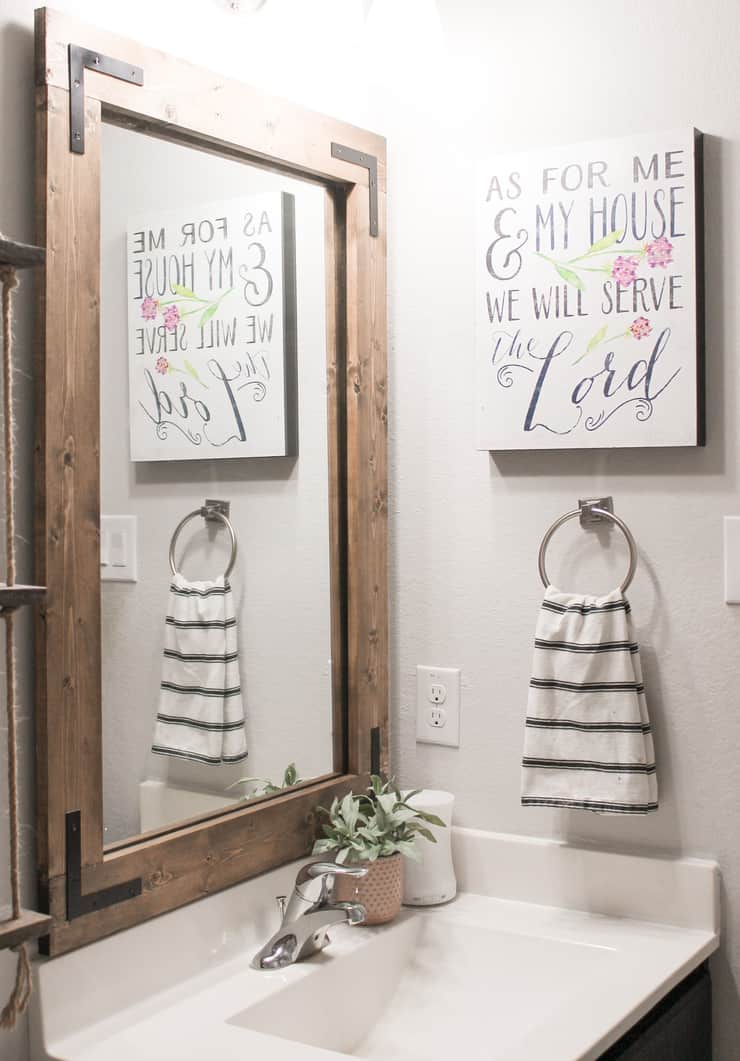
Step 7: Enjoy Your New Bathroom Mirror!
Congratulations, you have successfully framed your bathroom mirror with clips! Stand back and admire your new bathroom mirror. You now have a beautiful, stylish mirror that will impress your guests.
Framing a large bathroom mirror with clips is an easy and affordable way to upgrade your bathroom’s style. Following these simple steps, you can create a frame that perfectly fits your mirror and complements your bathroom’s decor. With a little creativity and effort, you can have a luxurious and elegant bathroom you can be proud of.
How To Frame A Large Bathroom Mirror That Has Clips

DIY Bathroom Mirror Frame (Without Removing Mirror Clips!) – Her
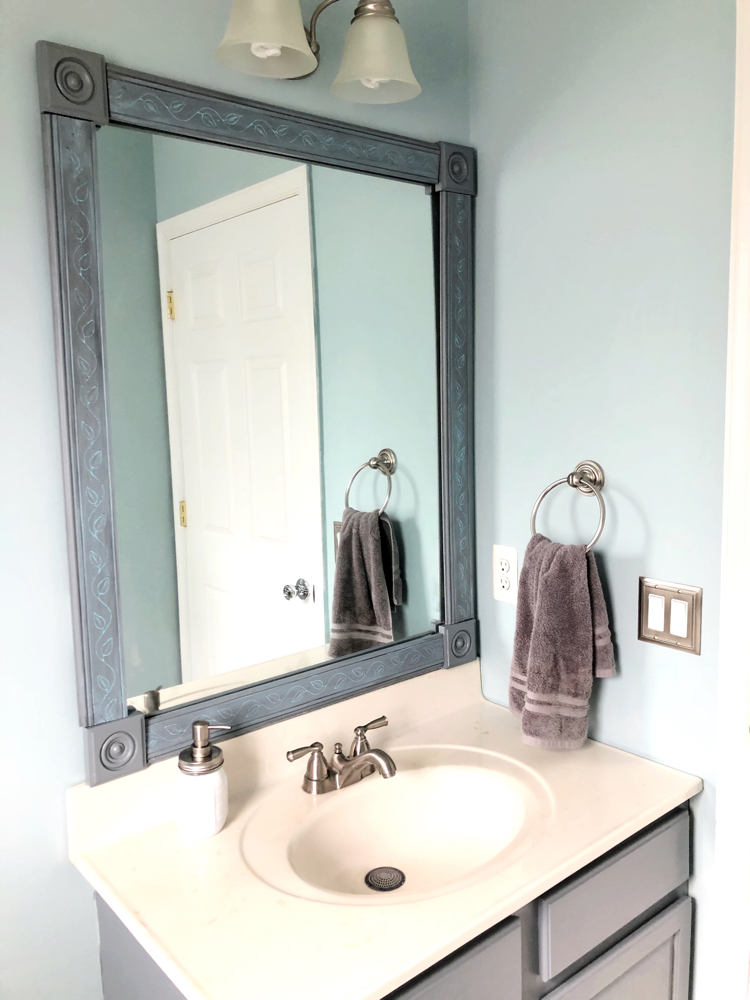
How to Frame a Mirror with Clips in 5 easy steps
How To Frame A Bathroom Mirror Over Plastic Clips Somewhat Simple

How to Build a DIY Frame to Hang over a Bathroom Mirror ⋆ Love

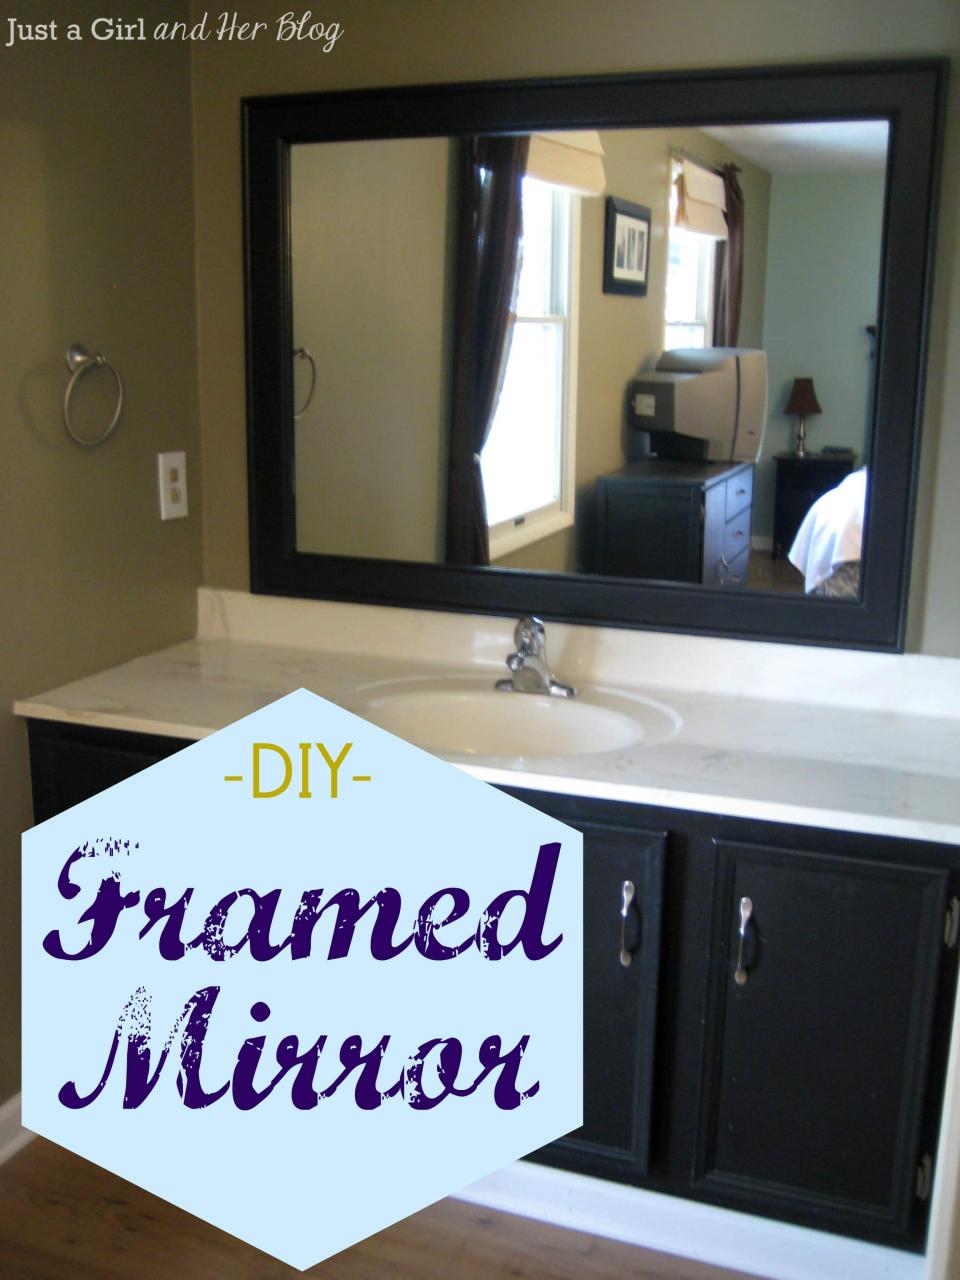
DIY Framed Mirror
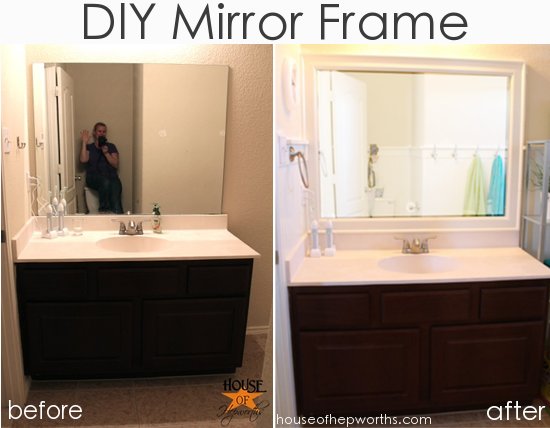
The kidsu0027 bathroom mirror gets framed – House of Hepworths
DIY Framed Mirror

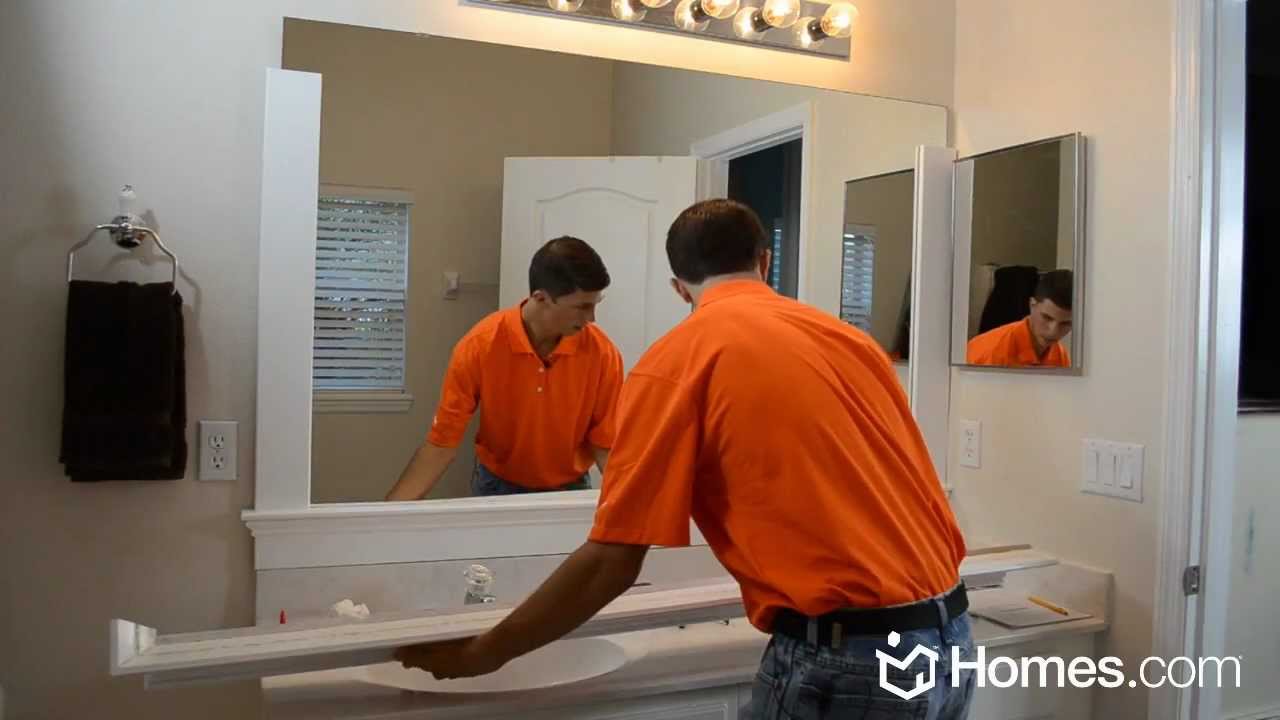
Homes.com DIY Experts Share How-to Frame a “Builder Grade” Mirror
How to Frame a Mirror with Clips in 5 easy steps

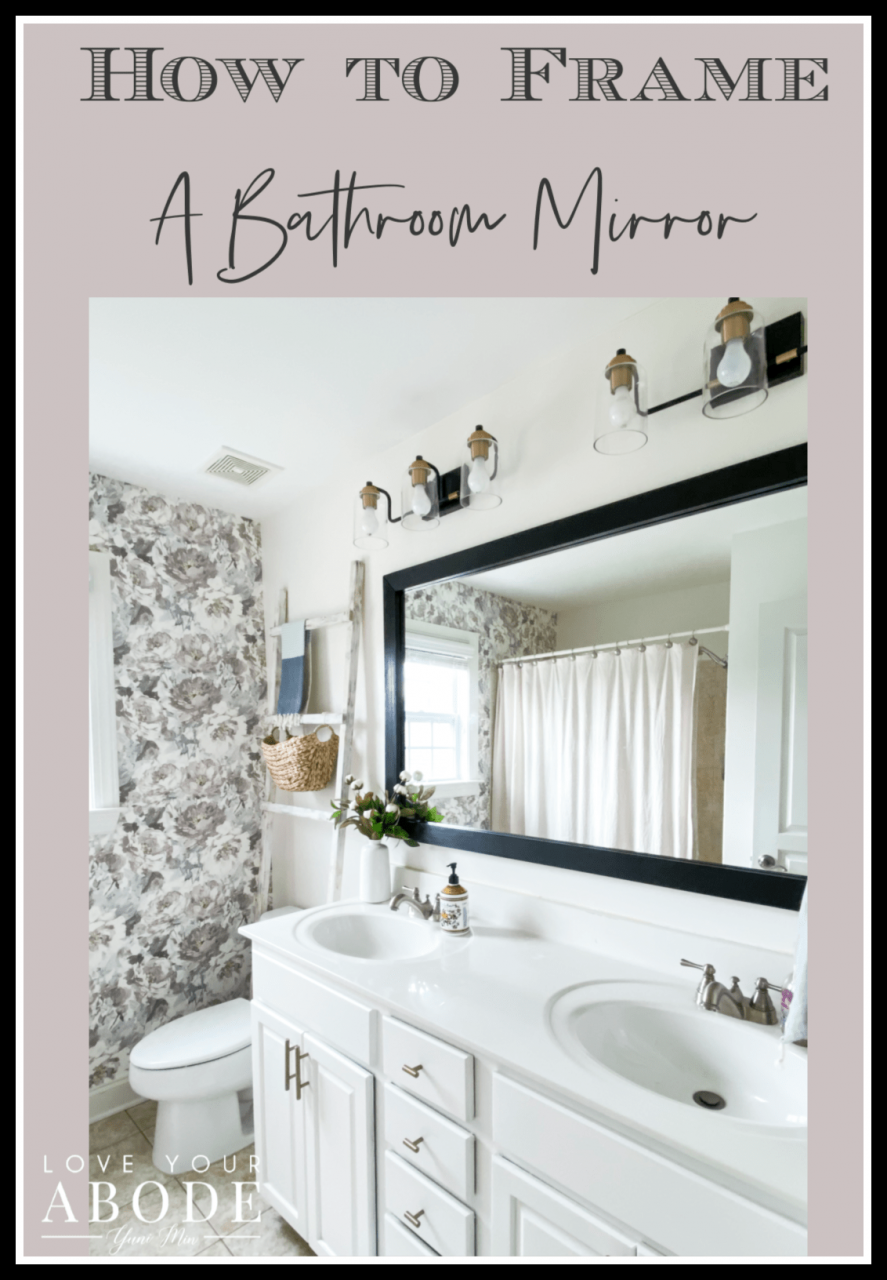
How to Frame a Bathroom Mirror – Love Your Abode
How to Frame a Mirror HGTV

How to Make an Easy DIY Bathroom Mirror Frame – momhomeguide.com
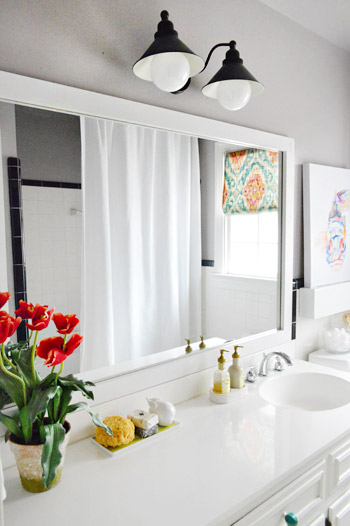
How To Build A Wood Frame Around A Bathroom Mirror Young House Love
Related Posts:
- Bathroom Mirrors That Swivel
- Oval Bathroom Mirrors With Lights
- Fresca Small Bathroom Mirror Medicine Cabinet
- Bathroom Mirrors Northern Ireland
- Steam Free Led Bathroom Mirrors
- Bathroom Mirrors Online Purchase
- Hudson Reed Led Bathroom Mirrors
- Contemporary Bathroom Mirrors With Lights
- Rectangular Bathroom Mirrors Chrome
- Lighted Bathroom Mirrors Magnifying


