Dealing with a leaky faucet can be frustrating, especially when it’s wasting water and causing unnecessary expenses. Fortunately, fixing a leaky Delta two-handle bathroom faucet is a task that can be tackled with a bit of patience and some basic tools. In this article, I will guide you through the steps to resolve the issue and restore your faucet to its fully functional state.
Step 1: Gather the necessary tools:
Before diving into the repair process, make sure you have the following tools on hand:
- Adjustable wrench
- Screwdriver (both flathead and Phillips)
- Replacement parts (O-rings and seats) specific to your Delta faucet model
Step 2: Turn off the water supply:
Locate the shut-off valves under the sink and turn them clockwise to shut off the water supply. To be safe, you can also turn off the main water supply to your home.
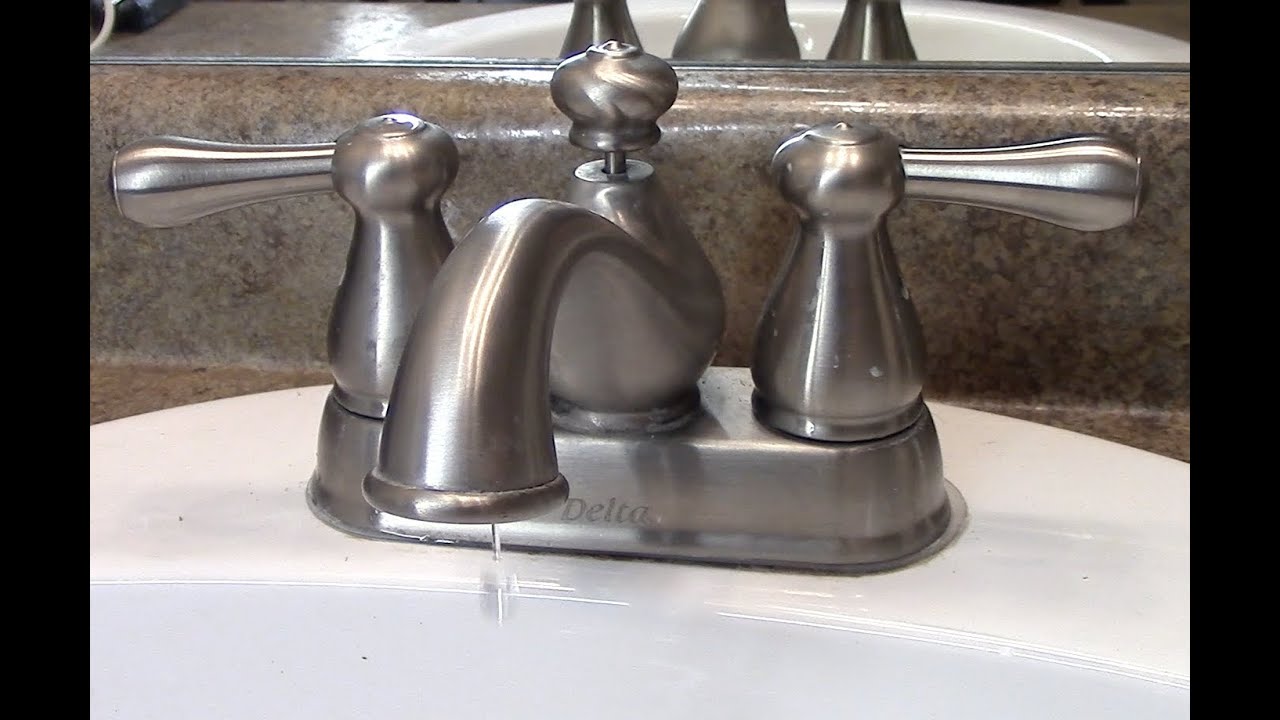
Step 3: Disassemble the faucet:
Carefully remove each handle’s decorative cap or handle cover using a screwdriver. This will expose the screws that secure the handles to the faucet. Unscrew these screws and gently lift the handles off.
Step 4: Remove the stem assembly:
Underneath each handle, you’ll find the stem assembly. Use an adjustable wrench to loosen the packing nut holding the assembly in place. Once loosened, remove the entire stem assembly by pulling it straight out.
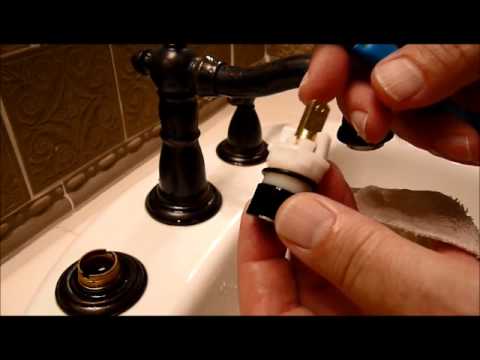
Step 5: Inspect and replace faulty parts:
Inspect the rubber O-rings located on the stem assembly for any signs of wear or damage. If they appear worn or cracked, it’s advisable to replace them. Additionally, check the seats inside the faucet body for any corrosion or damage. If necessary, replace them as well.
Step 6: Install new parts:
Apply the plumber’s grease or silicone grease to the new O-rings to ensure a smooth installation. Slide the new O-rings onto the stem assembly, ensuring they sit securely. If you replaced the seats, insert them into the faucet body.
Step 7: Reassemble the faucet:
Carefully reinsert the stem assembly back into the faucet body, aligning it correctly. Tighten the packing nut with the adjustable wrench to secure the assembly. Reattach the handles back on the stems using the screws you removed earlier. Finally, reattach the decorative cap or handle cover.
Step 8: Turn on the water supply and test:
Once you’ve reassembled the faucet, slowly turn on the water supply valves beneath the sink. Gradually open the faucet handles and check for any leaks. If everything is properly tightened, the leak should be resolved.
Fixing a leaky Delta two-handle bathroom faucet is a manageable task that doesn’t require professional assistance. By following these steps and taking your time, you can restore your faucet to its leak-free state and avoid wasting water and money. Gather the necessary tools, turn off the water supply, inspect and replace faulty parts, and reassemble the faucet carefully. You’ll have a fully functional faucet once again with a little effort.
How to fix a leaky dripping Delta faucet
How to Fix a Leaky Delta Faucet – Delta Faucet Dripping

Sink Faucet Repair, Delta Bathroom Sink Drips

Simple Ways to Fix a Leaky Delta Bathroom Sink Faucet

How to fix a leaking, dripping Delta bathtub faucet – $2 fix

Delta Bathroom Faucet Leaks-Extract the old seat and spring

Delta Bathroom Faucet Repair: Seats and Springs, Serramar HOA
Related Posts:
- Discount Delta Bathroom Faucets
- Bathroom Faucets Shower Sets
- Moen Bathroom Faucets Repair Parts
- How To Fix A Leaky Price Pfister Bathroom Faucet
- How To Repair Delta Bathroom Faucet Leak
- How To Repair A Single Handle Delta Bathroom Faucet
- Moen Chateau Chrome Bathroom Faucet
- Bathroom Faucet Shower Sets
- Bathroom Faucets For Tub
- Bathroom Faucet Replacement Knobs


