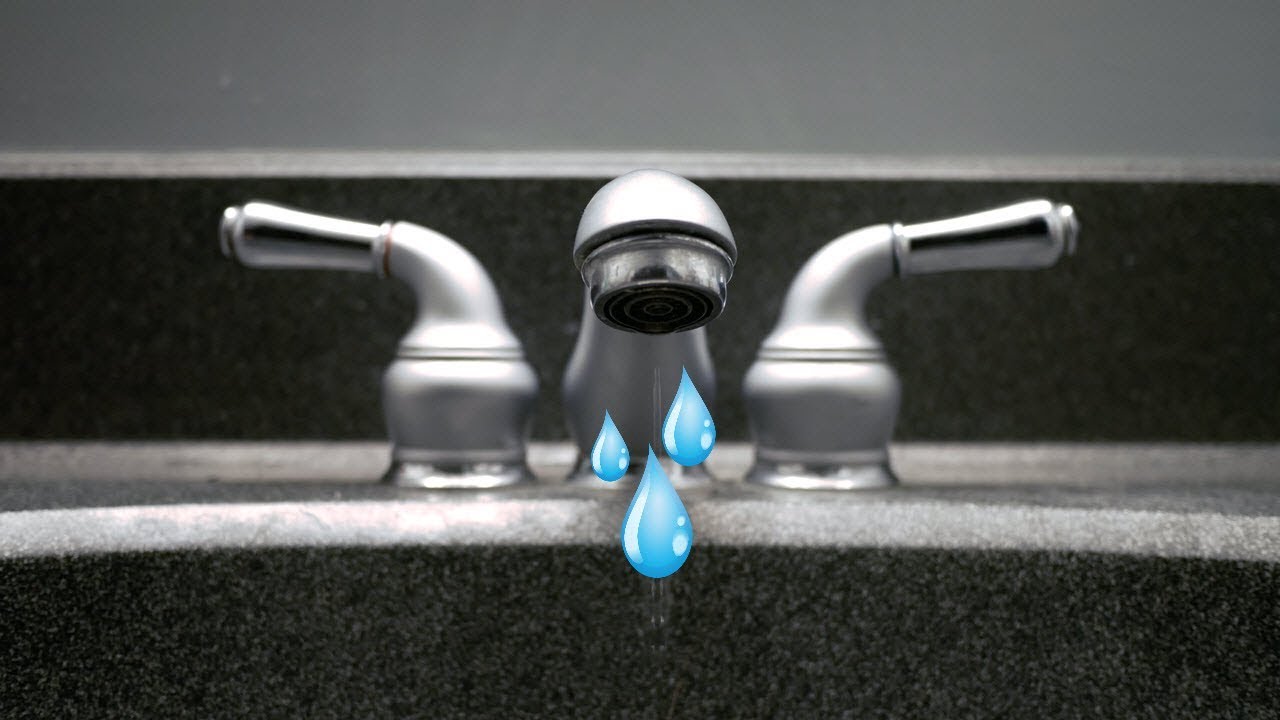
A leaky bathroom faucet can be both annoying and wasteful. Before you can fix the problem, you need to identify the source of the leak. Let’s find out the common causes of a leaky Moen faucet and provide troubleshooting tips to help you pinpoint the issue.
Check for Loose Connections: The first step in troubleshooting a leaky Moen faucet is to check for loose connections. Start by inspecting the handle and the base of the faucet. Look for any visible signs of water dripping or pooling. If you notice water coming from these areas, it may indicate loose connections that need tightening.
Examine the Cartridge: The cartridge is a crucial component in a Moen faucet, and a faulty cartridge can lead to leaks. To examine the cartridge, you will need to turn off the water supply and disassemble the faucet. Look for any signs of damage, such as cracks or worn-out rubber seals. If you notice any issues with the cartridge, it may need to be replaced.
Inspect the O-Rings: O-rings are small rubber rings that create a watertight seal within the faucet. Over time, these rings can become worn or damaged, causing leaks. Inspect the O-rings for any signs of wear or tear. If you notice any issues, replace them with new ones to ensure a proper seal.
Check the Valve Seat: The valve seat is where the faucet connects to the spout. If the valve seat becomes corroded or worn down, it can cause leaks. To check the valve seat, remove the spout and inspect it for any signs of damage. If you notice any issues, consider replacing the valve seat to resolve the leak.
Examine the Supply Line: Sometimes, the source of the leak may not be within the faucet itself but in the supply line. Inspect the supply line for any visible signs of damage, such as cracks or leaks. If you notice any issues, it is recommended to replace the supply line to prevent further leaks.
Gathering the Necessary Tools and Materials
Before you can repair a leaky Moen faucet, it’s essential to gather the necessary tools and materials. Let me guide you through the process of preparing for the repair, ensuring you have everything you need to fix the issue efficiently.
Turn Off the Water Supply: Before starting any repairs, it’s crucial to turn off the water supply to the faucet. Locate the shut-off valves under the sink and turn them clockwise to shut off the water flow. This step is essential to prevent any accidental water leaks during the repair process.
Gather the Tools: To repair a leaky Moen faucet, you will need a few basic tools. These include an adjustable wrench, screwdriver (Phillips or flathead, depending on the faucet’s screws), pliers, and a flashlight for better visibility. Additionally, keep a bucket or towel nearby to catch any water that may drip during the repair.
Collect the Replacement Parts: Depending on the identified issue, you may need to replace certain components of the faucet. Common replacement parts include cartridges, O-rings, valve seats, and supply lines. Identify the specific parts required for your faucet model and make sure to have them on hand before starting the repair.
Prepare a Clean Work Area: Creating a clean and organized work area is essential for a smooth repair process. Clear out any clutter under the sink and lay down a towel or mat to protect the area from scratches or dings. Having a well-lit workspace will also help you see the components clearly during disassembly and reassembly.
Safety Precautions: While preparing for the repair, it’s important to prioritize safety. Ensure that you are wearing appropriate protective gear, such as gloves and safety glasses, to avoid any injuries. If you are unsure about any step of the repair process, consider consulting a professional plumber to ensure the repair is done correctly.
Disassembling and Repairing a Leaky Moen Faucet
Now that you have identified the source of the leak and gathered the necessary tools and materials, it’s time to dive into the repair process. Follow this step-by-step guide on how to disassemble and repair a leaky Moen faucet, ensuring a successful fix.
Turn off the Water Supply: Before starting the disassembly process, ensure that the water supply to the faucet is turned off. This step is crucial to prevent any water flow during the repair. Double-check that the shut-off valves under the sink are tightly closed.
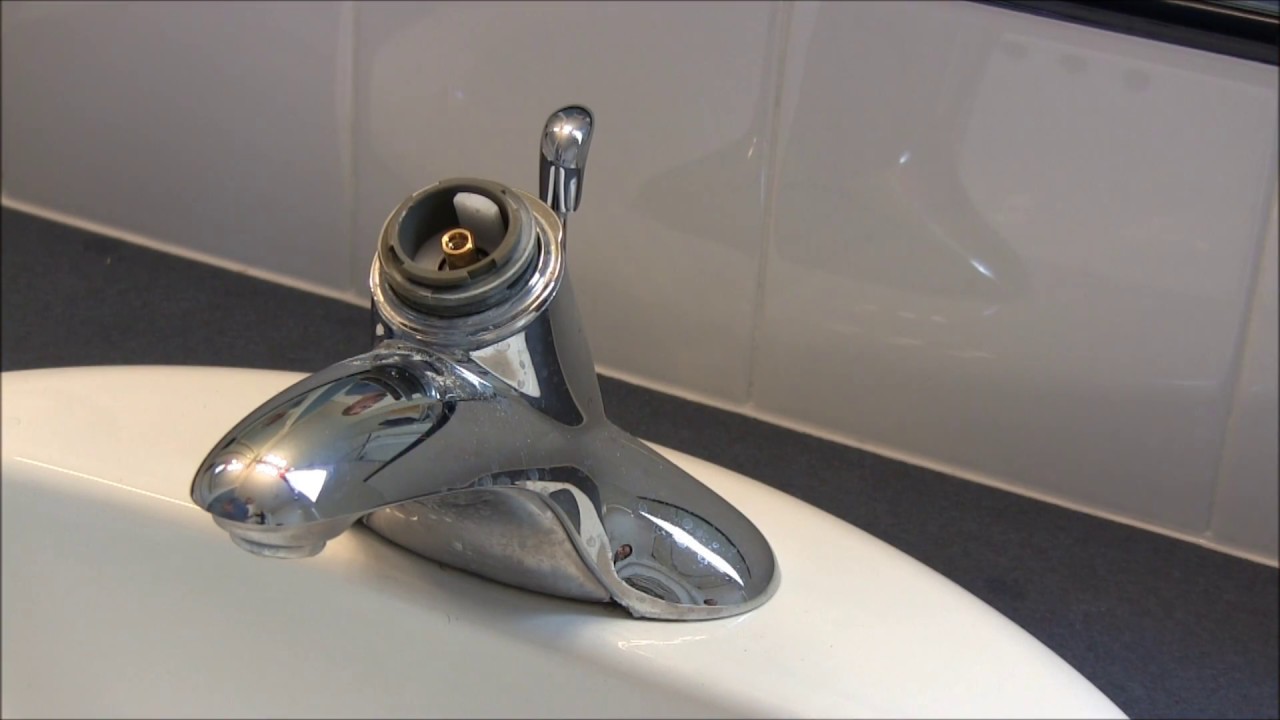
Remove the Handle: Begin by removing the handle of the Moen faucet. Depending on the model, this can be done by either unscrewing a set screw with an Allen wrench or removing a decorative cap and unscrewing the handle. Once the handle is loose, carefully lift it off the faucet.
Disassemble the Faucet: Next, you will need to disassemble the faucet to access the internal components. Use a wrench or pliers to unscrew the bonnet nut, which holds the cartridge in place. Once the bonnet nut is removed, you can pull out the cartridge from the faucet body.
Inspect and Replace Faulty Components: Examine the removed cartridge for any signs of damage, such as cracks or worn-out rubber seals. If the cartridge is faulty, it is recommended to replace it with a new one that matches your faucet model. Additionally, inspect the O-rings, valve seat, and any other components for damage and replace them as necessary.
Clean and Lubricate: Before reassembling the faucet, clean any debris or mineral buildup from the internal components. Use a soft brush or cloth to gently scrub away any residue. Additionally, apply a thin layer of silicone-based lubricant to the O-rings and other moving parts to ensure smooth operation.
Reassemble the Faucet: Carefully reinsert the new cartridge into the faucet body, making sure it fits snugly. Use the wrench or pliers to tighten the bonnet nut, securing the cartridge in place. Then, reinstall the handle by reversing the steps of removal, ensuring it is tightly secured.
Reassembling the Faucet: Ensuring a Proper Fit and Function
After disassembling and repairing a leaky Moen faucet, it’s time to reassemble the components to ensure a proper fit and function. Below are the process of reassembling the faucet, allowing it to work seamlessly without any leaks.
Clean and Dry the Components: Before reassembling the faucet, make sure all the components are clean and dry. Use a soft cloth or towel to remove any remaining residue or moisture from the cartridge, O-rings, and other parts. This will help ensure a proper seal and prevent any potential issues.
Align the Cartridge: Carefully align the cartridge with the corresponding slots in the faucet body. Make sure it fits securely and evenly. Take note of any markings or indicators on the cartridge that indicate the correct orientation. Improper alignment may result in leaks or difficulty when operating the faucet.
Secure the Bonnet Nut: Using a wrench or pliers, tighten the bonnet nut to secure the cartridge in place. Be careful not to overtighten, as it may cause damage to the cartridge or other components. Ensure that the nut is snug but not overly tight, allowing for smooth movement of the handle.
Test the Handle and Operation: Once the bonnet nut is securely tightened, test the handle’s movement and the overall operation of the faucet. Turn on the water supply and check for any leaks. Ensure that the handle moves smoothly and easily, allowing for proper control of water flow and temperature.
Make Adjustments if Needed: If you encounter any issues during the testing phase, such as difficulty turning the handle or leaks, consider making necessary adjustments. Double-check the alignment of the cartridge, tighten the bonnet nut slightly if needed, or inspect other components for potential issues.
Final Check and Cleanup: After reassembling the faucet and ensuring its proper function, perform a final check for any leaks or drips. If everything appears to be in order, clean up any debris or water around the sink area. Dispose of any old or damaged components properly.
Maintenance Tips to Keep Your Moen Faucet in Top Shape
After successfully fixing a leaky Moen faucet, it’s essential to implement preventive measures to avoid future leaks. Here are several maintenance tips that will help keep your Moen faucet in top shape and prevent leaks from occurring.
Regularly Inspect and Clean: Make it a habit to inspect your Moen faucet regularly for any signs of wear, damage, or mineral buildup. Clean the faucet and its components using a mild soap or vinegar solution to remove any residue. This will help prevent the accumulation of minerals and debris that can lead to leaks.
Avoid Excessive Force: When operating the faucet handle, avoid using excessive force. Gentle and controlled movements are sufficient to control the water flow and temperature. Applying excessive force can cause strain on the internal components, leading to leaks over time.
Replace O-Rings and Seals: O-rings and seals play a crucial role in creating a watertight seal within the faucet. Over time, these components can become worn or damaged, resulting in leaks. Regularly check the O-rings and seals and replace them if necessary to maintain a proper seal and prevent leaks.
Address Drips and Leaks Promptly: If you notice any drips or leaks, address them promptly. Even small drips can waste a significant amount of water over time and potentially lead to more significant issues. Investigate the source of the leak and make the necessary repairs or replacements to prevent further damage.
Avoid Harsh Chemicals: When cleaning your Moen faucet, avoid using harsh chemicals or abrasive cleaners. These can damage the finish and weaken the components, making them more susceptible to leaks. Stick to mild soap, vinegar, or specifically formulated faucet cleaners to maintain the faucet’s integrity.
Schedule Professional Maintenance: Consider scheduling periodic maintenance with a professional plumber. They can inspect and service your Moen faucet, ensuring that all components are in proper working condition. Professional maintenance can help identify and address any potential issues before they escalate into major leaks.
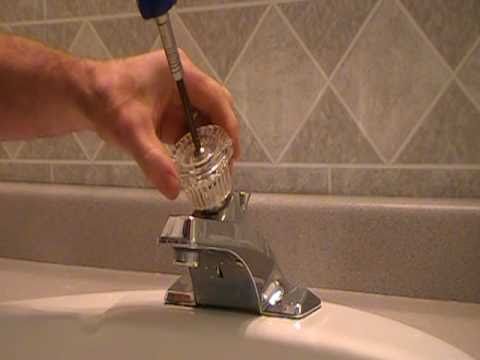
How do I replace my Moen bathroom faucet cartridge?
How to Fix a Leaking Moen 1225 Series Bathroom Faucet by Replacing the Cartridge
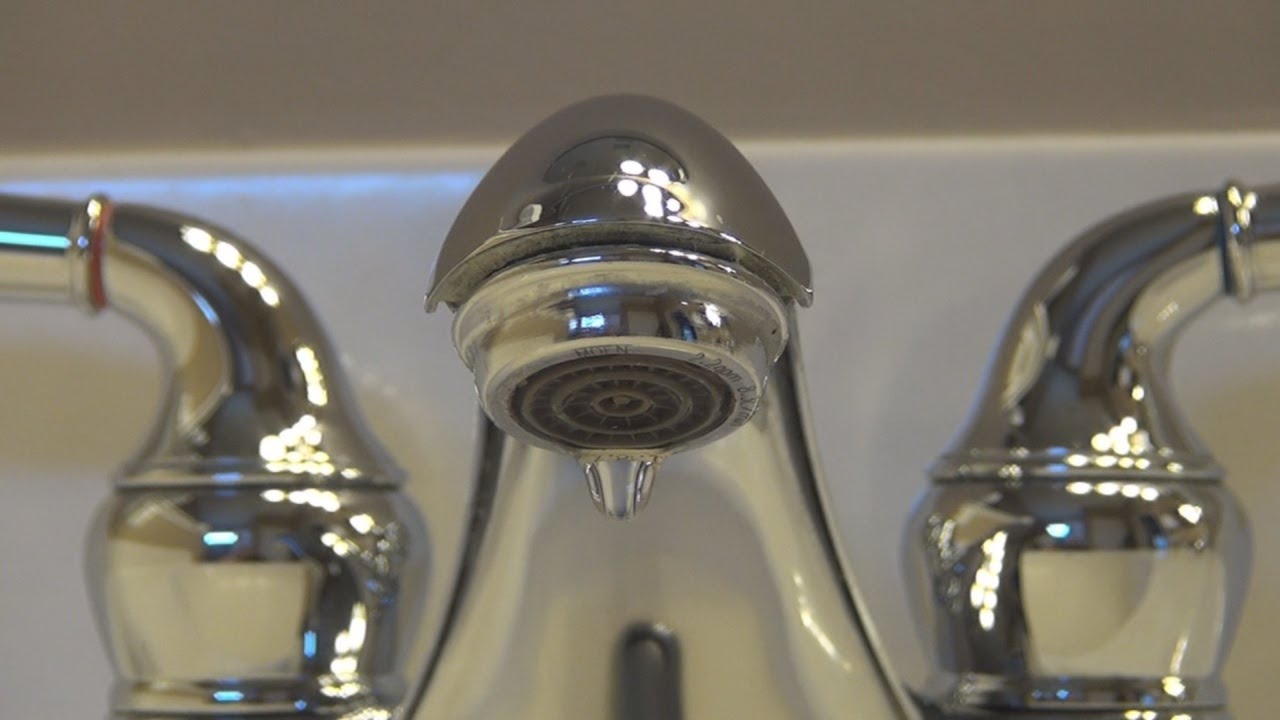
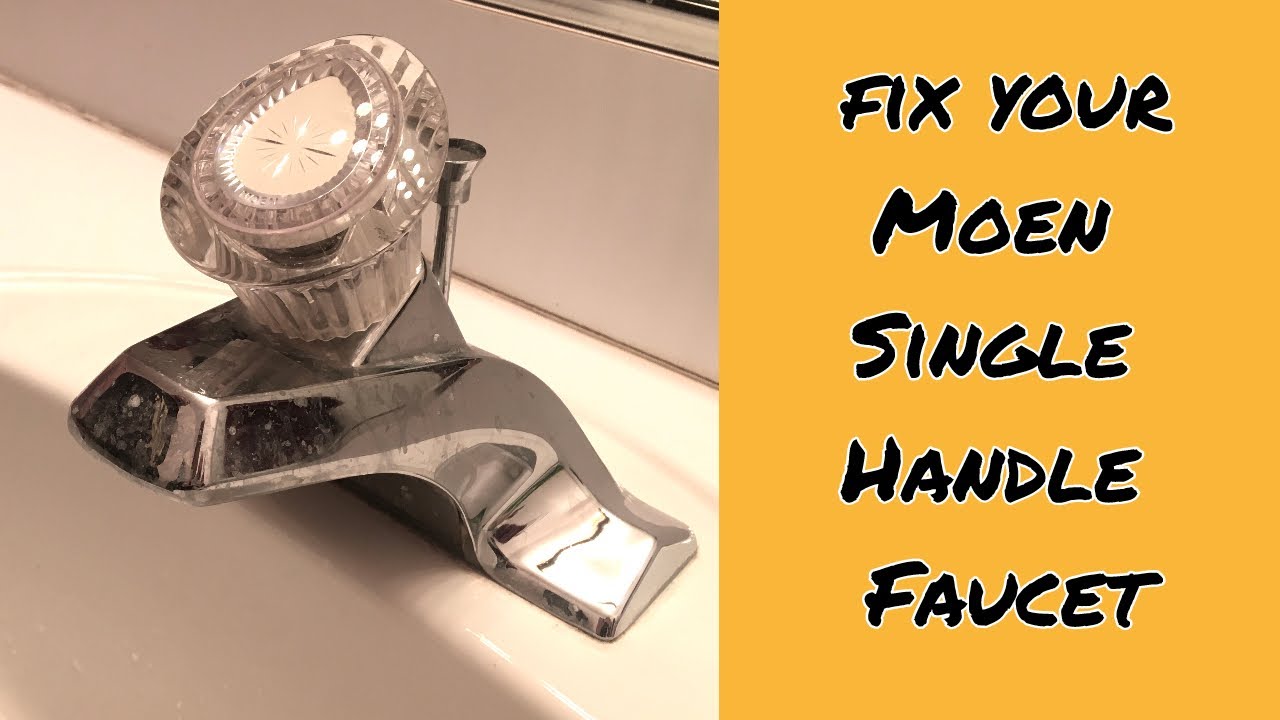
How to fix Moen Single-handle faucets
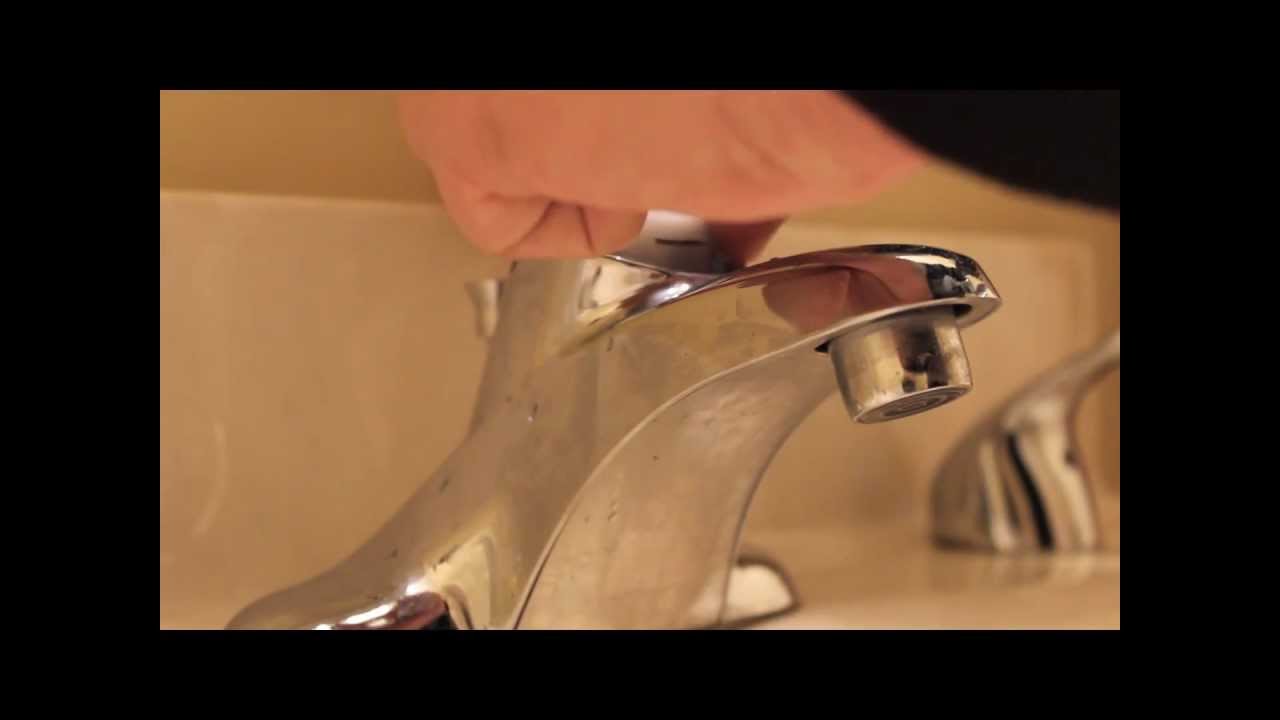
How to fix a leaking faucet Moen 1224
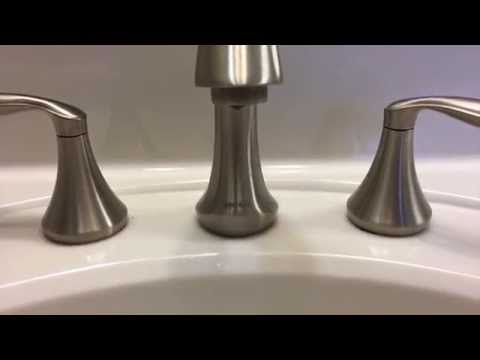
How to Fix a Leaking Moen Bathroom Sink Faucet Fast! – Plumbing Sniper
We use cookies on our website to give you the most relevant experience by remembering your preferences and repeat visits. By clicking “Accept All”, you consent to the use of ALL the cookies. However, you may visit "Cookie Settings" to provide a controlled consent.
This website uses cookies to improve your experience while you navigate through the website. Out of these, the cookies that are categorized as necessary are stored on your browser as they are essential for the working of basic functionalities of the website. We also use third-party cookies that help us analyze and understand how you use this website. These cookies will be stored in your browser only with your consent. You also have the option to opt-out of these cookies. But opting out of some of these cookies may affect your browsing experience.
Necessary cookies are absolutely essential for the website to function properly. These cookies ensure basic functionalities and security features of the website, anonymously.
Cookie
Duration
Description
cookielawinfo-checkbox-analytics
11 months
This cookie is set by GDPR Cookie Consent plugin. The cookie is used to store the user consent for the cookies in the category "Analytics".
cookielawinfo-checkbox-functional
11 months
The cookie is set by GDPR cookie consent to record the user consent for the cookies in the category "Functional".
cookielawinfo-checkbox-necessary
11 months
This cookie is set by GDPR Cookie Consent plugin. The cookies is used to store the user consent for the cookies in the category "Necessary".
cookielawinfo-checkbox-others
11 months
This cookie is set by GDPR Cookie Consent plugin. The cookie is used to store the user consent for the cookies in the category "Other.
cookielawinfo-checkbox-performance
11 months
This cookie is set by GDPR Cookie Consent plugin. The cookie is used to store the user consent for the cookies in the category "Performance".
viewed_cookie_policy
11 months
The cookie is set by the GDPR Cookie Consent plugin and is used to store whether or not user has consented to the use of cookies. It does not store any personal data.
Functional cookies help to perform certain functionalities like sharing the content of the website on social media platforms, collect feedbacks, and other third-party features.
Performance cookies are used to understand and analyze the key performance indexes of the website which helps in delivering a better user experience for the visitors.
Analytical cookies are used to understand how visitors interact with the website. These cookies help provide information on metrics the number of visitors, bounce rate, traffic source, etc.
Advertisement cookies are used to provide visitors with relevant ads and marketing campaigns. These cookies track visitors across websites and collect information to provide customized ads.


 Related Posts:


