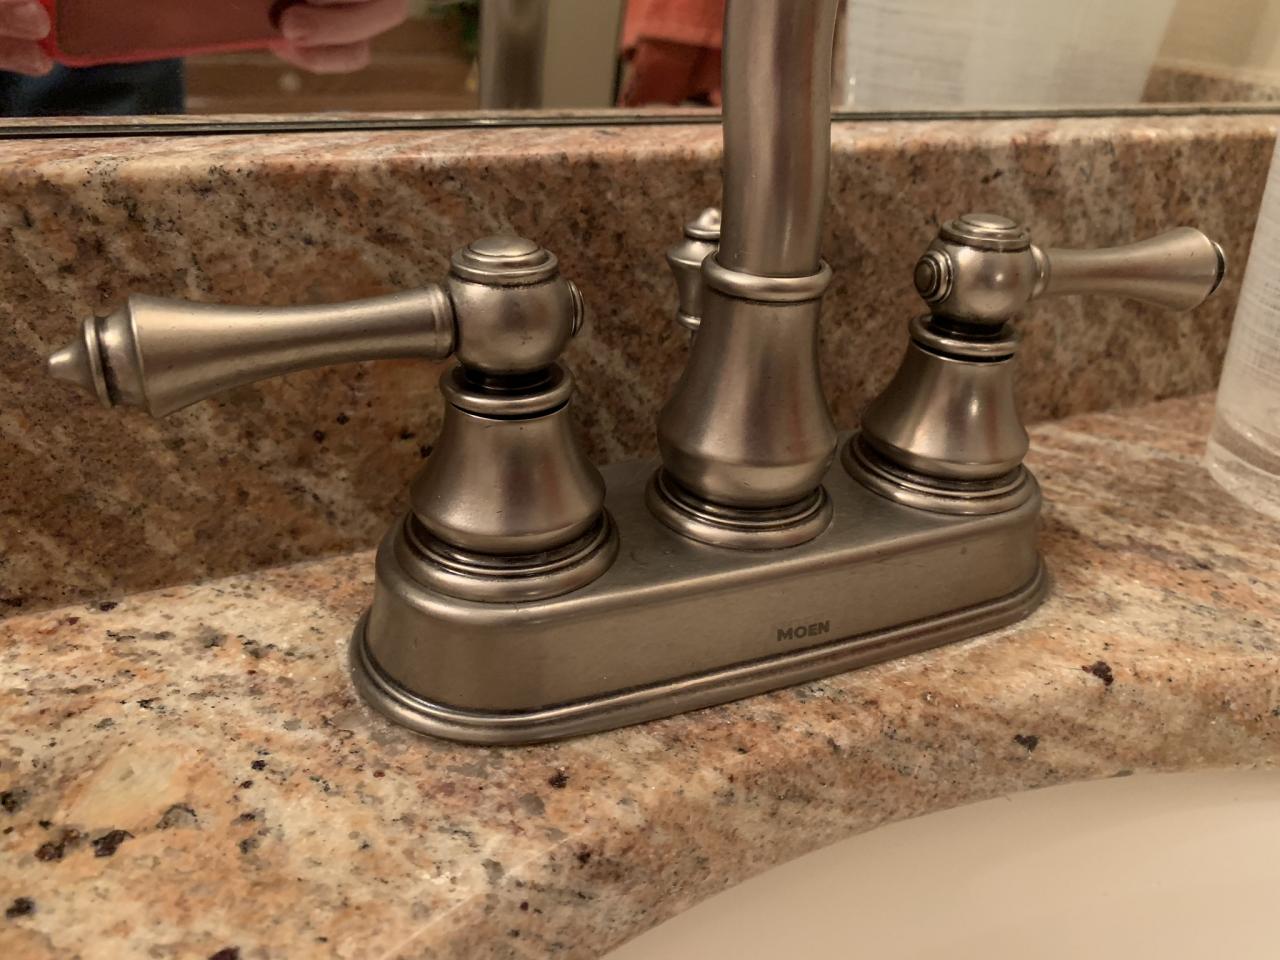
If you are looking to disassemble your Moen bathroom faucet, the process is quite simple. First, turn off the water supply valves located beneath the sink. Next, use a pair of pliers to loosen the nuts located beneath the sink that hold the faucet in place. Carefully pull the faucet away from the sink and place it on a soft cloth or towel to protect the surface. Use a screwdriver to remove the screws that secure the faucet’s handle. Then, use a wrench to remove the body of the faucet from the wall. Finally, use a pair of adjustable pliers to unscrew the nuts and washers that hold the assembly together. With these steps in mind, you will be able to disassemble your Moen bathroom faucet quickly and easily.
How To Disassemble Moen Bathroom Faucet
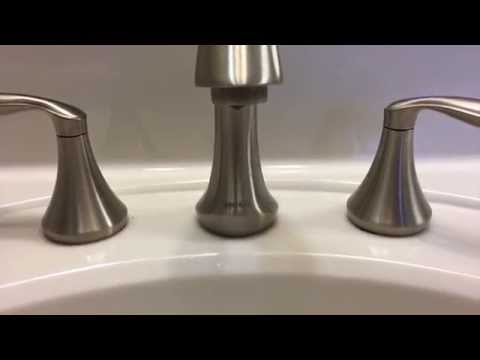
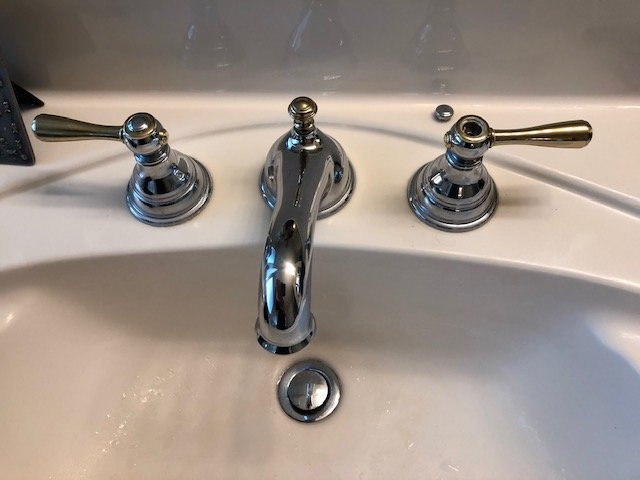
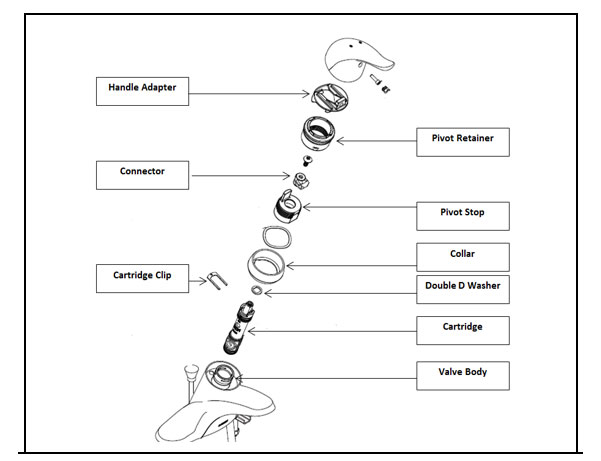
When it comes to disassembling a Moen bathroom faucet, the process is straightforward and simple. The first step is to turn off the water supply valves located beneath the sink. Then, you must use an adjustable wrench or pliers to loosen the large nut located under the faucet handle. Once the nut is removed, the handle should come off easily. The faucet itself is held in place by two nuts found on the underside of the sink. By using the wrench or pliers, the nuts should be unscrewed and the faucet should be able to be removed. With the faucet removed, you can then access the internal components of the faucet, such as the cartridge, O-rings, and other parts. With the help of a screwdriver and a few basic tools, these components can be removed and replaced as necessary. Disassembling a Moen bathroom faucet is relatively easy and can be done in a short amount of time.
How to repair Moen bathroom faucet dripping water – cartridge removal replace single lever
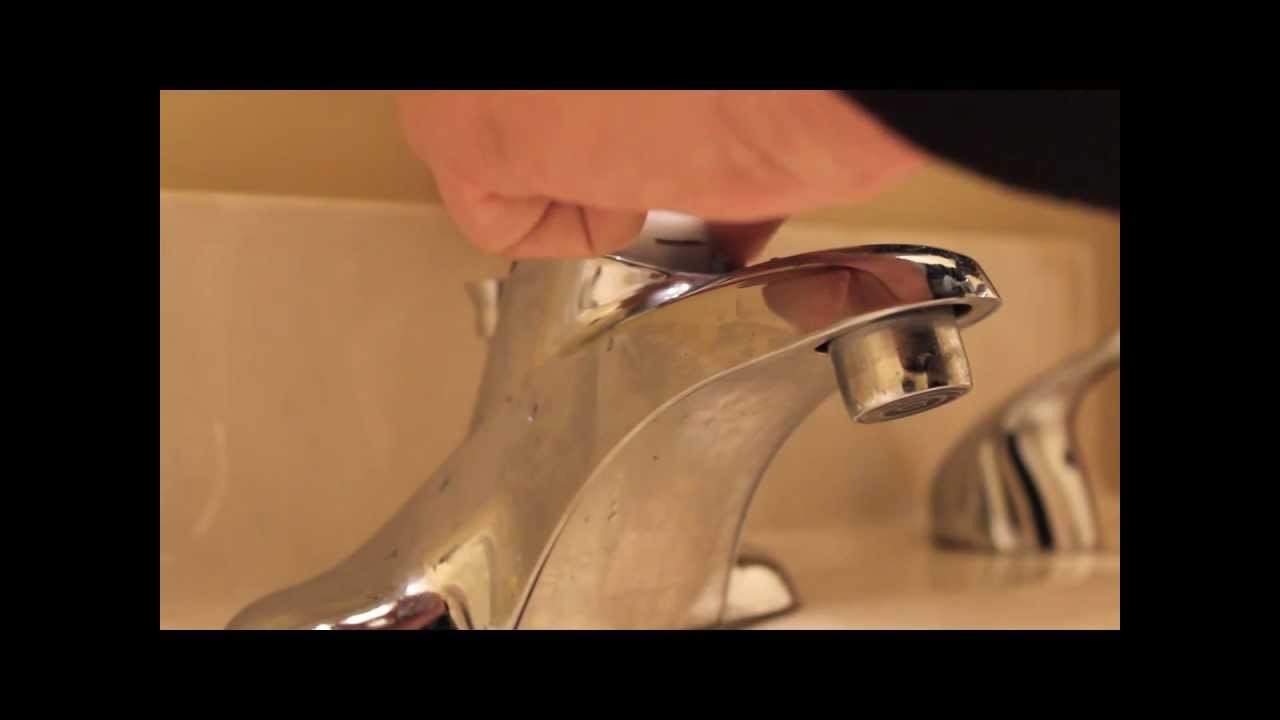
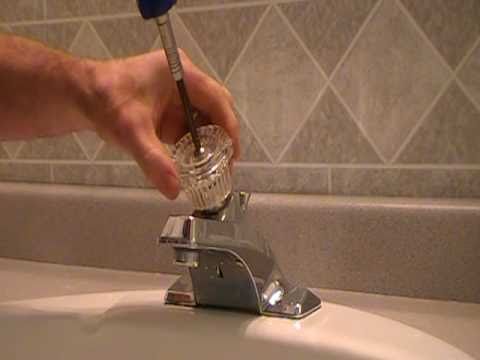
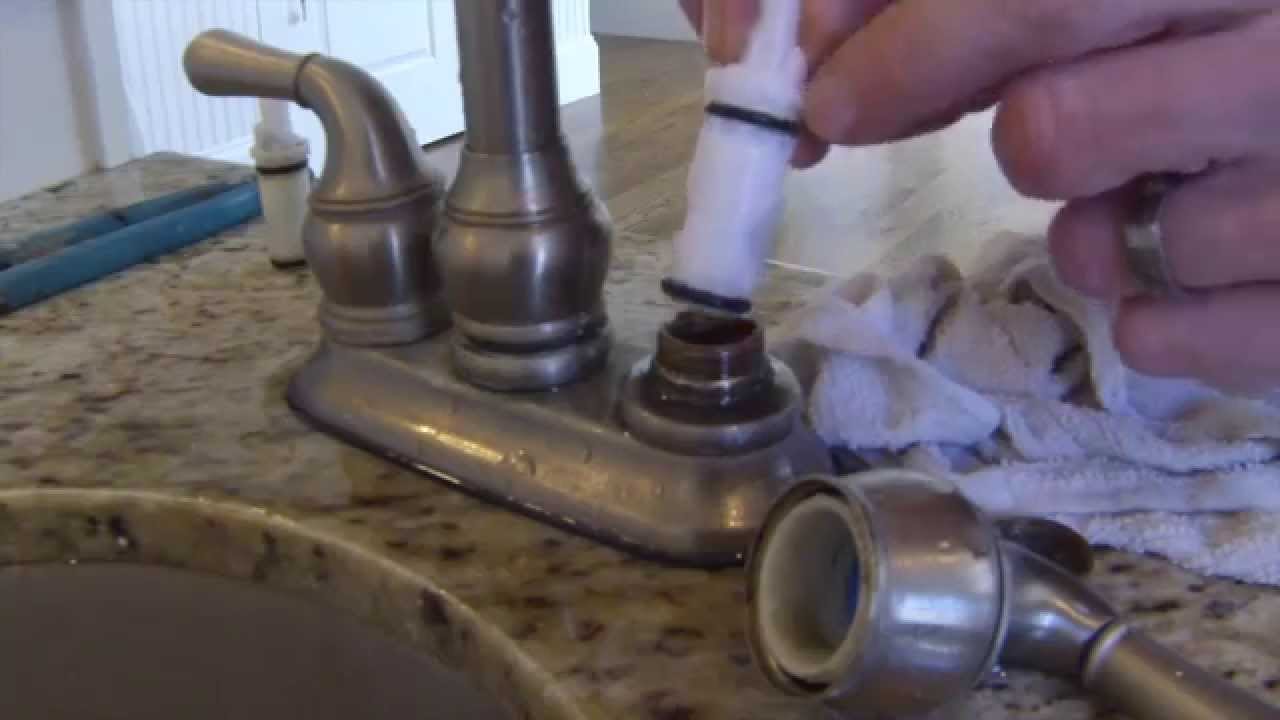
Repairing a Moen bathroom faucet that is dripping water can be a daunting task, but it doesn’t have to be. Start by turning off the water supply to the faucet. Then, take a pair of adjustable pliers and grip the flat surfaces of the valve stem. Next, unscrew the stem and pull it out, taking care to inspect the valve seat for any debris or mineral deposits. If you find any, clean them off using an old toothbrush. Once the valve seat is clean, put the stem back in and hand-tighten it. Replace the valve seat and check for leaks. Finally, turn the water supply back on and test the faucet. With a few simple steps, you can easily repair your Moen bathroom faucet and stop the dripping water.
How To Fix a Dripping Moen Faucet (HowToLou.com)
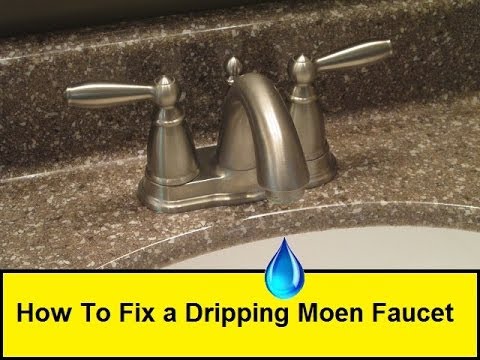
Fixing a Leaking Moen Bathroom Faucet
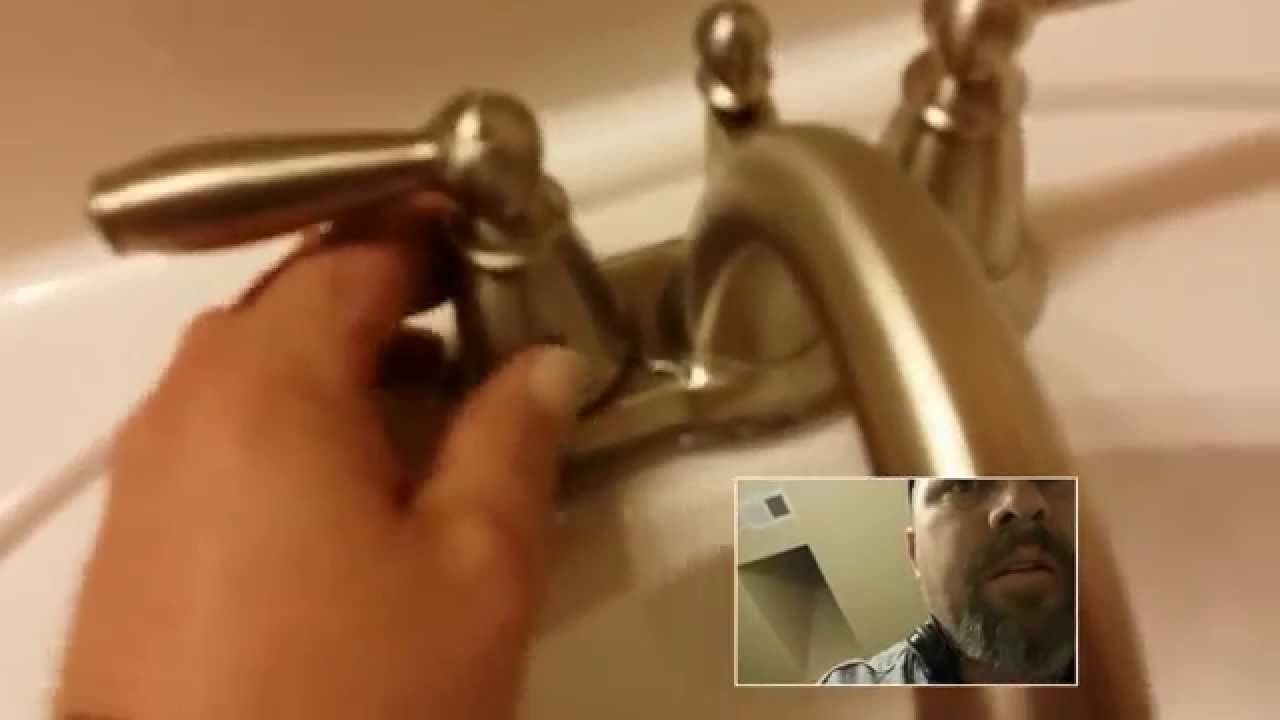
Moen Bathroom Faucet Handle Removal? – Home Improvement Stack Exchange
How to replace-repair a leaky moen cartridge in a bathroom set of faucets-single lever.Tips
How to replace a 1224 moen cartridge
Tighten a Loose Lever on Moen Brantford Faucet
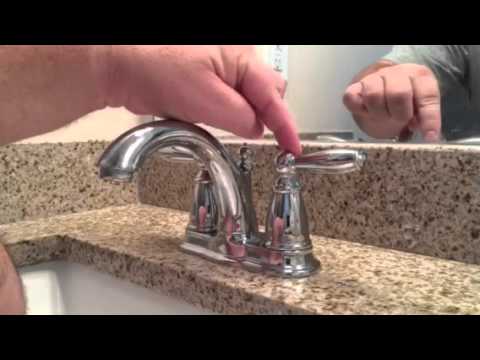
How To Replace A Leaky Moen Faucet
2004 Moen bathroom faucet disassembly Terry Love Plumbing Advice
How to Fix a Leaky Faucet u2013 Home Repair Tutor

Moen Monticello, Trouble removing sink faucet Terry Love
Magnum Cartridge: Repair and Replace (Single Handle Moen Bathroom Faucet)
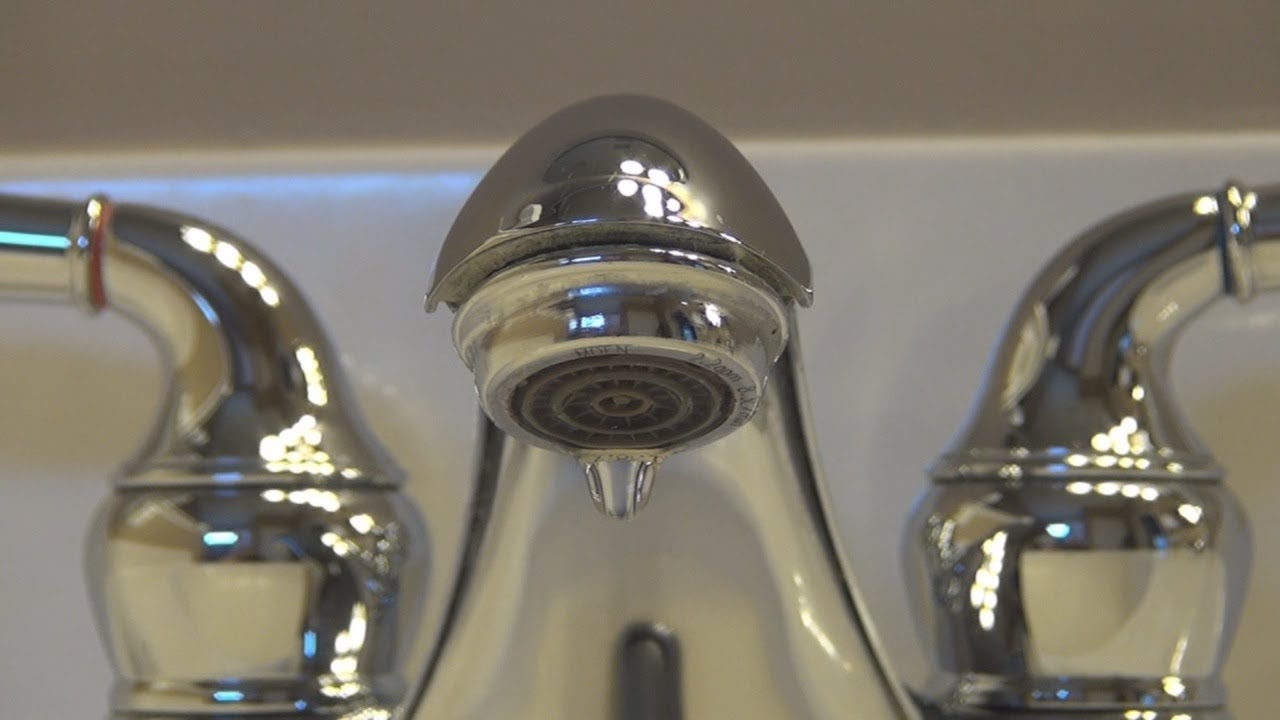
How to Fix a Leaking Moen Bathroom Sink Faucet Fast! – Plumbing Sniper
In conclusion, disassembling a Moen bathroom faucet may seem daunting at first, but with the right instructions, the process can be relatively straightforward. Following the steps outlined above, you should be able to easily remove and reinstall the faucet in no time. With a little patience and the right tools, you can disassemble your Moen bathroom faucet and give your bathroom a fresh, new look.
Related Posts:
- Moen Bathroom Faucet Parts Monticello
- Fresca Cascata Waterfall Brushed Nickel Bathroom Faucet
- Hansgrohe Widespread Bathroom Faucets
- Single Spout Bathroom Faucet
- Kohler Antique Bathroom Faucets
- Moen Brantford Widespread Bathroom Faucet
- Bathroom Faucet Replacement Cost
- Bathroom Faucet Reviews 2022
- Bathroom Faucets 8 Inch Spread Brushed Nickel
- Bathroom Faucets Under 100


