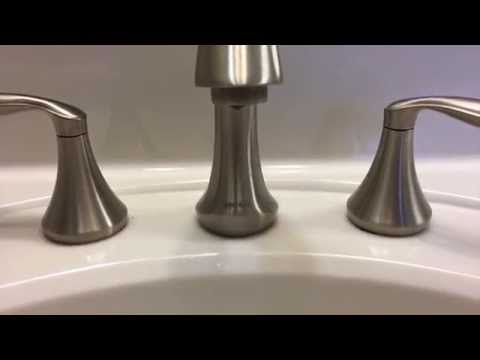
Moen bathroom faucets are one of the most popular brands in the market, offering a wide range of designs and styles to fit any bathroom decor. Whether you’re looking to update your bathroom, or you’re dealing with a leaky faucet, changing a cartridge in a Moen bathroom faucet can be a simple DIY project. In this article, we will take you to step by step through the process of changing a cartridge in your Moen bathroom faucet.
Step 1: Turn off the water supply
Before you start, it’s important to turn off the water supply to the bathroom faucet. Locate the main shut-off valve for your home and turn it off. If you don’t have a main shut-off valve, you can turn off the water supply to the bathroom by turning off the valve under the sink.
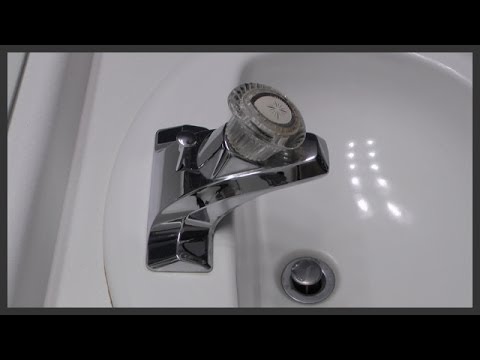
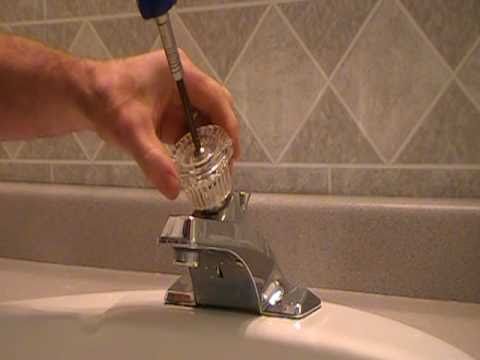
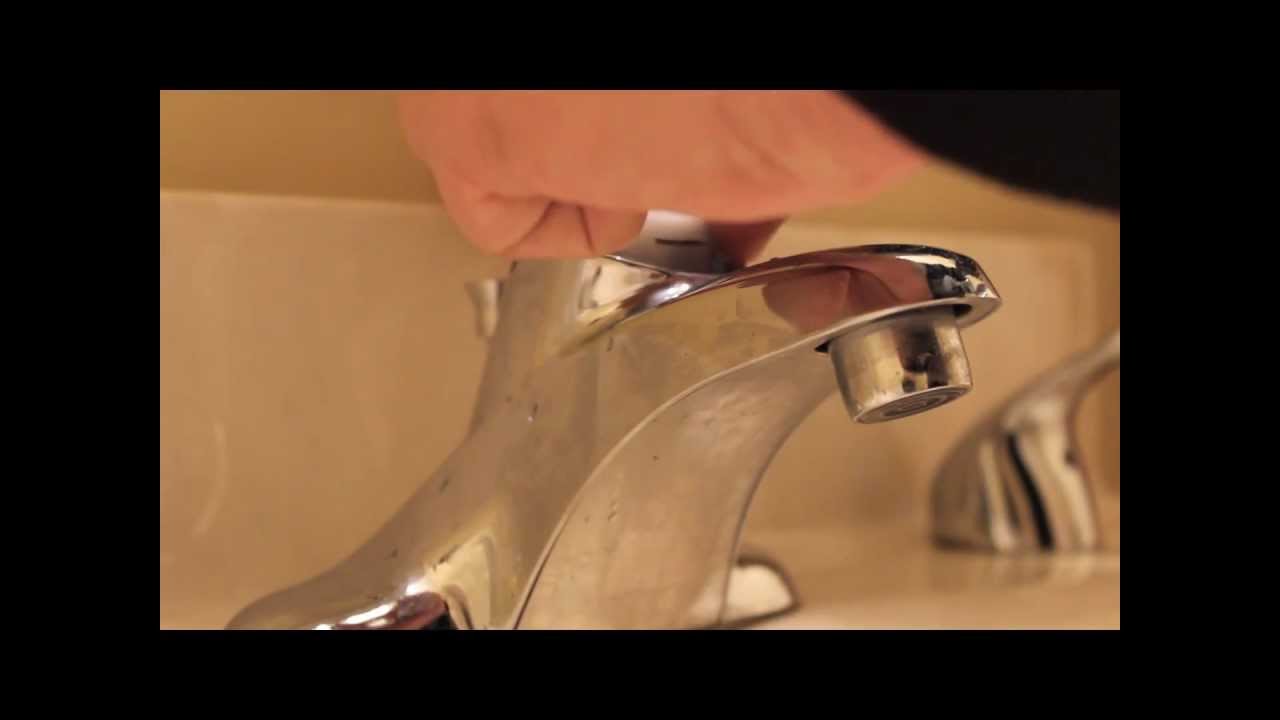
Step 2: Remove the handle
Next, you’ll need to remove the handle of the faucet. Depending on your Moen faucet model, there may be a screw hidden under a cap on the top or side of the handle. If you can’t find the screw, it may be located behind the handle. To remove the handle, use a Phillips head screwdriver to loosen the screw. Once the screw is removed, gently pull the handle off.
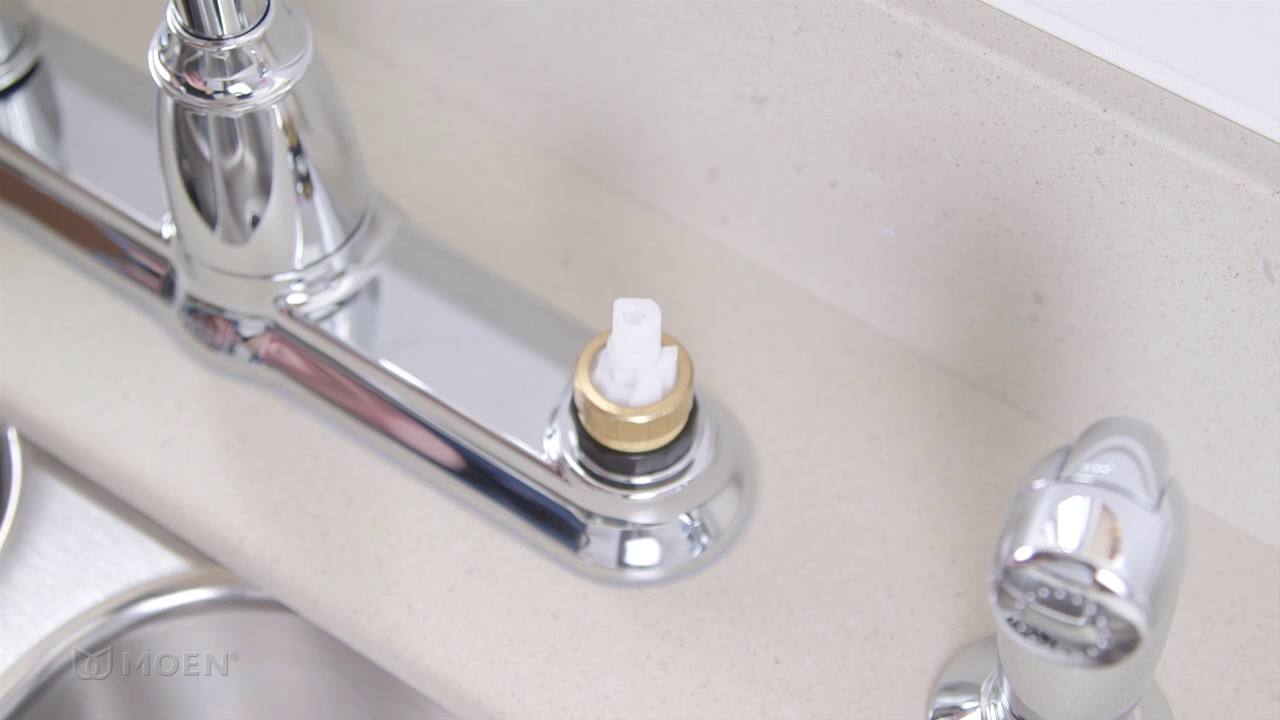
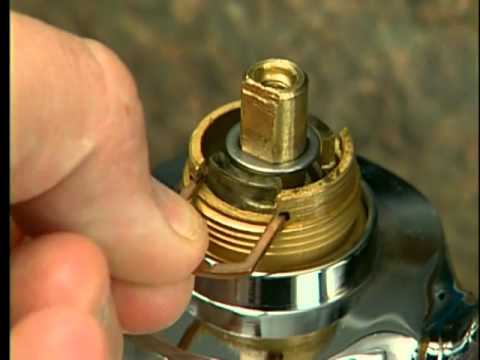
Step 3: Remove the retaining clip
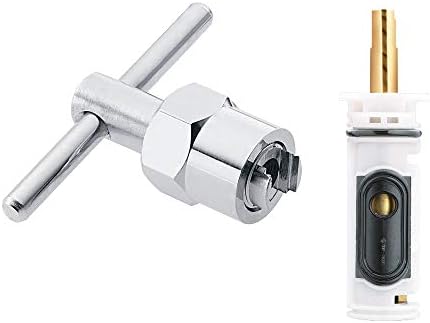
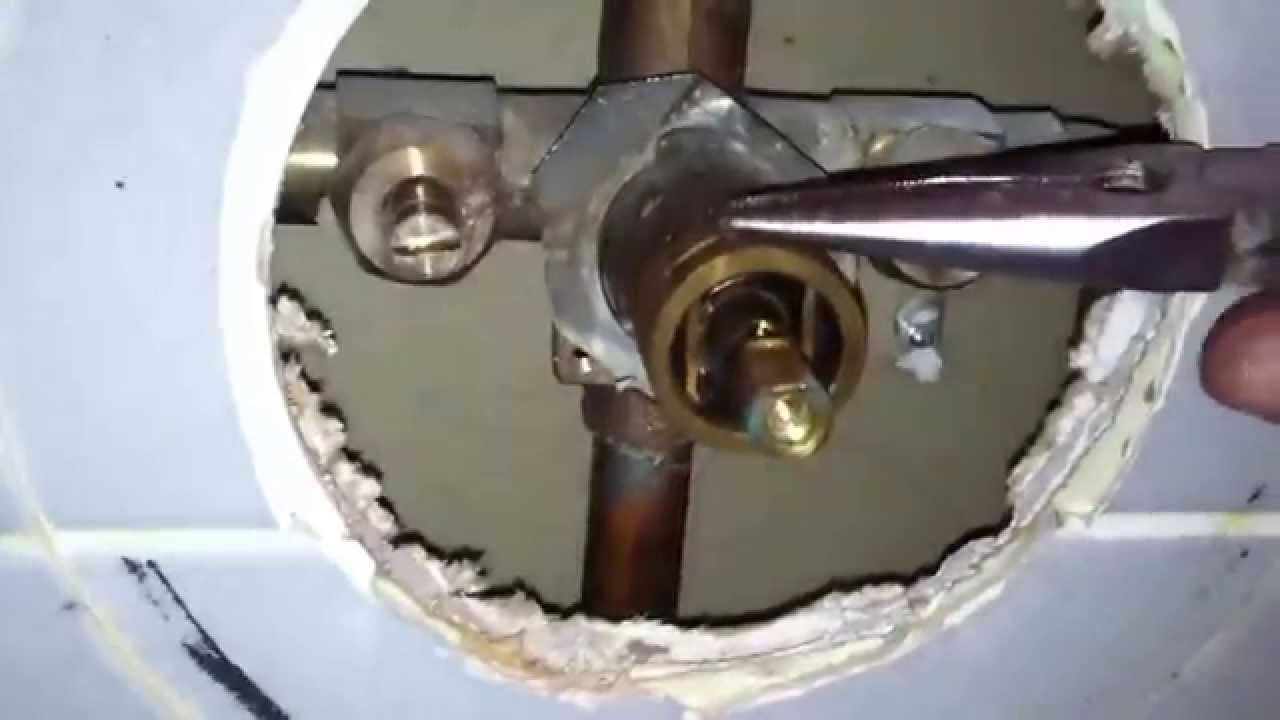
With the handle removed, you’ll be able to access the cartridge. To remove the cartridge, you’ll need to remove the retaining clip that holds it in place. The retaining clip is usually located at the bottom of the cartridge and can be easily removed with pliers.
Step 4: Remove the old cartridge
Once the retaining clip has been removed, you can now remove the old cartridge. The cartridge should simply lift out of the faucet body. If it’s stuck, you can gently tap it with a rubber mallet to loosen it.
Step 5: Install the new cartridge
Now that the old cartridge has been removed, you can install the new cartridge. First, make sure the new cartridge is the correct type for your Moen faucet. Then, insert the new cartridge into the faucet body and replace the retaining clip.
Step 6: Reinstall the handle
Finally, it’s time to reinstall the handle. Place the handle back onto the faucet and tighten the screw. If you removed any other parts during the process, make sure to put them back in their proper place.
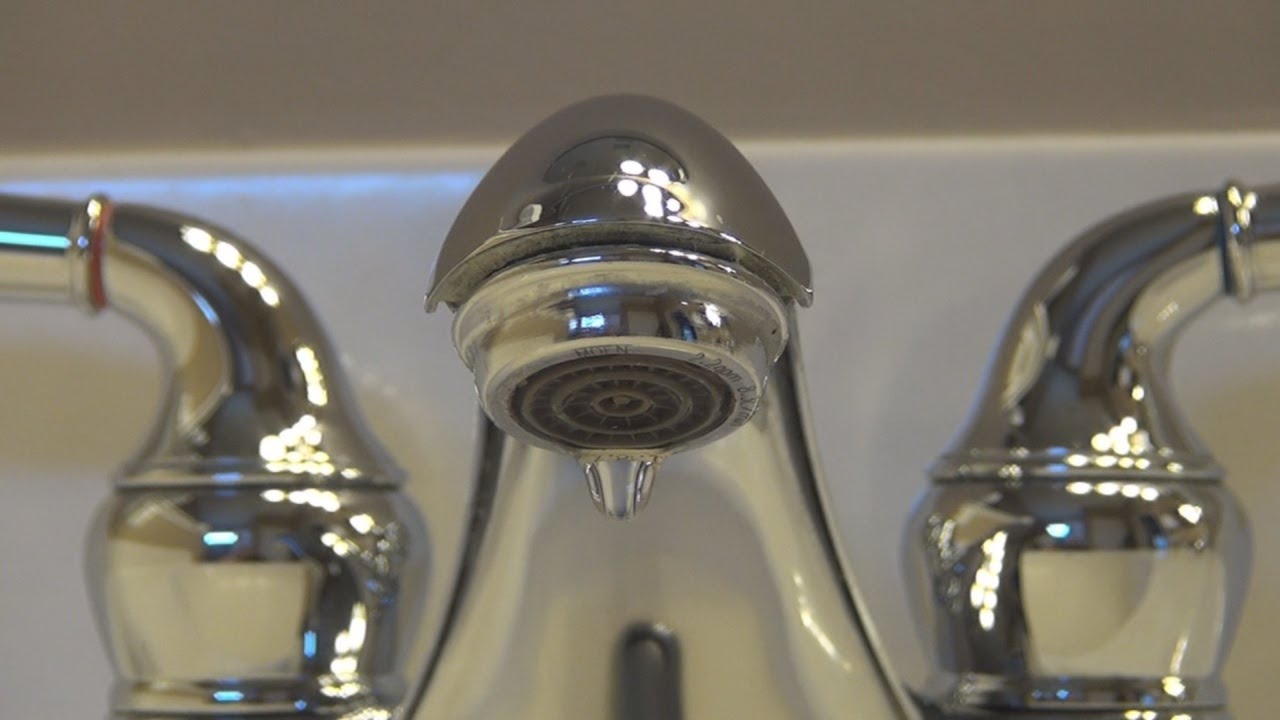
Step 7: Turn the water supply back on
Turn the water supply back on and test the faucet to make sure it’s working properly. If the faucet is still not working properly, you may need to check the connections and make sure everything is properly tightened.
Changing a cartridge in a Moen bathroom faucet can be a simple DIY project that can be completed in just a few steps. By following these steps, you’ll be able to update your bathroom and fix any leaky faucets in no time. And best of all, you’ll save money by avoiding the cost of hiring a plumber.
How To Change Cartridge In Moen Bathroom Faucet
How do I know if I have a Moen faucet?
You can usually identify a Moen faucet by the logo on the handle or the faucet body. If you’re still not sure, you can also check the packaging or the instructions that came with your faucet.
What type of cartridge do I need for my Moen faucet?
The type of cartridge you need will depend on the model of your Moen faucet. You can find the correct cartridge for your faucet by contacting Moen directly or by visiting their website. On the website, you can use their cartridge identification tool to find the right cartridge for your faucet.
What if my new cartridge is not working properly?
If your new cartridge is not working properly, you may have received a defective cartridge. In this case, you should contact Moen customer service for a replacement. You may also want to double-check the installation process to make sure everything was installed correctly.
Can I change the cartridge in a Moen faucet myself or do I need to hire a plumber?
Changing the cartridge in a Moen faucet can be a simple DIY project that can be completed in just a few steps. If you’re comfortable using basic tools and have some experience with plumbing, you should be able to complete the task yourself.
What if I can’t find the screw to remove the handle?
If you can’t find the screw to remove the handle, it may be located behind the handle. To access the screw, you may need to remove a cap or cover that is hiding it. If you’re still having trouble, you can refer to the instructions that came with your faucet or contact Moen customer service for assistance.
Changing a cartridge in a Moen bathroom faucet is a simple and cost-effective solution to fix leaky faucets and update your bathroom. With the right tools and a little know-how, you can complete this task in just a few steps and enjoy a properly functioning faucet once again.
Bathroom faucet cartridge replacement
How to remove and install the Moen 1224 Cartridge
Moen Bathroom Faucet Repair – Moen 1225

How to replace-repair a leaky moen cartridge in a bathroom set of faucets-single lever.Tips
Moen Faucet Cartridge Replacement Model 84670 Eliana: LONG VERSION
How to Remove u0026 Install the 1222 Cartridge

How to repair moen bathroom faucet dripping water – cartridge removal replace single lever
Moen® Two-Handle Bath Replacement Cartridge at Menards®

Replace a Moen Shower Cartridge – Fix Leaky Tub Faucet

Moen 1225 Replacement
Fixing a Leaking Moen Bathroom Faucet
Moen Cartridge Puller for 1200, 1222 and 1225 Single Handle Cartridges with One-Handle PosiTemp Faucet Cartridge Replacement for Moen Tub Shower
Moen 1225 cartridge replacement on shower valve
Related Posts:
- Kohler Forte Single Hole Bathroom Faucet
- Pfister Avalon Bathroom Faucet
- How To Replace Bathroom Faucet Handles
- Moen Banbury Brushed Nickel Bathroom Faucet
- Bathroom Faucets Chrome And Brass
- Grohe Concetto Bathroom Faucet Reviews
- Remove Cartridge From Moen Bathroom Faucet
- Widespread Bathroom Faucet With Cross Handles
- Kohler Devonshire Bathroom Faucet Brushed Nickel
- Replacing A Moen Bathroom Faucet Cartridge


