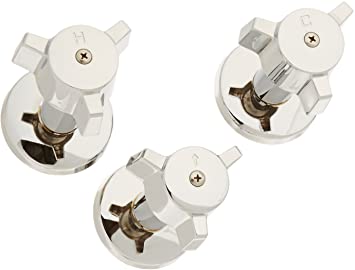
Eljer bathroom faucets can be difficult to repair, as they have many intricate parts. Fortunately, with the right tools and knowledge of the faucet design, anyone can learn how to easily repair them. This article will discuss the basic steps that are needed to repair an Eljer bathroom faucet.
Tools Needed
The first step in repairing an Eljer bathroom faucet is to gather the necessary tools. These include adjustable wrenches, channel locks, pliers, an adjustable screwdriver, a hacksaw, and lubricant (such as silicone spray or liquid wrench). Make sure all tools are clean and in good condition before beginning repair.
Disassembly
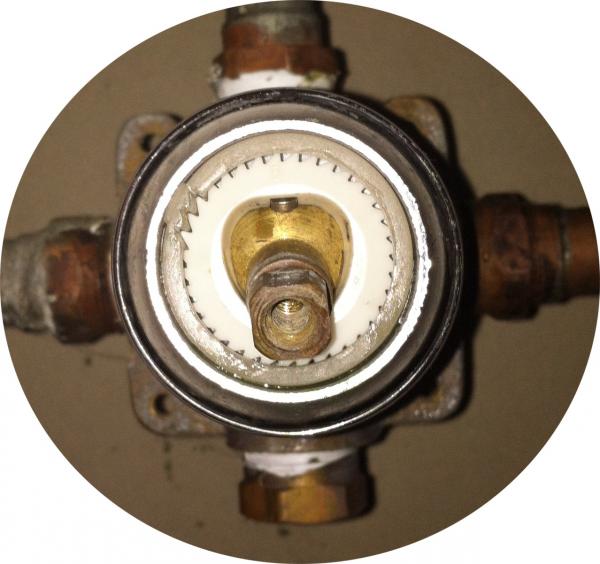
Once the tools are gathered, proceed to the assembly of the faucet. Start by turning off the water supply to the bathroom faucet. Unscrew the handle or knob on the Eljer faucet and remove it. Unscrew the bonnet nut (located underneath the handle) and lift the stem assembly out of the faucet. There may be a ring or gasket that needs to be removed first. If necessary, use the adjustable wrench to loosen the stem assembly.
Identifying the Problem
Now that the stem assembly is exposed, inspect the parts for any damage. Check the O-rings and valve seats for damage or wear. If they appear to be worn or damaged, they should be replaced. Also, check to make sure that the valve seat is securely tightened to the stem assembly. If necessary, use a hacksaw to cut away any excess material in order to securely reattach the valve seat to the stem assembly.
Reassembly
After identifying and replacing any necessary parts, it’s time to reassemble the Eljer bathroom faucet. Start by lubricating the O-rings with a light silicone spray or liquid wrench. This will make it easier to reinsert the stem assembly. Then, insert the stem and line up the valve seat with the stem assembly. Secure the valve seat with the bonnet nut and reattach the handle or knob. With the water turned off, proceed to turn the water back on, and test the faucet for any leaks or drips.
Eljer bathroom faucet repair can be relatively simple if done correctly. By following the steps outlined in this article, anyone can successfully repair their own Eljer bathroom faucet. With the right tools and knowledge, anyone can quickly and easily repair their own Eljer bathroom faucet in no time.
Eljer Bathroom Faucet Repair
Plumbing Specialties u0026 Faucet Repair Parts Valley*/ Eljer* Old
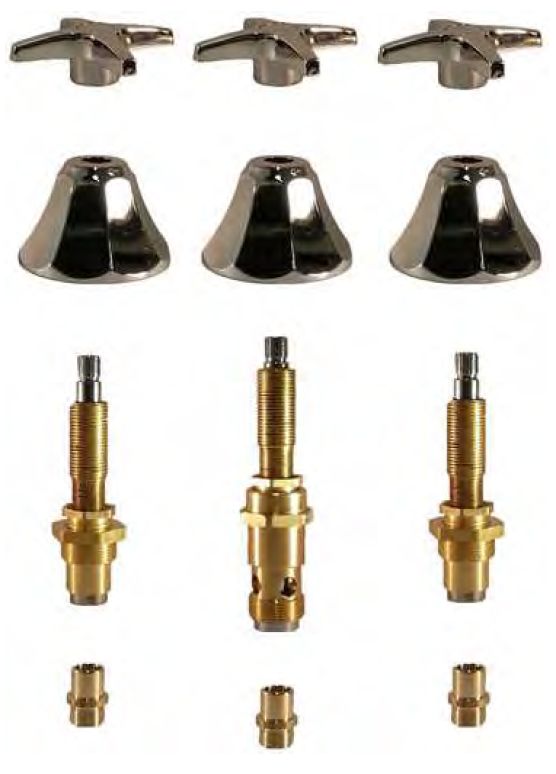
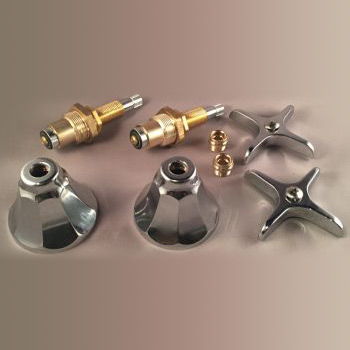
1950u0027s Eljer Three Handle Tub Shower Rebuild Kit
Danco 28964A Bath Tub and Shower 1-Handle Trim Kit for Eljer and Valley Faucets, 1-Pack (28964), Chrome
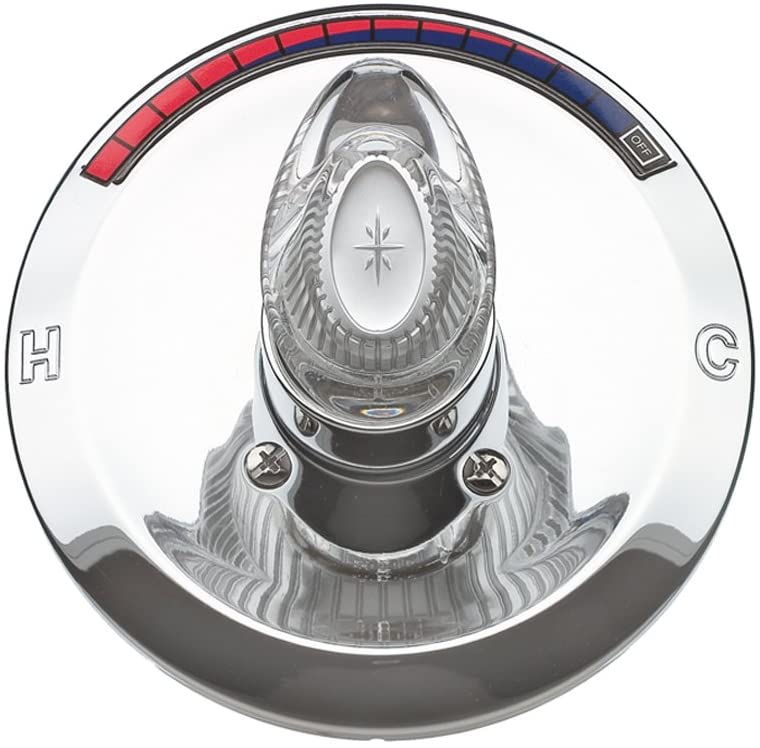
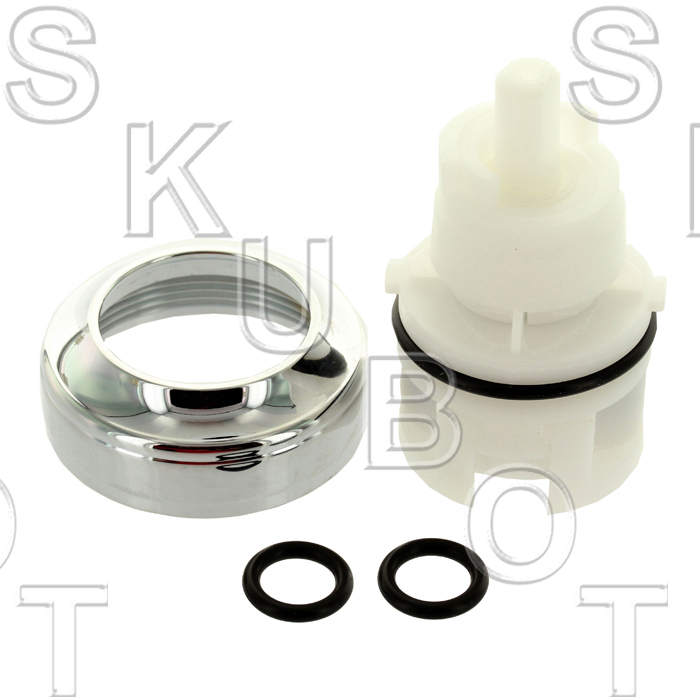
Eljer Scald Guard Tub and Shower Faucet Trim Kit with Cartridge
Need positive ID Eljer Shower Repair. – DoItYourself.com Community
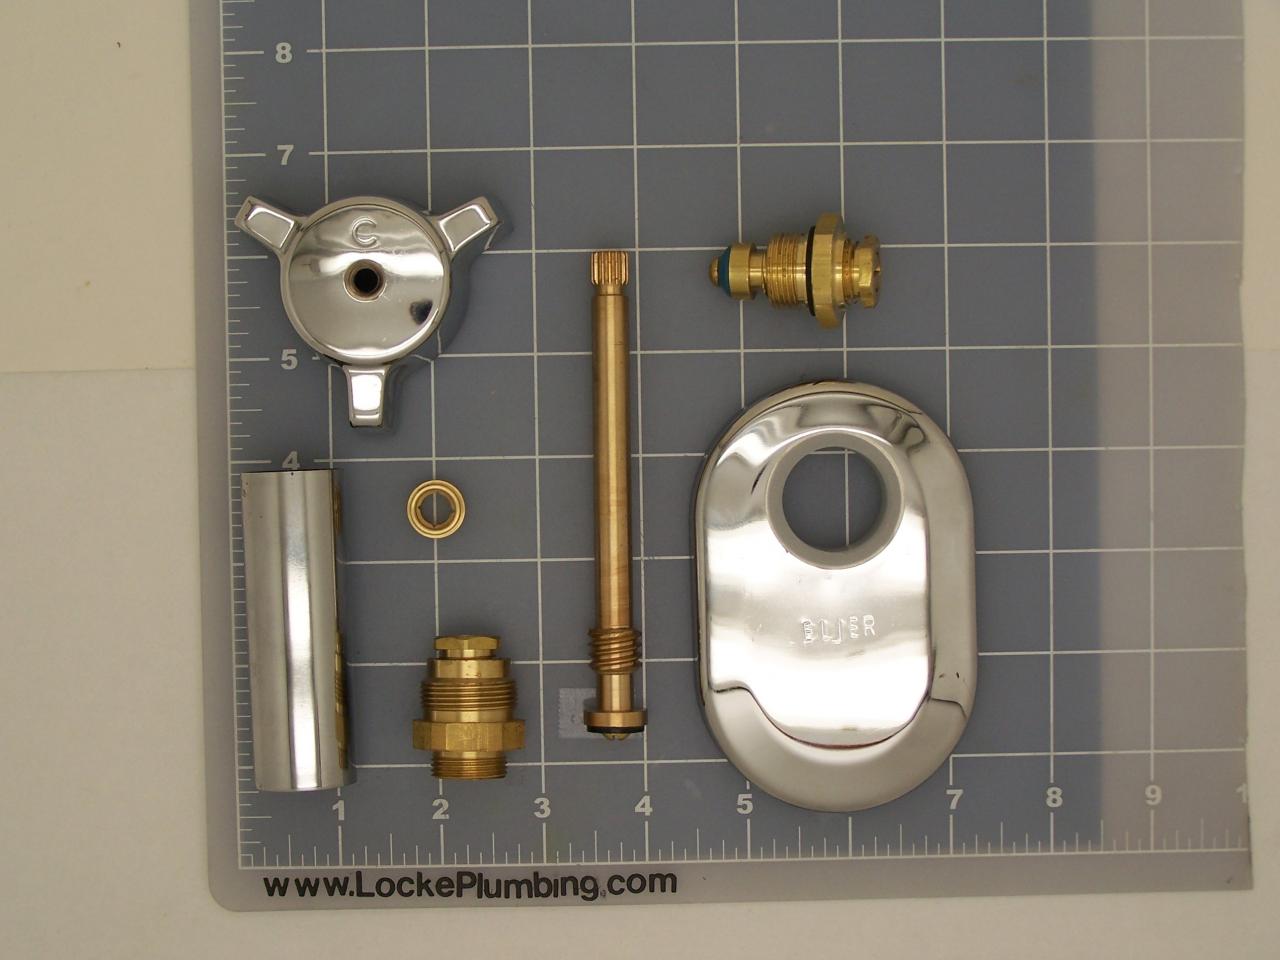
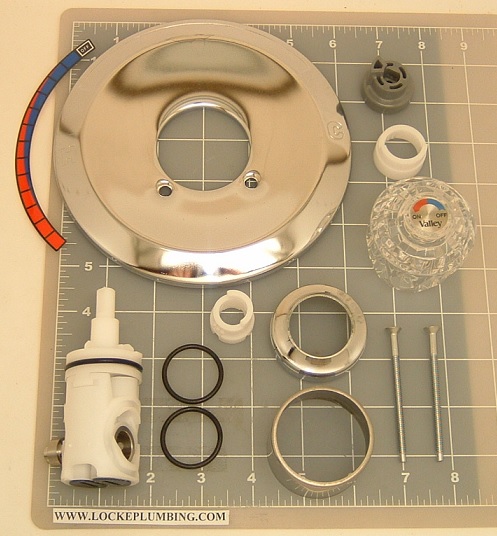
Eljer V4268KIT For Eljer Single Lever Faucet – Locke Plumbing
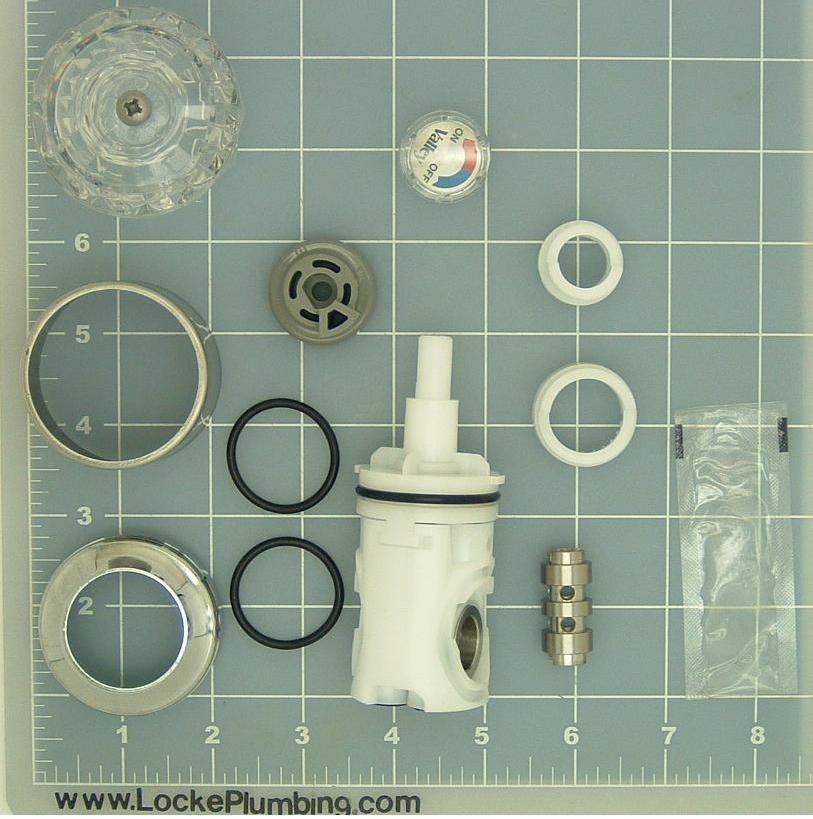
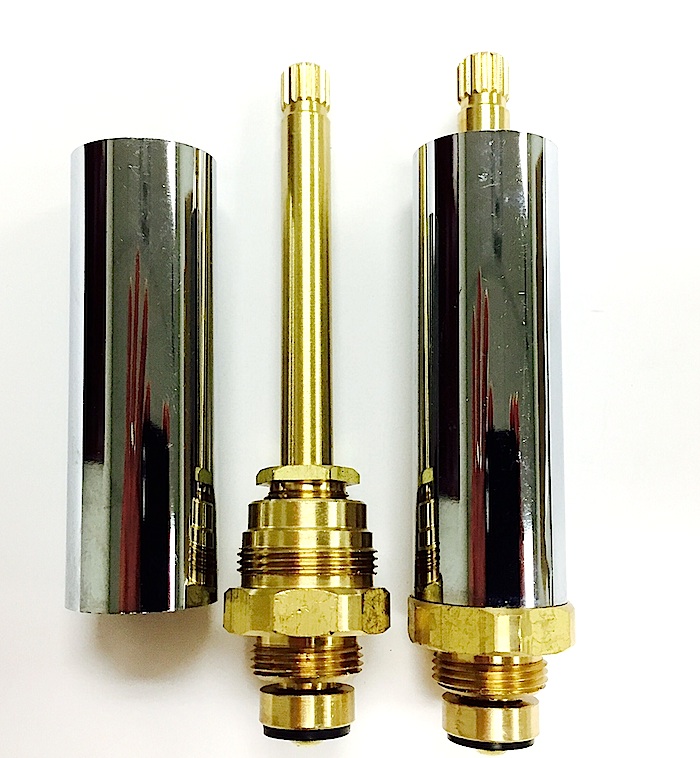
Valley*/ Eljer* Single Lever Tub u0026 Shower Rebuild Kit
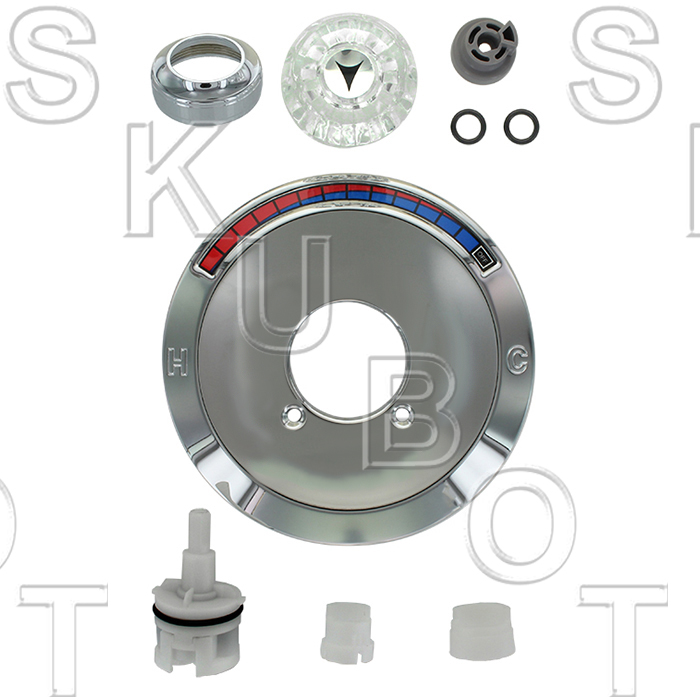
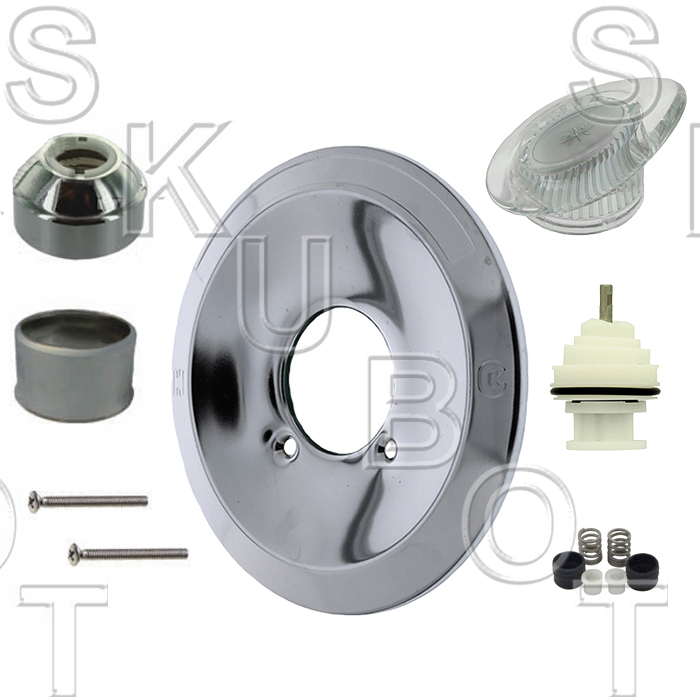
Eljer Shelfback Retrim Kit
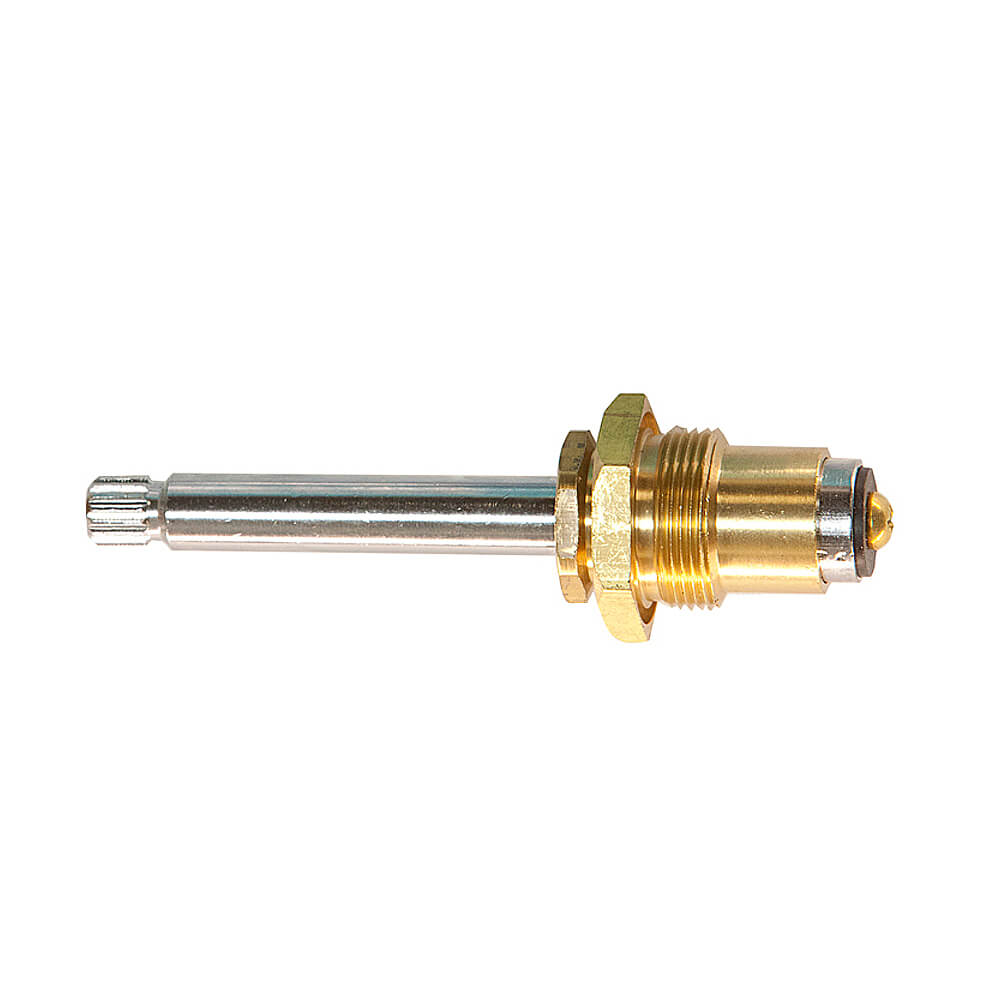
9C-5H/C Hot/Cold Stem for Eljer Faucets – Plumbing Parts by Danco
Plumbing Specialties u0026 Faucet Repair Parts Valley*-Eljer
Crest/Good Gold-Pak for Eljer Shower Fixtures Cat. No. EJ31TG
Brass Craft Service Parts Sk0116 Eljer Tub/Shower Plumb Repair Kit
Source for Discontinued Eljer Shower Knobs and Valves (Image

Related Posts:
- Bathroom Faucets Pfister
- Brushed Nickel Centerset Bathroom Faucet
- Pfister Jaida Bathroom Faucet
- 4 Mini Widespread Bathroom Faucet
- Moen Modern Bathroom Faucets
- Single Handle Bathroom Faucet Chrome
- 4 Inch Center Bathroom Faucets
- Kohler Mistos 8 Widespread Bathroom Faucet
- Bathroom Faucets Portland Oregon
- Kohler Alteo Bathroom Faucet
How do you keep your lawn green””
How often should you mow your lawn to keep it green?
Mowing your lawn correctly is an important part of keeping it healthy and attractive. Generally, you should mow your lawn once a week during the growing season, which typically lasts April through October. In the late fall and winter months, you should mow your lawn on an as-needed basis, as weather and turfgrass growth permit. Always be sure to set your mower blades to the proper height—the height should be set to the recommended height for your grass species. Additionally, fertilizing your lawn regularly and making sure it receives enough water for adequate growth is essential for a healthy and green lawn.


