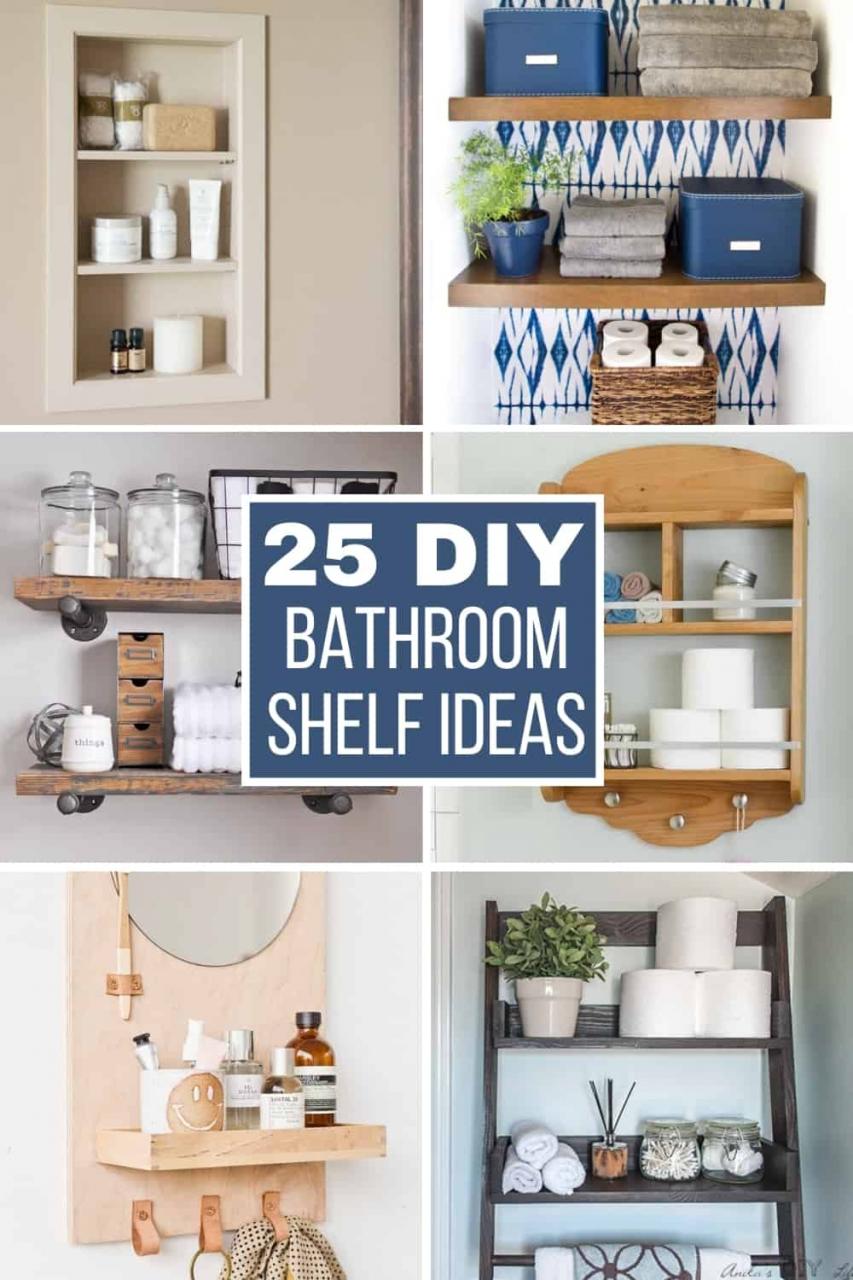
Why a Bathroom Shelf with Hooks is the Perfect Storage Solution
When it comes to bathroom organization, storage is always a challenge. Whether you have a spacious bathroom or a tiny powder room, clutter can easily build up, and finding ways to keep everything organized is essential. That’s where a bathroom shelf with hooks comes in. It’s not only a functional piece but can also add a touch of style to your space. Here’s why it’s the perfect storage solution.
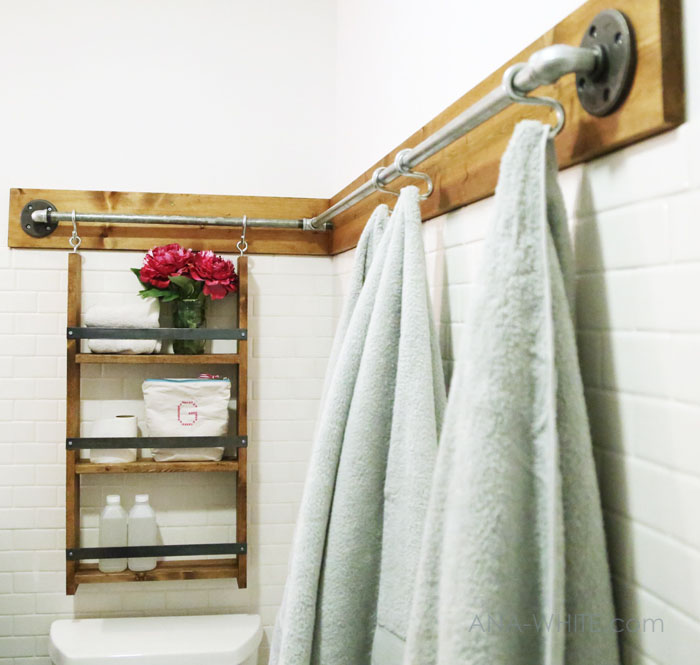
- Maximize Vertical Space One of the best things about a bathroom shelf with hooks is that it makes use of vertical space, which is often underutilized. By mounting a shelf on the wall, you free up valuable counter or cabinet space, and the hooks beneath provide a convenient spot to hang towels, bathrobes, or accessories. This combination of shelving and hooks adds extra storage without taking up any floor space.
- Keeps Essentials Within Easy Reach A shelf with hooks is perfect for keeping your most-used items within arm’s reach. You can store toiletries, lotions, and decorative items on the shelf, while the hooks are great for hanging daily-use items like towels or loofahs. Instead of rummaging through drawers or cabinets, everything you need is visible and accessible, making your bathroom routine much more efficient.
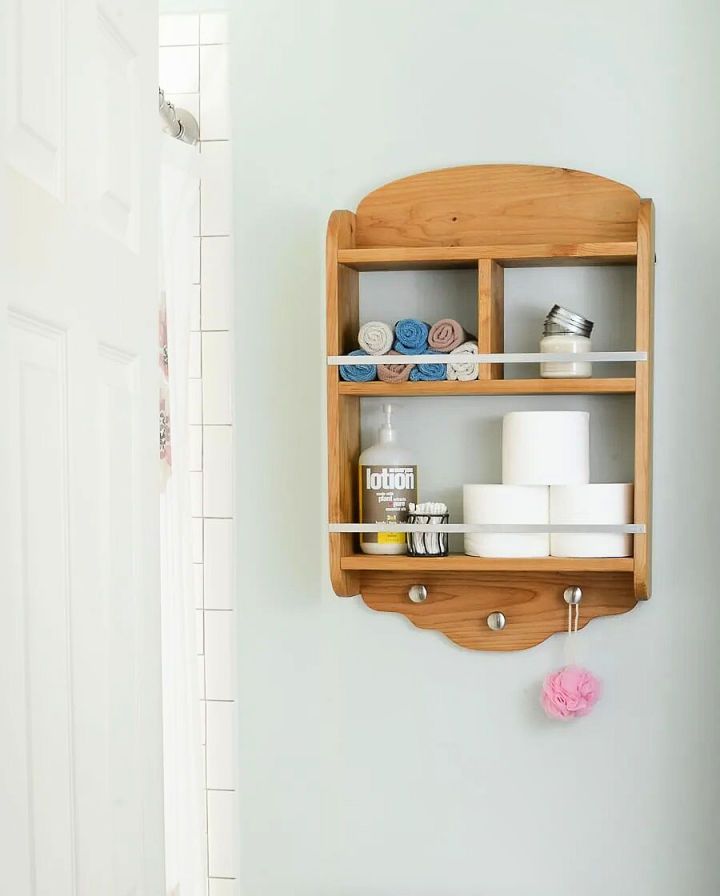
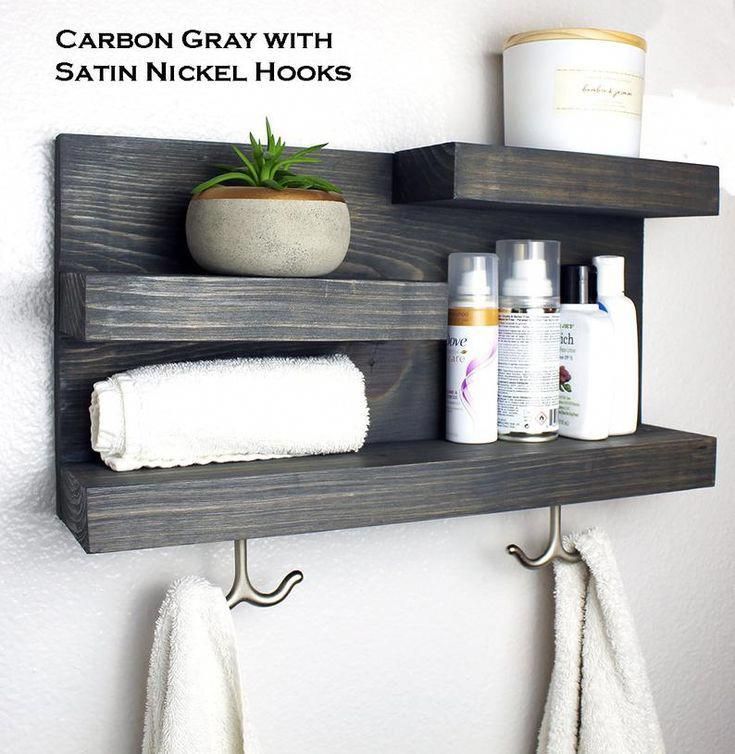
- Adds a Decorative Element Beyond practicality, a bathroom shelf with hooks can elevate the style of your space. Whether you prefer a rustic wooden shelf or a sleek modern design, the right shelf can add character to your bathroom. You can display decorative items like candles, small plants, or framed art to give the space a more personalized and finished look.
- Flexible and Customizable One of the greatest benefits of a DIY bathroom shelf is its flexibility. You can customize the size, color, and finish to fit your bathroom’s aesthetic and specific needs. Whether you need a narrow shelf for a small nook or a longer one to hold multiple items, you have complete control over the design. Plus, you can choose the number of hooks to match your storage requirements.
- Organizes Clutter Efficiently A bathroom can easily become cluttered with personal care items, towels, and accessories. A shelf with hooks gives you a designated spot for each item, reducing the chances of clutter building up. Hooks can be used for organizing items like hair dryers, bath brushes, and more, while the shelf keeps toiletries in one organized place.
- Perfect for Small Bathrooms If you have a small bathroom, every inch of space counts. A bathroom shelf with hooks is a compact yet highly efficient storage solution. It helps you maintain an organized and tidy space without sacrificing functionality. In smaller bathrooms where cabinets or extra storage furniture may not fit, this shelf can be a lifesaver for keeping things orderly.
Materials You’ll Need to Build Your DIY Bathroom Shelf with Hooks
Now that you know how functional and stylish a bathroom shelf with hooks can be, it’s time to gather the materials for your DIY project. Building your shelf allows you to customize it to your exact needs, and with the right materials, you’ll have a sturdy and beautiful piece that fits seamlessly into your bathroom décor. Here’s what you’ll need.
Wood for the Shelf The main material you’ll need is wood for the actual shelf. You can choose from different types, depending on the look and durability you want. Pine is affordable and easy to work with, but if you prefer a more premium look, opt for hardwoods like oak, maple, or walnut. Make sure to select a wood plank that’s the right size for your bathroom space.
Hooks Hooks are a key feature of this shelf. You’ll need a set of hooks to install beneath the shelf for hanging towels, robes, or accessories. You can choose between metal hooks for a modern look, or go for brass or wrought iron if you prefer a vintage or rustic style. Be sure to select hooks that are strong enough to hold heavier items like wet towels.
Brackets or Mounting Hardware To attach the shelf securely to the wall, you’ll need brackets or mounting hardware. L-shaped brackets are common and provide sturdy support for the shelf. You can find them in various finishes like black, silver, or gold to match your bathroom’s décor. For a floating shelf look, consider hidden brackets or heavy-duty wall anchors.
Screws and Anchors For assembling the shelf and mounting it to the wall, you’ll need screws and wall anchors. Wall anchors are especially important if you’re attaching the shelf to drywall instead of studs. These anchors will ensure that your shelf stays secure, even when holding heavier items.
Sandpaper To give your shelf a smooth finish, you’ll need sandpaper. If you’re using rough wood, start with a coarser grit (like 80) and work your way up to a finer grit (such as 220) for a polished surface. Sanding the wood will prepare it for paint, stain, or varnish.
Paint, Stain, or Sealer Depending on the look you’re going for, you’ll need paint, stain, or a sealer to finish the shelf. Paint can give your shelf a bold, colorful finish, while stain enhances the natural grain of the wood. If you prefer a natural wood look, a clear sealer or varnish will protect the wood from moisture and give it a finished appearance.
Step-by-Step Guide to Building a Sturdy Bathroom Shelf
Now that you’ve gathered all your materials, it’s time to build your DIY bathroom shelf. Don’t worry if you’re new to woodworking—this project is simple and beginner-friendly. With a few tools and some patience, you’ll have a custom shelf ready to install in no time. Let’s break down the steps to build your sturdy bathroom shelf with hooks.
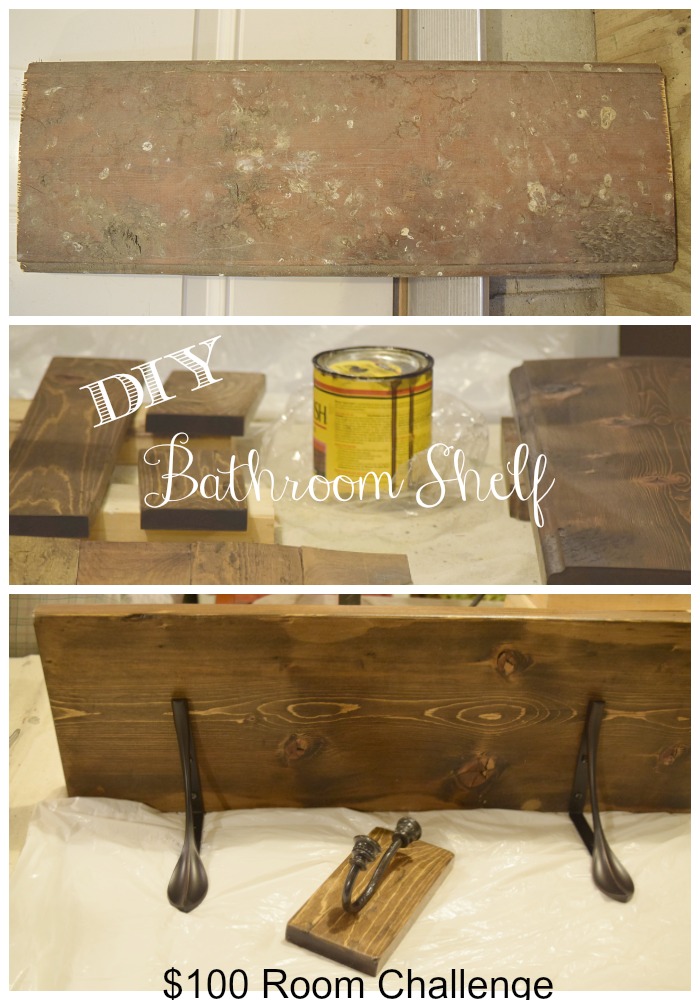
Measure and Cut the Wood Start by measuring the space where you want to install your shelf. Use these measurements to cut your wood plank to the desired length. If you don’t have a saw, most hardware stores will cut the wood for you. Once your wood is cut, sand the edges to make sure they’re smooth and splinter-free.
Sand the Surface Next, take your sandpaper and smooth out the surface of the wood. This step is crucial, especially if you plan on staining or painting the wood. Start with a medium grit sandpaper to remove any rough spots, and then finish with a fine grit to get a polished surface. Wipe away any dust with a damp cloth.
Attach the Hooks Once your shelf is sanded, it’s time to install the hooks. Flip the shelf upside down and measure equal distances along the bottom edge for each hook. Mark where each hook will go, ensuring they’re evenly spaced. Drill small pilot holes, then screw the hooks into place. Be careful not to screw them in too tightly to avoid cracking the wood.
Stain or Paint the Shelf Now, it’s time to customize your shelf with paint, stain, or a clear finish. If you’re staining the wood, apply the stain with a brush or cloth, wiping away any excess as you go. Let it dry completely before applying a second coat if needed. For painted shelves, apply a coat of primer first, then follow up with your chosen paint color. Seal the wood with a protective finish if necessary.
Install the Brackets or Mounting Hardware To mount your shelf, you’ll need to attach the brackets or mounting hardware. Start by flipping the shelf right side up and positioning the brackets on the underside of the shelf. Mark where the screws will go, and drill pilot holes for the brackets. Secure the brackets to the shelf with screws.
Attach the Shelf to the Wall Finally, you’re ready to mount your shelf on the wall. Use a level to ensure the shelf will be straight. If you’re attaching it to drywall, use wall anchors to support the weight. Drill the appropriate holes in the wall, insert the anchors, and screw the brackets into place. Double-check that everything is secure, and voila! Your bathroom shelf with hooks is complete.
How to Choose the Best Hooks for Your Bathroom Shelf
Choosing the right hooks for your bathroom shelf may seem like a small detail, but it can make a significant difference in both functionality and style. The type of hooks you select will depend on your bathroom’s aesthetic, the shelf’s material, and the items you plan to hang. Here’s how to choose the best hooks for your DIY bathroom shelf.
Consider the Material The material of your hooks should complement the overall style of your bathroom. Metal hooks are durable and versatile, working well in modern, industrial, or rustic settings. For a classic or vintage look, brass or bronze hooks are a great choice. If your shelf has a natural wood finish, opt for wrought iron hooks to add an earthy, rustic touch.
Match the Finish When choosing hooks, it’s important to match the finish with other hardware in your bathroom, such as towel racks, faucets, or cabinet handles. This creates a cohesive look and ensures that everything ties together. For example, if your bathroom fixtures are chrome, choose chrome or brushed nickel hooks for a seamless finish.
Size and Shape The size and shape of the hooks will affect how much weight they can hold and how practical they are for your needs. Larger, curved hooks are ideal for hanging towels or robes, while smaller hooks work well for lightweight items like jewelry or bath accessories. Make sure the hooks are large enough to hold items without them slipping off.
Weight Capacity If you plan on hanging heavy items like wet towels or bathrobes, you’ll need hooks that can handle the weight. Check the weight capacity of the hooks before buying, especially if you’re mounting them into drywall without studs. Hooks designed for higher weight capacities will ensure they remain secure over time.
Installation Method Some hooks come with screws, while others are adhesive-based. For a DIY shelf, I recommend choosing hooks that screw into the wood for added stability. Adhesive hooks can lose their stickiness in the humid bathroom environment, which can lead to them falling off after a while. Screw-in hooks are far more reliable for long-term use.
Style Considerations Don’t forget to consider the overall style of your bathroom when choosing hooks. If you’re going for a sleek, minimalist look, opt for simple, modern hooks with clean lines. For a rustic or farmhouse feel, antique-style hooks with a bit of texture or detailing can enhance the aesthetic. The right hooks can subtly tie the design of the bathroom together.
Customizing Your Shelf: Paint, Stain, and Finish Options
One of the best parts about building your bathroom shelf is the ability to customize it to fit your space perfectly. From the color to the finish, there are endless ways to personalize your DIY shelf. Whether you want it to blend into your bathroom’s décor or stand out as a statement piece, here’s how to customize your shelf with paint, stain, or a clear finish.
Choosing Between Paint and Stain The first decision you’ll need to make is whether to paint or stain your shelf. Paint is a great option if you want a bold pop of color or need to match the shelf to your bathroom walls or cabinetry. It’s also excellent for covering up imperfections in the wood. Stain, on the other hand, enhances the natural beauty of the wood grain and gives your shelf a more rustic, organic feel.
Selecting the Right Paint If you decide to paint your shelf, choose a high-quality, moisture-resistant paint, as bathrooms tend to be humid environments. You can opt for a semi-gloss or satin finish, which will stand up to the moisture better than matte finishes. White is a classic choice for bathroom shelves, but don’t be afraid to experiment with soft blues, greens, or even bold hues like black or navy for a modern look.
Staining for a Natural Look If you prefer to showcase the natural beauty of the wood, staining is the way to go. There are various wood stains available, from light shades like natural pine to dark, rich tones like espresso or walnut. Apply the stain with a brush or rag, working it into the grain of the wood, and wiping off any excess. Multiple coats may be needed to achieve the desired color.
Finishing with Varnish or Sealer Whether you choose to paint or stain, sealing your shelf is an essential step to protect it from moisture. A clear varnish or polyurethane sealer will provide a protective layer that helps prevent water damage and staining. Make sure to use a sealer that’s designed for use on wood, and apply it in thin, even coats for the best results.
Creating a Distressed or Weathered Look For a more rustic or farmhouse-style bathroom, you can distress or weather your shelf for added character. This can be done by sanding the edges of the shelf after painting or staining to give it a worn, vintage look. You can also use techniques like whitewashing, where a diluted paint mixture is applied to the wood for a softer, more muted finish.
Adding Decorative Details If you want to add a bit of flair to your shelf, consider stenciling a pattern or adding decorative hardware like brackets with intricate detailing. You can even incorporate unique touches like adding a thin rope around the edges for a nautical-themed bathroom. These small details can make your shelf a one-of-a-kind piece that stands out.
Mounting Your DIY Bathroom Shelf: Tips for a Secure Installation
After putting in all the hard work to build and customize your bathroom shelf, the next critical step is mounting it securely. Proper installation ensures that your shelf can handle the weight of your items without falling off the wall. Here’s a detailed guide to mounting your DIY bathroom shelf for a secure and long-lasting installation.
Choose the Right Wall Location Before you start drilling holes, carefully choose the location for your shelf. Make sure it’s at a height that’s convenient for reaching items, and ensure there’s enough clearance for towels or other items you’ll hang on the hooks. Also, consider the wall material—whether it’s drywall, tile, or plaster—and what type of anchors you’ll need for a secure mount.
Locate the Wall Studs For the most secure installation, it’s best to mount your shelf to wall studs. Use a stud finder to locate the studs in your bathroom wall, and mark their locations. Mounting into studs ensures your shelf can support more weight, especially if you plan on hanging heavy towels or bathrobes from the hooks.
Use Wall Anchors for Drywall If you can’t mount the shelf directly into studs, you’ll need to use drywall anchors to provide extra support. Regular screws won’t hold securely in drywall alone, so anchors are essential to prevent the shelf from pulling away from the wall. There are various types of anchors, but toggle bolts or plastic anchors designed for heavier loads are ideal for this project.
Measure and Mark the Placement Before drilling any holes, measure the placement of your shelf and brackets carefully. Use a level to ensure the shelf will be straight, and mark the spots where you’ll need to drill. Double-check your measurements to avoid any mistakes during installation. Taking the time to measure accurately will save you from redoing work later.
Drill the Holes and Install the Brackets Once you’ve marked the placement, it’s time to drill the holes. Use a drill bit that matches the size of your screws or anchors, and drill into the wall where you marked. If you’re using wall anchors, insert them into the holes before attaching the brackets. Screw the brackets securely into place, making sure they’re level and aligned with your marks.
Mount the Shelf onto the Brackets After the brackets are securely mounted, place the shelf onto them. If your brackets have pre-drilled holes for attaching the shelf, use screws to secure the shelf to the brackets. Give the shelf a gentle tug to make sure it’s firmly in place. Once everything is secure, you can start organizing your items and hanging towels from the hooks!
Creative Ways to Style and Organize Your Bathroom Shelf with Hooks
Now that your DIY bathroom shelf is installed, it’s time to have some fun with styling and organizing. The beauty of a shelf with hooks is its versatility—you can use it to display decorative items, organize everyday essentials, and even add a personal touch to your bathroom décor. Here are some creative ideas to make the most of your new bathroom storage solution.
Use Baskets for Small Items Small baskets or containers are perfect for keeping clutter at bay while adding a decorative element to your shelf. Use woven baskets, ceramic pots, or glass jars to store items like cotton balls, makeup, or bath products. These containers help keep the space organized while also adding texture and style to your shelf.
Display Greenery or Flowers Adding a touch of nature can breathe life into your bathroom. Small potted plants, succulents, or even fresh flowers in a vase can add a pop of color and freshness to your bathroom shelf. Just be sure to choose plants that thrive in a humid environment, such as ferns, spider plants, or peace lilies.
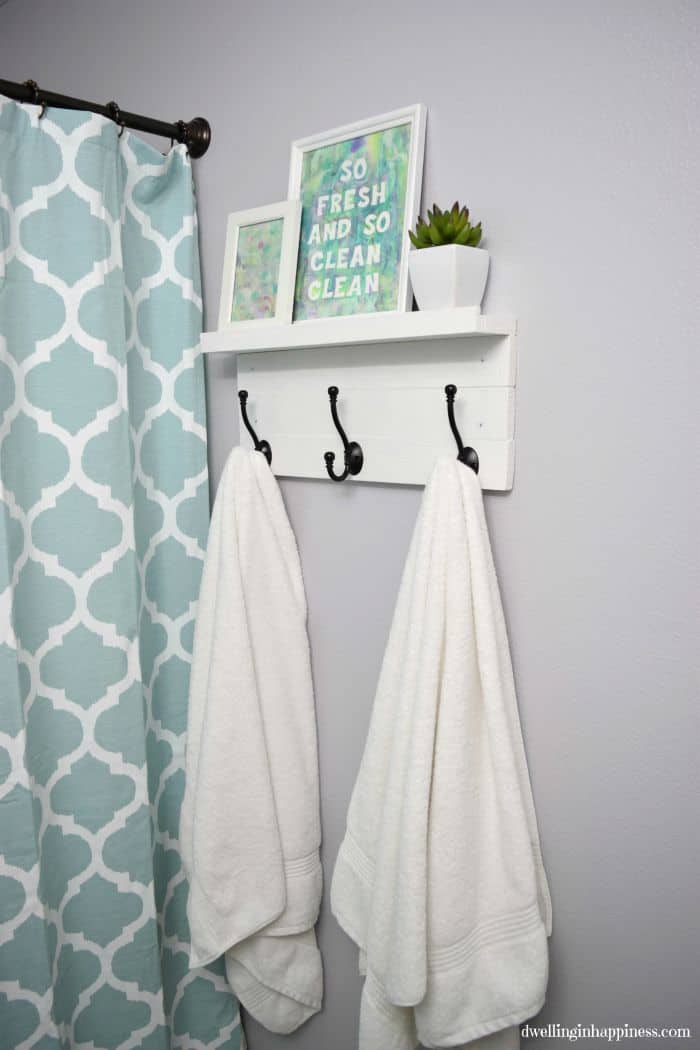
Incorporate Functional and Decorative Towels The hooks on your shelf aren’t just for practicality—they can also be used to display decorative towels. Choose towels with patterns, colors, or textures that complement your bathroom’s overall theme. Fold them neatly or hang them for an effortlessly chic look.
Add Scented Candles or Diffusers Scented candles or diffusers are great for creating a relaxing, spa-like atmosphere in your bathroom. Place a few stylish candles or a reed diffuser on your shelf to add both scent and style. Not only do they look beautiful, but they also keep your bathroom smelling fresh and inviting.
Incorporate Art or Personal Touches Personalize your bathroom shelf by adding small framed artwork, photographs, or even quotes. This adds a personal touch to the space and can turn your bathroom into a more inviting and comfortable room. Opt for artwork that complements the overall color scheme and vibe of your bathroom.
Organize Bath Accessories on Hooks The hooks under your shelf are perfect for keeping bath accessories neatly organized. Hang loofahs, brushes, or even bathrobes for easy access. You can also use S-hooks to hang additional items like jewelry, hair ties, or even a small basket for storing bath toys if you have kids.
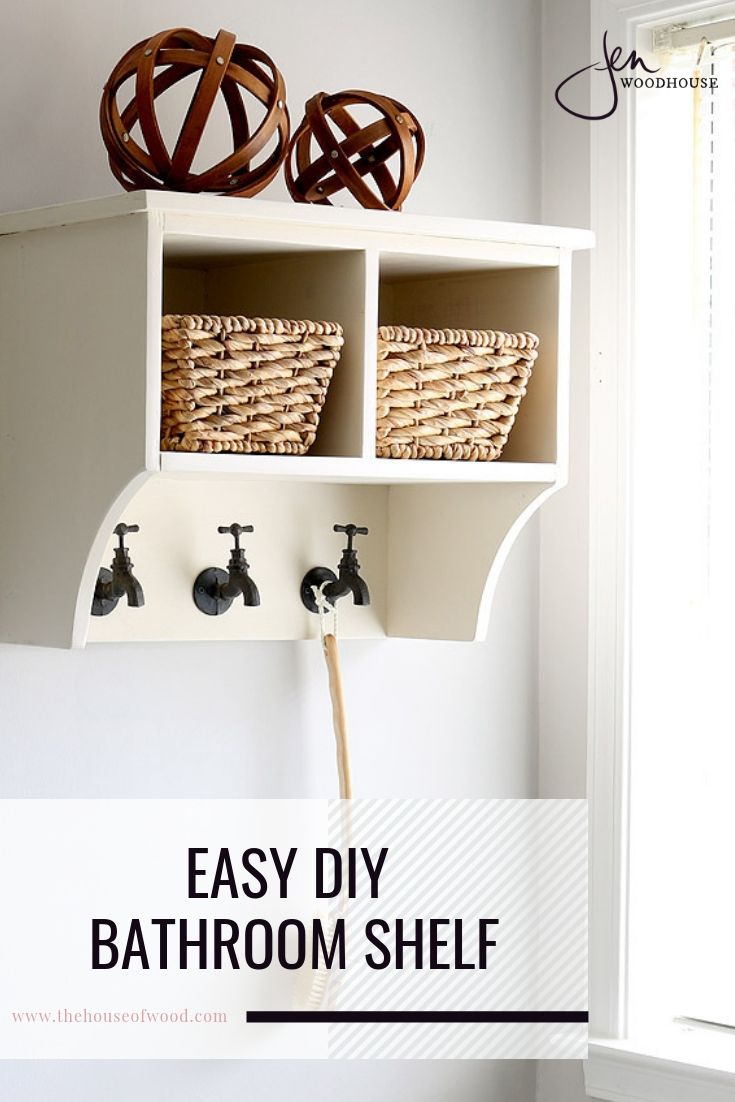
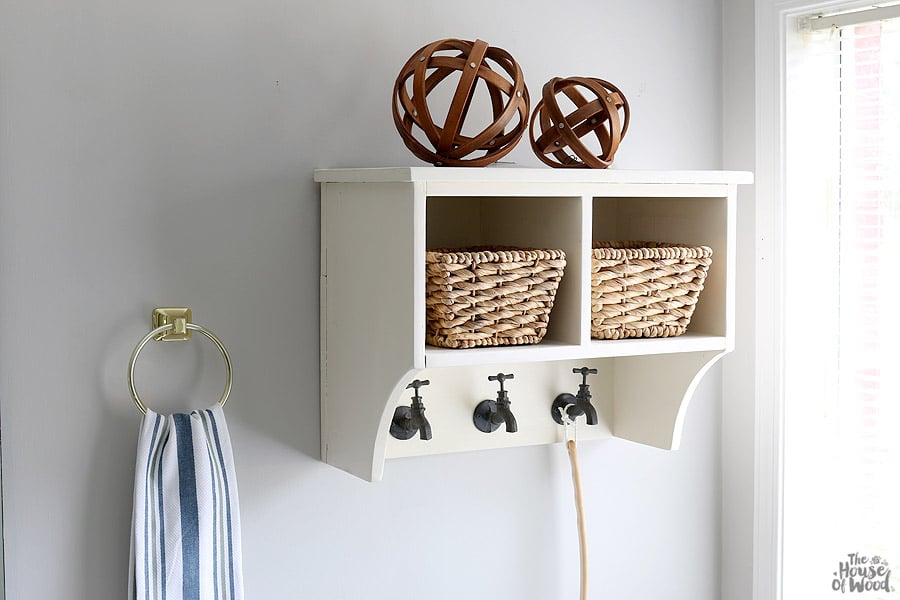
Genius DIY Towel Rack Ideas
Small bathroom storage challenge

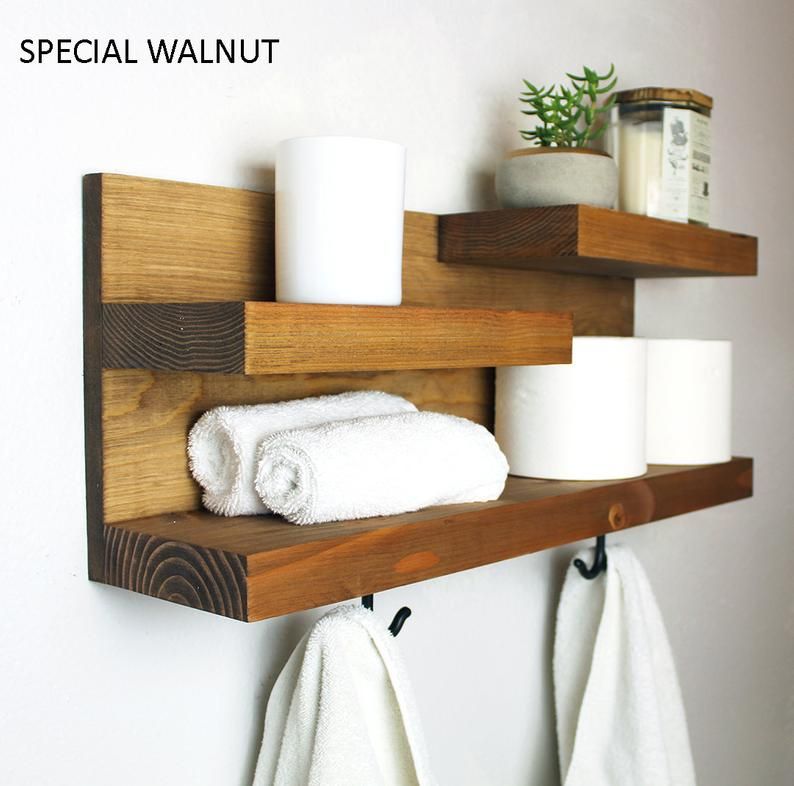
Creative DIY Bathroom Shelf Ideas
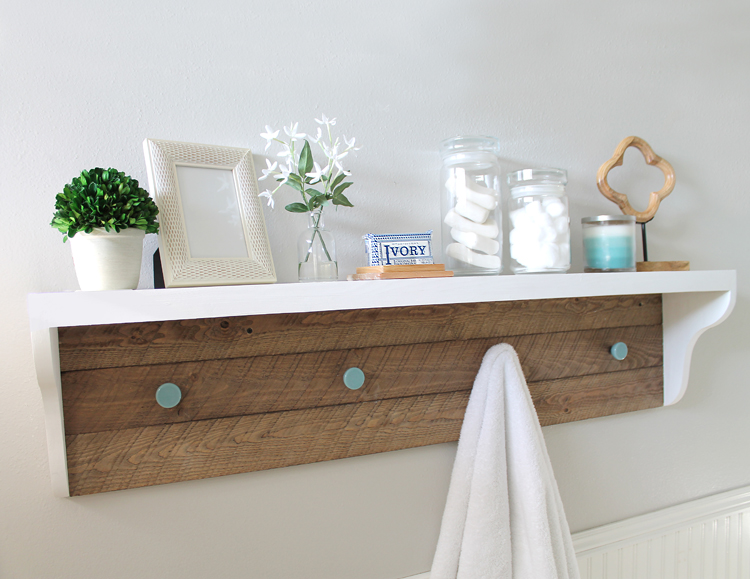
Bathroom Shelf Ideas You Can Build Yourself Simplified Building
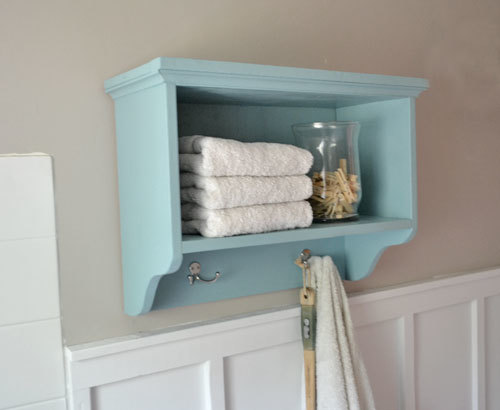
DIY Bathroom Shelf Ideas To Organize and Decor Bath Space
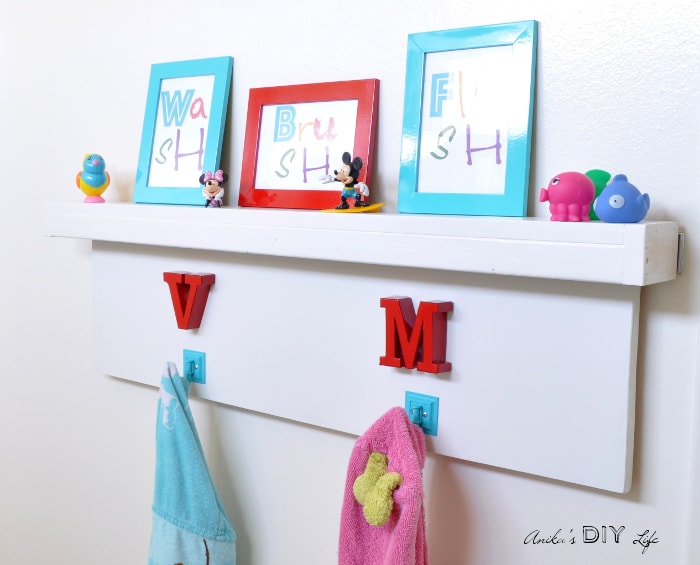
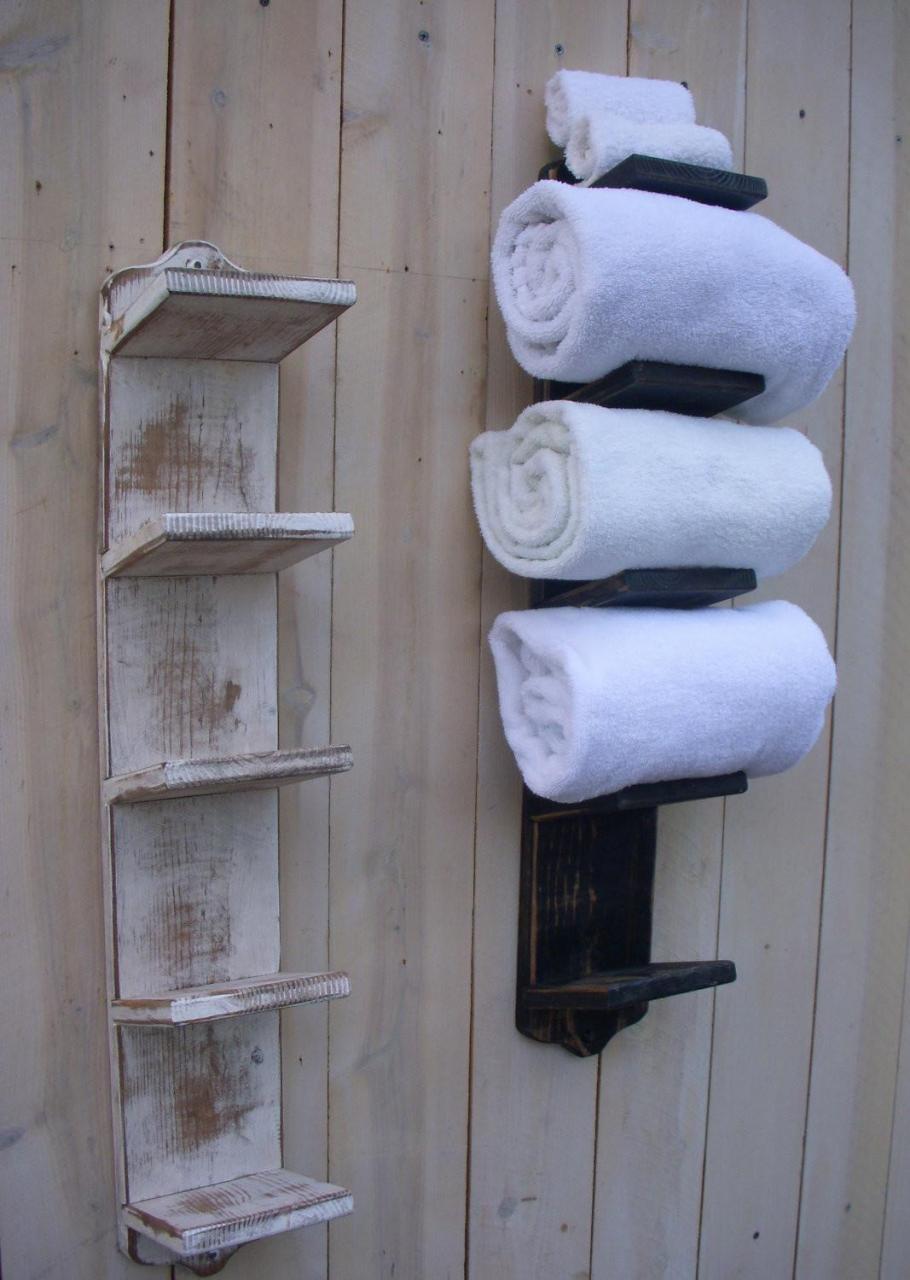
Bathroom Shelf Organizer With Towel Hooks Modern Farmhouse
Wonderful Diy Bathroom Towel Hooks That Must Try
Related Posts:
- Modern Wood Bathroom Shelf
- How to Add Shelf in Shower
- Narrow Bathroom Floating Shelf
- Adjustable Bathroom Pole Shelf
- Grey Bathroom Shelf with Towel Bar
- Bathroom Shelf Inside Wall
- Bathroom Shelf with Towel Bar Chrome
- Bathroom Marble Tub Shelf
- Miomare Extendable Bathroom Shelf
- Free Standing Bathroom Towel Shelf


