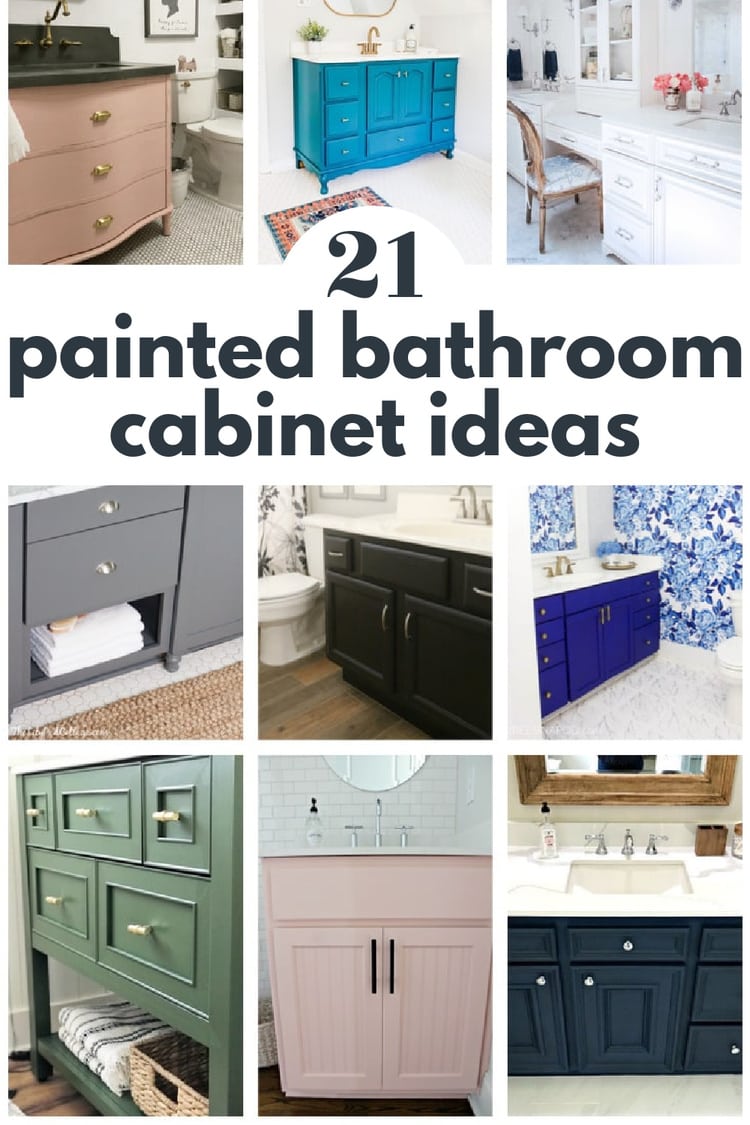
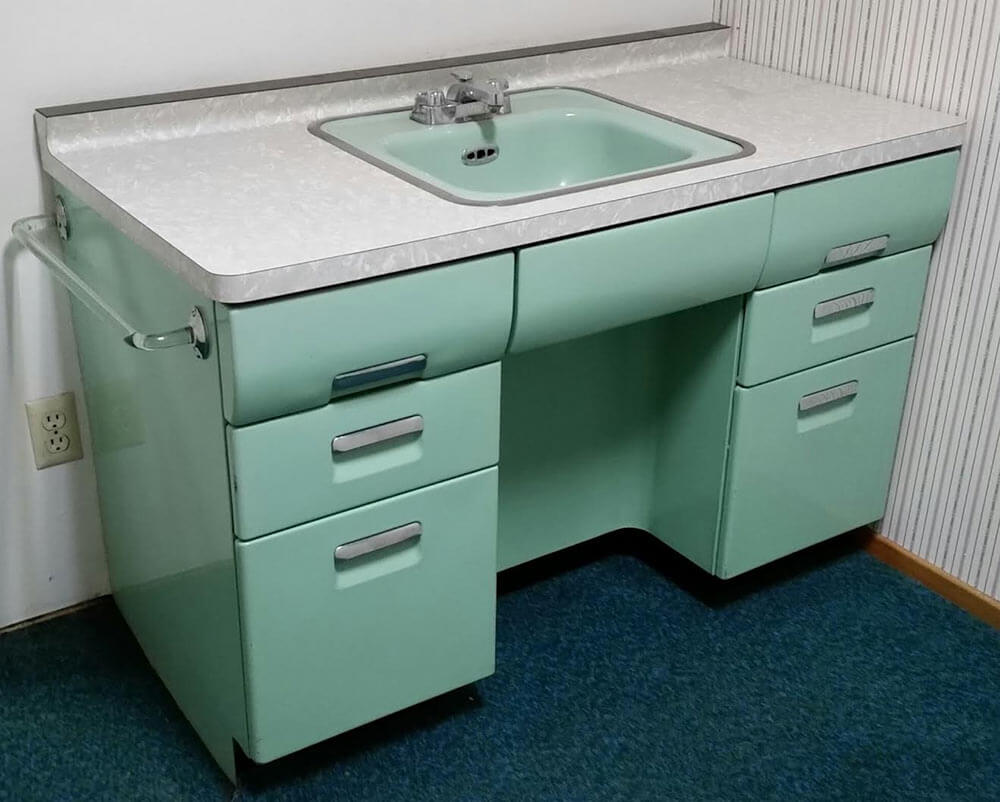
Choosing the Right Style and Color for Your Bathroom Cabinet
When embarking on a DIY bathroom cabinet makeover, one of the most critical decisions you’ll make is choosing the right style and color. This choice sets the tone for the entire bathroom and can either enhance the space’s aesthetic appeal or clash with existing elements. The style and color you choose should reflect your taste while harmonizing with the overall design of your bathroom.
- Consider Your Bathroom’s Existing Décor: Start by assessing your bathroom’s current style. Is it modern, traditional, rustic, or somewhere in between? The style of your bathroom cabinet should complement the existing décor. For example, a sleek, minimalist cabinet might look out of place in a rustic bathroom, while a vintage-style cabinet might clash with a contemporary space. Take note of the materials, fixtures, and colors already present in the room, as these will guide your decision.
- Explore Popular Bathroom Cabinet Styles: Bathroom cabinets come in a variety of styles, each offering a different aesthetic. Shaker-style cabinets, known for their simplicity and clean lines, are popular in both traditional and modern bathrooms. Flat-panel cabinets offer a more contemporary look, perfect for minimalist designs. If you’re aiming for a vintage or farmhouse feel, consider beadboard or distressed cabinets. Researching different styles will help you visualize what might work best in your space.
- Choosing the Perfect Color: Color is a powerful tool in interior design. The color of your bathroom cabinet can either blend with the walls for a seamless look or provide a bold contrast. Light colors like white, cream, or soft pastels can make a small bathroom feel more spacious, while dark colors like navy, charcoal, or black add a touch of sophistication and drama. If your bathroom has neutral walls, a pop of color on the cabinet can serve as a striking focal point.
- Coordinating with Countertops and Flooring: Your bathroom cabinet doesn’t exist in isolation; it should coordinate with other elements like countertops and flooring. If your countertops are busy with patterns or textures, a solid color cabinet might be the best choice to avoid visual clutter. Conversely, if you have a simple, solid-colored countertop, you can experiment with more vibrant or detailed cabinet styles and colors. Also, consider how the cabinet color will look against the flooring.
- Think About Longevity: While it might be tempting to follow the latest trends, it’s important to choose a style and color that will stand the test of time. Trendy colors can quickly become outdated, so if you’re looking for a long-lasting makeover, it’s often better to stick with classic styles and neutral colors. However, if you enjoy changing up your décor regularly, a bold, trendy cabinet could be a fun way to express your personality.
- Test Before Committing: Before you commit to a specific color, it’s a good idea to test a few samples. Paint a small section of the cabinet or use large swatches to see how the color looks in your bathroom’s lighting. Colors can appear different under various lighting conditions, so observing the paint at different times of the day will ensure you’re happy with your choice. If you’re buying a new cabinet, many retailers offer samples of the finish to help you make an informed decision.

Gathering the Essential Tools and Materials
Before you begin your DIY bathroom cabinet makeover, gathering the right tools and materials is crucial. Having everything you need on hand will save you time and frustration, allowing you to focus on the transformation process. This section will guide you through the essentials you’ll need to complete your project successfully.
- Basic Hand Tools: Start with the basics: a screwdriver set, hammer, measuring tape, and a level. These tools will come in handy for removing old hardware, measuring for new fixtures, and ensuring everything is installed evenly. If your cabinet doors are mounted with screws, a cordless drill can speed up the process of removing and reinstalling them.
- Sanding Supplies: Prepping your cabinet for a new finish often requires sanding, especially if you’re dealing with an old, varnished surface. You’ll need sandpaper in varying grits—typically starting with a medium grit (around 120) and finishing with a finer grit (220 or higher) to smooth the surface. For larger surfaces, consider using a hand sander or an orbital sander to save time and effort.
- Cleaning and Prep Materials: Before painting or staining, it’s essential to clean the cabinet thoroughly to remove dirt, grease, and grime that can affect the finish. A good degreaser or a solution of TSP (trisodium phosphate) works well for this task. You’ll also need tack cloths or lint-free rags to wipe down the cabinet after sanding, ensuring there’s no dust left on the surface.
- Paint and Primer: Choosing the right paint and primer is key to a durable and beautiful finish. If your cabinet is made of wood, a high-quality wood primer is necessary to ensure the paint adheres well. For previously painted or laminated surfaces, a bonding primer is ideal. When selecting paint, consider using a semi-gloss or satin finish, as these are durable and easy to clean—important qualities for a bathroom setting. Latex or acrylic paints are commonly used for cabinets because they’re easy to work with and quick-drying.
- Painting Tools: Invest in high-quality painting tools to achieve a professional finish. You’ll need a variety of paintbrushes—angled brushes for corners and details, and flat brushes for larger surfaces. Foam rollers are also excellent for achieving a smooth, even coat on flat surfaces. Don’t forget painter’s tape to protect areas you don’t want painted, and drop cloths to keep your workspace clean.
- Hardware and Decorative Elements: If you plan to update the cabinet hardware, ensure you have the necessary materials ready. This might include new knobs, handles, hinges, and screws. Measuring the existing holes or deciding on new placements is important before purchasing hardware. If you’re adding decorative touches like stencils or decals, gather these materials along with any specialized brushes or tools needed to apply them.
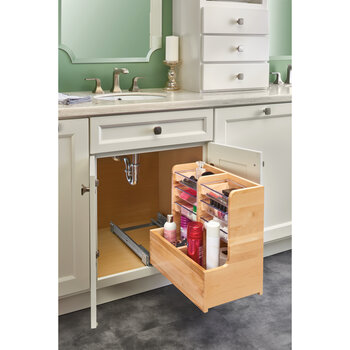
Prepping the Cabinet: Cleaning, Sanding, and Priming
The key to a successful DIY bathroom cabinet makeover lies in the preparation. Properly prepping the cabinet ensures that the paint or stain adheres well and results in a smooth, durable finish. This section will guide you through the essential steps of cleaning, sanding, and priming your cabinet.
- Cleaning the Cabinet: Start by thoroughly cleaning the cabinet to remove any dirt, grease, or grime that has accumulated over time. Bathrooms are prone to moisture and steam, which can cause build-up on cabinet surfaces. Use a strong degreaser or a solution of trisodium phosphate (TSP) to break down and remove any residue. Be sure to wear gloves and work in a well-ventilated area when using chemical cleaners. After cleaning, wipe down the cabinet with a damp cloth to remove any remaining cleaner and let it dry completely.
- Removing Old Hardware: If you plan to replace the cabinet hardware, now is the time to remove it. Use a screwdriver or cordless drill to take off the knobs, handles, and hinges. Keep the hardware in a safe place if you plan to reuse it, or set it aside for disposal if you’re replacing it with new pieces. If the new hardware has a different hole configuration, you may need to fill in the old holes with wood filler before moving on to sanding.
- Sanding the Surface: Sanding is a crucial step in the prep process. It helps to rough up the surface of the cabinet, allowing the primer and paint to adhere better. Start with medium-grit sandpaper (around 120) to remove the existing finish, varnish, or paint. Sand in the direction of the wood grain to avoid creating scratches that will be visible under the new finish. After the initial sanding, switch to a finer grit (220 or higher) to smooth the surface. If your cabinet has intricate details or moldings, use a sanding sponge or small detail sander to reach those areas.
- Dusting Off and Tack Cloth: After sanding, it’s essential to remove all the dust and debris from the cabinet surface. Use a vacuum with a brush attachment to suck up the dust, followed by a tack cloth or a damp, lint-free rag to wipe down the surfaces. This step ensures that no dust particles are left behind, which can ruin your paint job by causing bumps or an uneven finish.
- Applying Primer: Primer is a must for a lasting paint job. It seals the wood, prevents stains from bleeding through the paint, and provides a smooth, even surface for the paint to adhere to. Choose a primer that’s appropriate for your cabinet material. If the cabinet is made of bare wood, use a wood primer; for previously painted or laminated surfaces, a bonding primer works best. Apply the primer in thin, even coats, using a high-quality brush or roller. Allow the primer to dry completely before moving on to the next step—this usually takes a few hours, depending on the product used.
- Inspecting the Surface: Once the primer is dry, inspect the surface for any imperfections. Sand any rough spots lightly with fine-grit sandpaper, and clean the surface again with a tack cloth. This step ensures that your cabinet is perfectly prepped and ready for painting or staining. Proper preparation takes time, but it’s worth the effort to achieve a professional-looking result that will last for years to come.

Painting Techniques for a Flawless Finish
After all the prep work, it’s time to bring your bathroom cabinet to life with a fresh coat of paint. Painting may seem straightforward, but using the right techniques can make the difference between a professional-looking finish and a sloppy job. This section will walk you through the steps to achieve a flawless finish on your bathroom cabinet.
- Choosing the Right Paint: The first step in painting your bathroom cabinet is selecting the appropriate paint. As mentioned earlier, latex or acrylic paints are popular choices due to their durability and ease of use. Opt for a semi-gloss or satin finish, as these are more resistant to moisture and easier to clean, both important factors in a bathroom environment. If you’re painting over a dark color, consider using a paint-and-primer-in-one product to ensure full coverage.
- Preparing the Paint and Tools: Before you start painting, make sure your workspace is set up for success. Pour the paint into a paint tray and stir it thoroughly to ensure an even color. Use high-quality brushes for detailed work and a foam roller for larger, flat surfaces. It’s also helpful to have a small angled brush on hand for reaching into corners and along edges. Apply painter’s tape to protect areas you don’t want to paint, such as walls, countertops, or floors.
- Applying the First Coat: Start with the first coat of paint, applying it in thin, even layers. Use long, smooth strokes, following the direction of the wood grain for the best results. When using a brush, avoid overloading it with paint to prevent drips and uneven application. If you’re using a roller, roll off the excess paint before applying it to the cabinet. It’s better to apply several thin coats than to try to cover everything in one thick layer, as this will reduce the risk of runs and brush marks.
- Letting the Paint Dry: Patience is key to achieving a flawless finish. Allow each coat of paint to dry completely before applying the next one. Drying times vary depending on the type of paint and environmental conditions, but generally, you should wait at least 4-6 hours between coats. Rushing this step can lead to smudges, streaks, and an uneven finish. If you notice any imperfections after the first coat, lightly sand the surface with fine-grit sandpaper, then wipe it down with a tack cloth before applying the next coat.
- Applying Additional Coats: Most cabinets will require at least two coats of paint, but depending on the color and the type of paint you’re using, you may need three or more coats for full coverage. After the first coat is dry, apply the second coat using the same technique as before. Pay close attention to any areas that might need extra coverage, such as corners or intricate details. Each additional coat should be applied in thin, even layers to avoid a thick, heavy finish.
- Inspecting and Touching Up: Once you’ve applied all the necessary coats and the paint has dried completely, inspect your work closely. Look for any missed spots, streaks, or uneven areas. Use a small brush to touch up these spots carefully. This is also the time to remove any painter’s tape before the paint fully cures, to avoid peeling off the new paint. After touching up, let the paint cure for a few days before reattaching the hardware or using the cabinet, ensuring a durable and long-lasting finish.
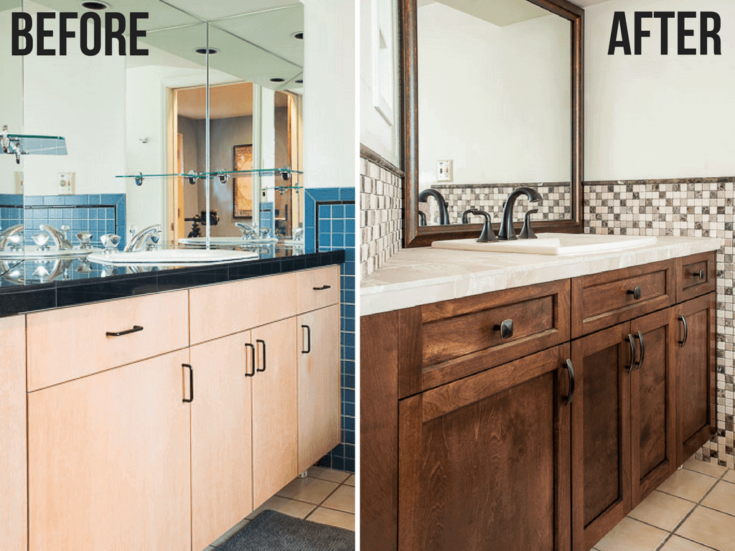
Updating Cabinet Hardware: Knobs, Handles, and Hinges
Updating the hardware on your bathroom cabinet is a simple yet effective way to enhance its overall look. New knobs, handles, and hinges can transform a dated cabinet into a modern, stylish feature in your bathroom. This section will guide you through the process of selecting and installing new cabinet hardware.
- Choosing the Right Hardware: The first step in updating your cabinet hardware is choosing the right pieces. Consider the overall style of your bathroom and cabinet when selecting knobs, handles, and hinges. If your bathroom has a contemporary design, sleek, minimalist hardware in chrome, brushed nickel, or matte black might be the perfect choice. For a more traditional or vintage look, consider hardware with intricate designs or finishes like brass, bronze, or antique copper. The size and shape of the hardware should also complement the cabinet’s proportions.
- Measuring and Placement: Before purchasing new hardware, measure the existing holes in your cabinet to determine the size and spacing needed. If you’re switching from knobs to handles, or vice versa, you may need to drill new holes or use backplates to cover the old ones. Proper placement is key to both functionality and aesthetics, so take your time to measure and mark where the new hardware will go. For handles, ensure they are centered on the cabinet doors or drawers, and for knobs, check that they’re positioned at a comfortable height.
- Installing New Knobs and Handles: Installing new knobs and handles is relatively straightforward. Start by removing the old hardware with a screwdriver or drill. If the new hardware requires different-sized screws, make sure you have the appropriate tools to accommodate them. Align the new hardware with the existing holes, or use a template to mark and drill new holes if necessary. Tighten the screws securely, but be careful not to over-tighten, as this can strip the screws or damage the cabinet.
- Replacing or Upgrading Hinges: Hinges are often overlooked but can significantly impact the functionality and appearance of your cabinet. If your cabinet doors don’t close properly or the hinges are rusted or worn, it’s time to replace them. Choose hinges that match the finish of your knobs and handles for a cohesive look. When installing new hinges, make sure they are aligned correctly to ensure the doors hang straight and operate smoothly. You may need to adjust the hinges slightly after installation to achieve a perfect fit.
- Adding Soft-Close Features: For a touch of luxury and added convenience, consider installing soft-close hinges or dampers on your cabinet doors. These mechanisms prevent the doors from slamming shut, reducing noise and prolonging the life of the cabinet. Soft-close hinges are available in various styles and finishes, and many can be installed in place of your existing hinges with minimal effort. If you prefer to keep your current hinges, soft-close dampers can be installed separately and work just as effectively.
- Final Touches and Considerations: After installing the new hardware, step back and admire your work. The updated knobs, handles, and hinges should complement the newly painted cabinet and tie together the overall design of your bathroom. If you’re not completely satisfied with the placement or look, don’t hesitate to make adjustments. Small tweaks can make a big difference in the final result. Finally, consider how the hardware feels in your hand—after all, it’s something you’ll be using daily, so it should be comfortable and functional.

Adding Decorative Touches: Stencils, Decals, and More
Once your bathroom cabinet has been painted and the hardware updated, it’s time to add some decorative touches to truly make it your own. Personalizing your cabinet with stencils, decals, or other embellishments can elevate its design and add a unique flair to your bathroom. This section will explore creative ways to decorate your cabinet.
- Using Stencils for Custom Designs: Stencils are an excellent way to add intricate designs to your bathroom cabinet without the need for freehand painting skills. You can find stencils in a variety of patterns, from geometric shapes to floral motifs, that suit any design style. To use a stencil, simply tape it securely to the cabinet surface and apply paint with a stencil brush or sponge. For a crisp finish, use a small amount of paint and apply it in light, tapping motions. Once the paint is dry, carefully remove the stencil to reveal your design.
- Applying Decals for a Quick Transformation: If you want to add a decorative touch without the mess of paint, consider using decals. Decals are available in a wide range of designs and are easy to apply and remove. They work well on both painted and unpainted surfaces and can be used to create anything from a subtle accent to a bold statement. Simply peel off the backing and apply the decal to your desired location, smoothing out any bubbles as you go. Decals are particularly great for renters or those who like to change up their décor frequently, as they can be removed without damaging the surface.
- Adding Trim or Molding: For a more sophisticated look, consider adding trim or molding to your cabinet doors. Decorative trim can be purchased at most home improvement stores and is available in various styles and materials. You can attach it to the cabinet doors using wood glue and finishing nails, then paint or stain it to match or contrast with the cabinet color. This technique adds depth and interest to plain cabinet doors and can give your bathroom a custom, high-end feel.
- Incorporating Glass or Mirrored Panels: If you’re looking to add a touch of elegance or make your bathroom feel more spacious, consider incorporating glass or mirrored panels into your cabinet doors. Replacing a section of the door with frosted glass or a mirror can create a stunning visual effect and reflect light, making the bathroom appear larger. This is a more advanced DIY project that may require some additional tools and materials, but the result is well worth the effort.
- Painting Accents or Borders: For a subtle yet effective decorative touch, try painting accents or borders on your cabinet doors. Use painter’s tape to create clean lines and borders, and choose a contrasting color to add interest. This technique can be used to highlight the edges of the cabinet doors, create a frame around a stenciled design, or even mimic the look of inlaid wood. Whether you opt for a simple stripe or a more intricate pattern, painted accents can add a polished, custom look to your cabinet.
- Experimenting with Mixed Media: For those who enjoy more eclectic or artistic designs, consider experimenting with mixed media on your cabinet. You can incorporate materials like fabric, wallpaper, or even mosaic tiles to create a one-of-a-kind look. For example, apply a piece of decorative wallpaper to the center panel of the cabinet door, or create a mosaic border using small tiles or glass pieces. Mixed media designs are a great way to showcase your creativity and make your bathroom cabinet a true focal point.
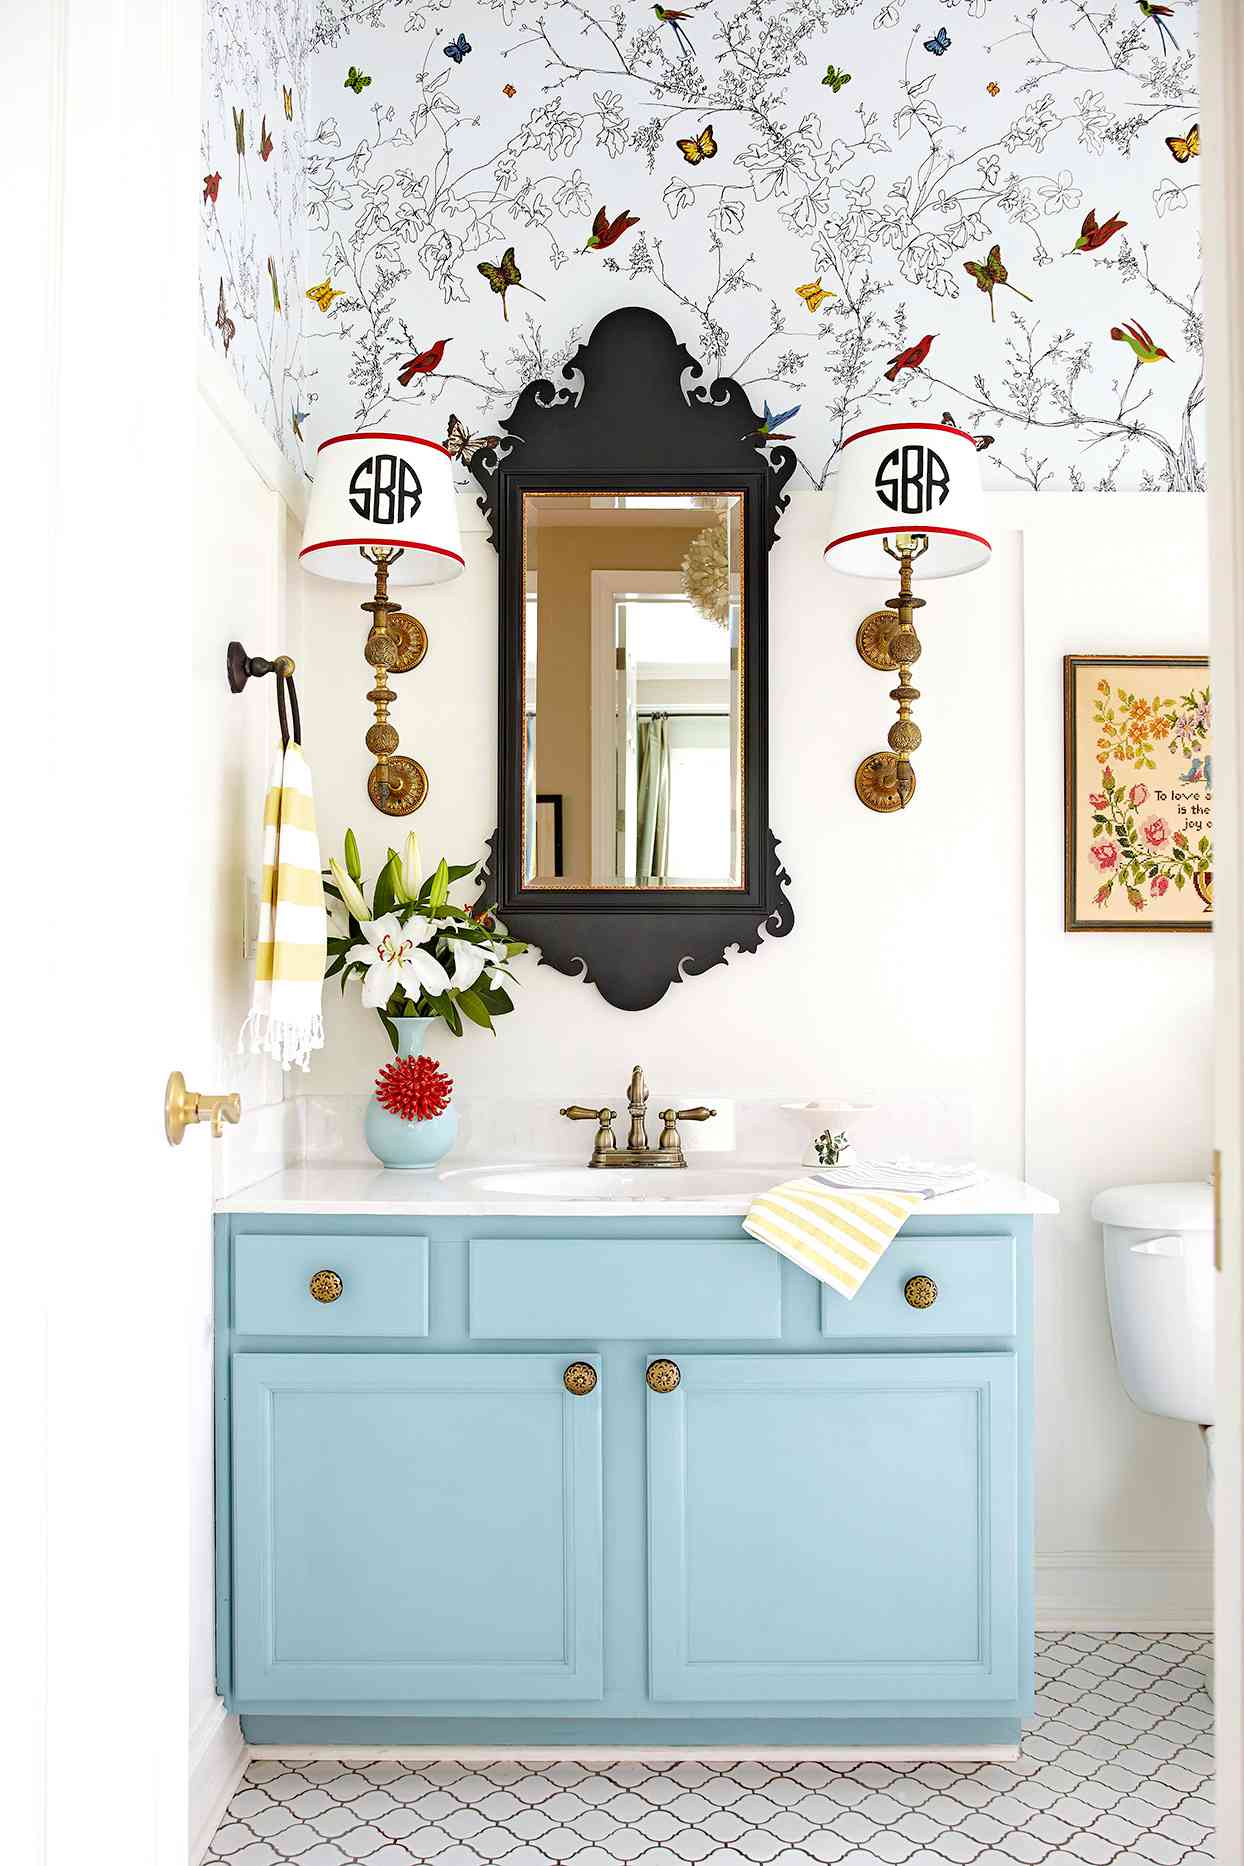
Tips for Sealing and Protecting Your Newly Revamped Cabinet
After all the hard work you’ve put into revamping your bathroom cabinet, it’s essential to protect your investment by sealing and maintaining it properly. Sealing your cabinet ensures that the paint, hardware, and decorative elements stay in pristine condition, even in the humid environment of a bathroom. This section will provide tips on how to seal and protect your newly transformed cabinet.
- Choosing the Right Sealant: The first step in protecting your cabinet is selecting the right sealant. Polyurethane and polycrylic are two popular choices for sealing painted cabinets. Polyurethane is highly durable and water-resistant, making it an excellent choice for bathroom cabinets. However, it can yellow over time, especially on light-colored paints. Polycrylic, on the other hand, is water-based, dries clear, and doesn’t yellow, making it ideal for white or pastel-colored cabinets. Choose the finish that matches your desired look—whether it’s matte, satin, or glossy.
- Applying the Sealant: Once you’ve chosen your sealant, it’s time to apply it to your cabinet. Use a high-quality synthetic brush or foam brush for the best results. Apply the sealant in thin, even coats, following the direction of the wood grain or paint strokes. Be careful not to over-apply, as this can lead to drips and an uneven finish. Allow each coat to dry thoroughly before applying the next one—typically, two to three coats are recommended for optimal protection. Lightly sand between coats with fine-grit sandpaper to ensure a smooth finish.
- Protecting Hardware and Decorative Elements: If your cabinet has updated hardware or decorative elements, you’ll want to protect these as well. Consider applying a small amount of clear sealant to any exposed wood or painted surfaces near the hardware to prevent wear and tear. If you’ve added decals or stencils, make sure to seal over these areas to protect them from moisture and peeling. For mixed media designs, such as fabric or tiles, use a sealant appropriate for those materials to keep everything looking fresh and intact.
- Maintaining the Finish: To keep your newly revamped cabinet looking its best, regular maintenance is key. Clean the cabinet with a soft, damp cloth to remove dust and dirt, and avoid using harsh chemicals or abrasive cleaners that could damage the finish. For stubborn spots, a mild soap and water solution works well. If you notice any chips or scratches in the paint, touch them up promptly to prevent further damage. Regularly check the hardware to ensure it’s securely fastened and in good condition.
- Managing Moisture and Humidity: Bathrooms are naturally humid environments, which can take a toll on cabinetry over time. To protect your cabinet from moisture damage, make sure your bathroom is well-ventilated. Use an exhaust fan during and after showers to reduce humidity levels, and consider placing a dehumidifier in the room if necessary. Wipe down any water splashes on the cabinet immediately, and avoid placing wet towels or items directly on the cabinet surface.
- Long-Term Care and Touch-Ups: Even with the best care, your cabinet may eventually show signs of wear. When this happens, don’t hesitate to perform touch-ups or reapply a fresh coat of sealant. Over time, the sealant may lose its effectiveness, especially in high-traffic areas, so a reapplication every few years can help maintain the cabinet’s appearance and durability. By following these tips, your beautifully revamped bathroom cabinet will remain a stunning focal point in your bathroom for years to come.

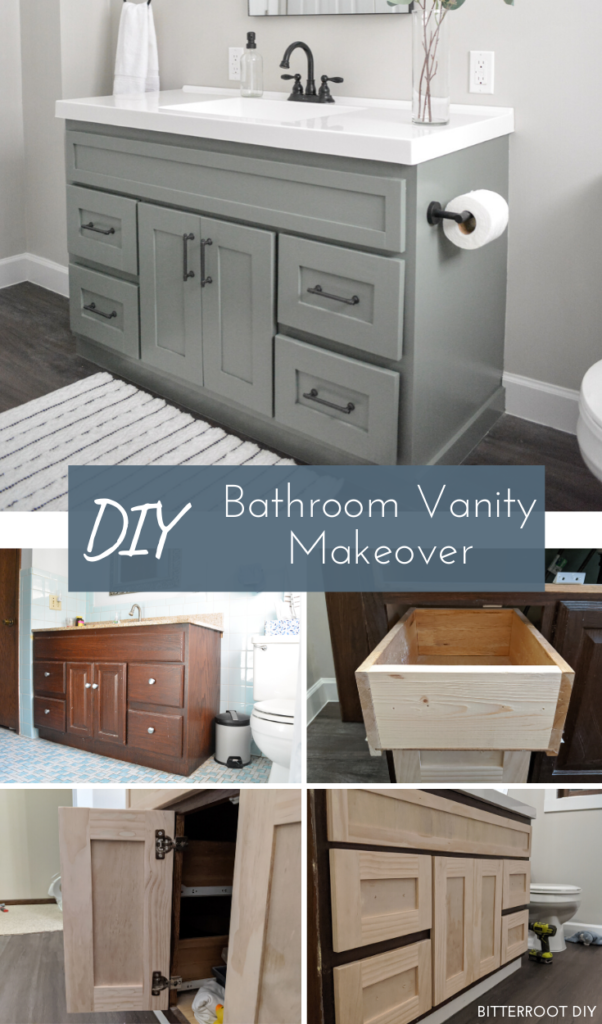
Best DIY Bathroom Vanity Makeovers Pneumatic Addict
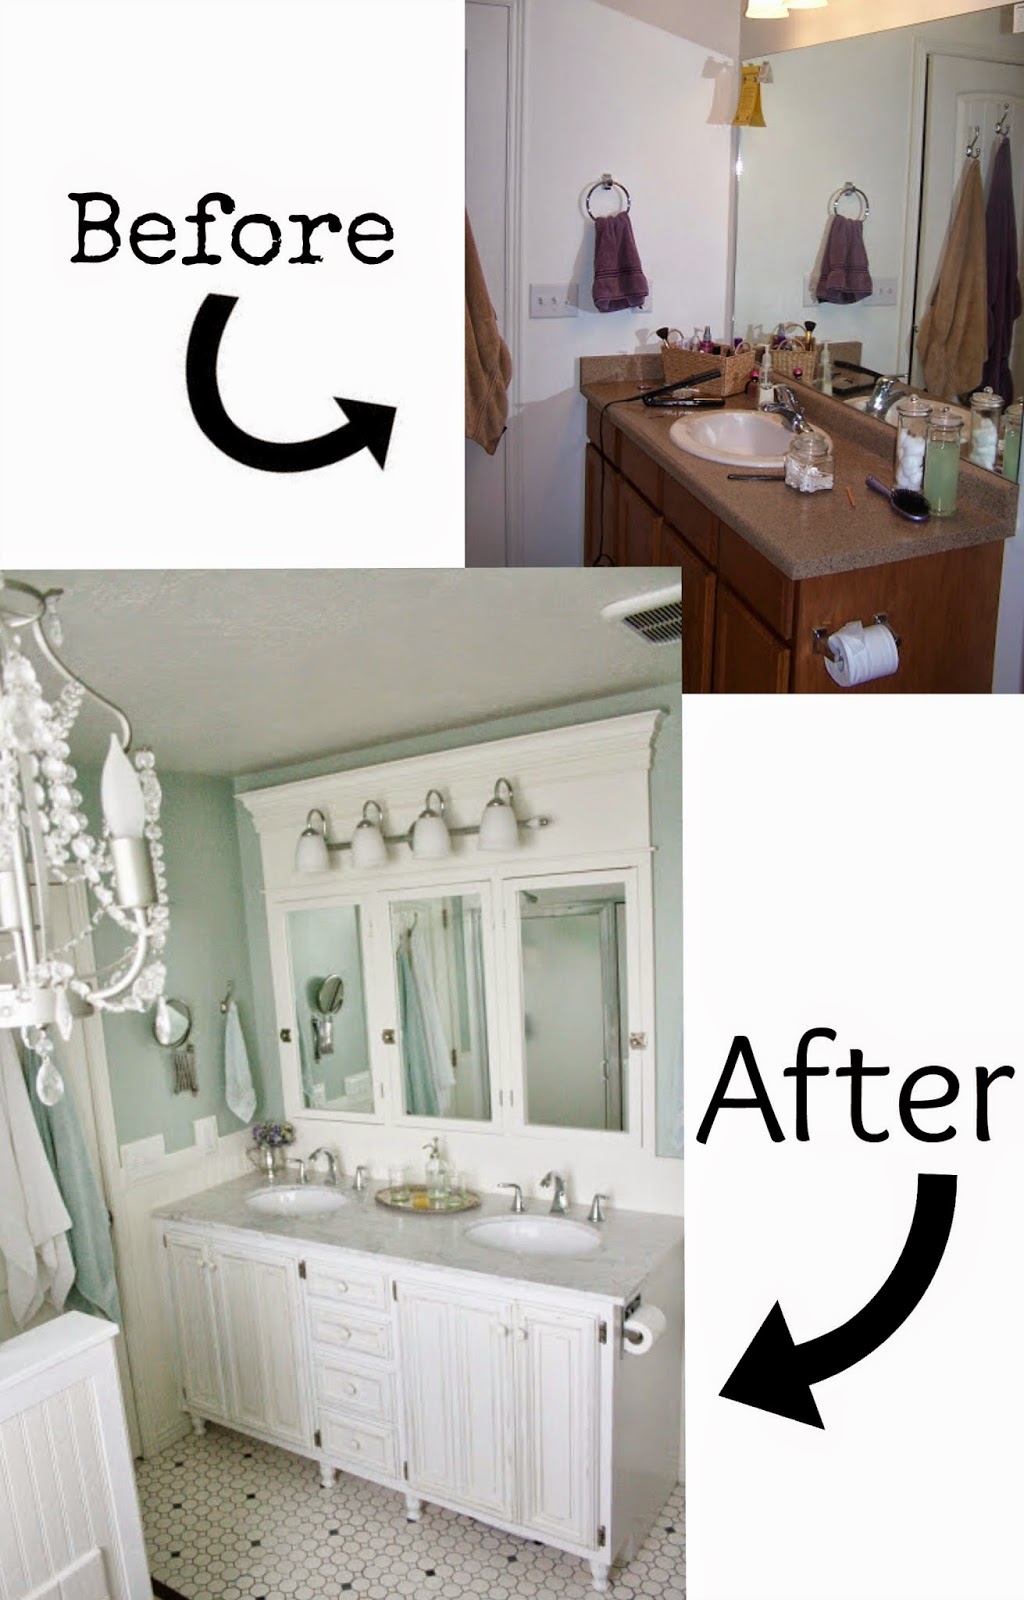
Easy DIY Bathroom Vanity Makeover

Best DIY Bathroom Vanity Makeovers Diy bathroom vanity

Astonishing DIY Bathroom Vanity Makeovers
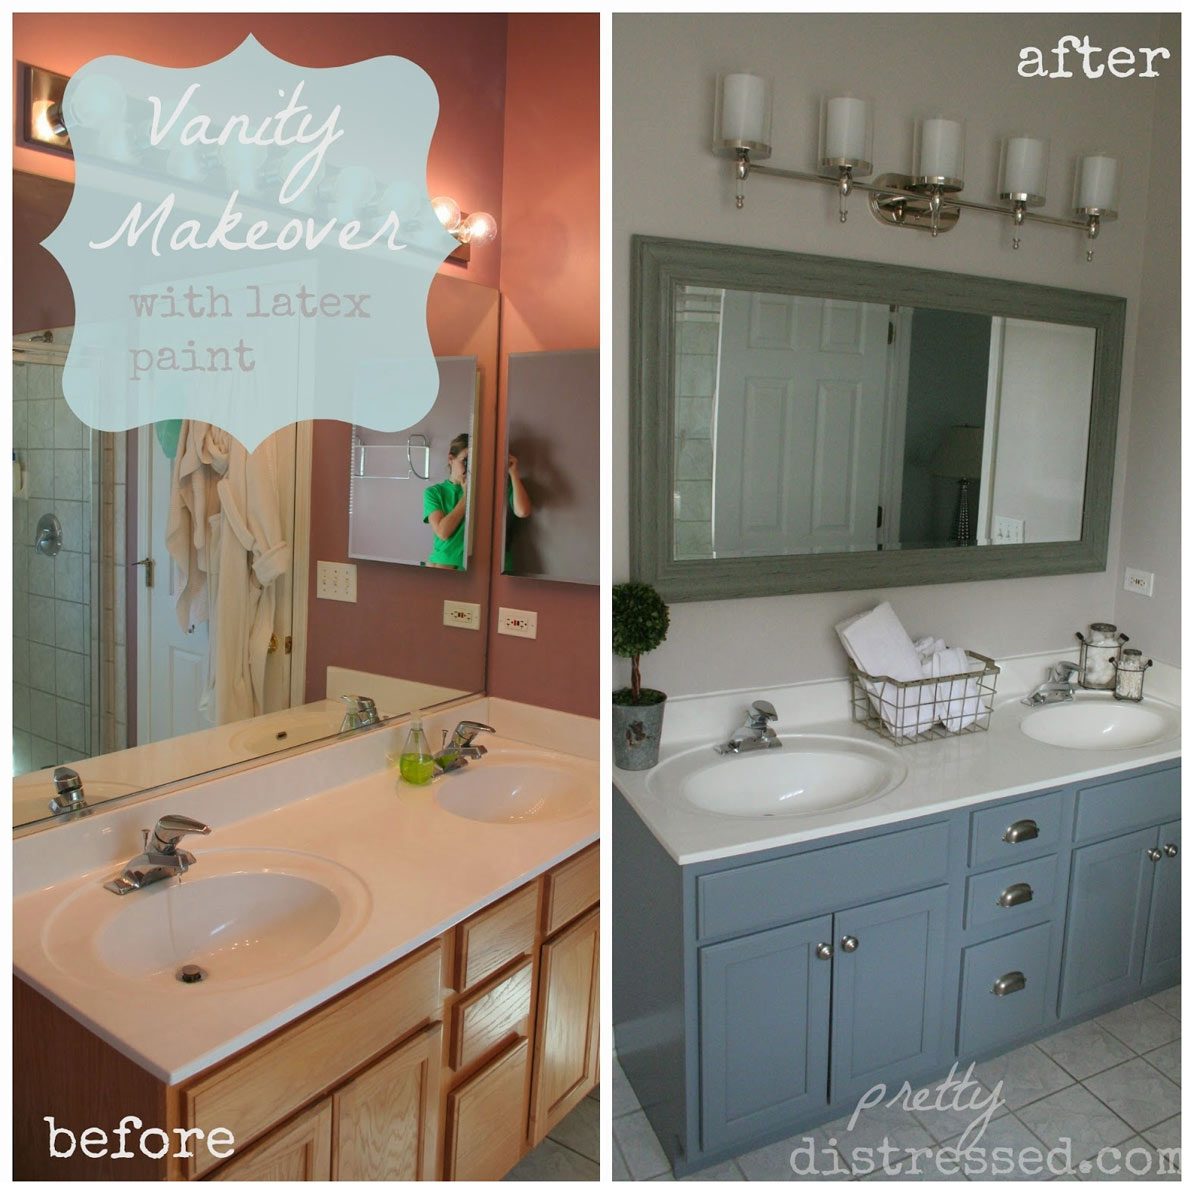
How To Refinish Bathroom Cabinets DIY Domestic Blonde
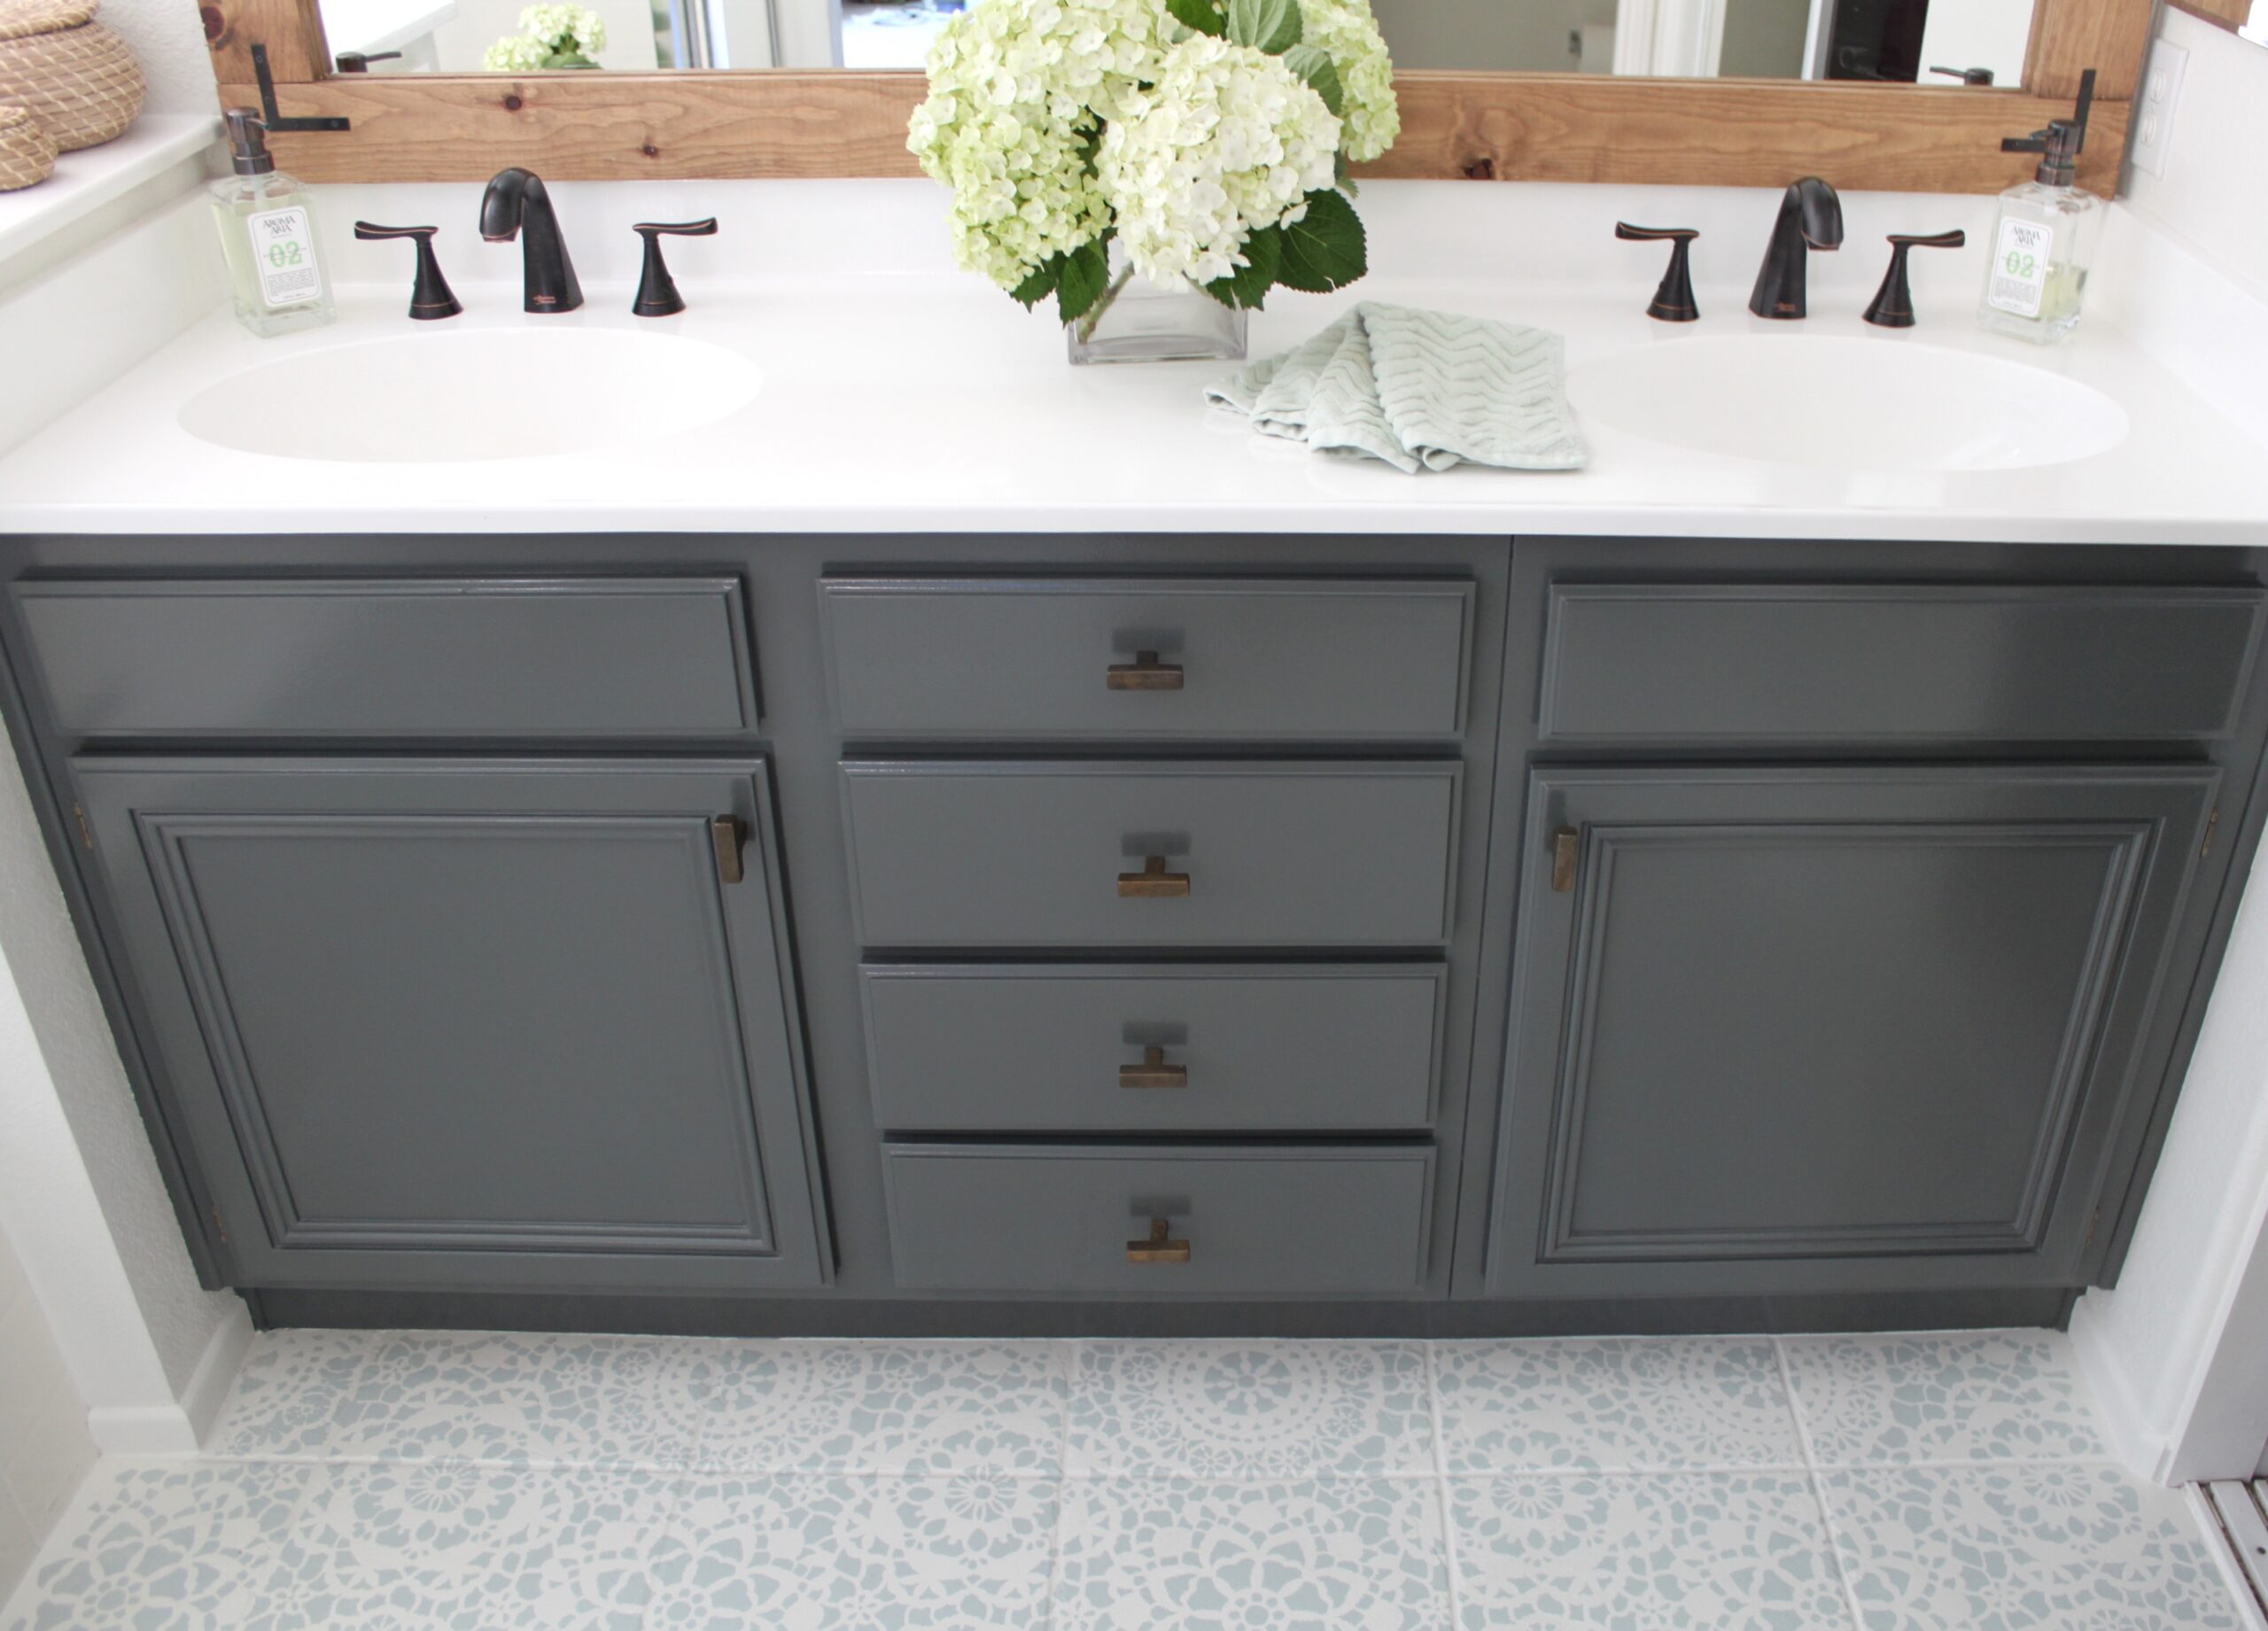
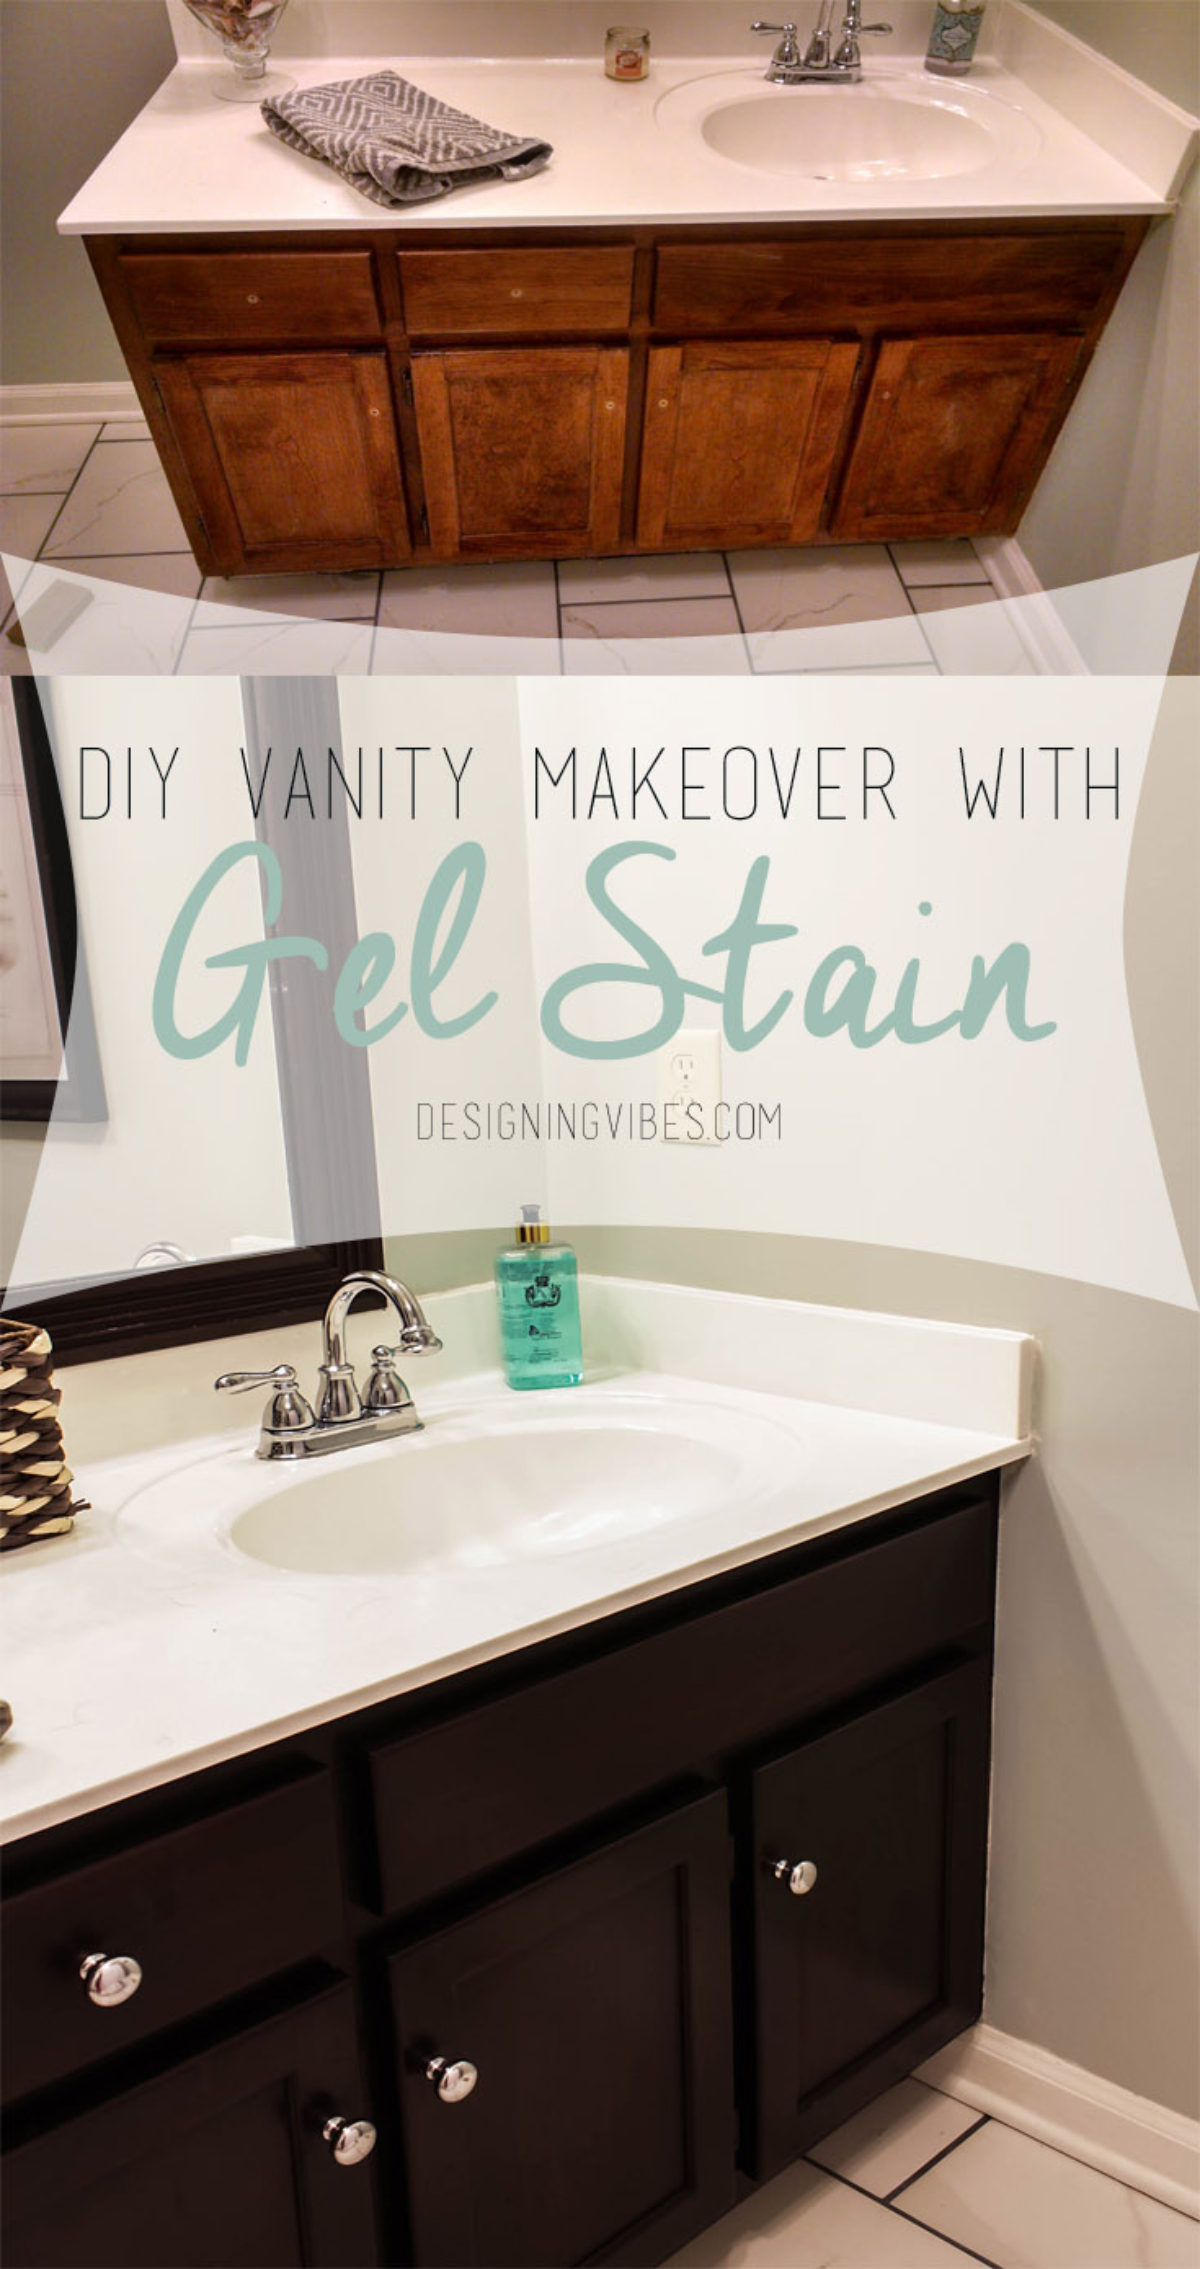
Transforming Bathroom Vanity with Gel Stain
 Related articles:
- Bathroom Cabinets Photos
- Bathroom Cabinets Pottery Barn
- Roper Rhodes Refine Bathroom Cabinet
- Bathroom Cabinets Luxury
- Chocolate Brown Bathroom Cabinet
- Bathroom Cabinets Wayfair
- How To Organize Bathroom Cabinets And Drawers
- Black Wall Mounted Bathroom Cabinet
- Corner Bathroom Cabinet Small
- Bathroom Cabinets Masters
