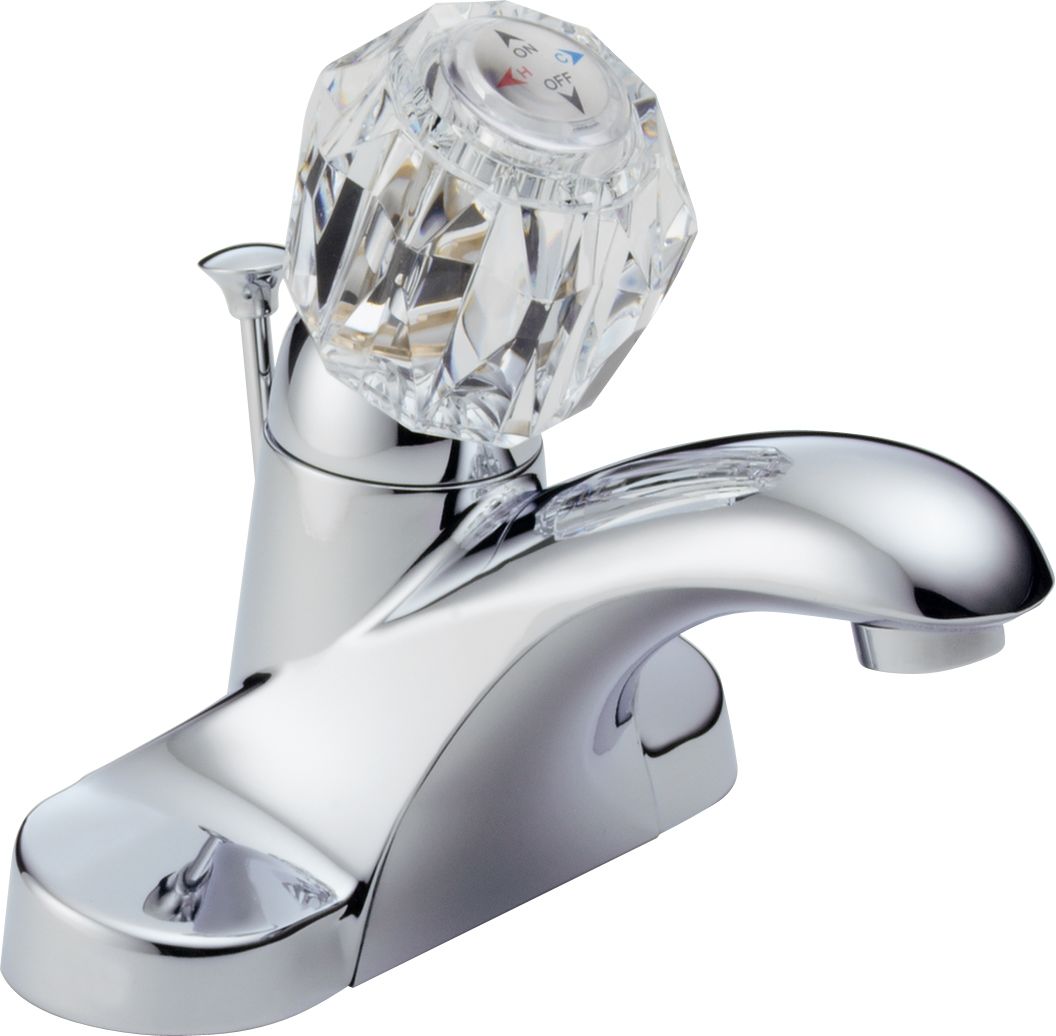
Step-by-Step Guide to Removing a Delta Bathroom Faucet
Removing a Delta bathroom faucet may seem like a daunting task, but with the right tools and a step-by-step guide, it can be a straightforward process. Whether you are replacing your faucet or making repairs, this guide will walk you through the necessary steps to remove a Delta bathroom faucet.
Step 1: Gather the necessary tools and supplies: Before you begin, gather the tools and supplies you will need for the task. This may include an adjustable wrench, pliers, a basin wrench, a screwdriver, a bucket or towel to catch any water, and a replacement faucet if necessary. Having all the required tools on hand will make the process go more smoothly.
Step 2: Shut off the water supply: Before you can start removing the faucet, you need to shut off the water supply. Look for the shut-off valves under the sink and turn them clockwise to close them. If there are no individual shut-off valves for the faucet, you may need to shut off the main water supply to the house.
Step 3: Remove the handle and trim: Start by removing the handle of the faucet. Depending on the model, this may involve removing a screw or popping off a decorative cap to access the screw. Use a screwdriver or an Allen wrench to remove the screw and then gently pull off the handle. Next, remove any trim pieces or escutcheons around the faucet base.
Step 4: Loosen the faucet nuts: Locate the nuts that secure the faucet to the sink or countertop. These are typically located underneath the sink. Use an adjustable wrench or pliers to loosen and remove the nuts. If the nuts are difficult to reach, you may need to use a basin wrench.
Step 5: Disconnect the supply lines and lift out the faucet: Once the faucet nuts are removed, disconnect the supply lines from the faucet. Use a wrench or pliers to loosen the connections and then carefully remove the lines. With the supply lines disconnected, you should be able to lift the faucet out of the sink or countertop.
Step 6: Clean the area and prepare for installation: After removing the old faucet, take the opportunity to clean the area and remove any debris or buildup. This will ensure a clean surface for the installation of the new faucet. Additionally, if you are not replacing the faucet, but rather making repairs, now is the time to inspect the components and make any necessary adjustments.
Tools and Materials Needed for Delta Bathroom Faucet Removal
When it comes to removing a Delta bathroom faucet, having the right tools and materials is essential for a smooth process. Here are the items you will need:
Adjustable wrench: This versatile tool will help you loosen and tighten various components of the faucet.
Screwdriver: Depending on the specific model of your Delta faucet, you may need either a flathead or Phillips screwdriver to remove screws and fasteners.
Allen wrench: Many Delta faucets use Allen screws to secure the handles or other parts. Make sure to have the appropriate size of Allen wrench for your particular faucet.
Plumber’s tape: Also known as Teflon tape, this thin white tape is used to create a watertight seal between threaded connections. It can help prevent leaks when reinstalling the faucet.
Bucket or container: To catch any water that may drip or spill during the removal process, it’s a good idea to have a bucket or container handy.
Towels or rags: Having some towels or rags nearby will allow you to clean up any water or debris that may accumulate during the removal.
Safety goggles and gloves: While not necessarily a tool or material, it is important to prioritize safety. Wearing goggles and gloves can protect your eyes and hands from any potential hazards, such as sharp edges or chemicals.
Common Challenges and Solutions
Stuck or Corroded Faucet Handle:
– Apply penetrating oil or lubricant to the handle and let it sit for a few minutes to loosen any corrosion.
– Use a wrench or pliers to grip the handle firmly and turn it counterclockwise to remove it.
– If the handle is still stuck, use a faucet handle puller tool to carefully apply pressure and remove it.
Difficulties in Removing Valve Stem:
– Locate the bonnet nut that secures the valve stem to the faucet body and use a wrench to loosen it.
– If the bonnet nut is rusted or stuck, apply penetrating oil and let it sit for a while before attempting to loosen it.
– Use pliers or a valve stem removal tool to carefully turn the valve stem counterclockwise and remove it from the faucet body.
Stubborn Supply Line Connections:
– Turn off the water supply to the faucet before attempting to disconnect the supply lines.
– If the supply lines are stuck, use a wrench to loosen the nuts securing them to the faucet.
– Apply penetrating oil to the connections if they are corroded, and use pliers or a wrench to carefully loosen them.
Difficulties in Removing the Faucet Base:
– Locate the mounting nuts that secure the faucet base to the sink or countertop.
– Use a basin wrench or adjustable wrench to loosen and remove the mounting nuts.
– If the mounting nuts are rusted or stuck, apply penetrating oil and let it sit for a while before attempting to loosen them.
Hidden Set Screws:
– Some Delta faucets have set screws that hold the handle or spout in place.
– Look for small openings or access points on the handle or spout that may hide set screws.
– Use an Allen wrench or screwdriver to loosen and remove the set screws before attempting to detach the handle or spout.
Leaking or Damaged Components:
– Inspect the faucet components for any signs of leakage or damage.
– If there are leaking or damaged parts, refer to the faucet’s user manual or contact Delta customer support for guidance on replacement parts and repair.
Tips and Tricks for a Successful Delta Bathroom Faucet Removal
Removing a Delta bathroom faucet can be a daunting task, but with the right tips and tricks, it can be a smooth and successful process. Here are some helpful suggestions to make your faucet removal job easier:
Gather the necessary tools: Before starting the removal process, make sure you have all the tools you will need. This typically includes a wrench, pliers, screwdriver, and plumber’s putty.
Turn off the water supply: Before attempting to remove the faucet, always remember to turn off the water supply. Locate the shut-off valves under the sink and turn them clockwise until they are fully closed. This will prevent any water leakage during the removal process.
Disconnect the supply lines: Use a wrench or pliers to disconnect the supply lines from the faucet. Be cautious not to damage the lines or fittings in the process. It may be helpful to use a cloth or towel to catch any water that may still be in the lines.
Remove the mounting hardware: Delta bathroom faucets are typically secured to the sink or countertop with mounting hardware. Use a screwdriver or wrench to remove any screws or nuts holding the faucet in place. Keep track of the removed hardware for easy reinstallation later.
Loosen the faucet: Once the mounting hardware is removed, the faucet should be loose. Gently wiggle and twist the faucet to loosen it further from the sink or countertop. If it is still stuck, you may need to use a putty knife to loosen any plumber’s putty or silicone sealing the faucet to the surface.
Remove the faucet: With the faucet now loose, carefully lift it up and away from the sink or countertop. Be cautious not to damage any surrounding fixtures or the plumbing connections underneath.
Clean the surface: After removing the faucet, clean the surface of the sink or countertop to remove any remaining putty or residue. This will ensure a clean and smooth installation when you replace the faucet.
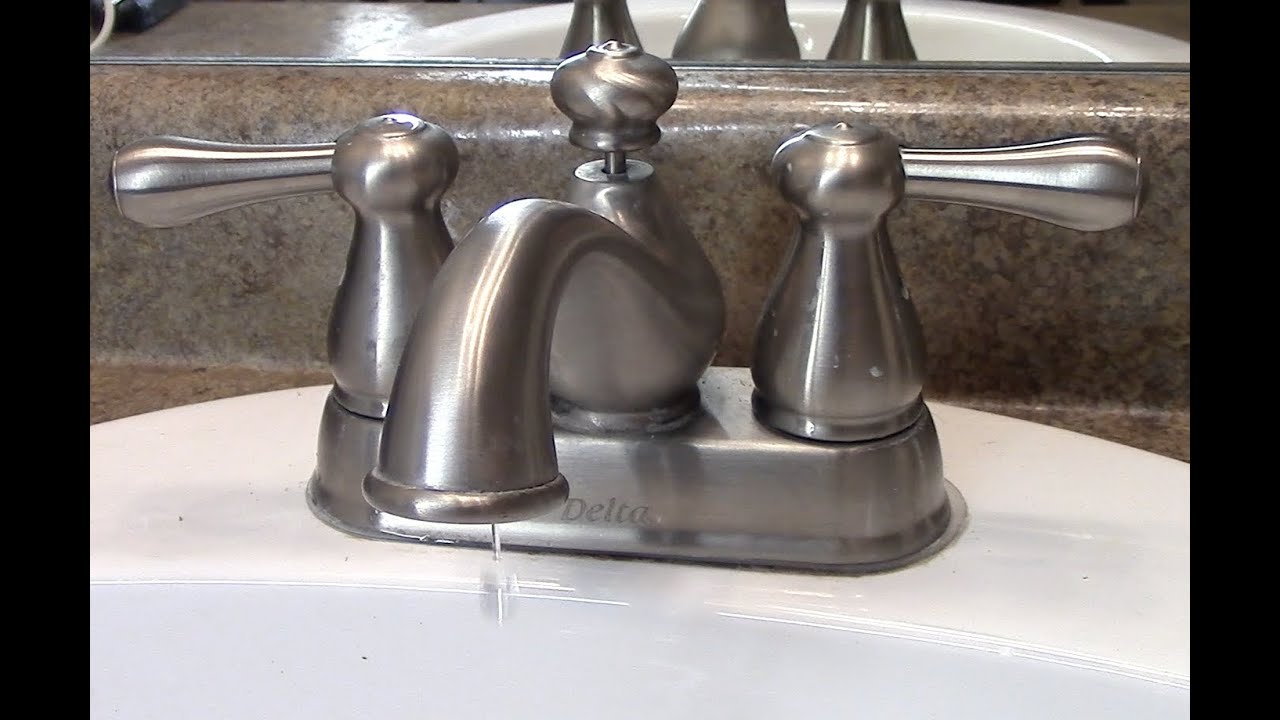
Troubleshooting a Leaking Faucet : Delta Faucet
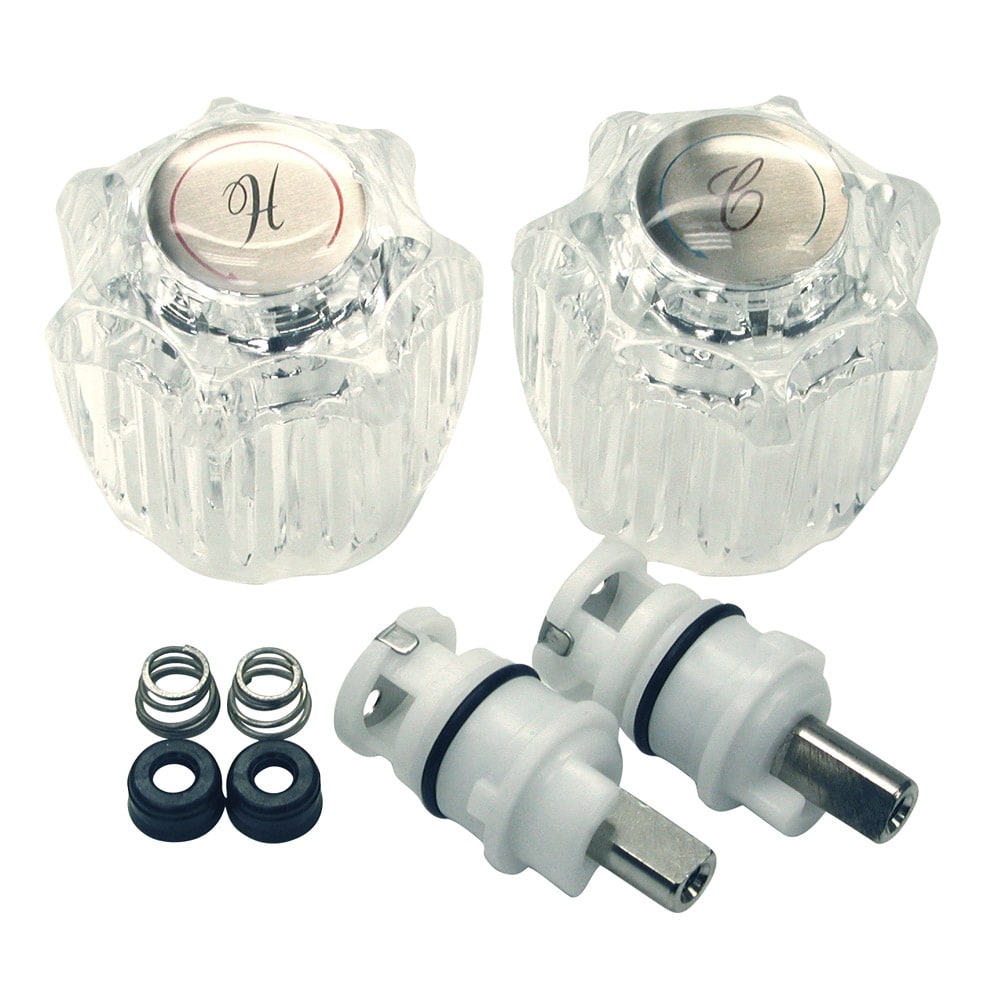
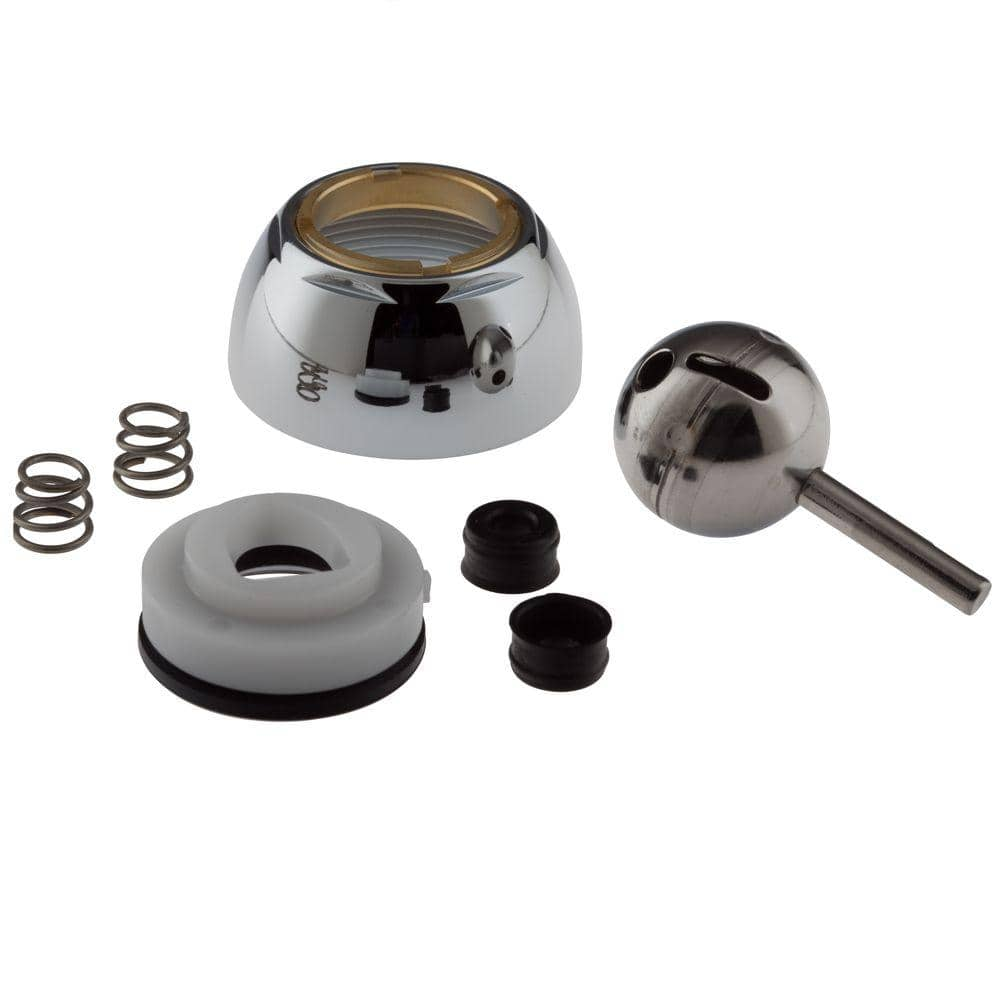
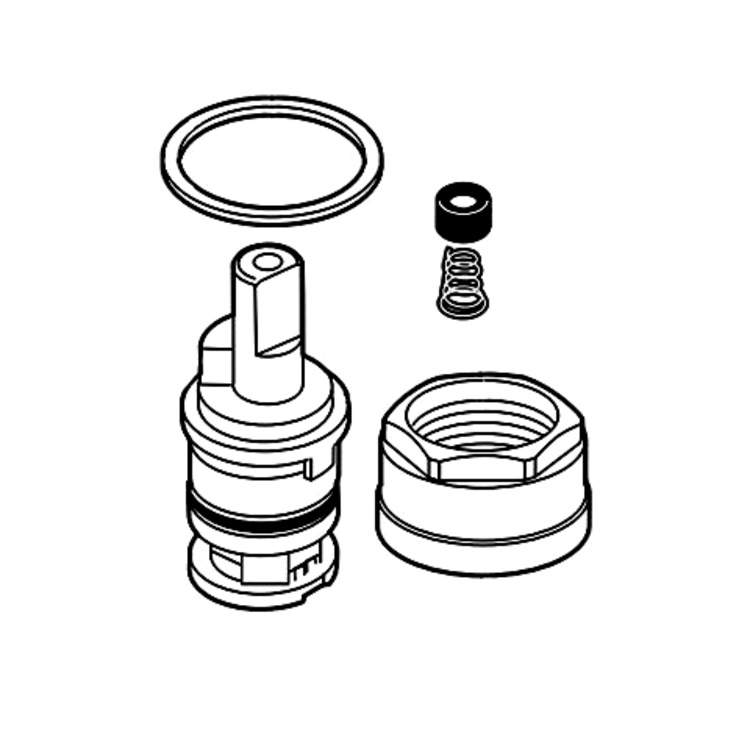
Delta Faucet Repair Kit RP44123
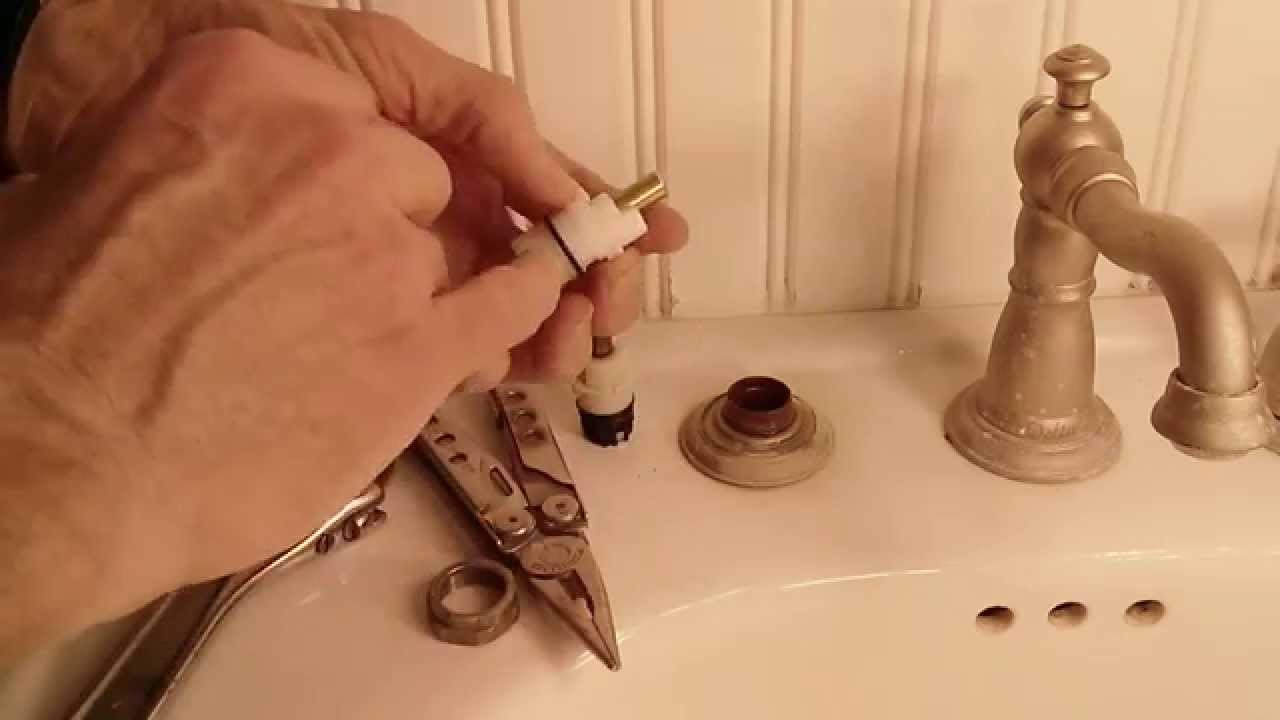
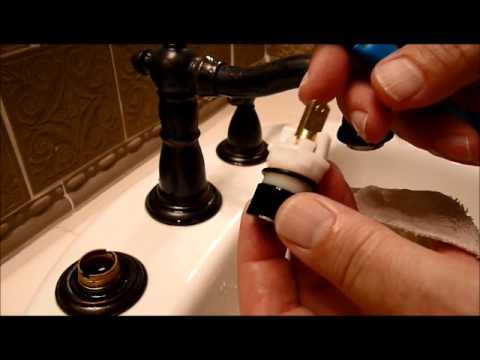
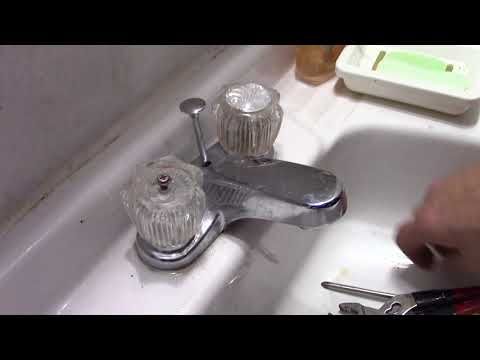
Delta Bathroom Faucet Repair: Seats and Springs, Serramar HOA
We use cookies on our website to give you the most relevant experience by remembering your preferences and repeat visits. By clicking “Accept All”, you consent to the use of ALL the cookies. However, you may visit "Cookie Settings" to provide a controlled consent.
This website uses cookies to improve your experience while you navigate through the website. Out of these, the cookies that are categorized as necessary are stored on your browser as they are essential for the working of basic functionalities of the website. We also use third-party cookies that help us analyze and understand how you use this website. These cookies will be stored in your browser only with your consent. You also have the option to opt-out of these cookies. But opting out of some of these cookies may affect your browsing experience.
Necessary cookies are absolutely essential for the website to function properly. These cookies ensure basic functionalities and security features of the website, anonymously.
Cookie
Duration
Description
cookielawinfo-checkbox-analytics
11 months
This cookie is set by GDPR Cookie Consent plugin. The cookie is used to store the user consent for the cookies in the category "Analytics".
cookielawinfo-checkbox-functional
11 months
The cookie is set by GDPR cookie consent to record the user consent for the cookies in the category "Functional".
cookielawinfo-checkbox-necessary
11 months
This cookie is set by GDPR Cookie Consent plugin. The cookies is used to store the user consent for the cookies in the category "Necessary".
cookielawinfo-checkbox-others
11 months
This cookie is set by GDPR Cookie Consent plugin. The cookie is used to store the user consent for the cookies in the category "Other.
cookielawinfo-checkbox-performance
11 months
This cookie is set by GDPR Cookie Consent plugin. The cookie is used to store the user consent for the cookies in the category "Performance".
viewed_cookie_policy
11 months
The cookie is set by the GDPR Cookie Consent plugin and is used to store whether or not user has consented to the use of cookies. It does not store any personal data.
Functional cookies help to perform certain functionalities like sharing the content of the website on social media platforms, collect feedbacks, and other third-party features.
Performance cookies are used to understand and analyze the key performance indexes of the website which helps in delivering a better user experience for the visitors.
Analytical cookies are used to understand how visitors interact with the website. These cookies help provide information on metrics the number of visitors, bounce rate, traffic source, etc.
Advertisement cookies are used to provide visitors with relevant ads and marketing campaigns. These cookies track visitors across websites and collect information to provide customized ads.

 Related Posts:


