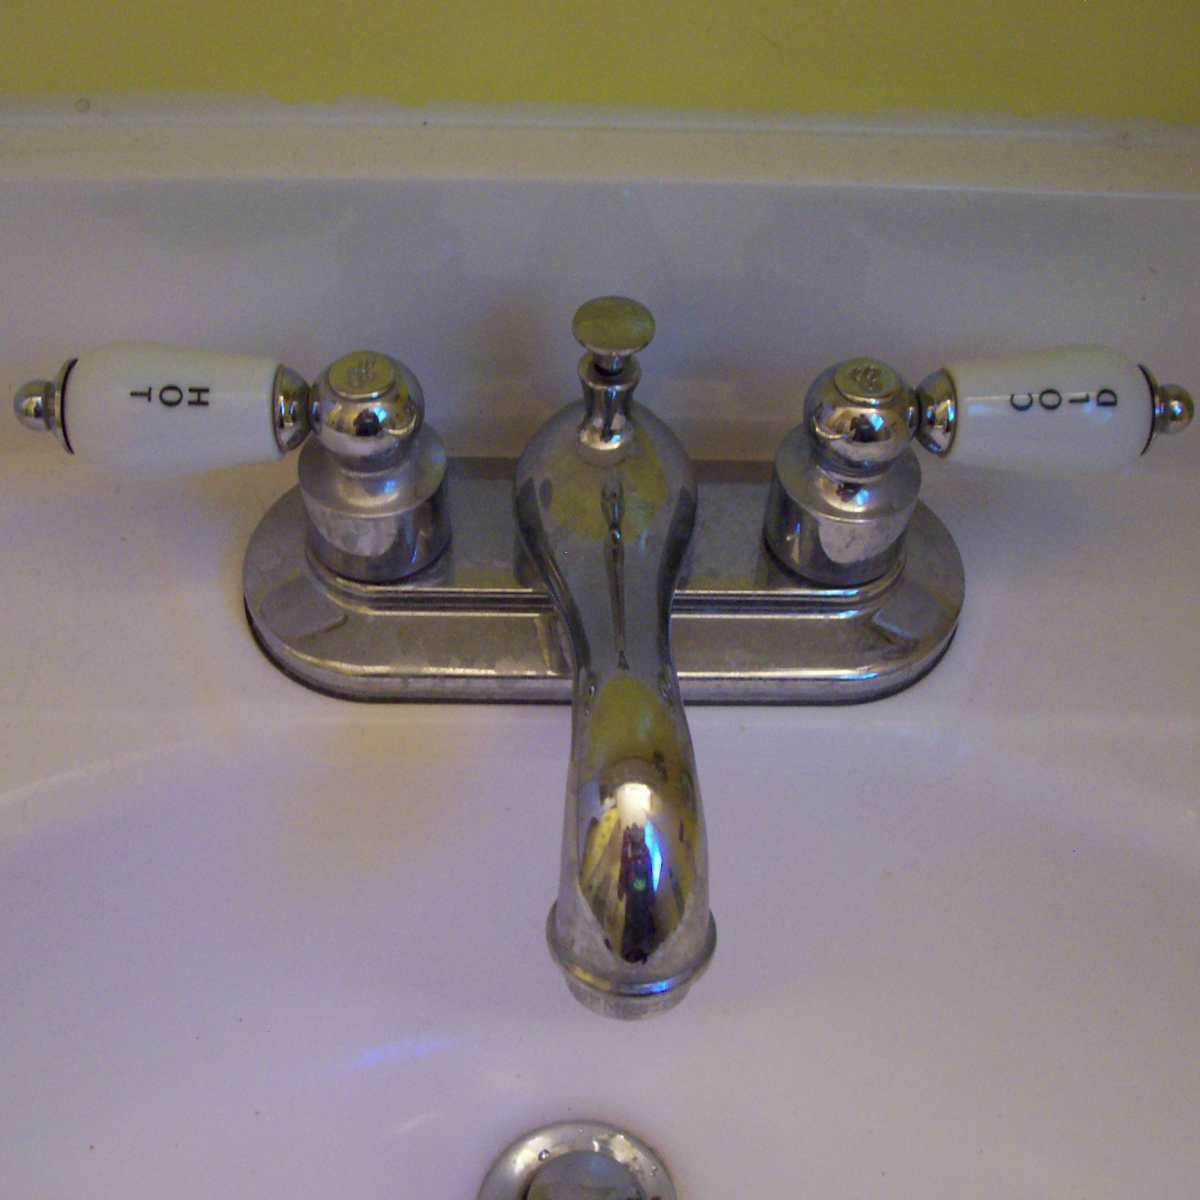
Guide to Changing the Washer on Your Bathroom Faucet
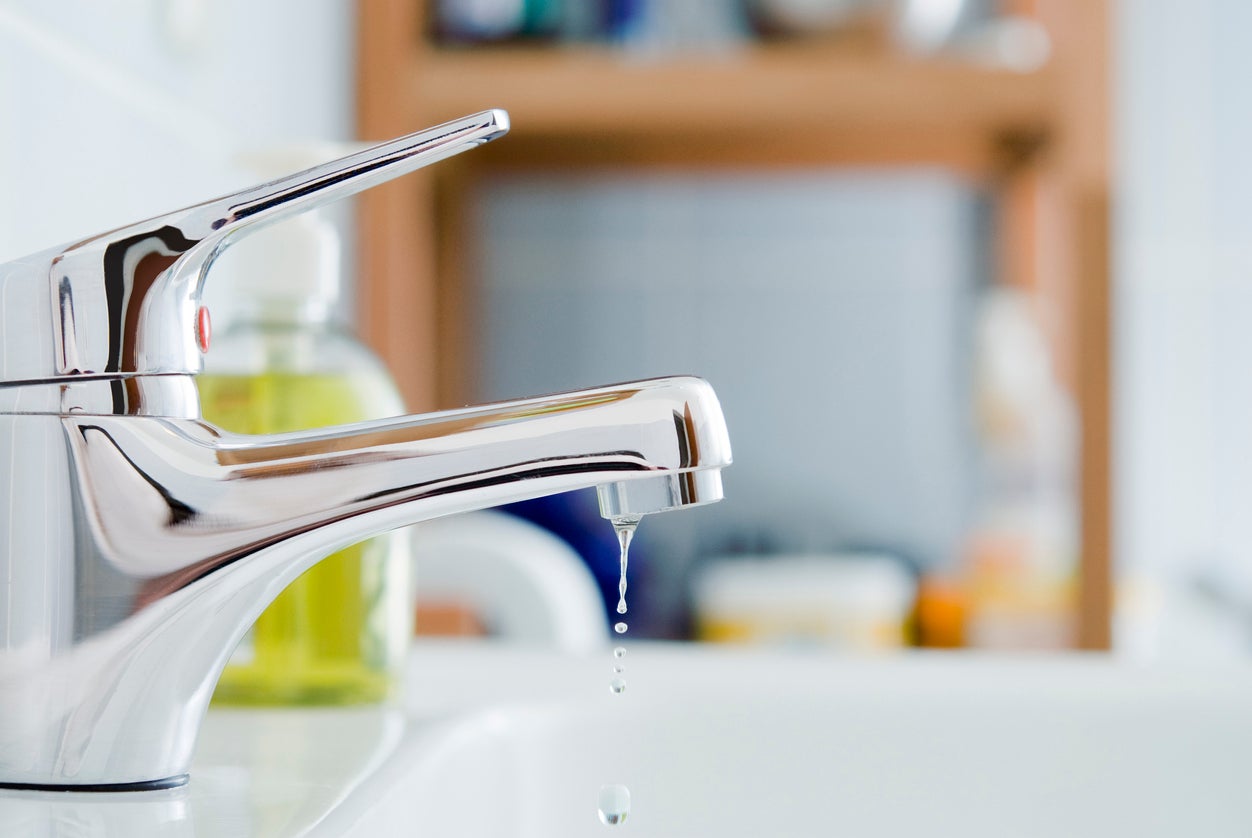
Have you ever experienced a leaky bathroom faucet? It can be frustrating and wasteful. The good news is that you can easily fix this issue by changing the washer on your faucet. Here is a simple guide to help you through the process, ensuring you have a leak-free faucet in no time. So grab your tools and let’s get started!
Step 1: Gather the necessary tools and materials
Before you begin, make sure you have the following items ready:
- Adjustable wrench
- Replacement washer (Make sure to check the size and type of washer required for your faucet. It is always a good idea to take the old washer to the store to ensure you get the right replacement.)
- Screwdriver (if needed)
- Towel or rag
Step 2: Turn off the water supply
Locate the shut-off valve beneath the sink and turn it clockwise to shut off the water supply. This will prevent any water from flowing while you work on the faucet.
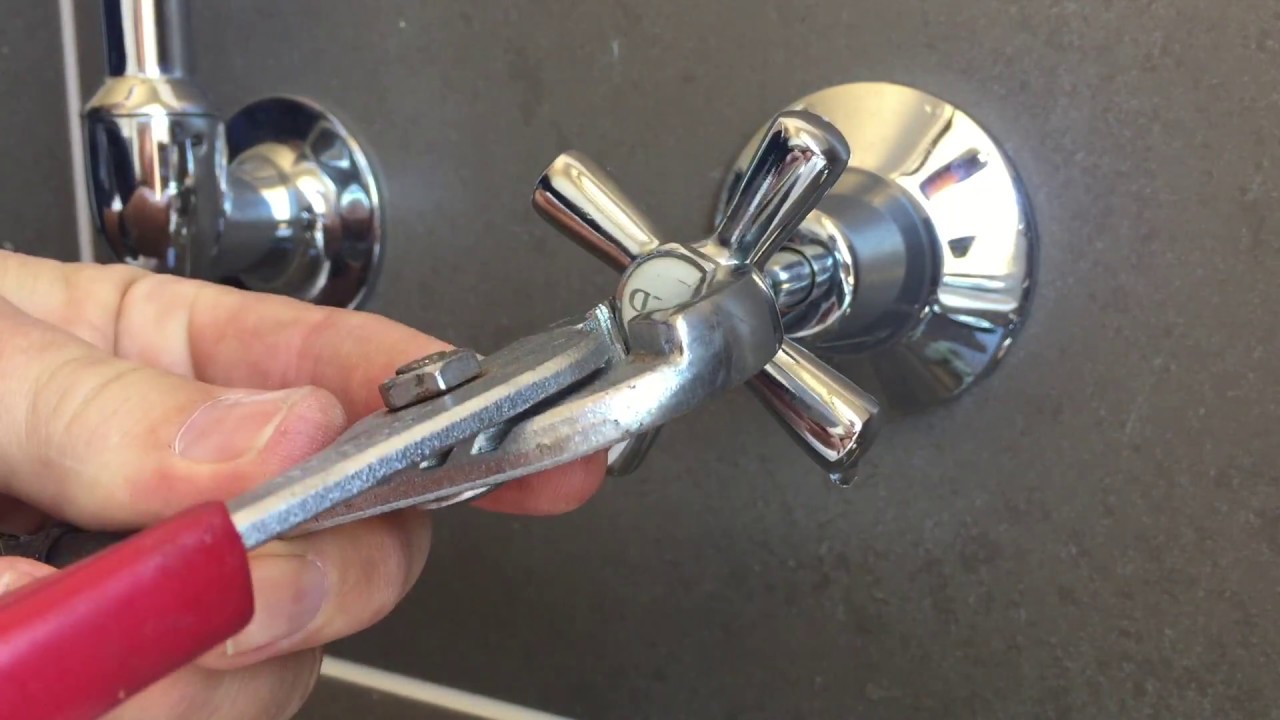
Step 3: Remove the faucet handle
Using an adjustable wrench or a screwdriver, carefully remove the screw or nut that secures the faucet handle. Once the screw/nut is removed, gently lift off the handle. Some faucets may have a cap covering the screw/nut, in which case you’ll need to remove the cap first.
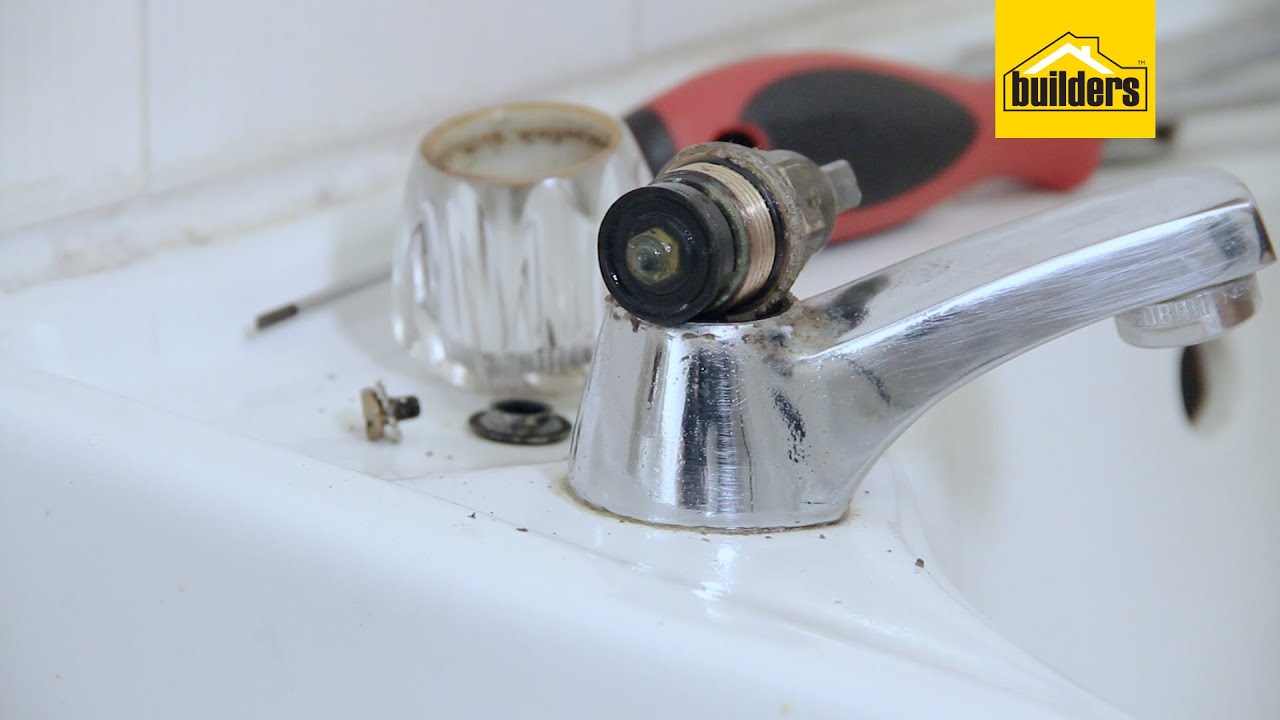
Step 4: Access the washer
With the handle removed, you’ll now have access to the stem assembly. Depending on the faucet design, you may need to unscrew the stem assembly or use a wrench to loosen it. Once loosened, carefully lift out the stem assembly.
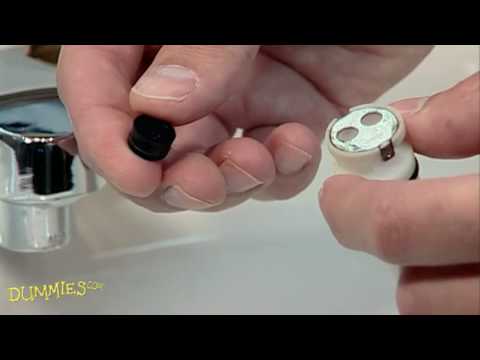
Step 5: Replace the washer
Inspect the old washer for any signs of wear or damage. If it appears worn out, it’s time to replace it. Remove the old washer and replace it with the new one. Make sure the new washer fits securely and snugly into place.
Step 6: Reassemble the faucet
Carefully reinsert the stem assembly back into the faucet body, ensuring it is properly aligned. Tighten any screws or nuts as needed. Then, put the handle back in place and secure it with the screw or nut. If there was a cap covering the screw/nut, don’t forget to put it back on.
Step 7: Turn on the water supply
After reassembling the faucet, turn the shut-off valve counterclockwise to restore the water supply. Slowly open the faucet to check for any leaks. If everything looks good, congratulations! You have successfully changed the washer on your bathroom faucet.
Problems and Solutions when Changing the Washer on Your Faucet
Changing the washer on your faucet is a simple and effective way to fix leaks and ensure the smooth operation of your bathroom faucet. However, sometimes you may encounter common issues during the process. Let me guide you through identifying these problems and provide solutions to help you overcome any challenges you may face while changing the washer on your faucet.
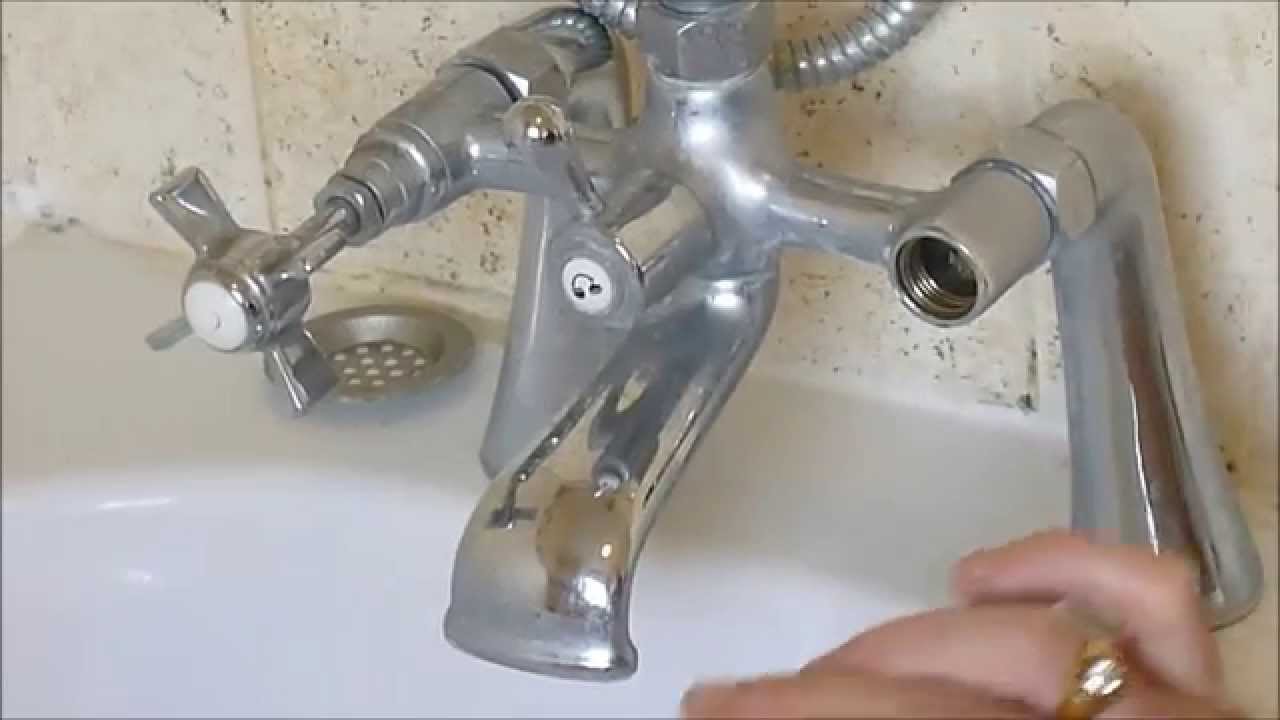
Issue 1: Difficulties in Removing the Faucet Handle
Sometimes, the faucet handle may be stubborn and refuse to come off easily. If you encounter this issue, try the following solutions:
- Apply a penetrating oil or lubricant to the handle and let it sit for a few minutes. This will help loosen any corrosion or mineral buildup that may be causing the handle to stick.
- Use a wrench or pliers to gently apply pressure while turning and lifting the handle. Be careful not to use excessive force, as this may cause damage.
Issue 2: Leaking Stem Assembly
After replacing the washer, if you find that the stem assembly continues to leak, here’s what you can do:
- Check for any damage or cracks in the stem assembly. If you notice any, you may need to replace the entire assembly.
- Ensure that the washer is correctly installed and fits snugly within the assembly. If it is loose or misaligned, it may cause leaks.
- Inspect the O-rings and seals in the stem assembly. If they are worn or damaged, they may need to be replaced.
Issue 3: Water Flow Problems
If you experience reduced water flow or irregular water pressure after changing the washer, consider these solutions:
- Remove the aerator from the faucet and clean it thoroughly. Mineral deposits and debris can accumulate in the aerator, causing flow restrictions.
- Check the water supply valves beneath the sink. Ensure they are fully open and not partially closed, as this can affect water flow.
- Examine the faucet cartridge or valve assembly for any clogs or debris. If necessary, clean or replace the cartridge to restore proper water flow.
Issue 4: Persistent Leaks
If you notice that the faucet is still leaking even after changing the washer, here are some possible solutions:
- Double-check the washer installation. Ensure it is properly seated and tightened.
- Inspect the seat, which is the part of the faucet body that comes into contact with the washer. If it is worn or damaged, it may need to be smoothed or replaced.
- Consider replacing the entire faucet cartridge or valve assembly if the leaks persist. Over time, these components may wear out, causing persistent leaks.
Maintenance Tips
A well-maintained faucet washer is essential for a leak-free and efficient bathroom faucet. By taking proper care of your faucet washer, you can extend its lifespan and prevent future leaks. Below are some valuable maintenance tips to help you keep your faucet in optimal condition. Follow these tips to save water, money, and the hassle of dealing with leaky faucets in the long run.
Tip 1: Regular Cleaning
Regularly cleaning your faucet and washer is crucial in preventing the accumulation of mineral deposits and debris that can cause leaks. Here’s how to do it effectively:
- Use a soft cloth or sponge and mild soap to clean the exterior of your faucet. Avoid using abrasive cleaners or rough materials that could scratch the surface.
- Remove the aerator from the faucet and soak it in a mixture of equal parts water and vinegar. This will help dissolve any mineral deposits that may have built up over time. Rinse thoroughly and reattach the aerator.
Tip 2: Avoid Excessive Force
Using excessive force when turning your faucet on or off can put unnecessary strain on the washer, leading to premature wear and leaks. To prevent this:
- Turn the faucet handle gently and avoid jerking or forcing it.
- Teach your family members to turn the faucet off with a gentle twist instead of forcefully shutting it off.
Tip 3: Regular Inspections
Performing regular inspections of your faucet can help you identify potential issues before they escalate into major problems. Follow these steps:
- Check for any visible leaks around the base of the faucet or under the sink. If you notice any leaks, address them promptly to prevent further damage.
- Inspect the washer for signs of wear, such as cracks or fraying. If the washer appears worn out, replace it with a new one to prevent leaks.
Tip 4: Prevent Freezing in Cold Weather
During freezing temperatures, water trapped in your faucet can expand and cause damage to the washer. To prevent freezing and subsequent leaks:
- Insulate your outdoor faucets with covers or wrap them with insulating tape.
- Disconnect garden hoses and drain any remaining water from the faucet to prevent freezing.
Tip 5: Use Water Softeners or Filters
If you live in an area with hard water, mineral deposits can accumulate more quickly on your faucet washer, leading to leaks. Consider using a water softener or filter to reduce the mineral content in your water supply.
Dripping Delta faucet, replacing washers.

How to Repair a Washerless Faucet. Plumbing Tips!

Re-seating and changing washers on bath taps, DIY easy fix, money saving
How To Replace A Tap Washer

How to Change a Faucet Washer Plumbing By Jake

How to Repair (Not Replace) Any Leaking Bathroom Faucet (Sink or
How to Fix a Leaky Faucet u2014 Step-by-Step Guides for Both
Fix a Leaky Faucet Double Handle DIY

How to Fix a Bathroom Faucet: 14 Steps (with Pictures) – wikiHow

How to Fix a Leaky Faucet
 Related Posts:
- How To Remove A Bathroom Faucet From A Sink
- Moen Bathroom Faucets Replace Cartridge
- Price Pfister Bathroom Faucets Reviews
- Bathroom Faucets Single Hole Chrome
- Best Widespread Bathroom Faucet
- Bathroom Faucets Made In America
- Kingston Brass Bathroom Faucet Installation Instructions
- Delta Victorian Widespread Bathroom Faucet
- Best Moen Bathroom Faucet
- How To Repair A Kohler Bathroom Faucet


