When it comes to maintaining your bathroom faucet, one crucial element to keep an eye on is the washer. Over time, washers can wear out and cause leaks, leading to wasted water and potential damage. Let’s explore how to identify when your washer needs changing, allowing you to proactively address any issues before they escalate.
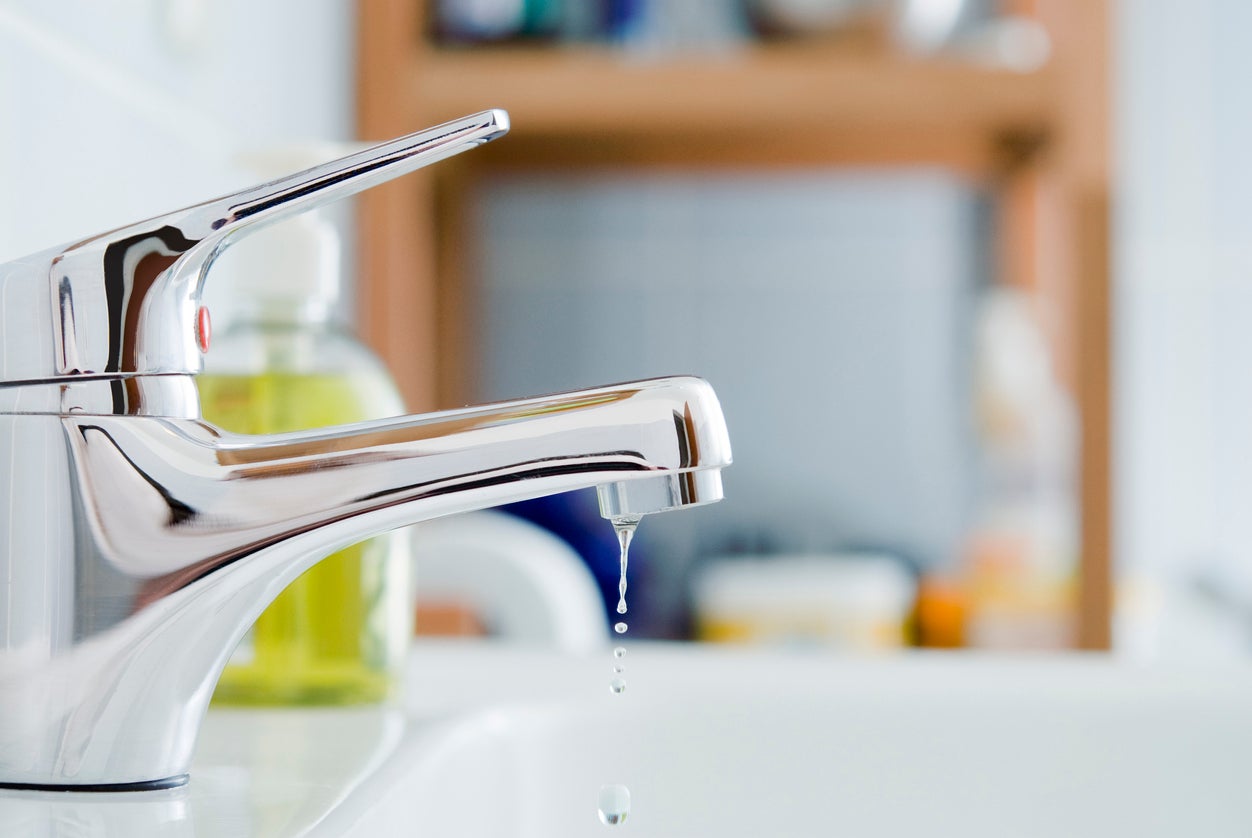
Signs of a Worn-out Washer: A worn-out washer can manifest in various ways. One common sign is a dripping faucet, even when fully closed. This is often caused by a faulty washer that no longer creates a watertight seal. Additionally, if you notice water pooling around the base of the faucet or a steady stream of water despite turning the faucet off, it’s a clear indication that the washer needs replacing.
Irregular Water Flow: Another telltale sign of a worn-out washer is irregular water flow. If you experience reduced water pressure or sudden bursts of water when using your faucet, it could be due to a deteriorating washer. Pay attention to any changes in water flow patterns to identify potential washer issues.
Persistent Leaks: Leaks around the faucet handle are a common signal that the washer needs changing. Even small drips can lead to wasted water and higher utility bills over time. If you notice any leaks, it’s essential to address them promptly to prevent further damage and conserve water.
Age and Wear: In some cases, the age of your faucet can be a good indicator that the washer may need replacing. If your faucet is several years old or has undergone extensive use, it’s worth inspecting the washer for signs of wear and tear. Regular maintenance and periodic washer replacements can help extend the lifespan of your faucet.
Testing the Washer: If you still have doubts about whether your washer needs changing, you can conduct a simple test. Shut off the water supply to the faucet, disassemble the handle, and inspect the washer. Look for any cracks, tears, or deformities. If the washer appears worn or damaged, it’s time to replace it.
What You’ll Need to Successfully Change a Washer in a Bathroom Faucet
Changing a washer in a bathroom faucet is a relatively simple and cost-effective task that you can do yourself. However, before you begin the replacement process, it’s important to gather the necessary tools and materials. Here are the tools you’ll need to successfully change a washer in a bathroom faucet.
Adjustable Wrench: An adjustable wrench is a versatile tool that will come in handy during the washer replacement process. It allows you to loosen and tighten nuts and bolts, providing the necessary leverage to disassemble and reassemble the faucet components.
Screwdriver: A screwdriver is essential for removing screws that secure the faucet handle and other parts. Depending on your faucet design, you may need a flathead or Phillips screwdriver. It’s a good idea to have both types available in your toolbox to accommodate different faucet models.
Replacement Washers: To change a washer, you’ll need spare washers that are compatible with your faucet. Washers come in various sizes and materials, so it’s important to choose the right ones for your specific faucet model. Refer to the manufacturer’s instructions or consult a plumbing professional if you’re unsure about the correct washer size and material.
Plumber’s Tape: Plumber’s tape, also known as Teflon tape, is a thin, white tape used to create a watertight seal. It’s typically wrapped around the threaded areas of the faucet to prevent leaks. Having plumber’s tape on hand ensures a proper seal when reassembling the faucet components.
Clean Cloth and Bucket: Before you begin the washer replacement process, it’s important to have a clean cloth and bucket nearby. These items will come in handy for catching any water that may spill during the disassembly and reassembly of the faucet. The clean cloth can also be used to wipe down the faucet components and ensure a clean working area.
A Walkthrough of the Washer Replacement Process
Now that you have identified the signs of a worn-out washer and gathered the necessary tools, it’s time to dive into the step-by-step process of replacing the washer in your bathroom faucet. Below we provide a detailed walkthrough to guide you through the washer replacement process.
Shut off the Water Supply: Before you begin any work on the faucet, it’s crucial to shut off the water supply. Locate the shut-off valves under the sink and turn them clockwise until they are fully closed. This step will prevent any water from flowing while you work on the faucet.
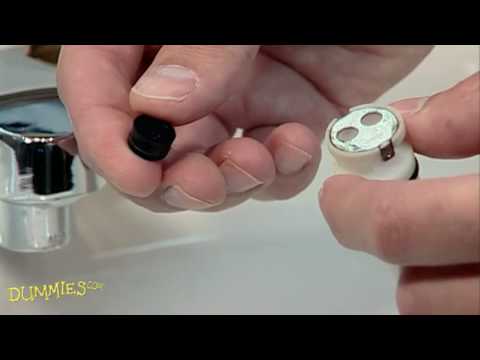
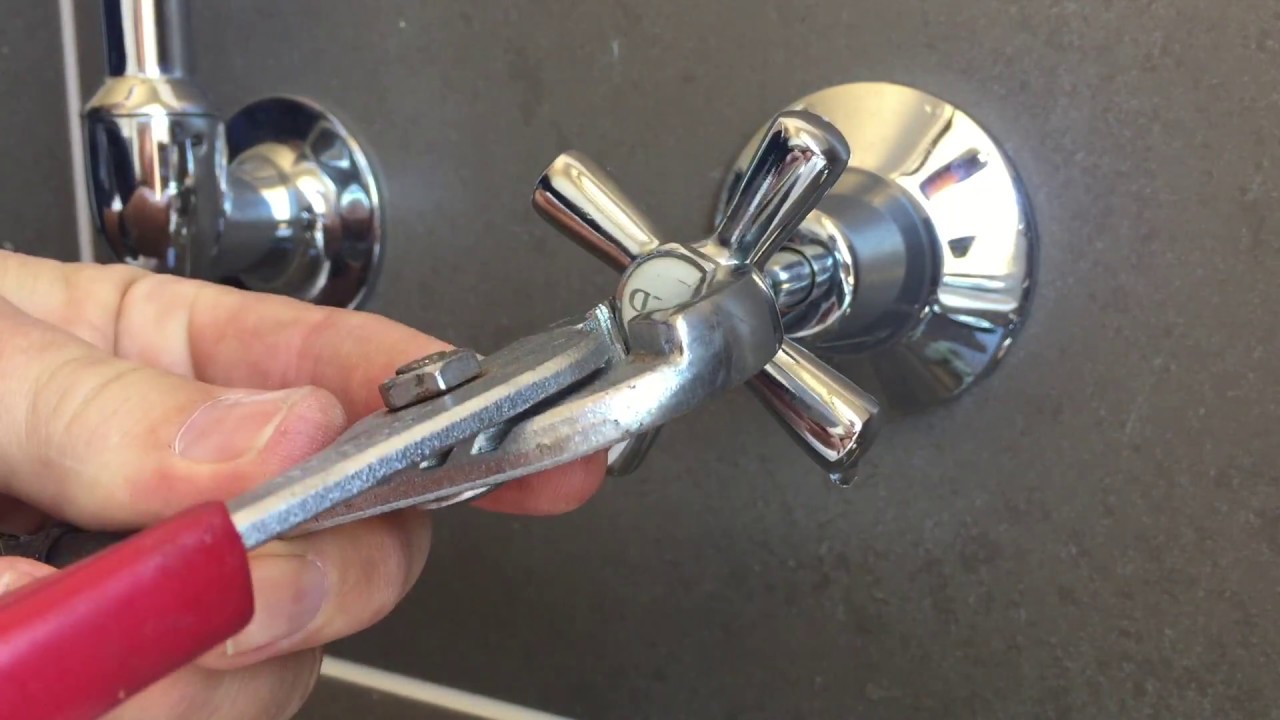
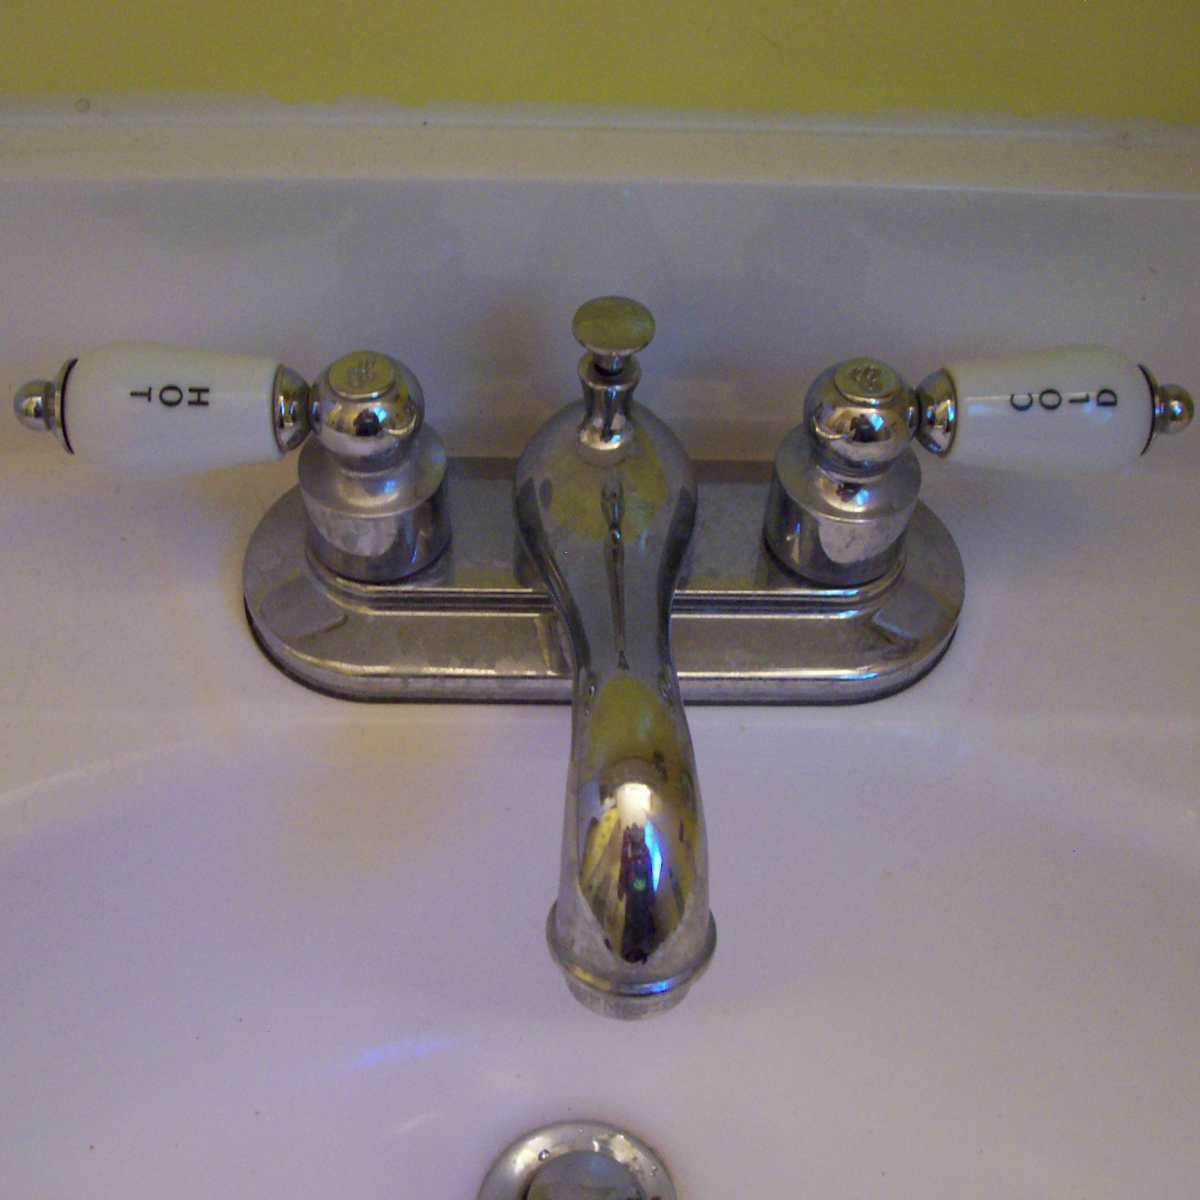
Remove the Faucet Handle: Using a screwdriver, remove the screws that secure the faucet handle in place. Carefully lift off the handle, taking note of any additional components, such as decorative caps, that may need to be removed first. Set aside the handle and screws in a safe place.
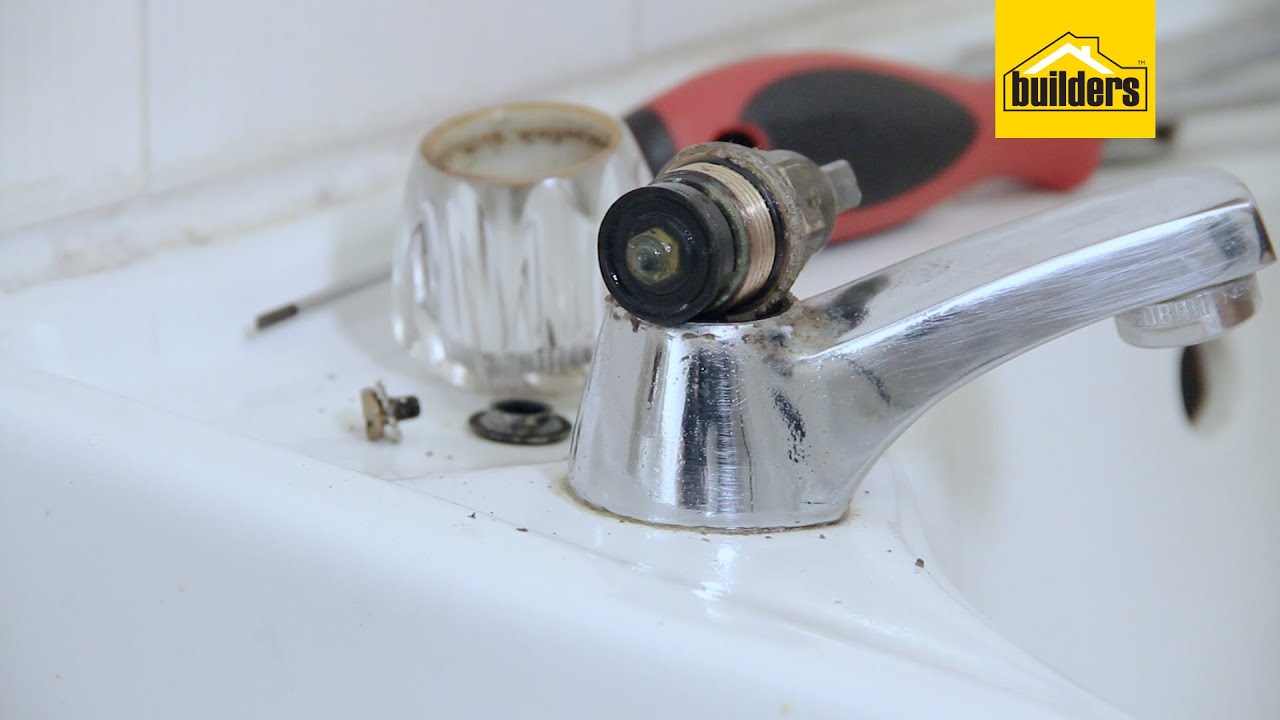
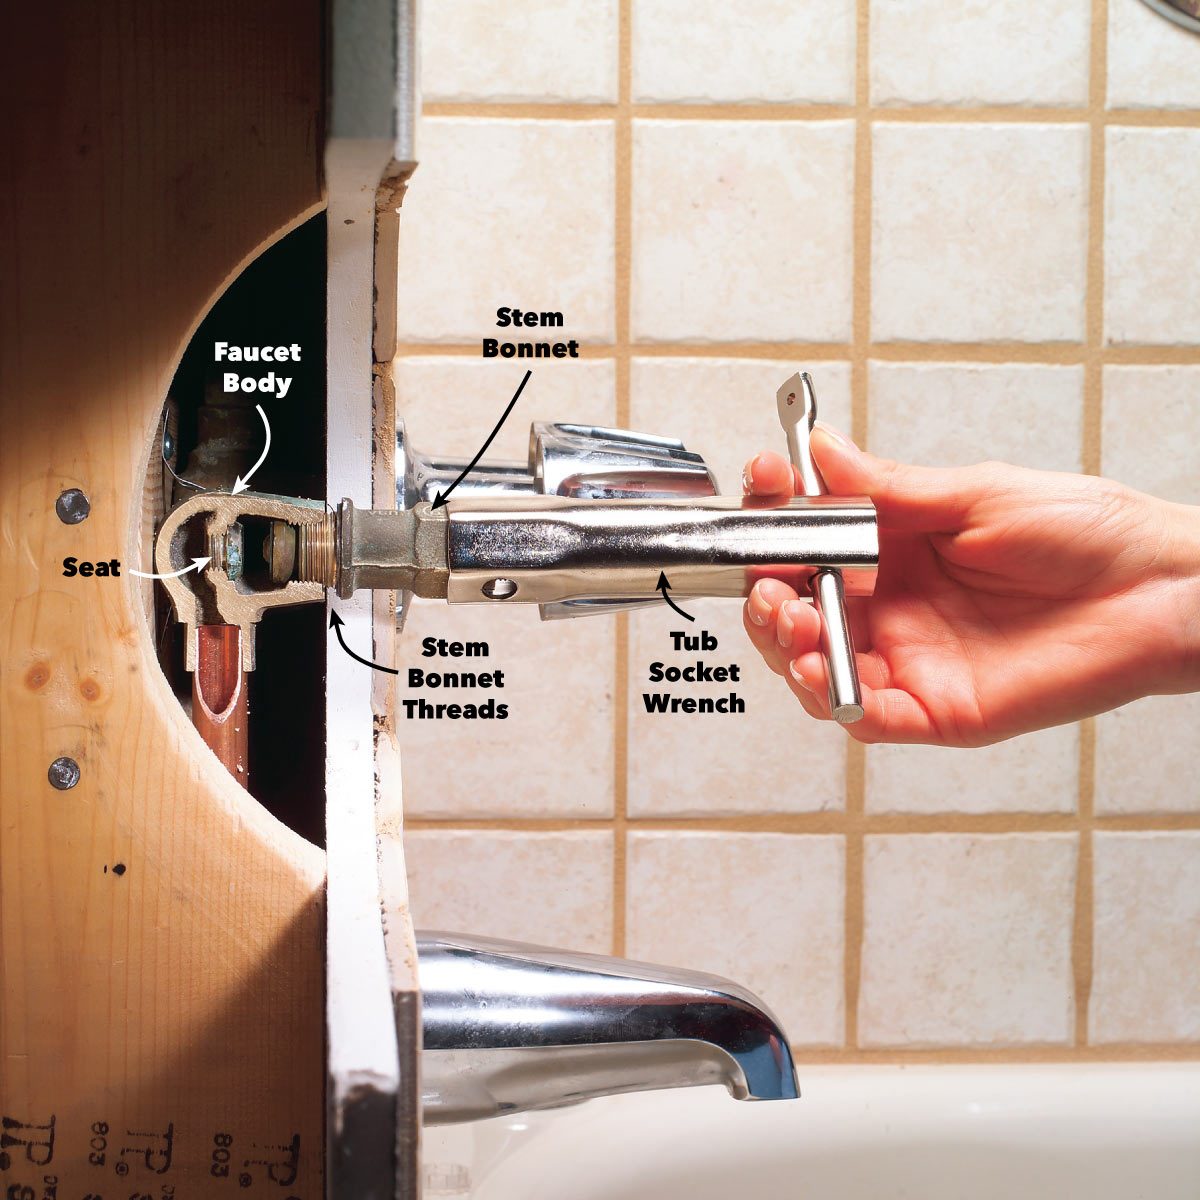
Access the Washer: Underneath the faucet handle, you will find the stem assembly. This is where the washer is located. Use an adjustable wrench to unscrew the packing nut that holds the stem assembly in place. Once the packing nut is removed, you can access the washer.
Replace the Washer: Inspect the old washer for signs of wear or damage. If necessary, use the adjustable wrench to unscrew the washer from the stem assembly. Replace it with a new washer of the appropriate size and material. Ensure that the new washer is securely tightened.
Reassemble the Faucet: Carefully reattach the stem assembly and secure it with the packing nut. Make sure it is tightened but avoid over-tightening, as this could cause damage. Place the faucet handle back onto the stem assembly and reinsert the screws. Use the screwdriver to tighten the screws securely.
Test for Leaks: Once the faucet handle is reassembled, turn on the water supply by opening the shut-off valves under the sink. Slowly turn on the faucet and check for any leaks around the handle or base. If you notice any leaks, tighten the components a bit more until the leaks stop.
Common Problems and Solutions
Leaking Handle: If you notice leaks around the faucet handle even after replacing the washer, it could be due to a damaged or worn-out O-ring. The O-ring is a small rubber ring that creates a seal between the faucet handle and the stem assembly. To fix this issue, remove the handle and inspect the O-ring. If it appears worn or damaged, replace it with a new one of the correct size.
Water Hammer: Water hammer is a loud banging noise that occurs when you turn off the faucet quickly. It can occur after changing a washer if the water pressure is too high. To alleviate water hammer, you can install a water hammer arrestor, which absorbs the sudden pressure changes and prevents the noise. Alternatively, you can try reducing the water pressure at the main water valve.
Constant Dripping: If you replaced the washer but the faucet continues to drip, it could indicate a problem with the valve seat. The valve seat is a small metal part that the washer presses against to create a watertight seal. Over time, the valve seat can become worn or corroded, preventing a proper seal. In this case, you may need to use a valve seat grinder to smooth out the surface or replace the valve seat altogether.
Squeaky Handle: If you experience a squeaky or stiff handle after changing the washer, it may be due to mineral buildup or lack of lubrication. Remove the handle and stem assembly, clean any mineral deposits, and apply a small amount of silicone-based faucet grease or plumber’s grease to the moving parts. This will lubricate the handle and reduce friction, eliminating the squeaking sound.
Maintenance and Prevention
Regular Cleaning: Regularly clean your faucet to remove mineral deposits and debris that can affect the performance of washers. Use a mixture of water and vinegar to dissolve mineral buildup and wipe down the faucet with a soft cloth. This preventive measure will help maintain optimal water flow and reduce wear on the washers.
Avoid Excessive Force: When operating the faucet handle, avoid applying excessive force. Turning the handle gently and avoiding overtightening can significantly reduce stress on the washers and other components. This simple habit can help prolong the lifespan of the washers and prevent unnecessary wear and tear.
Use Water Softeners: If you live in an area with hard water, consider installing a water softener or using a water softening system for your entire home. Hard water contains high levels of minerals that can cause mineral buildup and accelerate the wear on washers. Softening the water will help reduce mineral deposits and extend the lifespan of your washers.
Replace Washers Proactively: Instead of waiting for washers to fail and cause leaks, proactively replace them at regular intervals. As a preventive measure, consider replacing washers every one to two years, even if they appear to be in good condition. This proactive approach can prevent unexpected leaks and minimize potential water damage.
Educate Household Members: Teach household members to be mindful of their faucet usage. Instruct them to turn the faucet handles gently and not to force them if they encounter resistance. This awareness will help prevent unnecessary wear on the washers and contribute to their longevity.
Schedule Professional Maintenance: Consider scheduling regular maintenance appointments with a professional plumber. A licensed plumber can perform inspections, cleanings, and small repairs to ensure that your faucet and washers are in optimal condition. Professional expertise and maintenance can help identify and address any potential issues before they become major problems.
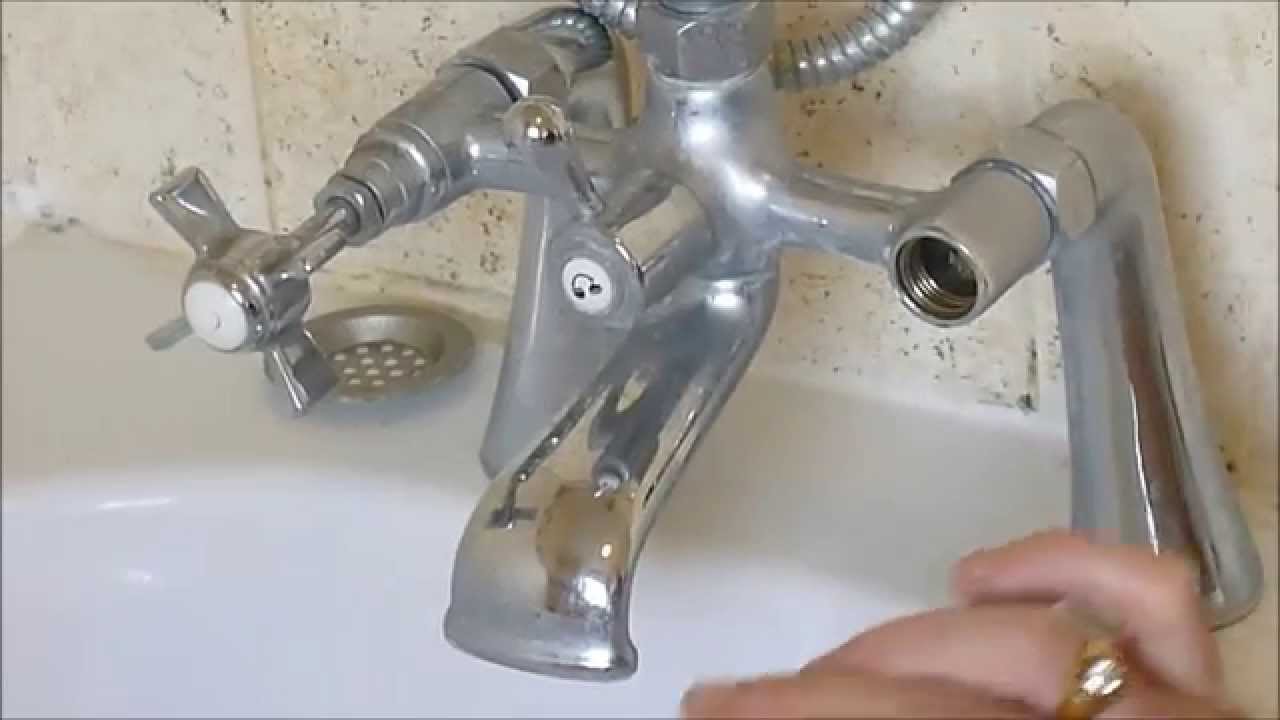
How to Change a Faucet Washer Plumbing By Jake
How to Change a Washer on a Mixer Tap? – Bathroom Ideas
How to Fix a Leaky Faucet Step-by-Step Guides for Both
Re-seating and changing washers on bath taps, DIY easy fix, money saving
Fix a Leaky Faucet Double Handle DIY
How to Repair (Not Replace) Any Leaking Bathroom Faucet (Sink or
How to Fix a Bathroom Faucet: 14 Steps (with Pictures) – wikiHow
Moen Bathroom Faucet Repair – Moen 1225
How to Fix a Leaking Bathtub Faucet (DIY) Family Handyman
We use cookies on our website to give you the most relevant experience by remembering your preferences and repeat visits. By clicking “Accept All”, you consent to the use of ALL the cookies. However, you may visit "Cookie Settings" to provide a controlled consent.
This website uses cookies to improve your experience while you navigate through the website. Out of these, the cookies that are categorized as necessary are stored on your browser as they are essential for the working of basic functionalities of the website. We also use third-party cookies that help us analyze and understand how you use this website. These cookies will be stored in your browser only with your consent. You also have the option to opt-out of these cookies. But opting out of some of these cookies may affect your browsing experience.
Necessary cookies are absolutely essential for the website to function properly. These cookies ensure basic functionalities and security features of the website, anonymously.
Cookie
Duration
Description
cookielawinfo-checkbox-analytics
11 months
This cookie is set by GDPR Cookie Consent plugin. The cookie is used to store the user consent for the cookies in the category "Analytics".
cookielawinfo-checkbox-functional
11 months
The cookie is set by GDPR cookie consent to record the user consent for the cookies in the category "Functional".
cookielawinfo-checkbox-necessary
11 months
This cookie is set by GDPR Cookie Consent plugin. The cookies is used to store the user consent for the cookies in the category "Necessary".
cookielawinfo-checkbox-others
11 months
This cookie is set by GDPR Cookie Consent plugin. The cookie is used to store the user consent for the cookies in the category "Other.
cookielawinfo-checkbox-performance
11 months
This cookie is set by GDPR Cookie Consent plugin. The cookie is used to store the user consent for the cookies in the category "Performance".
viewed_cookie_policy
11 months
The cookie is set by the GDPR Cookie Consent plugin and is used to store whether or not user has consented to the use of cookies. It does not store any personal data.
Functional cookies help to perform certain functionalities like sharing the content of the website on social media platforms, collect feedbacks, and other third-party features.
Performance cookies are used to understand and analyze the key performance indexes of the website which helps in delivering a better user experience for the visitors.
Analytical cookies are used to understand how visitors interact with the website. These cookies help provide information on metrics the number of visitors, bounce rate, traffic source, etc.
Advertisement cookies are used to provide visitors with relevant ads and marketing campaigns. These cookies track visitors across websites and collect information to provide customized ads.


 Related Posts:


