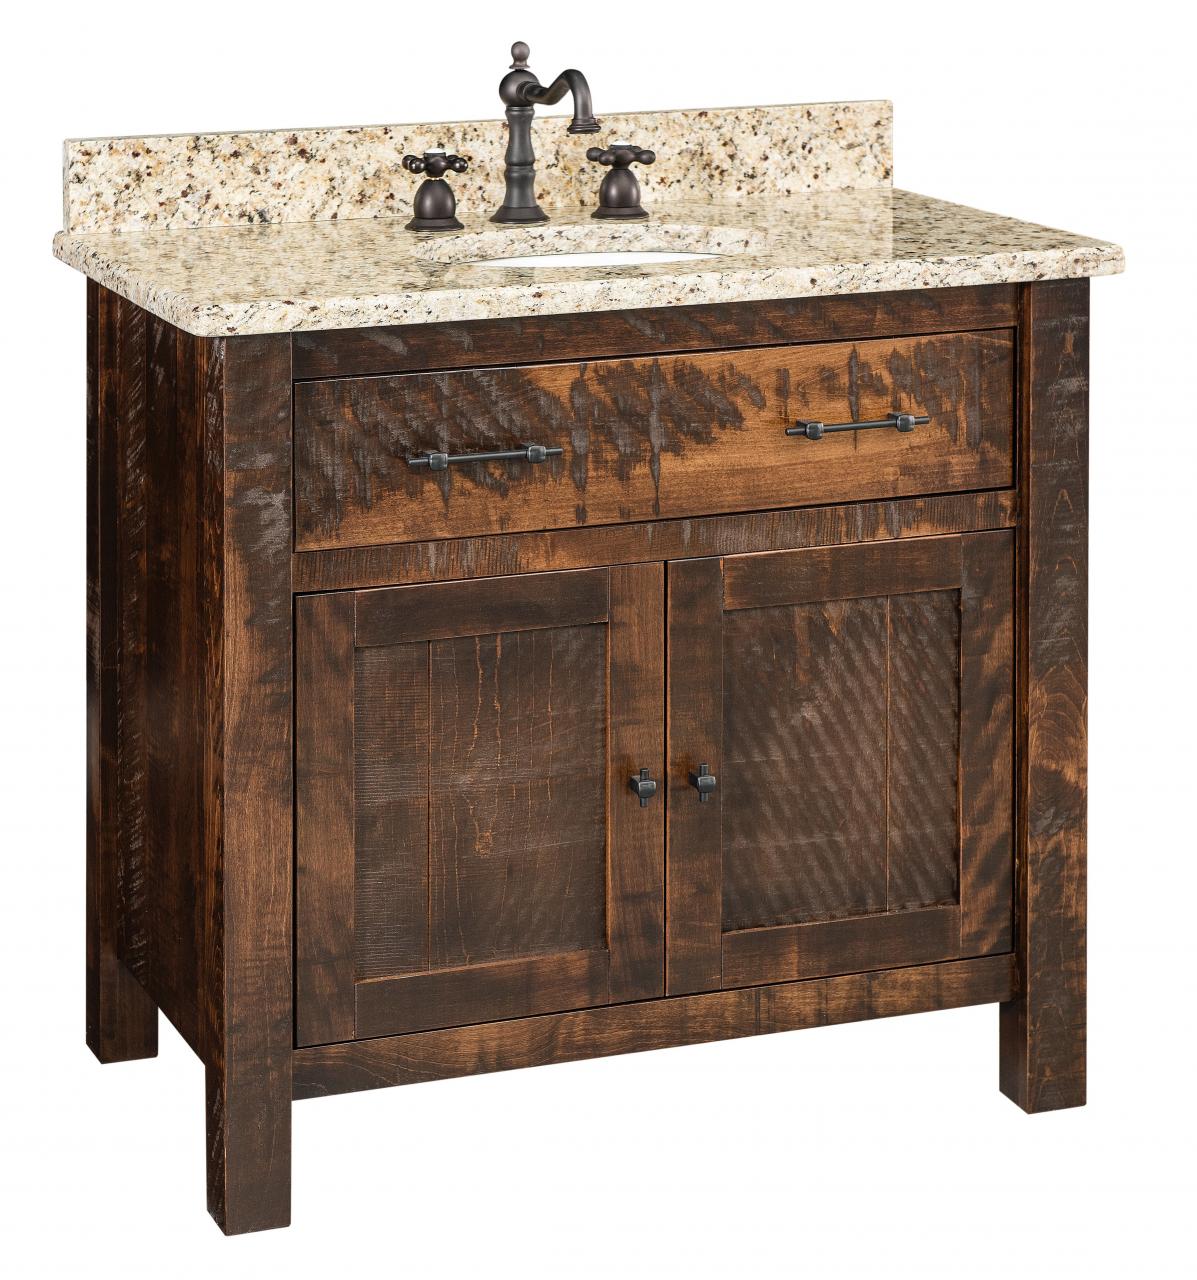
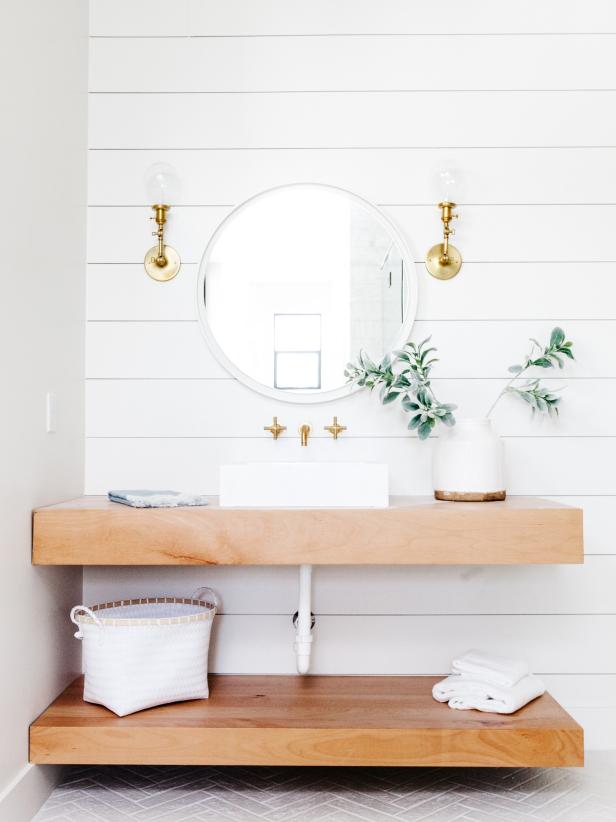
Refresh with a New Coat of Paint
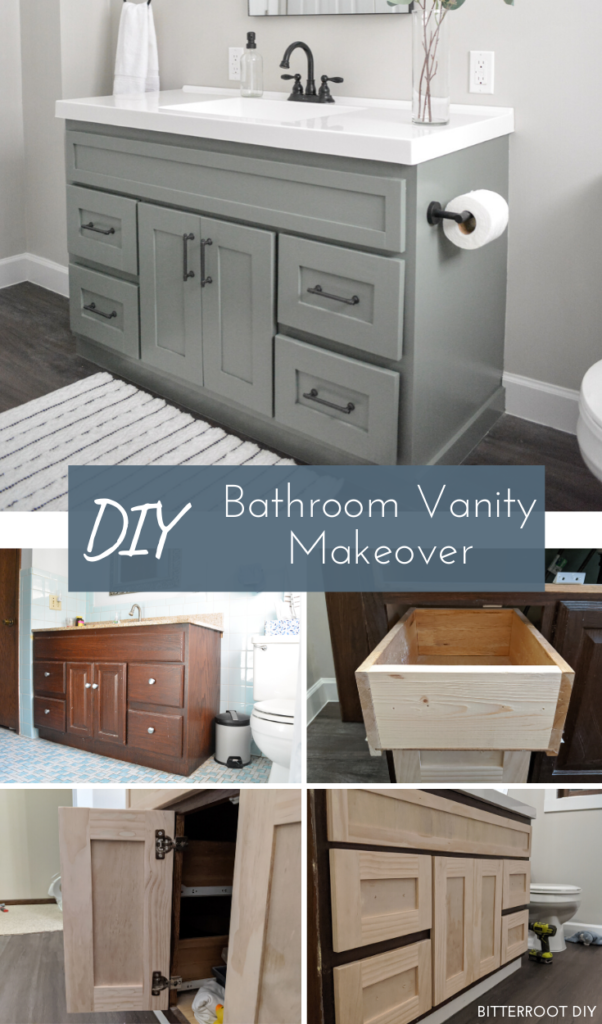
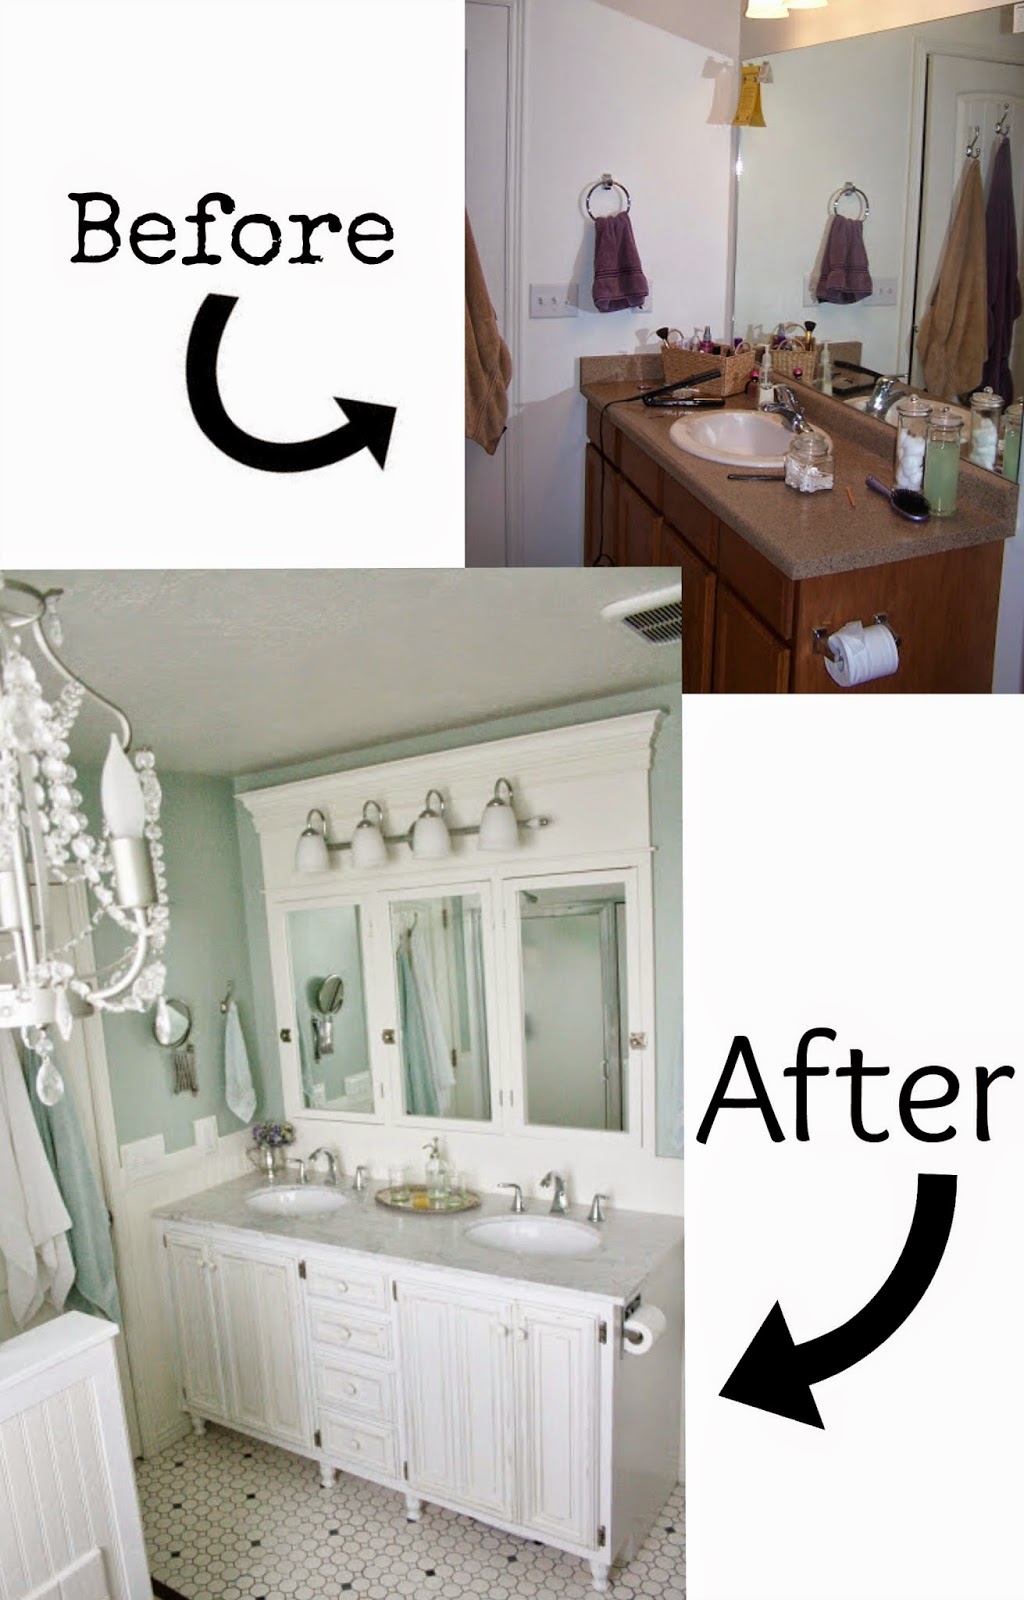
When I first decided to give my bathroom vanity a makeover, the most straightforward and impactful change I could think of was refreshing it with a new coat of paint. Here’s how I transformed my vanity and brought a fresh look to my bathroom.
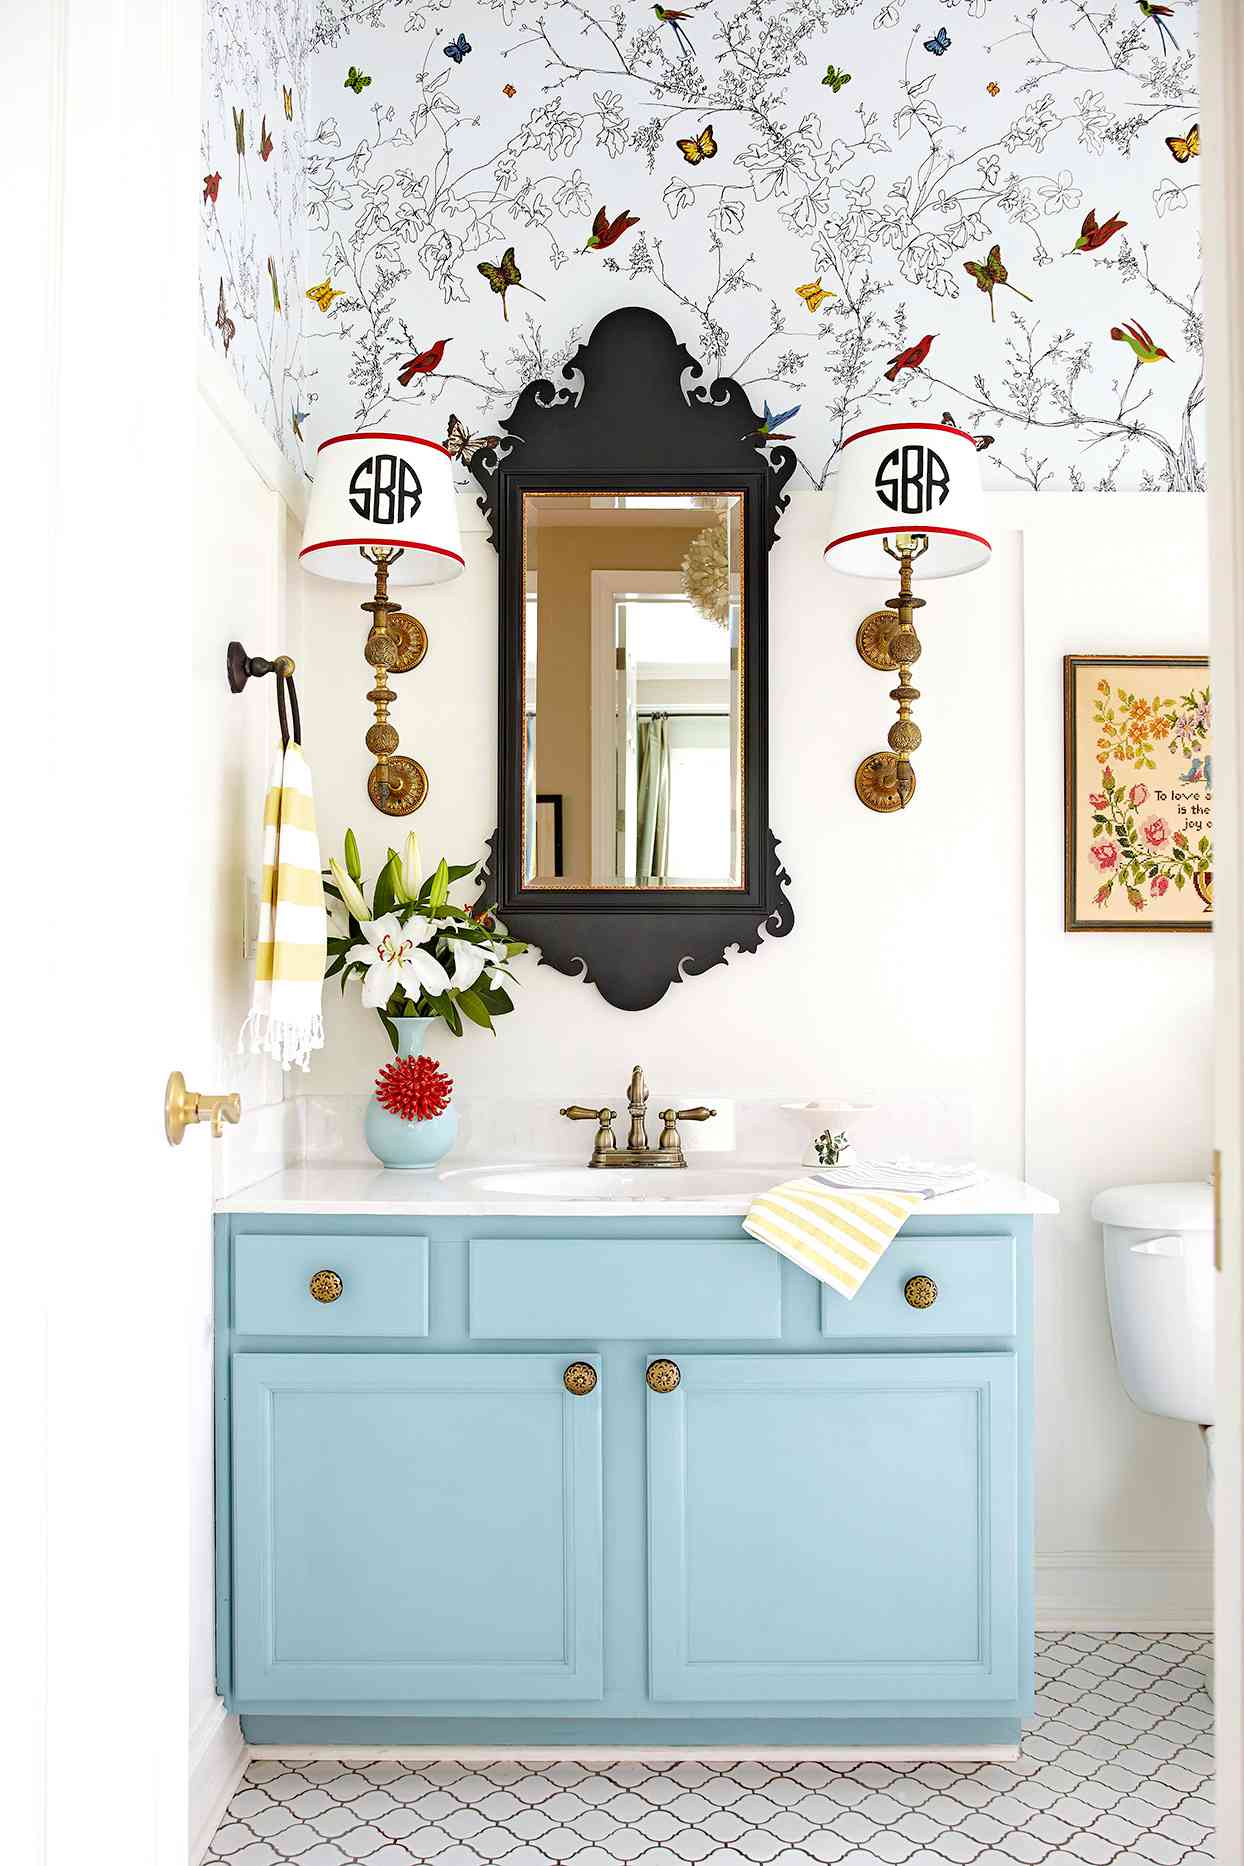
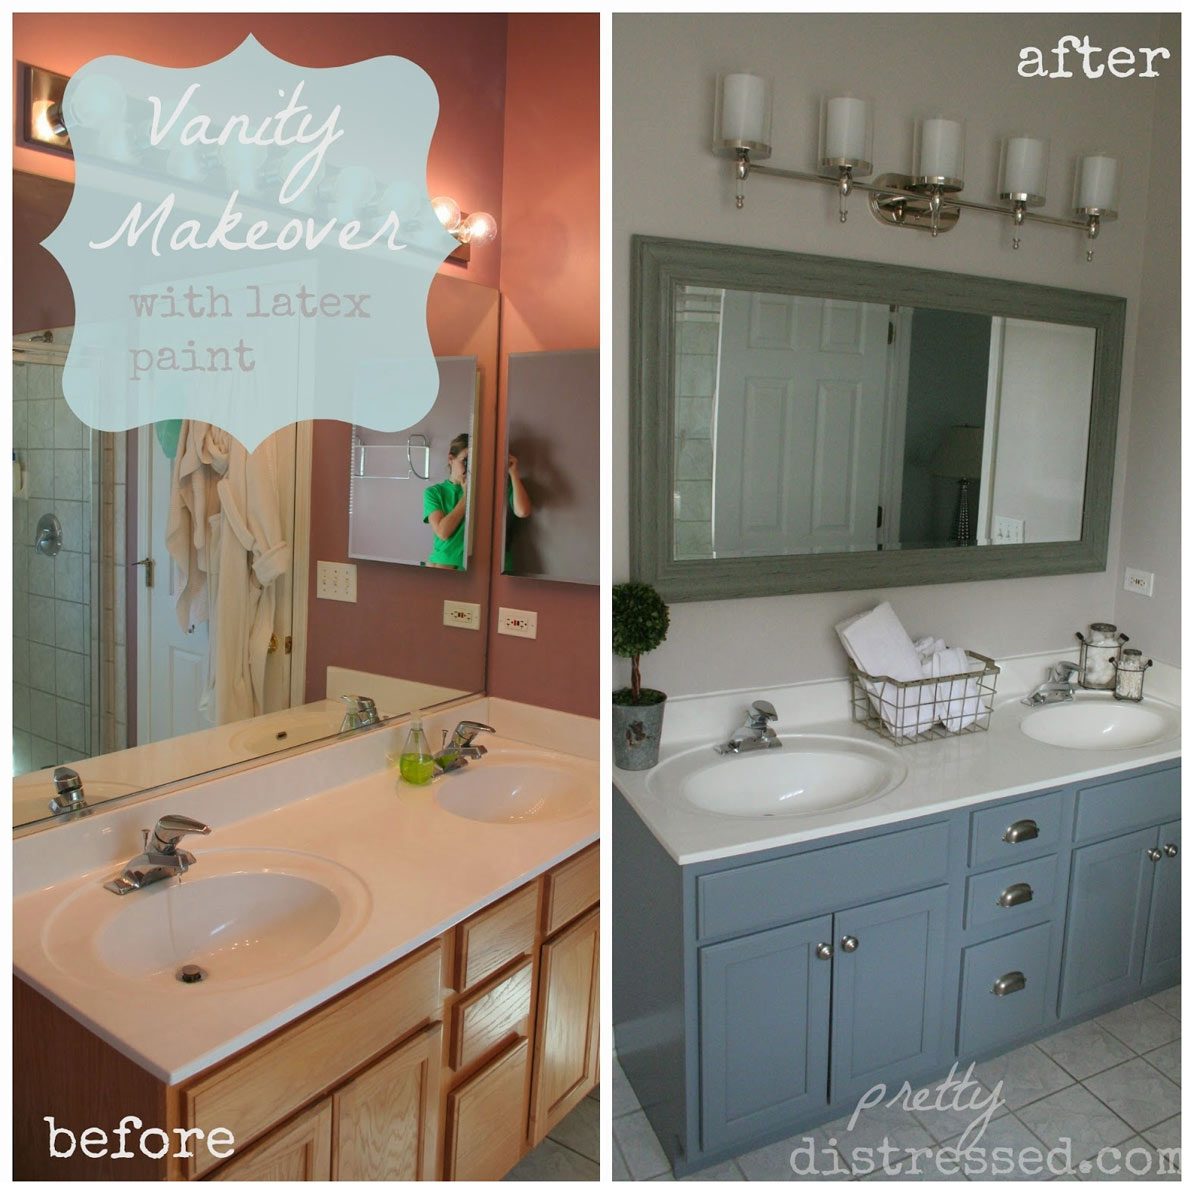
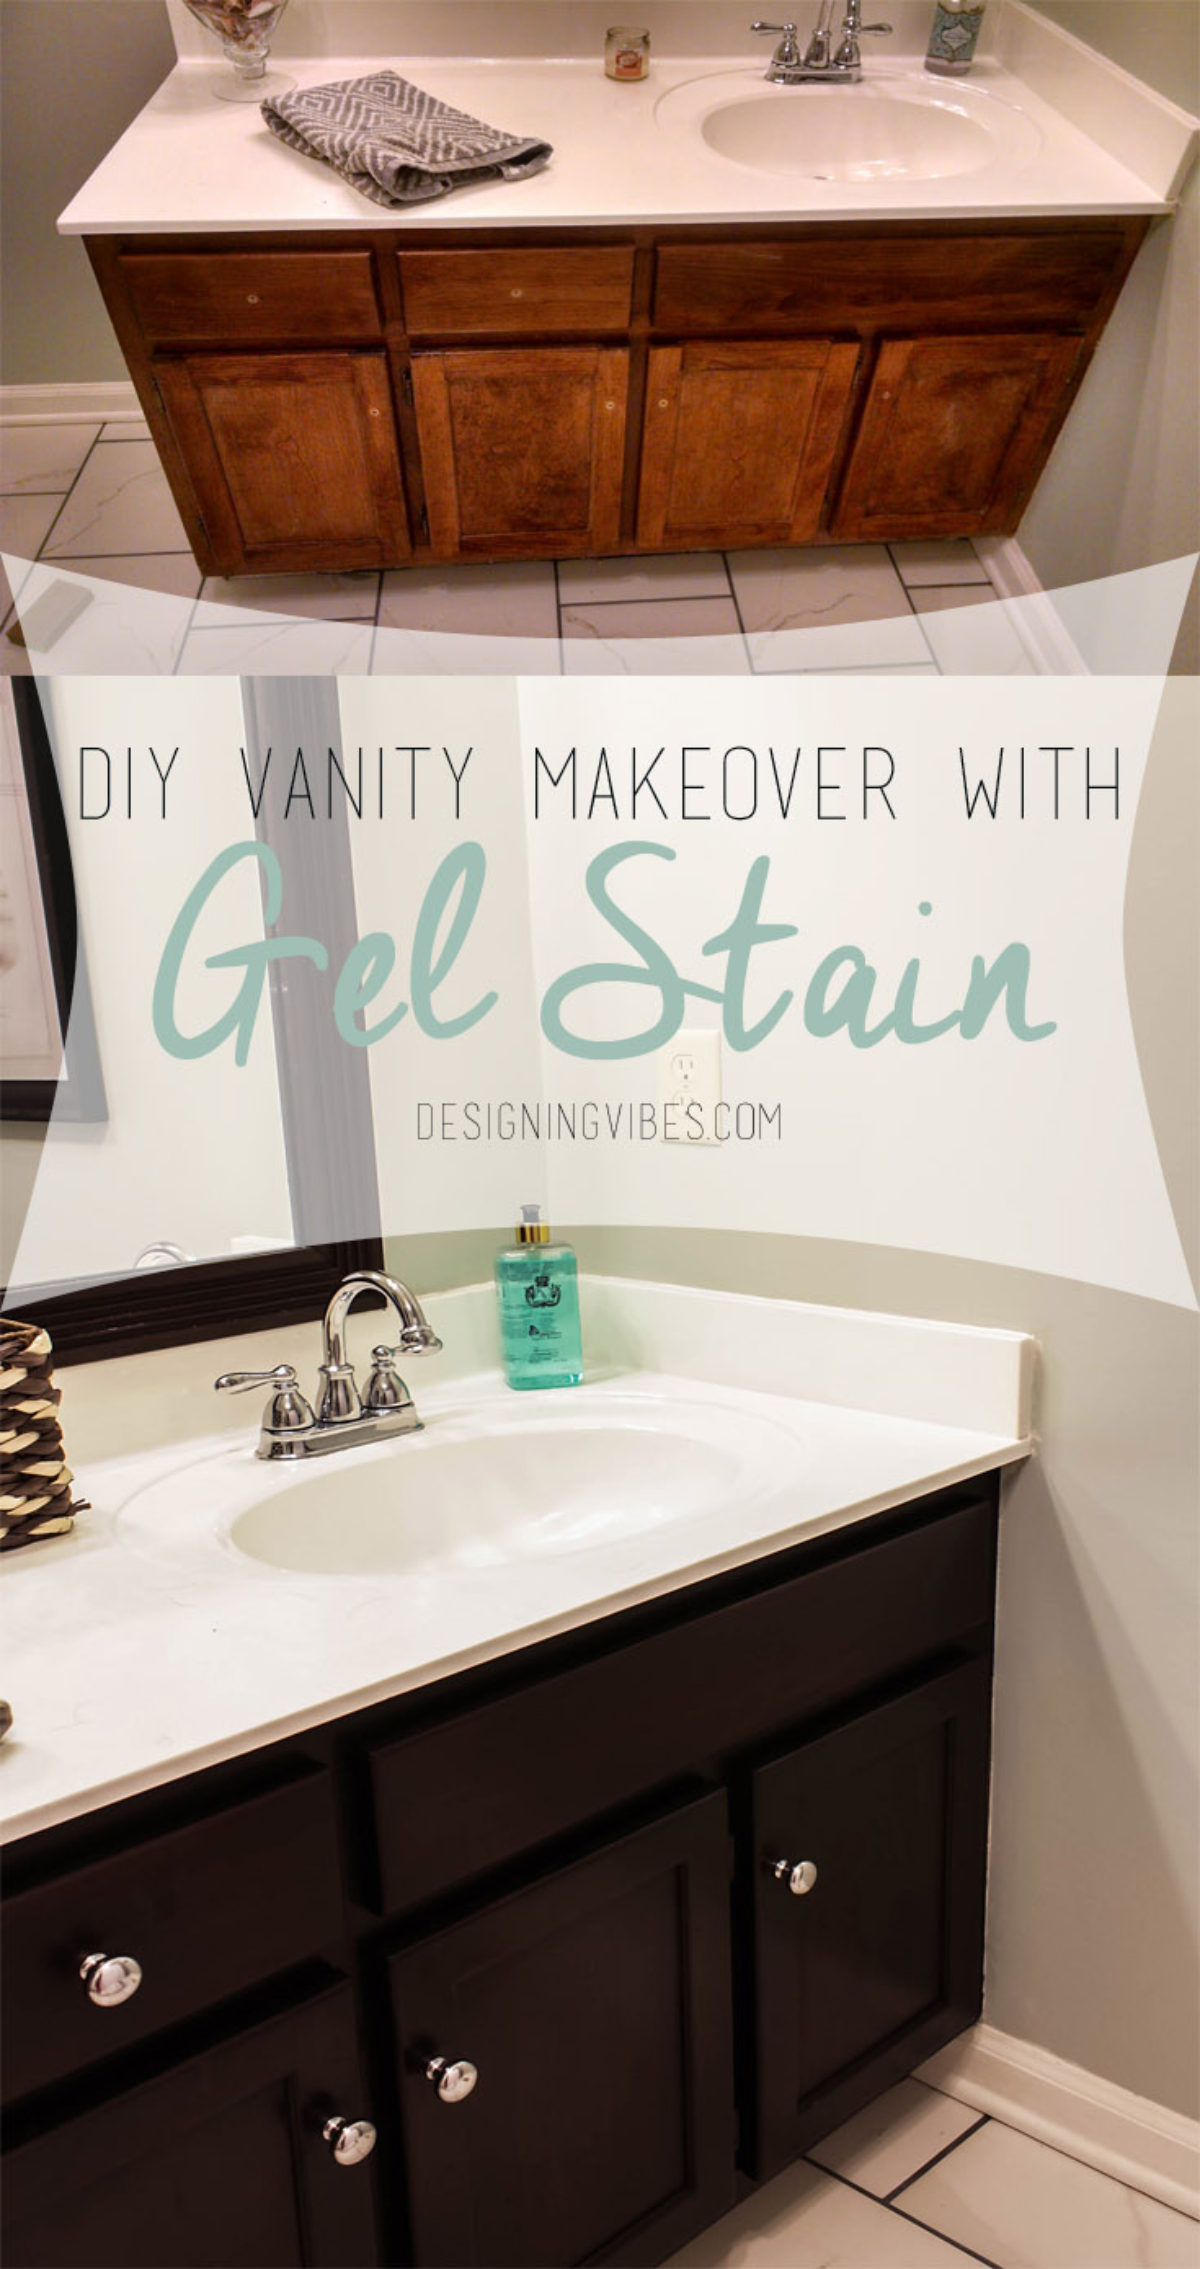
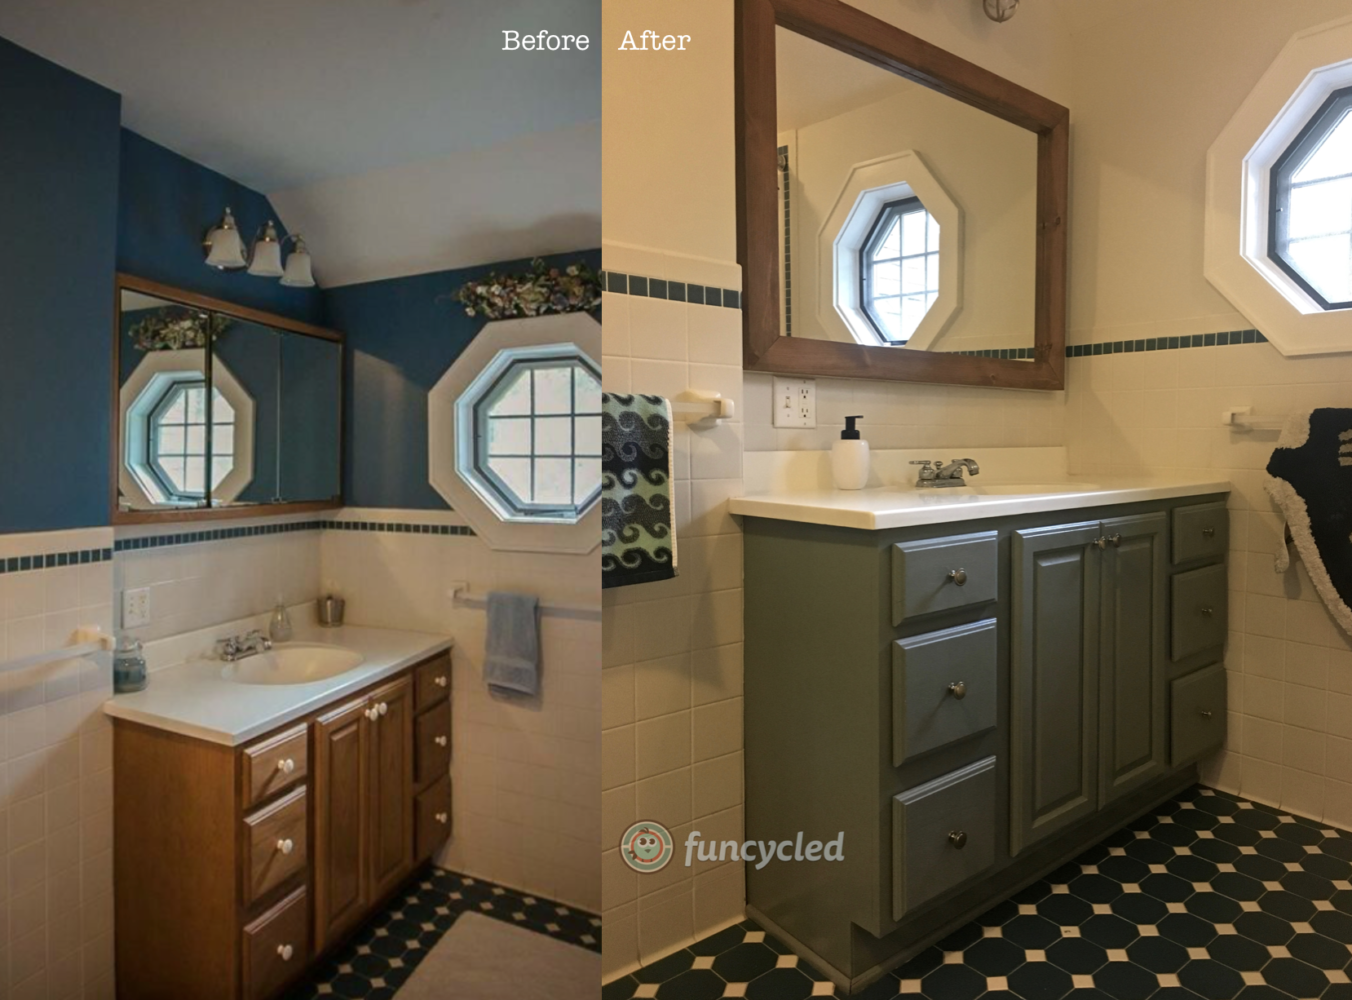
- Choose the Right Paint Color: The first step was selecting the perfect paint color. I wanted something that would complement the existing decor but also stand out as a feature piece. After much deliberation, I chose a soft gray for a modern, sophisticated look. The right color can make all the difference in revitalizing a space.
- Prepare the Surface: Proper preparation is crucial for a smooth, lasting finish. I started by removing all the hardware and thoroughly cleaning the vanity to remove any dirt, grease, or soap residue. Sanding the surface was necessary to ensure the paint adhered properly. I used medium-grit sandpaper for this task.
- Prime the Vanity: Applying a primer was the next essential step. A good primer helps the paint stick better and provides a uniform surface for the topcoat. I used a high-quality, stain-blocking primer and allowed it to dry completely. This step was key to achieving a professional-looking finish.
- Paint with Care: With the primer in place, I began painting the vanity. Using a high-quality brush and foam roller, I applied the paint in thin, even coats, allowing each coat to dry thoroughly before adding the next. Patience was important here to avoid drips and ensure a smooth finish. I applied for two coats for full coverage.
- Seal for Durability: To protect the newly painted surface, I applied a clear polyurethane sealer. This step added a subtle sheen and made the vanity more resistant to moisture and wear. The sealer also made cleaning easier, ensuring my vanity would look fresh for years to come.
- Reassemble and Enjoy: Once everything was dry, I reattached the hardware and admired the transformation. The new coat of paint completely revitalized my bathroom vanity, giving it a fresh and modern look. It was a simple and cost-effective way to make a significant impact on the overall appearance of my bathroom.

Upgrade Your Hardware for a Modern Look
Realizing that my bathroom vanity looked dated, I decided to upgrade the hardware for a quick and modern makeover. Changing out the handles and knobs can make a world of difference. Here’s how I approached this project:
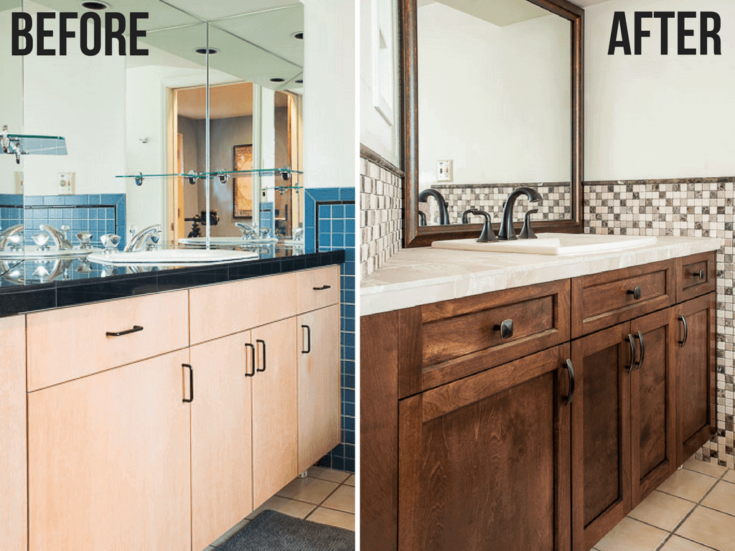
Select Modern Hardware The first step was choosing new hardware that fit the modern aesthetic I wanted. I visited several home improvement stores and browsed online until I found sleek, brushed nickel handles and knobs. The contemporary design immediately appealed to me, and I knew it would elevate the look of my vanity.
Remove Old Hardware Removing the old hardware was straightforward but required some patience. I used a screwdriver to carefully take off the existing handles and knobs, making sure not to damage the vanity’s surface. This step revealed the vanity’s potential for a fresh update.
Fill and Sand Holes Since my new hardware had a different configuration from the old, I needed to fill the existing holes. I used wood filler to fill the holes and let it dry completely. Afterward, I sanded the area smooth, ensuring a flat surface for the new hardware installation.
Measure and Drill New Holes Accurate measurements were crucial to ensure the new handles were level and evenly spaced. I used a template to mark the new hole positions and a drill to create the holes. This step required precision but was manageable with the right tools.
Install New Hardware With the new holes ready, I installed the modern handles and knobs. The process was quick and straightforward, and I immediately noticed the transformation. The sleek, brushed nickel hardware gave my vanity a contemporary look that felt fresh and updated.
Admire the Transformation The new hardware completely changed the appearance of my bathroom vanity. The modern handles and knobs not only enhanced the aesthetic but also made the vanity more functional. This simple upgrade breathed new life into the space and was a cost-effective way to achieve a modern look.
Incorporate Stylish Storage Solutions
To address the clutter on my bathroom vanity, I decided to incorporate stylish storage solutions. This project helped me organize my essentials while enhancing the overall look of my bathroom. Here’s how I achieved a more functional and attractive vanity:
Assess Your Storage Needs The first step was assessing what I needed to store. I took stock of my toiletries, makeup, and other bathroom essentials. This helped me determine the type and amount of storage solutions required. Understanding my needs made the planning process much smoother.
Choose Functional Organizers I explored various storage options, from drawer organizers to countertop containers. I opted for clear acrylic organizers for my drawers, which made it easy to see and access everything. For the countertop, I chose stylish, matching containers that added a decorative touch.
Maximize Drawer Space Drawer organizers were a game-changer. They helped me maximize space and keep everything tidy. I used small containers for makeup and larger ones for toiletries. This arrangement made it easy to find what I needed without rummaging through cluttered drawers.
Add Shelves and Hooks To further enhance storage, I installed small shelves and hooks inside the vanity doors. The shelves provided additional space for items like cleaning supplies and extra toiletries. The hooks were perfect for hanging hair tools, keeping them accessible yet out of the way.
Utilize Baskets and Bins Stylish baskets and bins were a great addition to my bathroom vanity. I used them to store larger items like towels and bulk toiletries. These containers added a touch of style while keeping everything organized. The baskets were easy to move and clean as needed.
Enjoy a Clutter-Free Vanity Incorporating stylish storage solutions made a significant difference in my bathroom. The vanity looked more organized and visually appealing. It was easier to maintain a clean and tidy space, and the added storage solutions blended seamlessly with the bathroom decor.
Add a Statement Countertop
I wanted to make a bold statement with my bathroom vanity, so I decided to upgrade the countertop. A new, eye-catching countertop can completely transform the look of a vanity. Here’s how I approached this project:
Choose Your Countertop Material The first step was selecting the right countertop material. I explored options like granite, quartz, and marble. After weighing the pros and cons of each, I chose a stunning quartz countertop with a marbled design. Quartz was durable, low-maintenance, and offered the luxurious look I desired.
Measure and Plan Accurate measurements were crucial for this project. I measured the existing countertop and planned for any additional features like an integrated sink. Precise measurements ensured a perfect fit and a seamless installation process.
Remove the Old Countertop Removing the old countertop required some effort but was manageable with the right tools. I carefully detached the sink and used a pry bar to lift the old countertop. This step revealed the potential for a fresh, new surface.
Install the New Countertop With the old countertop removed, I installed the new quartz countertop. I applied a bead of silicone adhesive around the edges and carefully placed the new countertop on top. Aligning it properly was essential to ensure a smooth and level surface.
Reinstall the Sink and Fixtures After the countertop was in place, I reinstalled the sink and fixtures. This step required reconnecting the plumbing and ensuring everything was watertight. The integrated sink design added a seamless and modern touch to the vanity.
Admire the Transformation The new quartz countertop completely transformed my bathroom vanity. The marbled design added a touch of elegance and luxury, making the vanity a stunning focal point. This upgrade was a significant investment but worth every penny for the impact it made.
Enhance with a Backsplash
To give my bathroom vanity a polished and cohesive look, I decided to add a backsplash. This project not only protected the wall from water damage but also added a stylish element to the vanity. Here’s how I did it:
Select Your Backsplash Material The first step was choosing the right backsplash material. I explored options like tile, glass, and even peel-and-stick versions. I settled on a beautiful subway tile with a glossy finish, which complemented my new countertop perfectly.
Measure and Plan Accurate measurements were essential for this project. I measured the area behind the vanity to determine how much tile I needed. I also planned the layout, ensuring the tiles would be evenly spaced and aligned for a professional look.
Prepare the Wall Before installing the backsplash, I prepped the wall by cleaning it thoroughly and sanding any rough spots. This step ensured the adhesive would stick properly. I also covered the countertop with a drop cloth to protect it during the installation process.
Install the Backsplash With everything prepped, I began installing the tiles. Using a tile adhesive, I applied the tiles to the wall, starting from the center and working my way outwards. I used spacers to ensure even gaps between the tiles and a level to keep everything straight.
Grout and Seal After the tiles were in place, I applied grout to fill the gaps. Using a rubber float, I spread the grout evenly and wiped away any excess with a damp sponge. Once the grout dried, I applied a sealant to protect it from moisture and stains.
Enjoy the Finished Look The new backsplash added a stylish and practical element to my bathroom vanity. It protected the wall and tied together the design of the vanity and countertop. The glossy subway tiles added a touch of elegance, completing the cohesive look of the bathroom.
Install a New Faucet for Function and Style
Realizing that my bathroom vanity’s faucet was outdated, I decided to install a new one. A modern faucet not only improves functionality but also enhances the overall look of the vanity. Here’s how I tackled this project:
Choose the Right Faucet The first step was selecting a new faucet that matched my bathroom’s style. I chose a sleek, high-arc faucet with a brushed nickel finish to complement my updated hardware and countertop. The new faucet added a contemporary touch to the vanity.
Turn Off the Water Supply Before starting the installation, I turned off the water supply to avoid any mess. I located the shut-off valves under the sink and turned them clockwise. This step ensured a clean and trouble-free installation process.
Remove the Old Faucet Removing the old faucet required some effort. I used a wrench to disconnect the water lines and unscrewed the mounting nuts. After carefully lifting off the old faucet, I cleaned the area to prepare for the new installation.
Install the New Faucet With the old faucet removed, I installed the new one. I followed the manufacturer’s instructions, attaching the faucet to the sink and securing it with the provided hardware. I connected the water lines and tightened all connections to prevent leaks.
Check for Leaks After the installation, I turned the water supply back on and checked for any leaks. I ran the faucet and inspected all connections, ensuring everything was watertight. This step was crucial to avoid any potential issues down the road.
Enjoy the Upgraded Look The new faucet instantly improved the functionality and style of my bathroom vanity. Its sleek design and modern finish complemented the overall aesthetic of the room. This upgrade was a simple yet impactful way to enhance both the appearance and usability of the vanity.
Personalize with Decorative Accessories
To add a finishing touch to my bathroom vanity makeover, I decided to personalize it with decorative accessories. This final step made the space truly my own and added a touch of style and charm. Here’s how I went about it:
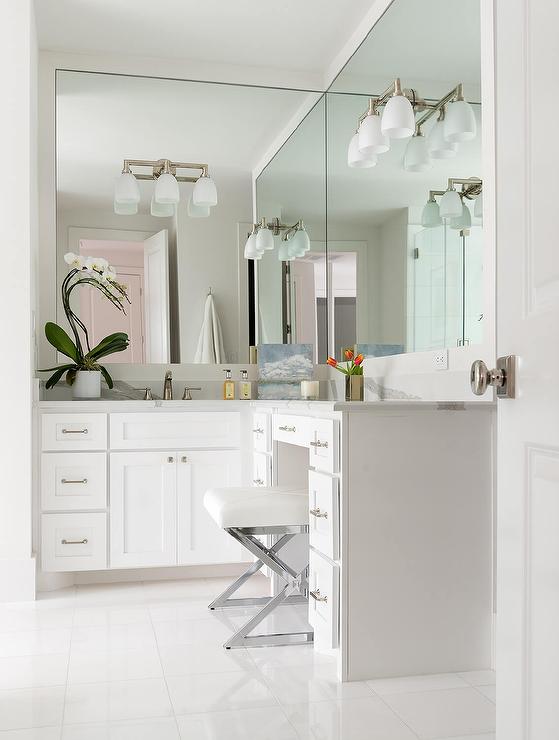
Select Complementary Accessories The first step was choosing accessories that complemented my vanity’s new look. I selected a stylish soap dispenser, matching towel holders, and a decorative tray for organizing small items. These accessories added both function and flair.
Add a Stylish Mirror A decorative mirror above the vanity was a key addition. I chose a sleek, round mirror with a gold frame to add a touch of elegance and tie together the vanity’s updated look. The mirror also enhanced the room’s visual appeal and made the space feel more open.
Incorporate Plants and Flowers Adding some greenery brought life to the vanity area. I placed a small potted plant and a vase with fresh flowers on the countertop. The natural elements added a refreshing touch and a pop of color, making the space feel inviting and vibrant.
Organize with Trays and Containers Stylish trays and containers helped keep everything organized while adding a decorative element. I used a chic marble tray to hold my toiletries and a set of matching containers for cotton balls and swabs. These accessories kept the vanity tidy and visually appealing.
Choose Coordinating Towels Coordinating towels added a cohesive look to the space. I selected plush, high-quality towels in a color that complemented the new paint and hardware. Hanging them neatly on matching towel bars added a touch of luxury and practicality.
Enjoy the Personalized Touch Personalizing the vanity with decorative accessories completed the makeover and made the space feel uniquely mine. The carefully chosen items enhanced the overall look and functionality of the bathroom, creating a stylish and welcoming environment.
Best DIY Bathroom Vanity Makeovers Pneumatic Addict
Easy DIY Bathroom Vanity Makeover
Budget-Friendly DIY Bathroom Vanity Makeovers
Astonishing DIY Bathroom Vanity Makeovers
Transforming Bathroom Vanity
Brewster Gray Bathroom Vanity Makeover
Our Master Bathroom Vanity Makeover
Related Posts:
- Bathroom Vanity Units No Sink
- Inexpensive Bathroom Vanity Ideas
- DIY Bathroom Vanity Light Cover
- Narrow Bathroom Vanity Cabinets
- Off Center Sink Bathroom Vanity
- Antique Bathroom Vanity For Sale
- Bathroom Vanity Paint Ideas
- 31 Inch Bathroom Vanity Top
- Unique Bathroom Vanity Lights
- Bathroom Vanity Lights Contemporary

