Finding the Perfect Dresser: What to Look For
When it comes to transforming an old dresser into a stylish bathroom vanity, the first and most crucial step is finding the perfect piece. This initial phase sets the tone for your entire project, so it’s essential to know what to look for. I’ve learned that not every dresser is suited for this kind of transformation, and choosing the right one can make the difference between a smooth project and a frustrating ordeal.
- Consider the Size and Proportions The first thing you want to consider is the size of the dresser. It needs to fit the space where your vanity will go, both in terms of width and depth. A dresser that’s too large might overwhelm your bathroom, while one that’s too small could look out of place or not offer enough storage. Measure your space carefully before you start hunting for the perfect piece. The height of the dresser is also important; it should be comfortable to use once a sink is installed on top.
- Look for Solid Construction A solid wood dresser is ideal for this project. You want something sturdy enough to withstand the wear and tear of a bathroom environment. Avoid dressers made from particle board or other flimsy materials, as they may not hold up well with the added weight of a sink and the inevitable exposure to moisture. Check the drawers and frame for any signs of weakness or damage—these can be repaired, but it’s better to start with a solid foundation.
- Check the Condition of the Drawers The drawers will play a key role in your vanity’s functionality, so it’s important to inspect them thoroughly. Make sure they open and close smoothly. You’ll need to make some modifications to accommodate plumbing, so it’s best if the drawers are in good shape to begin with. If they’re sticky or uneven, you might be in for more work than you bargained for.
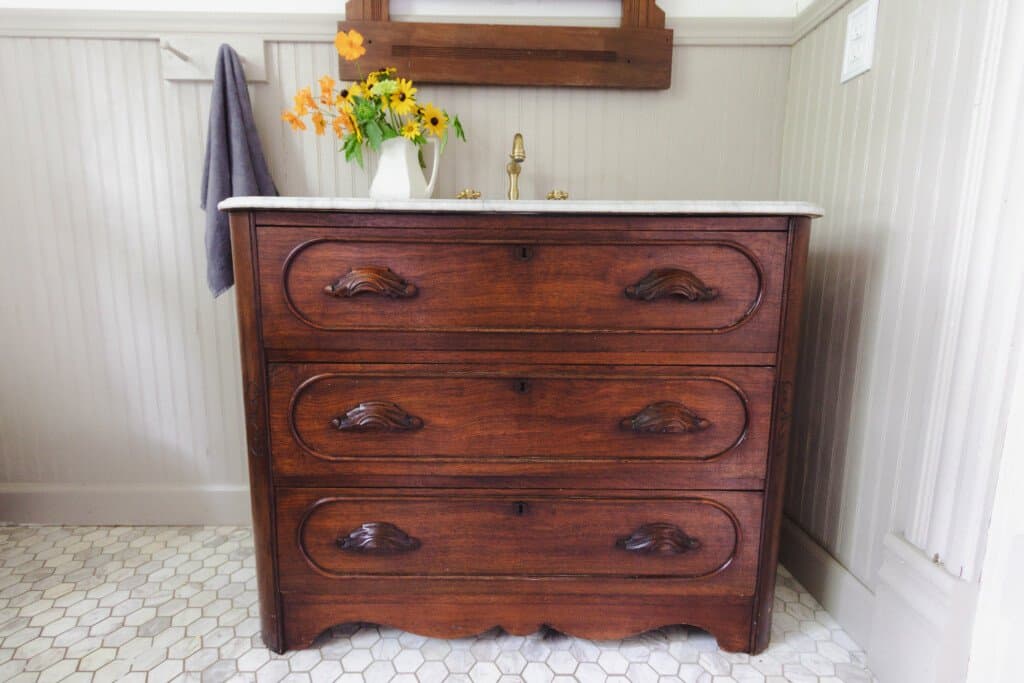
- Examine the Style and Details The style of the dresser will define the overall look of your vanity, so pick something that speaks to your design aesthetic. Whether you’re going for a rustic, vintage, or modern look, the dresser should align with the style of your bathroom. Pay attention to details like the hardware, drawer fronts, and overall shape. These elements can often be highlighted or modified to enhance the dresser’s appeal.
- Consider the Wood Type The type of wood can influence both the look and durability of your vanity. Hardwoods like oak, maple, or walnut are excellent choices for their strength and beautiful grain patterns. If you’re considering staining or refinishing the dresser, the wood type will also affect how well it takes to these treatments. Some woods might require more prep work, but the results can be stunning.
- Don’t Forget About Budget Finally, keep your budget in mind. While it’s tempting to splurge on a gorgeous antique, remember that you’ll also need to invest in a sink, faucet, plumbing supplies, and finishing materials. Thrift stores, flea markets, and estate sales are great places to find affordable dressers that have potential. With a little patience and some luck, you’ll find the perfect piece without breaking the bank.
Preparing the Dresser: Essential Steps Before Starting
Once you’ve found your dream dresser, the next step is to prepare it for its new life as a bathroom vanity. This phase is all about laying the groundwork to ensure your project goes smoothly. I’ve found that thorough preparation can save you a lot of headaches down the line. Here’s how to get your dresser ready for transformation.
Clean the Dresser Thoroughly The first step in preparing your dresser is to give it a good cleaning. Over the years, dressers can accumulate dust, grime, and even odors that you’ll want to get rid of. Start by removing any old hardware and drawers, then use a mild cleaner and a soft cloth to wipe down the entire piece. Don’t forget to clean inside the drawers and along any crevices where dirt might be hiding.
Inspect and Repair Damage Now that your dresser is clean, it’s time to inspect it for any damage. Check for cracks in the wood, loose joints, or areas where the veneer might be peeling. Minor damage can usually be repaired with wood glue, clamps, or wood filler. If you encounter more serious issues, like extensive rot or structural problems, you may need to rethink using the dresser or prepare for some more involved repairs.
Remove Old Finishes if Necessary If your dresser has an old finish, like varnish or paint, you’ll need to remove it before moving forward. This step is especially important if you plan on staining or painting the dresser. Use a chemical stripper or sandpaper to remove the old finish, being careful not to damage the wood underneath. This can be a labor-intensive step, but it’s worth it to ensure a smooth, even surface for your new finish.
Reinforce the Structure Depending on the dresser’s age and condition, you might need to reinforce it to ensure it can support the added weight of the sink and countertop. Check the corners, joints, and legs, adding extra screws or brackets as needed. If the dresser feels wobbly or unstable, it’s better to address this now than to have problems later when everything is installed.
Plan for Plumbing Modifications Before you start cutting into your dresser, it’s crucial to plan how you’ll accommodate the plumbing. Take measurements and mark where you’ll need to cut openings for the sink and faucet. This is also the time to decide which drawers you’ll keep functional and which ones will need to be modified or fixed in place to make room for the plumbing.
Test Fit Your Sink and Faucet Once you’ve made your measurements, it’s a good idea to do a test fit of your sink and faucet. Place them on top of the dresser to ensure they fit as expected and make any necessary adjustments. This will give you a better idea of how everything will come together and can help you avoid surprises later on.
Designing Your Vanity: Choosing the Right Sink and Faucet
Designing the perfect vanity involves more than just repurposing an old dresser—you’ll need to choose the right sink and faucet to bring your vision to life. These choices will define both the functionality and style of your vanity, so it’s important to get them right. Here’s how I approached selecting the perfect sink and faucet for my dresser-turned-vanity project.
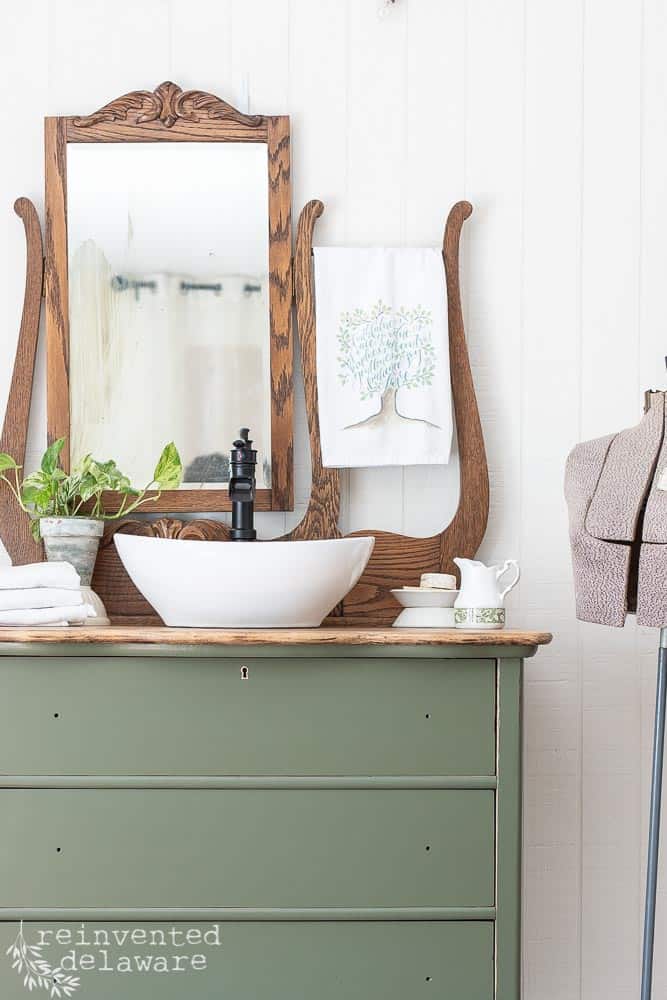
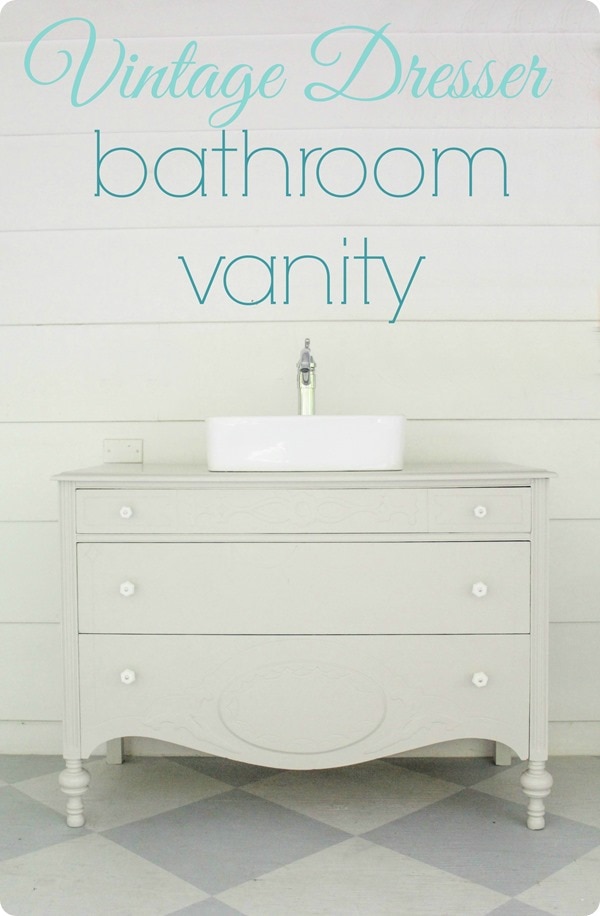
Consider the Type of Sink The first decision you’ll need to make is what type of sink to use. There are several options to consider: drop-in, vessel, undermount, or wall-mounted. Each has its pros and cons, depending on the look you’re going for and the dresser you’re working with. A vessel sink, for example, sits on top of the dresser and makes a bold statement, while an undermount sink offers a sleeker, more integrated look.
Match the Sink Size to Your Dresser Size is a critical factor when choosing a sink. It needs to fit comfortably on top of your dresser without overwhelming it or looking too small. Measure the top of your dresser and consider the available counter space. If you have a narrow dresser, you might opt for a smaller sink or even a pair of sinks if your dresser is wide enough. Make sure there’s enough space around the sink for other essentials like soap dispensers or toothbrush holders.
Select a Faucet That Complements Your Sink The faucet is just as important as the sink in defining the style of your vanity. If you’ve chosen a vessel sink, you’ll need a taller faucet that can reach over the edge. For an undermount sink, a traditional faucet works well. Consider the finish of the faucet—whether it’s chrome, brushed nickel, oil-rubbed bronze, or something else, it should coordinate with other fixtures in your bathroom. The design should also reflect the overall aesthetic you’re aiming for, whether that’s modern, vintage, or rustic.
Think About Functionality While aesthetics are important, don’t forget about functionality. The faucet you choose should be easy to use and maintain. Look for features like a single-handle design for easy temperature control or a pull-out sprayer for added convenience. The sink should be practical as well, with enough depth to prevent splashing and enough surface area for your daily routines.
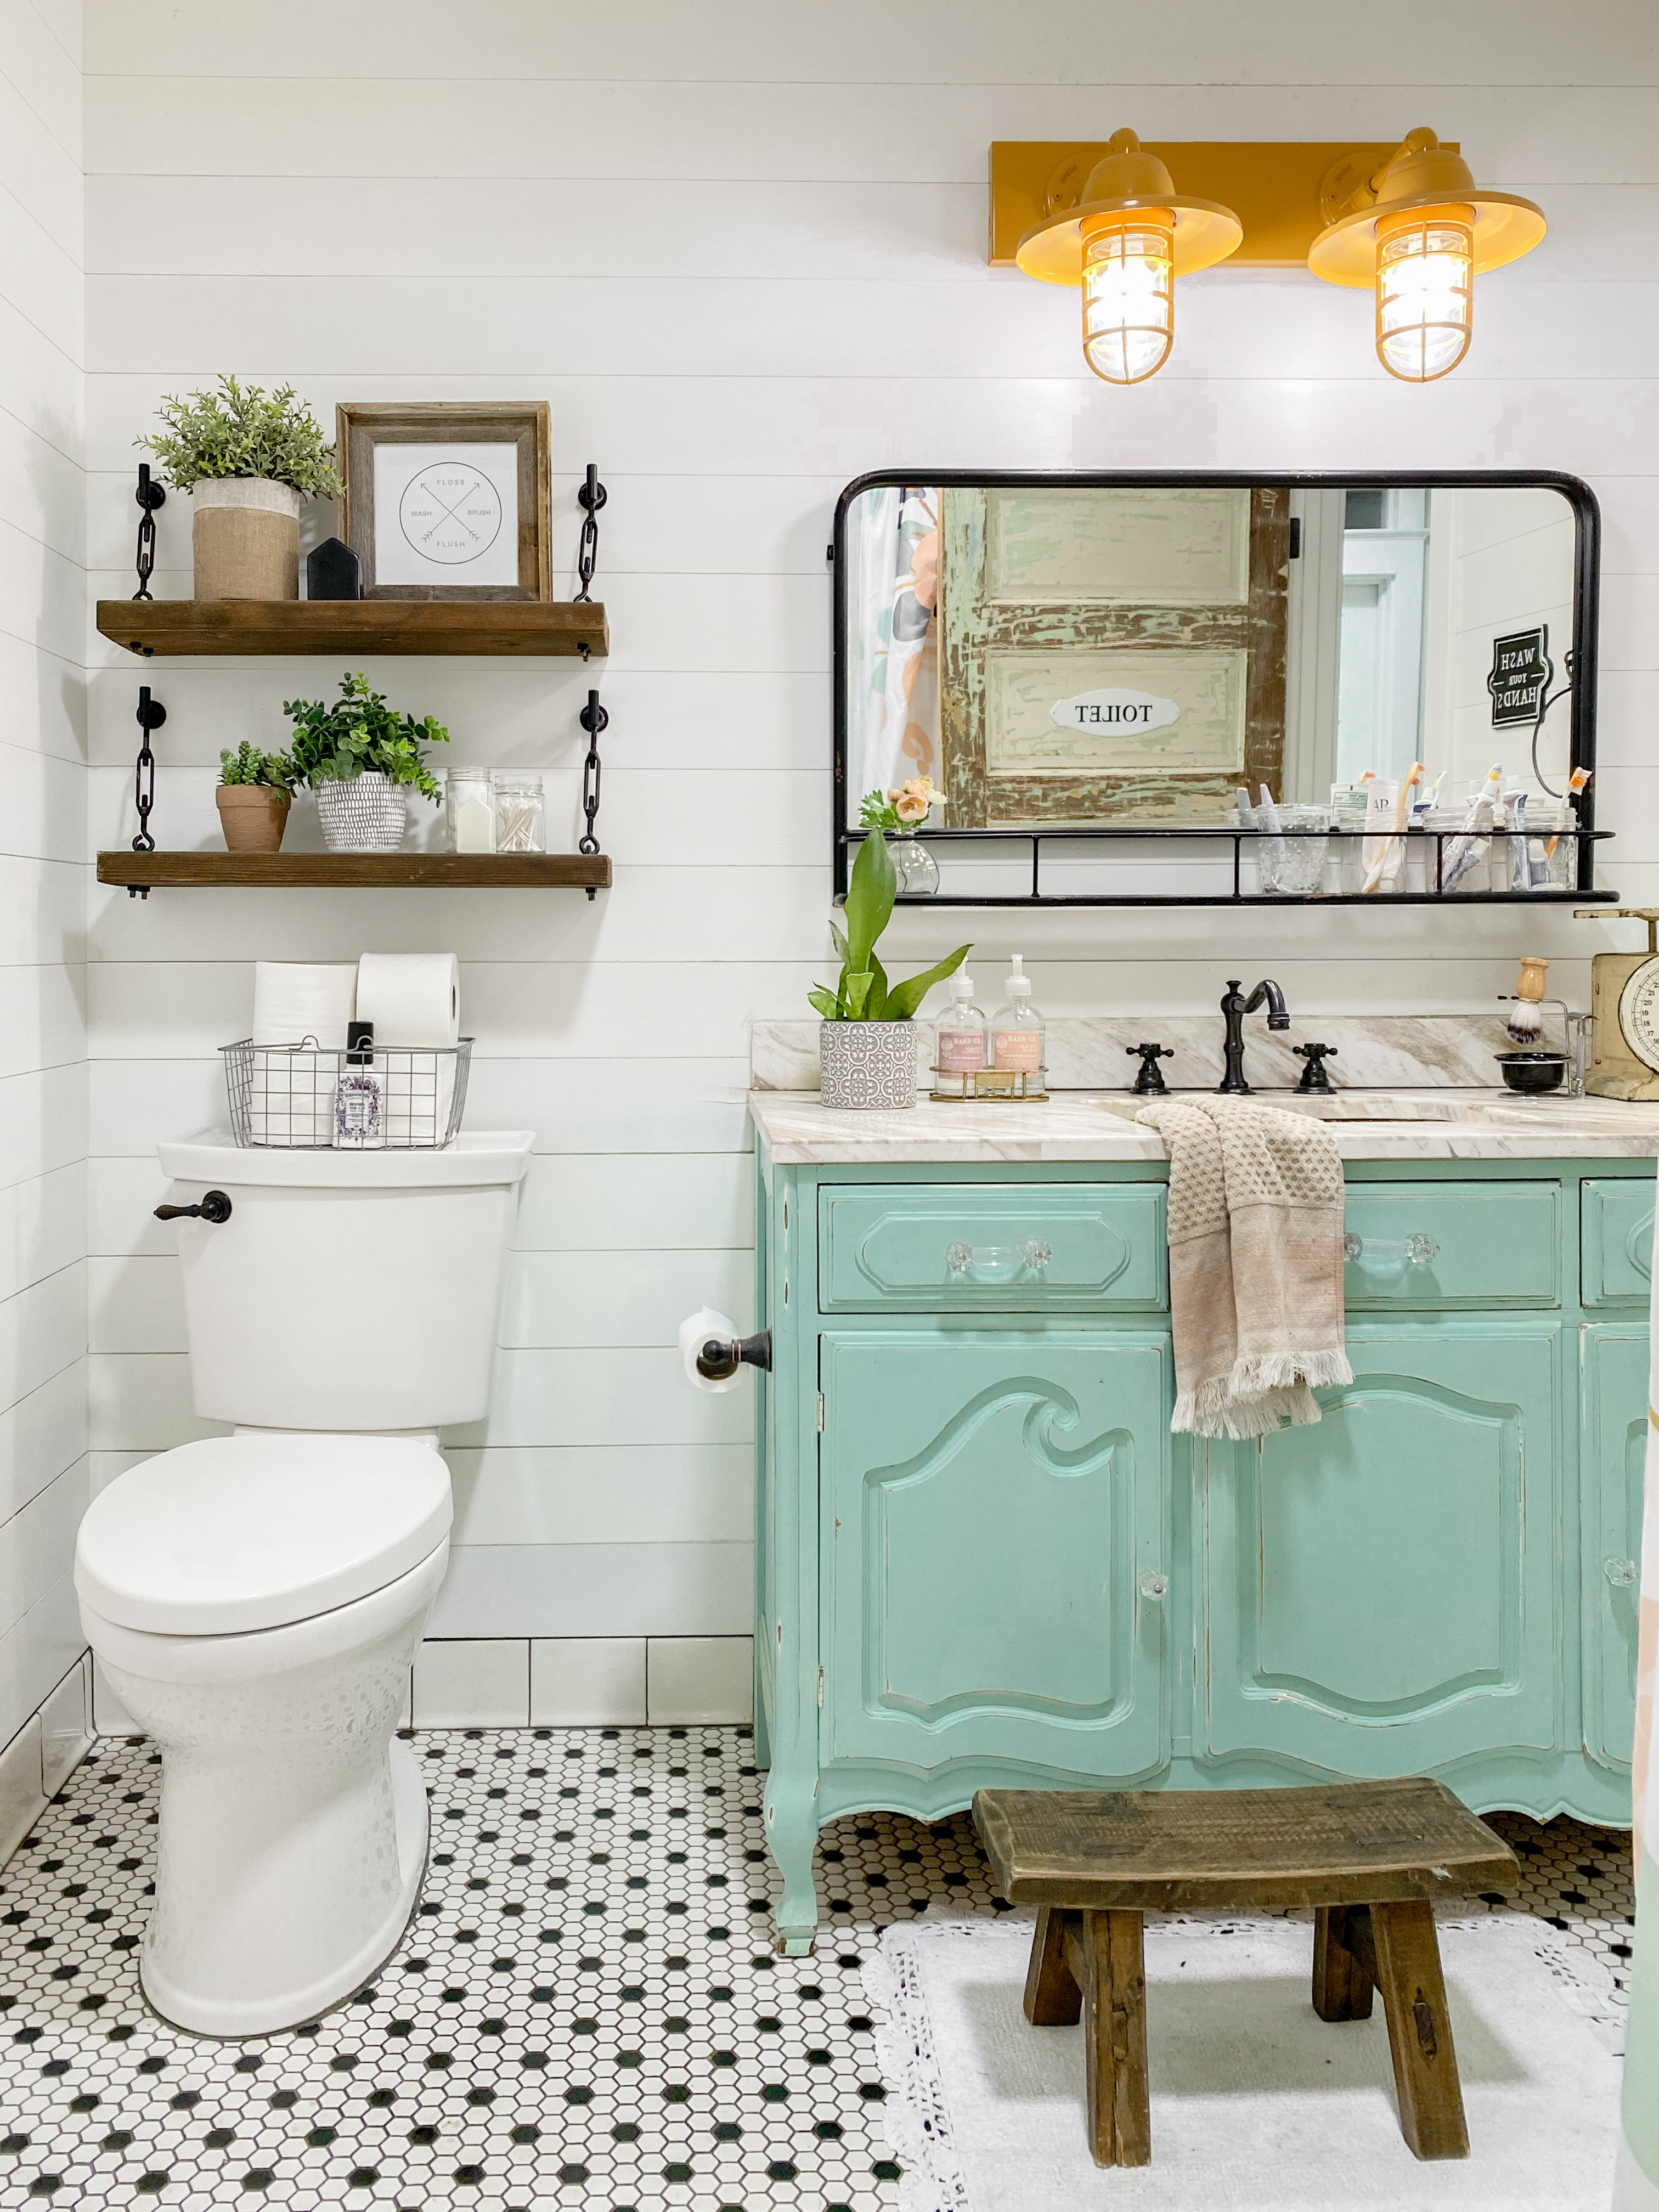
Coordinate with Existing Bathroom Fixtures When designing your vanity, it’s essential to think about how it will coordinate with the rest of your bathroom. The sink and faucet should complement existing fixtures like the showerhead, lighting, and towel bars. This doesn’t mean everything has to match exactly, but there should be a cohesive look that ties the room together. For example, if your bathroom has a lot of vintage elements, a modern faucet might look out of place.
Plan for Installation Finally, consider how easy it will be to install your chosen sink and faucet. Some types, like vessel sinks, are relatively easy to install, while others, like undermount sinks, require more precise cutting and fitting. Make sure you’re comfortable with the installation process, or plan to hire a professional if needed. It’s better to invest in expert help than to struggle with a complex installation that could lead to costly mistakes.
Cutting and Modifying the Dresser for Plumbing
With your dresser prepped and your sink and faucet selected, it’s time to get down to the nitty-gritty—cutting and modifying the dresser to accommodate the plumbing. This is where the real transformation happens, turning your dresser into a functional vanity. I’ve found that careful planning and precise cuts are key to a successful outcome. Here’s how to tackle this crucial step.
Plan Your Cuts Before you start cutting, take the time to plan everything out. Measure where your plumbing lines will run, and mark the spots where you’ll need to make cuts for the sink, faucet, and drain. It’s essential to double-check these measurements to avoid making mistakes. Use a pencil to lightly mark the areas on the dresser, ensuring that everything lines up correctly. This planning phase might feel tedious, but it’s critical to avoid costly errors.
Remove the Drawers and Back Panel To make your cuts, you’ll need to remove the drawers and, in some cases, the back panel of the dresser. Taking out the drawers allows you to see exactly where your cuts will need to go and gives you more room to work. Removing the back panel might be necessary to accommodate the plumbing lines, but be sure to do this carefully, as you’ll want to reattach it later to maintain the dresser’s structure.
Cut Openings for the Sink and Faucet Now that you’ve planned your cuts and removed the necessary parts, it’s time to cut the openings for the sink and faucet. Use a jigsaw or hole saw for this task, depending on the size and shape of the openings you need to make. Start by drilling a pilot hole to guide your saw, then carefully cut along your marked lines. If you’re installing a vessel sink, you’ll likely only need to cut a hole for the drain, whereas an undermount sink will require a larger cutout.
Modify the Drawers The next step is to modify the drawers to make room for the plumbing. In most cases, you won’t be able to keep all the drawers functional, but with some clever modifications, you can retain at least some of them. For the top drawer, you’ll probably need to cut out a section to accommodate the sink’s drain. You can use the removed section to create a false front or make the drawer shallow but still usable for small items. For the lower drawers, you might need to cut notches or create false backs to allow for the plumbing lines.
Reinforce and Reassemble the Dresser After making your cuts, it’s important to reinforce any areas where the dresser’s structure might have been weakened. Add extra screws or brackets if necessary to ensure everything stays sturdy. Once you’re satisfied with the modifications, reassemble the dresser by reattaching the back panel and reinstalling the drawers. Test everything to make sure it fits properly and that the drawers open and close smoothly.
Test the Fit Before Proceeding Before you move on to finishing your vanity, it’s a good idea to test the fit of your sink, faucet, and plumbing. Place the sink and faucet on top of the dresser and check that everything lines up correctly with the holes you’ve cut. Connect the plumbing temporarily to ensure that there’s enough clearance inside the dresser and that there are no leaks. This test fit will give you peace of mind before you move on to the finishing touches.
Finishing Touches: Painting, Staining, and Sealing
Now that the hard work of modifying the dresser is complete, it’s time to focus on the finishing touches—painting, staining, and sealing. This is where your vanity will truly come to life, showcasing the beauty of the wood or the boldness of your chosen paint color. I’ve found that taking the time to carefully finish the dresser makes a world of difference in the final look. Here’s how to perfect your vanity.
Choose Your Finish: Paint or Stain? The first decision you’ll need to make is whether to paint or stain your dresser. Both options have their advantages, depending on the look you’re going for. Staining highlights the natural beauty of the wood, bringing out its grain and character. It’s a great option if your dresser is made from high-quality wood. On the other hand, painting allows for more creativity with color and can be used to match or contrast with your bathroom’s decor. Whichever you choose, make sure it complements the overall style of your bathroom.
Prepare the Surface Proper surface preparation is key to achieving a smooth, professional finish. If you’ve removed an old finish, your dresser is probably already sanded, but it’s important to ensure the surface is completely smooth before applying paint or stain. Use fine-grit sandpaper to remove any remaining rough spots or imperfections. After sanding, wipe down the dresser with a damp cloth to remove all dust and debris. A clean surface is essential for a flawless finish.
Apply Primer or Conditioner If you’re painting the dresser, start with a coat of primer. Primer helps the paint adhere better to the surface and provides a uniform base for your color. Choose a primer that’s suitable for the type of paint you’ll be using, whether it’s latex or oil-based. If you’re staining the dresser, you’ll want to apply a wood conditioner first. This helps the stain absorb evenly and prevents blotchiness, especially on softwoods or woods with varying grain patterns.
Paint or Stain Your Dresser With the surface prepped and primed, it’s time to apply your paint or stain. If you’re painting, use a high-quality brush or roller for a smooth, even coat. Depending on the color and type of paint, you may need two or three coats to achieve the desired finish. Allow each coat to dry completely before applying the next. If you’re staining, apply the stain with a clean cloth or brush, following the wood grain. Wipe away any excess stains to prevent uneven coloring. You can apply multiple coats of stain to deepen the color, allowing each coat to dry in between.
Seal the Surface for Durability After painting or staining, it’s essential to seal the surface to protect it from moisture and wear. For painted finishes, a clear polyurethane or polycrylic sealer will add a protective layer and give your dresser a polished look. For stained finishes, a clear varnish or lacquer will enhance the wood’s natural beauty while providing durability. Apply the sealer in thin, even coats, allowing each coat to dry thoroughly before applying the next. This step ensures your vanity will stand up to the humidity and splashes of a bathroom environment.
Reattach Hardware and Final Touches Once the sealer has dried, it’s time to reattach the hardware and add any final touches. If you’ve kept the original hardware, you might want to give it a fresh coat of paint or polish to match the new finish. Alternatively, consider upgrading to new hardware that complements the style of your vanity. Reattach the drawers and ensure everything is aligned properly. Finally, step back and admire your work—you’ve transformed an old dresser into a stunning, functional piece that will be the centerpiece of your bathroom.
Installing the Vanity: A Step-by-Step Guide
With your vanity fully prepped and finished, it’s time for the exciting part—installing it in your bathroom. This is where all your hard work pays off, as your dresser-turned-vanity finally takes its place. I’ve found that careful installation is key to ensuring everything functions as it should, so follow these steps to get it right.
Position the Vanity in Place The first step in the installation process is positioning the vanity in its final spot. Carefully move the dresser into the bathroom and place it where you want it to go. Use a level to ensure that it’s sitting evenly on the floor. If your bathroom floor is uneven, you might need to adjust the vanity’s legs or use shims to level it out. The vanity must be stable and secure before proceeding to the next steps.
Connect the Plumbing With the vanity in place, it’s time to connect the plumbing. Start by attaching the faucet to the sink if it’s not already installed. Then, connect the water supply lines to the faucet, ensuring that all connections are tight and secure. Next, attach the drain assembly to the sink and connect it to the plumbing lines. If you’ve never worked with plumbing before, this step might seem daunting, but take your time and make sure everything is properly aligned and tightened to prevent leaks.
Seal the Sink to the Vanity Once the plumbing is connected, you’ll need to seal the sink to the vanity. For an undermount or drop-in sink, apply a bead of silicone sealant around the edge where it meets the countertop. This will help prevent water from seeping into the wood and causing damage. For vessel sinks, apply silicone around the base to hold it securely in place on top of the dresser. After applying the sealant, give it time to cure according to the manufacturer’s instructions before using the sink.
Secure the Vanity to the Wall To prevent the vanity from shifting or tipping, it’s important to secure it to the wall. Locate the studs behind the vanity and use screws to anchor it securely. If you can’t find studs in the right location, use wall anchors to ensure a strong attachment. Make sure the vanity is flush against the wall and that all screws are tightened. This step is crucial for both safety and stability, especially if your vanity is on the heavier side.
Install the Countertop (If Applicable) If your vanity design includes a separate countertop, now is the time to install it. Position the countertop on top of the dresser, making sure it’s centered and aligned. Apply adhesive to the top of the dresser and press the countertop into place. Depending on the material of your countertop, you might need to clamp it down while the adhesive sets. Once the countertop is secure, you can reattach any sinks or faucets that were temporarily removed for this step.
Final Checks and Cleanup Before you call the installation complete, take some time to do a final check. Test the faucet and drain to ensure there are no leaks and that the water flows properly. Open and close the drawers to make sure they move smoothly and aren’t obstructed by the plumbing. Check that the vanity is still level and secure. Once you’re satisfied that everything is in working order, clean up any excess sealant, adhesive, or debris from the installation process. Your new bathroom vanity is now ready for use!
Styling Your New Bathroom Vanity: Decor Ideas and Tips
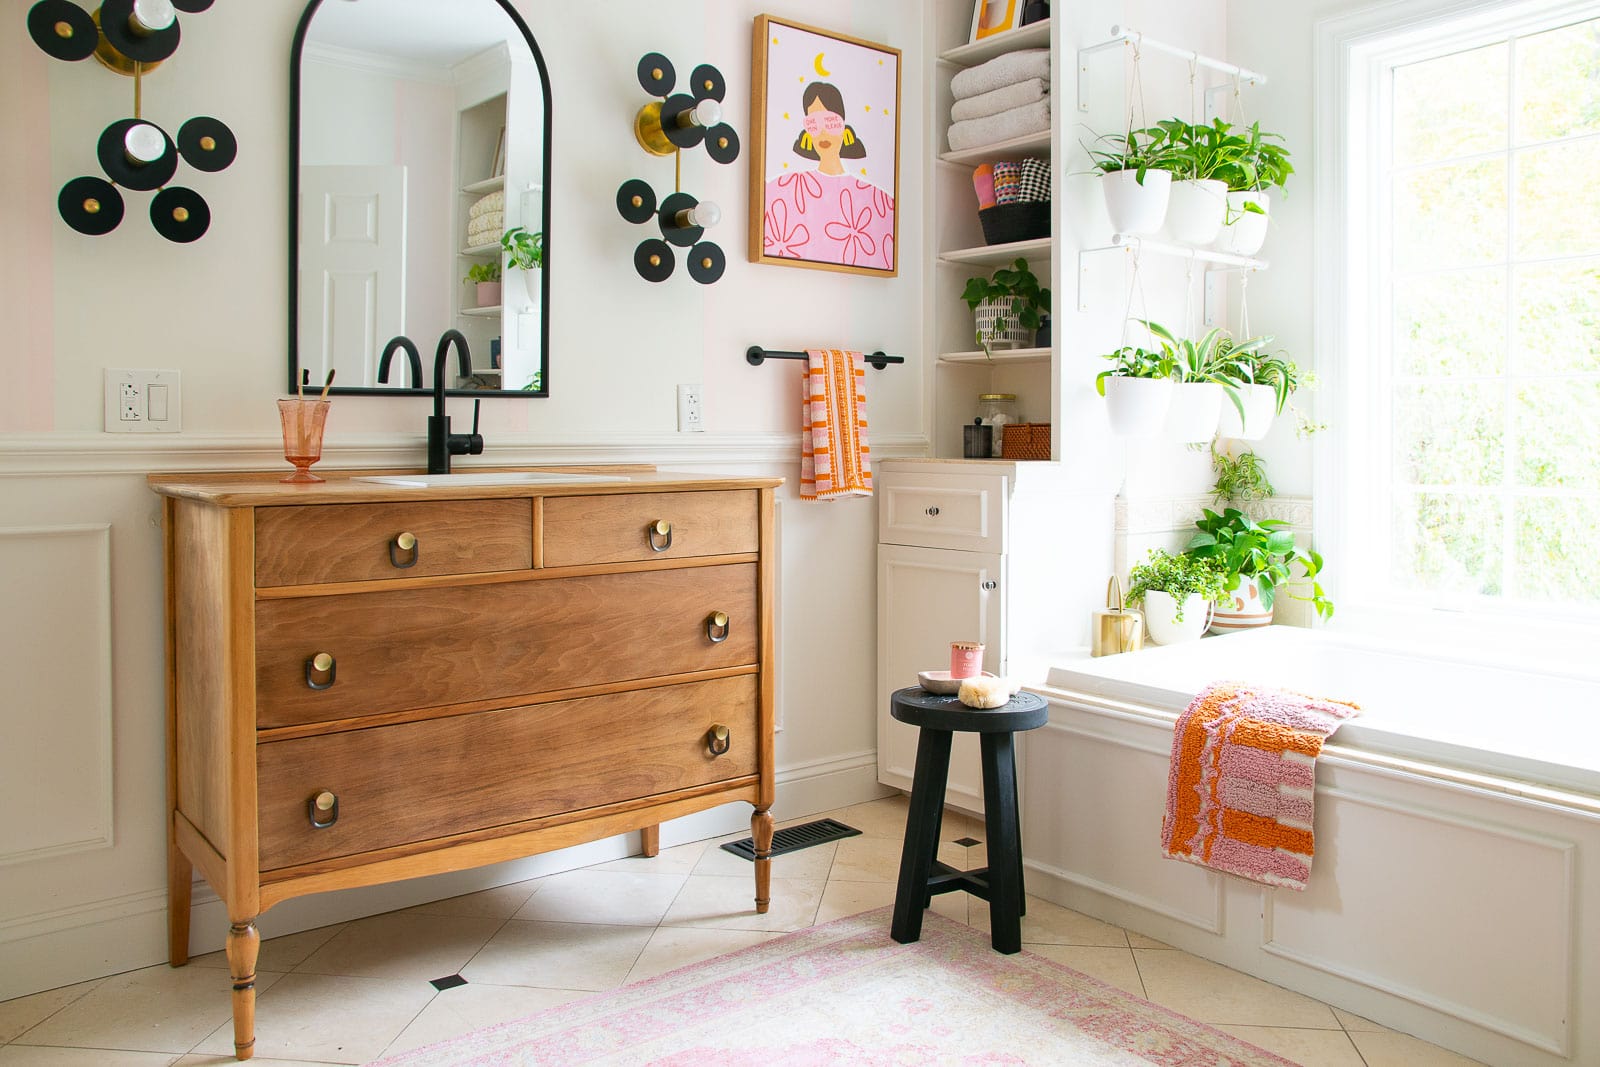
With your new bathroom vanity installed, it’s time to focus on styling it to make it truly shine. The vanity is a focal point in any bathroom, and with the right decor, you can elevate the entire space. I’ve found that even small touches can make a big impact, so here are some ideas and tips for styling your new bathroom vanity.
Incorporate Functional Accessories The first step in styling your vanity is adding functional accessories that enhance both its look and usability. Consider a stylish soap dispenser, a matching toothbrush holder, and a tray for organizing small items. These pieces should complement the overall aesthetic of your vanity while keeping the countertop clutter-free. Choose accessories in materials that match or contrast with the finishes on your faucet and hardware for a cohesive look.
Add a Touch of Greenery Plants can bring a breath of fresh air to your bathroom and add a touch of nature to your vanity. A small potted plant or a vase with fresh flowers can instantly brighten the space. Consider low-maintenance plants like succulents or air plants that thrive in humid environments. If you’re short on counter space, a hanging planter or a wall-mounted vase can be a great alternative. The pop of green will add life and color to your bathroom.
Use Mirrors to Enhance the Space A mirror is a must-have above your vanity, but it’s also an opportunity to make a style statement. Choose a mirror that complements the style of your vanity, whether it’s a sleek, modern design or an ornate vintage frame. Consider the shape and size of the mirror to the vanity—it should be proportional but not overwhelming. If space allows, you might even opt for a pair of mirrors for a double vanity setup. The mirror not only serves a practical purpose but also reflects light, making your bathroom feel larger and brighter.
Layer with Textiles Adding textiles is an easy way to soften the look of your vanity and make the space feel more inviting. A beautiful hand towel draped over a towel bar or neatly folded on the countertop can add a pop of color or pattern. Consider adding a small rug or bath mat in front of the vanity to tie the area together. If your vanity has open shelving, rolled towels or baskets with soft textiles can add both texture and function.
Incorporate Personal Touches Personal touches can make your bathroom feel like a true extension of your style. Consider adding framed artwork, a favorite candle, or a decorative tray with your go-to beauty products. If your vanity has open shelving or glass-front drawers, display items like pretty perfume bottles, decorative jars, or a collection of vintage accessories. These elements can add character and personality to your bathroom, making it feel uniquely yours.
Consider Lighting Options Lighting plays a crucial role in how your vanity looks and functions. If you have the opportunity to update your bathroom lighting, consider fixtures that complement the style of your vanity. Wall sconces on either side of the mirror can provide flattering, even lighting for daily tasks like applying makeup or shaving. Alternatively, a statement pendant light above the vanity can add drama and style. Make sure the lighting is bright enough to illuminate the space but also warm and inviting.
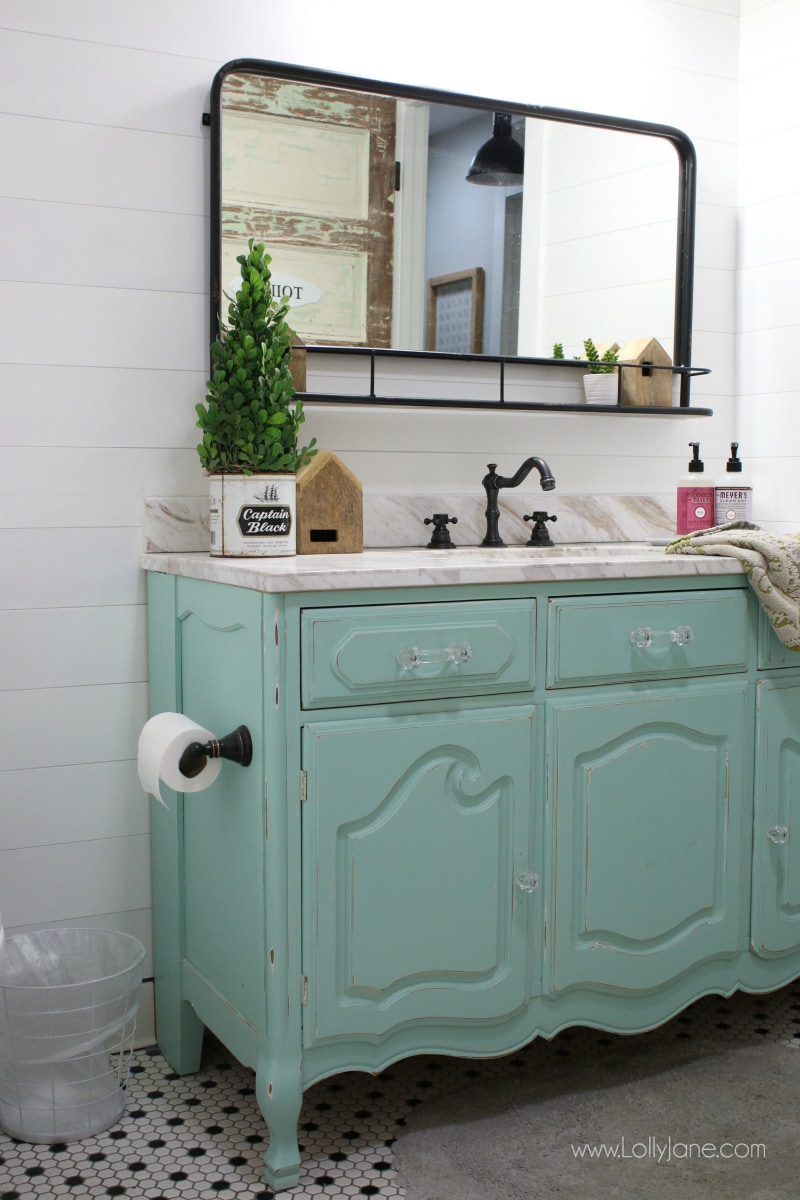
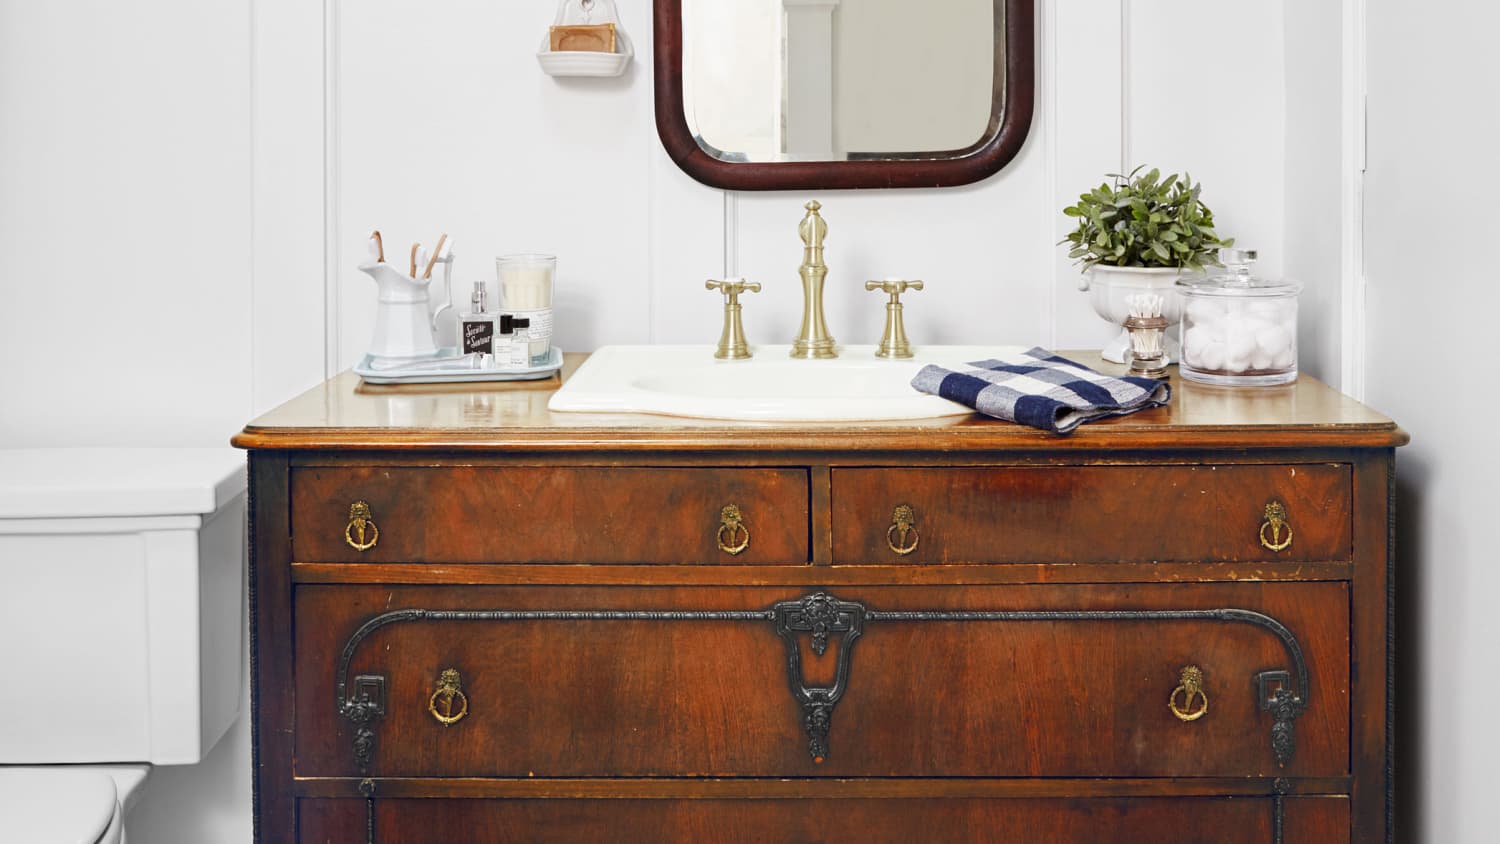
vintage dresser to bathroom vanity
Ways to Repurpose a Vintage Dresser
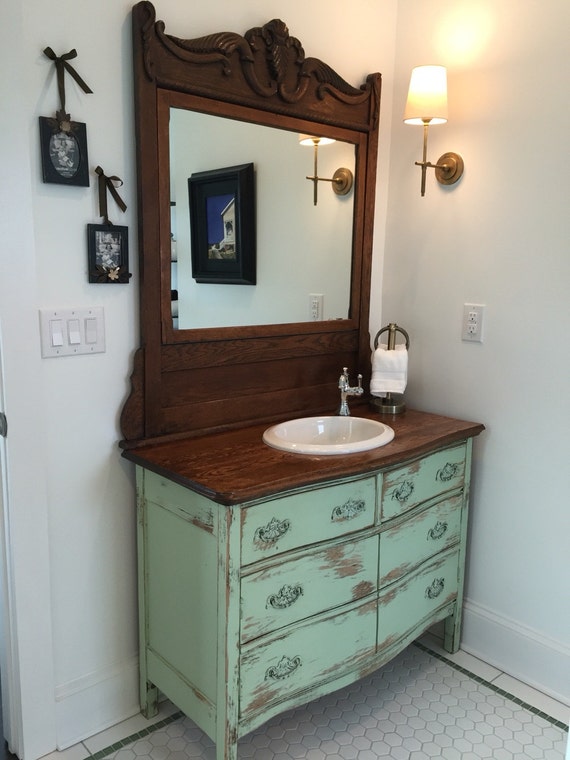
BATHROOM VANITY ANTIQUE Rustic From Antique Dresser
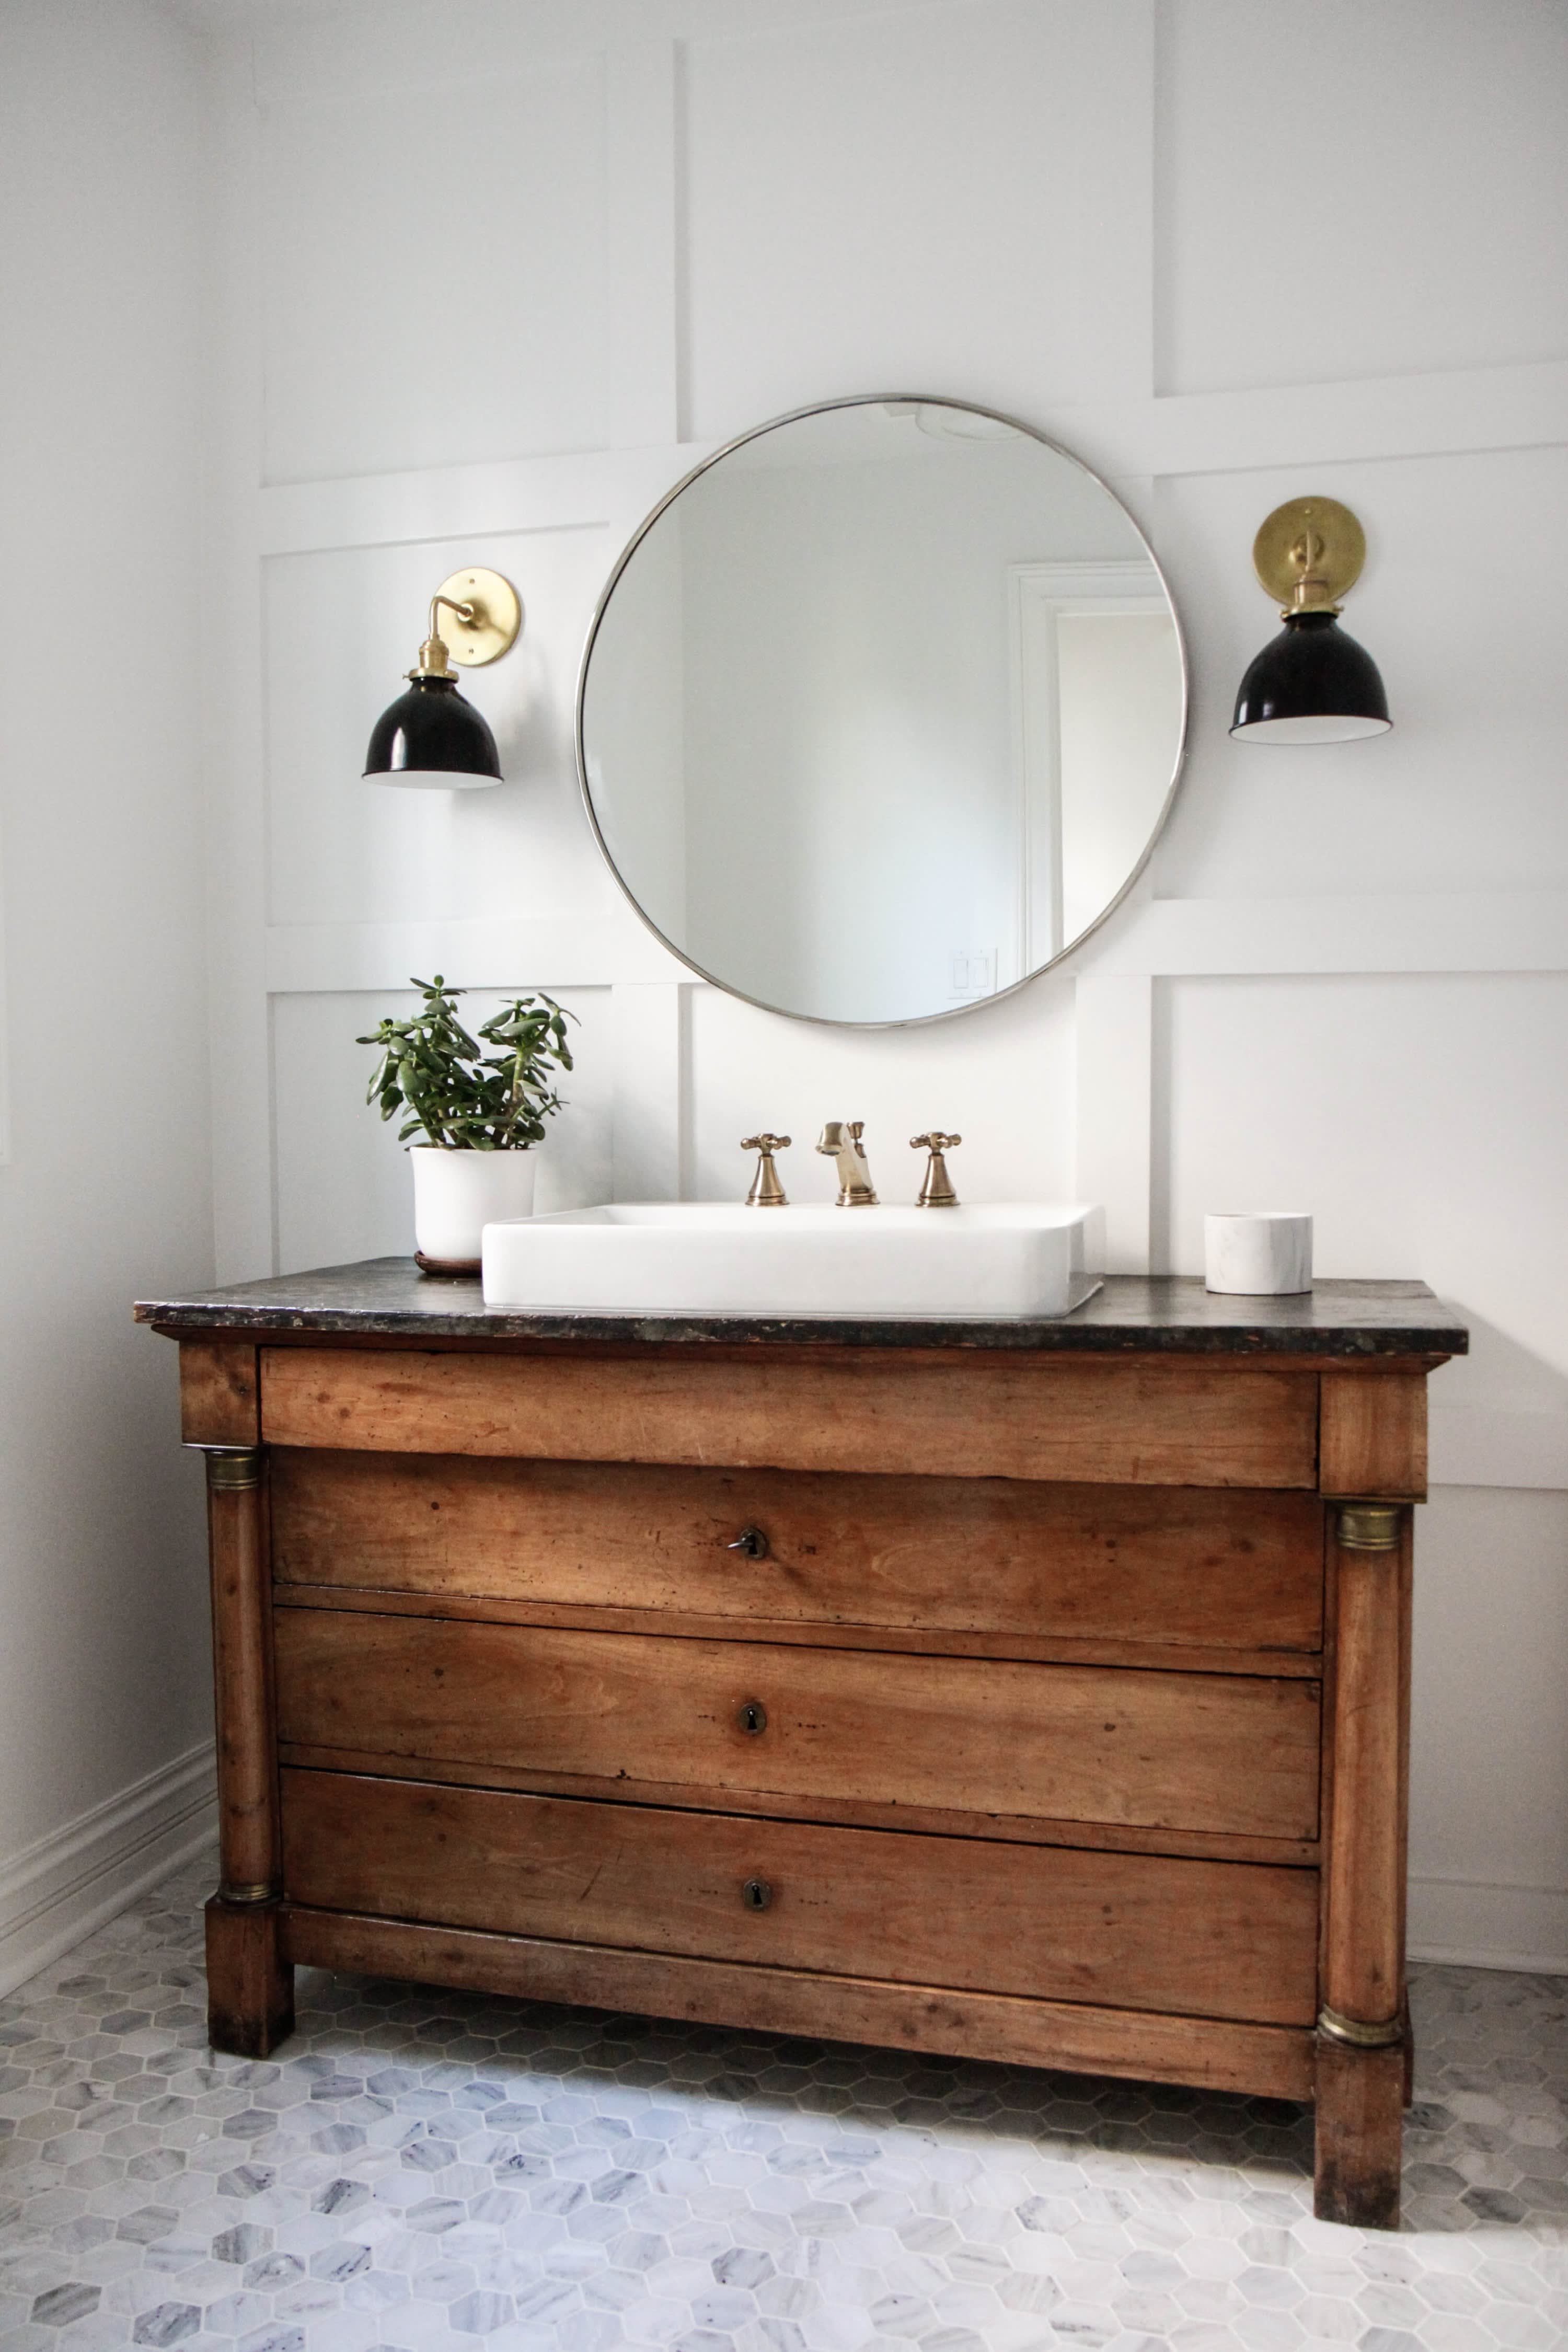
dresser into a bathroom vanity
Bathroom Inspiration: Using a Dresser as a Vanity
Bathroom Sink Consoles Made from Vintage Dressers
Related Posts:

