Choosing the Right Bathroom Tile
When it comes to renovating your bathroom, choosing the right tile is crucial. The tile you select sets the tone for the entire space and can significantly impact the overall look and feel of your bathroom. This step-by-step guide will help you navigate through the process of choosing the perfect bathroom tile for your project.
- Assess Your Needs and Style: Start by considering the needs and style of your bathroom. Are you looking for a sleek and modern look, or do you prefer a more traditional and rustic feel? Consider factors such as durability, maintenance, and the overall aesthetic you want to achieve. Take into account the size of the space, lighting, and existing fixtures to ensure the tile complements the overall design.
- Explore Different Tile Options: There is a wide variety of bathroom tile options available in the market. Some popular choices include ceramic, porcelain, natural stone, glass, and mosaic tiles. Each type has its own unique characteristics and benefits. Ceramic and porcelain tiles are durable and easy to maintain, while natural stone tiles offer a luxurious and timeless appeal. Glass and mosaic tiles can add a touch of texture and visual interest to your bathroom.
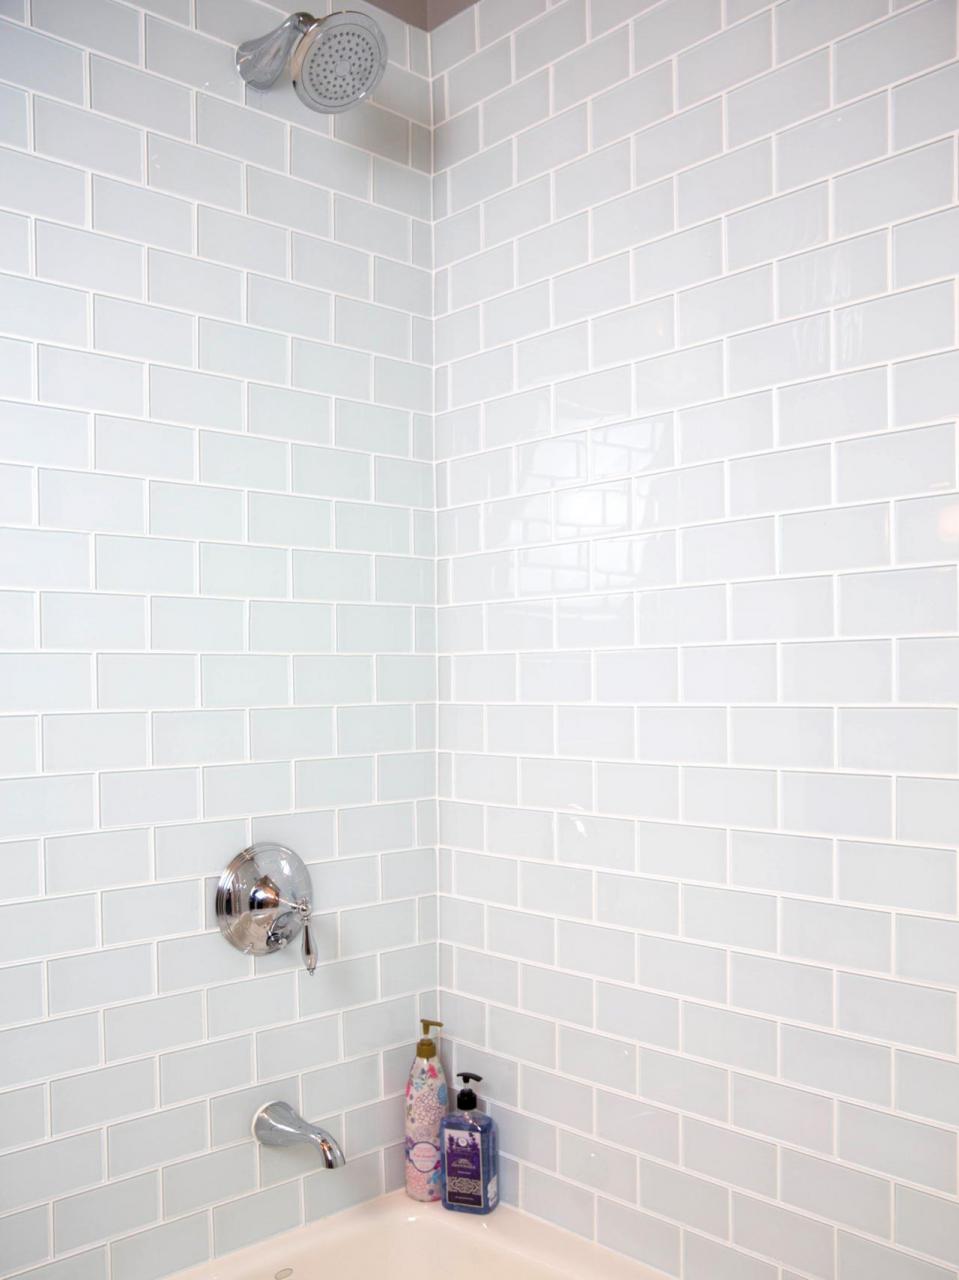
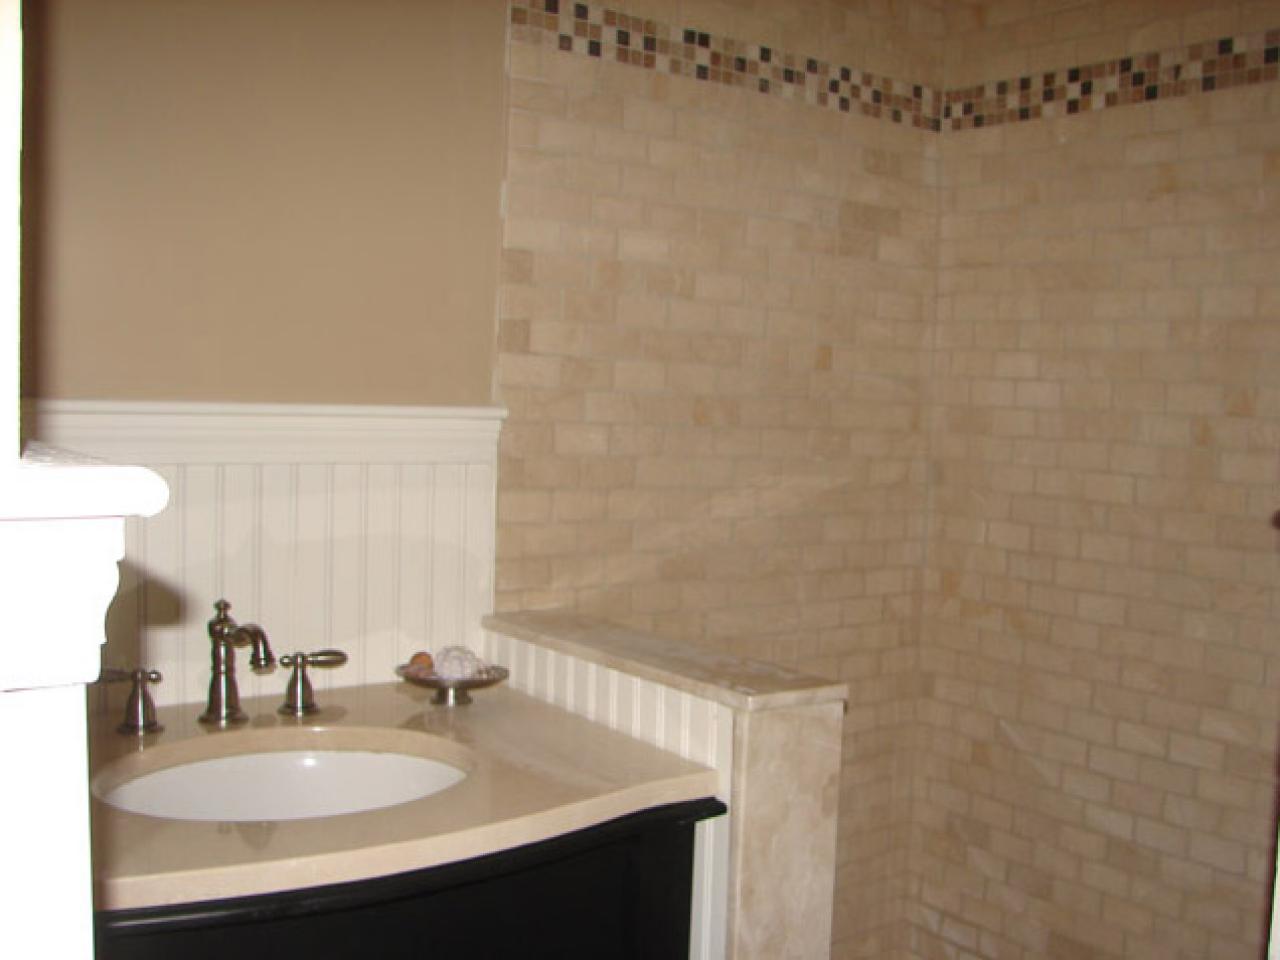
- Consider Color and Pattern: The color and pattern of your bathroom tile can significantly impact the overall ambiance of the space. Light-colored tiles can make a small bathroom appear larger and more spacious, while darker tiles can add depth and drama. Consider the existing color scheme of your bathroom and choose a tile that complements or contrasts with it. Experiment with different patterns, such as subway tiles or herringbone layouts, to create visual interest.
- Test Samples and Visualize: Before making a final decision, it’s important to test tile samples in your bathroom. Take samples home and assess how they look in different lighting conditions. Visualize how the tile will look once installed and consider how it will interact with other elements in the bathroom, such as the vanity, bathtub, or shower. This step will help you make an informed decision and ensure that the tile you choose aligns with your vision.
- Seek Professional Advice: If you’re unsure about which tile to choose or need guidance, don’t hesitate to seek professional advice. Consult with a tile specialist or interior designer who can provide valuable insights based on their expertise. They can help you narrow down options, suggest suitable tile materials, and offer design recommendations that align with your preferences and budget.
Preparing the Surface
Before you start installing bathroom tiles, proper preparation of the surface is essential. Adequate surface preparation ensures that the tiles adhere properly, resulting in a durable and long-lasting installation. Let me guide you through the essential steps you need to take to prepare the surface before installing the bathroom tile.
- Clean and Remove Existing Materials: Begin by thoroughly cleaning the surface where you plan to install the tiles. Remove any dirt, dust, or debris using a broom or vacuum cleaner. If there are existing tiles, cabinets, or fixtures in the bathroom, remove them carefully. Ensure that the surface is smooth and free from any loose materials or adhesive residue.
- Repair and Level the Subfloor: Inspect the subfloor for any damages or irregularities. Repair any cracks, holes, or damaged areas using appropriate patching materials. Make sure the subfloor is level and even. Use a leveling compound or self-leveling underlayment if necessary. A flat and stable subfloor is crucial for a successful tile installation.
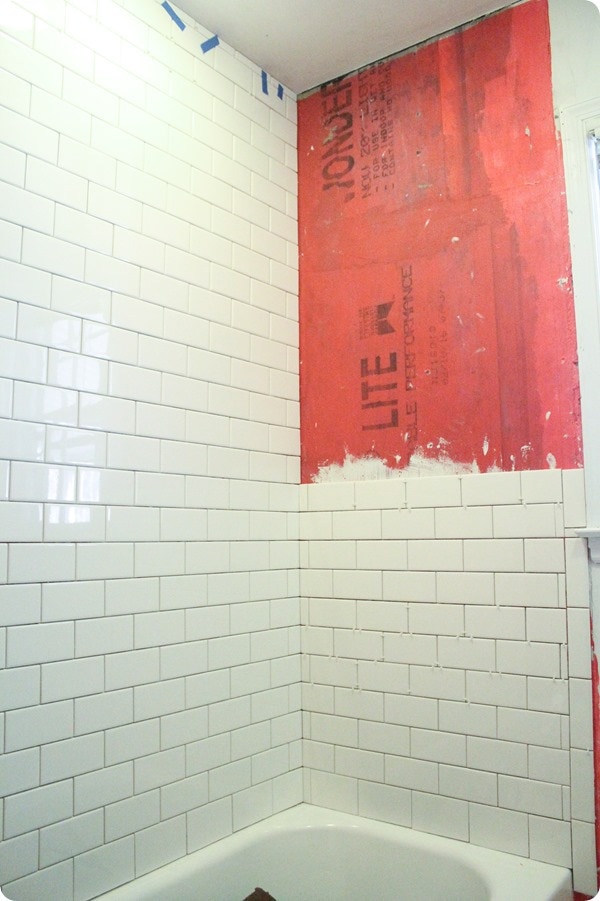
- Waterproofing: In wet areas of the bathroom, such as the shower or bathtub surround, waterproofing is essential to prevent water damage. Apply a waterproofing membrane or a waterproofing system that suits your specific needs. Follow the manufacturer’s instructions carefully to ensure proper application and coverage.
- Plan the Layout: Before installing the tiles, plan the layout to ensure a balanced and aesthetically pleasing result. Use a measuring tape and chalk lines to mark the layout on the surface. This step will help you determine where to start the installation and avoid any awkward cuts or small tile pieces in highly visible areas.
- Apply a Primer: Applying a primer to the surface before tile installation can enhance the adhesion between the surface and the tile adhesive. Follow the manufacturer’s instructions to apply the primer evenly. Allow it to dry completely before proceeding with the tile installation.
- Consider Tile Backer Boards: In some cases, especially for wet areas or if the existing surface is not suitable for tile installation, using tile backer boards may be necessary. Backer boards provide a stable and moisture-resistant surface for tile installation. Follow the manufacturer’s instructions for proper installation and secure the backer boards to the subfloor.
Tools and Materials Needed for a Successful Bathroom Tile Installation
To successfully install bathroom tiles, it is important to have the right tools and materials at hand. Having the necessary equipment will not only ensure a smooth installation process but also help achieve professional-looking results. Here is an outline of the essential tools and materials needed for a successful bathroom tile installation.
Measuring and Layout Tools: Accurate measurements and proper layout are crucial for a precise tile installation. Some essential tools for this stage include a tape measure, a level, and a chalk line. A tape measure will help you determine the dimensions of the space and the size of the tiles needed. A level will ensure that the tiles are installed evenly, while a chalk line will help you create straight guidelines for precise tile placement.
Tile Cutting Tools: Inevitably, you will encounter areas where tiles need to be cut to fit around fixtures, corners, or edges. To accomplish this, you will need tile-cutting tools such as a tile cutter, tile nippers, and a wet saw. A tile cutter is suitable for straight cuts, while tile nippers are used for shaping and trimming small tile pieces. For more intricate cuts or harder tile materials, a wet saw with a diamond blade is recommended.
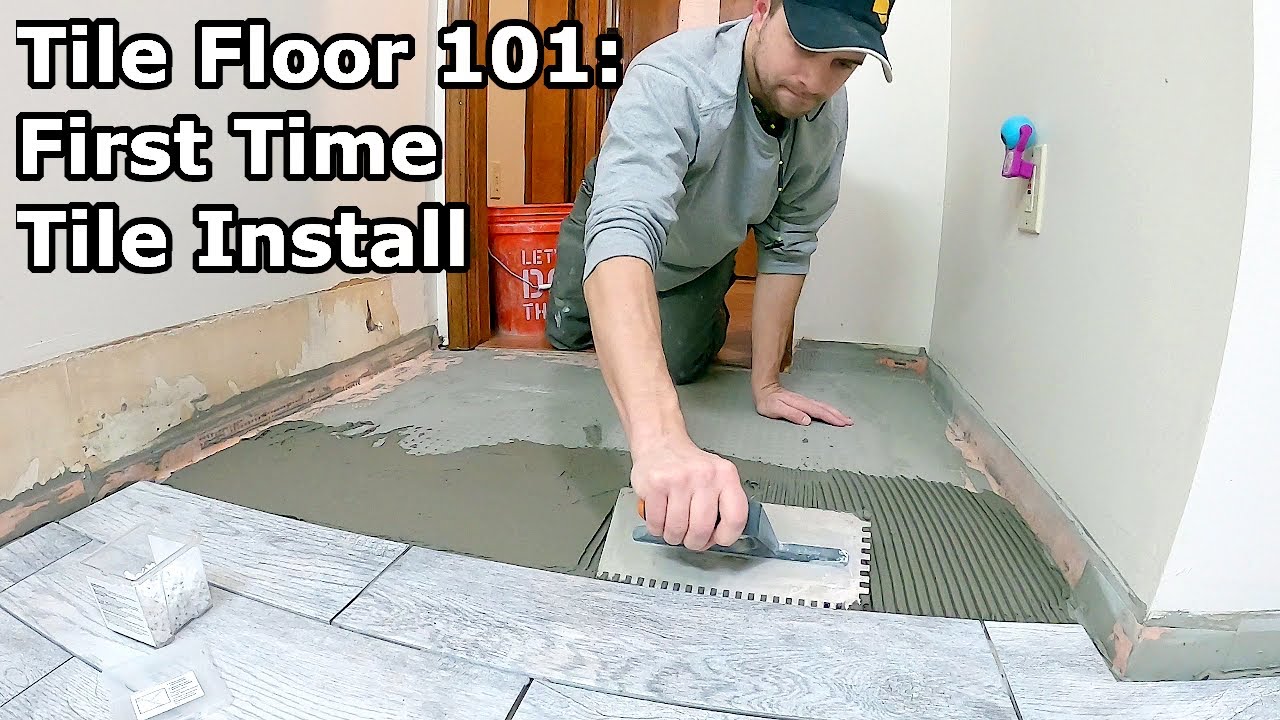
Trowels and Tile Adhesive: Trowels are essential for spreading tile adhesive evenly on the surface. The size of the trowel notch will depend on the tile size and type. A 1/4-inch square-notch trowel is commonly used for most bathroom tiles. Additionally, you will need a high-quality tile adhesive that is suitable for your specific tile material and surface type. Follow the manufacturer’s instructions for mixing and applying the adhesive.
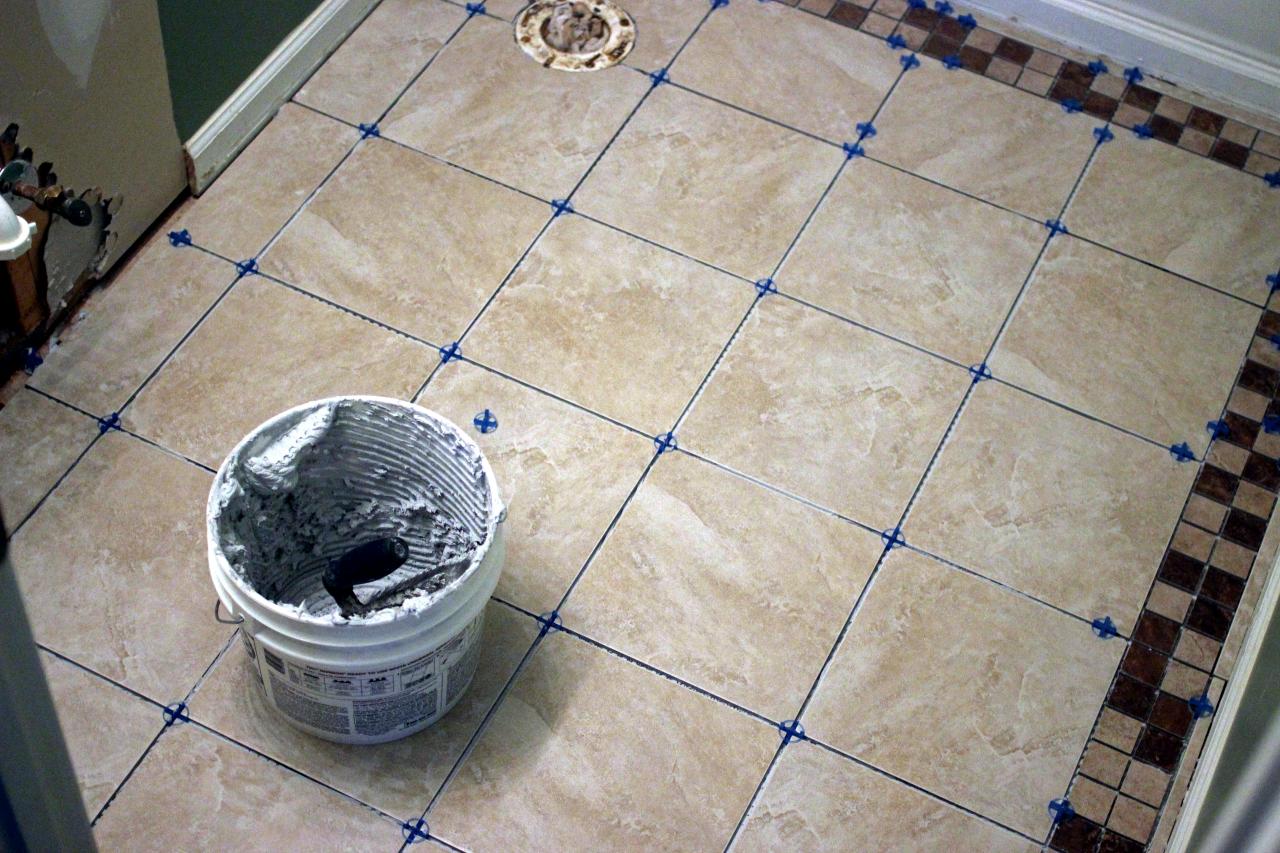
Tile Spacers and Leveling System: Tile spacers are small plastic wedges that help maintain consistent spacing between tiles and ensure even grout lines. They come in various sizes, depending on the desired spacing. Additionally, a tile leveling system can be used to achieve a perfectly level surface. These systems use clips and wedges to hold tiles in place while the adhesive sets, ensuring a flat and even installation.
Grout and Grout Float: Grout is a crucial material used to fill in the gaps between tiles and create a finished look. Choose a grout color that complements your tile and desired aesthetic. A grout float is used to spread and pack the grout into the gaps. It is essential to follow the manufacturer’s instructions for mixing and applying the grout, as different types may have different requirements.
Tile Sealer and Caulk: To protect your tile installation and enhance its longevity, consider using a tile sealer. A tile sealer helps prevent stains, water damage, and mold growth. Additionally, caulk is used to seal joints and corners where tiles meet other surfaces, such as the bathtub or shower. Choose a caulk color that matches your grout to create a seamless and professional finish.
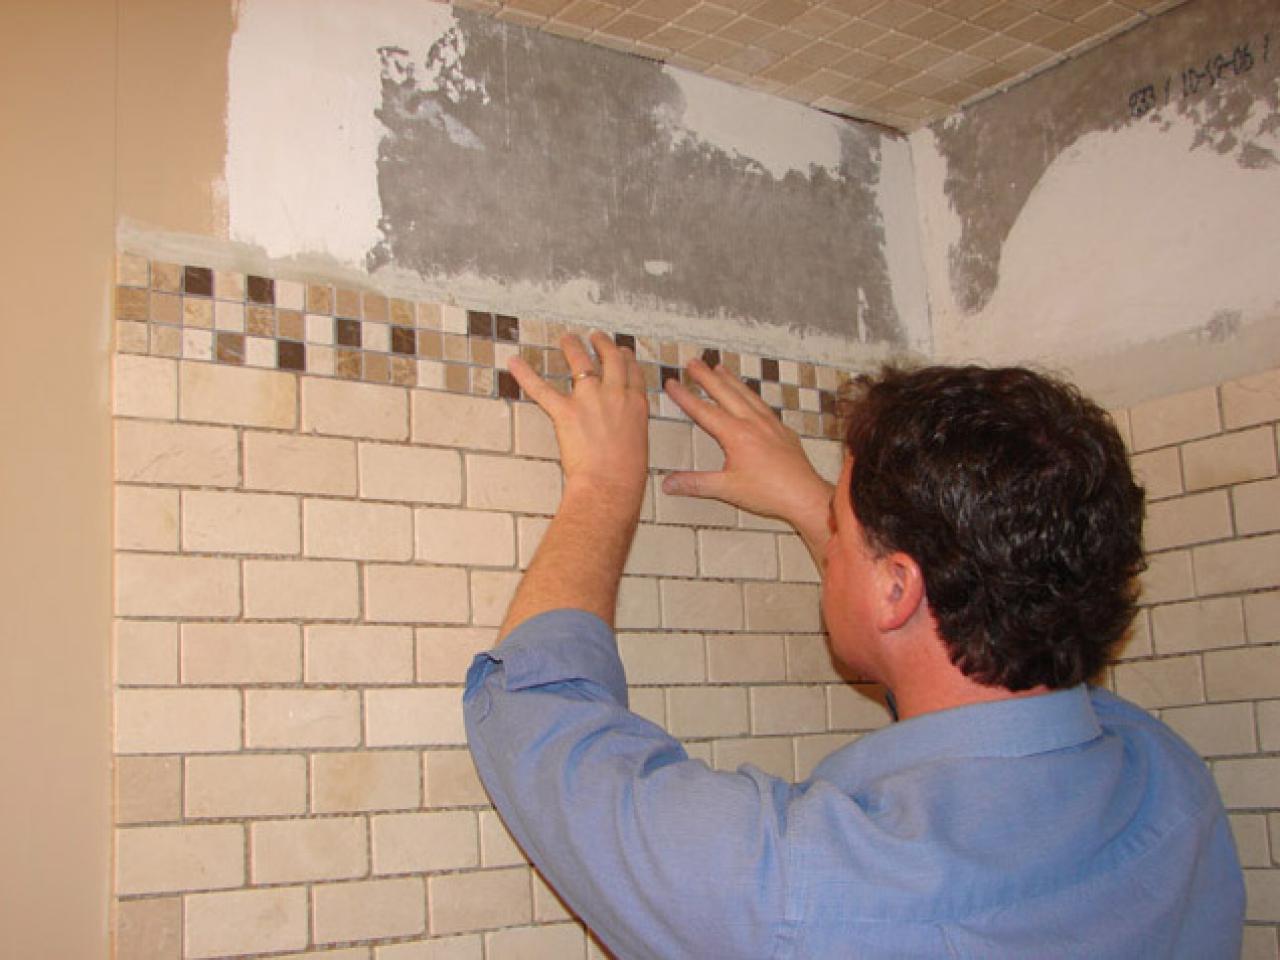
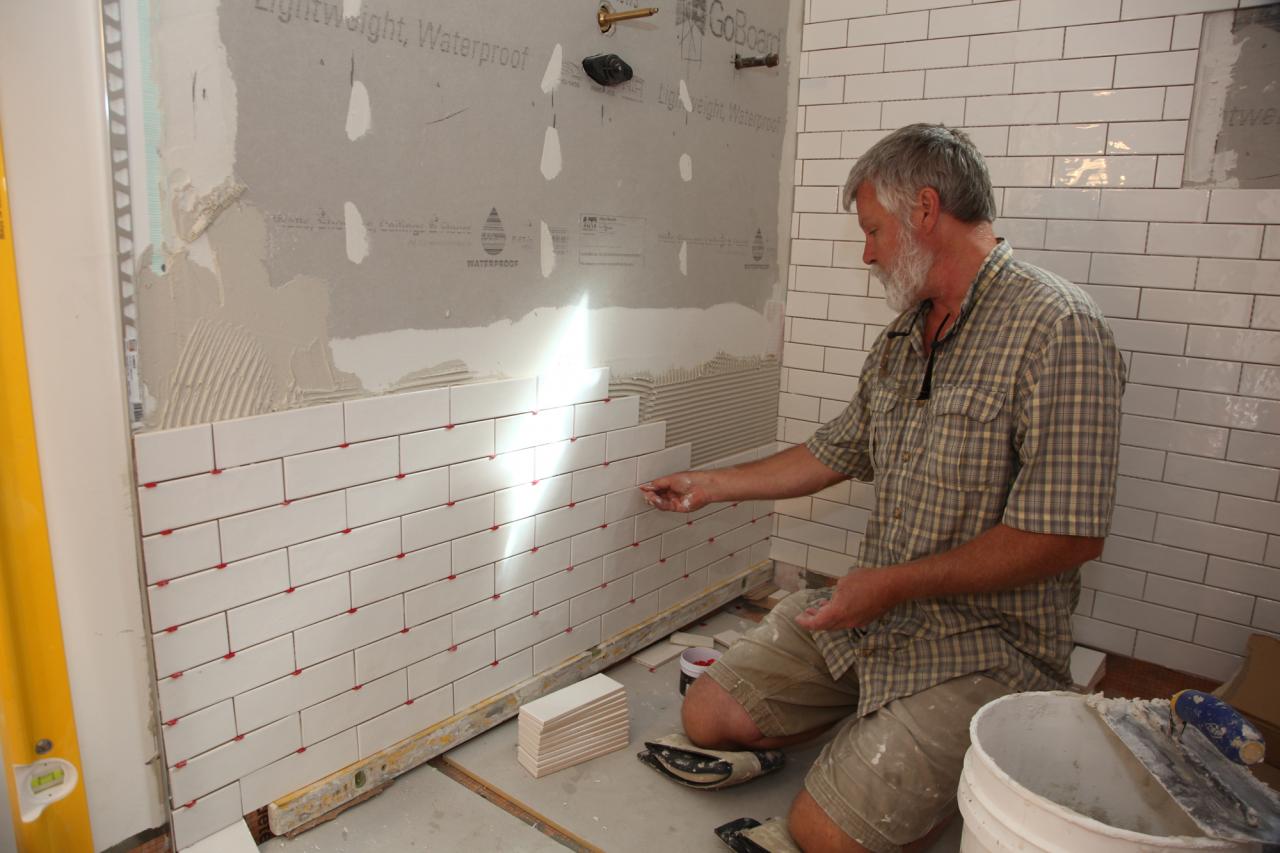
Installing Bathroom Tile
- Prepare the Surface: Before starting the installation, ensure that the surface is properly prepared. Follow the steps outlined in the previous article to clean, repair, level, and prime the surface. This will provide a solid foundation for the tile installation.
- Plan the Layout: Using your measured dimensions and layout tools, plan the tile layout on the surface. Start by finding the center point of the room and work outwards. Use the chalk line to create straight guidelines for tile placement. Dry-fit the tiles without adhesive to ensure they fit properly and make any necessary adjustments.
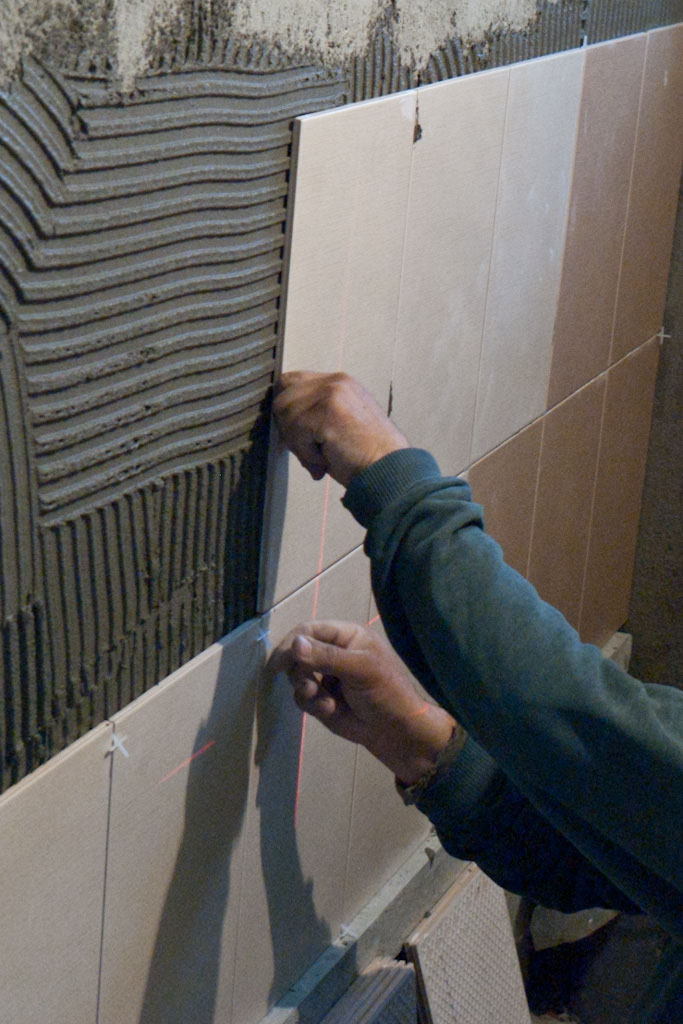
- Apply Tile Adhesive: Using a trowel, apply the tile adhesive to a small section of the surface following the guidelines. Hold the trowel at a 45-degree angle and spread the adhesive evenly. Work in small sections to prevent the adhesive from drying out before placing the tiles.
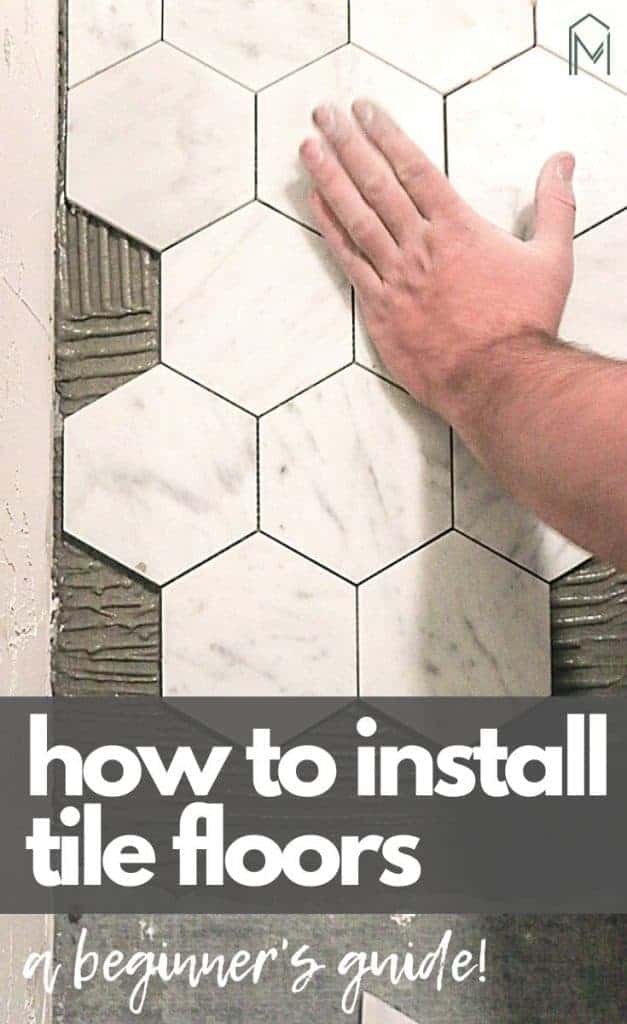
- Place the Tiles: Carefully place the tiles onto the adhesive, pressing them firmly to ensure proper adhesion. Use tile spacers to create consistent spacing between tiles. Check the level periodically to ensure the tiles are even. Continue this process, working in small sections and following the layout plan.
- Cut and Trim Tiles: As you approach edges, corners, or fixtures, you may need to cut or trim tiles to fit. Use tile cutters, nippers, or a wet saw to make precise cuts. Take your time and measure twice before cutting to minimize mistakes. Dry-fit the cut tiles before applying adhesive to ensure a proper fit.
- Grout the Tiles: Once the adhesive has dried and the tiles are firmly in place, it’s time to grout. Mix the grout according to the manufacturer’s instructions and apply it using a grout float. Hold the float at a 45-degree angle and push the grout into the gaps, working diagonally across the tiles. Remove excess grout with a damp sponge and let it dry.
- Clean and Seal: After the grout has dried, clean the tiles with a damp sponge to remove any grout haze. Once the tiles are clean and dry, consider applying a tile sealer to protect the grout and tiles from stains and water damage. Follow the manufacturer’s instructions for sealing the tiles.
Finishing Touches: Grouting and Sealing
Grouting and sealing are the final steps in a professional bathroom tile installation. Grouting fills the gaps between tiles, provides stability, and enhances the overall appearance of the installation. Sealing, on the other hand, protects the grout and tiles from stains, water damage, and mold growth.
Prepare the Grout: Start by selecting the appropriate grout color for your bathroom tiles. Follow the manufacturer’s instructions to mix the grout to the desired consistency. It is important to mix only the amount of grout that can be applied within the working time indicated by the manufacturer.
Apply the Grout: Using a grout float or a rubber grout float, spread the grout diagonally across the tiles, pressing it into the gaps. Hold the float at a 45-degree angle and work the grout into the joints, ensuring they are completely filled. Remove any excess grout from the tile surface using the edge of the float.
Clean the Tiles: Once the grout has been set for about 15-20 minutes, use a damp sponge to gently wipe away any grout residue from the tile surface. Rinse the sponge frequently and avoid applying excessive pressure that could dislodge the grout. Continue cleaning until the tiles are free from grout haze, but be careful not to disturb the grout lines.
Let the Grout Cure: Allow the grout to cure according to the manufacturer’s instructions. This typically takes 24-48 hours. During this time, avoid walking on or disturbing the tiled area to ensure the grout sets properly.
Apply Grout Sealer: Once the grout has cured, consider applying a grout sealer to protect it from stains and water damage. Choose a grout sealer that is compatible with your specific grout type. Follow the manufacturer’s instructions for application, ensuring the grout lines are adequately coated. Wipe away any excess sealer from the tile surface.
Seal the Tiles (Optional): If you are using porous or natural stone tiles, it is recommended to seal them as well. Tile sealers help protect the tiles from stains and moisture penetration. Select a sealer that is suitable for your specific tile material and follow the manufacturer’s instructions for application. Wipe away any excess sealer from the tile surface.
Subway tile shower install time lapse

How to Install Tile in a Bathroom Shower HGTV
Blog – Step by Steps to Install Bathroom Tile
How To Tile A Bathroom Floor (For Beginners!) – Making Manzanita
Tiling a Walk-In Shower: Chapter 6 u2013 Wall Tile Installation JLC
 Related Posts:


