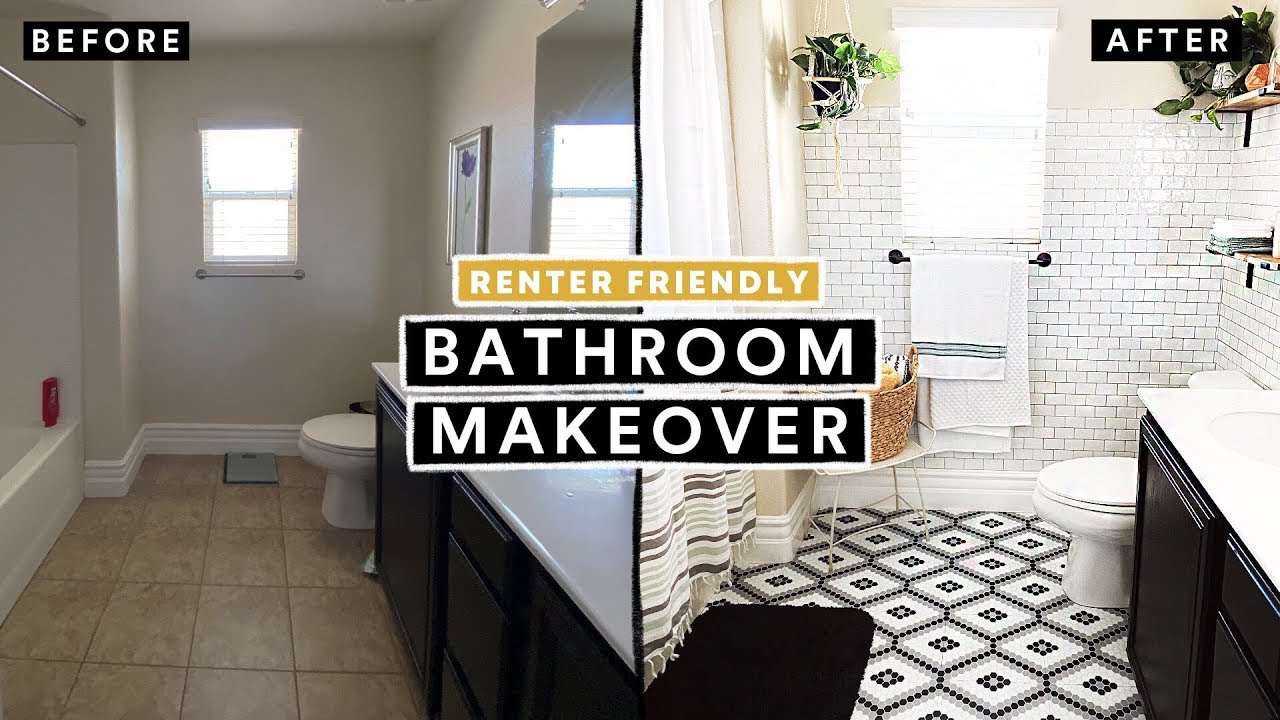
Upgrading your bathroom with new tiles is a great way to give your space a fresh look and add value to your home. While hiring a professional to install bathroom tiles can be expensive, doing it yourself can save you money and give you a sense of accomplishment. In this beginner’s guide, we’ll walk you through the steps of a DIY bathroom tile installation.
Choose Your Tiles
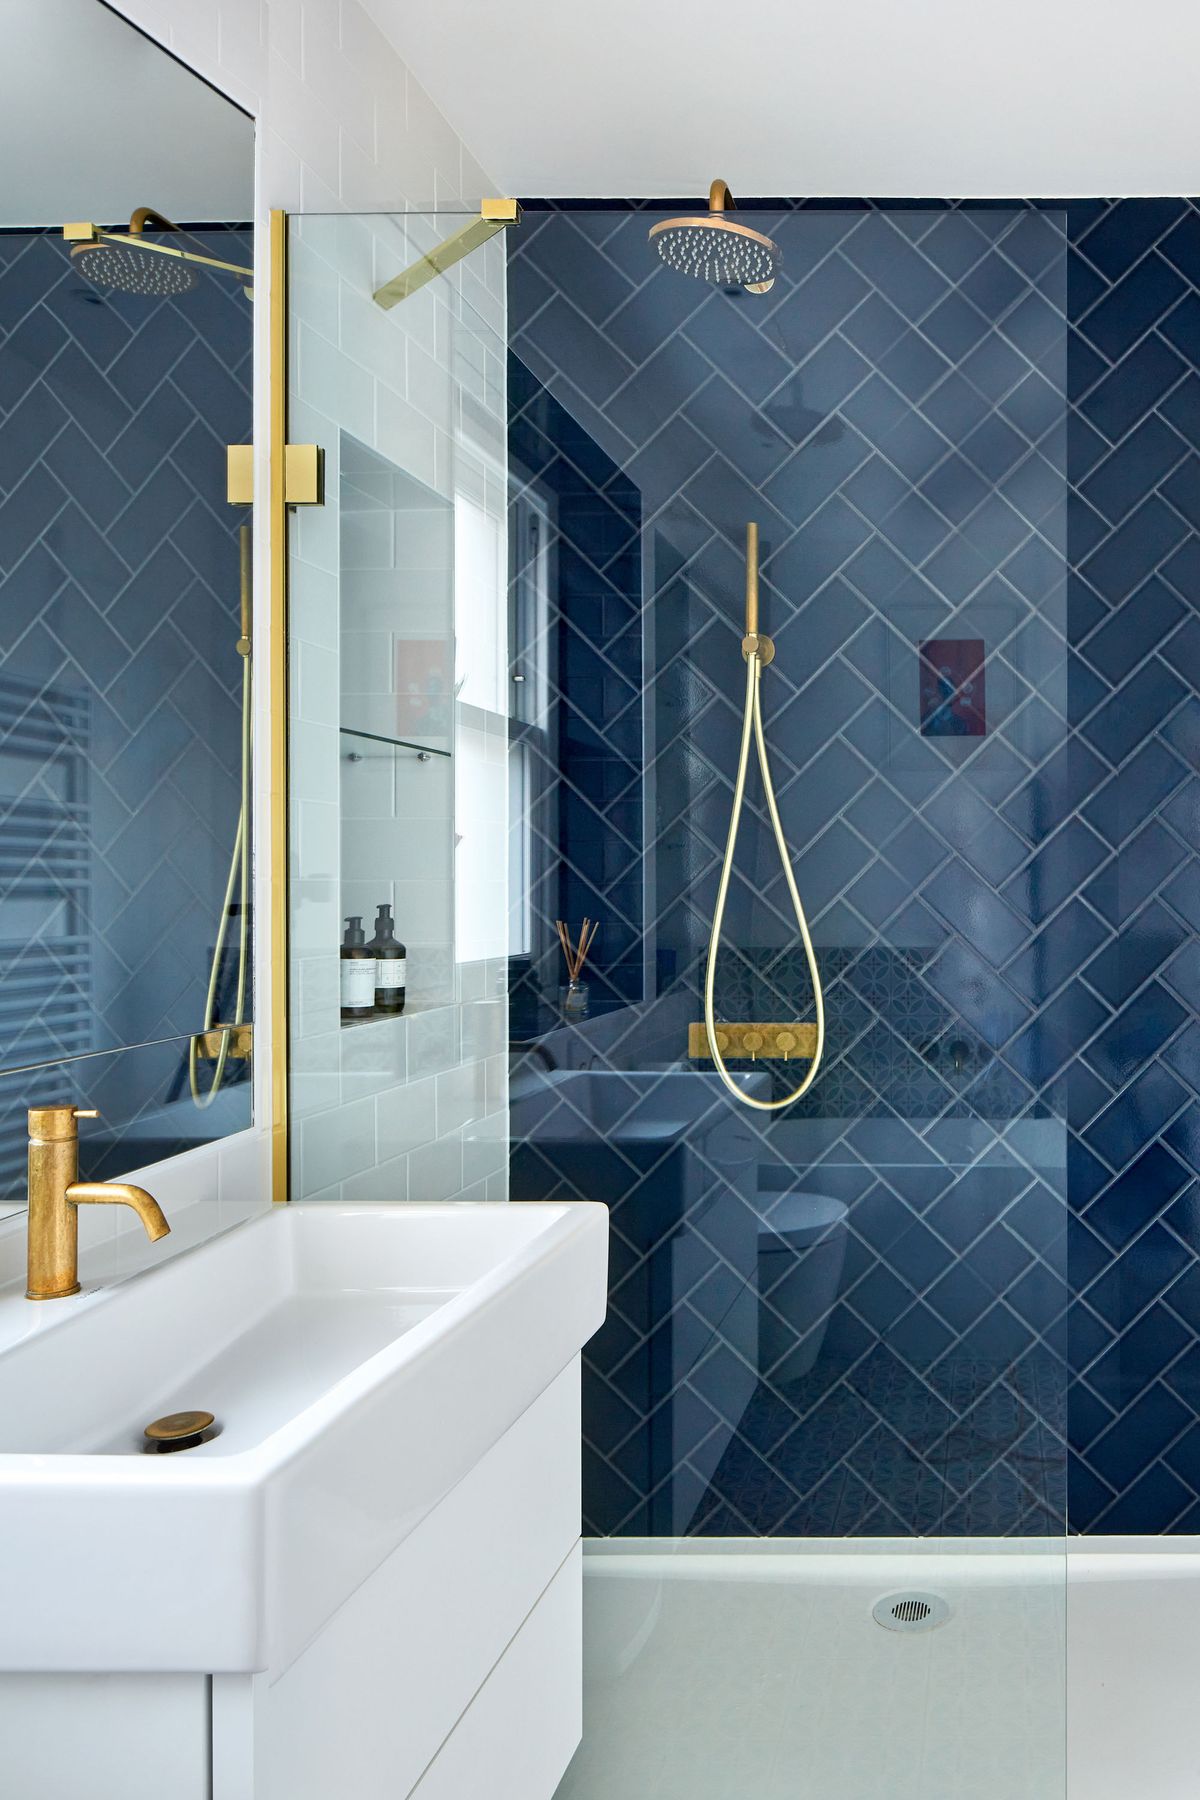
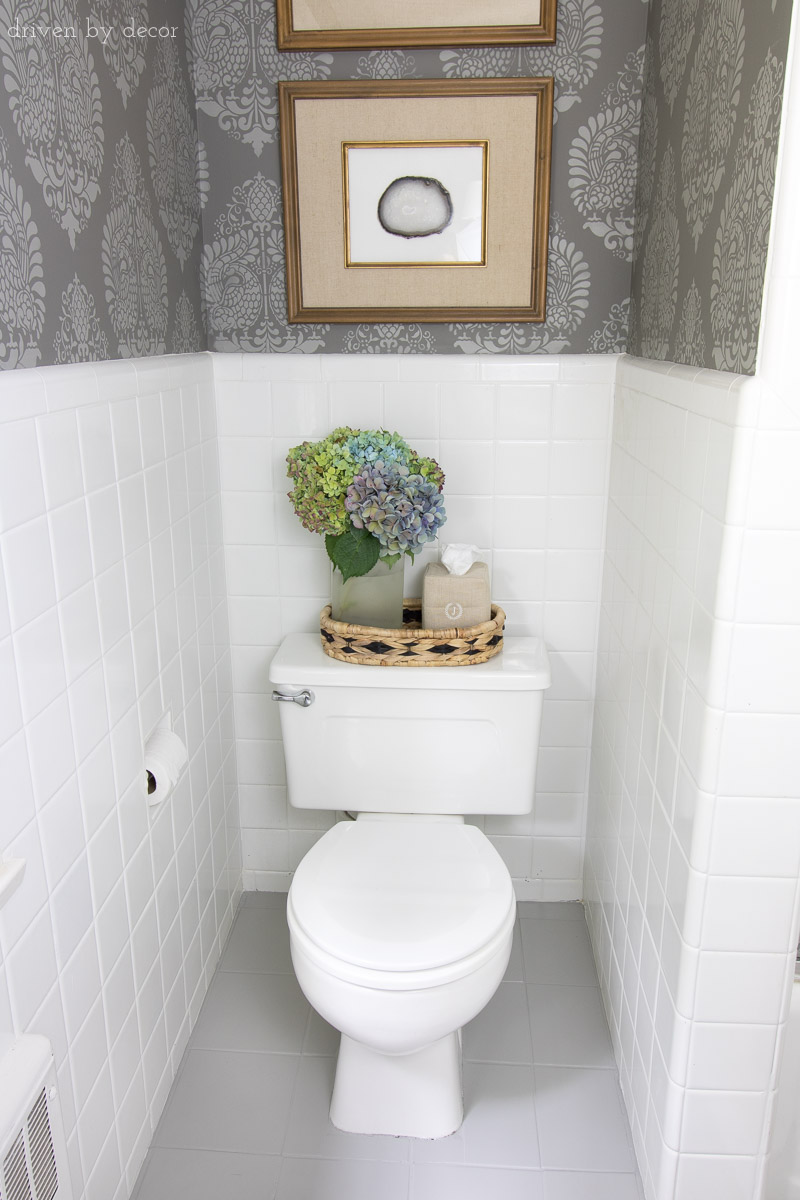
Choosing the right tiles is the first step to a successful bathroom tile installation. Consider the size, color, texture, and material of the tiles you want. Large tiles can make a small bathroom appear larger, while smaller tiles can add intricate details to a larger bathroom. It’s also important to choose durable and moisture-resistant tiles, such as porcelain or ceramic tiles.
Measure Your Space
Before purchasing your tiles, you must measure your bathroom to determine how many tiles you’ll need. Measure the length and width of the floor, walls, and shower or bathtub area. Add a few extra tiles to account for any cuts or mistakes.
Prepare Your Surface
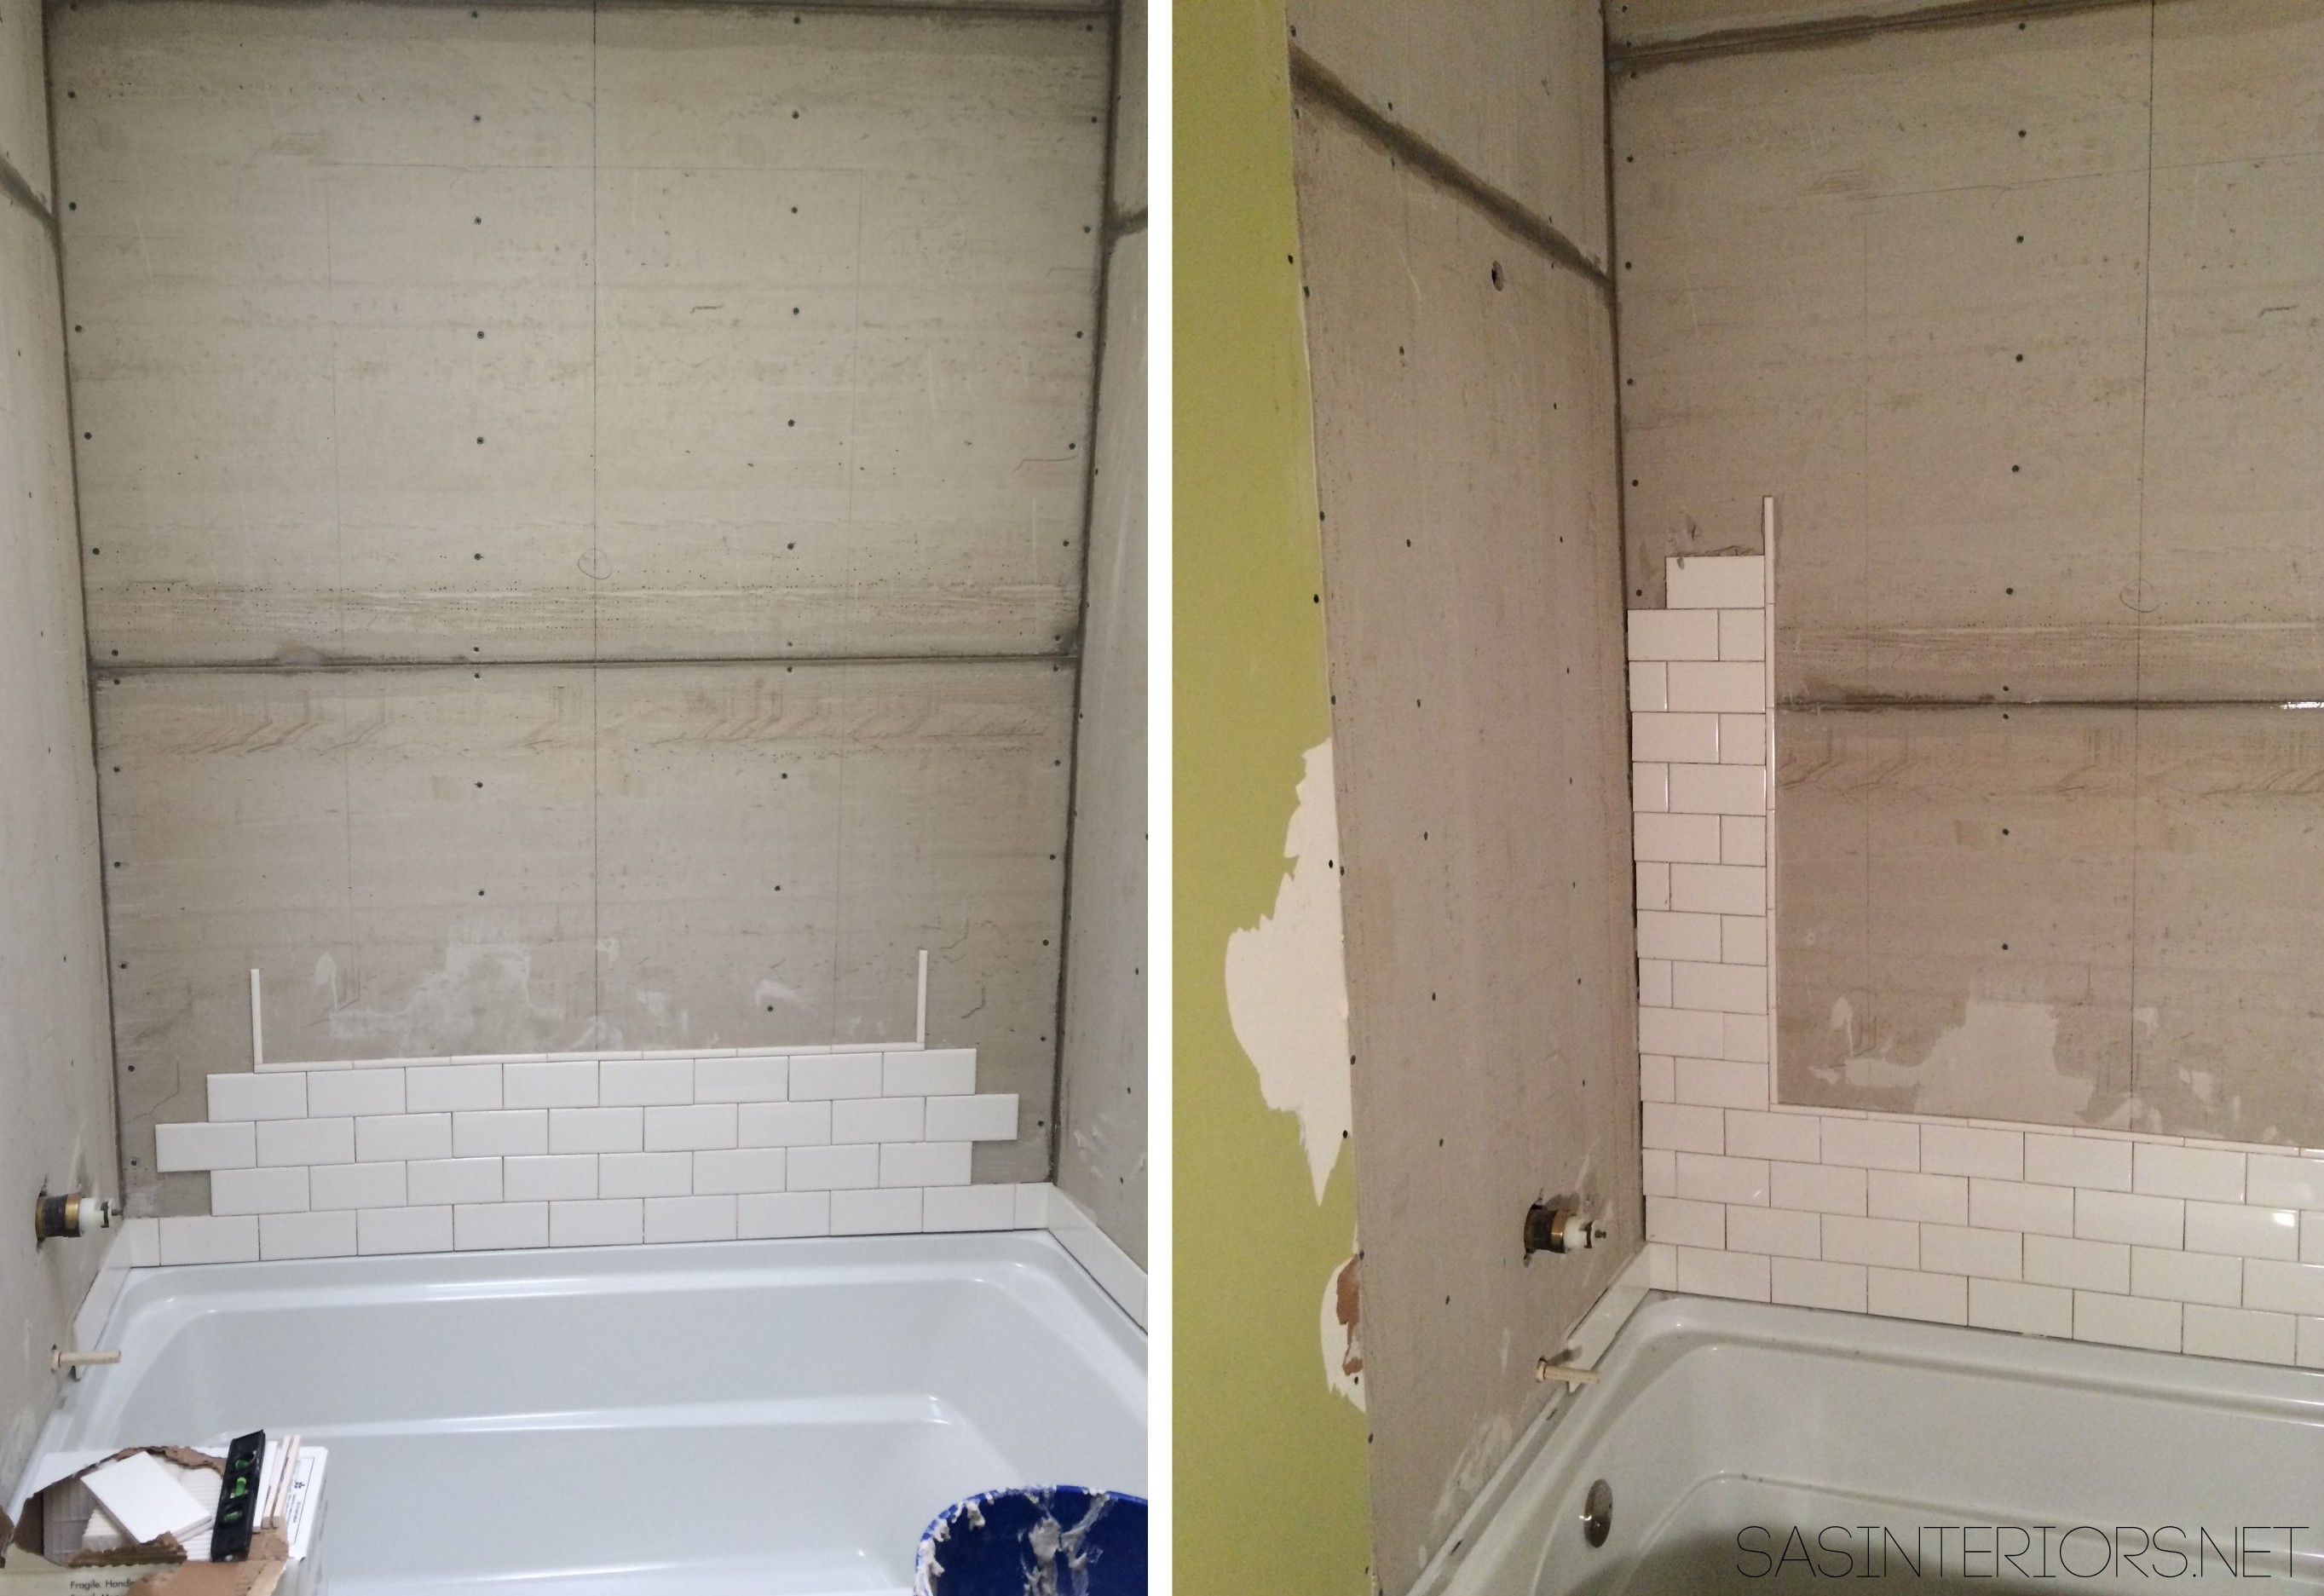
A smooth and even surface is essential for a successful tile installation. If you’re installing tiles over an existing surface, such as an old tile or linoleum, remove any loose or damaged tiles and clean the surface thoroughly. If you’re installing tiles on a new surface, such as cement board or drywall, ensure the surface is level and debris-free.
Plan Your Layout
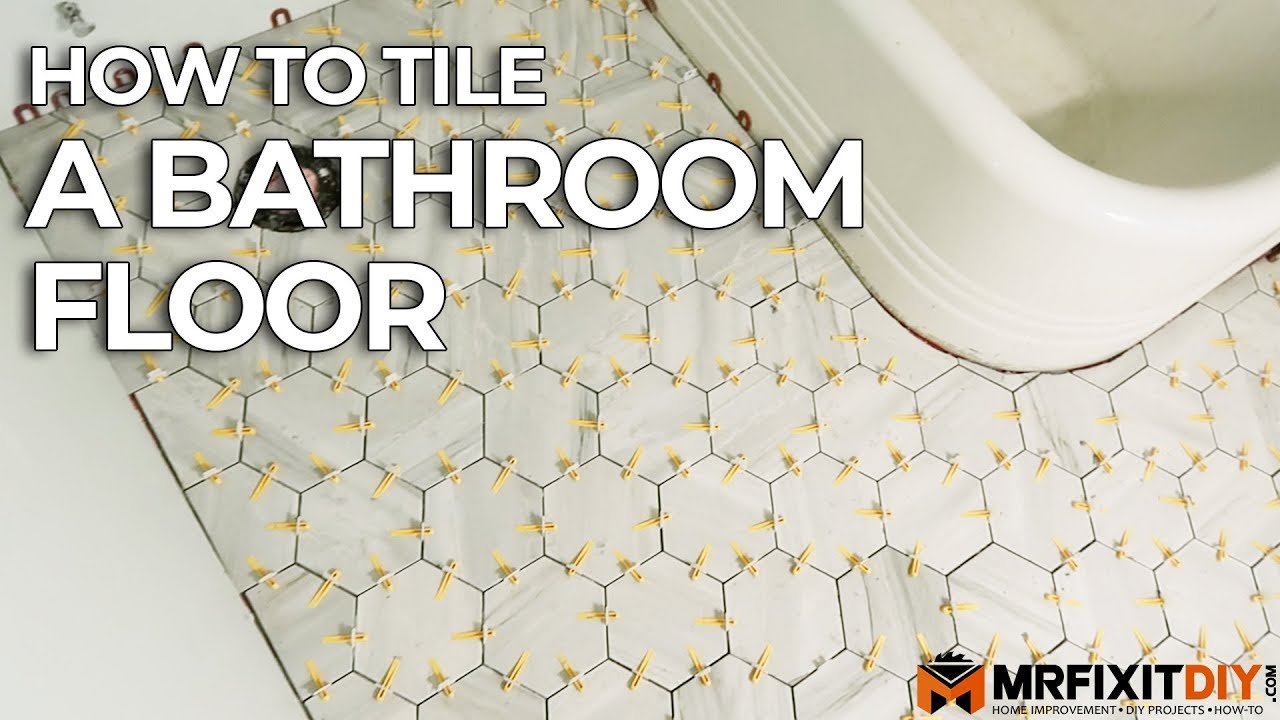
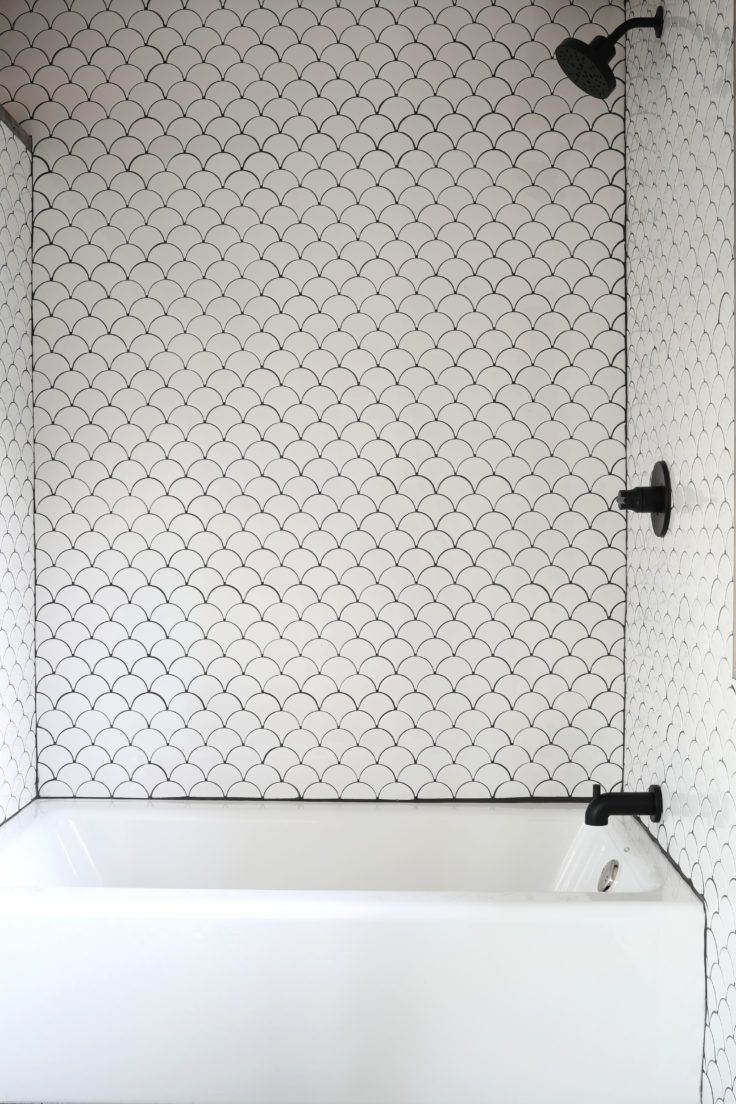
Before installing your tiles, plan your layout carefully. Determine where to start and how you want your tiles to be arranged. Consider using tile spacers to ensure your tiles are evenly spaced and aligned.
Install Your Tiles
To install your tiles, apply a thin layer of tile adhesive to the surface using a trowel. Start at the center of the room and work your way outwards, using a level to ensure your tiles are even. Cut tiles to fit around the edges of your bathroom using a tile cutter or wet saw. Once your tiles are in place, allow them to dry for at least 24 hours.
Grout Your Tiles
After your tiles are dry, it’s time to grout them. Mix your grout according to the instructions and apply it to the spaces between your tiles using a grout float. Wipe away any excess grout with a damp sponge, and allow the grout to dry for at least 48 hours.
Seal Your Tiles
To protect your tiles from moisture and stains, it’s important to seal them. Allow your grout to dry completely, and then apply a tile sealer using a brush or roller. Seal your tiles and grout every few years to maintain their appearance and durability.
Final Thoughts
In conclusion, a DIY bathroom tile installation can be rewarding and cost-effective for any homeowner. Before you begin, choose the right tiles, measure your space, prepare your surface, plan your layout, install your tiles, grout your tiles, and seal your tiles. With these steps, you can achieve a beautiful and functional bathroom that you’ll be proud of for years.
Bathroom Tile Do It Yourself
How to Tile a Bathroom Floor DIY Bathroom Remodel
How To Update Your Bathroom Floor Tiles – 6 DIY ideas

Bathroom Makeover: DIY Tips u0026 Tricks on How-To Tile + Grout a
BATHROOM MAKEOVER UNDER $300 (Renter Friendly) + DIY Tile Floor u0026 Brick Wall!
How I Painted Our Bathroomu0027s Ceramic Tile Floors: A Simple (and
13 Tile Tips for Better Bathroom Tile u2014 The Family Handyman

DIY Modern Master Bath Remodel: Part 3: Custom Tile Shower Install

How to Lay a Tile Floor HGTV

Bad Tiling Terrible Bathroom Tile Diy Fixing And Grouting Job

DIY Tutorial // How to Install a Tiled Shower Surround u2014 The Grit
How To Update Your Bathroom Floor Tiles – 6 DIY ideas

The Best Shower Tile Ideas And DIY Tiling Tips – VisualHunt
DIY Easy Bathroom Tile Wall – Frills and Drills
Related Posts:
- Bathroom Tile Design Ideas Black & White
- Can You Paint Old Bathroom Tile
- Best Bathroom Tiles In Pakistan
- Bathroom Tiles Arrangement
- Bathroom Tiles Norwich
- Cheap Bathroom Tiles Sale
- What Drill Bit To Use For Bathroom Tiles
- Latest Bathroom Tile Designs Ideas
- Marble Bathroom Tile Designs
- Large Green Bathroom Tiles


