Maximizing Space with Rustic Charm
When it comes to bathrooms, especially those on the smaller side, finding ways to maximize space without compromising on style can feel like a challenge. That’s where a rustic bathroom storage cabinet comes into play. I discovered that this type of cabinet not only enhances the aesthetic of my bathroom but also offers a practical solution to space issues. Here’s how you can achieve the same:
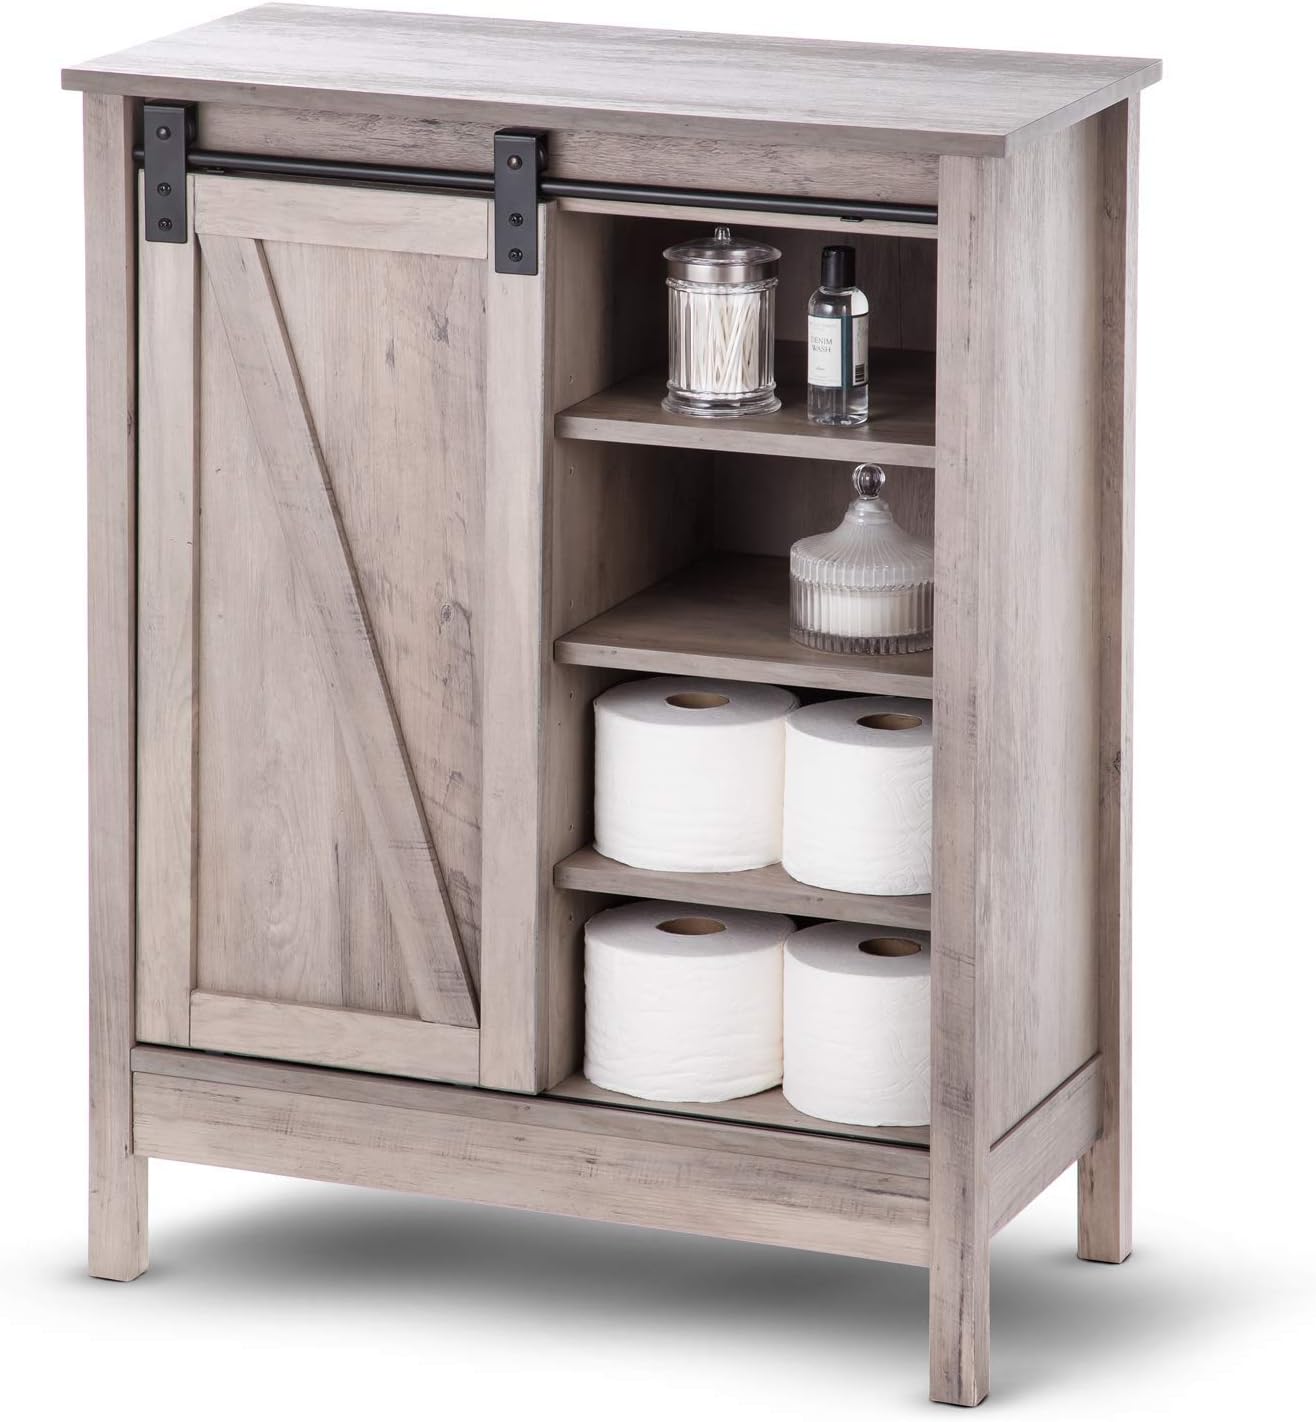
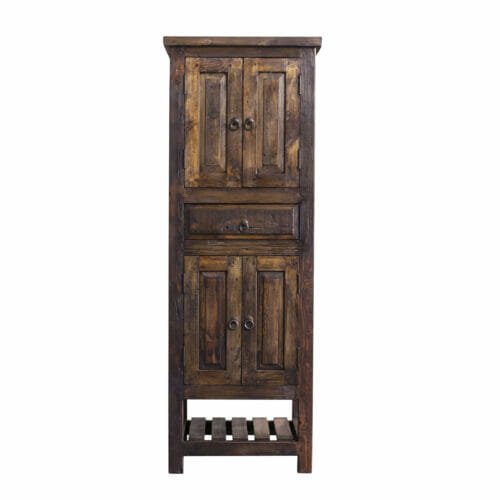
- Embrace Vertical Space: One of the best features of a rustic bathroom storage cabinet is its ability to use vertical space effectively. Instead of cluttering countertops or cramming items under the sink, I opted for a tall, narrow cabinet. It allowed me to stack towels, toiletries, and decorative items in a neat, organized manner, freeing up valuable floor space.
- Aesthetic and Functional Display: Rustic cabinets often come with a mix of open shelving and closed compartments. I found this dual-purpose design ideal for displaying attractive items like glass jars of bath salts or beautifully folded towels while keeping less appealing essentials, like extra toilet paper, out of sight but within easy reach.
- Custom Fit for Any Bathroom: Whether you have a spacious bathroom or a compact powder room, there’s a rustic cabinet that fits. I went with a slim design that fit perfectly next to my sink, but options like corner units or wall-mounted cabinets are available if floor space is even more limited. These versatile designs make it easy to find the right fit for your bathroom’s unique layout.
- Adding Warmth with Natural Materials: The natural wood tones of rustic cabinets add a warmth that can be missing from bathrooms dominated by cold tiles and fixtures. I chose a cabinet with a distressed wood finish, which not only complements my bathroom’s color scheme but also adds a cozy, lived-in feel that makes the space more inviting.
- Smart Storage Solutions: Inside my rustic cabinet, I made use of baskets and bins to further organize small items. This strategy helped me keep everything in its place while still maintaining the cabinet’s rustic appeal. The result is a bathroom that’s not just functional but also visually pleasing.
- Easy to Maintain: Another bonus of choosing a rustic cabinet is the low maintenance it requires. The natural materials are durable and age well, often looking better as they develop character over time. A quick wipe with a damp cloth is usually all it takes to keep the cabinet looking great, which is a definite plus in a high-humidity environment like the bathroom.
Choosing the Ideal Rustic Cabinet for Your Bathroom Aesthetic
Selecting the right rustic cabinet for your bathroom can be a rewarding process that enhances both the functionality and the visual appeal of your space. I’ve learned that the key to choosing the ideal cabinet lies in balancing practicality with design. Here’s my approach to making the perfect selection:
Match the Cabinet to Your Bathroom’s Style: The first step in choosing a rustic cabinet is to consider the overall aesthetic of your bathroom. Is it modern, traditional, or somewhere in between? I opted for a cabinet with clean lines and a natural wood finish that complemented my bathroom’s contemporary look. If your bathroom leans more towards a classic style, consider a cabinet with ornate detailing or a more weathered finish.
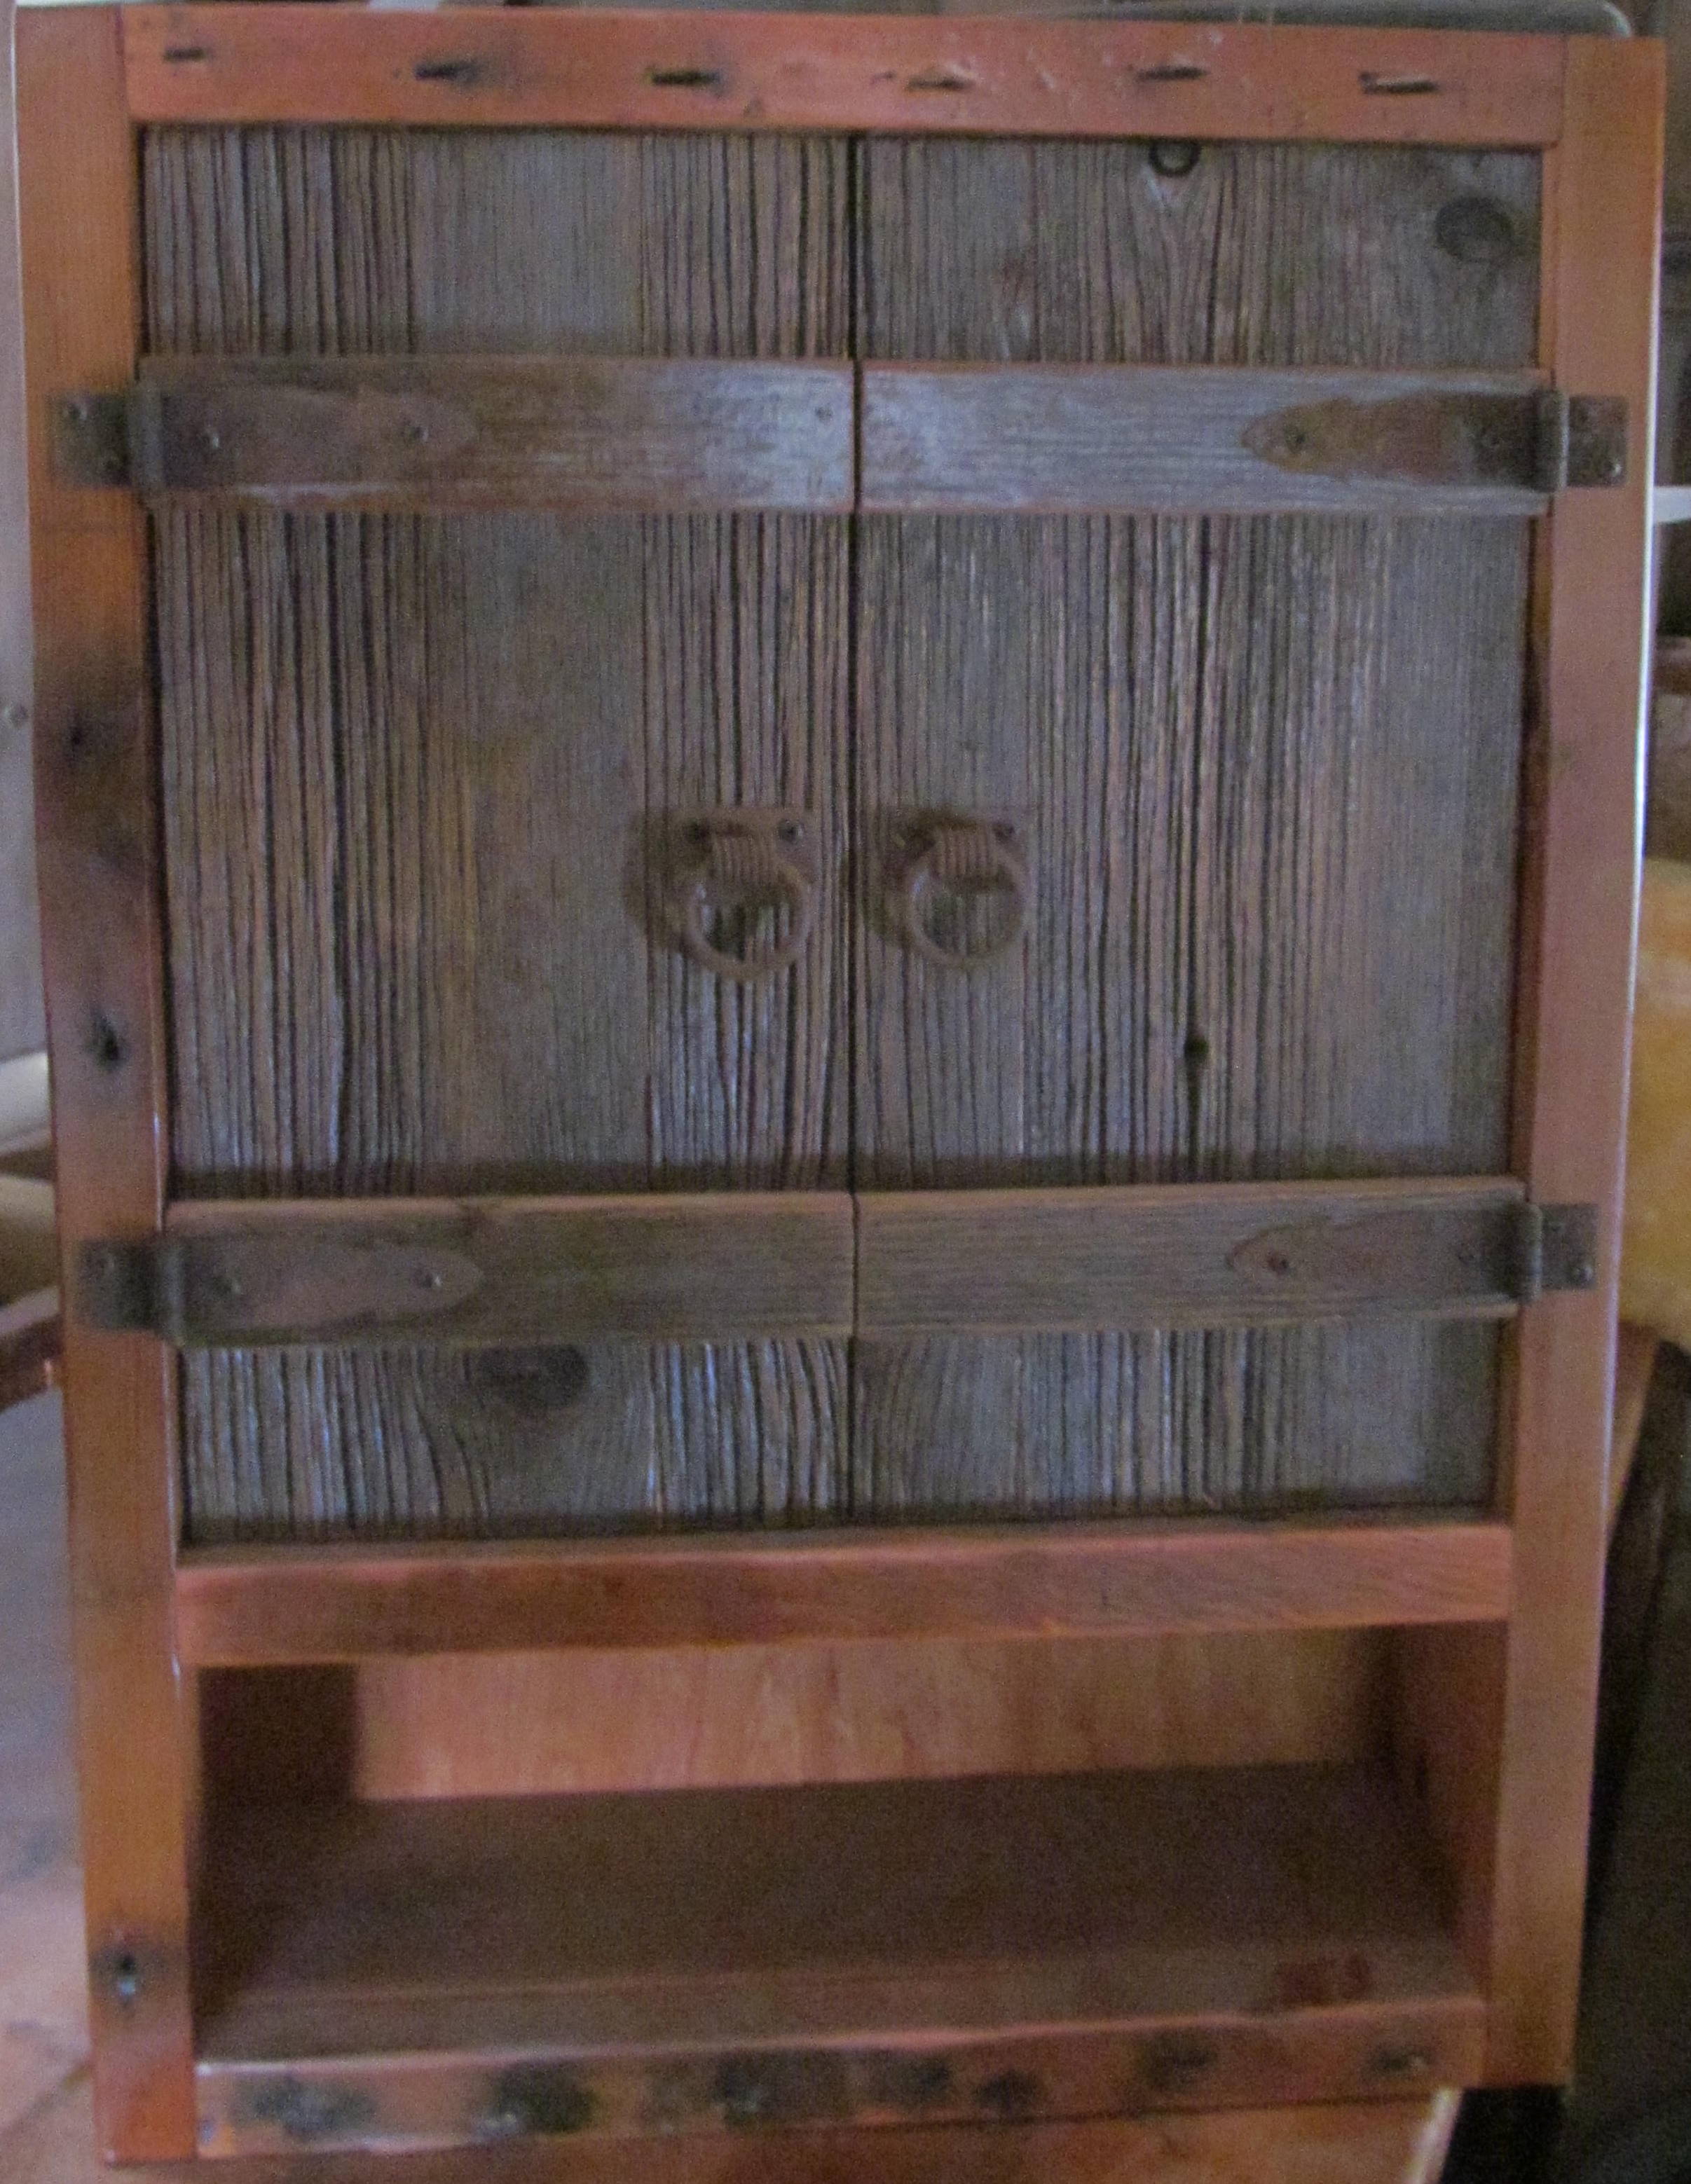
Consider the Wood Type and Finish: Rustic cabinets come in various wood types and finishes, each bringing its unique character to the bathroom. I chose reclaimed wood for its eco-friendly appeal and natural patina. However, if you prefer a more polished look, oak or pine with a clear varnish might be better suited to your taste. The finish can dramatically alter the cabinet’s appearance, so choose one that aligns with the ambiance you want to create.
Size and Proportions Matter: Before making a purchase, it’s crucial to measure your bathroom space accurately. I found that selecting a cabinet that is proportionate to the size of the room made a big difference. A large, bulky cabinet can overwhelm a small bathroom, while a too-small cabinet might not offer enough storage. I aimed for a piece that provided ample storage without dominating the room.
Storage Needs: Open vs. Closed Shelving: Think about what you need to store and how you want it to be displayed. I personally prefer a combination of open shelves and closed drawers. The open shelves allow me to display decorative items and keep frequently used products within easy reach, while the closed drawers are perfect for storing less attractive necessities. This mix of storage options can help you keep your bathroom organized and stylish.
The Importance of Durability: Bathrooms are high-moisture environments, so it’s essential to choose a cabinet that can withstand humidity. I made sure to select a cabinet made from solid wood, with a finish that protects against moisture. This decision has paid off in terms of longevity and maintaining the cabinet’s appearance over time.
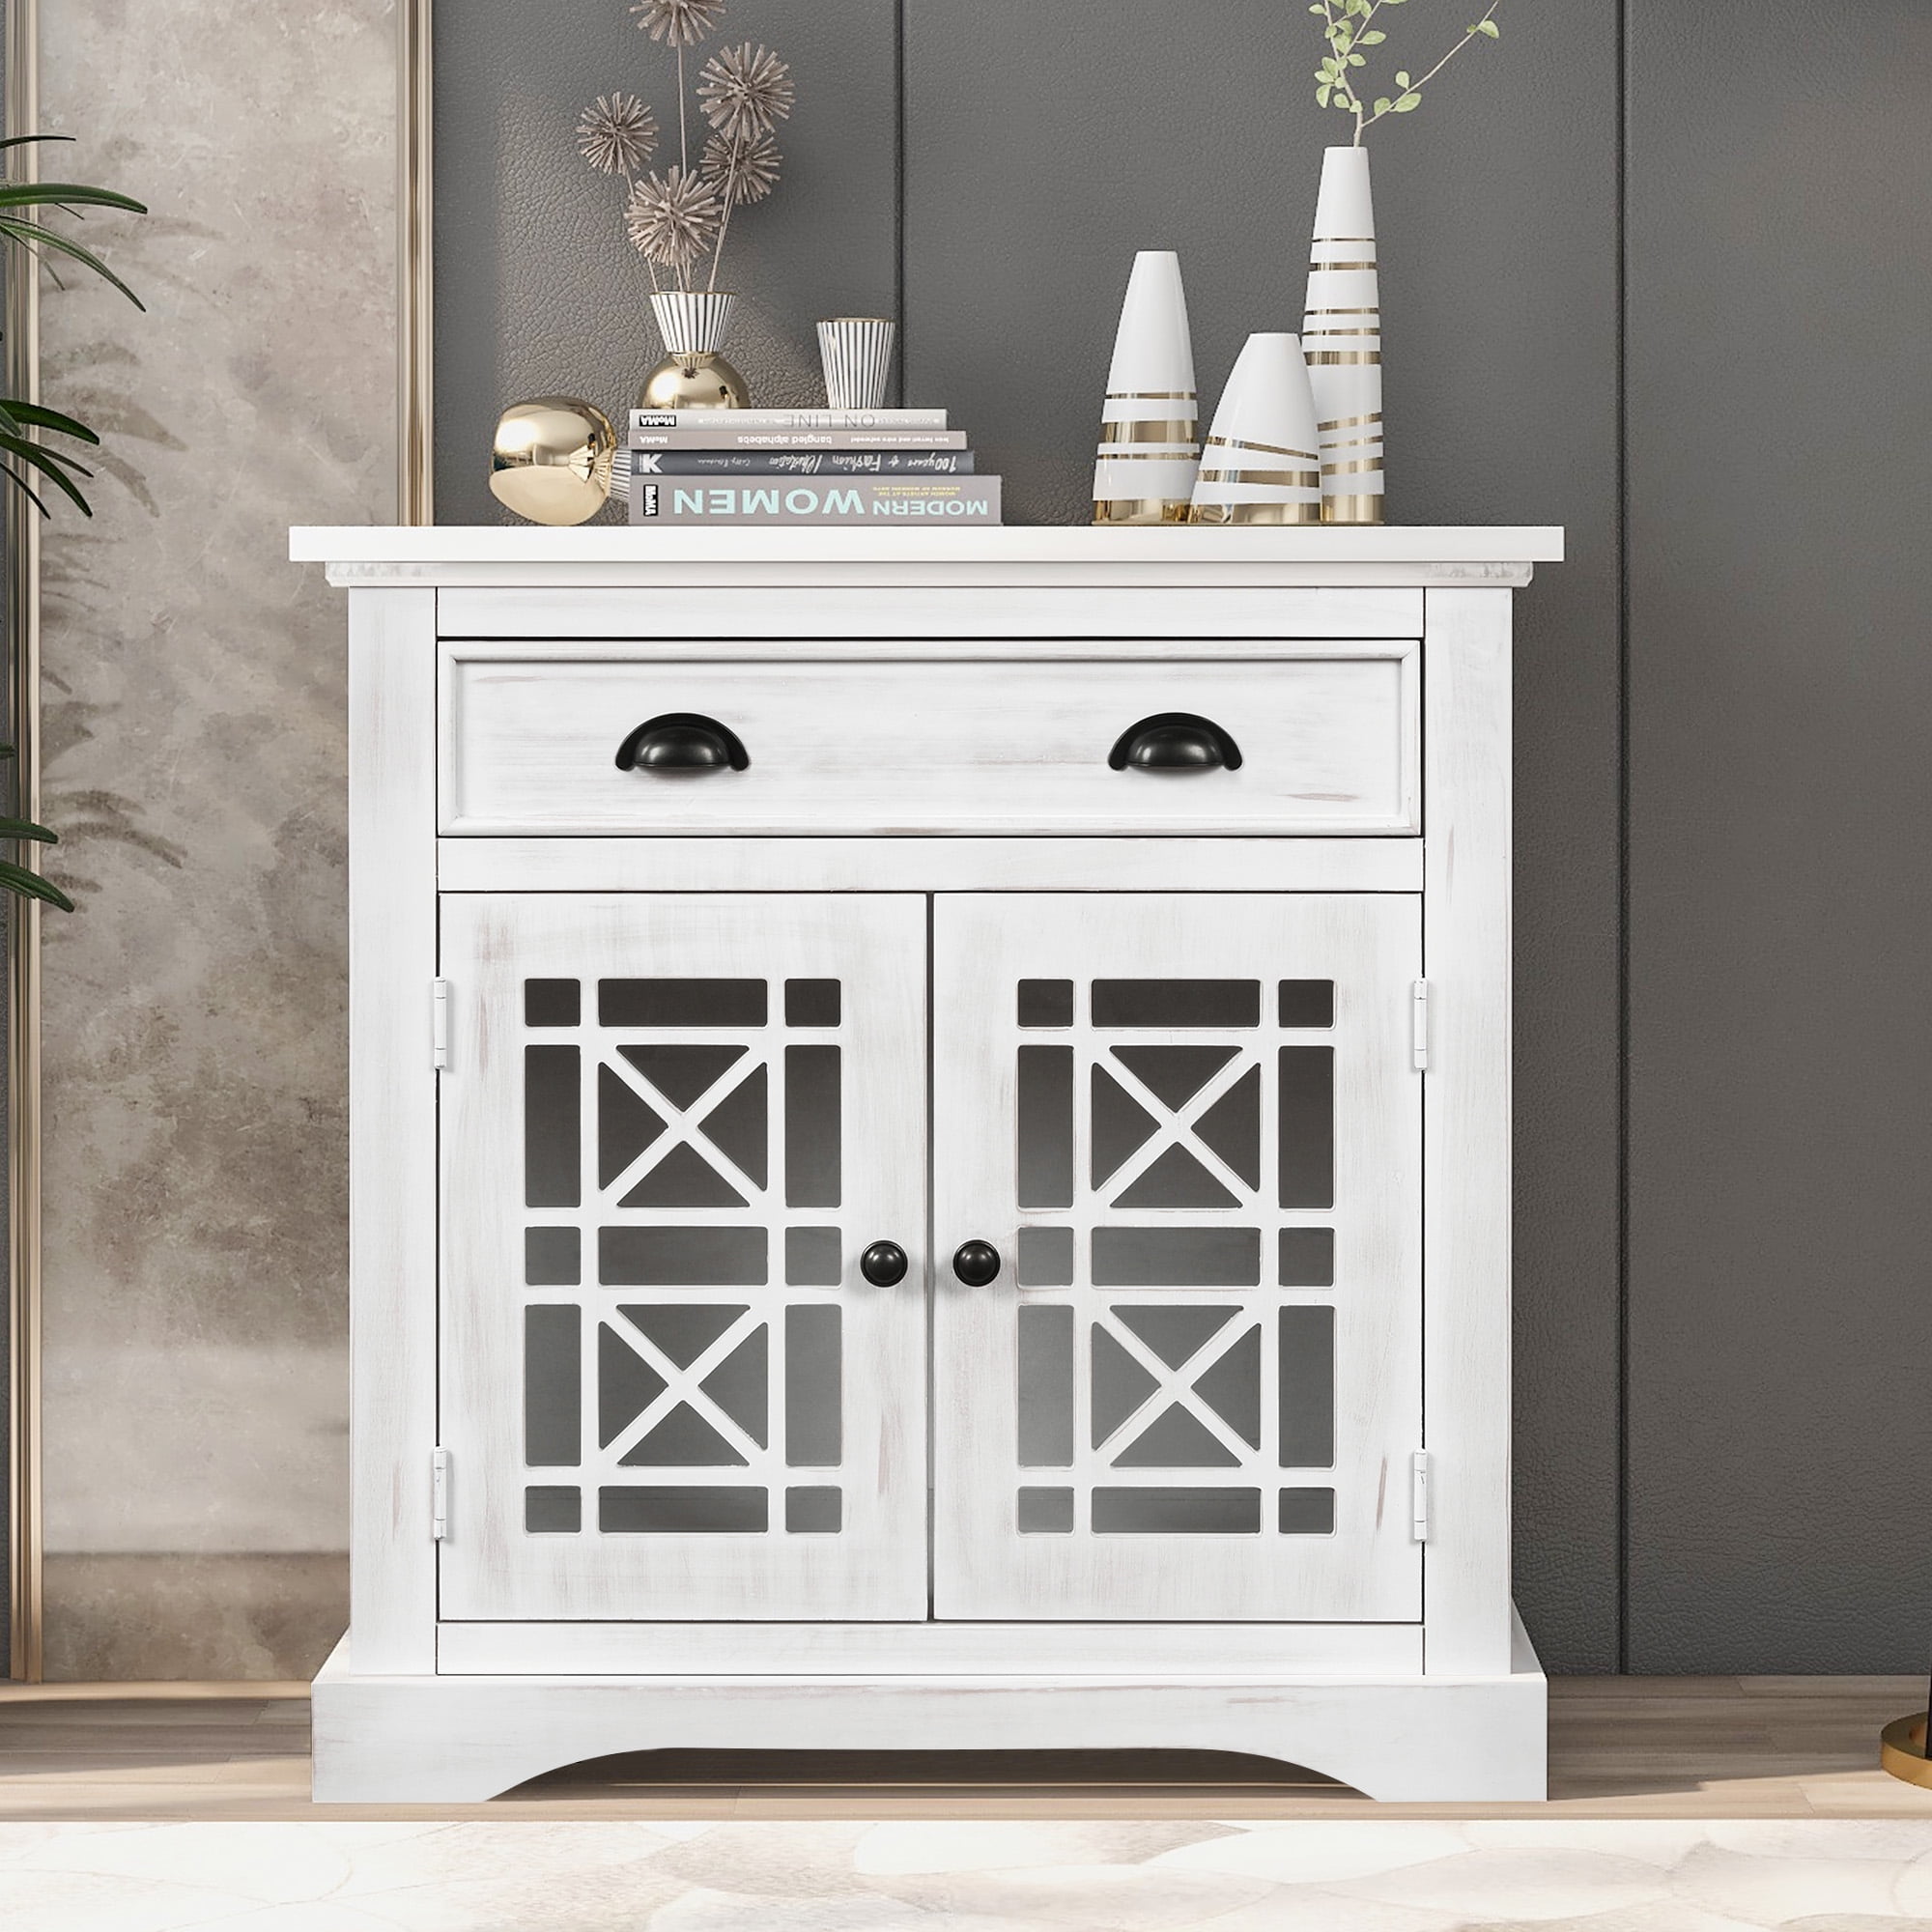
Don’t Forget the Hardware: The hardware on a rustic cabinet can either blend seamlessly with the piece or stand out as a design feature. I chose hardware with a matte black finish to contrast with the light wood of my cabinet. Whether you prefer something subtle or more decorative, the hardware is the finishing touch that can pull the whole look together.

DIY Rustic Bathroom Cabinets
For those who enjoy a hands-on approach to home decor, crafting your own rustic bathroom cabinet can be an incredibly satisfying project. I decided to take on this challenge myself and was amazed at how a few simple tools and some creativity transformed my bathroom. Here’s how you can do it too:
Planning Your Design Before diving into construction, I spent some time planning the design. I considered the size and style of my bathroom, as well as my storage needs. I wanted something functional yet stylish, so I sketched a cabinet that included both open shelving and closed storage. Starting with a clear plan made the entire process smoother.
Choosing the Right Materials Selecting the right wood was a crucial step. I opted for reclaimed wood for its rustic charm and environmental benefits. However, any sturdy wood, such as pine or oak, can work well. The key is to choose wood that will stand up to the moisture in a bathroom. I also gathered basic tools like a saw, hammer, nails, and wood glue to get started.
Building the Frame The first step in the actual construction was building the frame. I cut the wood to size based on my design and assembled the frame using nails and wood glue. This part required some precision, but it wasn’t overly difficult. Watching the cabinet take shape from a pile of wood was incredibly rewarding.
Adding Shelves and Doors Once the frame was complete, I added shelves and doors. For the shelves, I used more reclaimed wood, cutting each piece to fit snugly within the frame. I decided on a mix of open shelves for easy access and closed compartments to hide away less attractive items. I attached the doors with rustic-style hinges, which added to the overall aesthetic.
Finishing Touches After assembling the cabinet, I sanded the entire piece to smooth out rough edges and then applied a stain to enhance the wood’s natural grain. I chose a dark walnut stain to give the cabinet a rich, aged look. Finally, I sealed the wood with a protective finish to guard against moisture. This step not only preserved the wood but also added a subtle sheen.
Installing Your DIY Masterpiece The final step was installing the cabinet in my bathroom. I used wall anchors to ensure it was securely fastened and wouldn’t tip over. Once it was in place, I couldn’t have been more pleased with the result. Not only did I have a beautiful new piece of furniture, but the satisfaction of knowing I made it myself made it even more special.

Features to Look for in a Rustic Bathroom Storage Cabinet
When shopping for a rustic bathroom storage cabinet, it’s essential to focus on features that combine both style and practicality. After spending some time researching and eventually choosing my own cabinet, I realized there are a few key features that make all the difference. Here’s what you should keep in mind:
Solid Wood Construction One of the first things I looked for was solid wood construction. A cabinet made from solid wood not only looks more authentic but also tends to be more durable. The grain, texture, and weight of real wood bring a certain quality that composite materials just can’t match. I knew this would be an investment piece that could last for years.
Versatile Storage Options A good rustic cabinet should offer a variety of storage options. I chose a cabinet with a mix of open shelving and closed compartments. This allowed me to display decorative items and keep everyday essentials easily accessible, while still having space to store less attractive items out of sight. The versatility of these storage options made the cabinet much more functional for my needs.
Durable Hardware The hardware on a rustic cabinet is often overlooked, but it’s a crucial detail. I made sure to choose a cabinet with sturdy, high-quality hardware that complemented the rustic style. Whether it’s antique brass handles or wrought iron knobs, durable hardware not only enhances the look but also ensures longevity.
Moisture Resistance Bathrooms are humid environments, so moisture resistance was a key factor in my decision. I opted for a cabinet with a finish that protected the wood from moisture. This feature is essential to prevent warping, cracking, or mold growth, and it helps the cabinet maintain its beauty over time.
Authentic Rustic Finish The finish of the cabinet can make or break the rustic aesthetic. I specifically looked for a finish that had a weathered, distressed look. This kind of finish gives the wood character and a sense of history, which is central to the rustic style. Whether you prefer a light, natural wood tone or something darker, the finish should enhance the wood’s natural beauty.
Customizable Design Finally, I appreciated that the cabinet I chose offered some degree of customization. Whether it’s adjustable shelves, the ability to add additional storage bins, or even the option to paint or stain the wood to match your decor, having a customizable design allows the cabinet to fit perfectly into your space.
Incorporating a Rustic Cabinet into Small Bathroom Spaces
Fitting a rustic cabinet into a small bathroom can seem challenging, but with the right approach, it’s entirely possible. I faced this dilemma myself and found that with a little creativity, I could incorporate the cabinet without overwhelming the space. Here’s how you can do the same:
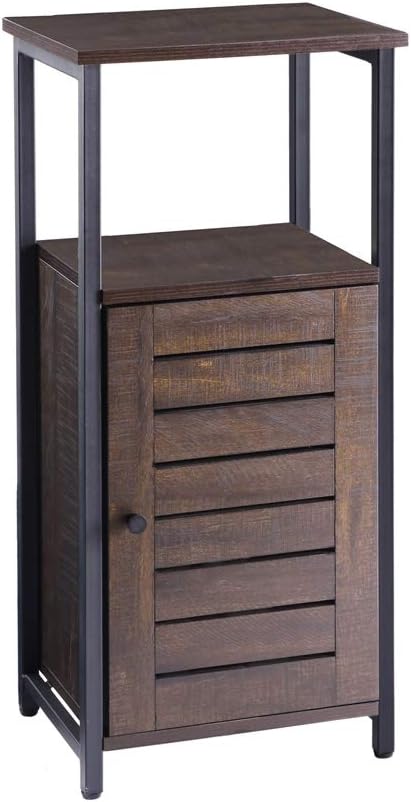
Opt for Slim and Tall Designs The first solution I discovered was choosing a slim and tall cabinet. By going vertical, I maximized storage without taking up much floor space. This type of design fits perfectly in tight spaces and can be placed next to the sink or in a corner, making it ideal for small bathrooms.
Utilize Corner Cabinets Corners are often underutilized in small bathrooms. I found that a corner cabinet was a brilliant way to add storage without encroaching on the room’s limited space. Corner cabinets are specifically designed to fit snugly into corners, making them an excellent option for small bathrooms.
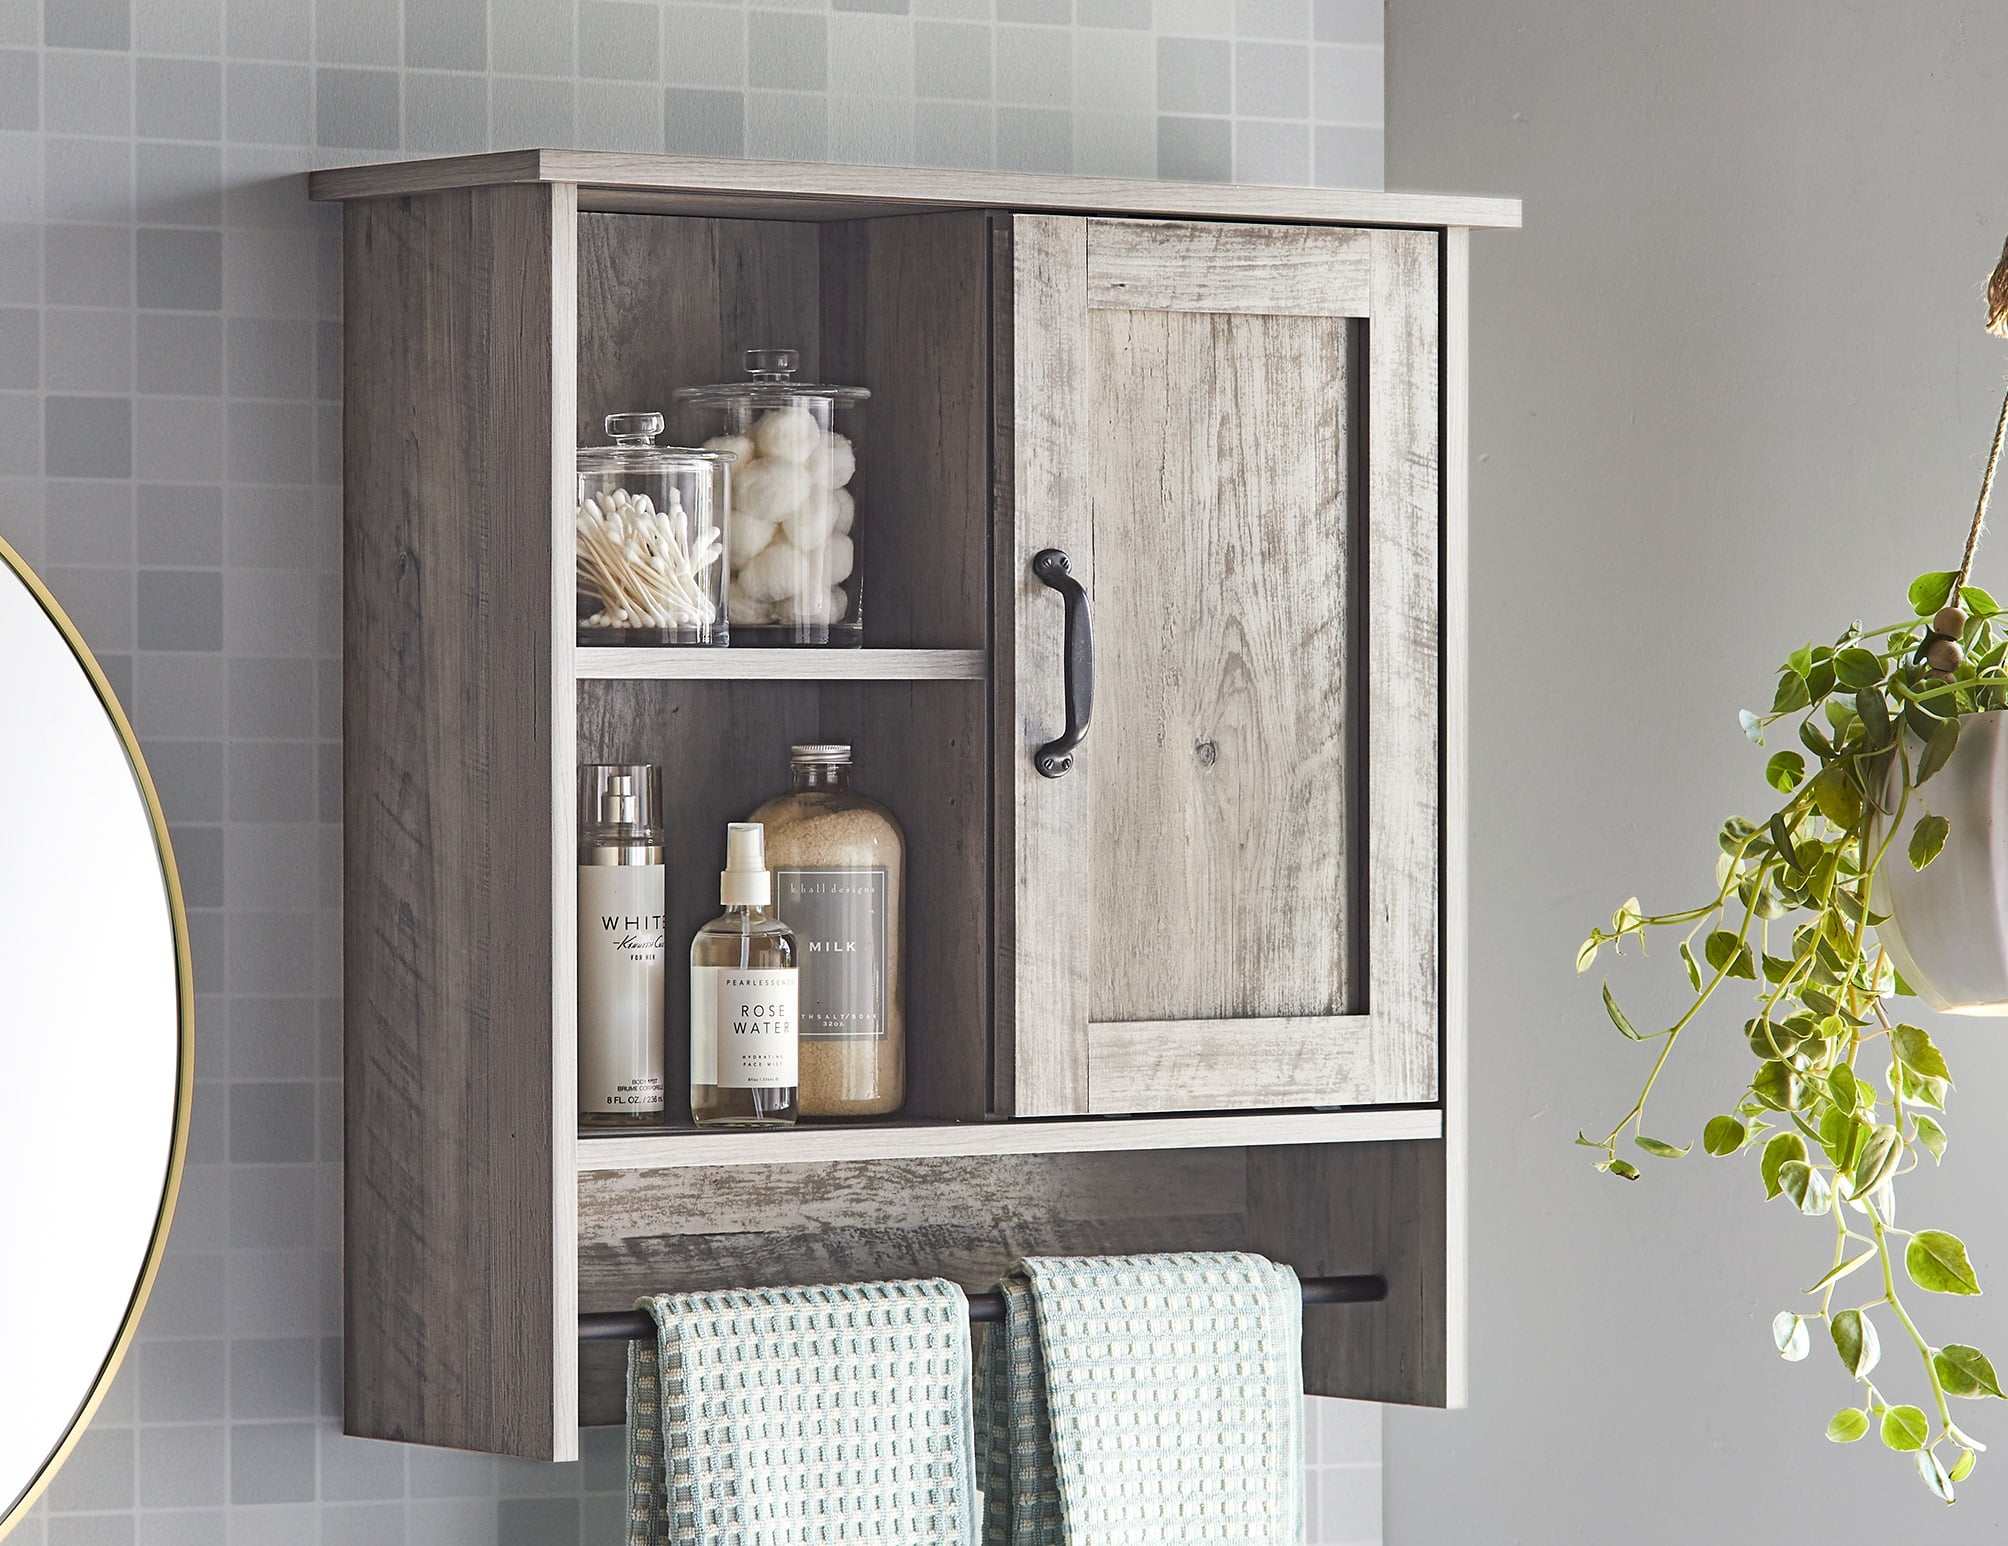
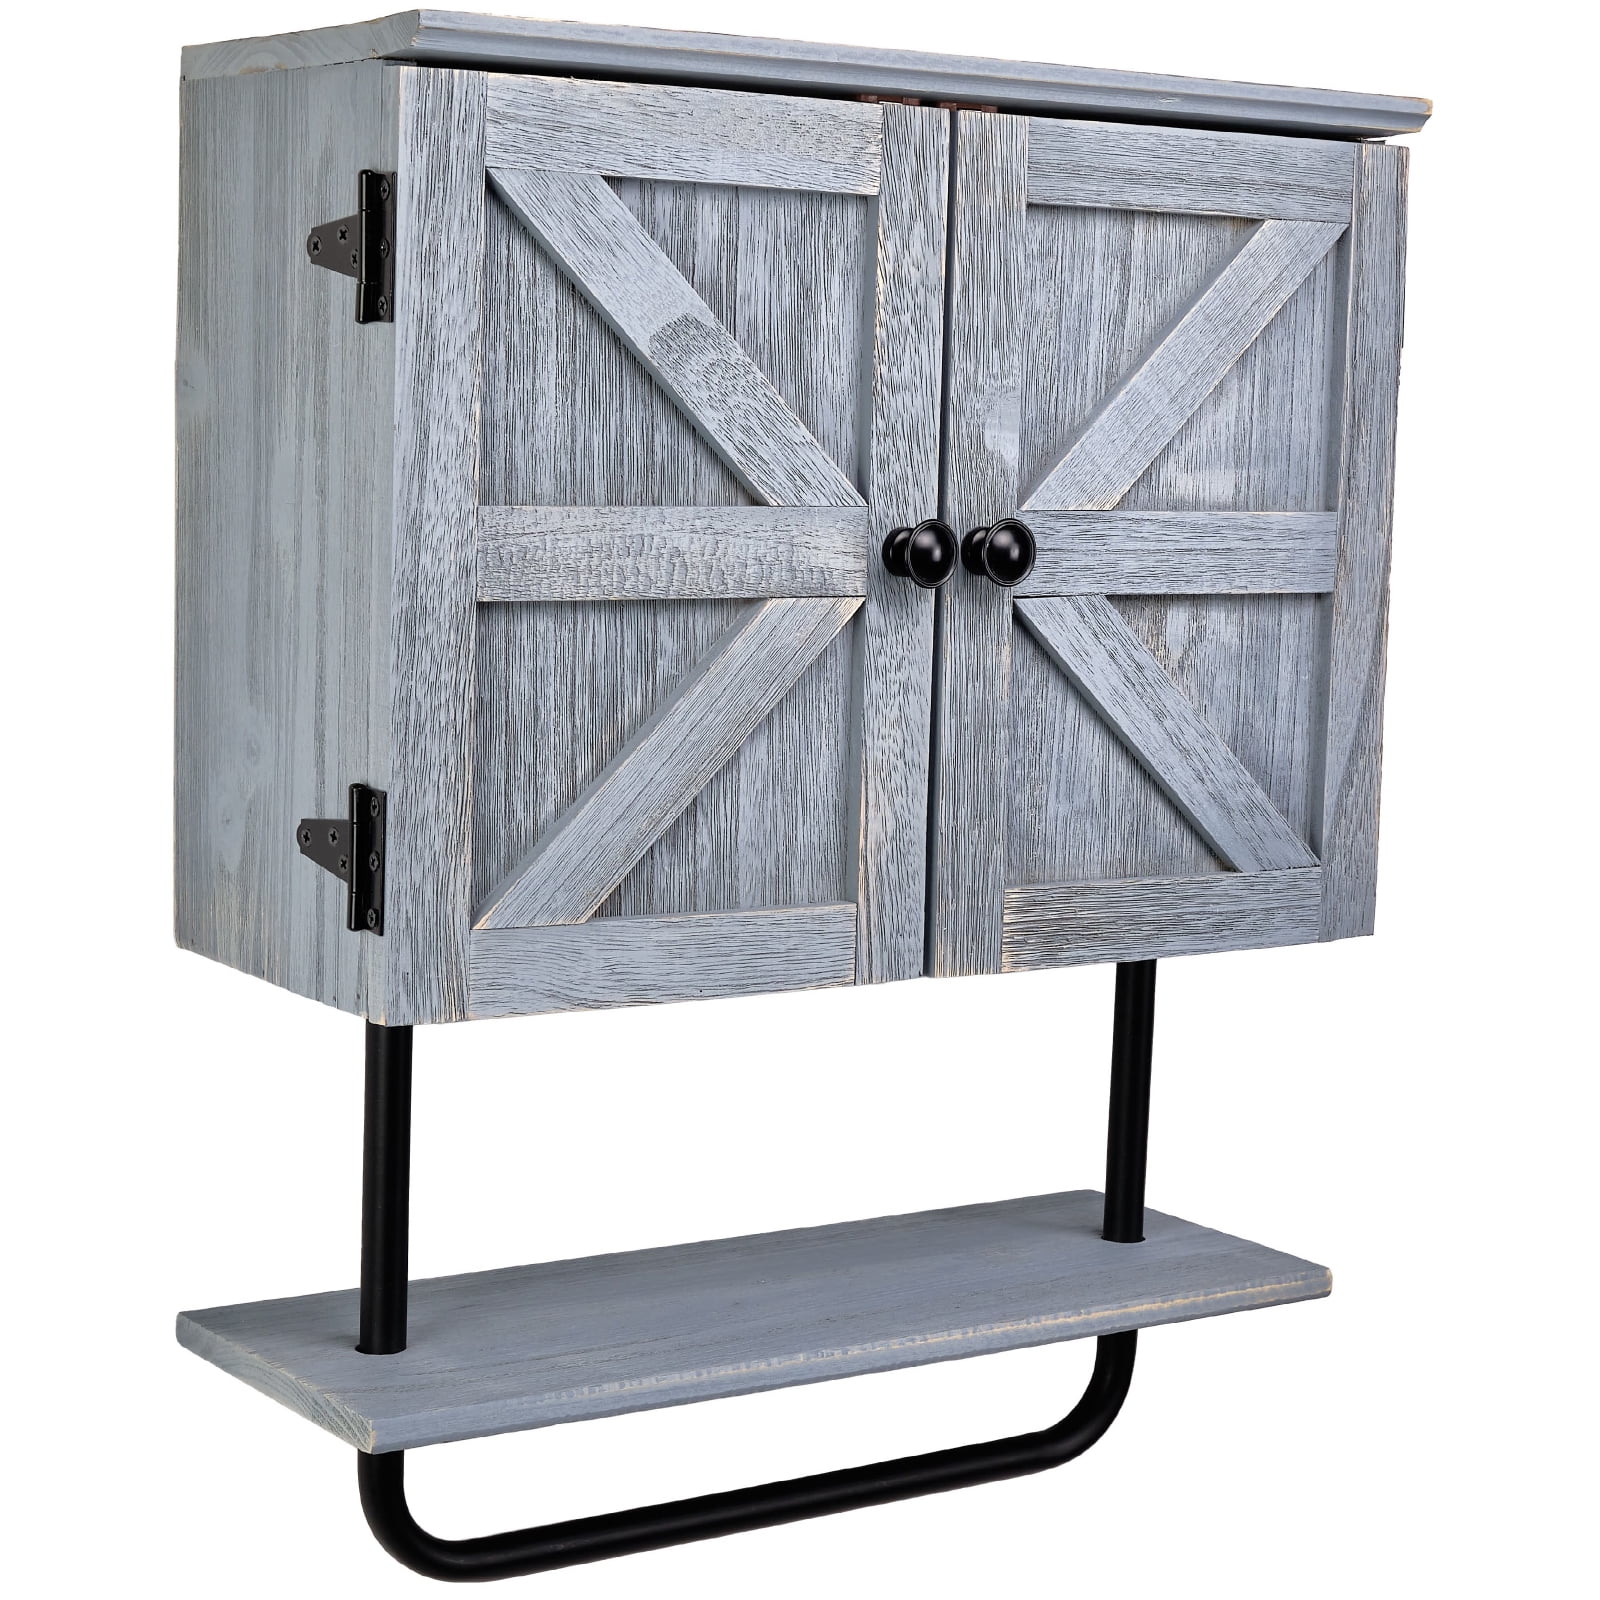
Consider Wall-Mounted Cabinets Wall-mounted cabinets are another fantastic option for small bathrooms. By mounting the cabinet on the wall, I freed up floor space and created a more open feel. This is particularly useful above the toilet or sink, where the cabinet can serve as both storage and a focal point.
Reflective Surfaces to Enhance Space To make my small bathroom feel larger, I chose a cabinet with a mirrored front. The reflective surface helps bounce light around the room, making it appear more spacious. If a mirrored cabinet isn’t your style, consider adding a large mirror above or next to the cabinet to achieve a similar effect.
Use the Cabinet as a Focal Point In a small bathroom, every piece counts, so why not make your rustic cabinet the focal point? I painted the surrounding walls a light color and chose a cabinet with a dark, rich finish to create contrast. This not only drew attention to the cabinet but also made the small space feel more intentional and designed.
Keep It Minimal Lastly, I focused on keeping the contents of the cabinet minimal. By avoiding clutter and only storing essentials, the cabinet remained functional without feeling overwhelming. This minimalist approach helped maintain a clean, open feeling in my small bathroom, even with the added storage.
Maintaining the Beauty and Functionality of Your Rustic Cabinet
Once you’ve found the perfect rustic bathroom storage cabinet, the next step is ensuring it remains beautiful and functional over time. I’ve learned that a little maintenance goes a long way in preserving the cabinet’s appeal. Here are some tips based on my experience:
Regular Dusting and Cleaning Dust and dirt can quickly accumulate on a rustic cabinet, especially in a bathroom. I make it a point to dust the cabinet weekly using a soft cloth. For deeper cleaning, I use a mild soap and water solution, being careful not to saturate the wood. This routine keeps the cabinet looking fresh and prevents the buildup of grime.
Protecting Against Moisture Given that bathrooms are high-moisture areas, it’s crucial to protect your rustic cabinet from humidity. I applied a water-resistant sealant to the wood to prevent warping or cracking. Additionally, I make sure to keep the bathroom well-ventilated, either by using an exhaust fan or opening a window, to reduce humidity levels.
Addressing Scratches and Dents Scratches and dents are inevitable, especially in a high-traffic area like a bathroom. When they occur, I use a wood filler or touch-up marker to repair minor damage. For larger issues, I lightly sand the affected area and apply a matching stain. This quick fix keeps the cabinet looking as good as new.
Reconditioning the Wood Over time, wood can lose its luster, especially in a bathroom environment. To maintain the rich finish of my rustic cabinet, I recondition the wood every few months with a wood conditioner or oil. This process not only restores the wood’s natural shine but also helps protect it from moisture and wear.
Tightening Hardware Loose hardware can detract from both the appearance and functionality of your cabinet. I check the screws and handles periodically to ensure they’re secure. If they start to feel loose, I simply tighten them with a screwdriver. Keeping the hardware in good shape is an easy way to extend the life of the cabinet.
Preventing Clutter To maintain the cabinet’s functionality, I avoid overloading it with items. Clutter not only makes the cabinet less efficient but can also cause wear and tear over time. By regularly organizing and decluttering the shelves, I keep the cabinet looking tidy and ensure it continues to meet my storage needs.

Affordable Rustic Cabinets
If you’re like me, you want your bathroom to look stylish and well-organized, but without breaking the bank. The good news is that it’s possible to find beautiful, budget-friendly rustic cabinets that don’t compromise on quality. Here’s how I managed to add rustic charm to my bathroom on a budget:
Shop Secondhand One of the first places I looked was secondhand stores and online marketplaces. I was surprised to find a variety of rustic cabinets at a fraction of the cost of new ones. Often, these pieces only needed a little TLC—a fresh coat of paint or stain—to make them look brand new. Shopping secondhand allowed me to stay within my budget while still finding unique, high-quality pieces.
Consider Ready-to-Assemble Options Ready-to-assemble (RTA) cabinets are another great budget-friendly option. These cabinets come flat-packed and require assembly, which significantly reduces the cost. I found a beautiful RTA rustic cabinet that was easy to put together and looked just as good as a more expensive, pre-assembled version. The savings were well worth the minimal effort required for assembly.
DIY Modifications If you’re handy with tools, consider modifying an inexpensive cabinet to give it a rustic look. I purchased a plain, affordable cabinet and added my own touches, such as distressed paint and new hardware. This DIY approach allowed me to customize the cabinet to my exact taste while keeping costs low.
Explore Discount Retailers Discount retailers often carry rustic-style cabinets at lower prices than specialty stores. I found that by shopping around and being patient, I could snag a great deal on a high-quality cabinet. Many of these retailers also offer sales and promotions, so it’s worth keeping an eye out for those.
Opt for a Smaller Size A smaller cabinet naturally costs less, and for my bathroom, a compact size was perfect. I looked for a smaller rustic cabinet that provided just the right amount of storage without overwhelming my space or my budget. This allowed me to get the rustic look I wanted without overspending.
Mix and Match Finally, I didn’t feel the need to buy a matching set of cabinets. Instead, I mixed and matched different pieces, which not only saved money but also added a more eclectic, personalized touch to my bathroom. The key was to ensure that the pieces complemented each other in terms of color and style, creating a cohesive look without the cost of a full set.
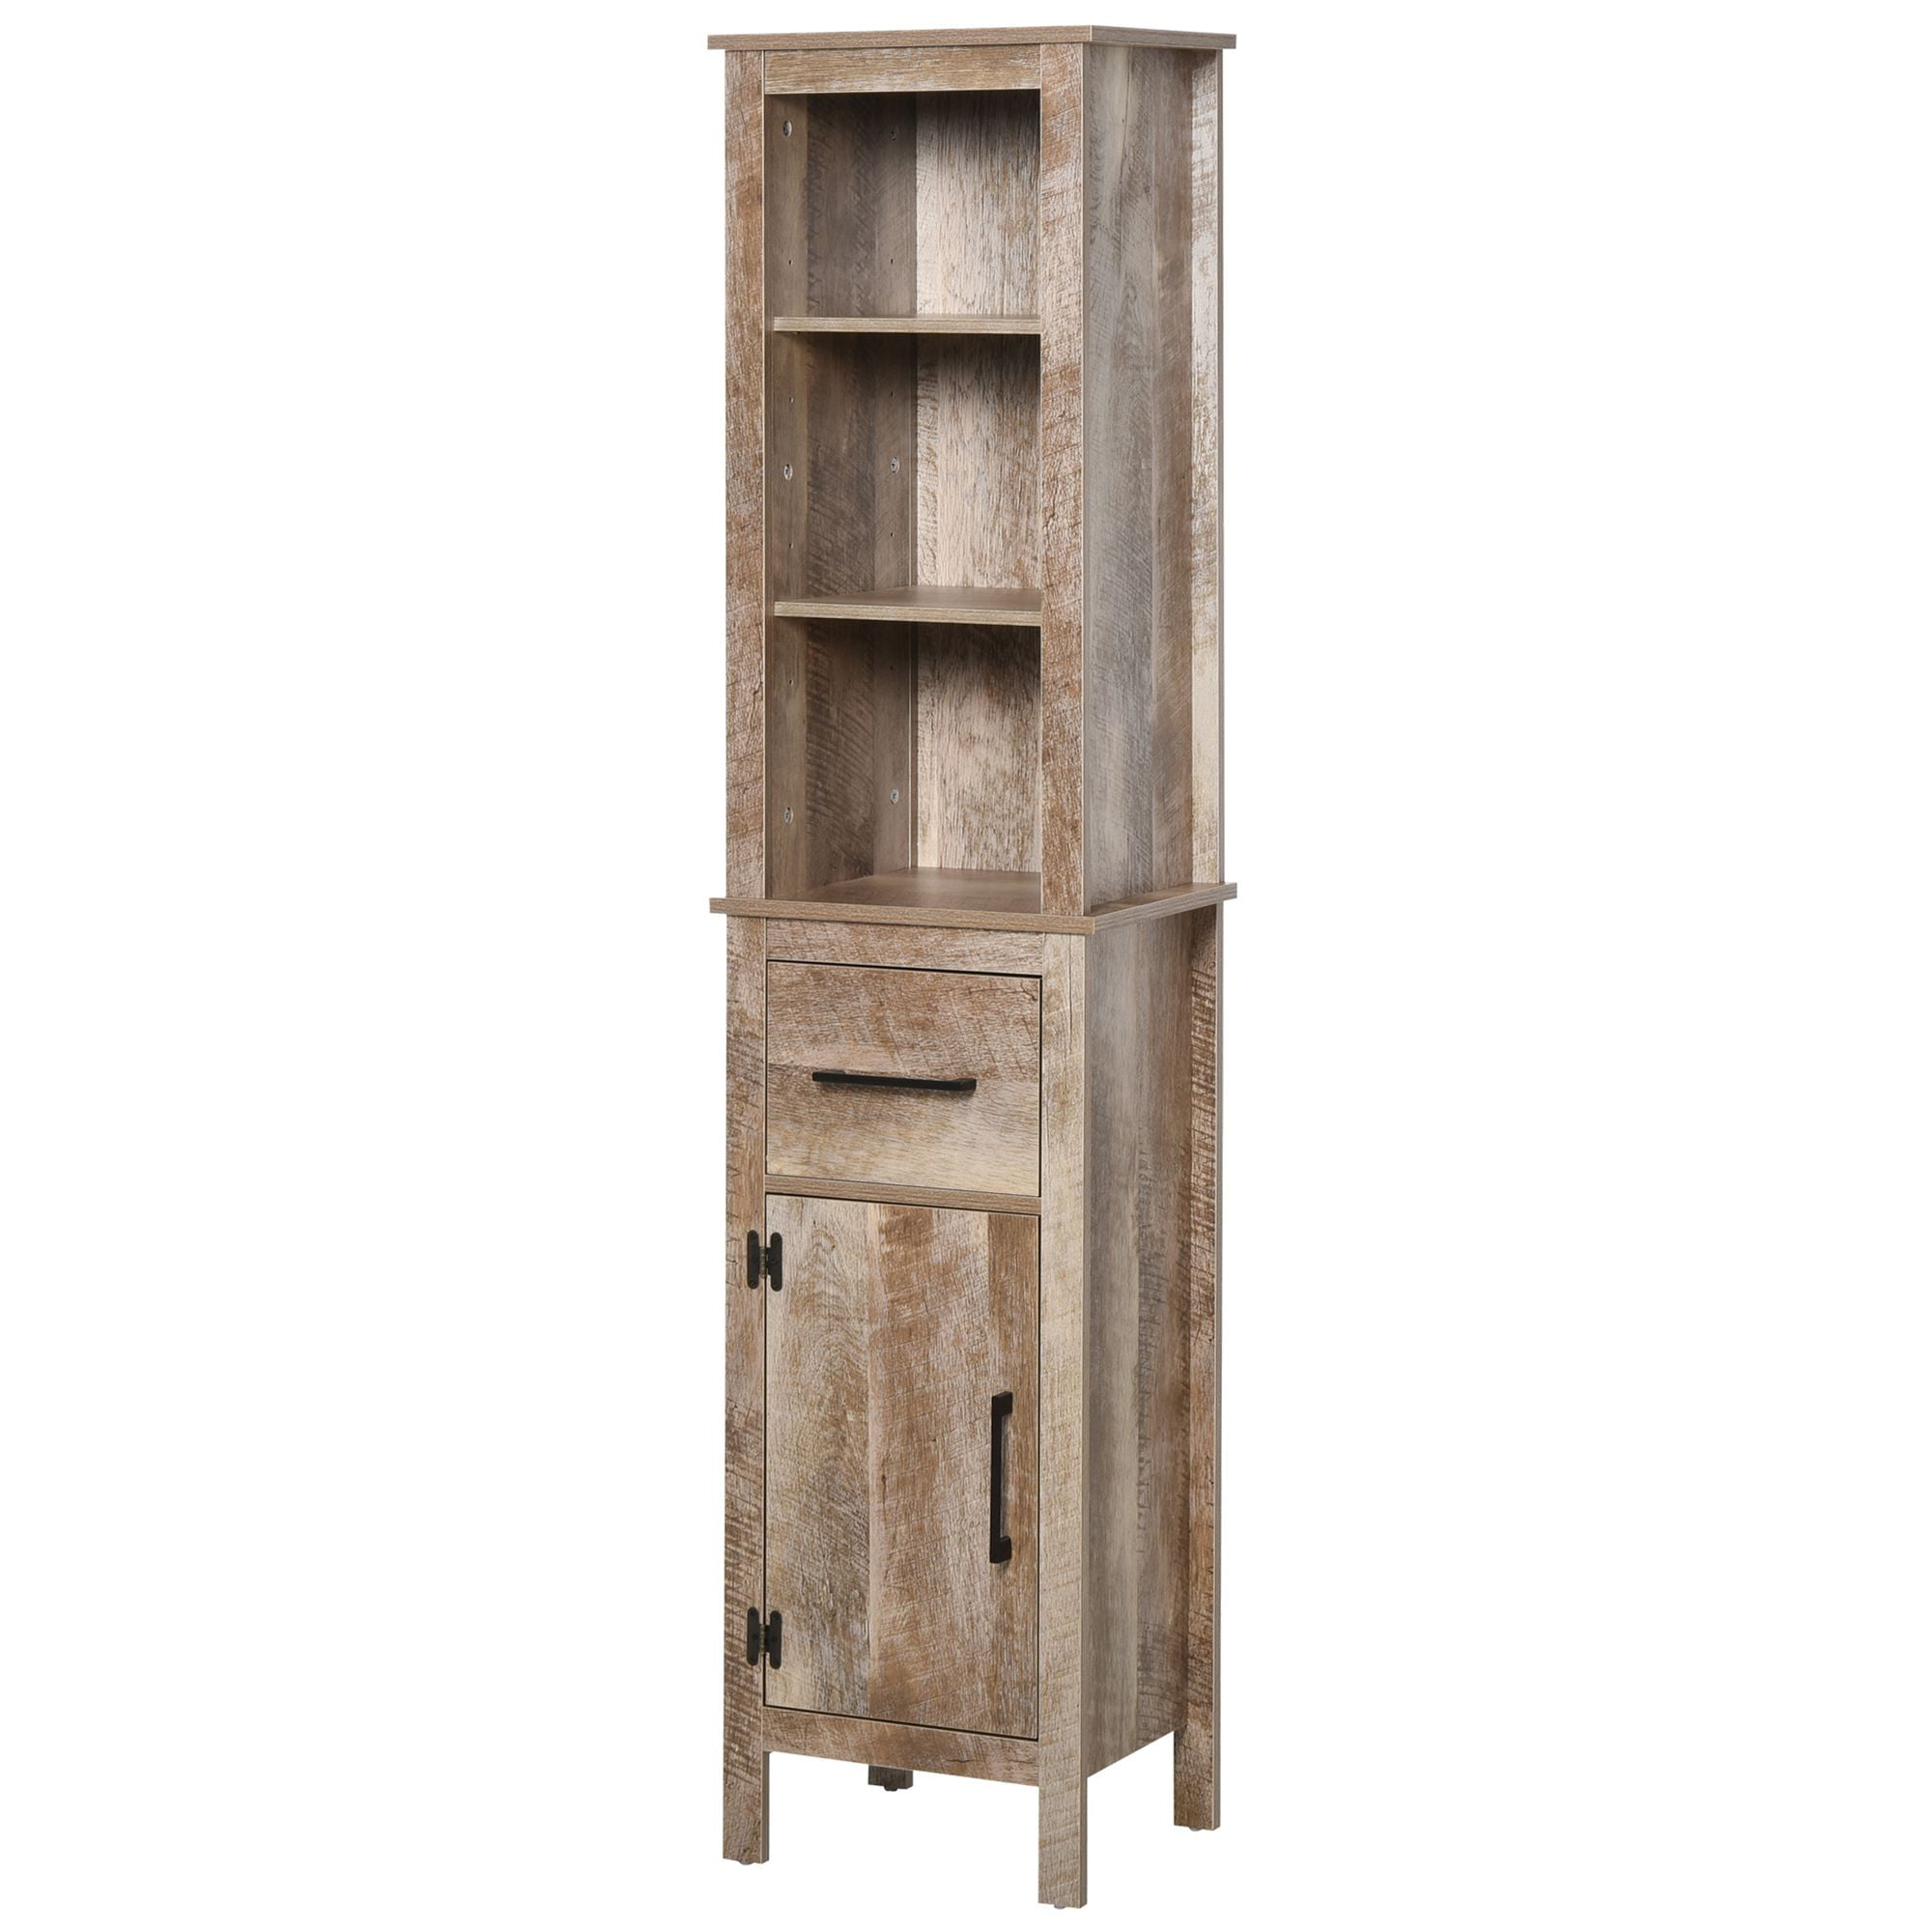
Tall Wooden Bathroom Storage Cabinet w/3 Tier Open Adjustable Shelves
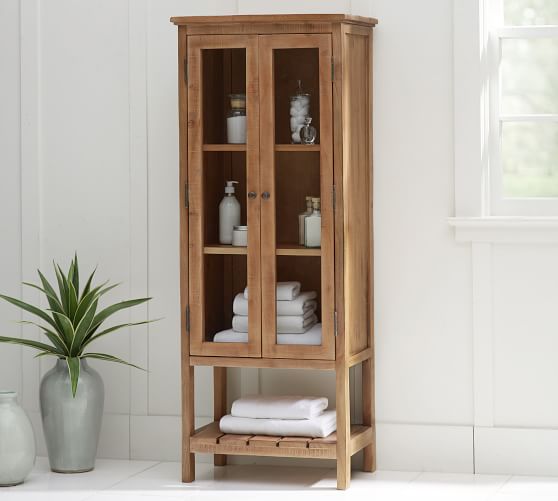
Rustic Bathroom Storage Pottery Barn
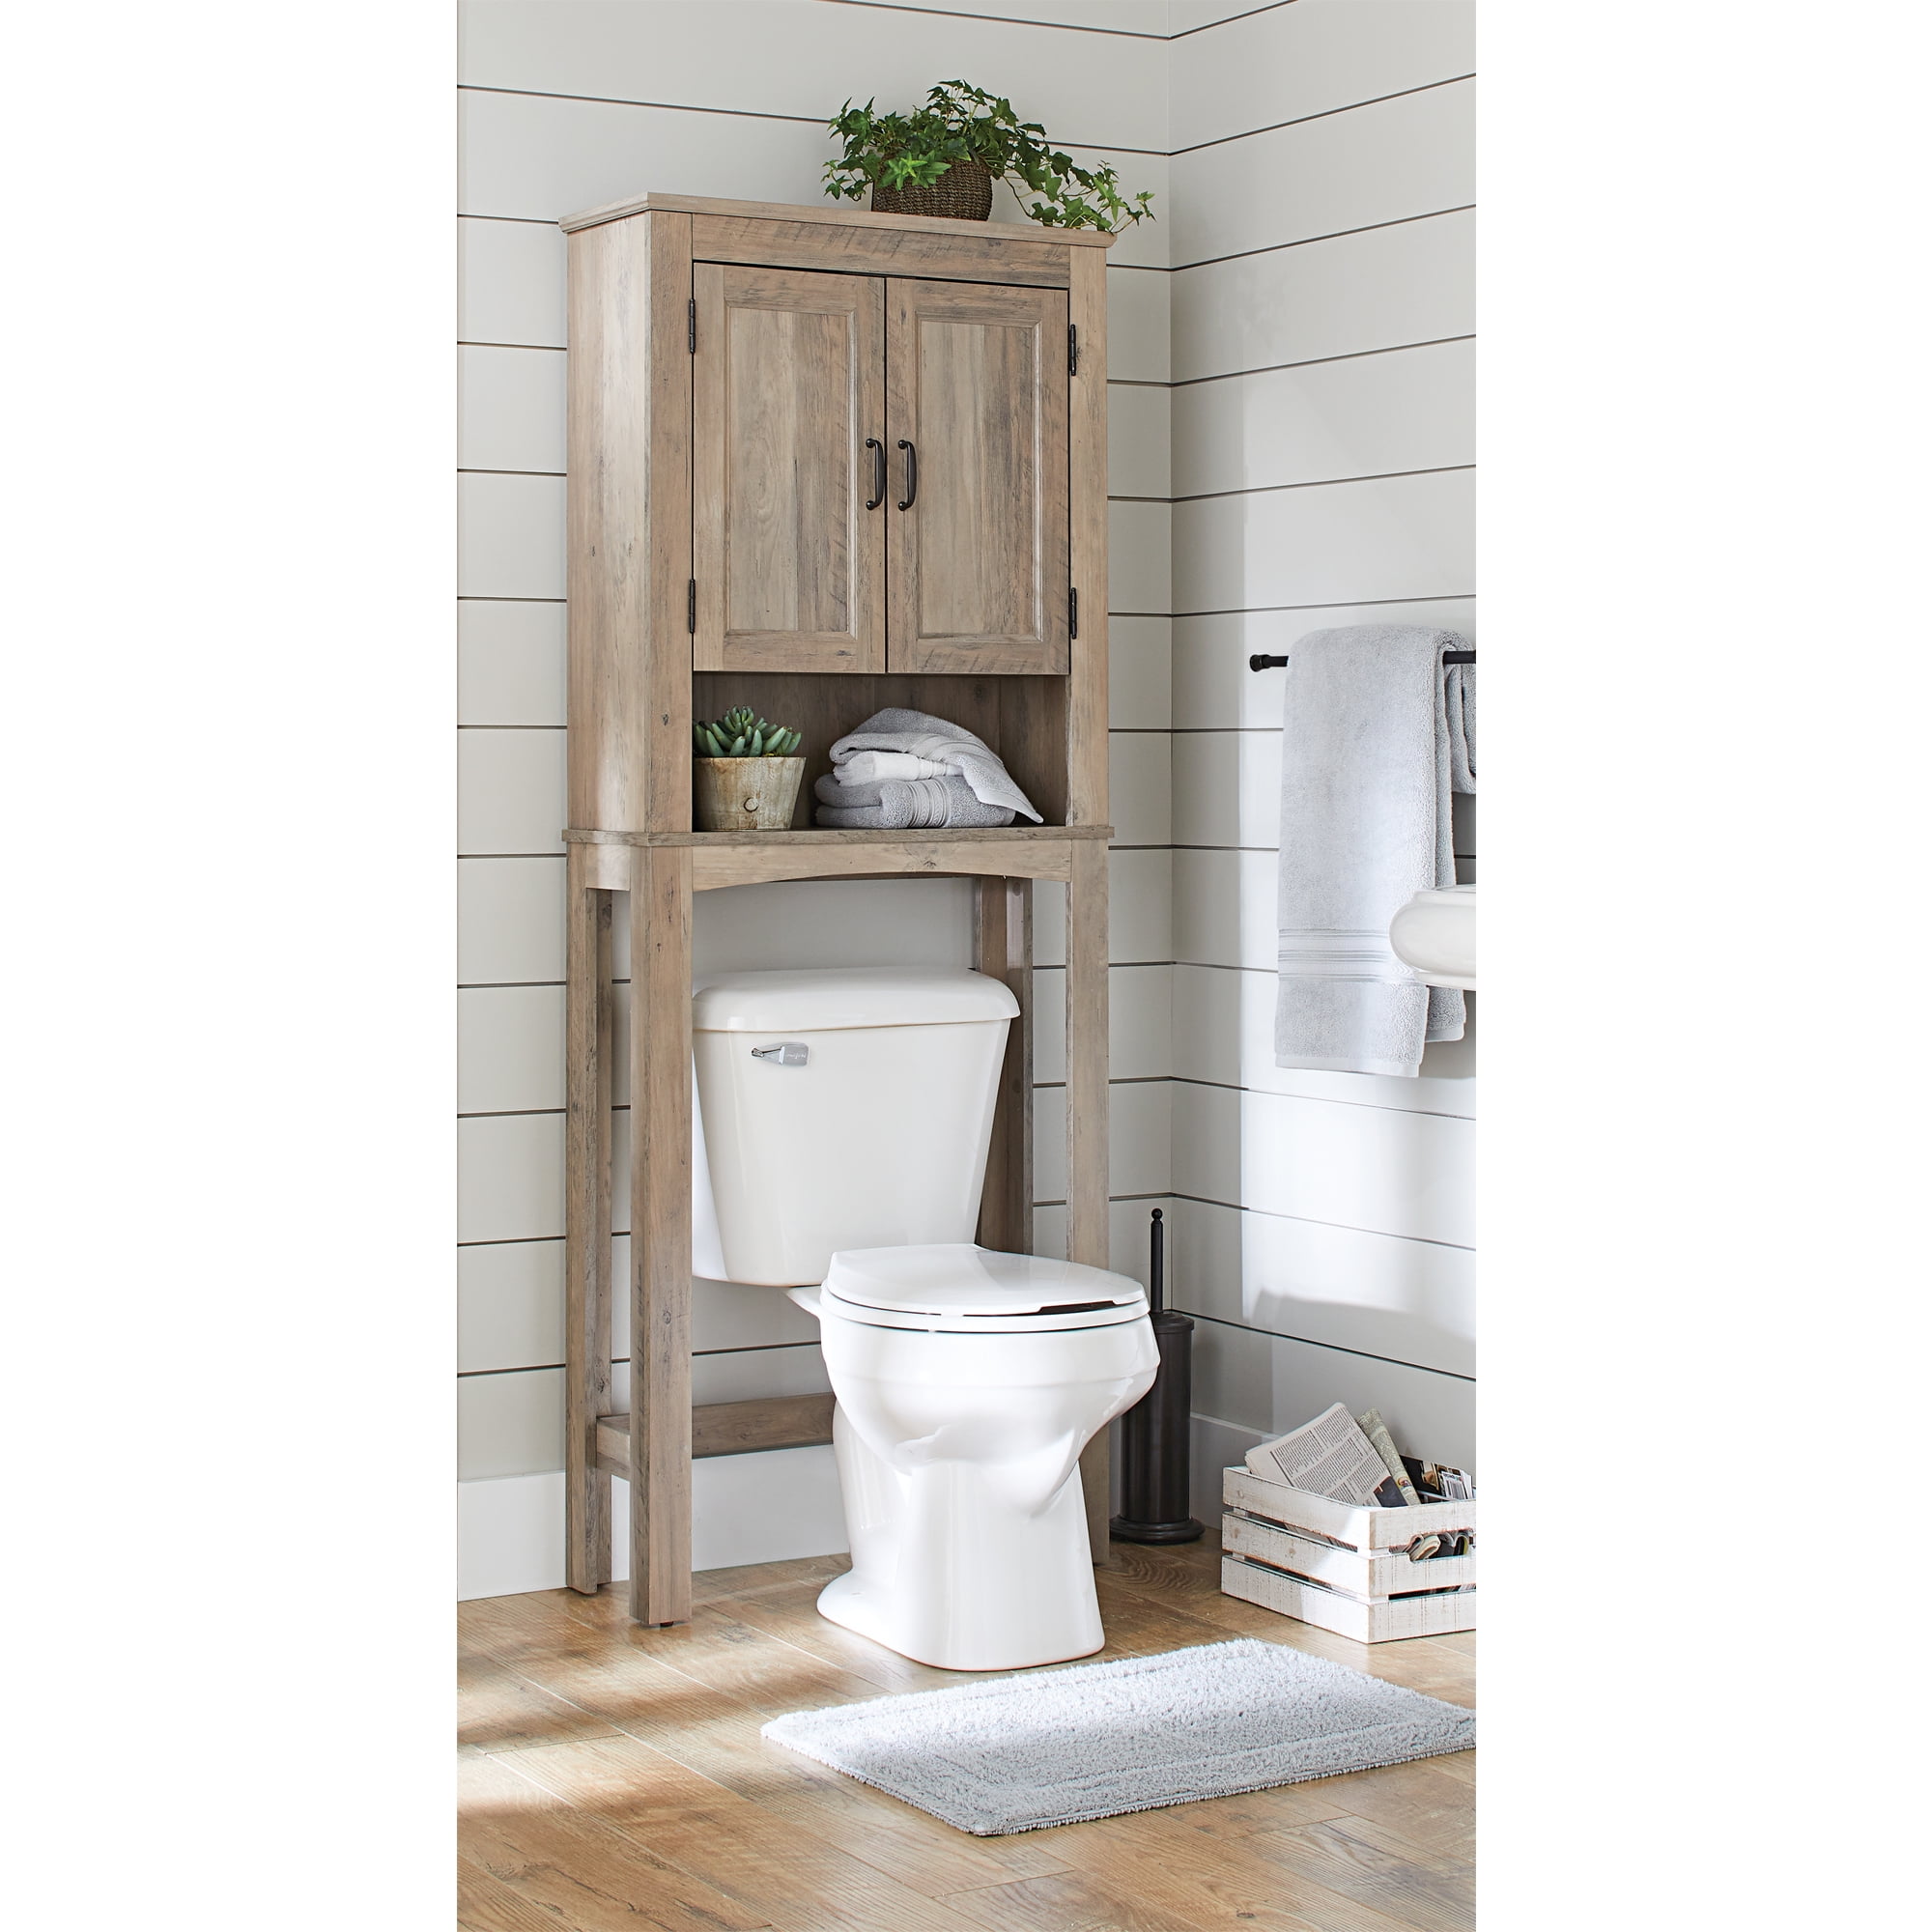
Over the Toilet Bathroom Storage, Space Saver with Three Shelves
Bathroom Storage Archives – Reclaimed Wood Furniture Rustic
Bathroom Storage Archives – Reclaimed Wood Furniture Rustic
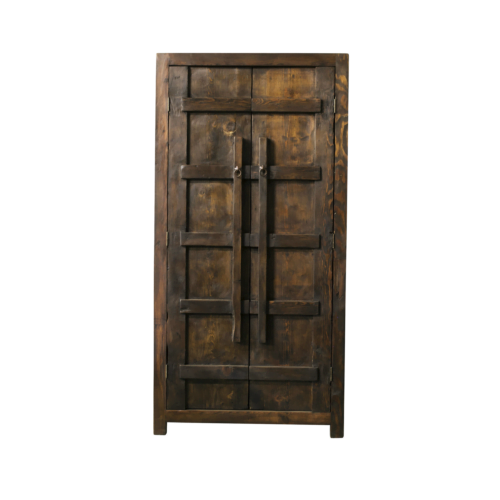
Rustic Toilet Cabinets
Bathroom Storage Cabinet, Rustic Kitchen Storage Cabinet with Doors and Drawers
Related Posts:
- Metal Bathroom Storage Unit
- RV Bathroom Storage Ideas
- Modern Bathroom Storage Furniture
- Decorative Bathroom Storage Baskets
- White Bathroom Storage Chest
- Under Sink Bathroom Storage Cupboard
- Slimline Bathroom Storage Cabinets
- Bathroom Storage Boxes Cheap
- Bathroom Storage Caddy Box
- Bathroom Storage Units Tesco


