Identifying the Problem: Signs of a Bathroom Sink Leak
A bathroom sink leak can be a frustrating and potentially costly problem if left unaddressed. Identifying the signs of a leak early on is crucial for preventing water damage and mold growth in your home. Here are some common signs to look out for that may indicate a bathroom sink leak:
- Water Stains: Keep an eye out for water stains or discoloration around the base of the sink cabinet or on the walls adjacent to the sink. These stains are often a telltale sign of a leak and may indicate that water is seeping out from under the sink.
- Musty Odor: A musty or mildew-like odor in the bathroom can be a sign of hidden water damage caused by a leak. Mold and mildew thrive in damp environments, so if you notice a persistent musty smell, it’s essential to investigate for leaks.
- Dripping or Pooling Water: Observe the area around the sink for any signs of dripping or pooling water. Leaks may manifest as small puddles of water on the countertop, floor, or inside the sink cabinet. Even a minor leak can lead to water damage over time if not addressed promptly.
- Soft or Soggy Cabinets: Check the area under the sink for any signs of softness or sponginess in the cabinet floor or walls. Water damage can cause wood to swell and become soft, so if you notice any changes in the texture of the cabinet, it may indicate a leak.
- Increased Water Bills: A sudden increase in your water bill without any corresponding increase in water usage may be a sign of a hidden leak. Keep track of your water bills and investigate any unexplained spikes in usage, as this could indicate a leak in your bathroom sink or elsewhere in your plumbing system.
- Mold or Mildew Growth: Mold and mildew thrive in damp environments, so if you notice any signs of mold or mildew growth around your bathroom sink, it could indicate a leak. Check for mold or mildew on the walls, ceiling, or grout lines near the sink, as well as inside the sink cabinet.

DIY Solutions: How to Repair Minor Bathroom Sink Leaks
Minor bathroom sink leaks can often be repaired quickly and easily with a few simple DIY solutions. Whether it’s a dripping faucet, a loose connection, or a worn-out seal, tackling the problem yourself can save you time and money. Here are some DIY solutions for repairing minor bathroom sink leaks:
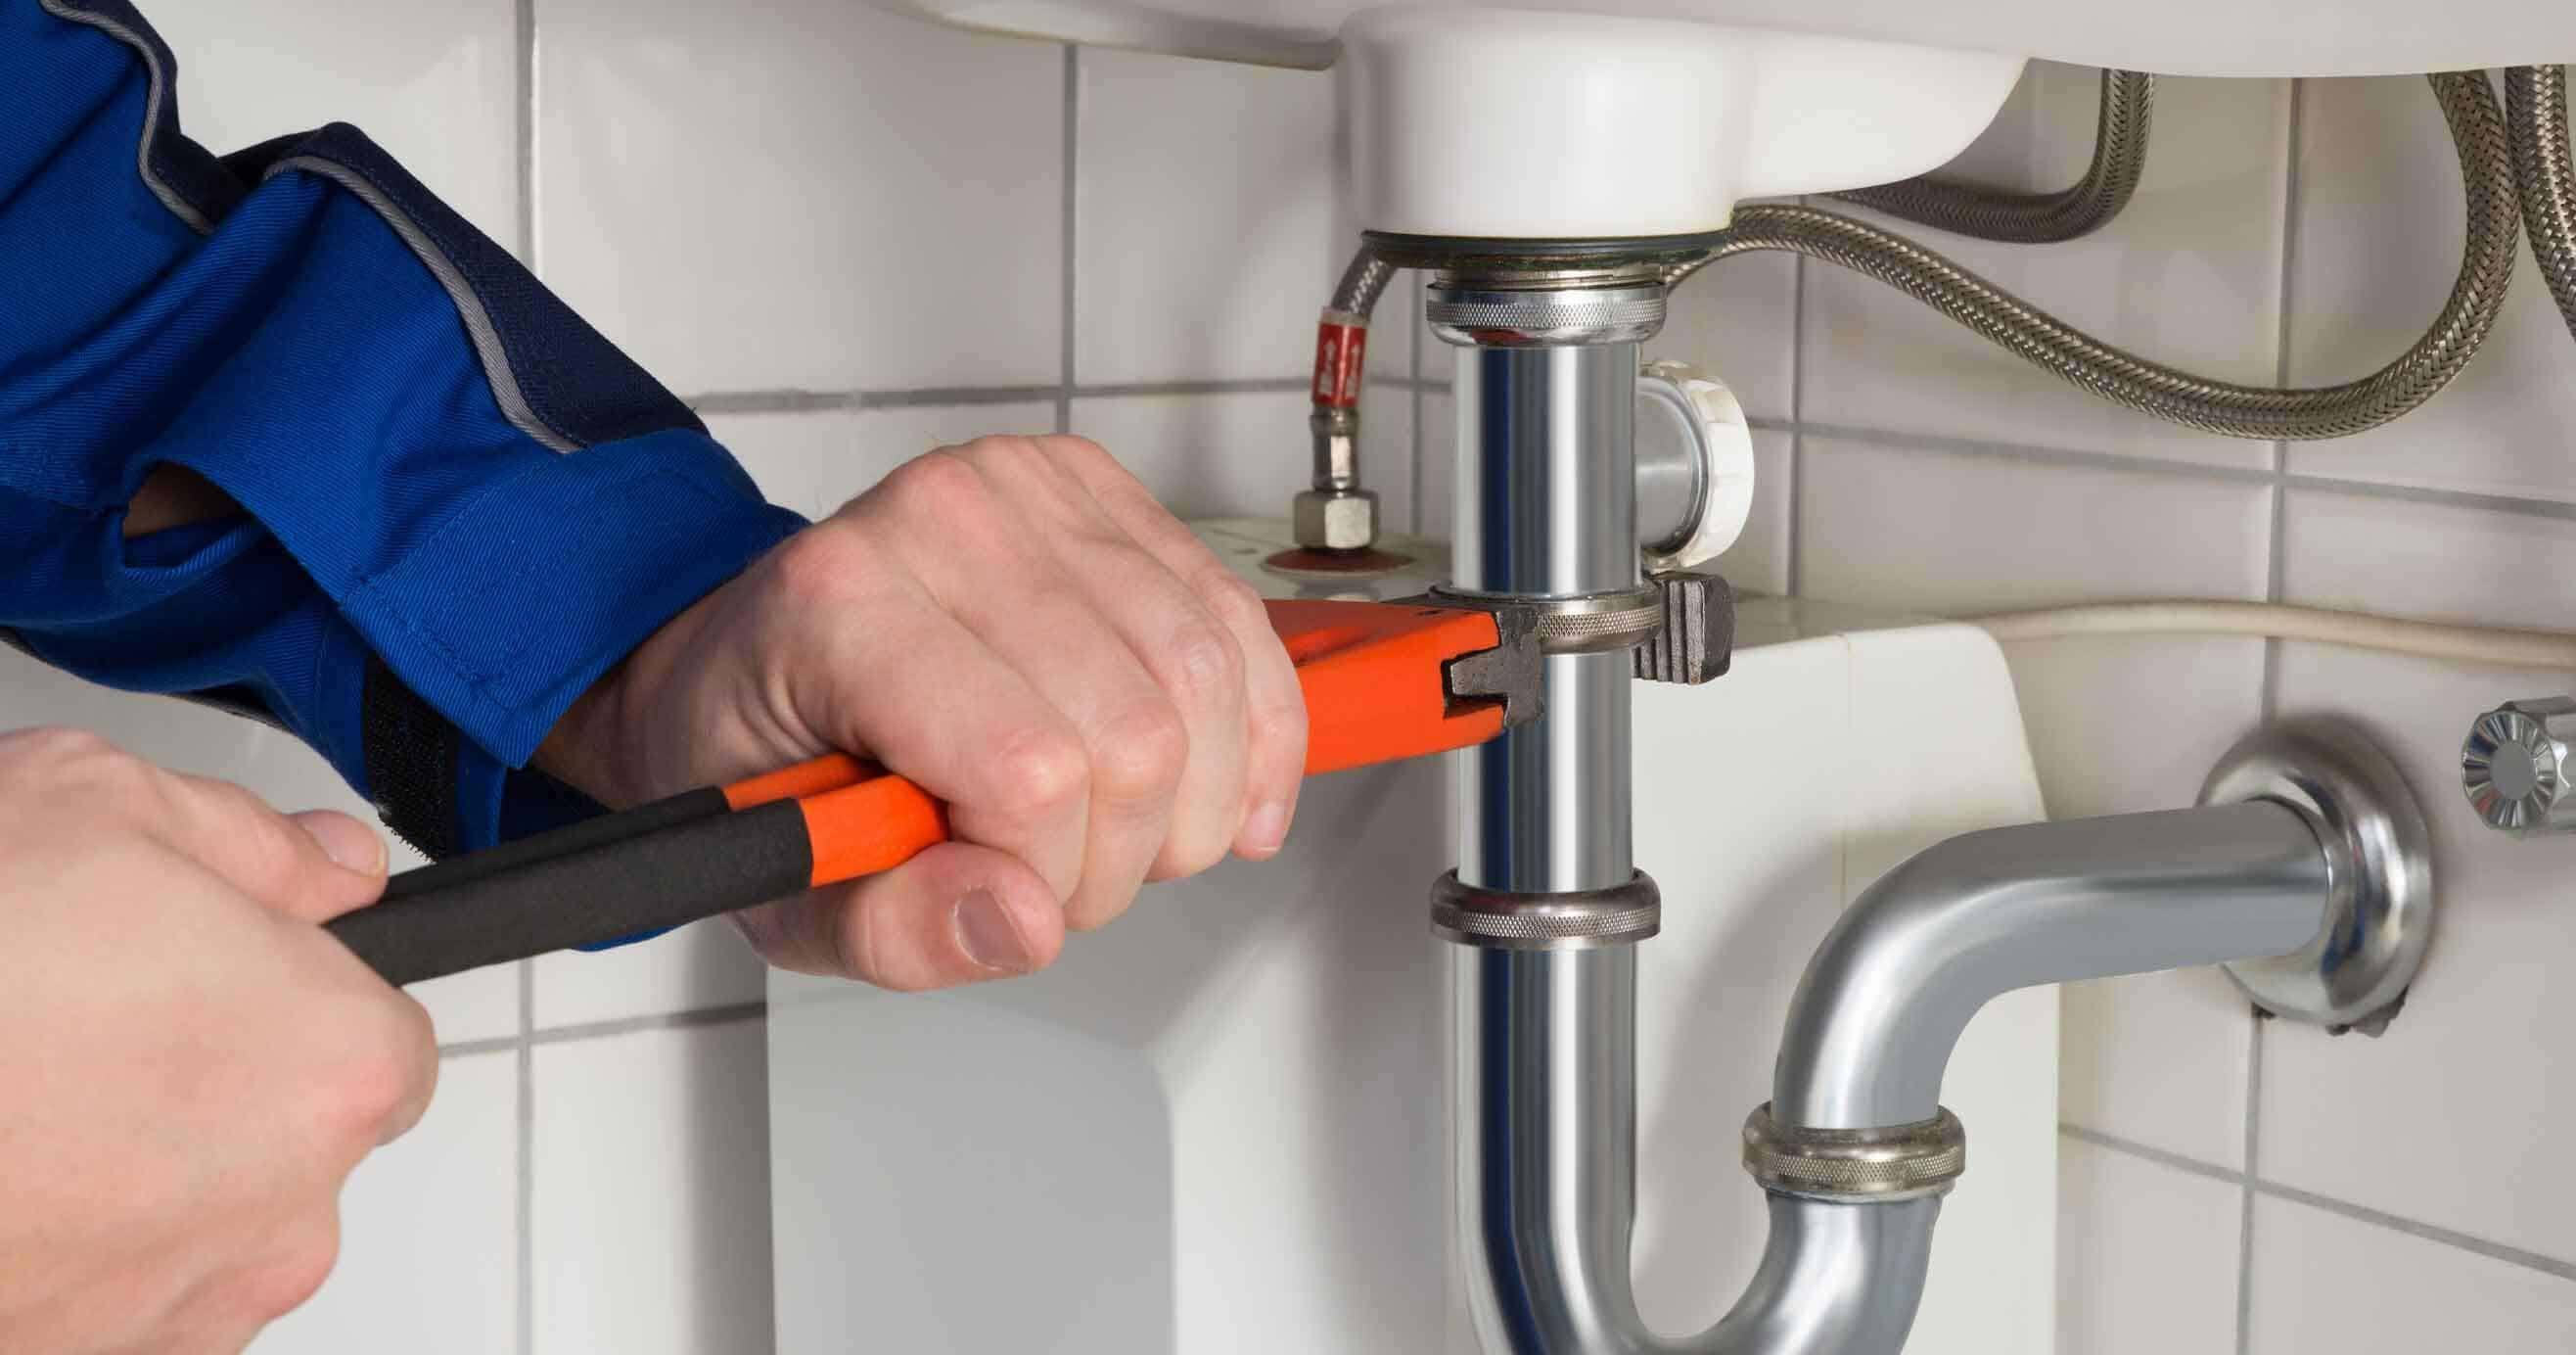
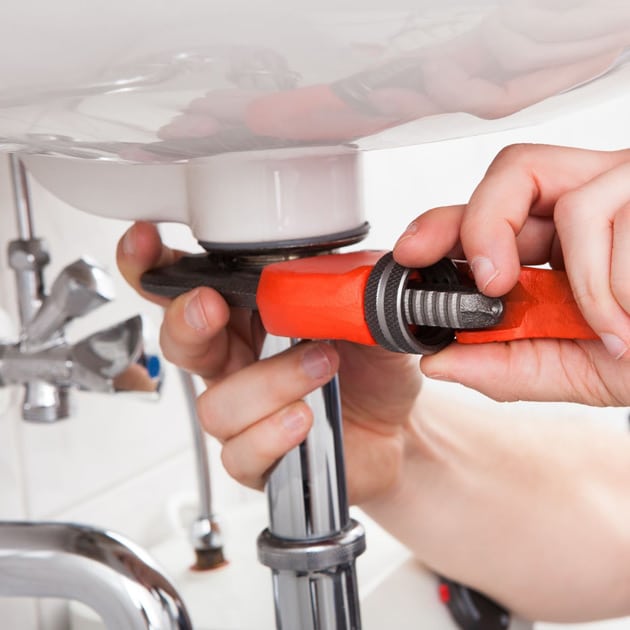
Tighten Loose Connections: Start by checking all the connections under the sink, including the supply lines, drain pipes, and faucet connections. Use a wrench or pair of pliers to tighten any loose connections, being careful not to overtighten and damage the fittings.
Replace Worn-Out Seals: If the leak is coming from around the base of the faucet or handles, it may be due to worn-out seals or gaskets. Turn off the water supply to the sink, remove the faucet handles or trim pieces, and inspect the seals for signs of damage or wear. Replace any worn-out seals with new ones to prevent further leaks.
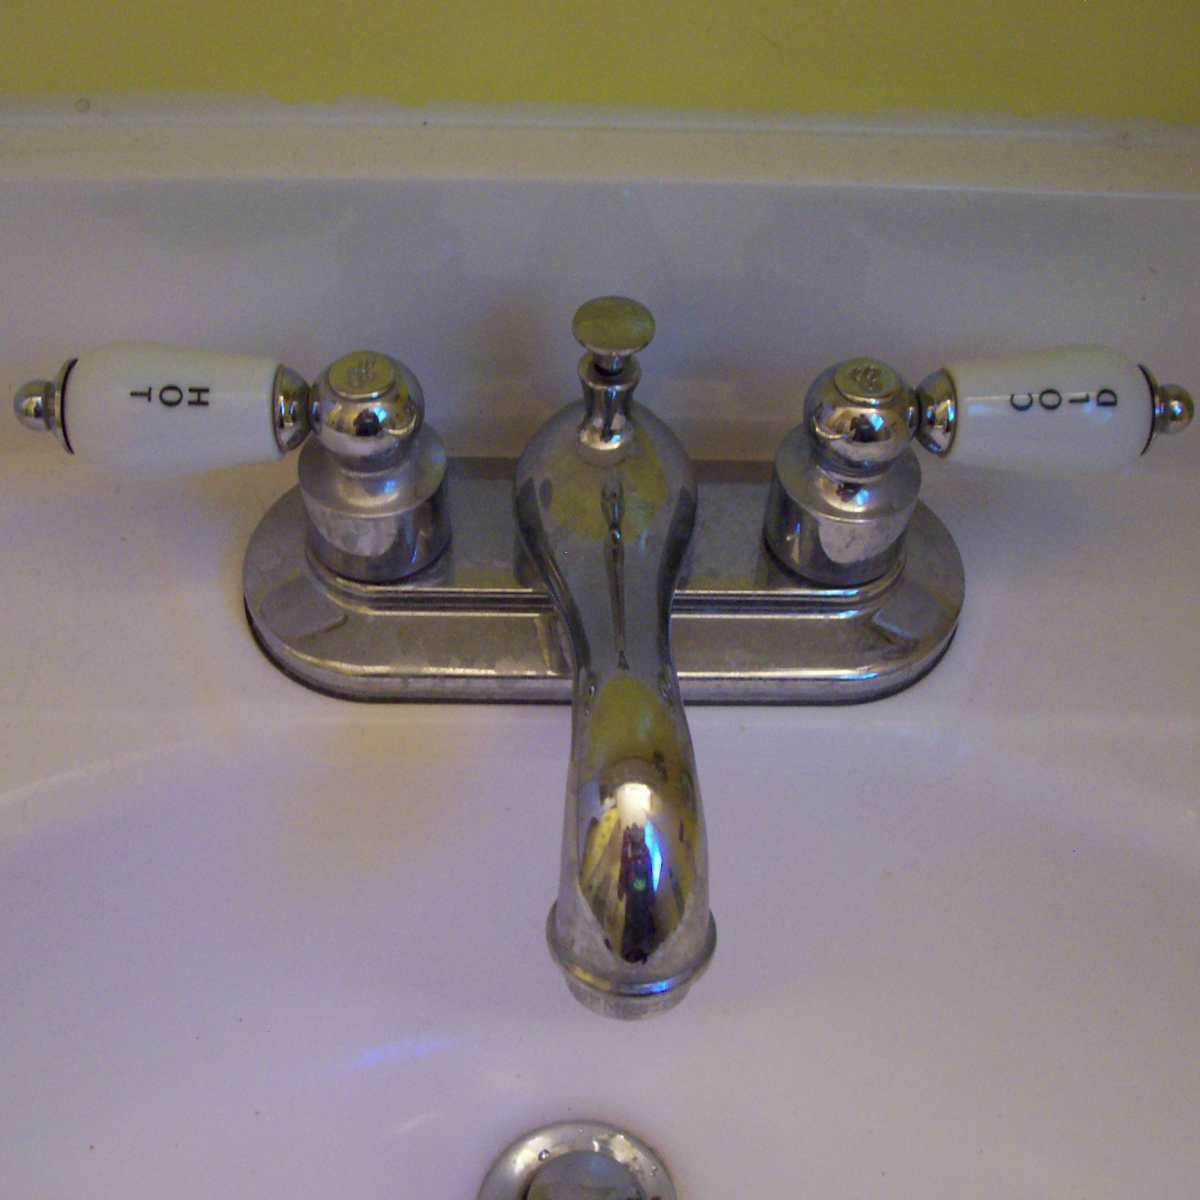
Repair Leaky Faucets: A dripping faucet is not only annoying but also wasteful. To repair a leaky faucet, start by turning off the water supply to the sink. Remove the faucet handle and cartridge or valve stem, and inspect them for signs of wear or damage. Replace any worn-out parts or seals, then reassemble the faucet and turn the water supply back on to test for leaks.
Seal Gaps and Cracks: Inspect the area around the sink for any gaps or cracks where water could be leaking through. Use caulk or silicone sealant to seal any gaps around the base of the sink, along the edges of the countertop, or around the faucet and handles. Be sure to use a waterproof sealant designed for use in bathrooms to ensure a watertight seal.
Replace Damaged Components: If you’ve identified a specific component that is causing the leak, such as a cracked pipe or a damaged drain assembly, it may need to be replaced. Turn off the water supply to the sink, remove the damaged component, and install a new one following the manufacturer’s instructions.
Tools and Materials Needed
Before you tackle a bathroom sink leak repair project, it’s essential to gather the necessary tools and materials to ensure a smooth and successful outcome. Having the right equipment on hand will make the repair process more efficient and help you avoid delays or setbacks. Here’s a list of tools and materials you’ll need for bathroom sink leak repair:
Adjustable Wrench: An adjustable wrench is essential for tightening and loosening nuts and bolts during the repair process. Choose a wrench with a wide jaw opening to accommodate different sizes of fittings.
Pliers: Pliers are useful for gripping and turning nuts, bolts, and other small components. Opt for a pair of slip-joint pliers with adjustable jaws for maximum versatility.
Screwdrivers: You’ll need both flathead and Phillips-head screwdrivers for removing screws and fasteners during the repair process. Choose screwdrivers with comfortable handles and magnetic tips for easy handling.
Plumber’s Tape: Also known as Teflon tape, plumber’s tape is used to create a watertight seal on threaded pipe fittings. Wrap the tape around the threads of the fitting before screwing it into place to prevent leaks.
Plumber’s Putty: Plumber’s putty is a flexible, waterproof sealant used to create a watertight seal around drains and faucets. It’s ideal for sealing gaps and cracks where water could leak through.
Caulk or Silicone Sealant: Caulk or silicone sealant is used to seal gaps and cracks around the base of the sink, along the edges of the countertop, and around the faucet and handles. Choose a waterproof sealant designed for use in bathrooms for maximum durability.
Replacement Parts: Depending on the nature of the leak, you may need to purchase replacement parts such as seals, gaskets, cartridges, or drain assemblies. Be sure to measure the existing components and purchase replacements that are compatible with your sink and plumbing fixtures.
Safety Gear: Finally, don’t forget to wear appropriate safety gear such as gloves and safety glasses to protect yourself from sharp edges, chemicals, and other hazards during the repair process.
When to Seek Professional Help?
While DIY solutions can often fix minor bathroom sink leaks, there are some situations where it’s best to call in the pros. If you’re unsure about how to diagnose or repair the leak yourself, or if the leak is more severe than you initially thought, it’s essential to seek professional help to prevent further damage to your home. Here are some signs that it’s time to call in a plumber for bathroom sink leak repair:
Persistent Leaks: If you’ve attempted DIY solutions but the leak persists or worsens, it’s time to call in a plumber. A professional plumber will have the knowledge and experience to diagnose the source of the leak accurately and recommend the appropriate repairs.
Hidden Leaks: Sometimes, leaks can be hidden behind walls, under floors, or inside cabinets, making them difficult to detect and repair. If you suspect a hidden leak but aren’t sure how to locate it, a plumber can use specialized equipment such as leak detection cameras or moisture meters to pinpoint the source of the leak accurately.
Complex Repairs: Certain bathroom sink leaks require more complex repairs that are best left to the professionals. For example, if the leak is caused by a damaged pipe or a faulty valve, it may require cutting into walls or floors to access and repair the problem. A plumber will have the skills and tools necessary to perform these types of repairs safely and effectively.
Safety Concerns: If the leak poses a safety hazard, such as the risk of electrical shock or structural damage, it’s essential to seek professional help immediately. A plumber can assess the situation and take appropriate measures to ensure the safety of you and your family.
Warranty Coverage: If your bathroom sink or plumbing fixtures are still under warranty, attempting DIY repairs yourself could void the warranty. In this case, it’s best to call the manufacturer or a licensed plumber to perform the repairs to ensure that your warranty coverage remains intact.
Preventing Future Leaks: Maintenance Tips
Preventing future bathroom sink leaks is essential for maintaining a healthy and functional home environment. By following a few simple maintenance tips, you can keep your bathroom sink in top condition and avoid costly repairs down the road. Here are some tips for preventing future leaks and keeping your bathroom sink leak-free:
Inspect Regularly: Make it a habit to inspect your bathroom sink regularly for any signs of leaks or water damage. Check the area around the sink, including the countertop, walls, floor, and inside the sink cabinet, for any signs of moisture, discoloration, or softness.
Address Issues Promptly: If you notice any signs of a leak, such as dripping water, water stains, or musty odors, address the issue promptly to prevent further damage. Determine the source of the leak and take appropriate measures to repair it before it worsens.
Clean Drains Regularly: Keep your bathroom sink drains clean and free of debris to prevent clogs and backups that can lead to leaks. Use a drain cleaner or plumbing snake to remove any buildup of hair, soap scum, or other debris from the drain pipes regularly.
Check Seals and Gaskets: Inspect the seals and gaskets around the base of the faucet and handles regularly for signs of wear or damage. Replace any worn-out seals or gaskets to prevent leaks from developing around these areas.
Monitor Water Pressure: High water pressure can put stress on your plumbing fixtures and increase the risk of leaks developing. Monitor your water pressure regularly and install a pressure regulator if necessary to keep it within safe levels.
Use Plumbers Tape: When installing or reconnecting plumbing fittings, use plumber’s tape to create a watertight seal and prevent leaks from developing at the joints. Wrap the threads of the fittings with the plumber’s tape before screwing them together to ensure a tight seal.
Seal Gaps and Cracks: Use caulk or silicone sealant to seal any gaps or cracks around the base of the sink, along the edges of the countertop, and around the faucet and handles. This will prevent water from seeping through and causing leaks.
Schedule Regular Maintenance: Consider scheduling regular maintenance checks with a licensed plumber to inspect your bathroom sink and plumbing fixtures for any signs of wear or damage. A professional plumber can identify and address potential issues before they develop into costly leaks.
Plumbing: bad water leak under bathroom sink
leak – How to fix leaking bathroom sink drain where PVC meets ABS
LOOSE and LEAKING Plastic Bathroom Sink Drain Repair
How to Repair (Not Replace) Any Leaking Bathroom Faucet (Sink or
Leaky Pipe Under Bathroom Sink Allentown (610) 351-9889
How to Fix a Leaky Sink Trap – HomeTips
How to fix a leak under your sink.
Trap leaking under bathroom vanity
Leaking drains? Hereu0027s some solutions for this common plumbing problem
Related Posts:
